

Chapter Six: Meeting Jeff
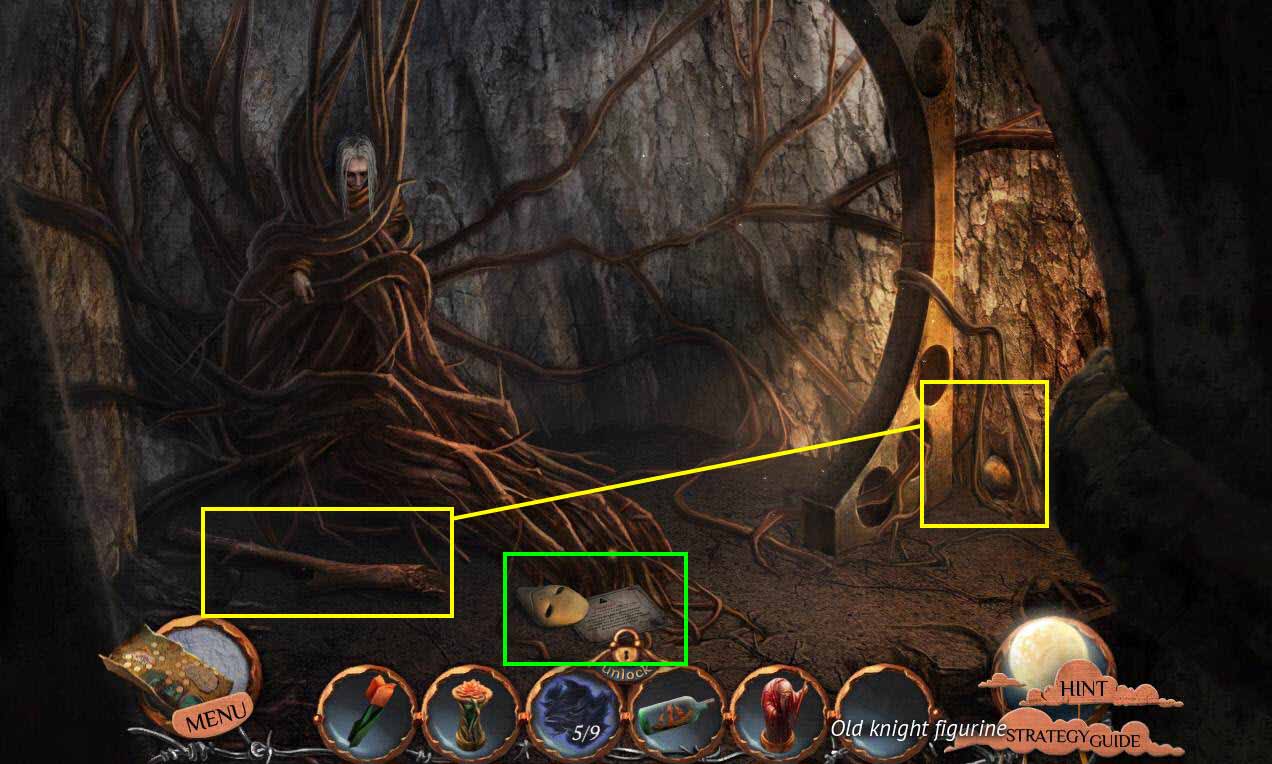
- Take the LARGE BRANCH.
- Click to zoom into the roots.
- Click on the mask.
- Click on the sign to read it.
- Look in the rat hole.
- Use the LARGE BRANCH on the rock.
- Click to talk to the man.
- Go back 4 screens.
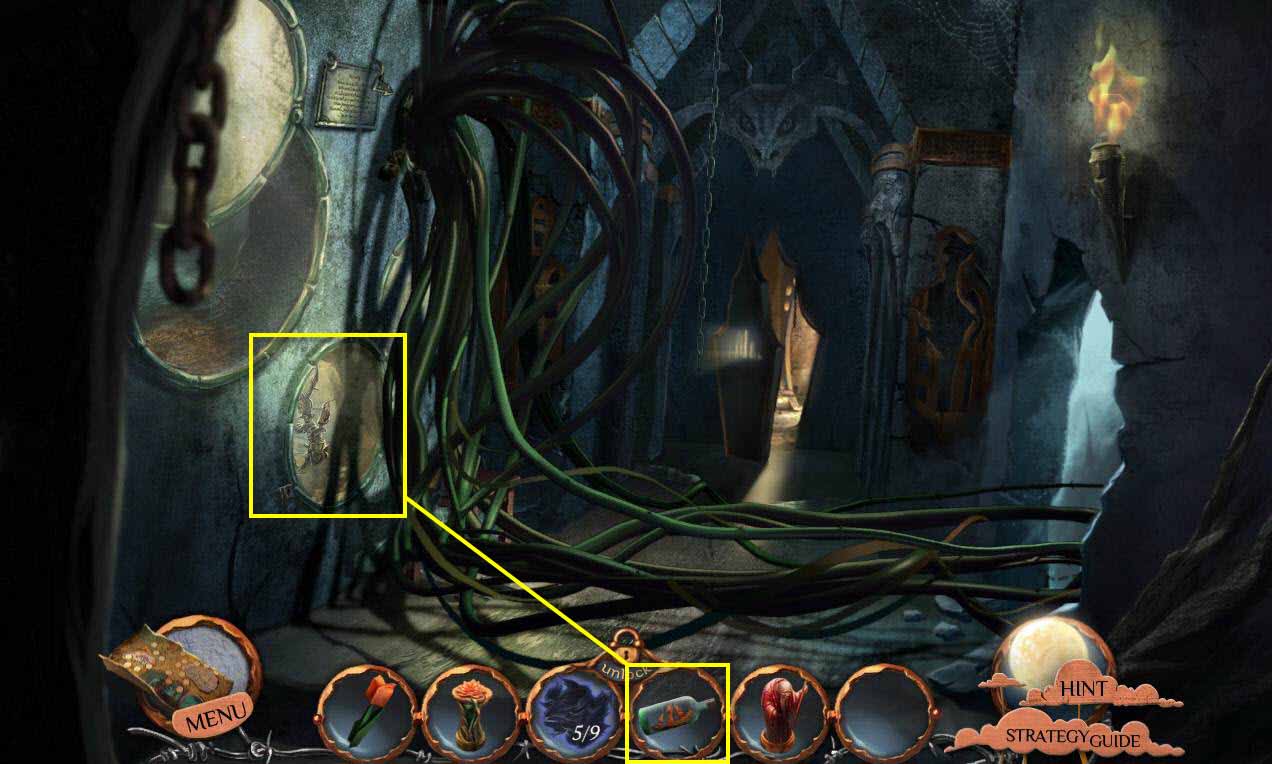
- Click to zoom in on the termitarium.
- Take the 6/9 PARTS of DARK ROBE.
- Use the WOODEN SHIP IN BOTTLE on the termite hill.
- You will receive the BOTTLE WITH TERMITES.
- Go back to the prisoner's cell.
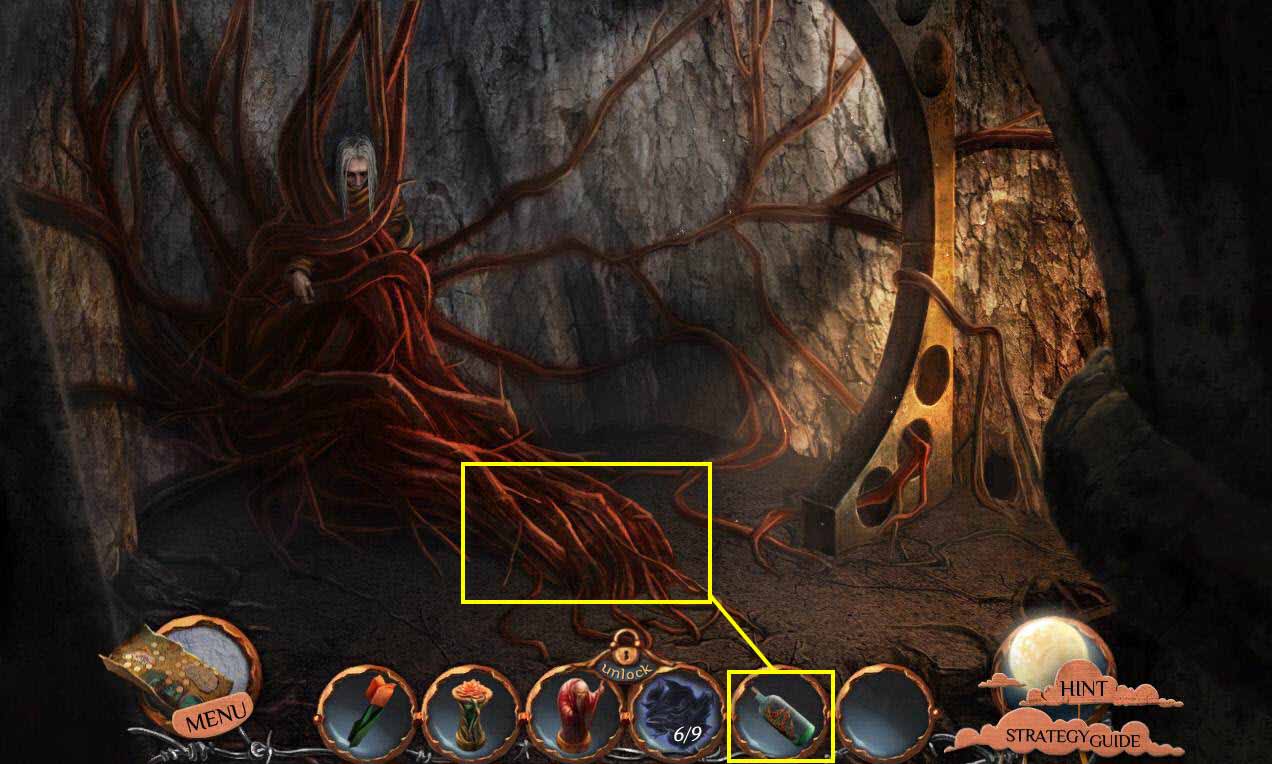
- Click to zoom into the roots.
- Use the BOTTLE WITH TERMITES on the roots.
- Click to talk to the man.
- You will receive the MAGIC POWDER.
- Go back 4 screens.
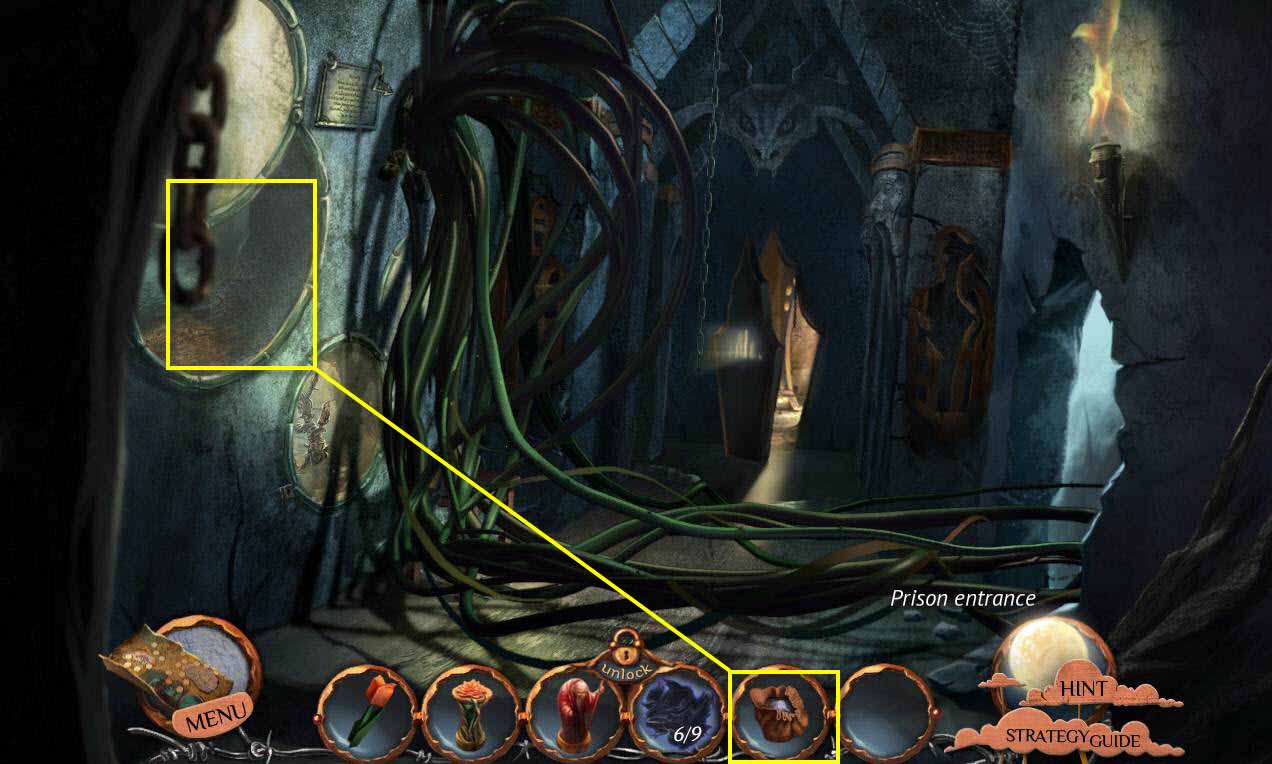
- Click to zoom in on the aquarium.
- Use the MAGIC POWDER on the beast.
- Take the ENCHANTED BEAST.
- Go back to the prisoner's cell.
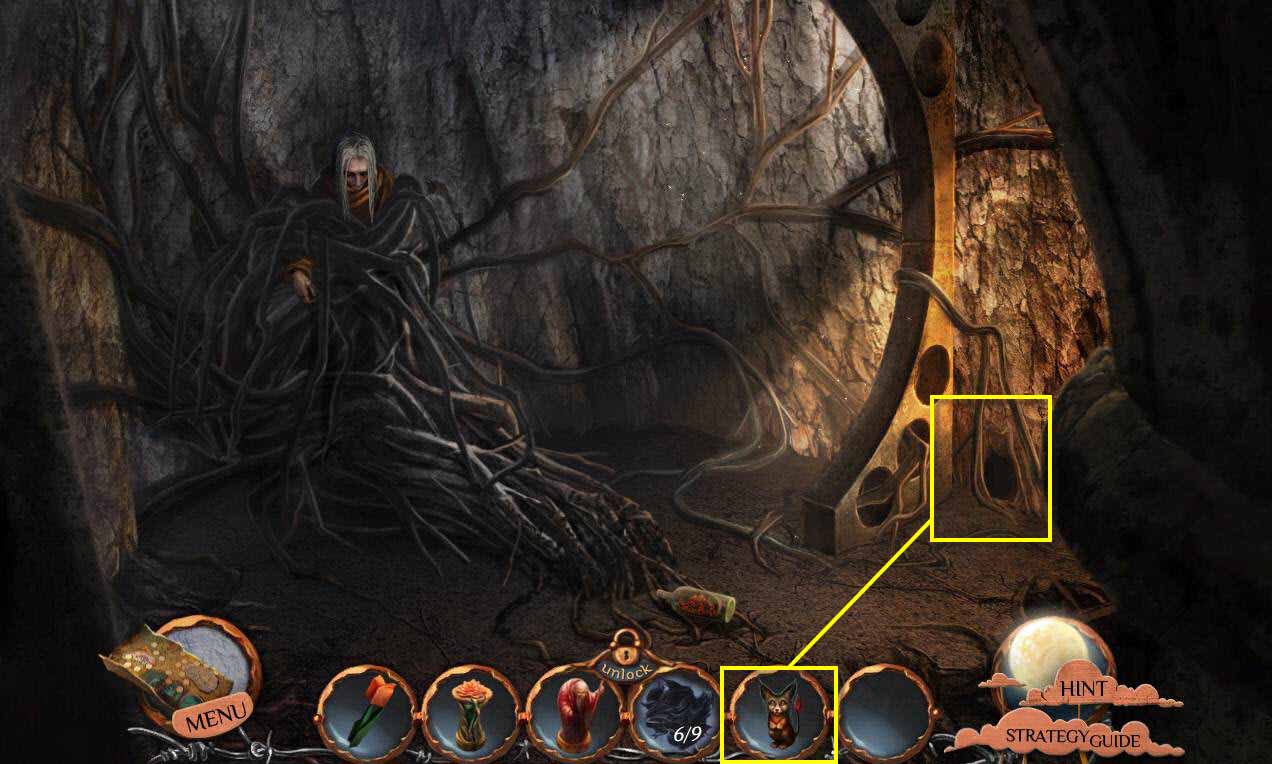
- Click to zoom in on the rat hole.
- Use the ENCHANTED BEAST on the hole.
- This will start a mini-game.
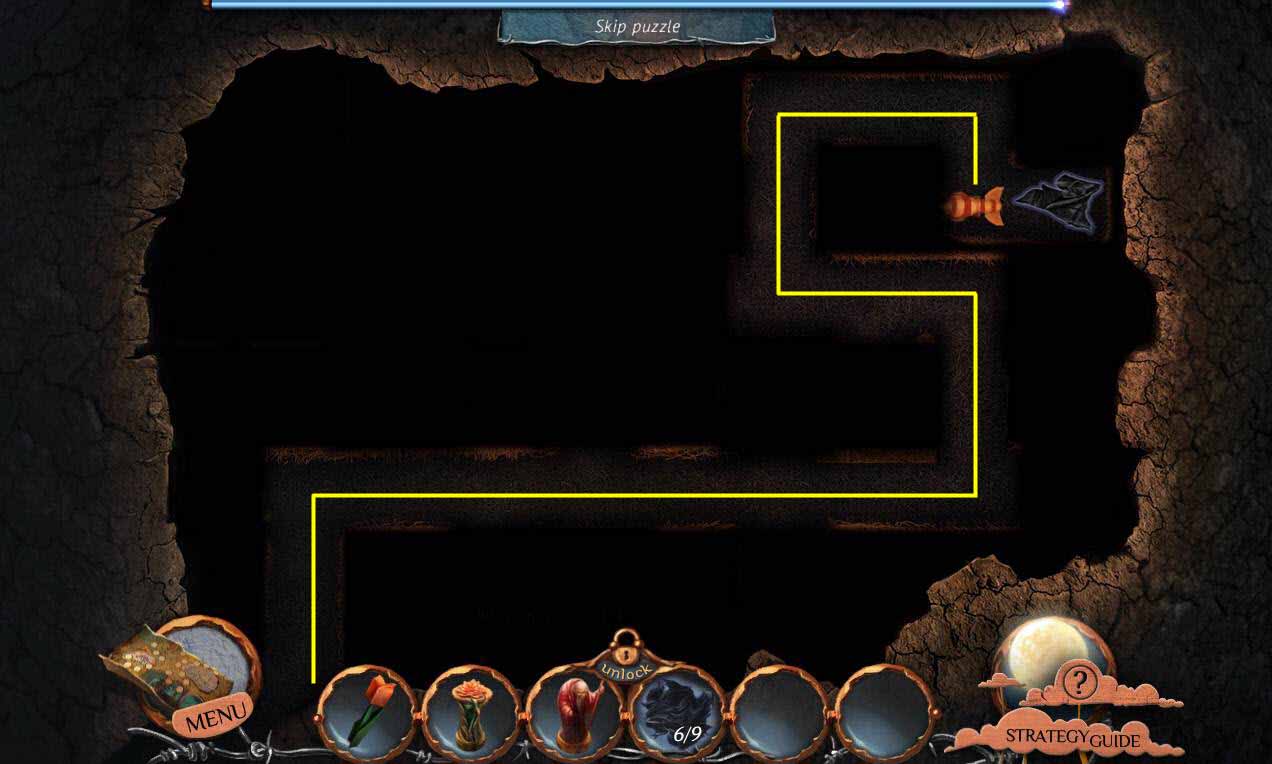
- The goal of the game is to move the beast through the maze.
- If you run across danger, you will have to start over.
- See the screenshot for the solution.
- You will receive the 7/9 PARTS of DARK ROBE.
- Go back 6 screens.
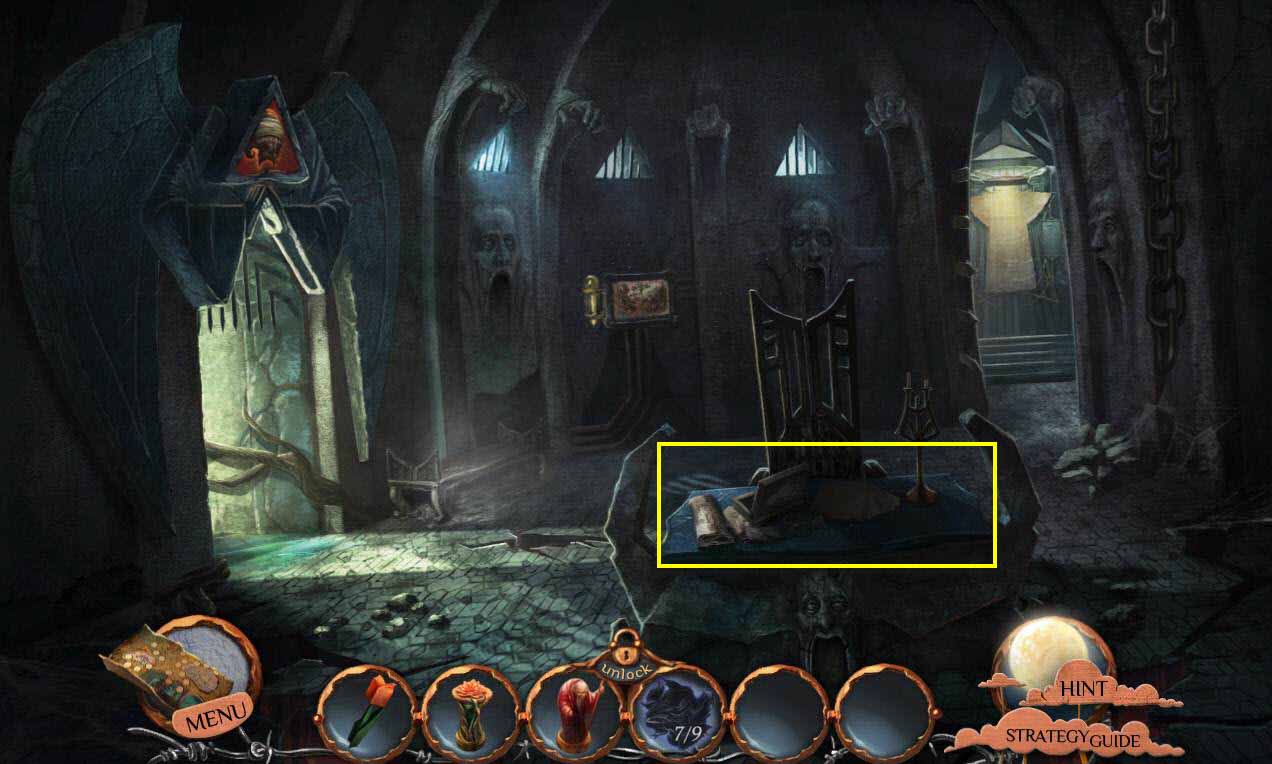
- Click on the desk to zoom in.
- Take the 8/9 PARTS OF DARK ROBE.
- Go straight to the Loom.
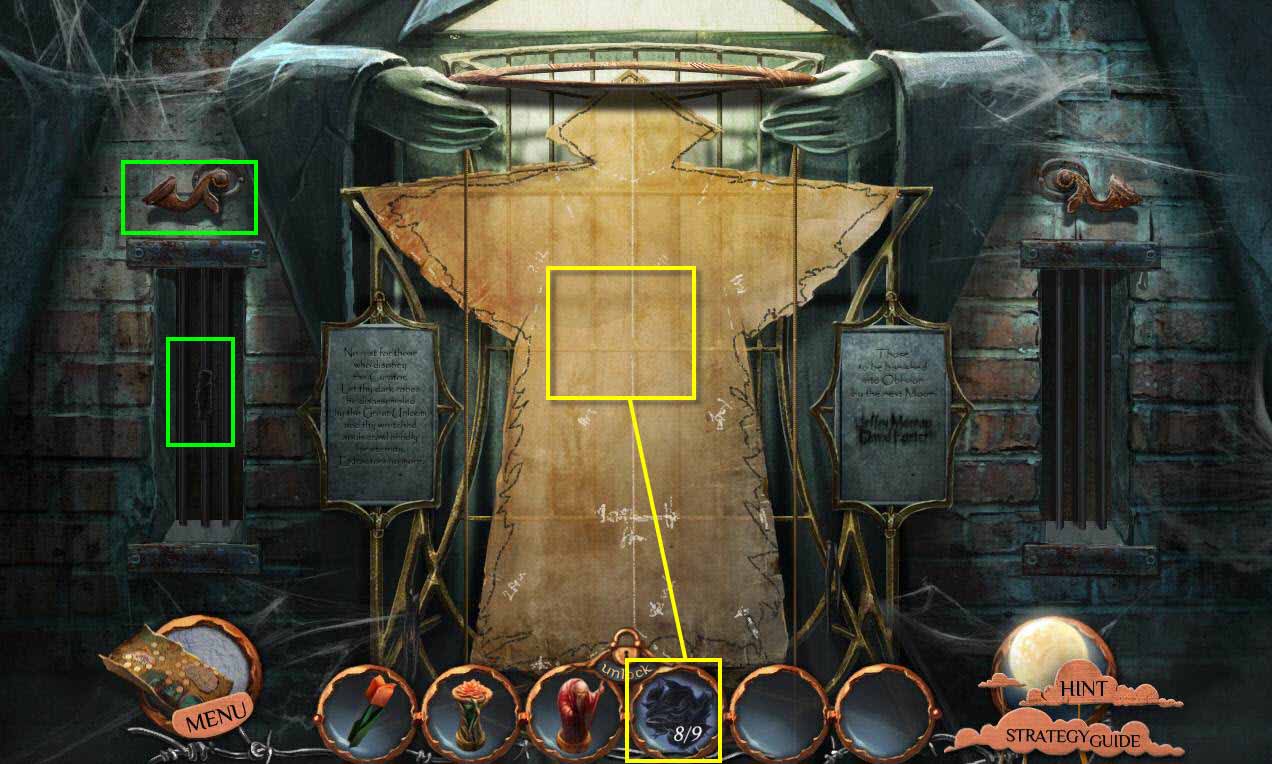
- Click on the lever on each side of the loom.
- Click on the window on the left to zoom in.
- Take the 9/9 PARTS OF DARK ROBE.
- Click on the window on the right.
- Use the 9/9 PARTS OF DARK ROBE on the loom.
- This will start a mini-game.
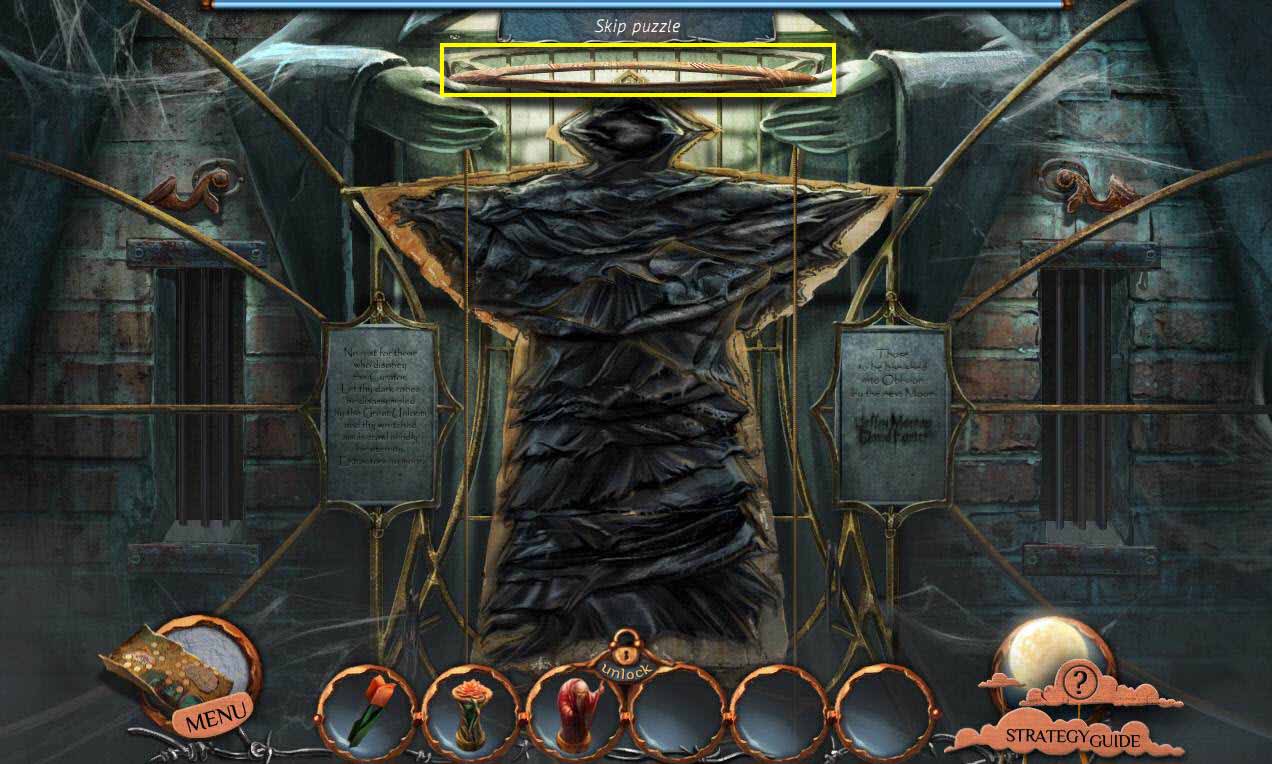
- The goal of the game is to place the pieces of the robe in the right spots.
- Right click to rotate a piece.
- Once you think you have two pieces together correctly, you can click on the top to weave the pieces together. This will lock them in if they are correct.
- Click on the top once the entire robe is put together.
- Take the DARK ROBE.
- Go back one screen, then go to the left.
- Go through the gate after the cut scene.
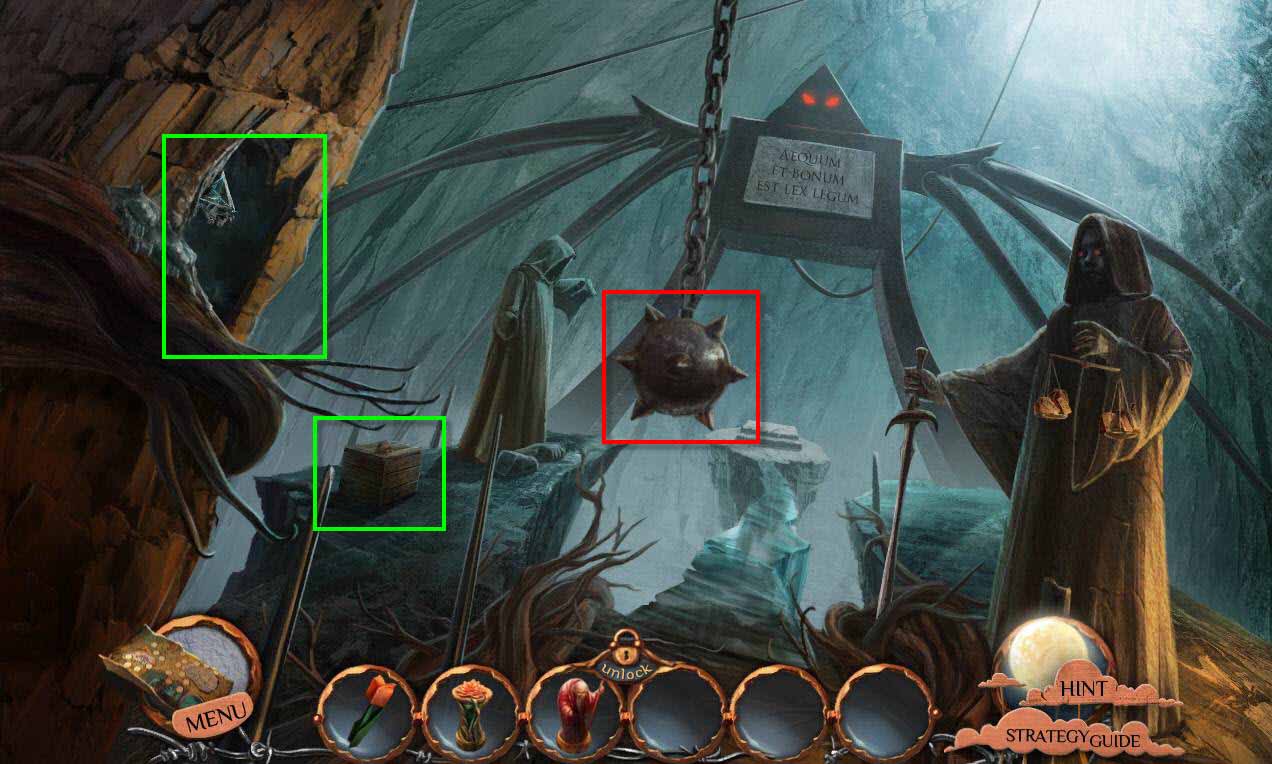
- Click on Jeff to talk to him.
- Click to zoom in on the hole on the left.
- Click to move the glass.
- Take the SACK LABELED DETERMINATION.
- Click to zoom in on the crate.
- Take the SACK LABELED FAMILY BONDS.
- Click to swing the wrecking ball a few times.
- This will break the right statue's head.
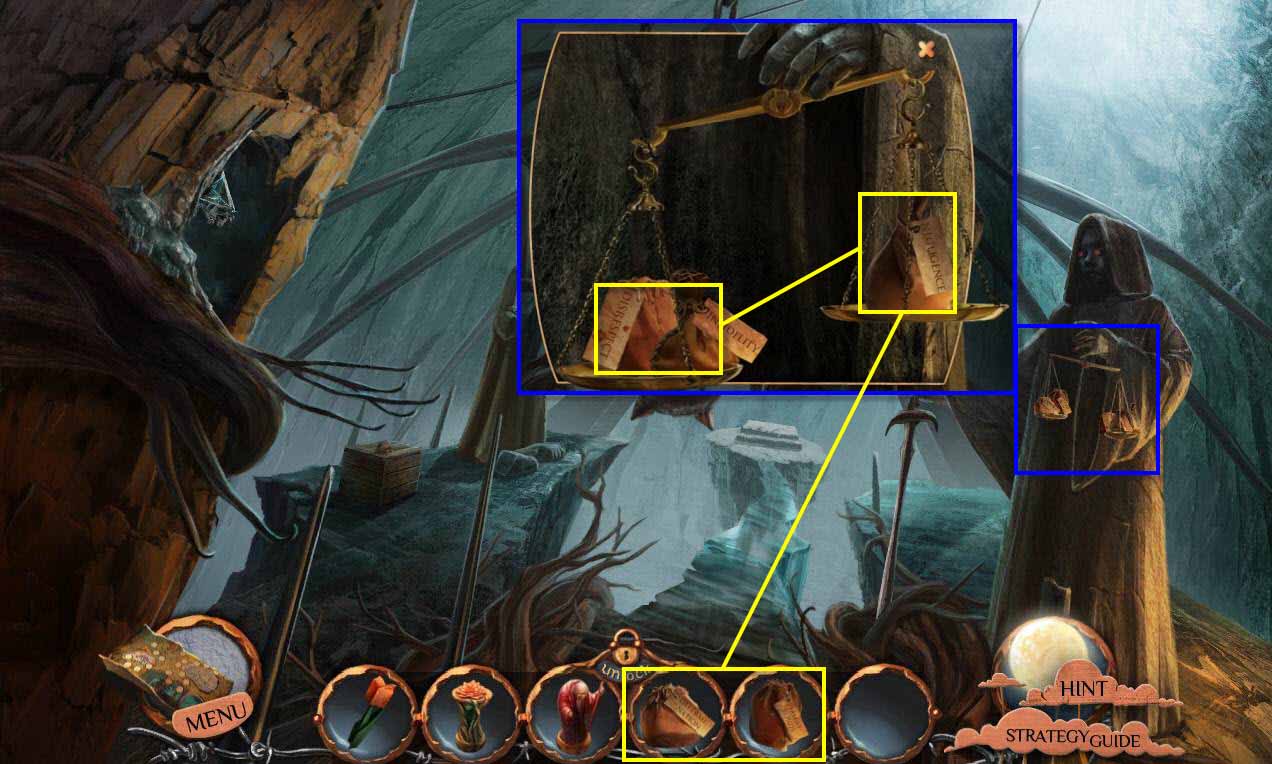
- Click to zoom in on the scales.
- Use the SACK LABELED DETERMINATION and the SACK LABELED FAMILY BONDS on the scale on the right.
- This will start a puzzle... just move the sack labeled negligence to the scale on the left.
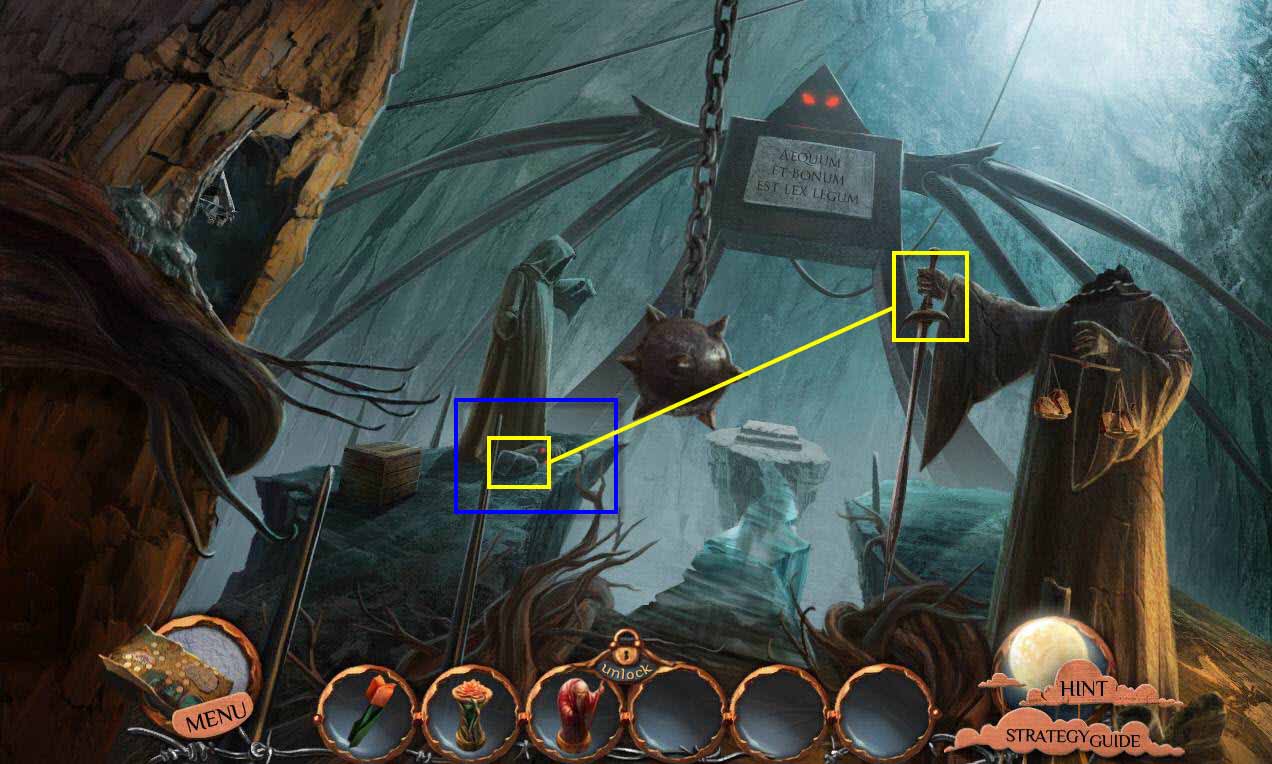
- Click to zoom in on the left statue.
- Take the ROCK.
- Use the ROCK on the sword.
- Take the PART OF THE SWORD.
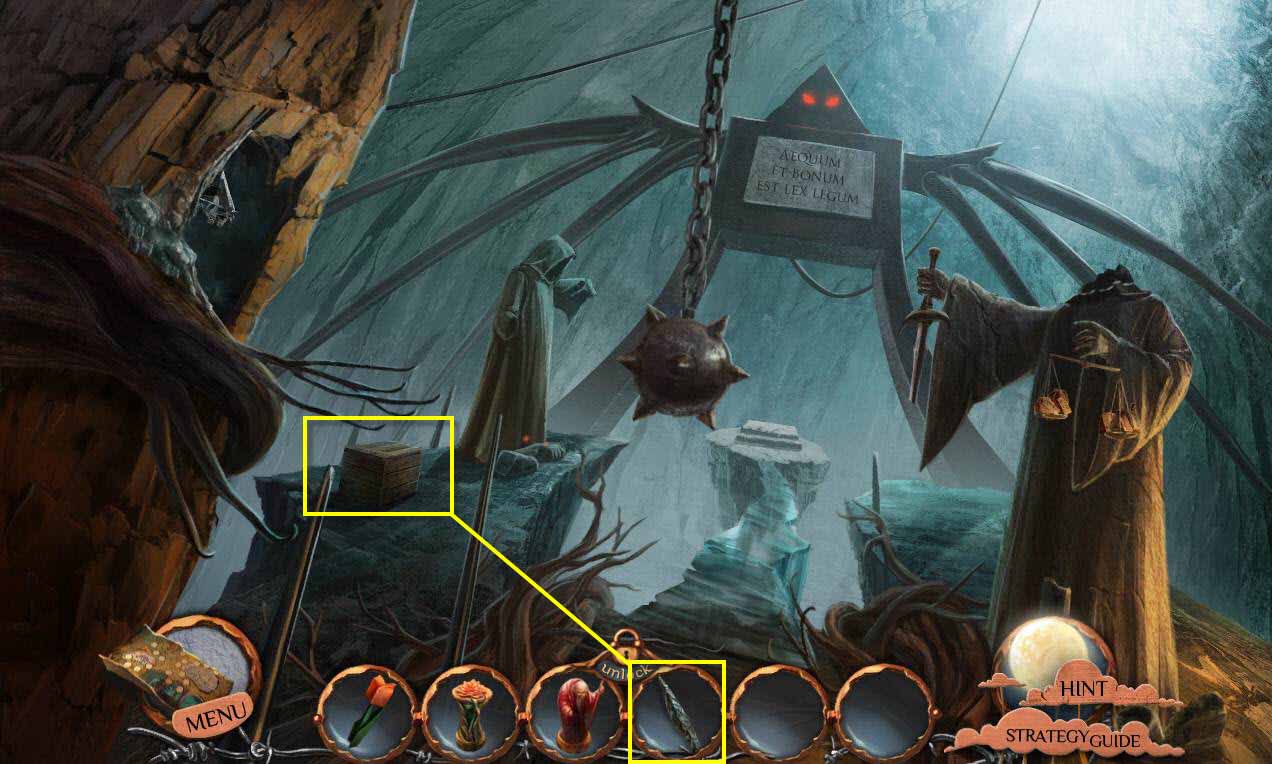
- Click to zoom in on the crate.
- Use the PART OF THE SWORD on the lid.
- Click to open the lid.
- Take the GLASS PYRAMID.
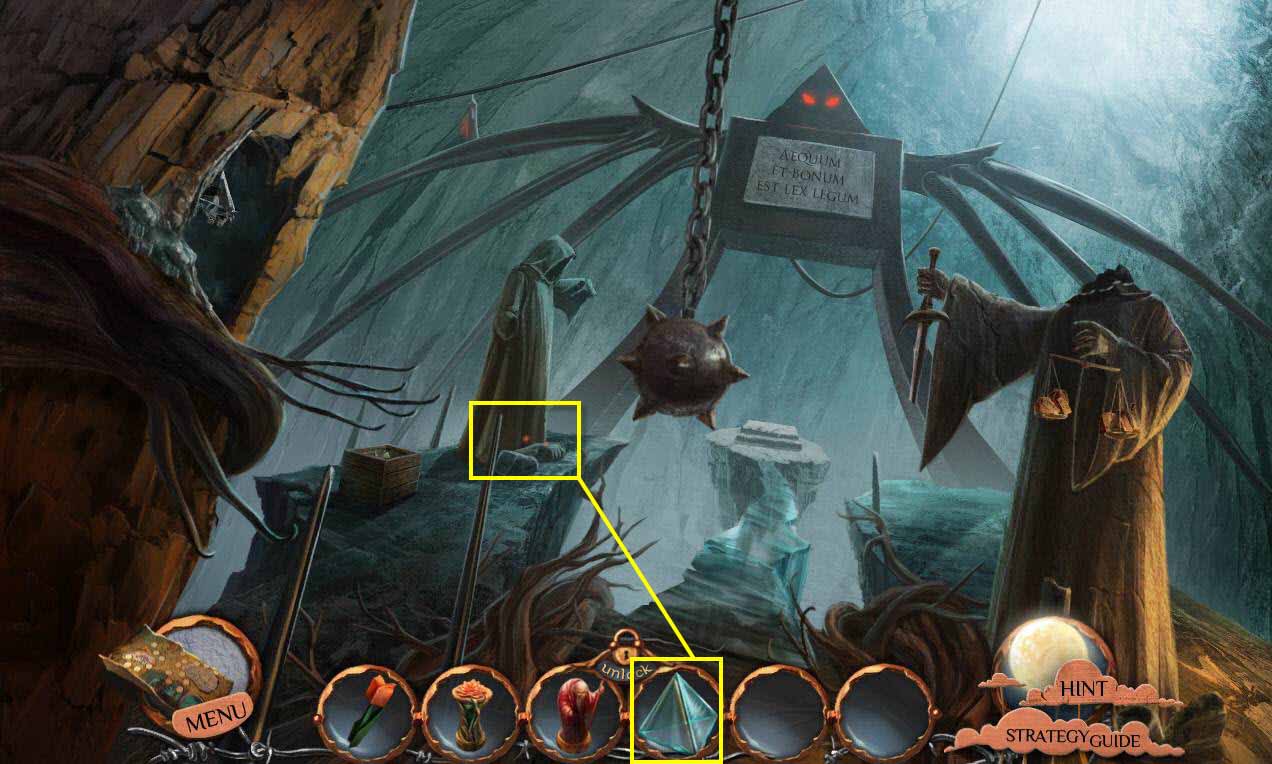
- Click on the statue on the left to zoom in.
- Use the GLASS PYRAMID on the glowworms.
- Make sure it's on the glass and not the rocks or the pyramid will break and you'll have to get another one from the crate.
- You will receive the GLASS PYRAMID WITH GLOWWORMS.
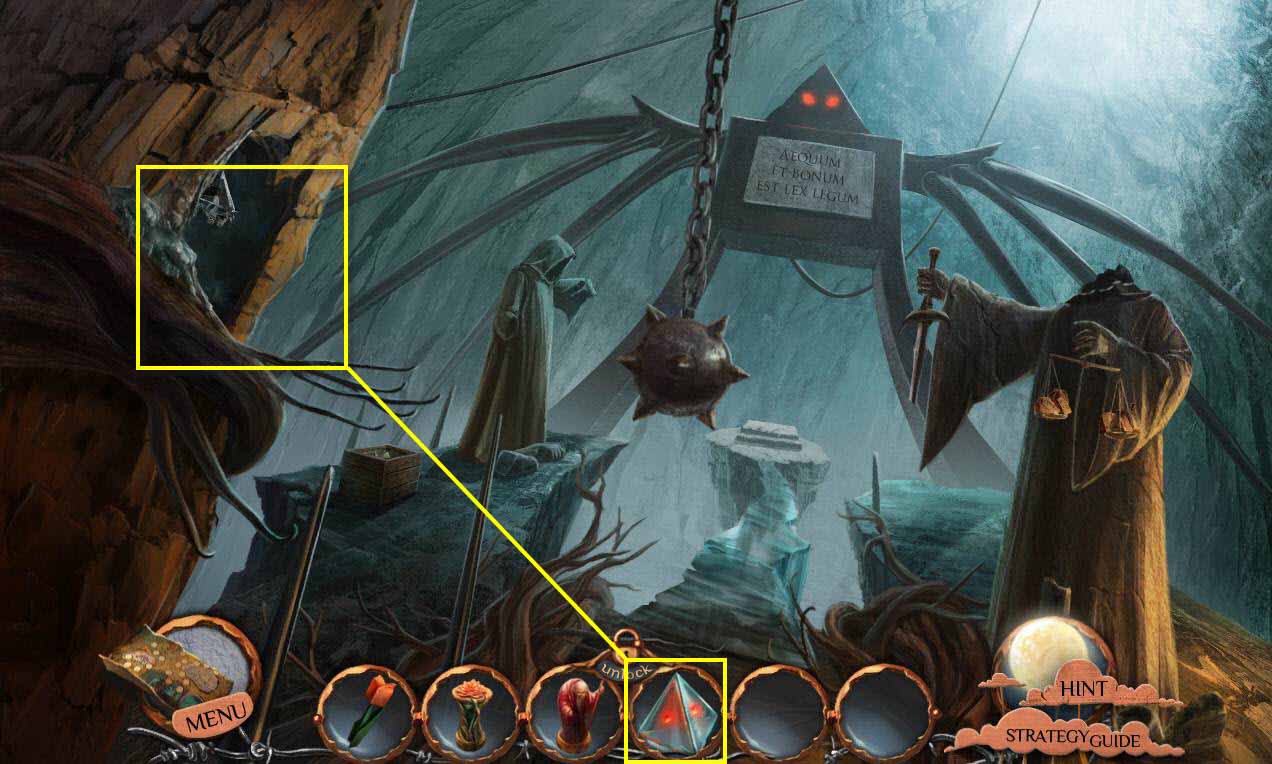
- Click to zoom in on the hole on the left.
- Use the GLASS PYRAMID WITH GLOWWORMS on the lantern holder.
- This will start a mini-game.
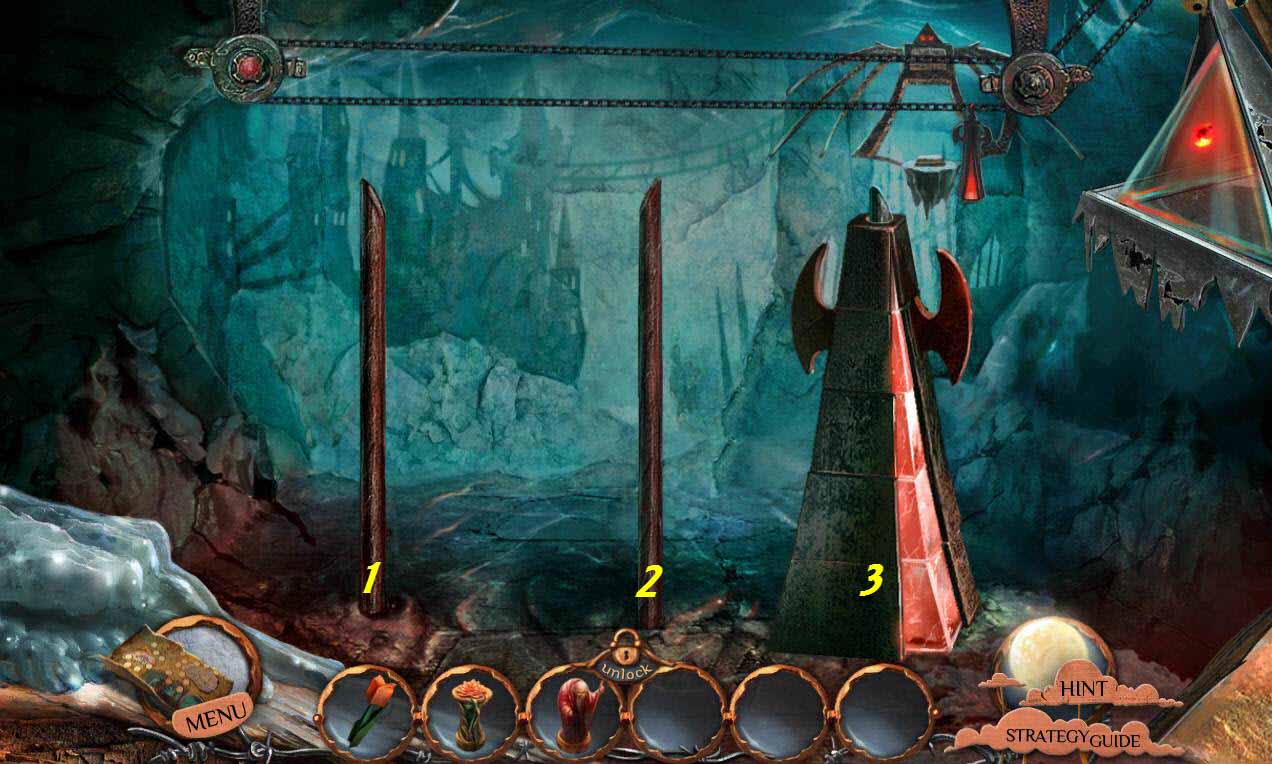
- The goal of the game is to move the stack of weights from the far left to the far right.
- Bigger weights cannot go on top of smaller weights.
-
Use the following solution:
- 1 to 3
- 1 o 2
- 3 to 2
- 1 to 3
- 2 to 1
- 2 to 3
- 1 to 3
- 1 to 2
- 3 to 2
- 3 to 1
- 2 to 1
- 3 to 2
- 1 to 3
- 1 to 2
- 3 to 2
- 1 to 3
- 2 to 1
- 2 to 3
- 1 to 3
- 2 to 1
- 3 to 2
- 3 to 1
- 2 to 1
- 2 to 3
- 1 to 3
- 1 to 2
- 3 to 2
- 1 to 3
- 2 to 1
- 2 to 3
- 1 to 3
- Go forward.
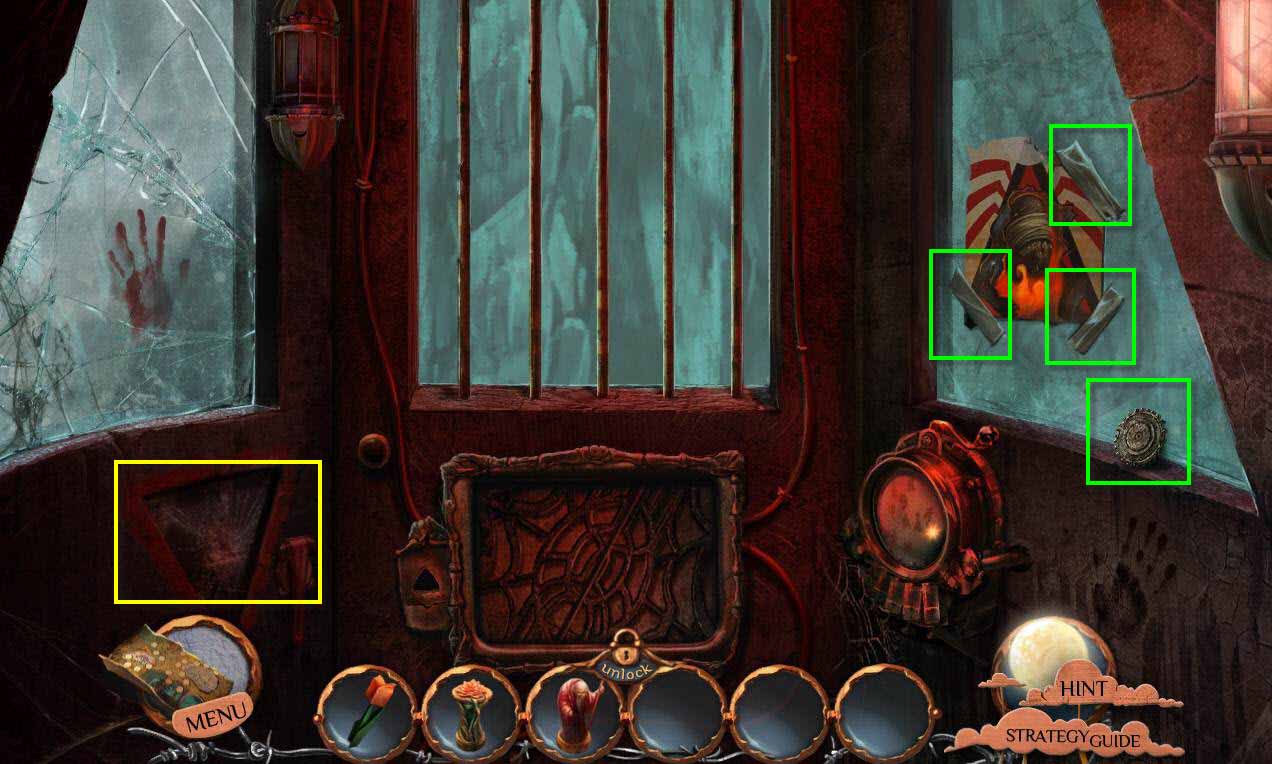
- Take the COGWHEEL and the 3 pieces of ADHESIVE TAPE.
- Click to zoom in on the switchboard.
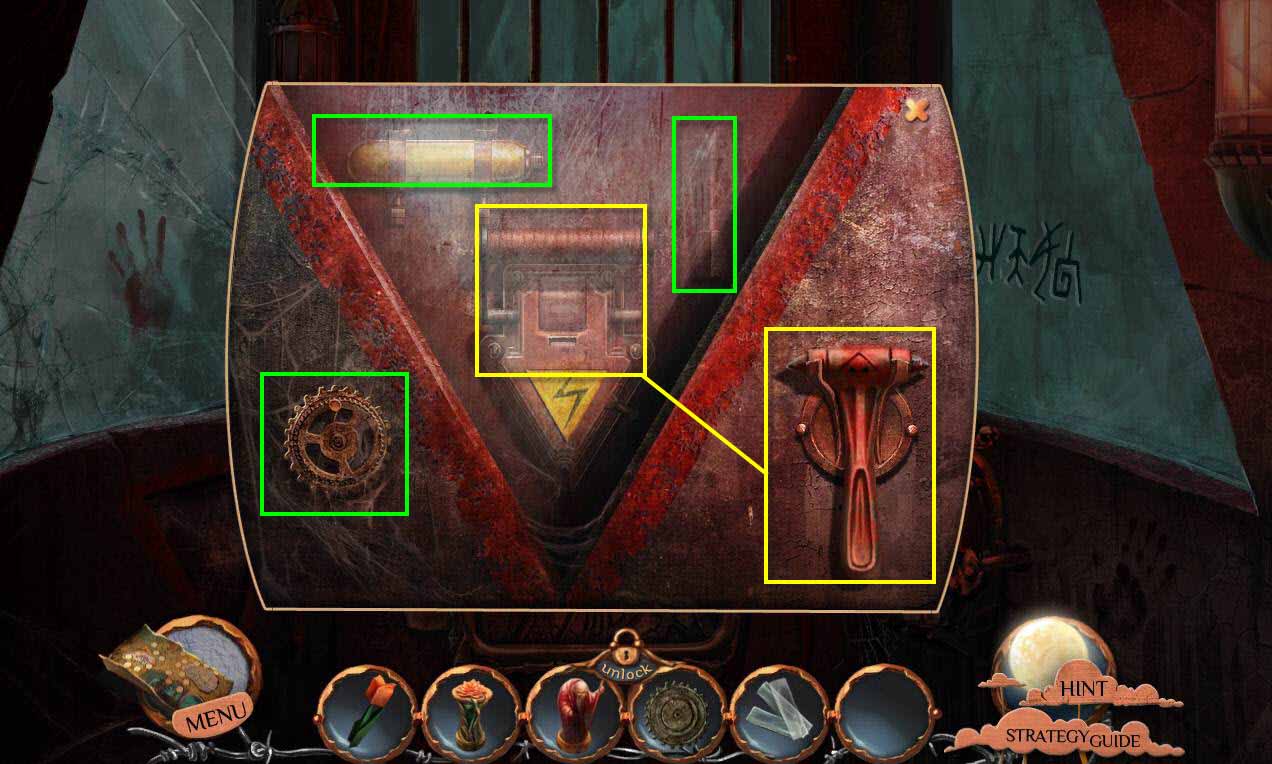
- Take the COGWHEEL.
- Use the hammer on the glass until it breaks.
- Take the ENERGY BULB and the KEY.
- Click to pull the lever.
- Zoom out.
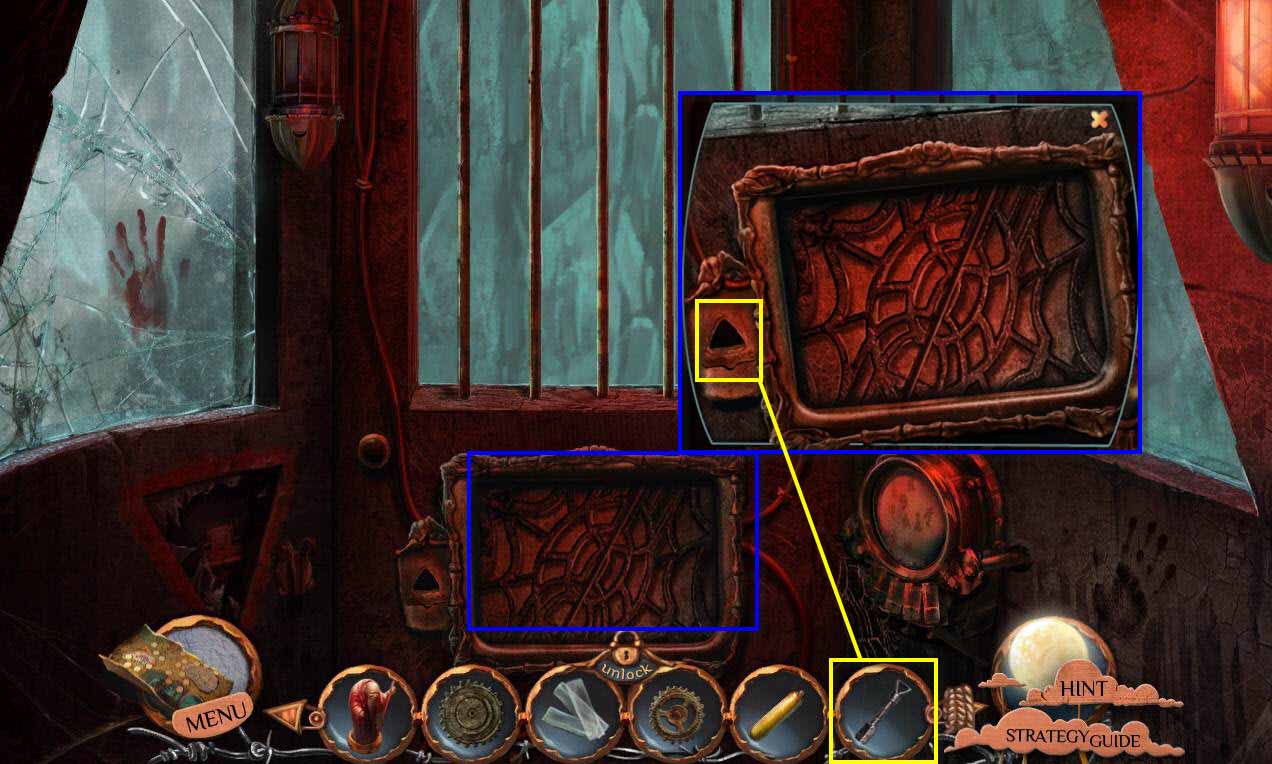
- Click to zoom in on the engine.
- Use the KEY on the lock.
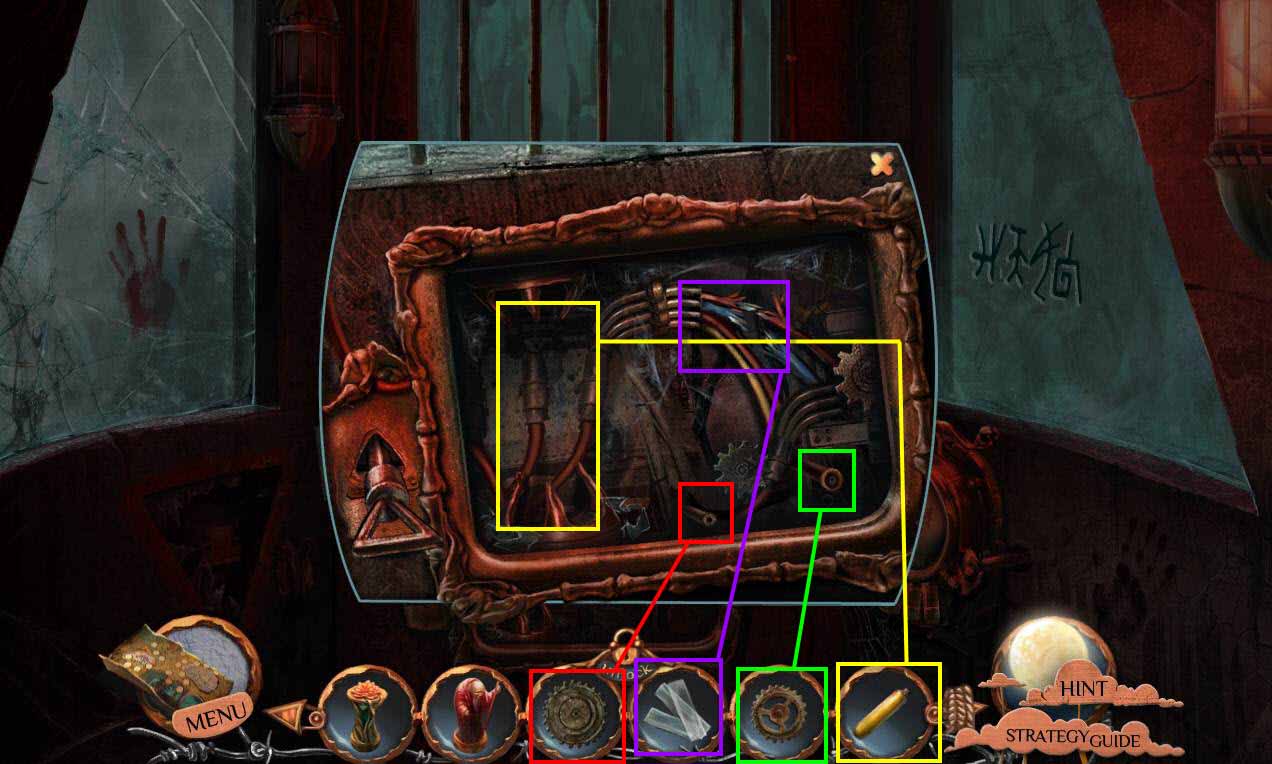
- Click to move the cogwheels and the broken bulb.
- Use the 2 COGWHEELS and the ENERGY BULB to replace the broken pieces.
- Use the ADHESIVE TAPE on the wires.
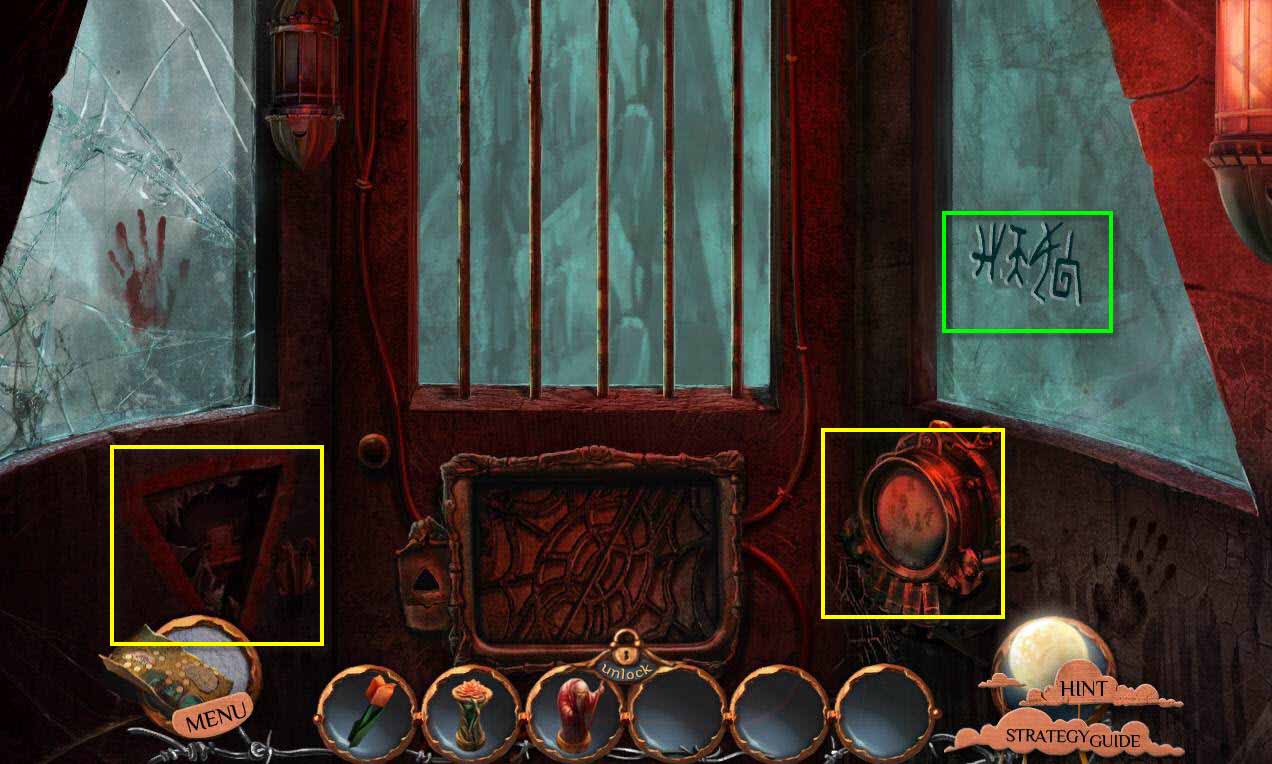
- Click to zoom in on the switchboard.
- Click on the lever.
- Take notice of the symbols on the window.
- Click to zoom in on the telegraph.
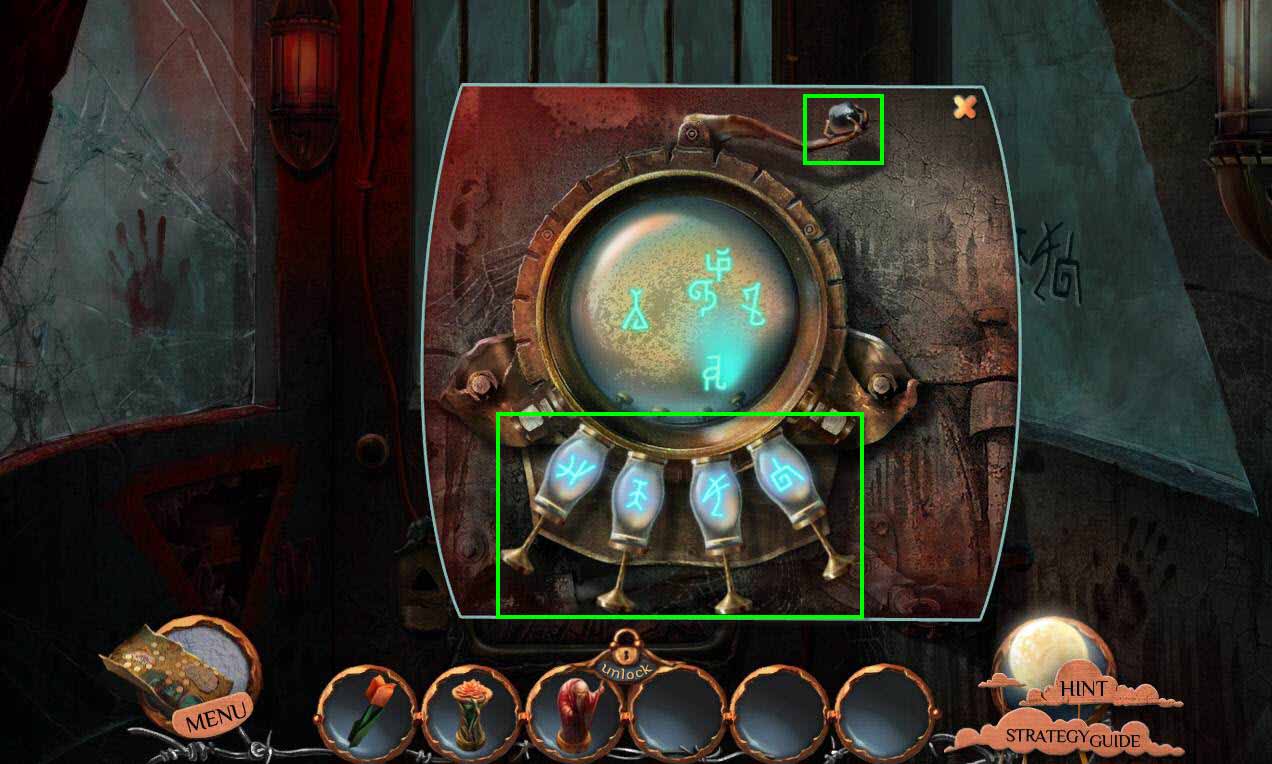
- Click on a symbol that matches the window.
- Start from left to right.
- Once you select a symbol, click the tube at the bottom.
- Repeat this with all the symbols.
- When you are done, click the lever at the top of the telegraph.
- Go forward.
Comments will load when you reach this part of the walkthrough.