
Chapter Five: Madame Fate
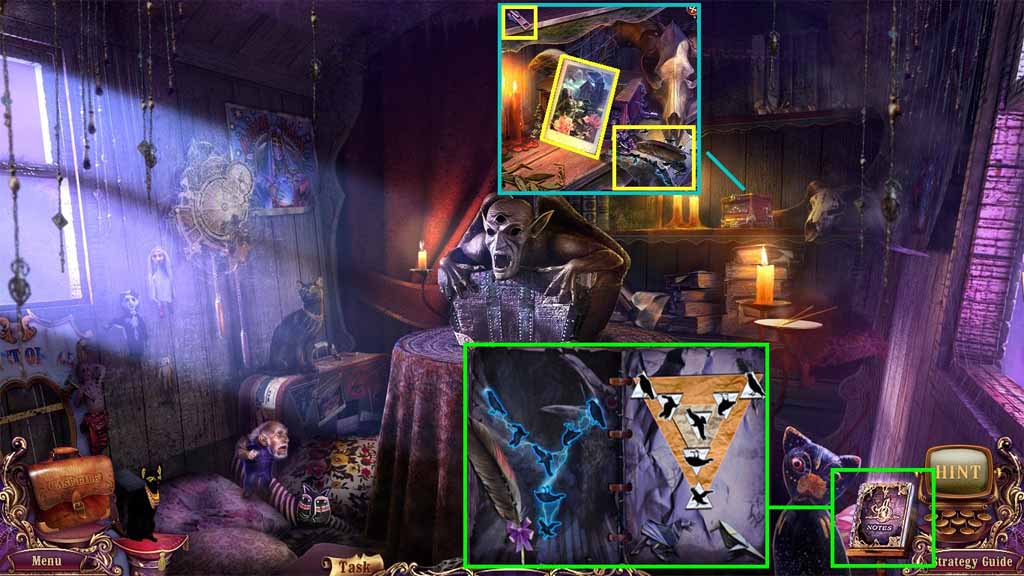
- Click the postcard read it.
- Collect the zipper slider.
- Collect the black diary page.
- Click the black diary a puzzle will trigger.
- Solve the puzzle by positioning the birds correctly.
- Move to Fabiano’s Stage.
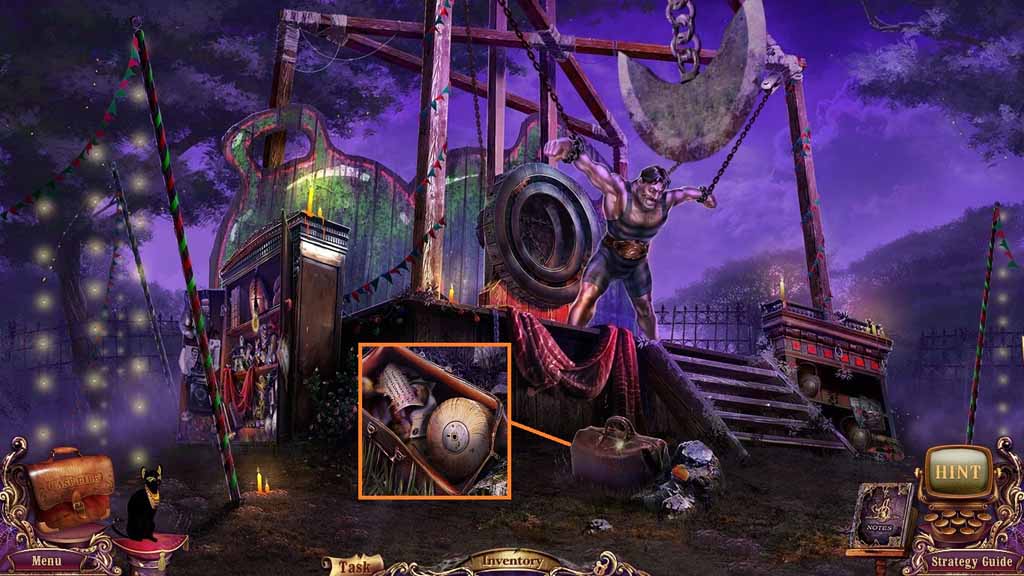
- Attach the zipper slider onto the bag.
- Click the bag and collect the mutoscope reel and the piece of paper.
- Move to the Mutoscope.
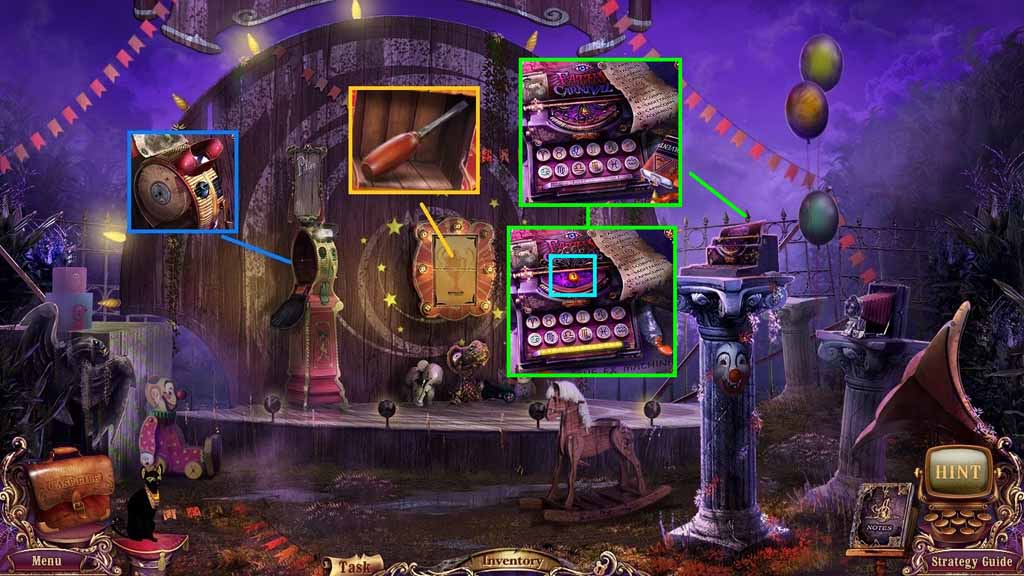
- Attach the mutoscope reel onto the device and collect the screwdriver.
- Attach the three buttons onto the typewriter.
- Pour the solvent onto the paint.
- Place the piece of paper onto the other one to trigger a puzzle.
- Solve the puzzle by spelling out the phrase “Deus Ex Machina.”
- Collect the gargoyles eye.
- Move to Marlena's tank.
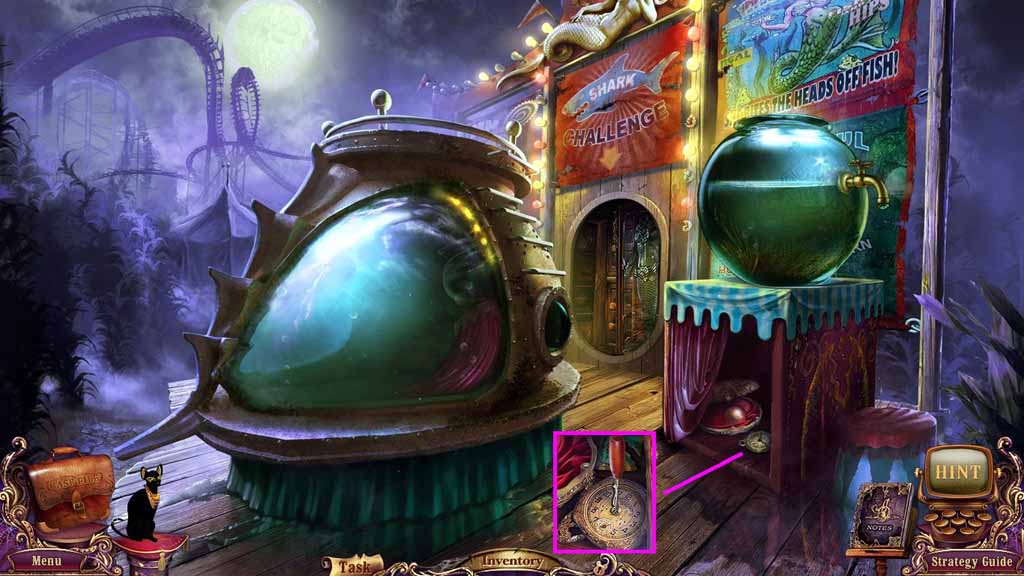
- Select the screwdriver to remove the screw.
- Collect the clock hand.
- Move to the Slot Machines.
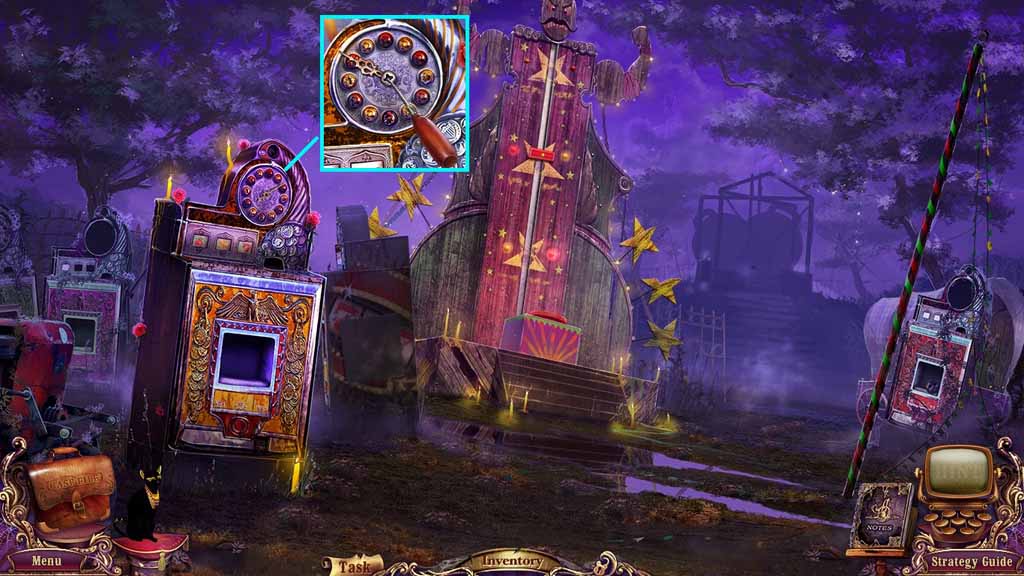
- Select the screwdriver to remove the screw.
- Collect the clock hand.
- Move to the Outside Carnival.
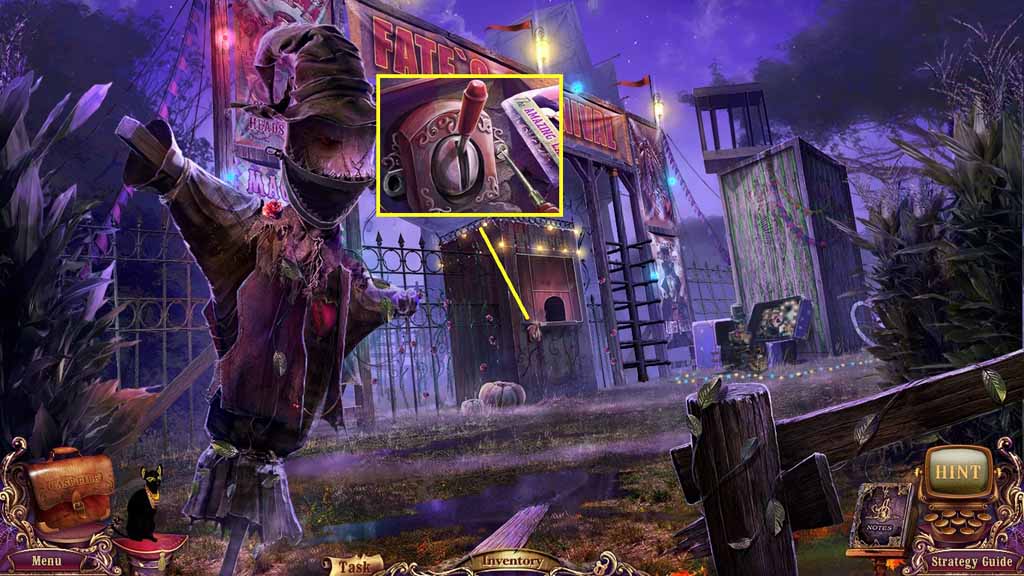
- Select the screwdriver to remove the screw.
- Collect the toggle switch.
- Move to the Outside Trailer.
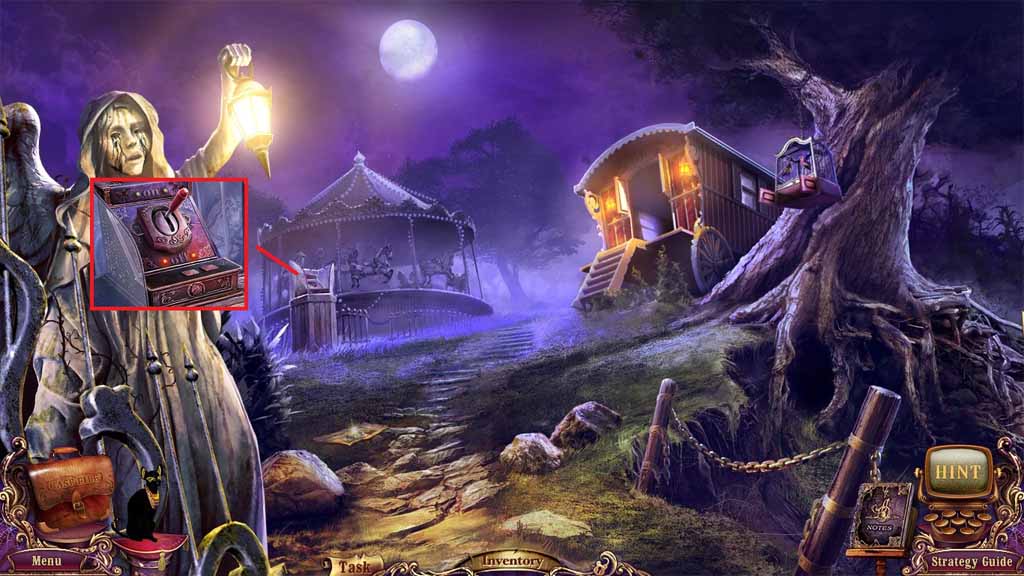
- Attach the toggle switch onto the register.
- Click the switch to trigger a hidden objects area.
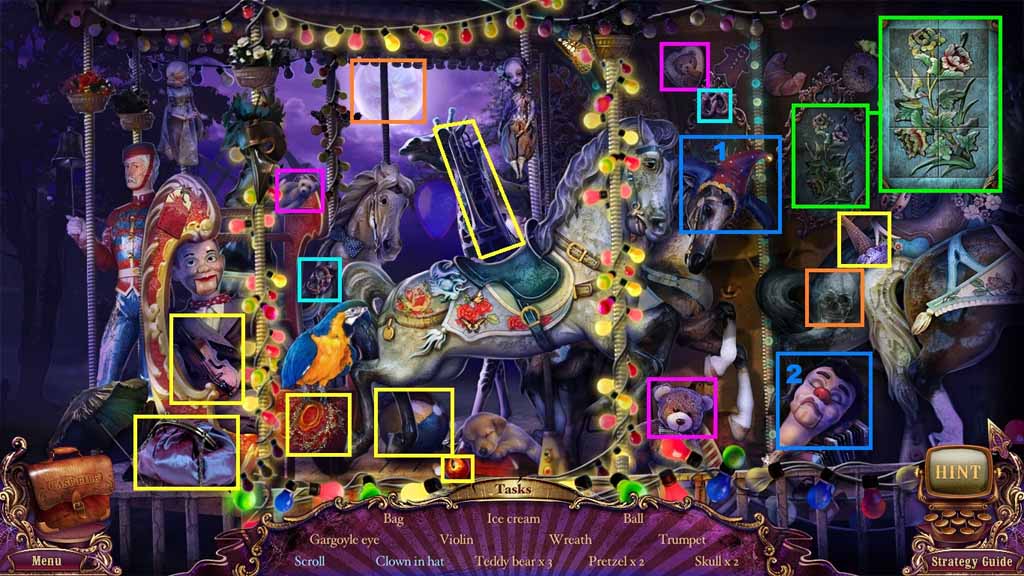
- Find the listed items.
- Select the hat and place it onto the clown; collect the clown in hat.
- Rotate the pictures and collect the scroll.
- Collect the second gargoyles eye.
- Move to Madame Fates Trailer.
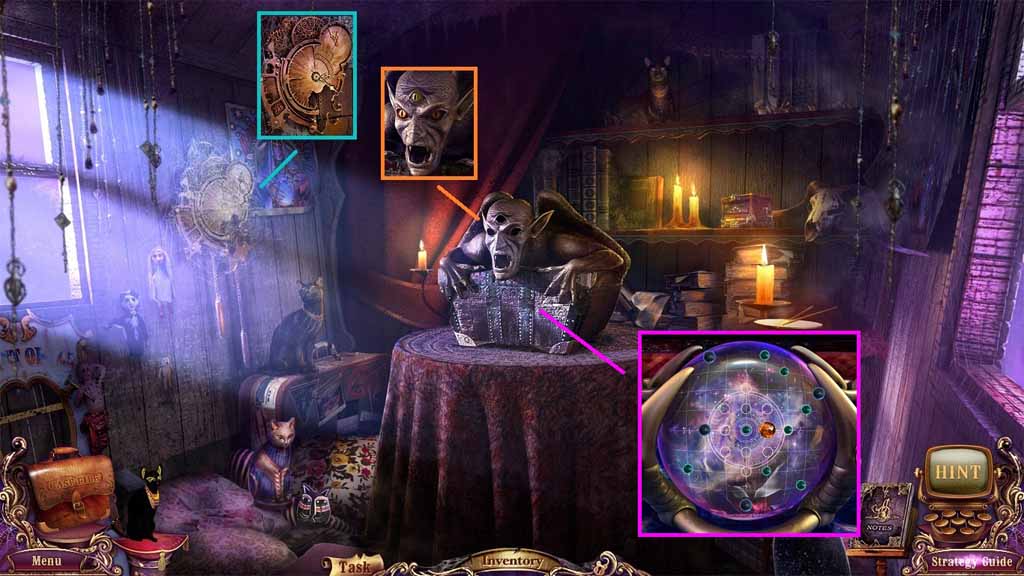
- Clear the cobwebs.
- Place the clock hands into the clock and click them.
- Collect the gargoyles eye.
- Place the three gargoyles eyes into the slots.
- Examine the chest to trigger a puzzle.
- Solve the puzzle by moving the balls to correspond to the central pattern.
- You automatically move to the outside Carnival.
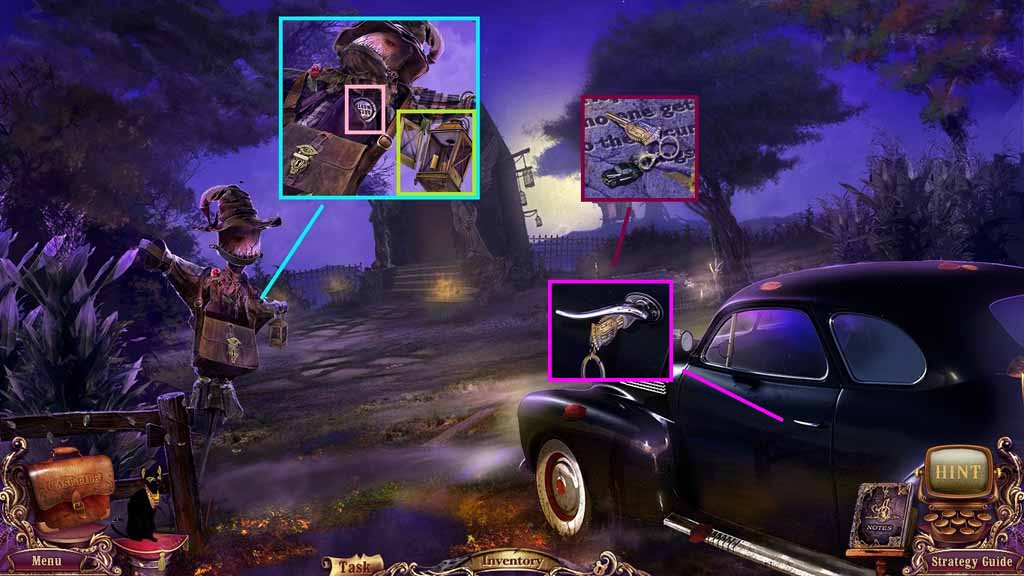
- Collect the keys and the ring.
- Click the lantern.
- Place the keys into the lock; and click it once.
- Move into the Detectives Car.
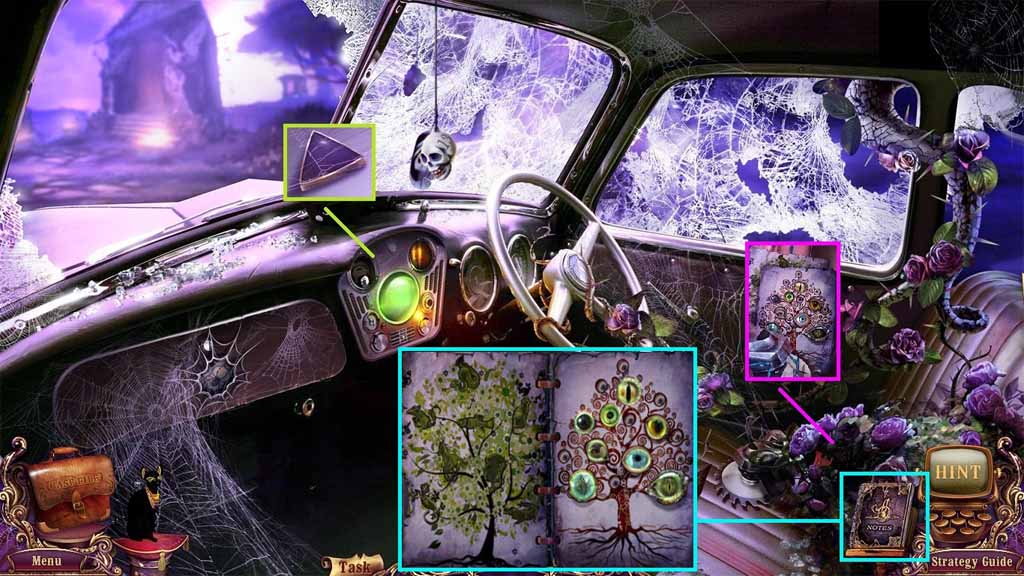
- Collect the black diary page and click the diary to trigger a puzzle.
- Solve the puzzle by placing the eyes onto the tree based on animals they belong to.
- Move down one time and move ahead to the Tomb.
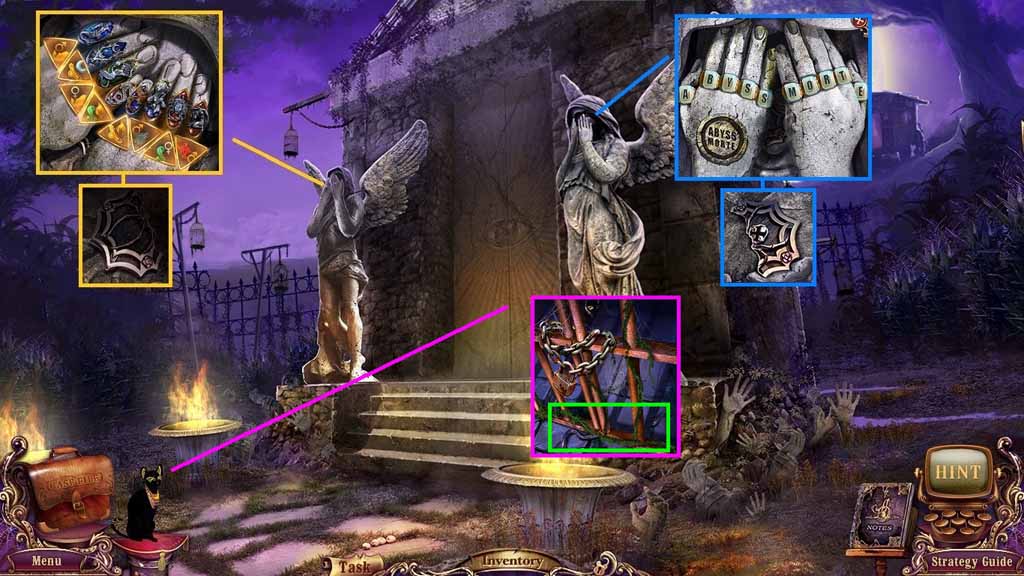
- Insert the angel’s amulet into the slot.
- Adjust the rings correctly.
- Select the seal half.
- Place the token into the slot.
- Adjust the rings correctly to form the words “Abyss Morte.”
- Collect the seal half.
- Place Isis into the cell and collect the crowbar.
- Move to the Detectives Car.
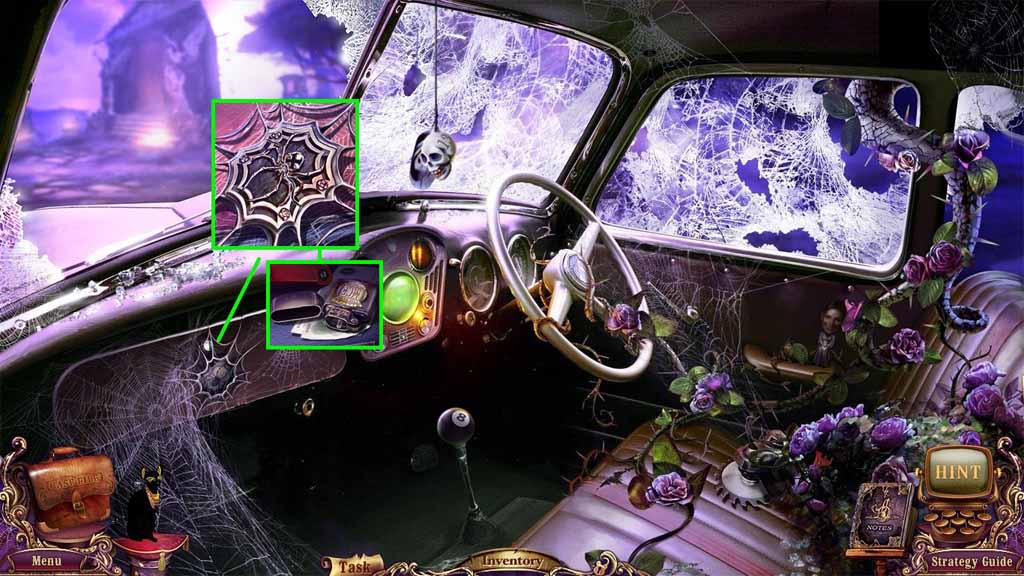
- Insert the seal halves into the slot.
- Clear the debris and click the compartment.
- Collect the lighter.
- Move down once.
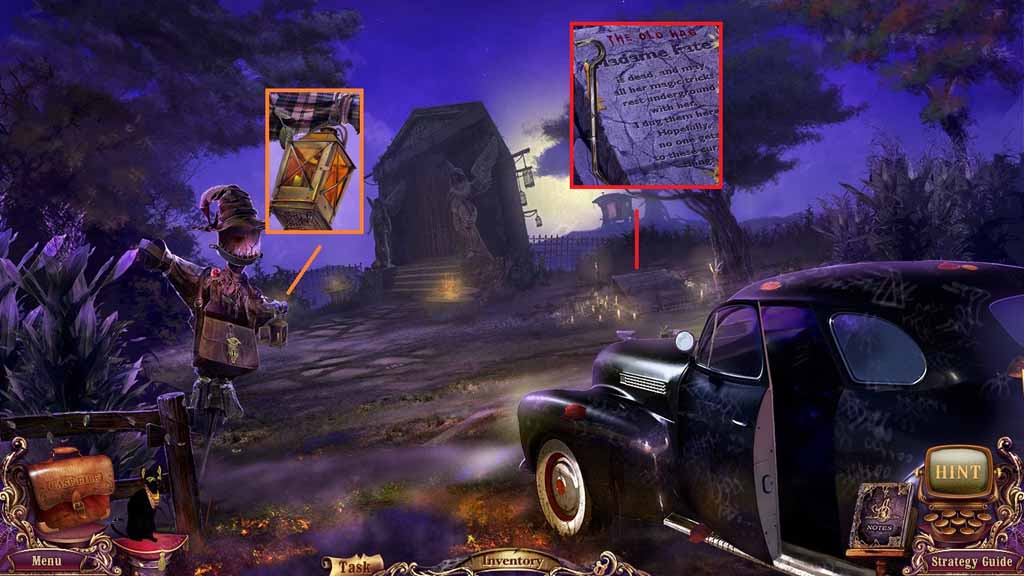
- Select the lighter to ignite the candles and collect the lit lantern.
- Clear the leaves and use the crowbar to unseal the crypt.
- Place the lit lantern into the crypt to trigger a hidden objects area.
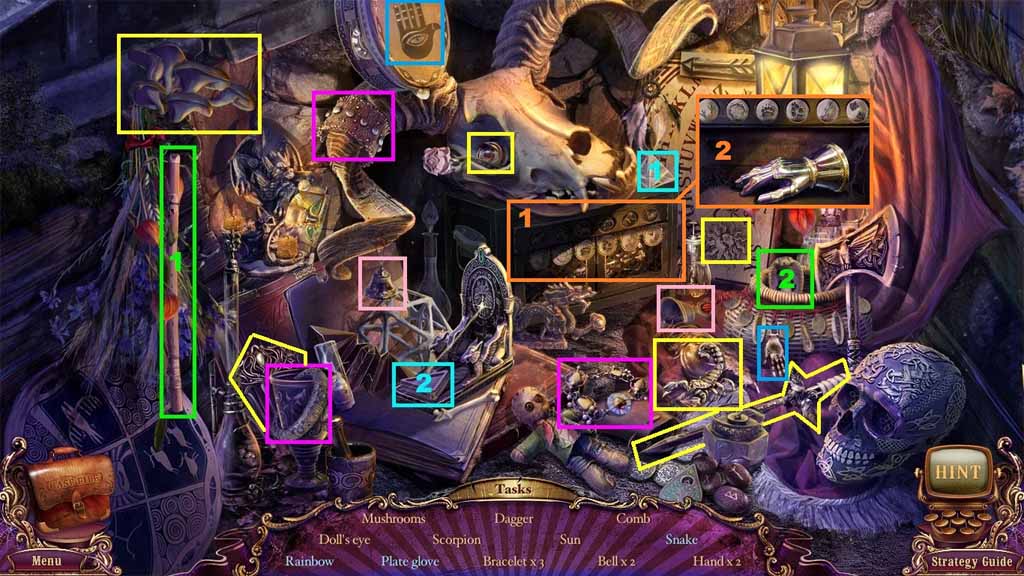
- Find the listed items.
- Select the pipe to charm and collect the snake.
- Select the prism and place it onto the stand; collect the rainbow.
- Move the paws to the matching animals and collect the plated glove.
- Collect the gauntlet.
- Move to the Detectives Car.
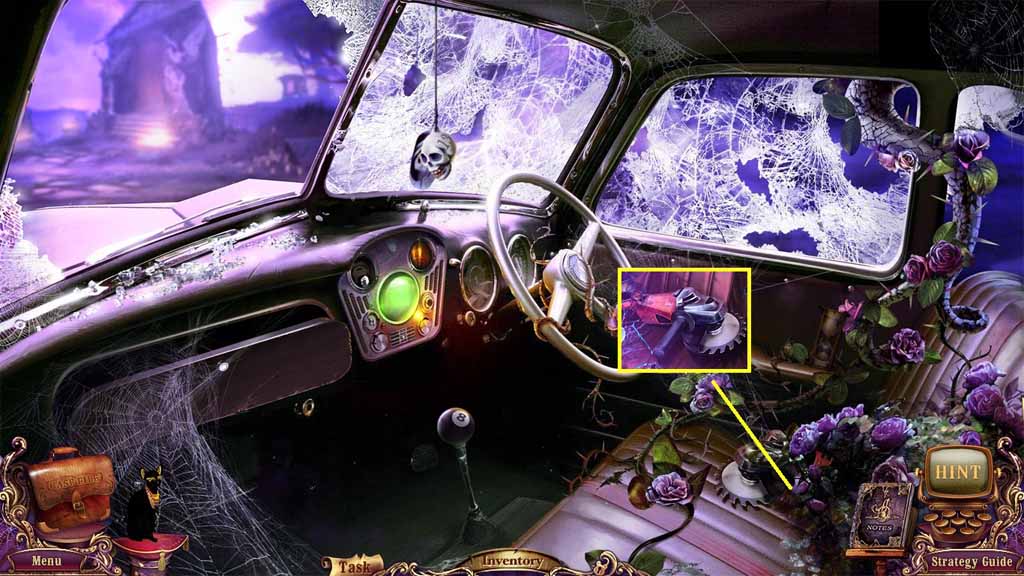
- Remove the thorns using the gauntlet.
- Collect the disc saw.
- Move to the Tomb.
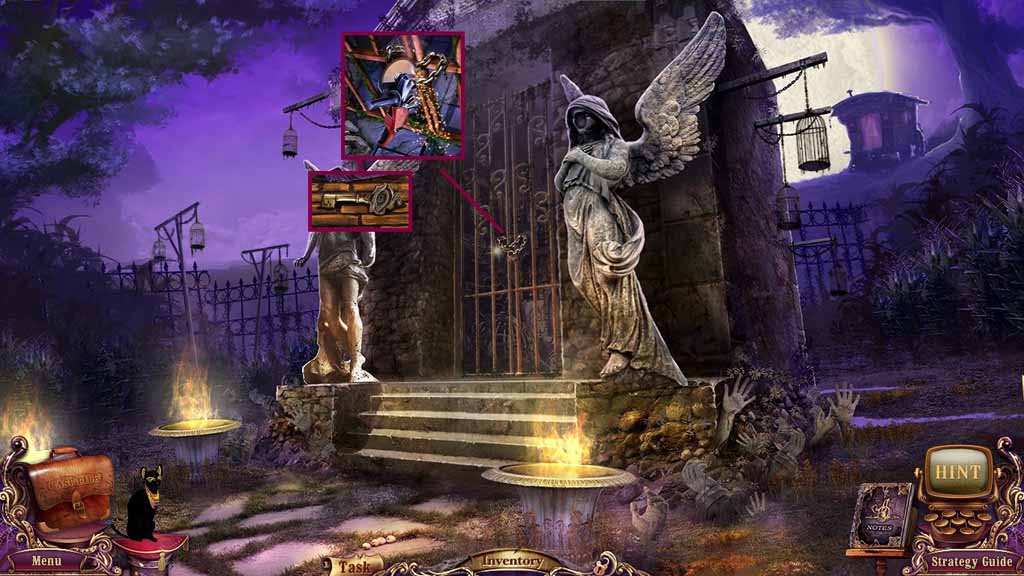
- Select the saw to cut the chain.
- Examine the tomb and collect the rusty key.
- Move down 2 times.
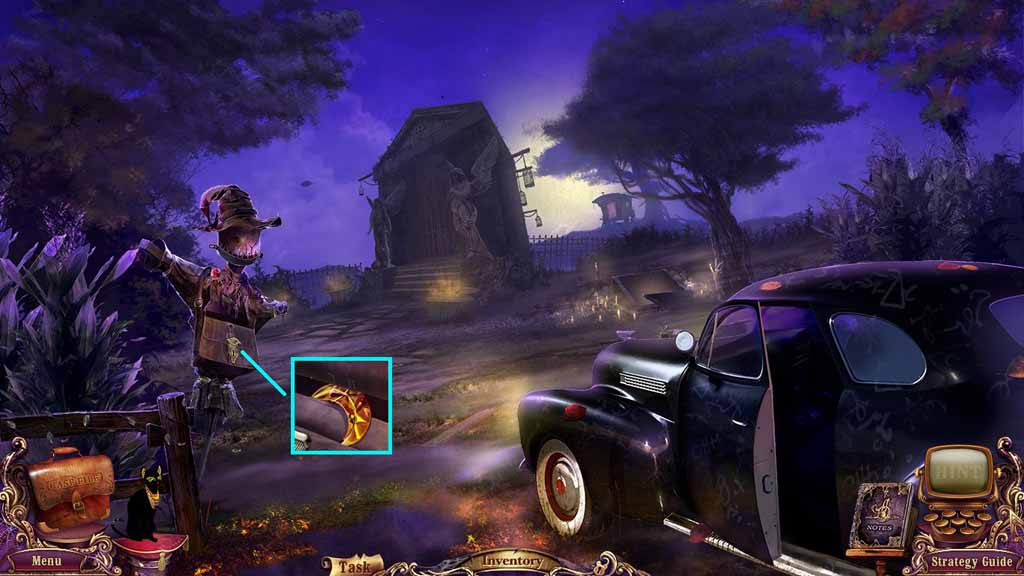
- Place the rusty key into the lock click it once.
- Collect the moon crystal.
- Move to the Tomb.
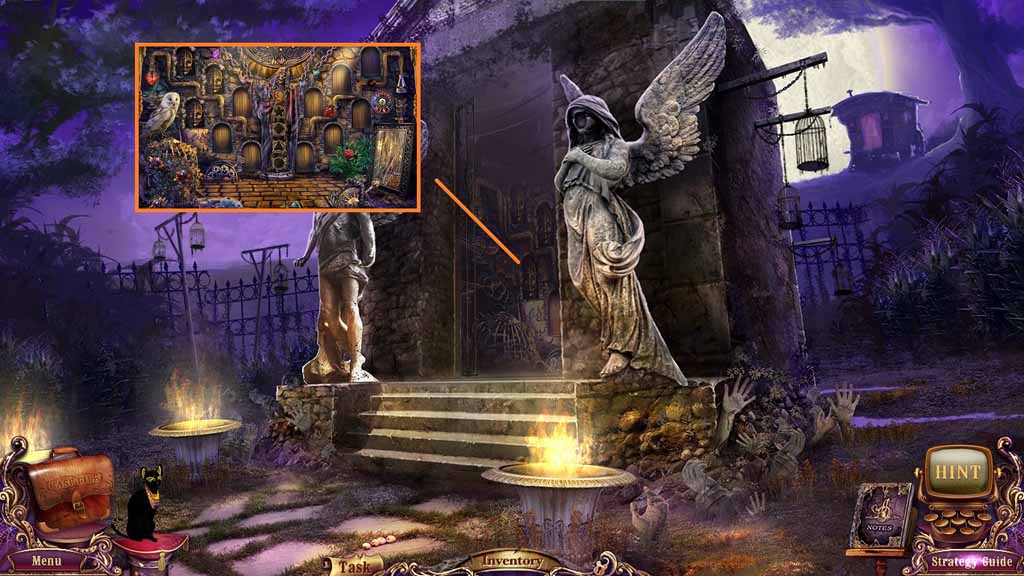
- Place the moon crystal into the slot to trigger a puzzle.
- Solve the puzzle by setting the scene into motion by getting the puzzle pieces to interact.
- Collect the theatre key.
- Move automatically to the Outside Carnival.
Comments will load when you reach this part of the walkthrough.