

Chapter Thirteen: The Bridge
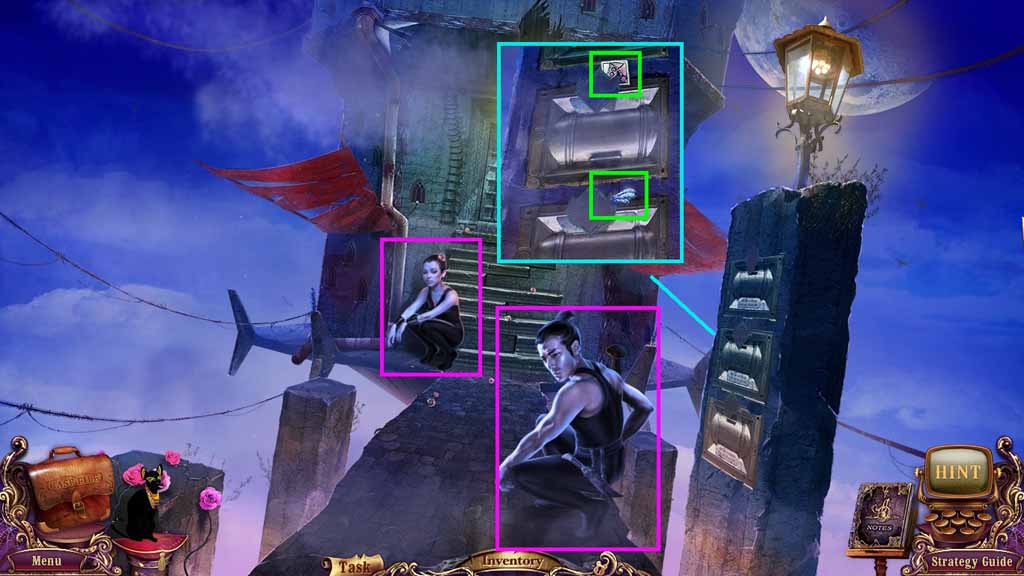
- Speak to Mao and Amber.
- Collect the rivet 2 and the blue shattered glass 2.
- Move down once.
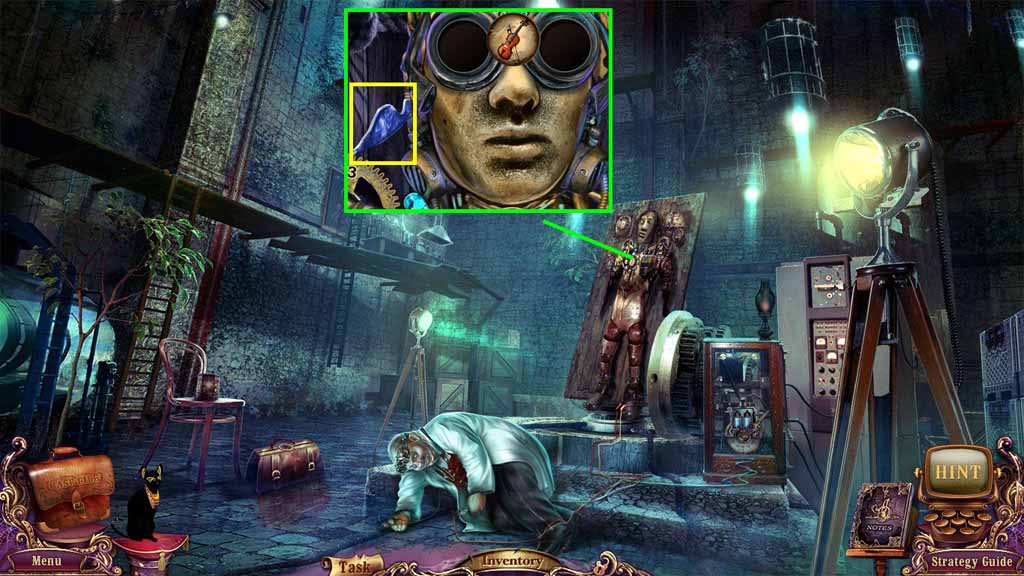
- Collect the blue shattered glass 3.
- Move down once.
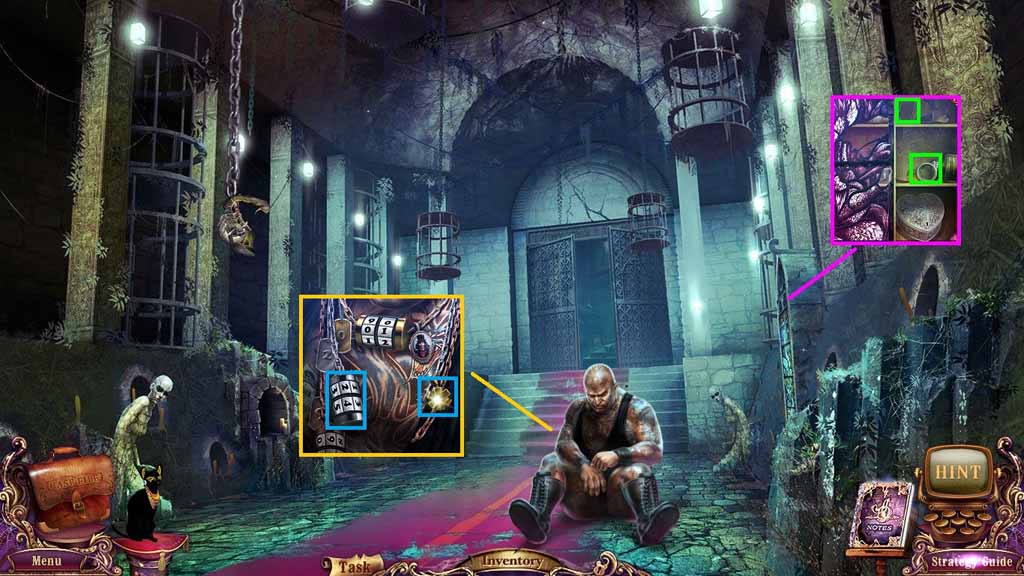
- Insert the blue shattered glass pieces into the window.
- Collect the lens and the tattooed man’s badge 2.
- Place the tattooed man’s badge 2 onto his necklace.
- Use code 24 in the lock and collect the medicine amulet.
- Move to the Laboratory.
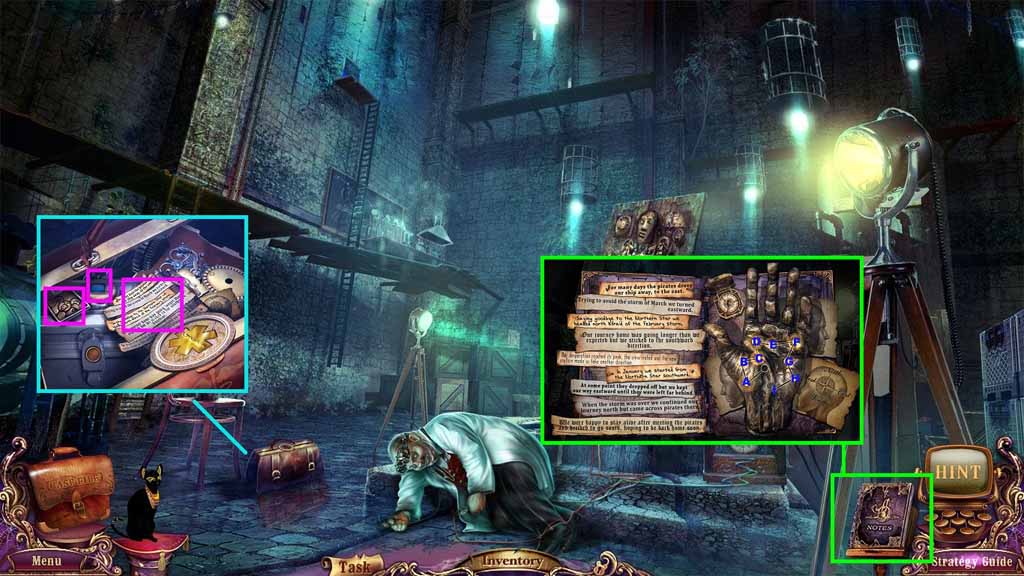
- Insert the medicine amulet into the slot.
- Click the bag and collect the activator 1, the rivet 3 and the black diary page.
- Click the black diary to trigger a puzzle.
- Solve the puzzle by clicking the areas in ABC order.
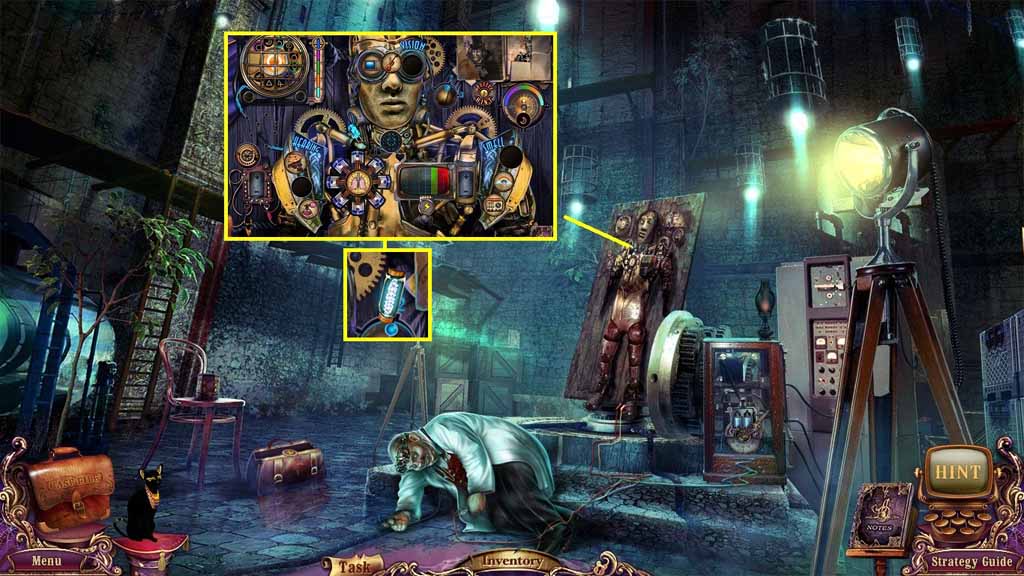
- Insert the activators to trigger a puzzle.
- Solve the puzzle by setting the scene into motion by getting the puzzle pieces to interact.
- Collect the fuse for controls.
- Move to the Ferris Wheel.
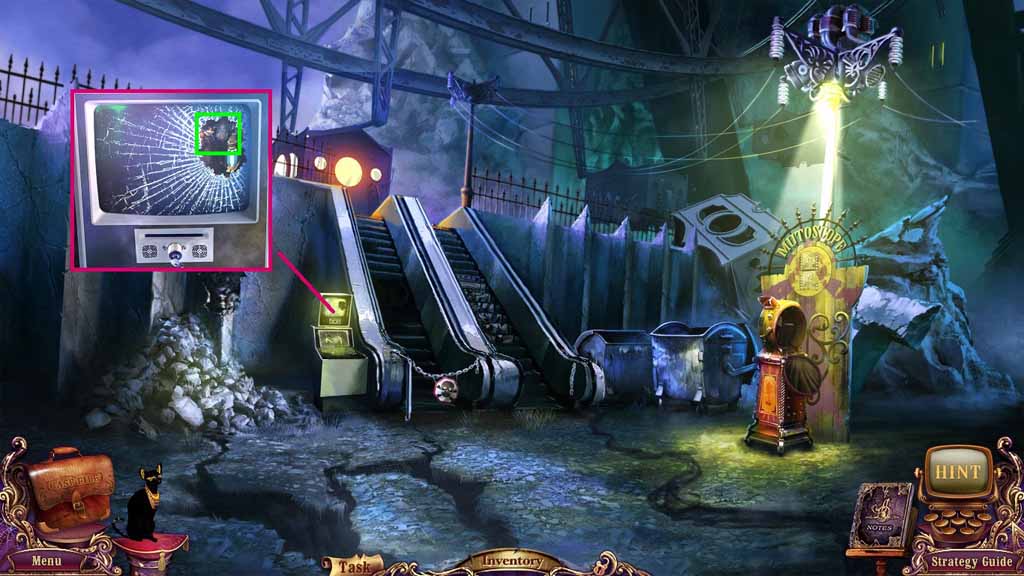
- Place the fuse for controls and the slot.
- Collect the magnet key.
- Move to the Laboratory.
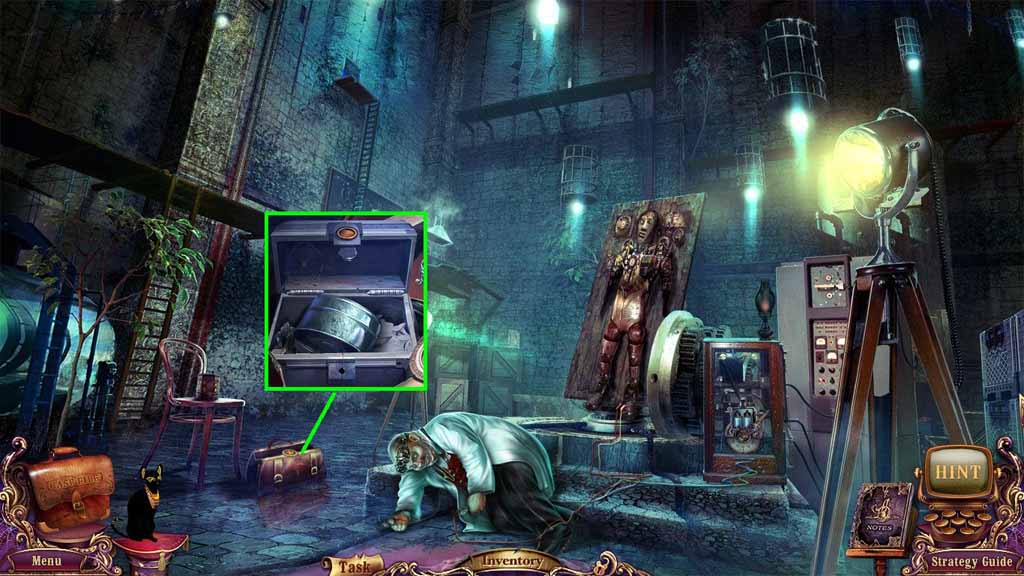
- Place the magnet key into the lock.
- Collect the filter.
- Move to the Ferris Wheel.
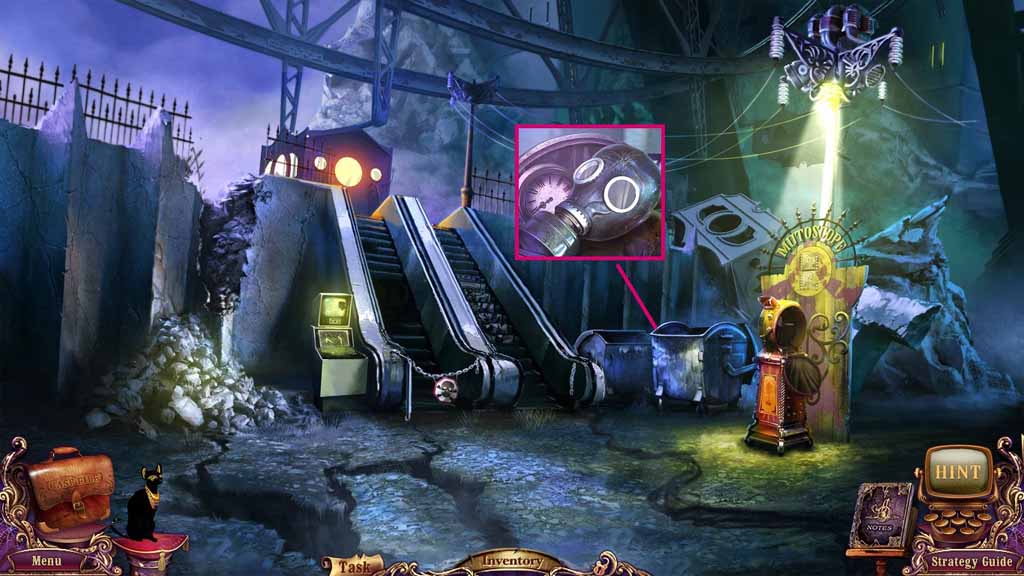
- Place the filter the glue and the lens onto the mask.
- Collect the gas mask.
- Move to the Laboratory.
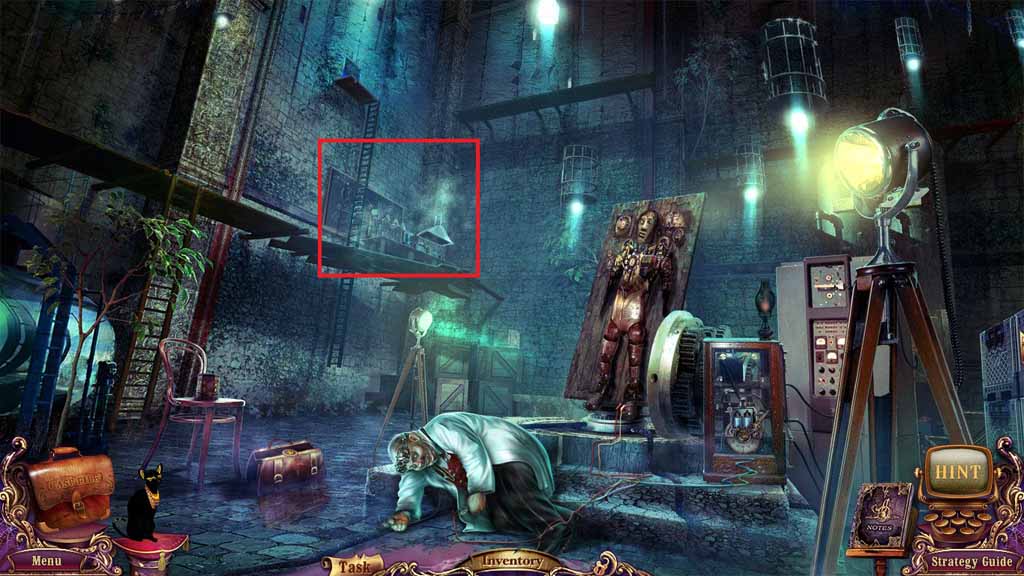
- Place the gas mask on the fumes trigger a hidden objects area.
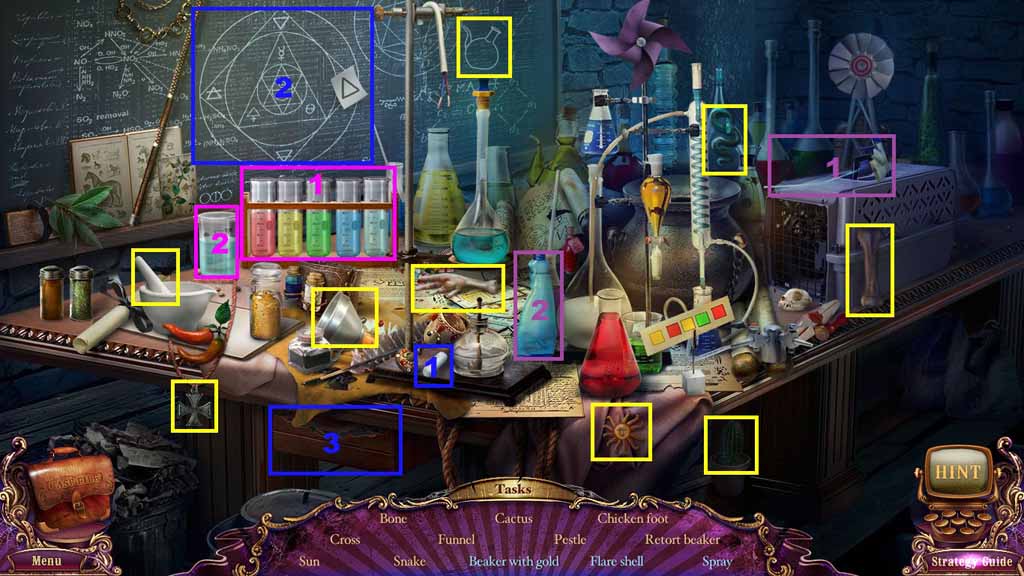
- Find the listed items.
- Insert the colored tubes into the beaker as follows: yellow-red-yellow-green-red and collect the beaker with gold.
- Select the chalk and use it on the chalkboard; collect the flare shell.
- Select the spray mechanism and insert it into the bottle; collect the spray.
- Collect the signal cartridge.
- Move to the Detective’s Car.
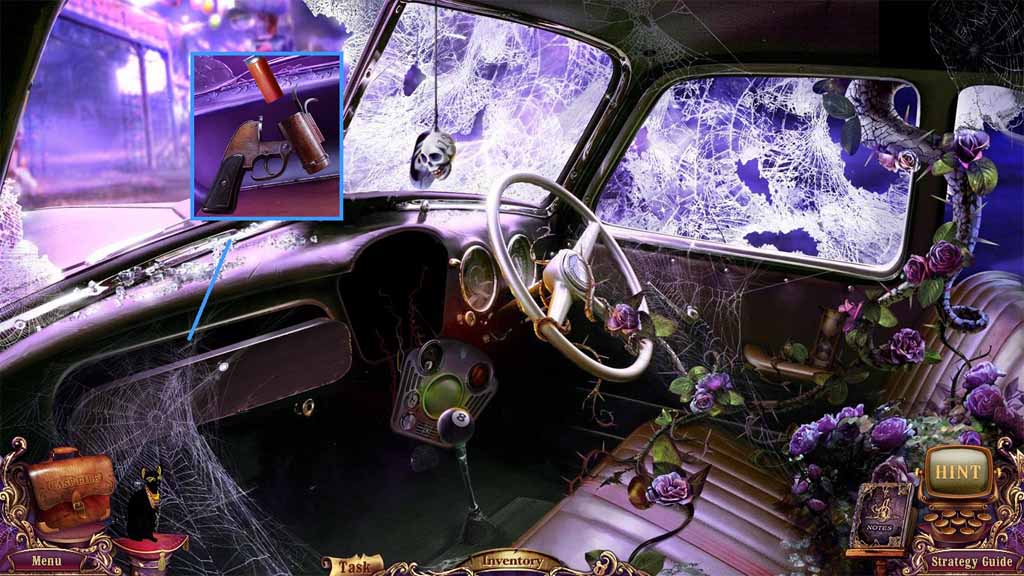
- Attach the signal cartridge onto the gun and collect the signal flare.
- Move to the Bridge.
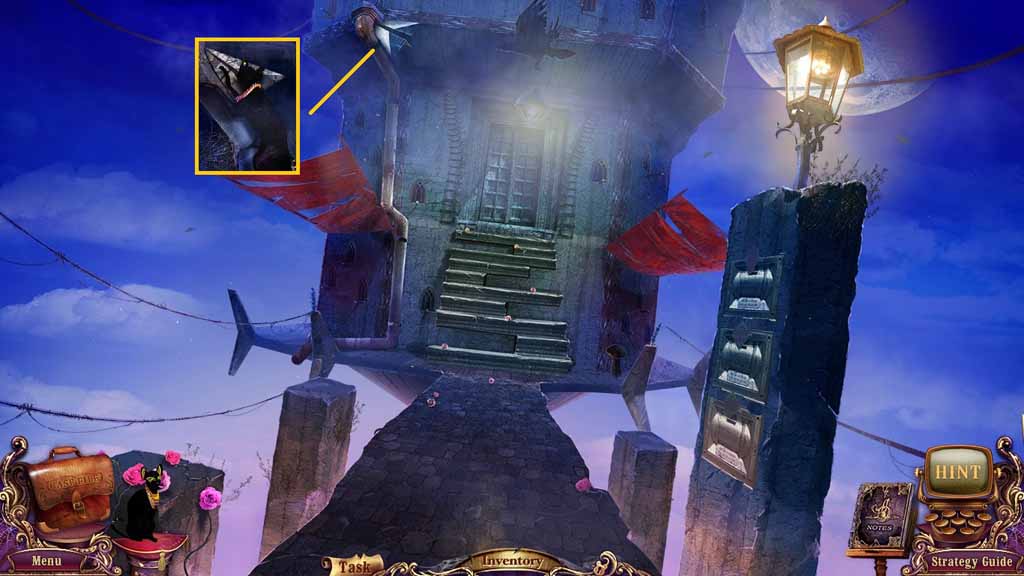
- Shoot the signal flare.
- Select Isis to collect the black diary page off of the roof.
- Move to the Laboratory.
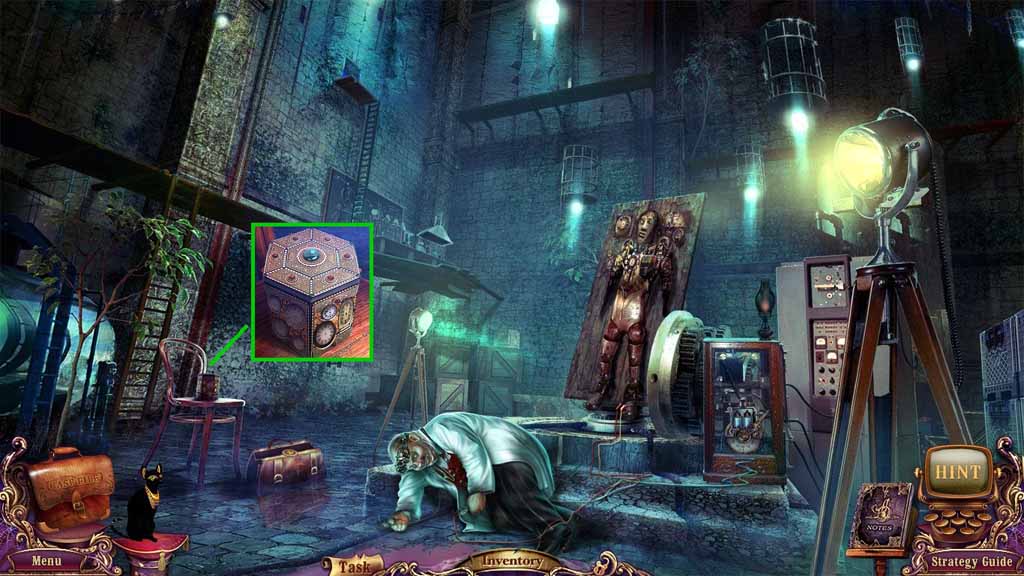
- Click the button.
- Move to the Theater of Day and Night.
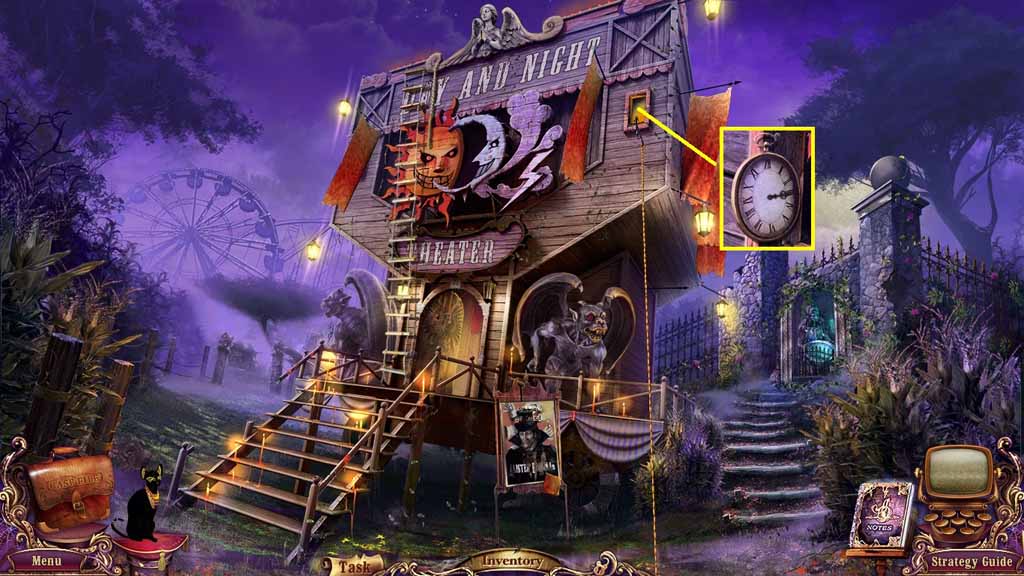
- Place the clock hand on 3.
- Move to the Gaming Machines.
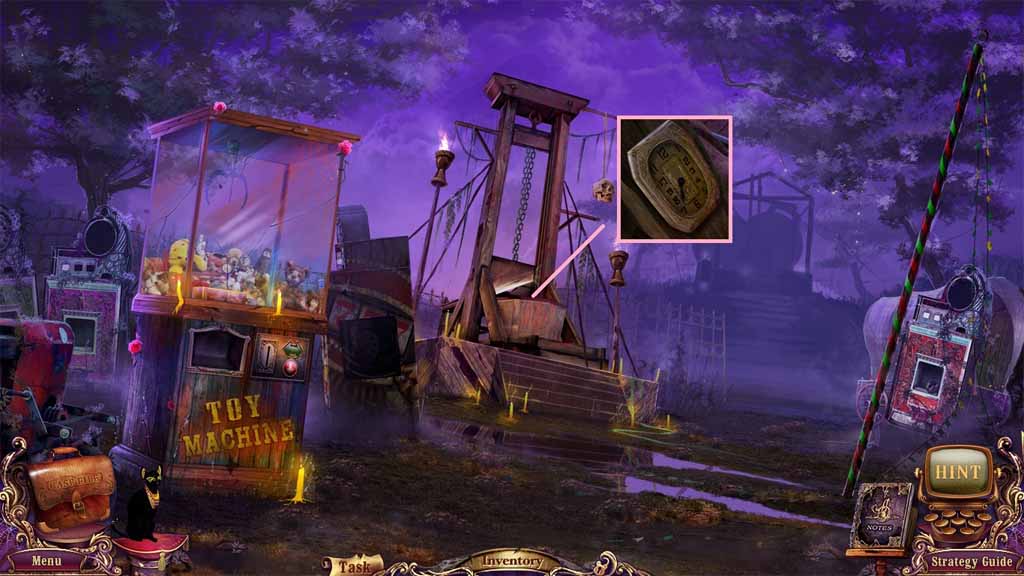
- Place the clock hand on 7.
- Move to the Roller Coaster Car.
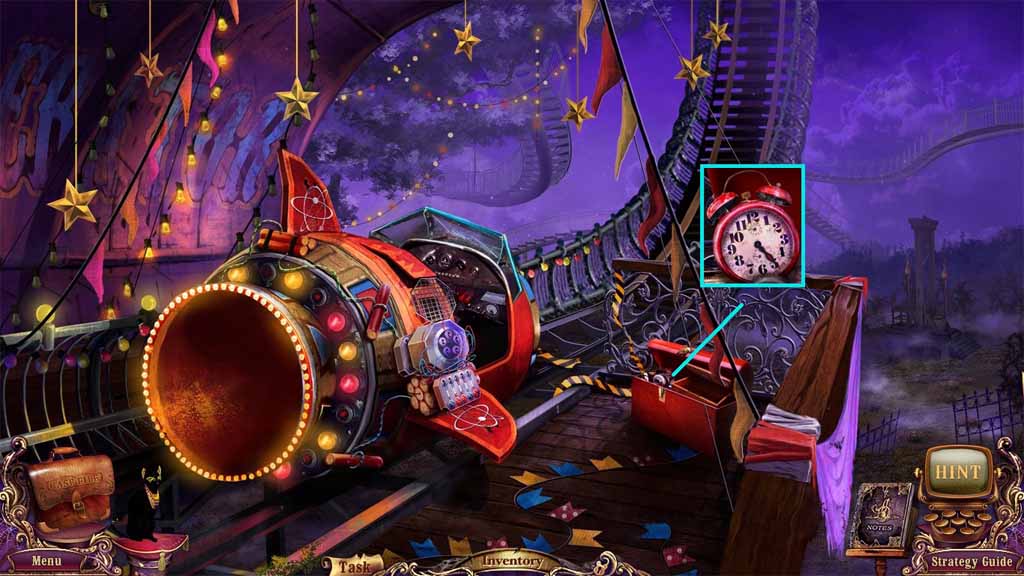
- Place the clock hand on 5.
- Move to the Snack Bar Counter.
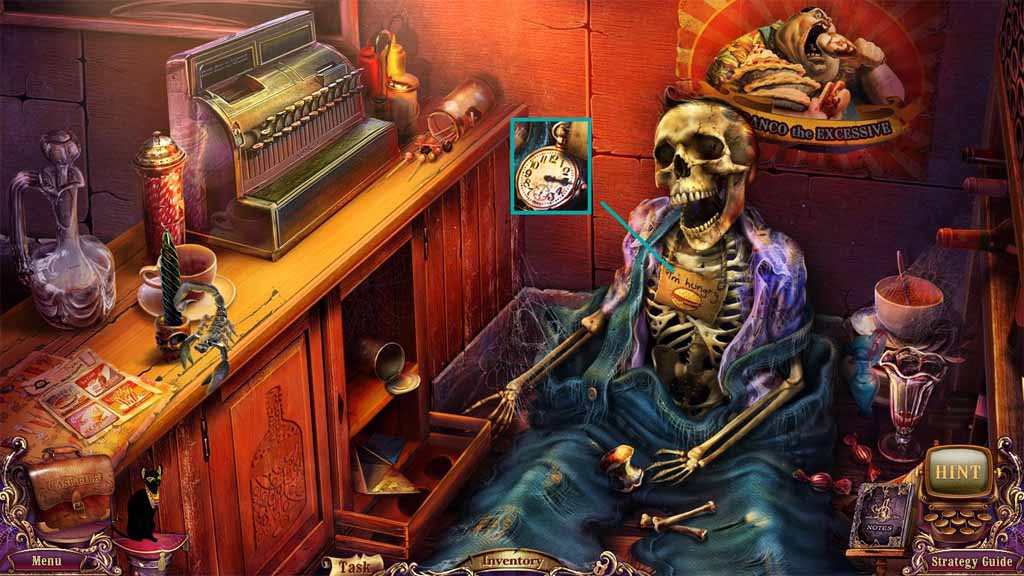
- Place the clock hand on 3.
- Move to the Outside Snack Bar.
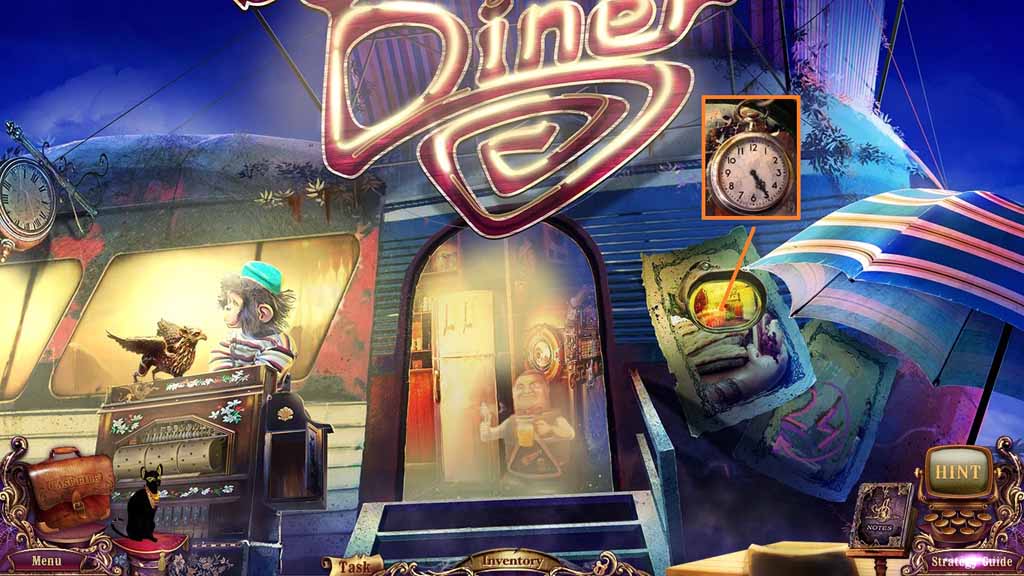
- Place the clock hand on 5.
- Move to the Gate.
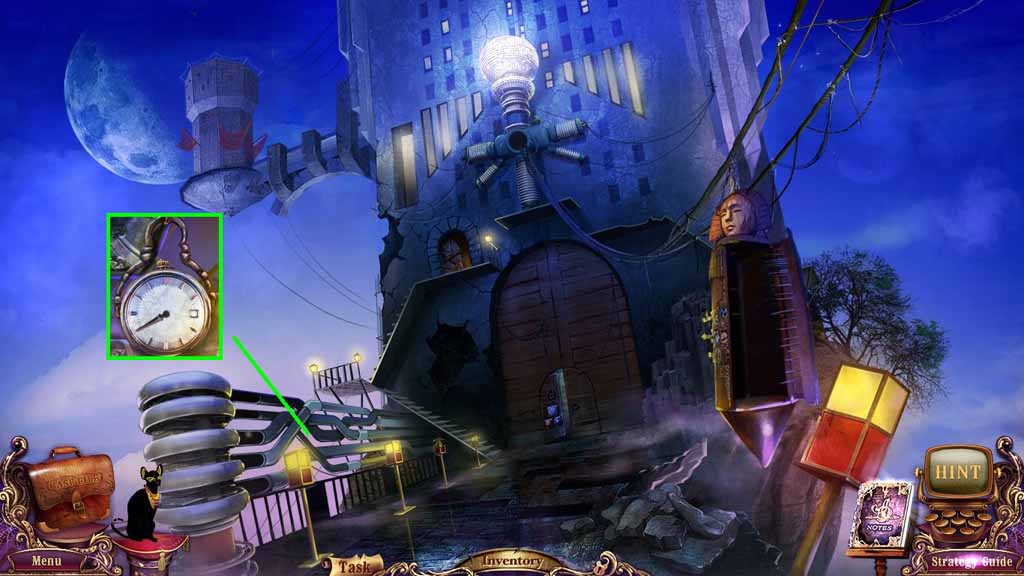
- Place the clock hand on 8.
- Move to the Ferris Wheel.
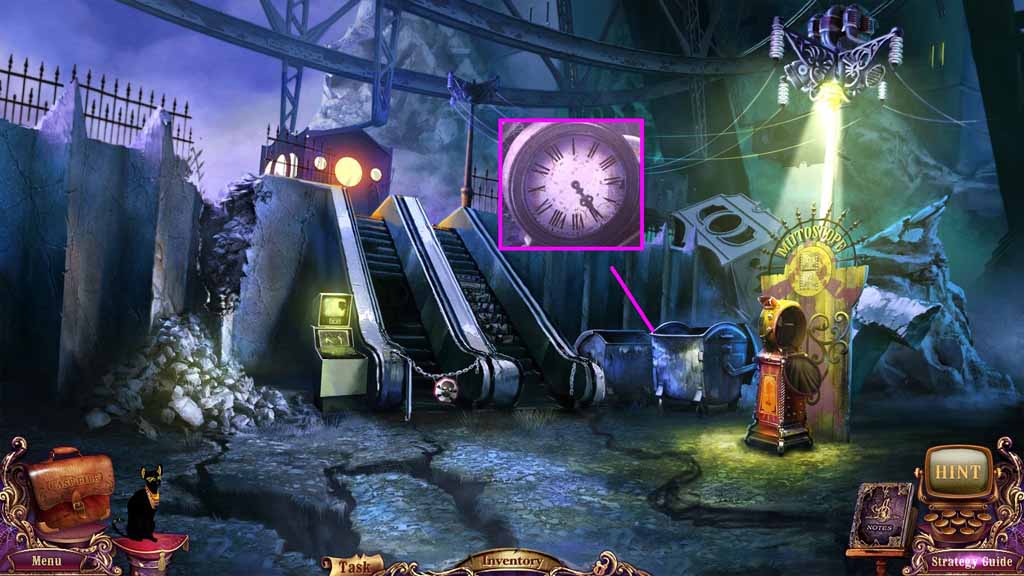
- Place the clock hand on 6.
- Move to the Laboratory.
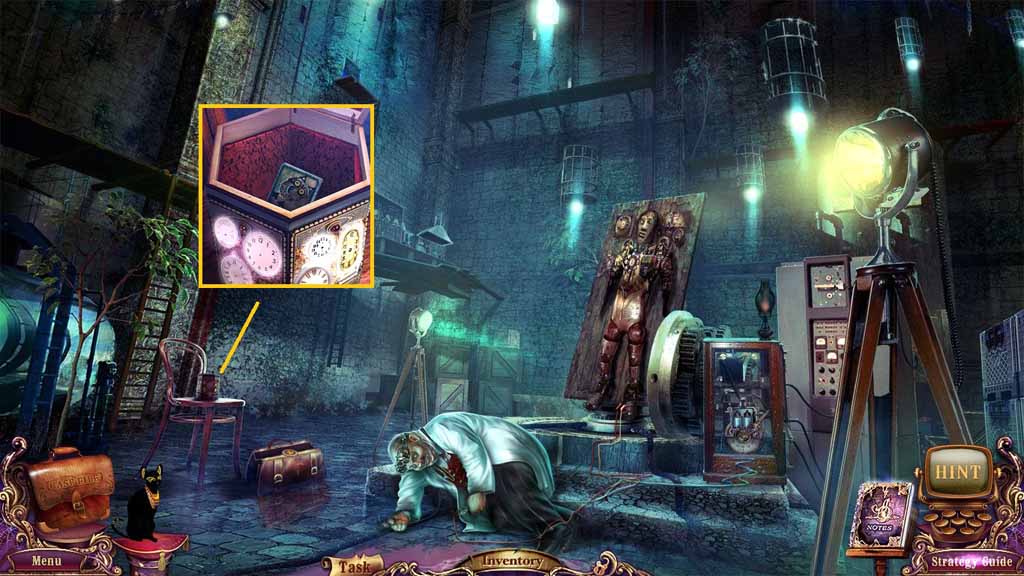
- Click the button and collect the rivet 1.
- Move to the Bridge.
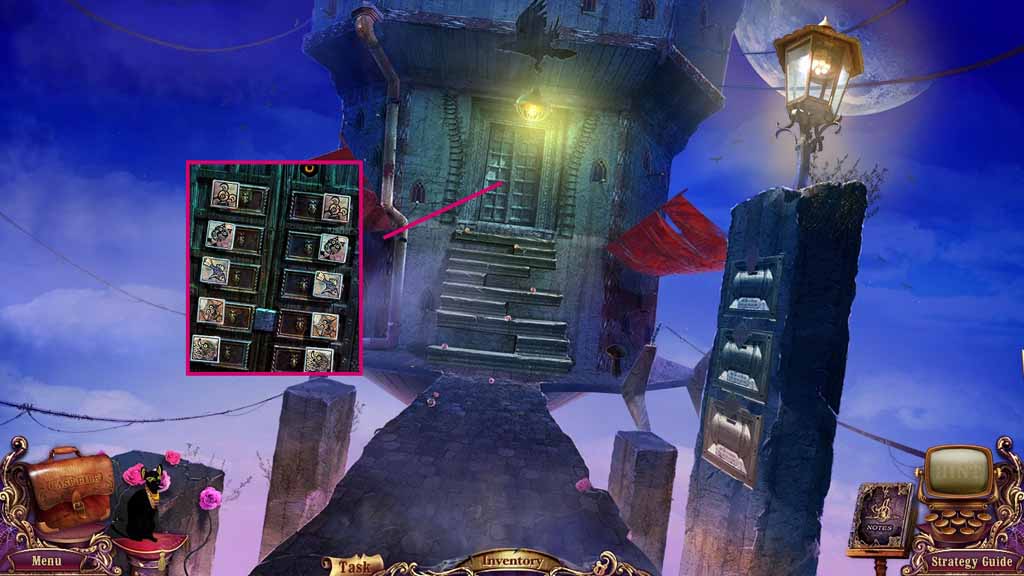
- Place the rivets into the slots to trigger a puzzle.
- The puzzle by switching the pieces until each side of the latch has a matching piece.
- Enter the Raven Cote.
Comments will load when you reach this part of the walkthrough.