
Chapter Twelve: The Lab
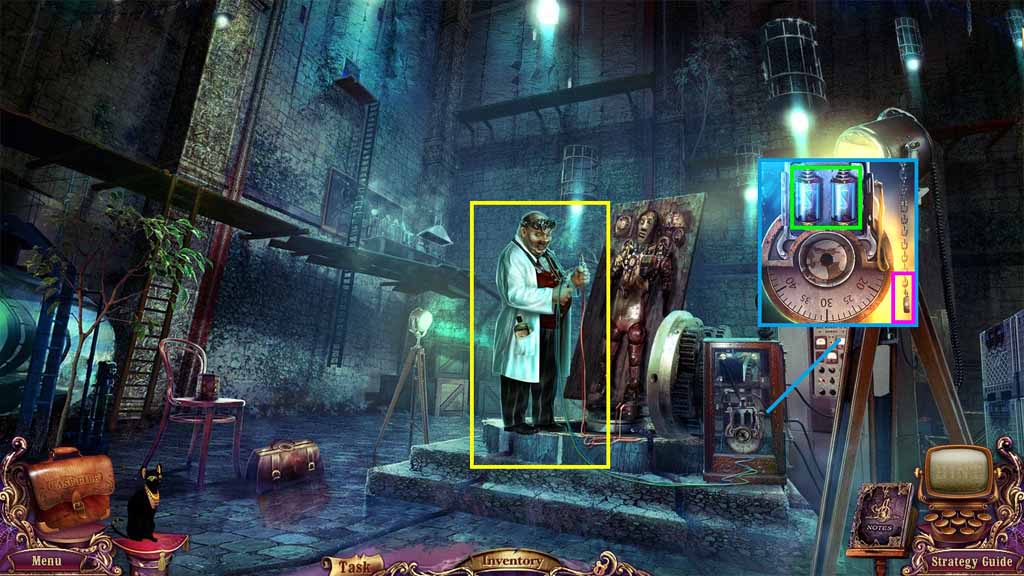
- Speak to Goodwell.
- Insert fuse 1 & fuse 2 into the slots.
- Collect the knife part.
- Move to the Ferris Wheel Car.
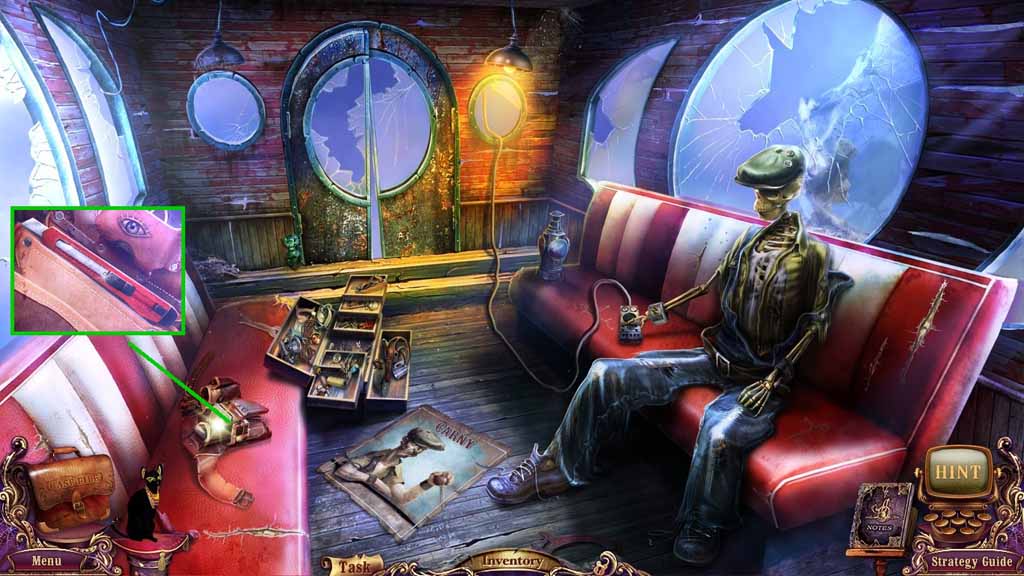
- Attach the knife part onto the knife.
- Collect the paper knife.
- Move to the Telephone Booth.
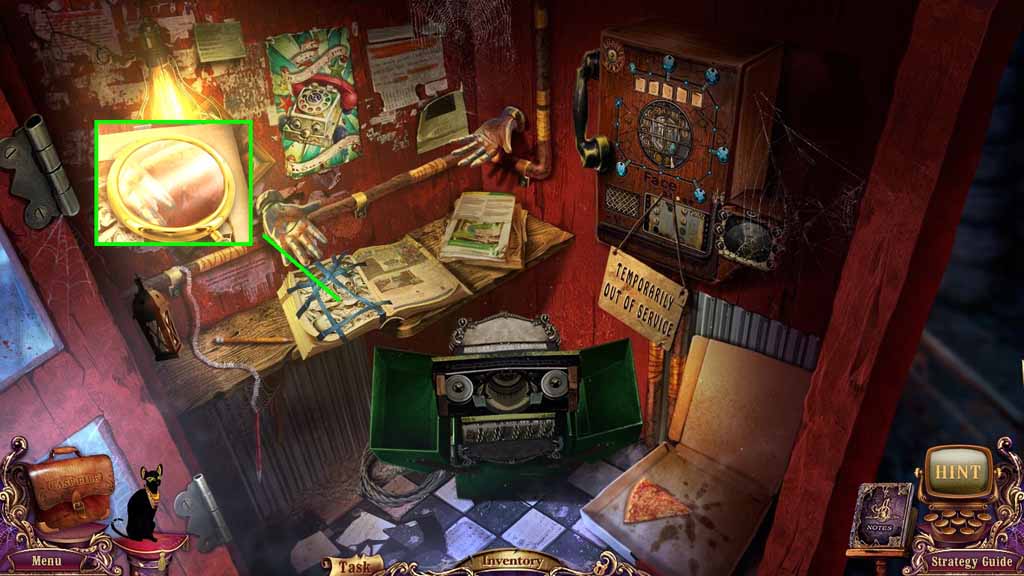
- Use the paper knife to cut the page.
- Collect the little mirror.
- Move to the Corridor.
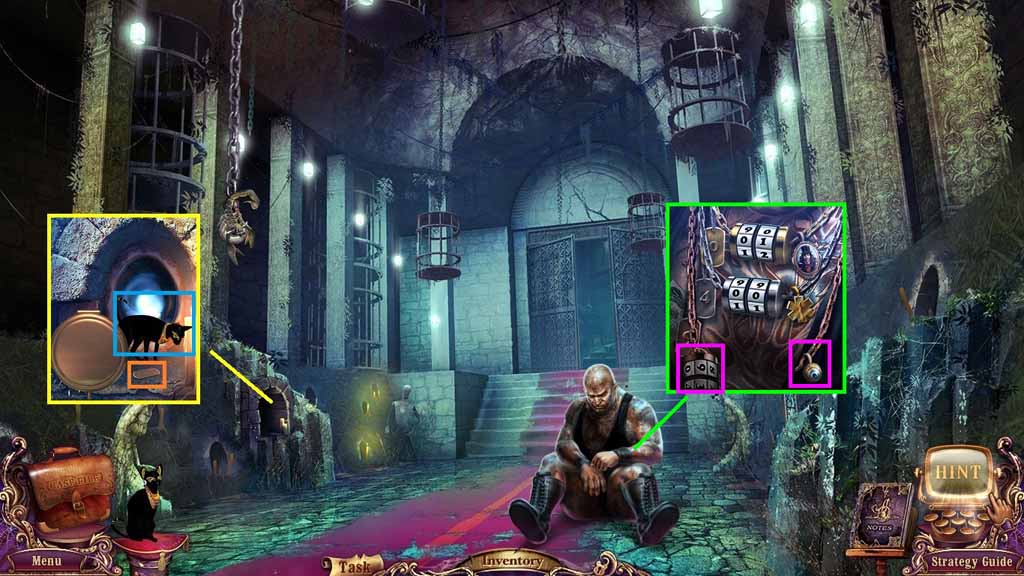
- Select Isis to use in the mirror.
- Collect the tattooed man’s badge.
- Insert the little mirror into the frame.
- Collect Isis.
- Place the tattooed man’s badge 1 onto his necklace.
- Use the code 93 on the lock and collect the eye.
- Move to the Outside the Snack Bar.
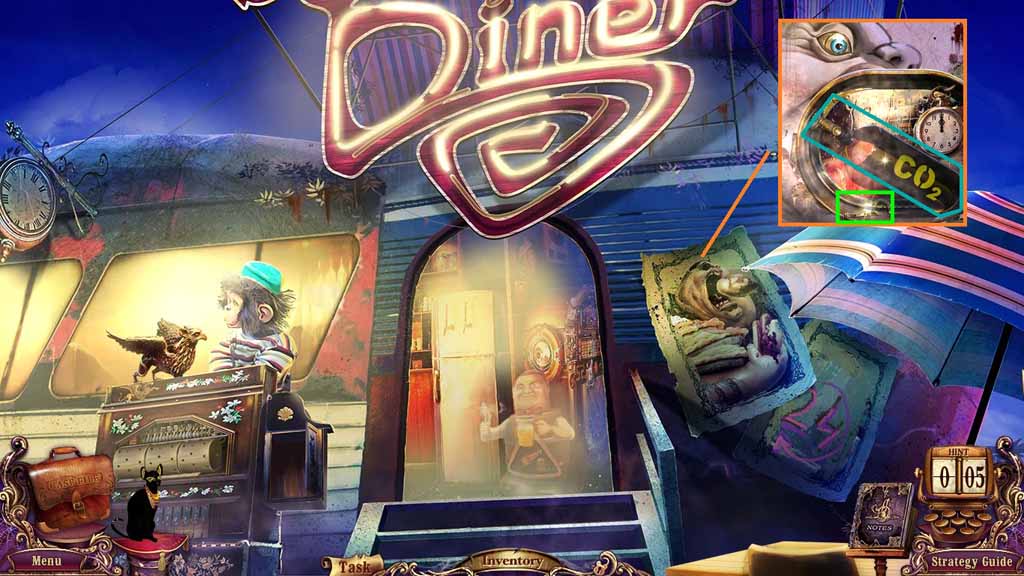
- Insert the eye into the socket and collect the book part 2 and the cylinder 2.
- Move to the Gates.
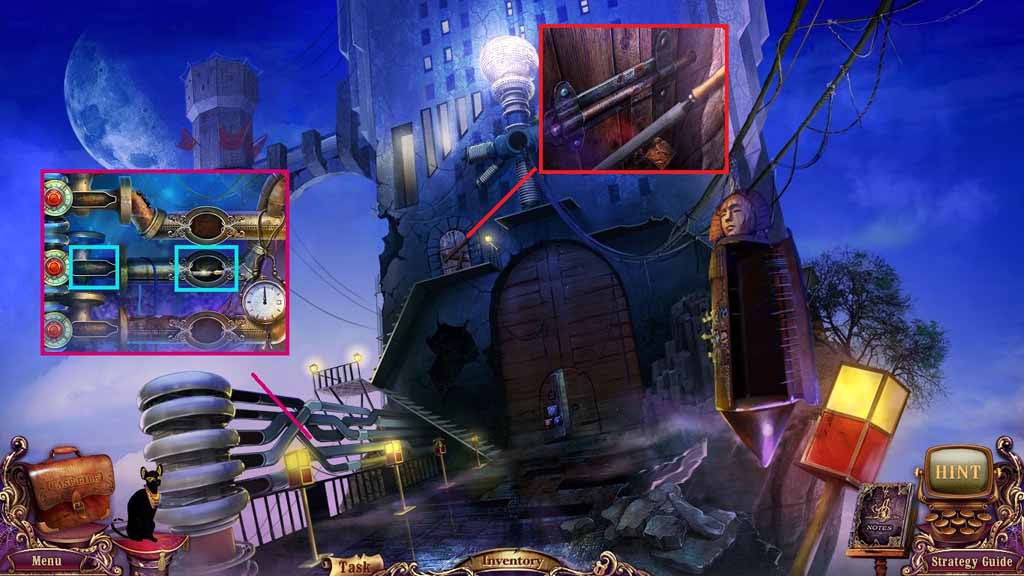
- Insert cylinder 2.
- Click the tube and collect the file.
- Insert the file into the lock and click the latch to trigger a hidden objects area.
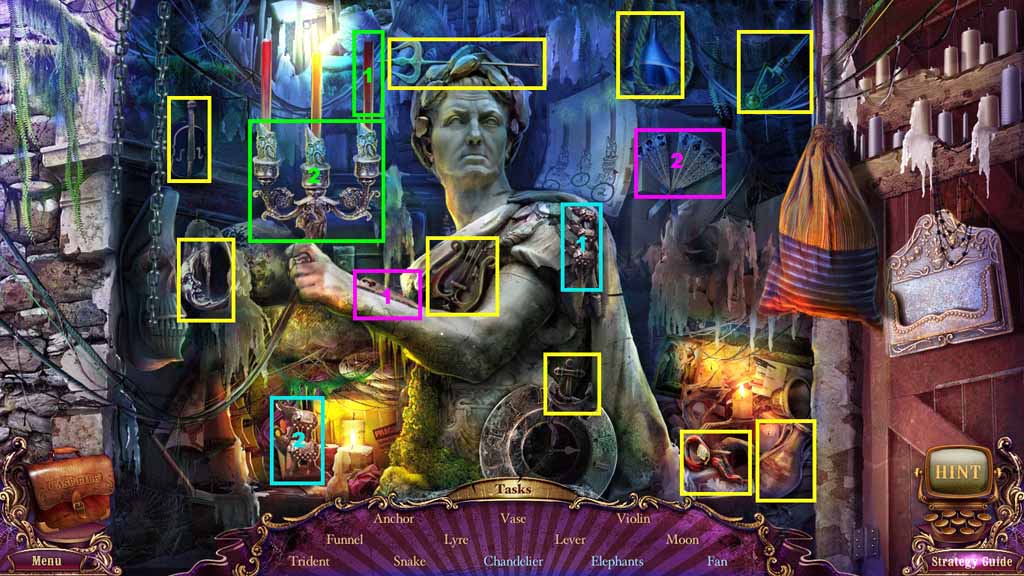
- Find the listed items.
- Click the third candle and collect the chandelier.
- Collect the elephants and place them onto the other elephants; collect the elephants.
- Click the fan piece and insert it into the fan; collect the fan.
- Collect the switch.
- Move to the Laboratory.
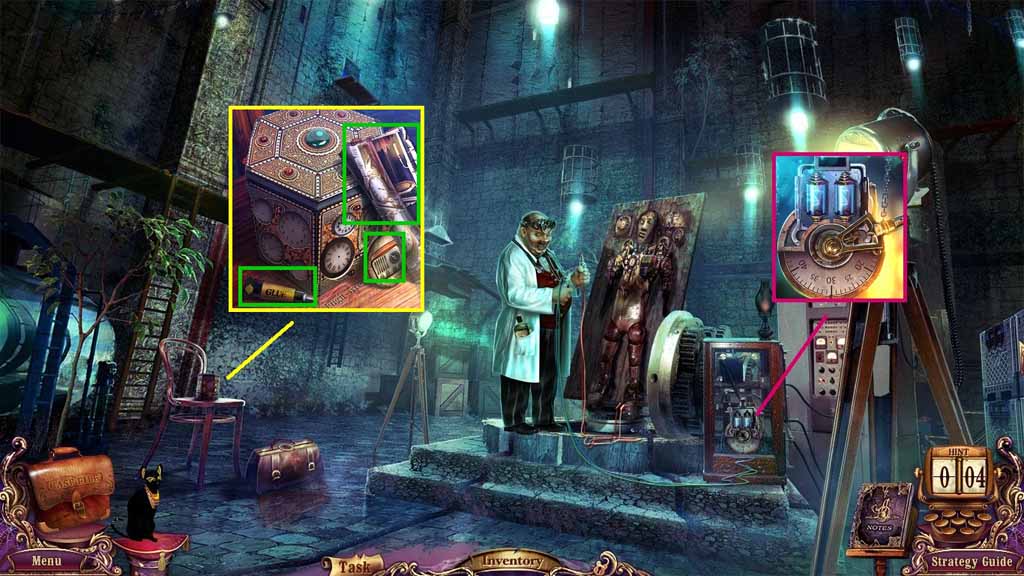
- Place the switch into the slots to trigger a puzzle.
- Solve the puzzle by aligning the switch to the correct output using the levers.
- Collect the rubber glue, the activator 2 and the black page diary.
- Click the button.
- Move to the Theater of Day and Night.
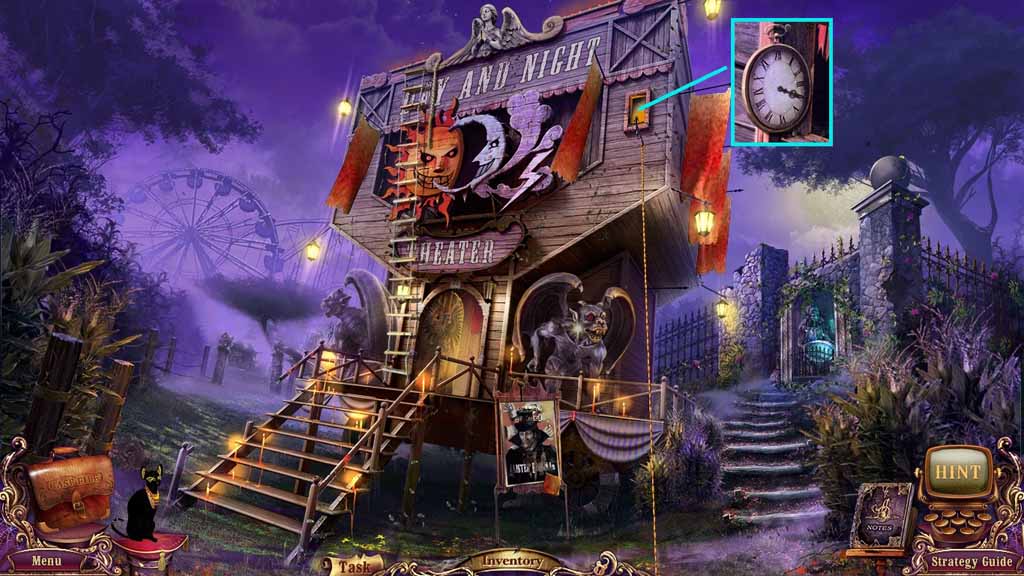
- Place the clock hand on 4.
- Move to the Gaming Machines.
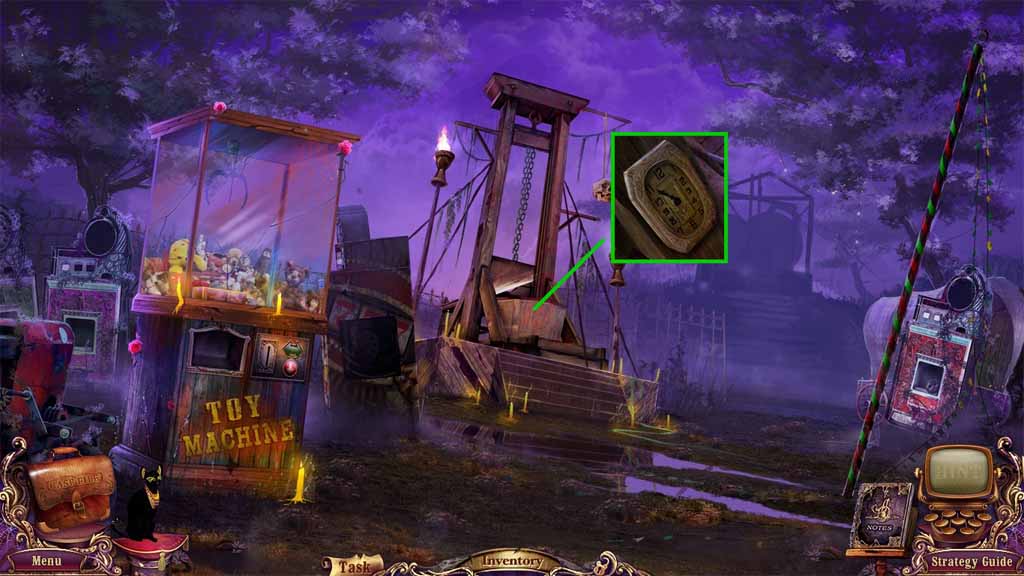
- Place the clock hand on 11.
- Move to the Roller Coaster Car.
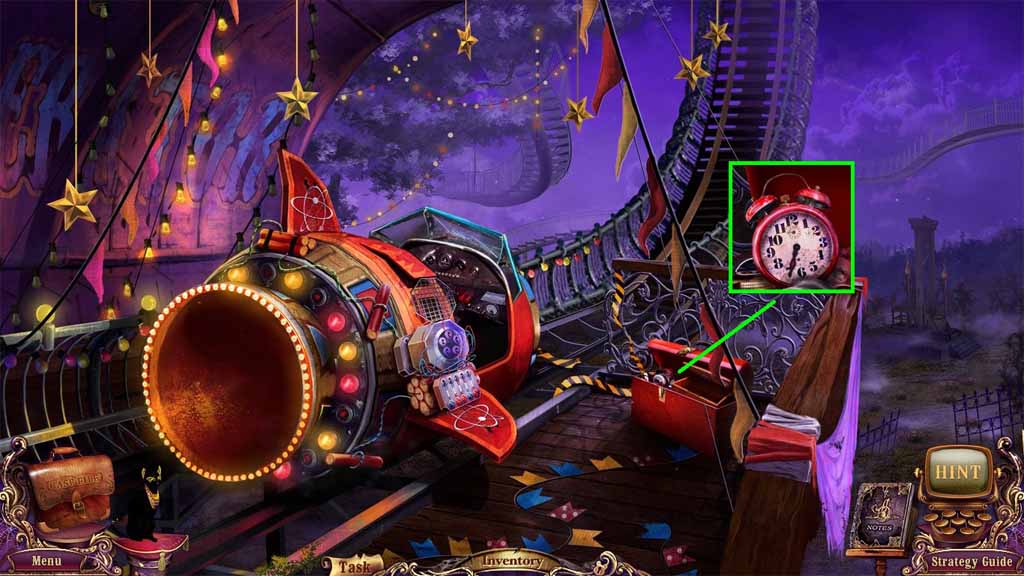
- Place the clock hand on 7.
- Move to the Snack Bar Counter.
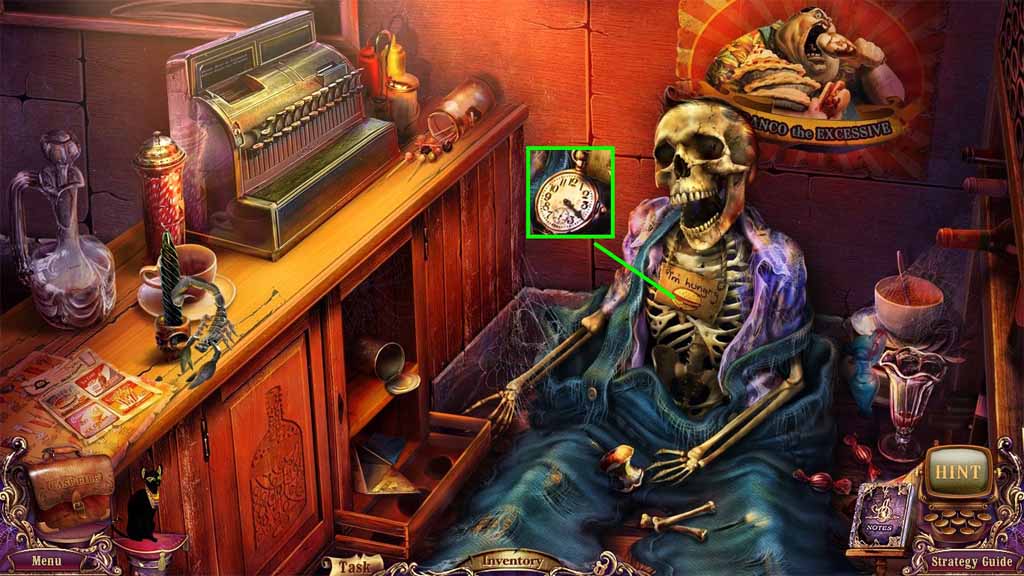
- Place the clock hand on 4.
- Move to the Outside the Snack Bar.
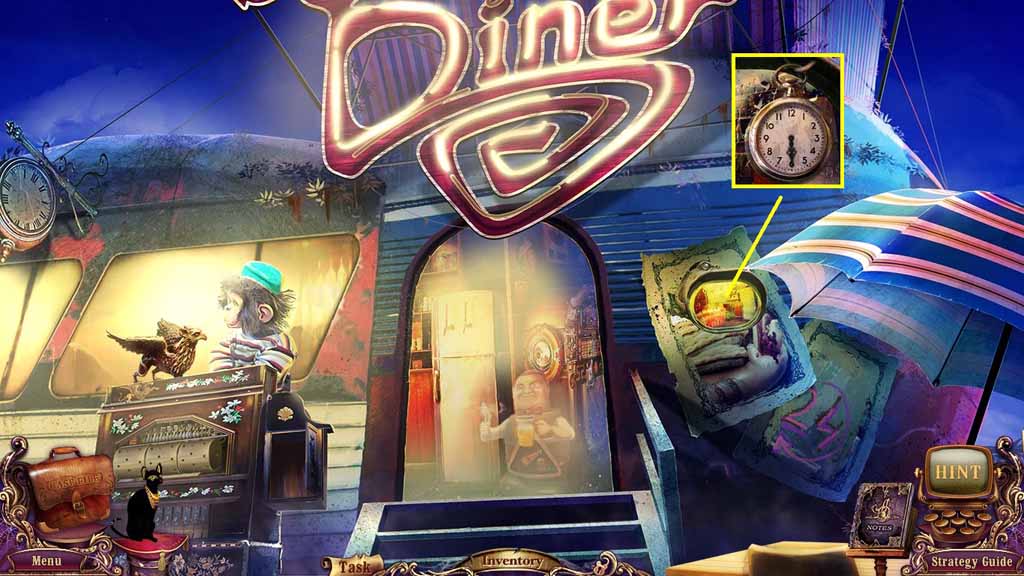
- Place the clock hand on 6.
- Move to the Gate.
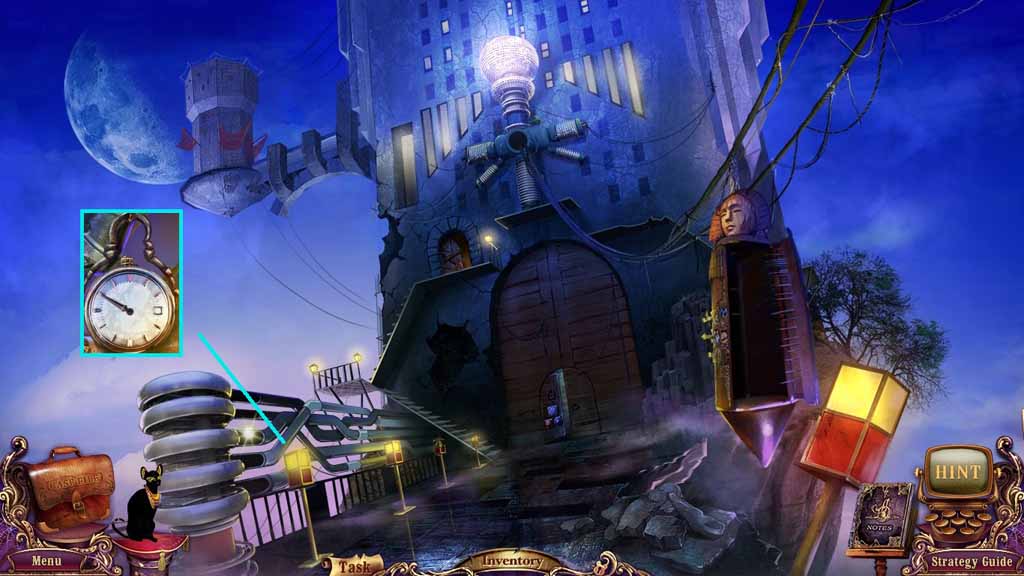
- Place the clock hand on 10.
- Move to the Ferris Wheel.
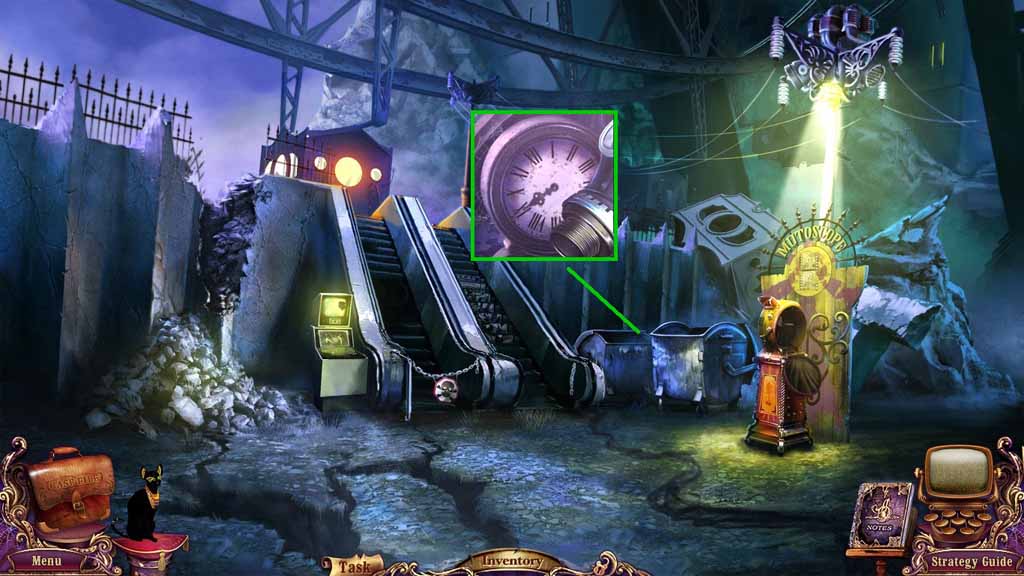
- Place the clock hand on 9.
- Move to the Laboratory.
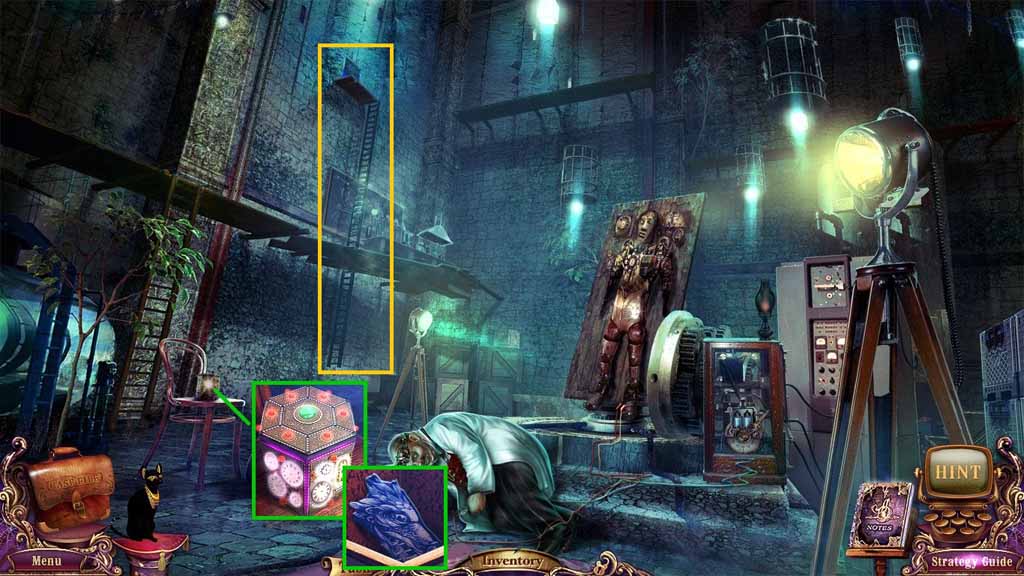
- Click the green button and collect the blue shattered glass.
- Move up the ladder to the Bridge.
Comments will load when you reach this part of the walkthrough.