
Act Four, Chapter 14: Rudo's Body
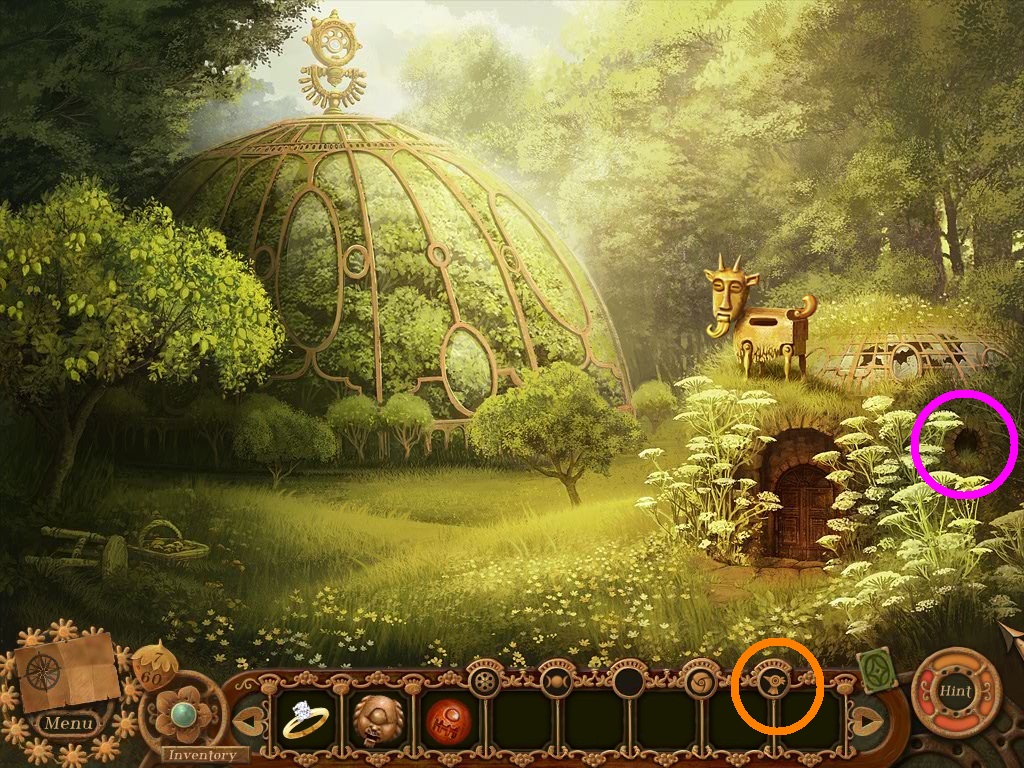
- Click Afi (orange circle).
- Send Afi into the dome hole (pink circle).
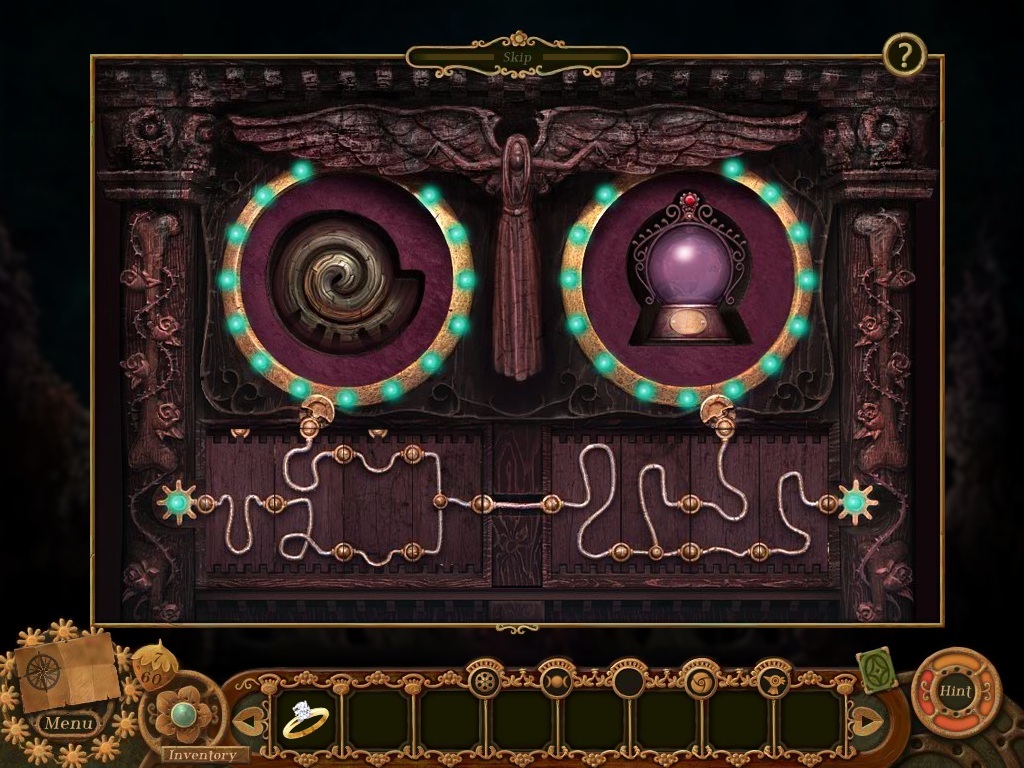
- A puzzle will trigger.
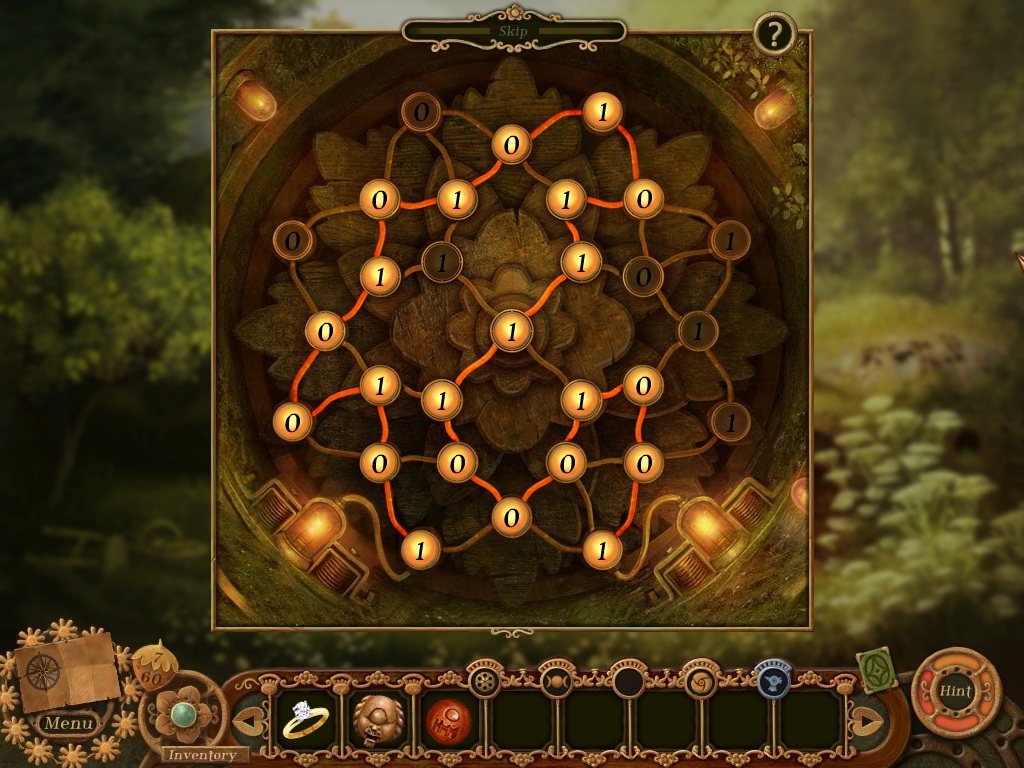
- Solve the puzzle as shown above by using the code to create a connection between the bulbs.
- Go into the soul chamber.
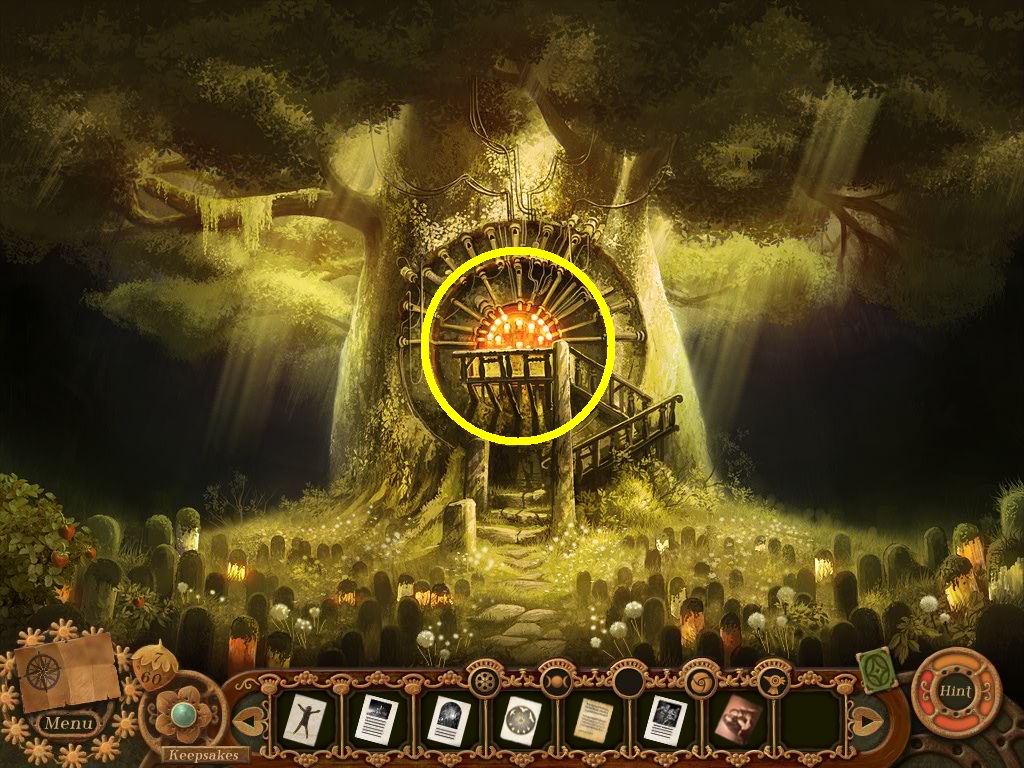
- Zoom into the soul jars (yellow circle).
- A puzzle will trigger.
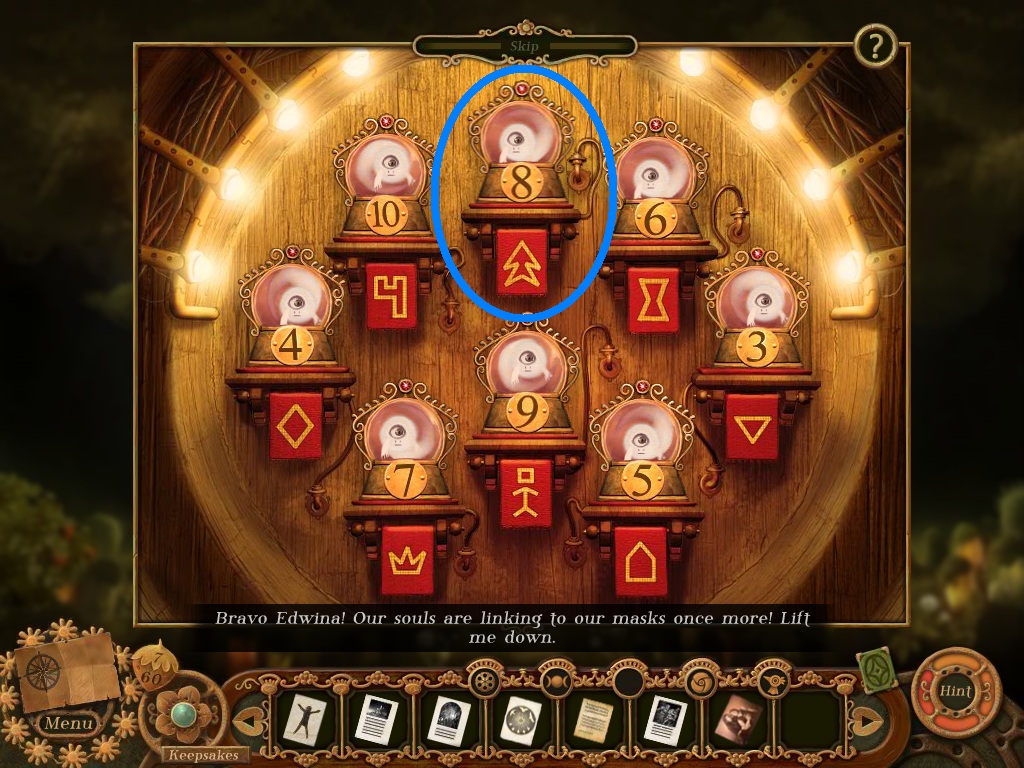
- Solve as shown above.
- Collect Rudo’s soul (blue circle).
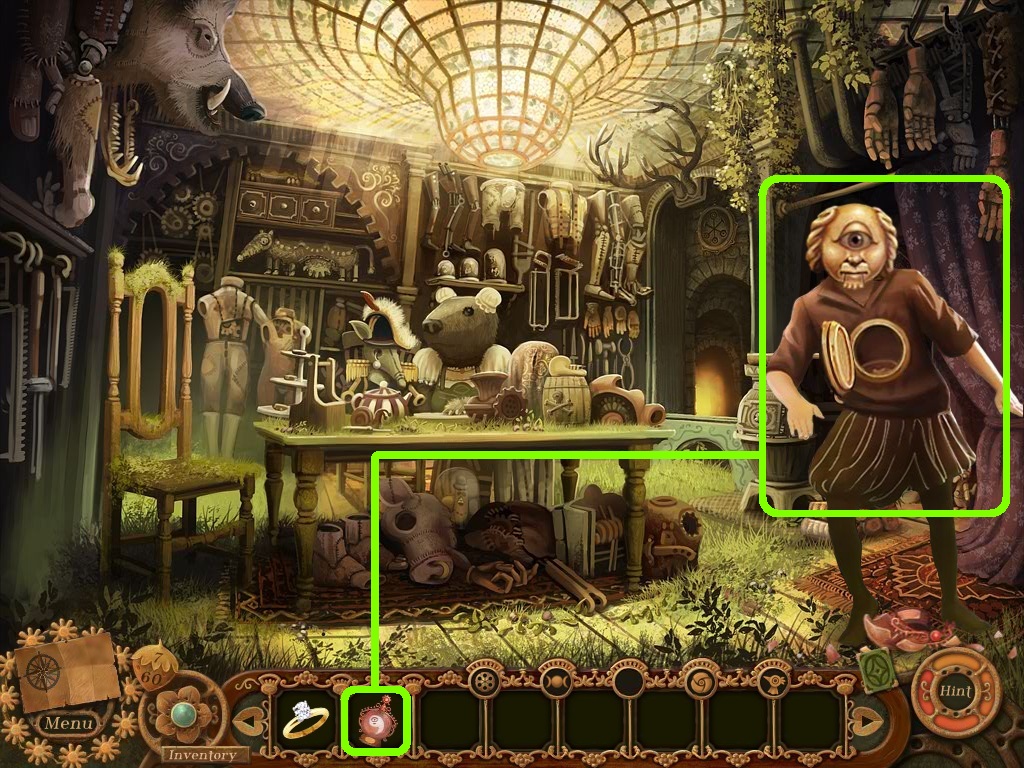
- Go to the horologist’s workshop.
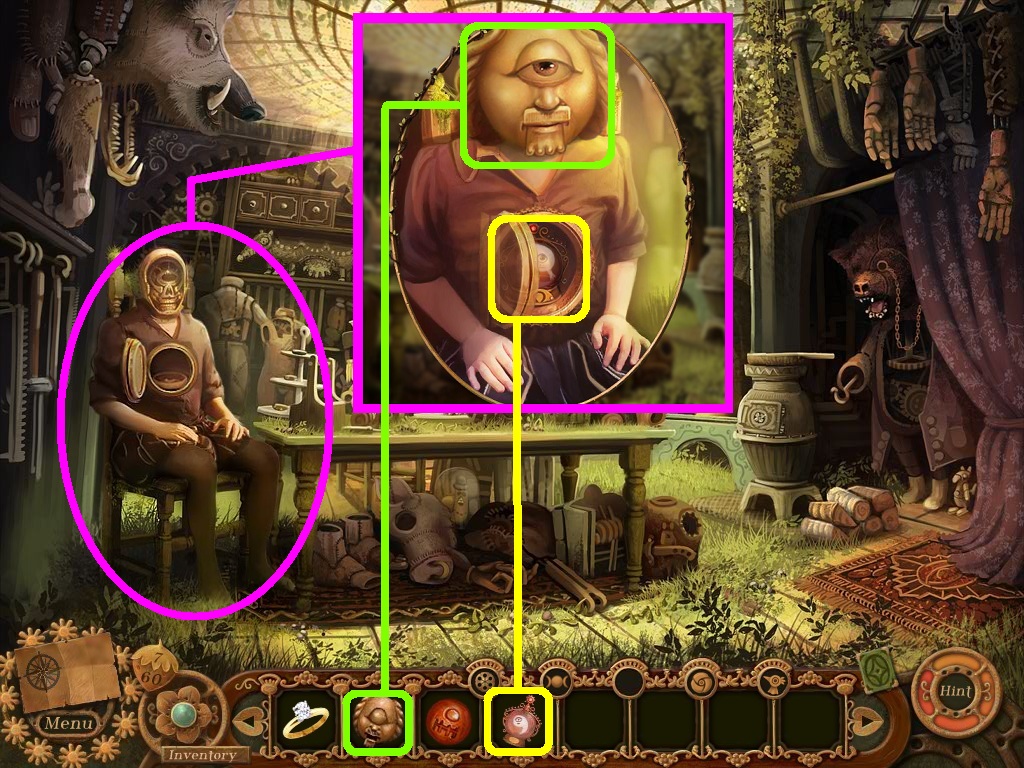
- Zoom into the body (pink circle).
- Pick Rudo’s soul (yellow square); place it into the chest cavity.
- Pick the seer’s face (green square) and place it onto the head.
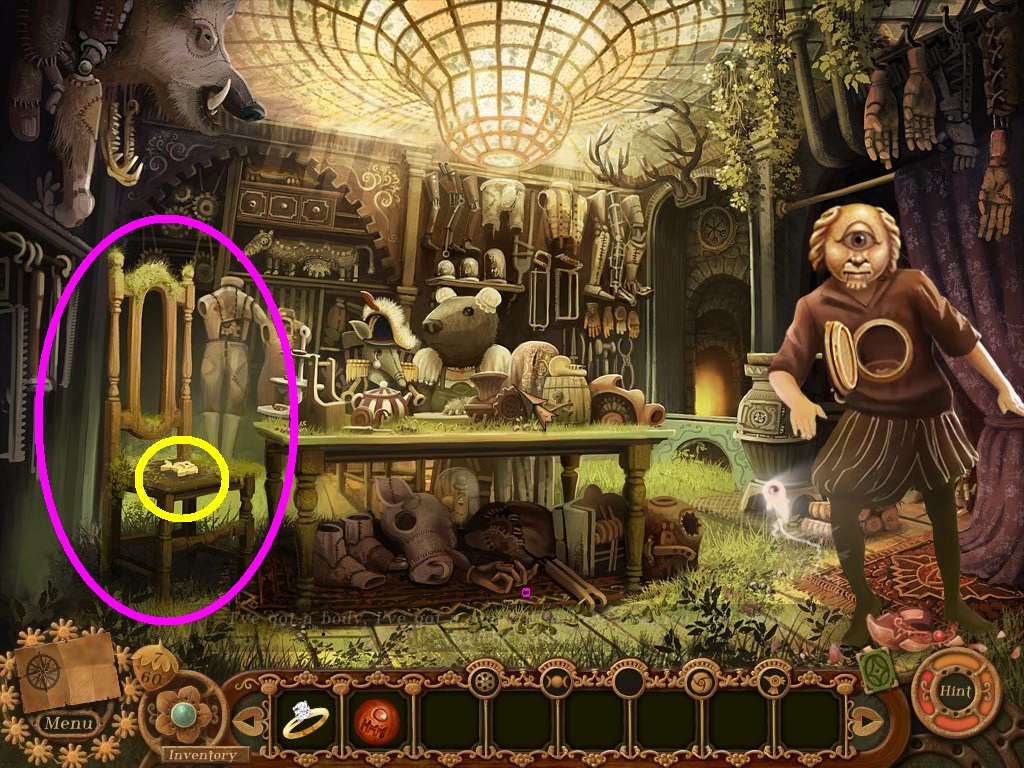
- Zoom into Rudo’s seat (pink circle).
- Collect the fish button (yellow circle).
- Go to the Isle of Lacrimosa.
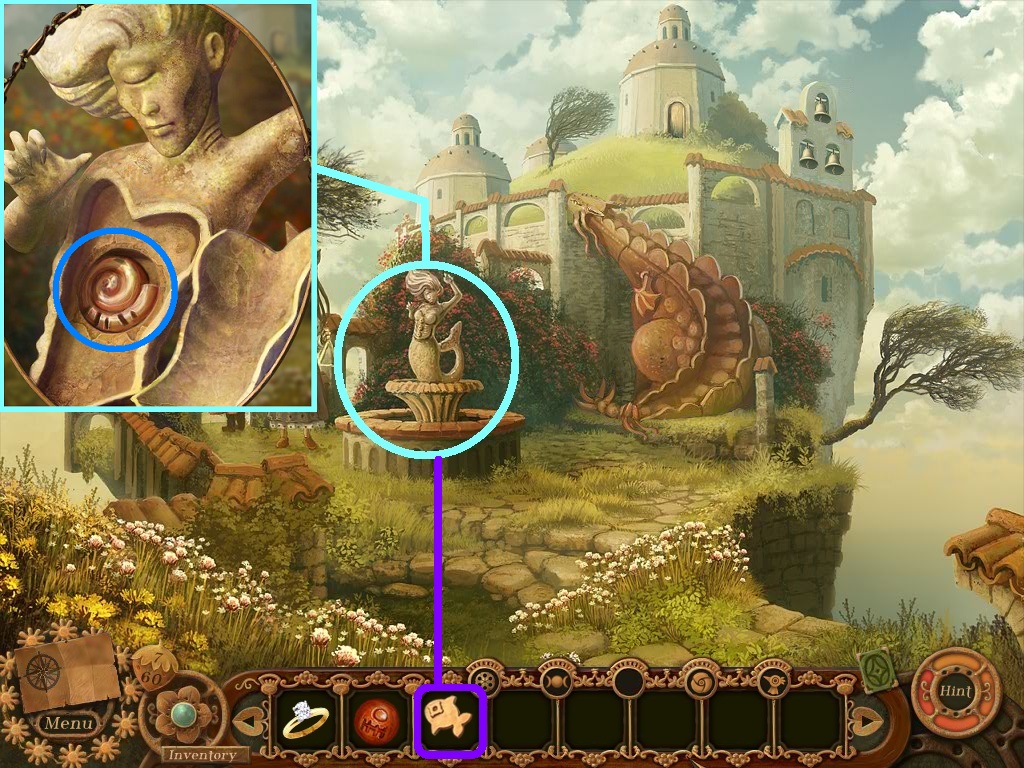
- Zoom into the mermaid fountain (aqua circle).
- Pick the fish button (purple square) and insert it onto the mermaid’s chest.
- Collect the soul shell (blue circle).
- Go to the obsidian gatehouse.
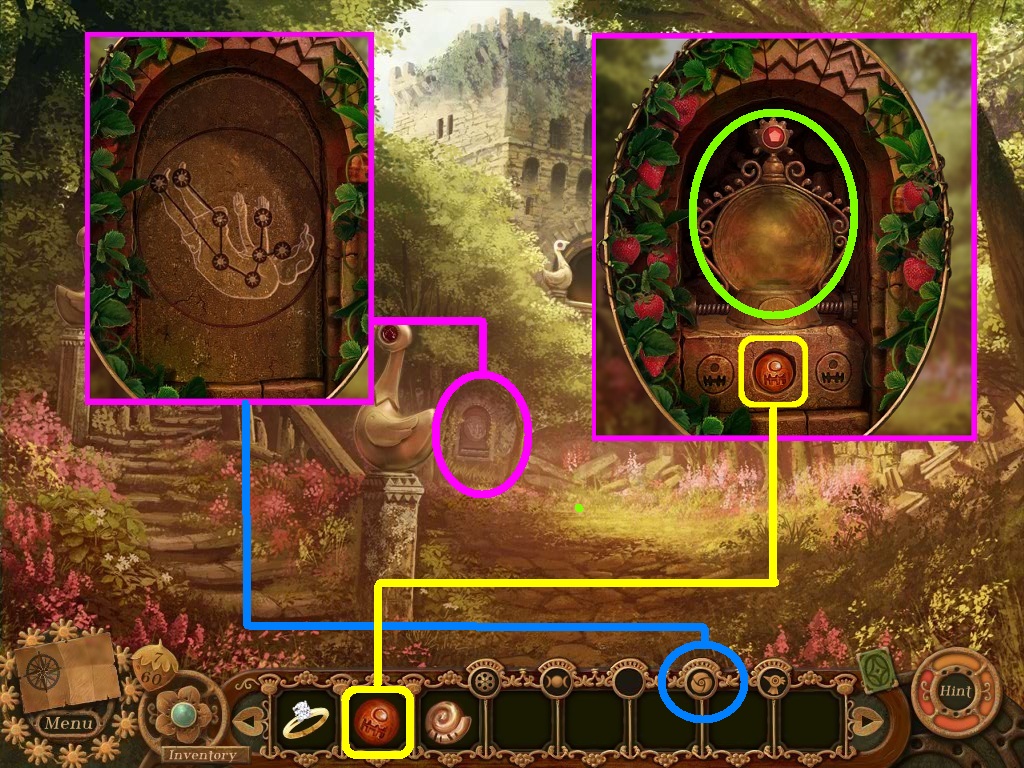
- Zoom into the alcove (pink circle).
- Pick the rose eye (blue circle); use it to uncover the soul jar.
- Pick the skull bead (yellow square) and place it onto the soul jar.
- Collect the soul jar (green circle).
- Go to the seashell campanile.
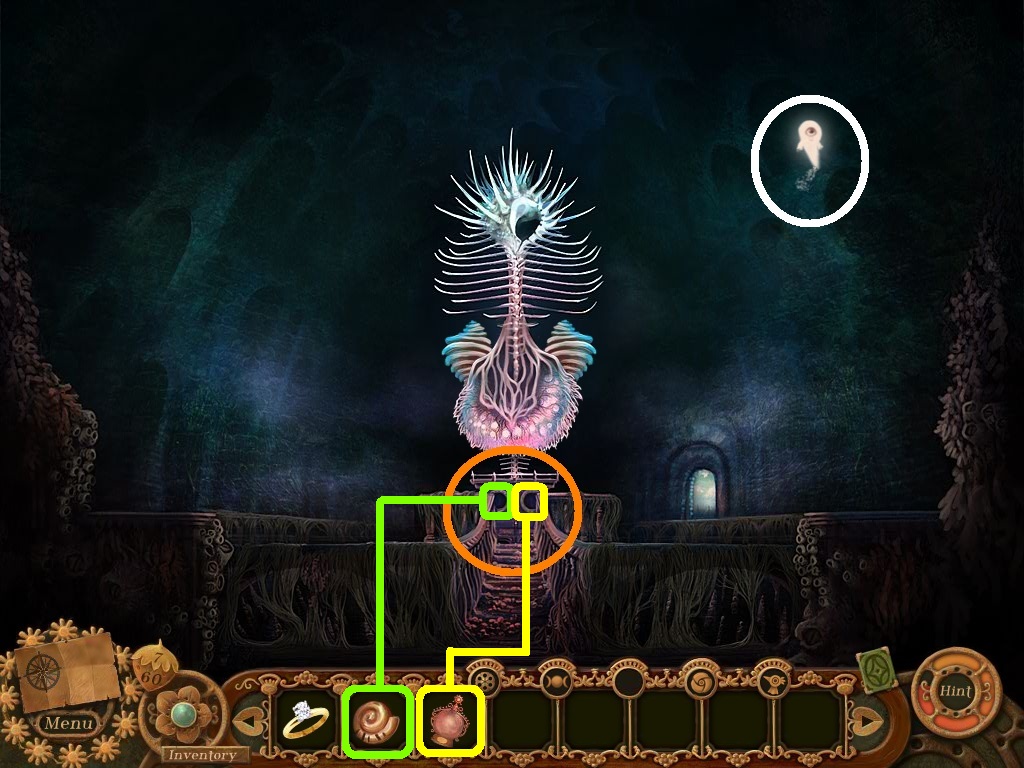
- Click on Rudo’s soul (white circle).
- Zoom into the soul cabinet (orange circle).
- Pick the soul shell (green square); place it into the cavity (green square).
- Pick the soul jar (yellow square); place it into the cavity (yellow square).
- A puzzle will trigger.
- Solve the puzzle as shown by switching out the circuit boards and connecting all four nodes.
- Collect Rudo’s soul from the cabinet.
- Go to the horologist’s workshop.
- Pick Rudo’s soul (green square); place it into his body.
- Go to the seamstress’ workshop.
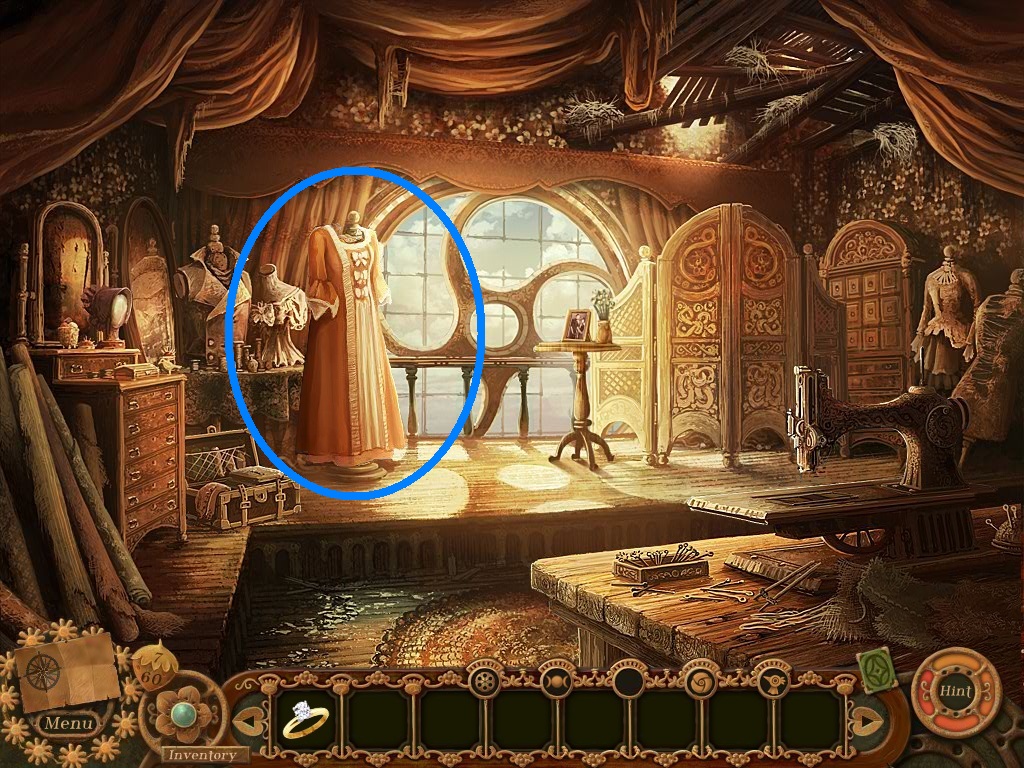
- Collect the wedding dress (blue circle).
- Go to the ivory chapel.
Comments will load when you reach this part of the walkthrough.