
Act Three, Chapter 11: Shell
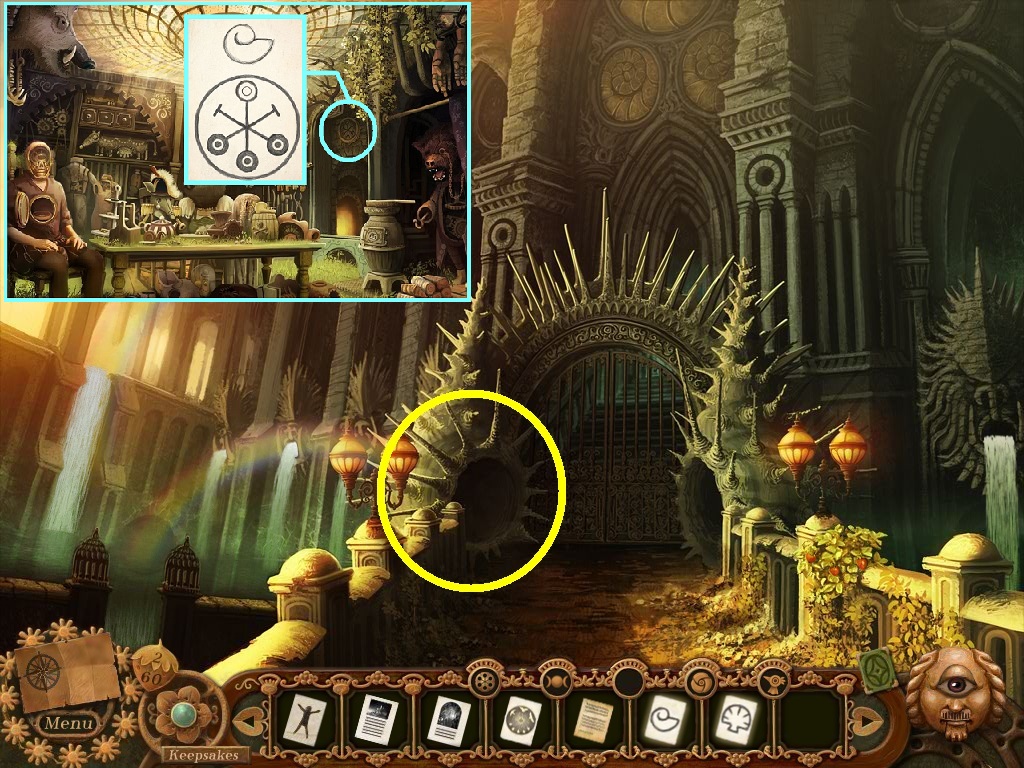
- Zoom into the ammonite lock (yellow circle); zoom out.
- Go to the horologist workshop.
- The code hangs over the secret entrance (aqua circle).
- Collect the ammonite code.
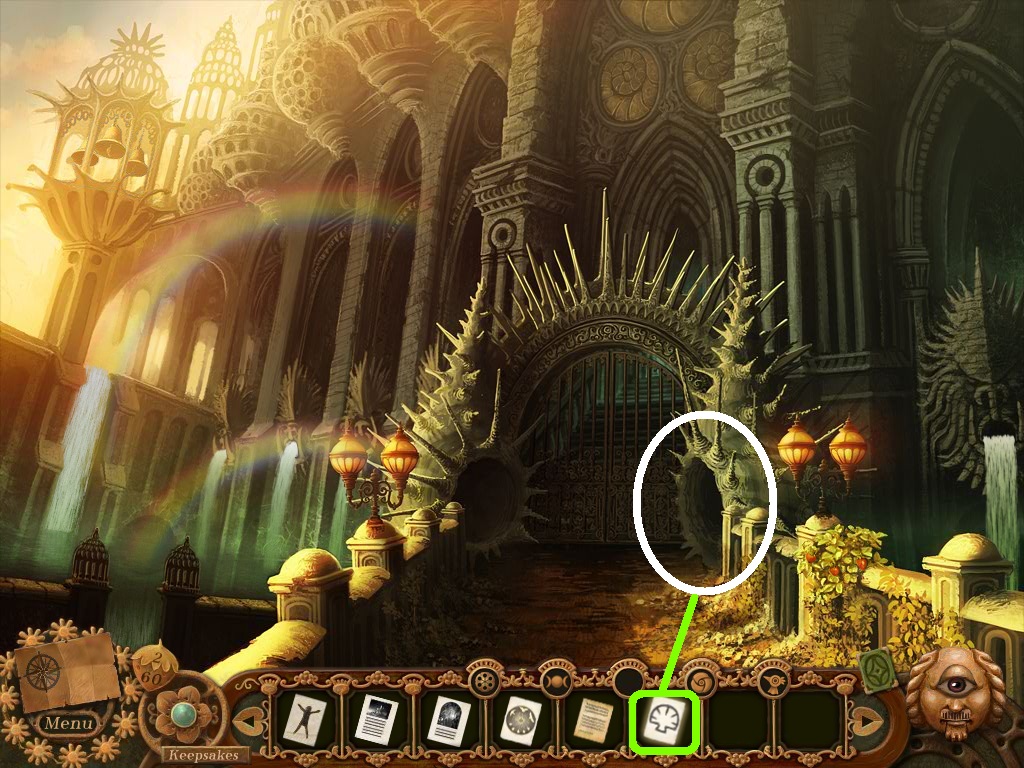
- Go to the sea shell campanile.
- Insert the ammonite code into the ammonite lock.
- Click the see-charm.

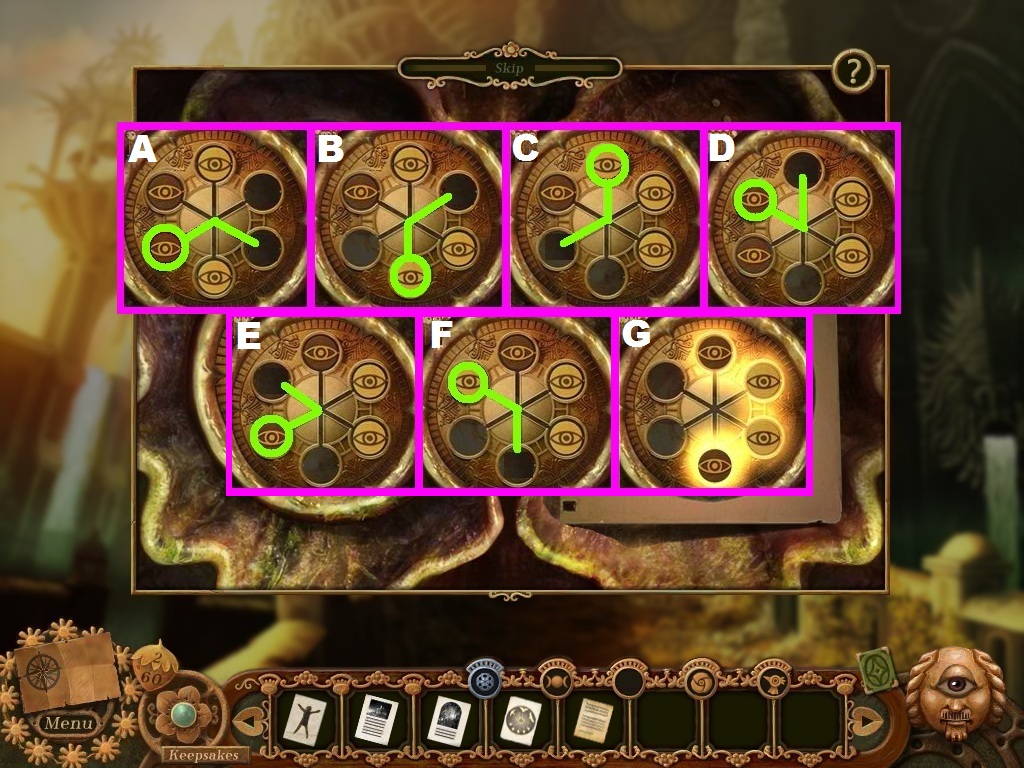
- Solve the puzzle as shown above.
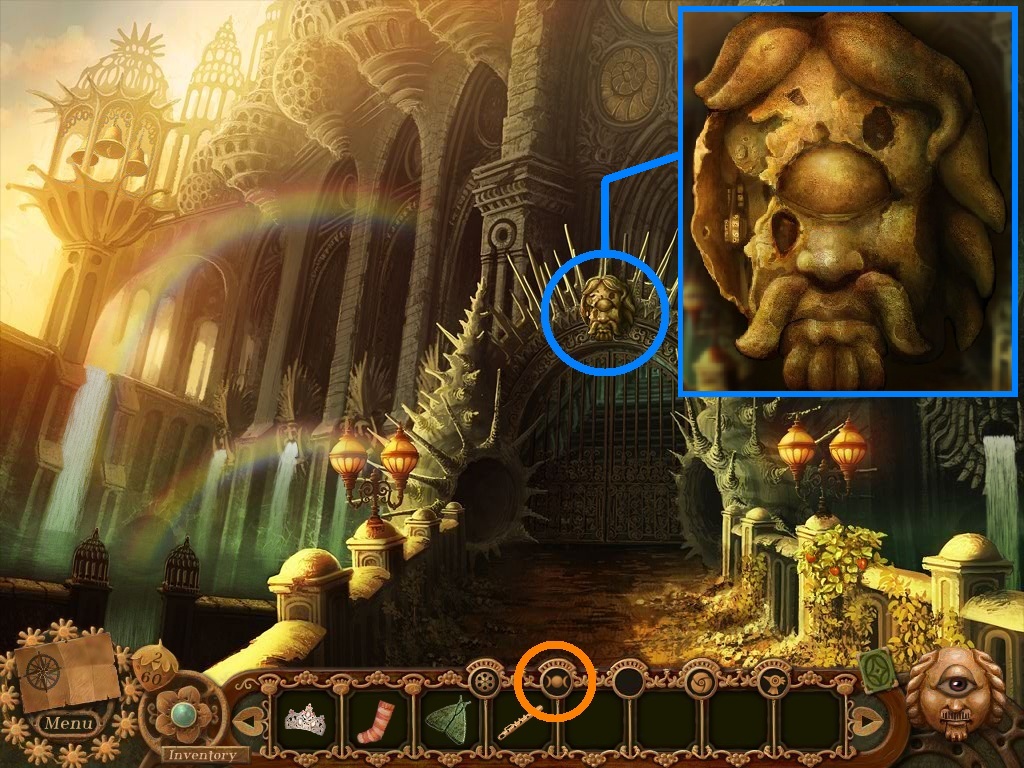
- Zoom into the scallop lock (white circle).
- Pick the scallop code (green square); insert it into the scallop lock.
- Click the see-charm.
- Solve the puzzle as shown above.
- Awaken the Seer (blue circle) by selecting the divination tool (orange circle); then click the Seer.
- A card game will trigger.
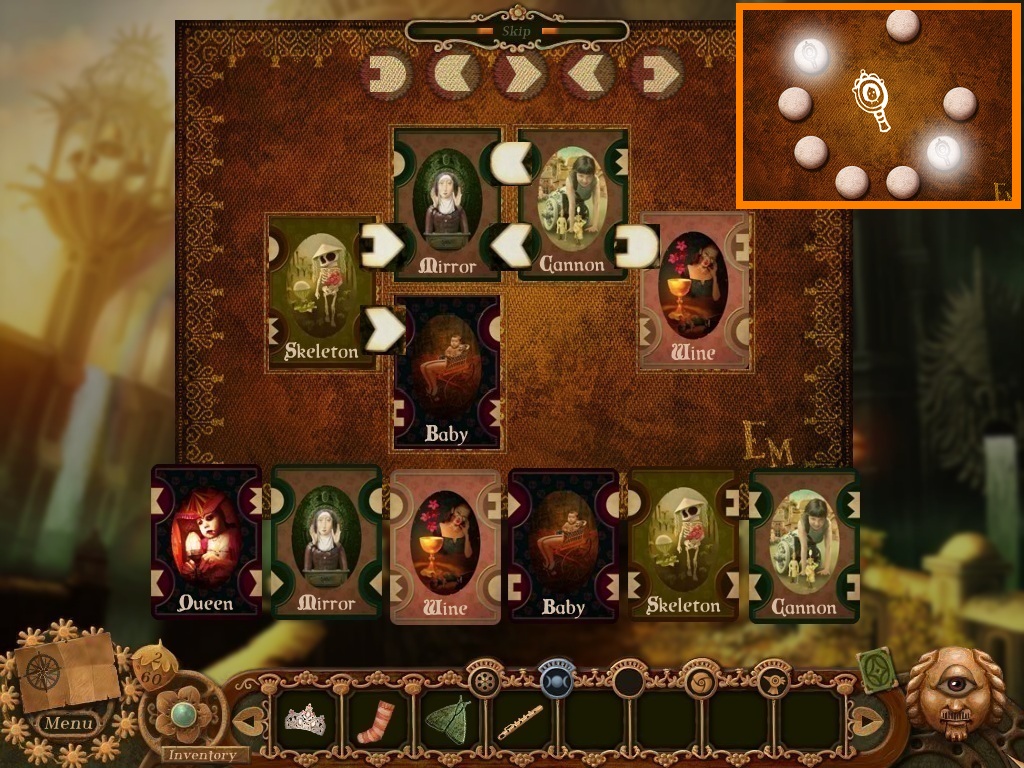
- Place the cards as shown above.
- Click the rune stones to match the symbol shown (solutions vary).
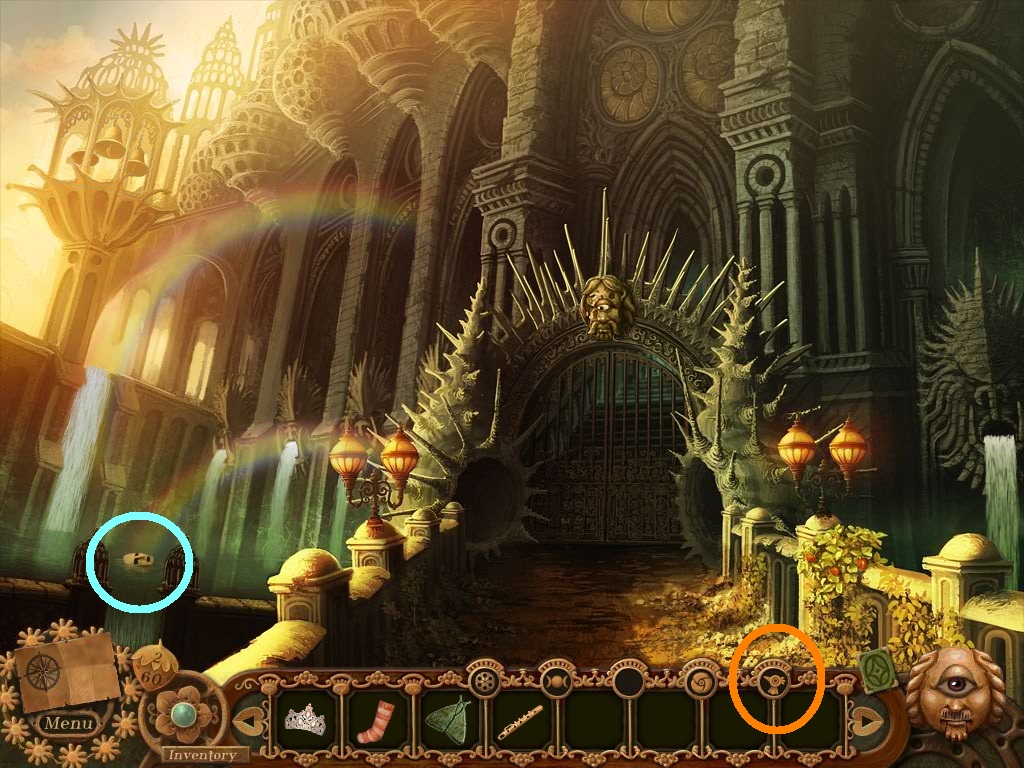
- Click Afi (orange circle).
- Send Afi into the water to collect the mask (aqua circle).
- Go into the seashell campanile.
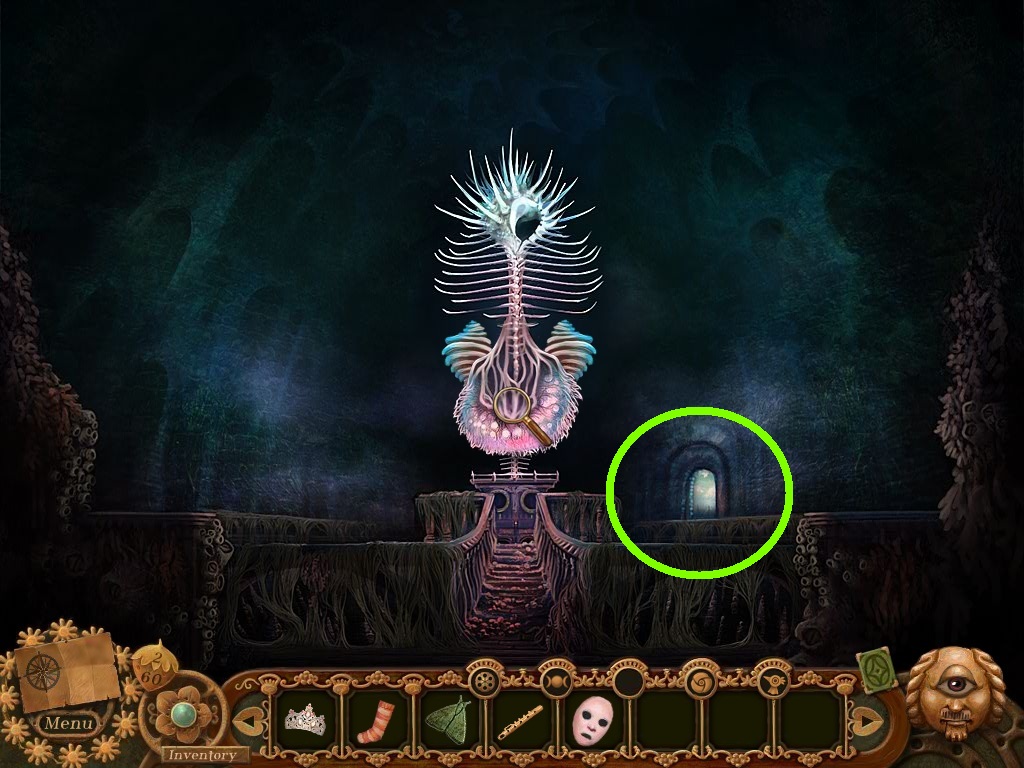
- Click Afi through the doorway (green circle) into the schoolhouse.
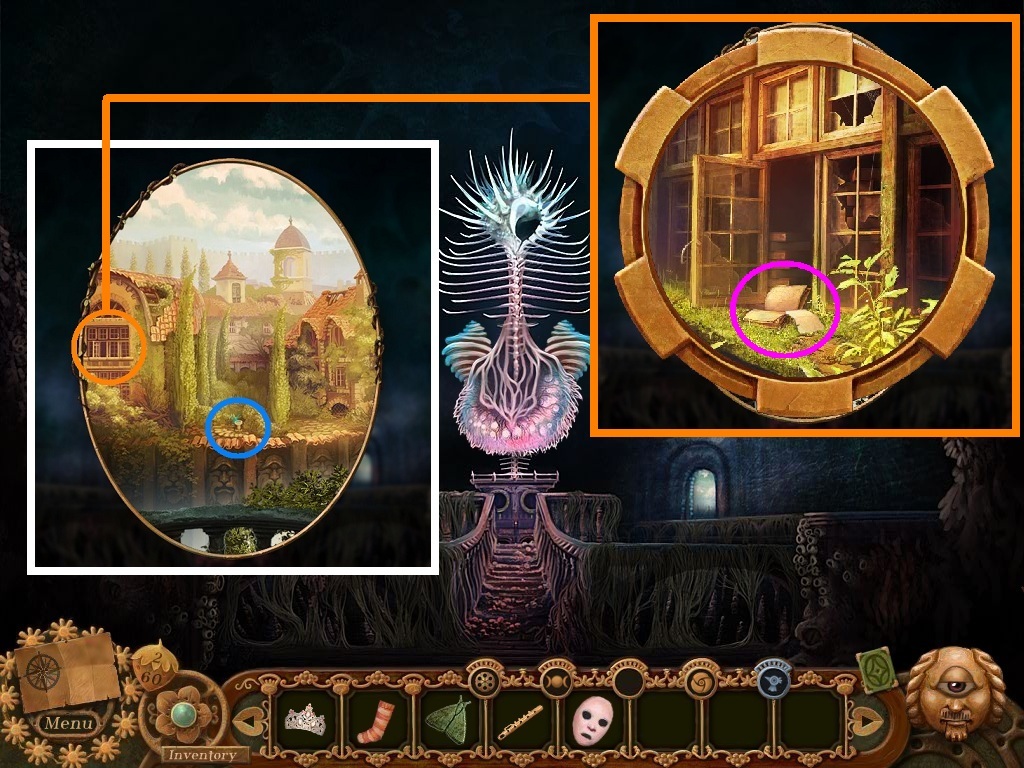
- Zoom into the open window (orange circle); collect the rescue page (pink circle).
- Zoom into the bird bath (blue circle).

- Collect the fish button (green circle).
- Zoom into the shuttered window (pink circle).
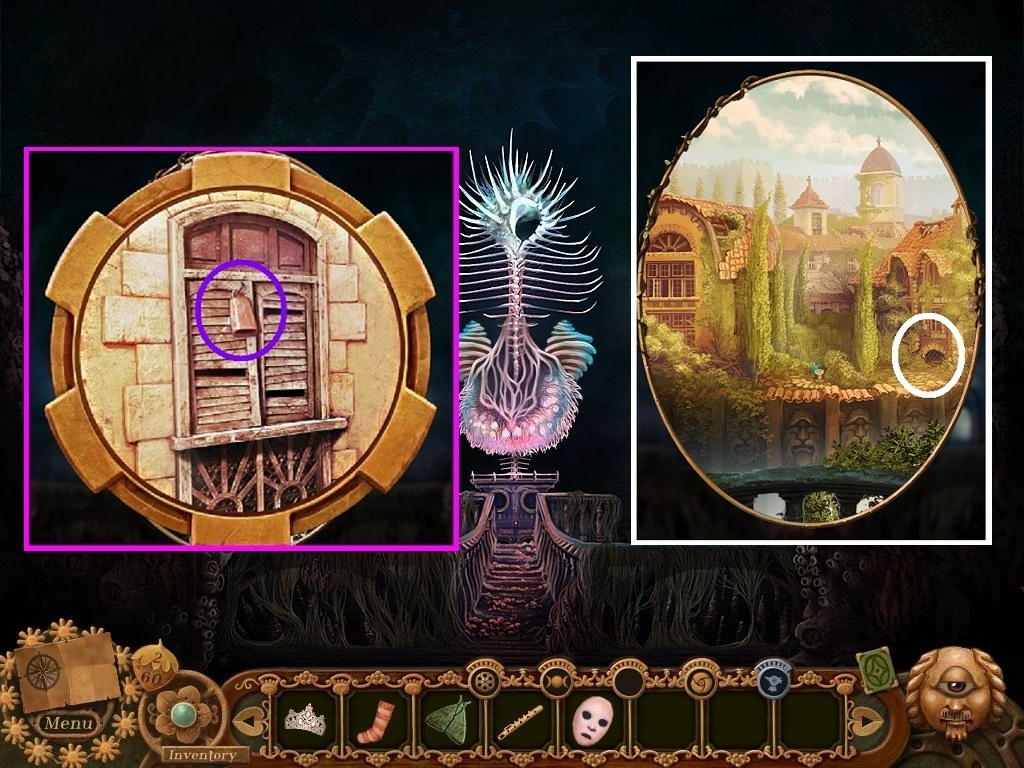
- Collect the cowbell (purple circle).
- Zoom into the arch window (white circle).
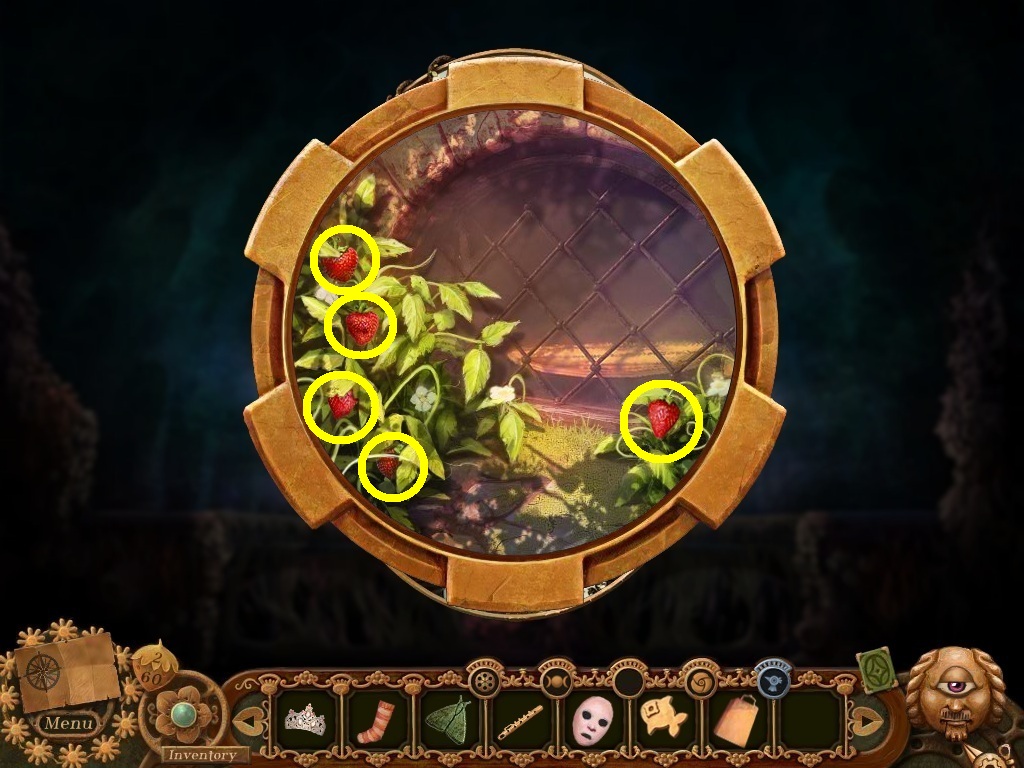
- Collect the strawberries (yellow circle).
- Go to the automata courtyard.
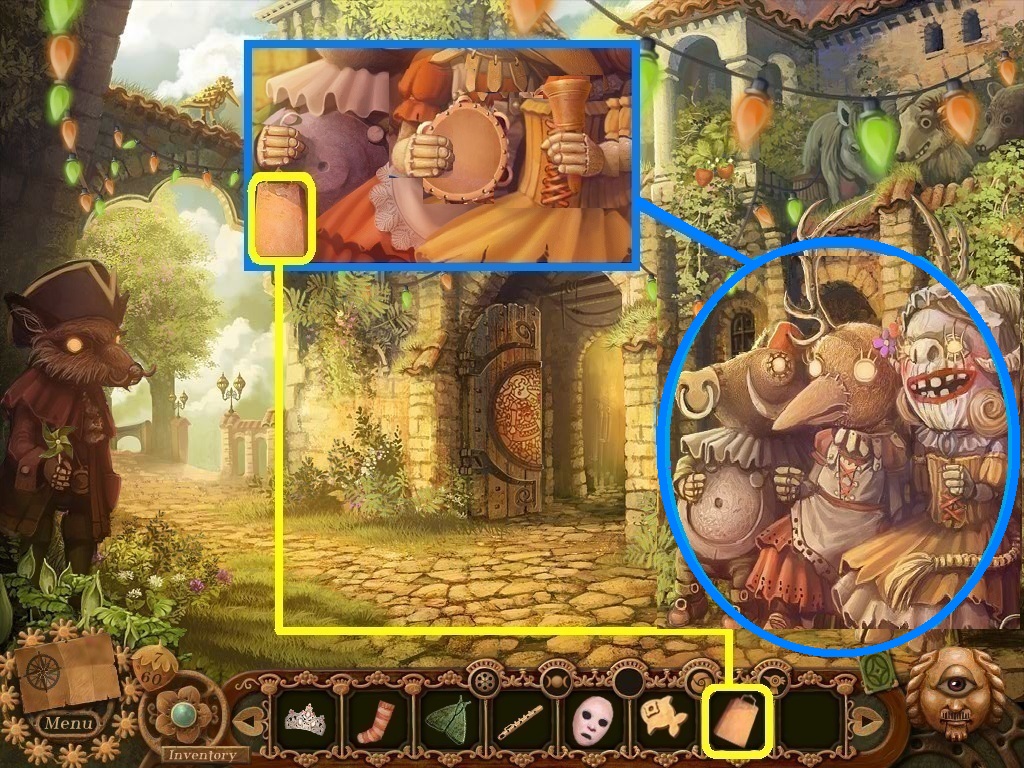
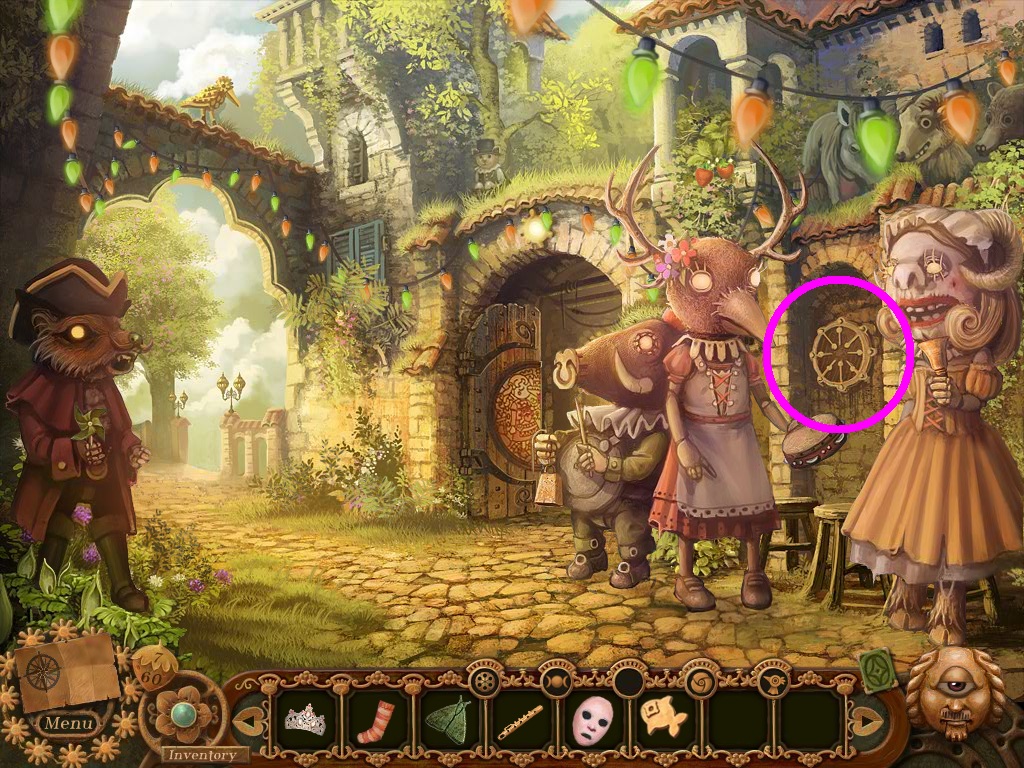
- Zoom into the automata trio (blue circle).
- Pick the cowbell (yellow square); insert it into the missing space in the automata trio.
- Zoom into the plaque (pink circle).
- Collect the bridge control panel.
- Go to Parade Street.
Comments will load when you reach this part of the walkthrough.