
Chapter Eight: Hello Buildson
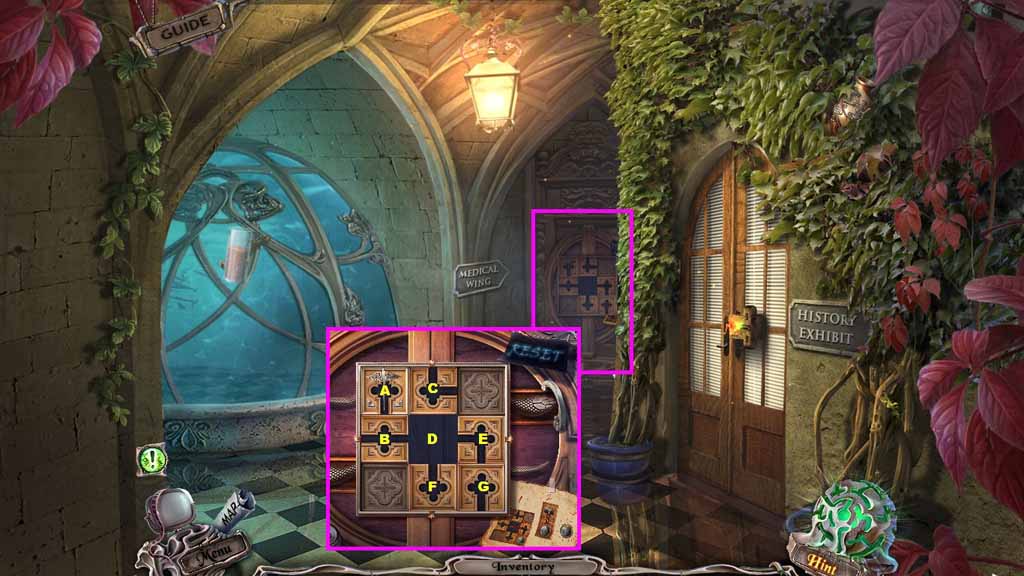
- Zoom into the door and insert the tile to trigger a puzzle.
- Solve the puzzle by guiding the snake tile to the winged rod.
- Use the following sequence of movement to solve the puzzle.
- E – F – G: down
- G: up and left
- E – D – B: right
- D – C – A: left and up
- Enter the doorway.
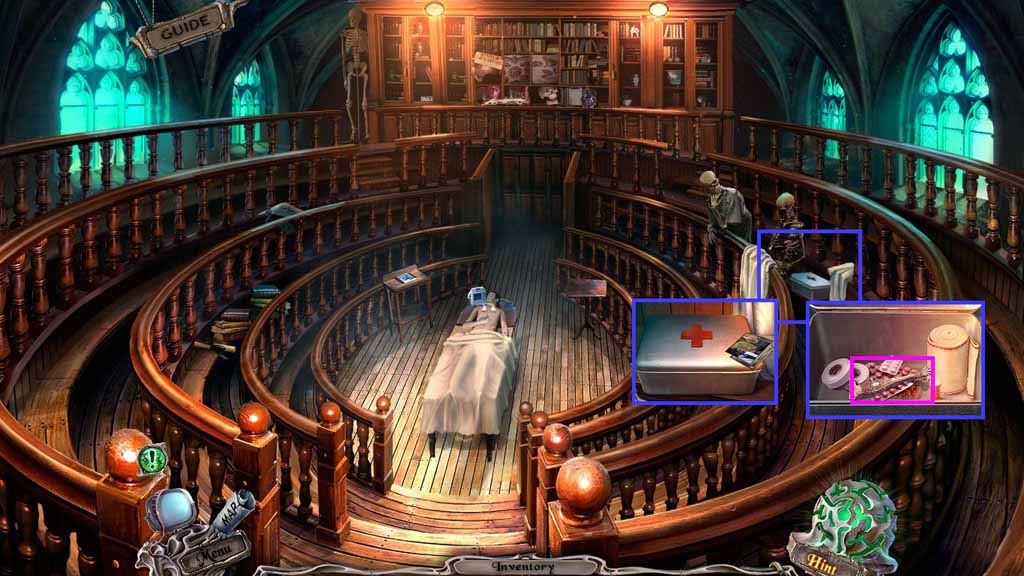
- Click the bookcase to trigger a hidden objects area.
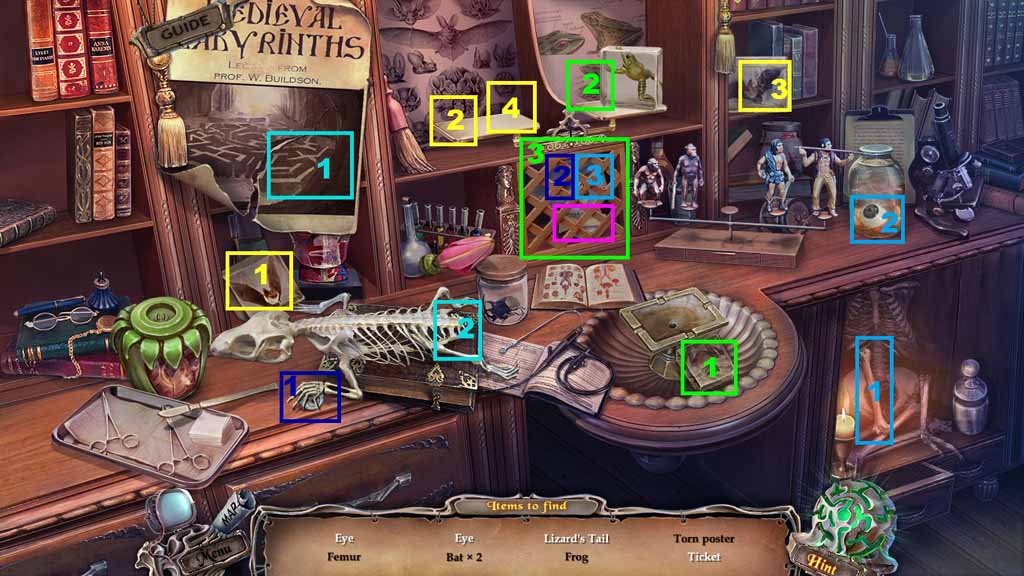
- Find the listed items.
- Select the bat and place it onto the pedestal.
- Select the other bat and place it onto the pedestal also.
- Click the torn poster to uncover the lizard tail and attach it to the lizard skeleton.
- Select the frog and place it onto the pedestal, the grate will open and reveal a skeleton.
- Select the femur and use it to smash the glass jar; collect the eye and insert it into the skeleton.
- Click the lizard claw and collect the eye; insert it into the skeleton to reveal the ticket.
- Collect the ticket.
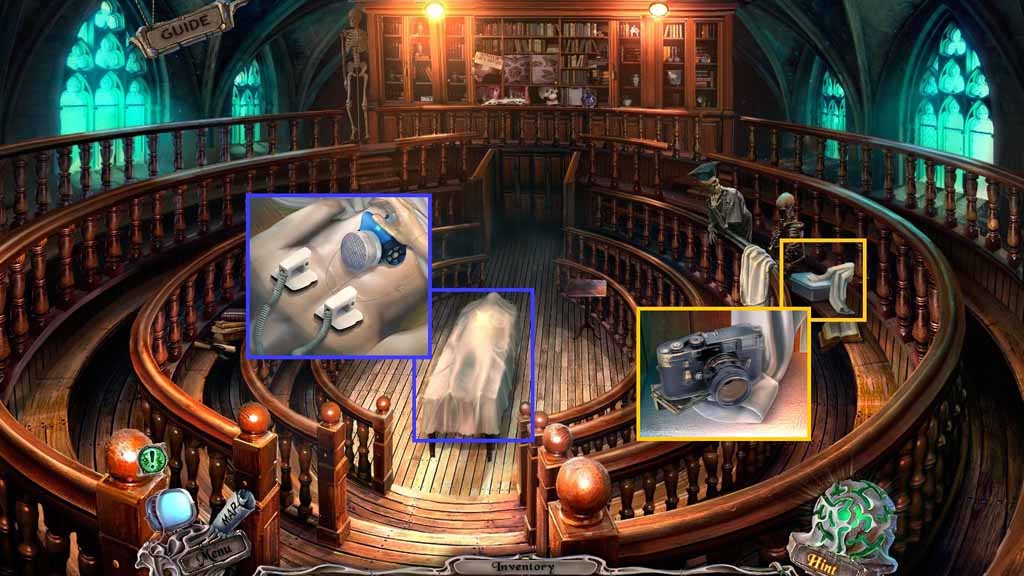
- Zoom into the gurney; click the sheet.
- Attach the defibrillator onto the dummy and click it; collect the respirator.
- Zoom into the box; click the camera and collect the sleeve.
- Move down once.
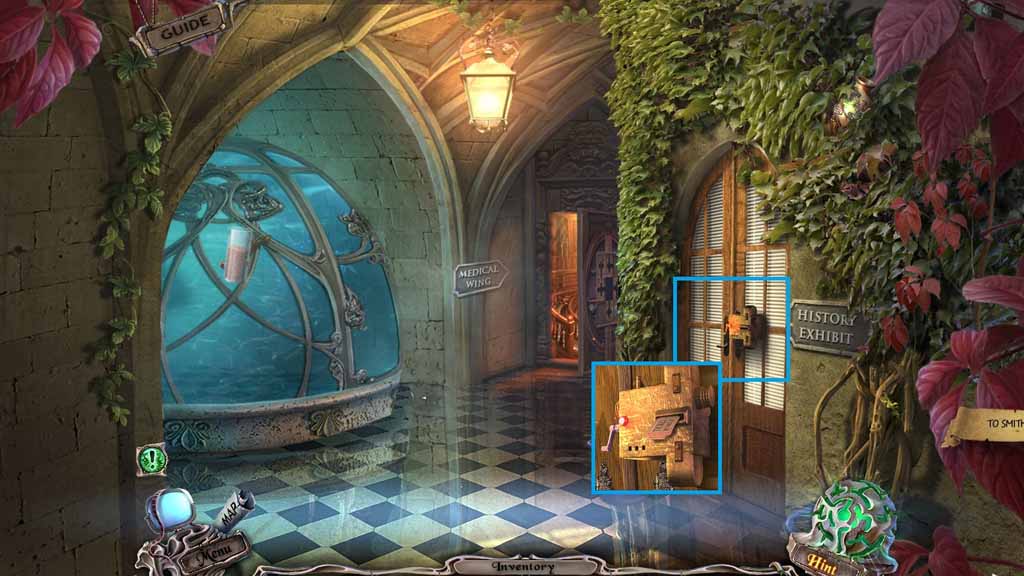
- Zoom into the door lock.
- Insert the ticket into the slot.
- Enter the doorway.
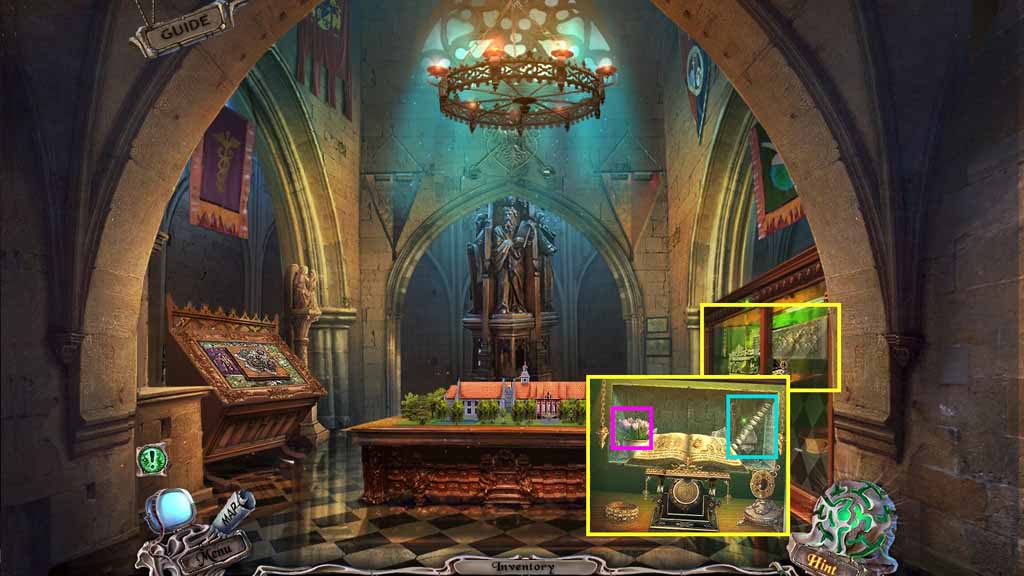
- Zoom into the glass case.
- Insert the stone book into the holder.
- Click the back wall and collect the flowers and the tube.
- Move to the Auditorium.
- Click the bookcase to trigger a hidden objects area.
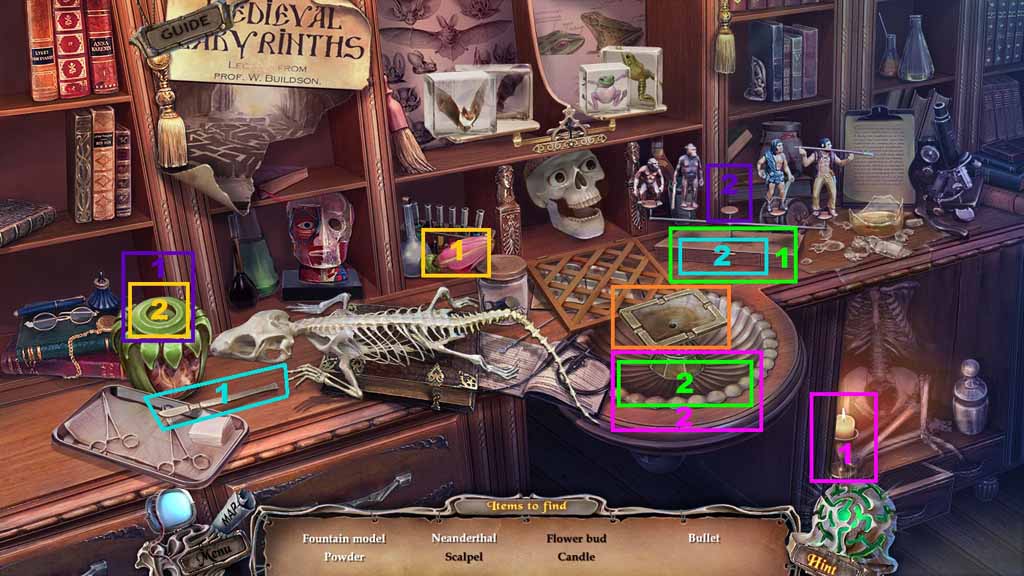
- Find the listed items.
- Select the flower bud and place it onto the flower base; collect the Neanderthal.
- Place the Neanderthal onto the pedestal and uncover the bullet.
- Select the scalpel and use it to remove the gunpowder from the bullet.
- Place the gunpowder onto the tray.
- Select the candle and use it to ignite the gunpowder.
- Collect the fountain model.
- Move to the History Exhibit.
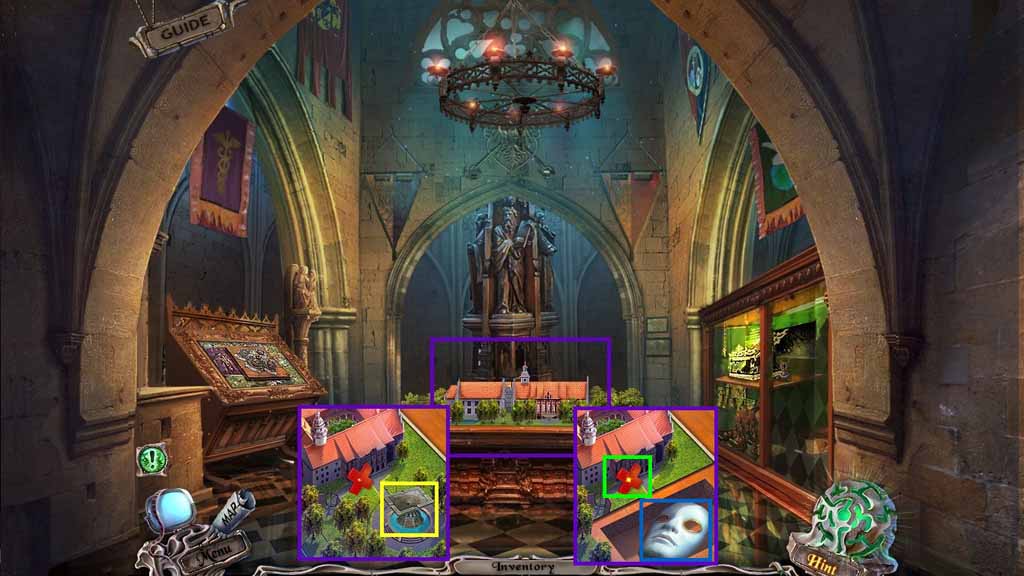
- Attach the fountain model onto the base.
- Collect the mask part and the tile.
- Move to the Laboratory.
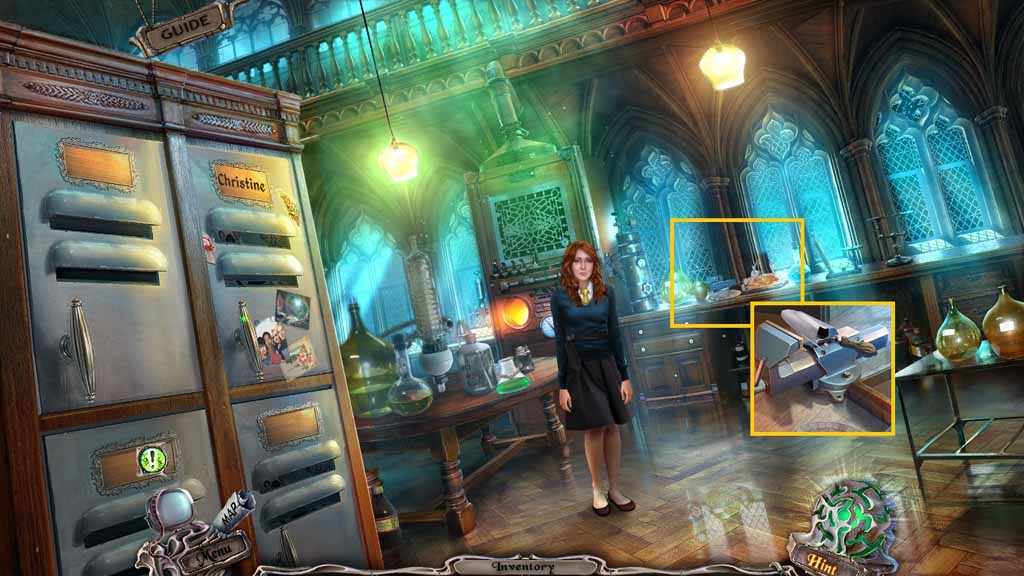
- Zoom into the counter.
- Place the bent spade into the vise and collect the spade.
- Move to the Auditorium.
- Zoom into the box and insert the tile.
- Collect the tweezers.
- Move to Smith Hall.
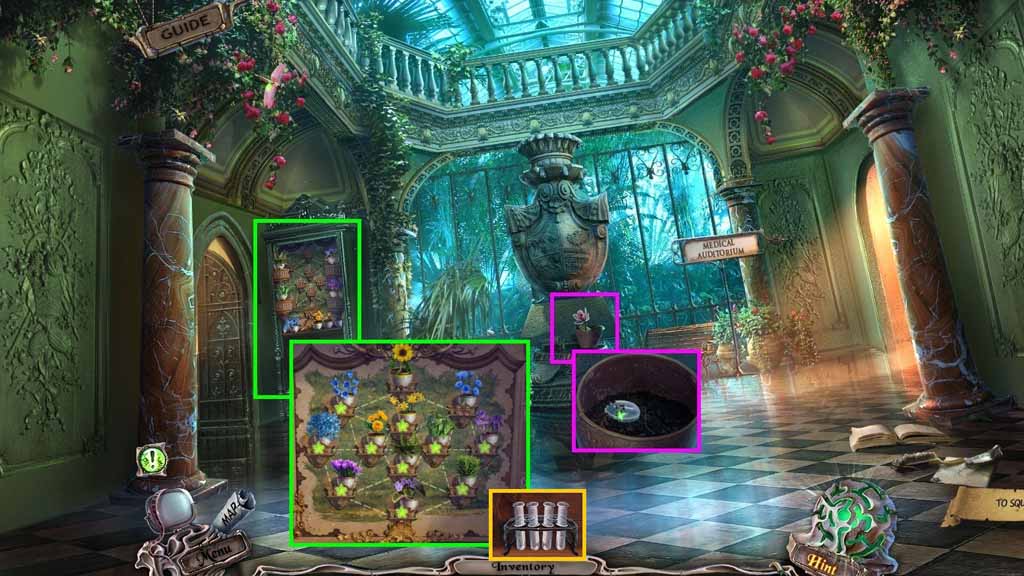
- Zoom into the flower.
- Select the spade to dig the dirt and collect the 1 / 2 lenses.
- Zoom into the display and insert the flowers to trigger a puzzle.
- Solve the puzzle by placing the flowers into the correct areas.
- Collect the test tubes.
- Move to the left.
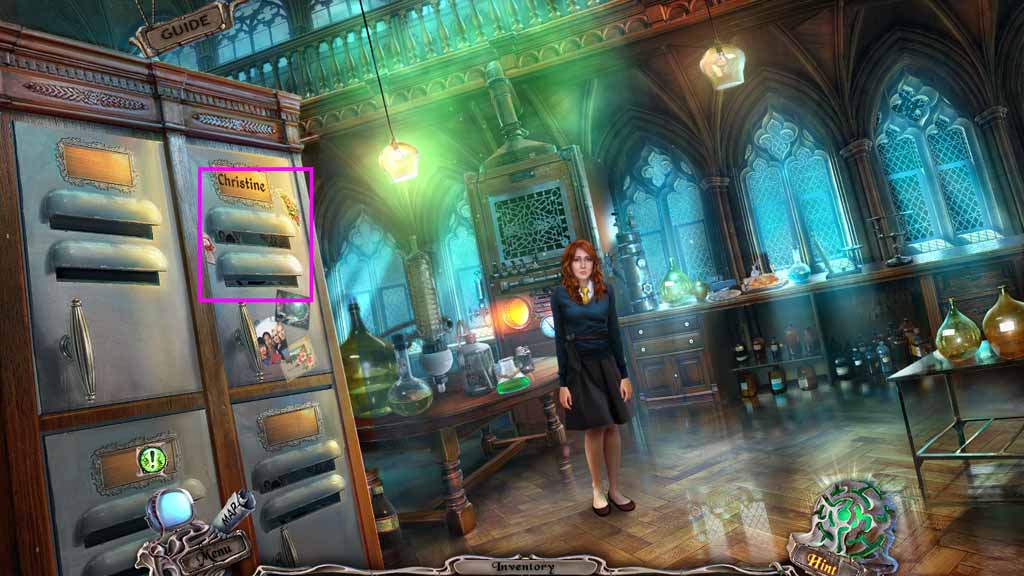
- Zoom into the lockers.
- Select the tweezers to collect the valve.
- Move to the Medical Wing.
- Zoom into the feeder.
- Attach the valve and click it once.
- Collect the 2 / 2 lenses.
- Move to the Laboratory.
- Zoom into the table.
- Insert the mask into the outline.
- Place down the 2 lenses, respirator and scrunchy.
- Collect the mask.
- Place the mask onto the girl.
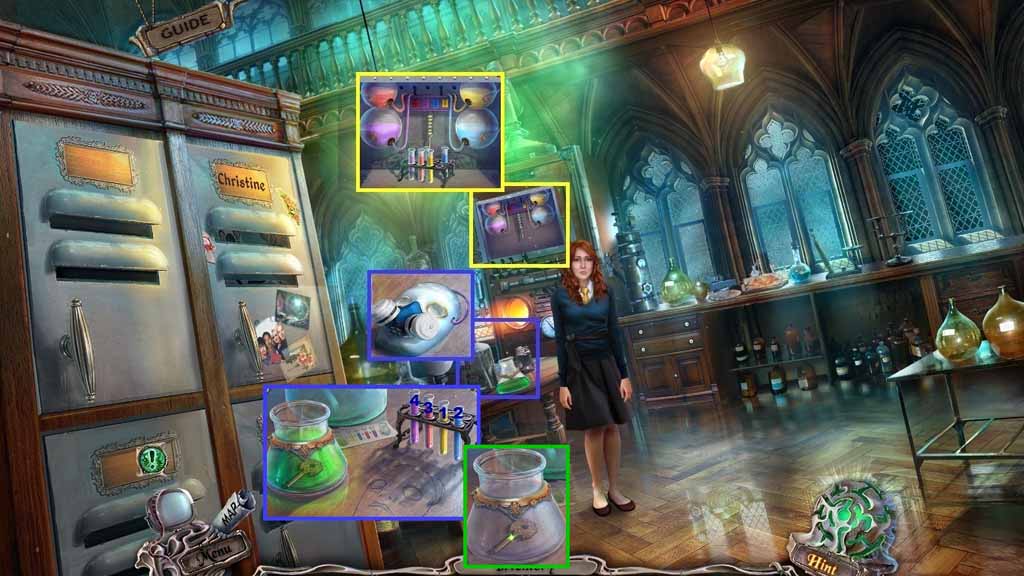
- Zoom into the chemicals.
- Put the test tubes onto the shelf and the tube beneath the arrows.
- Click each of the arrows; collect the chemicals.
- Put the chemicals onto the table.
- Add them to the beaker in the following order:
- Yellow – blue – red – purple
- Collect the puzzle key.
- Move to the History Exhibit.
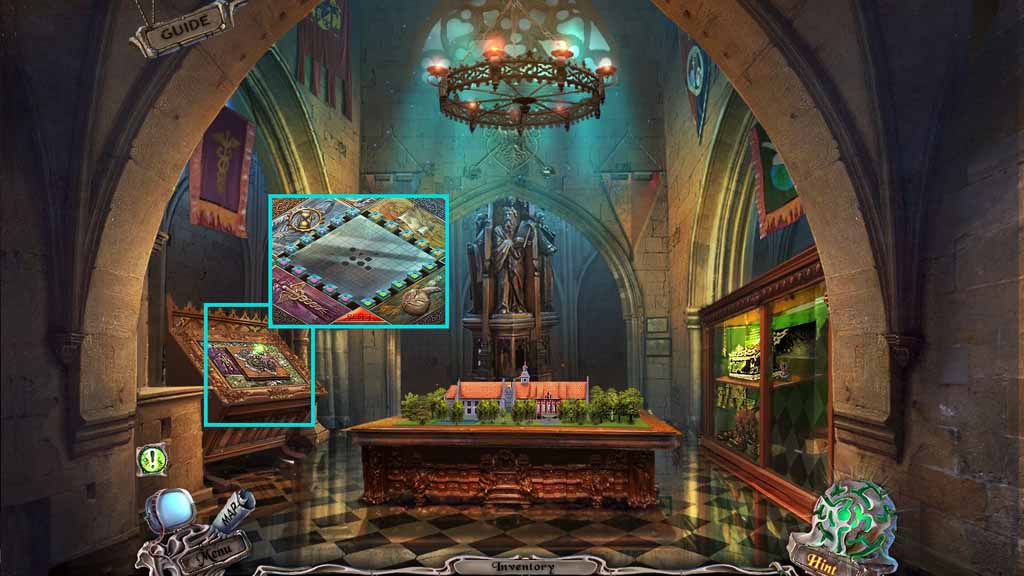
- Zoom into the lock and insert the puzzle key to trigger a puzzle.
- Solve the puzzle by moving the symbols over their matching areas.
- Collect the ornate tile.
- Move to the Labyrinth.
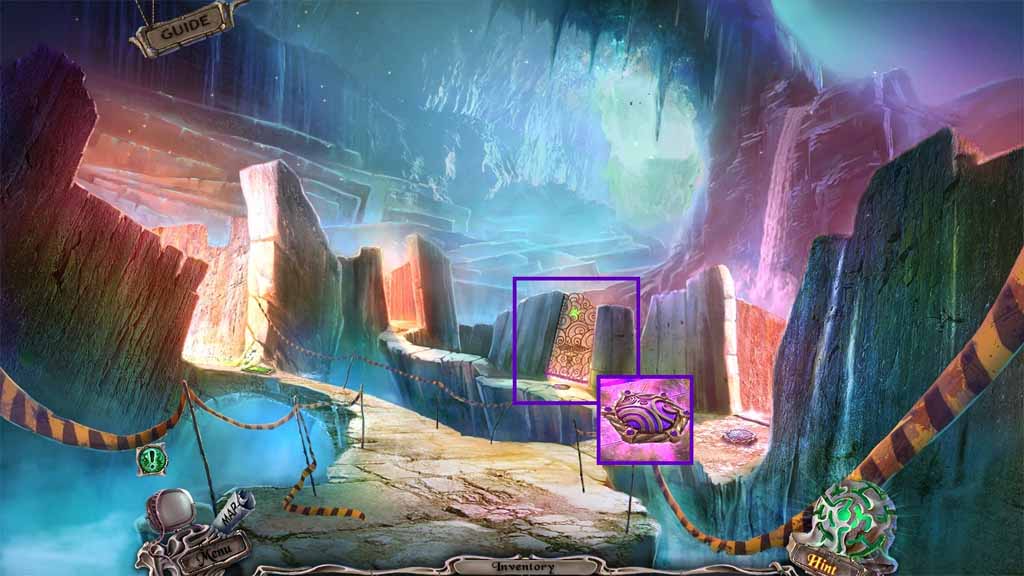
- Zoom into the gate; insert the ornate tile.
- Enter the labyrinth.
- Move ahead, then right then left.
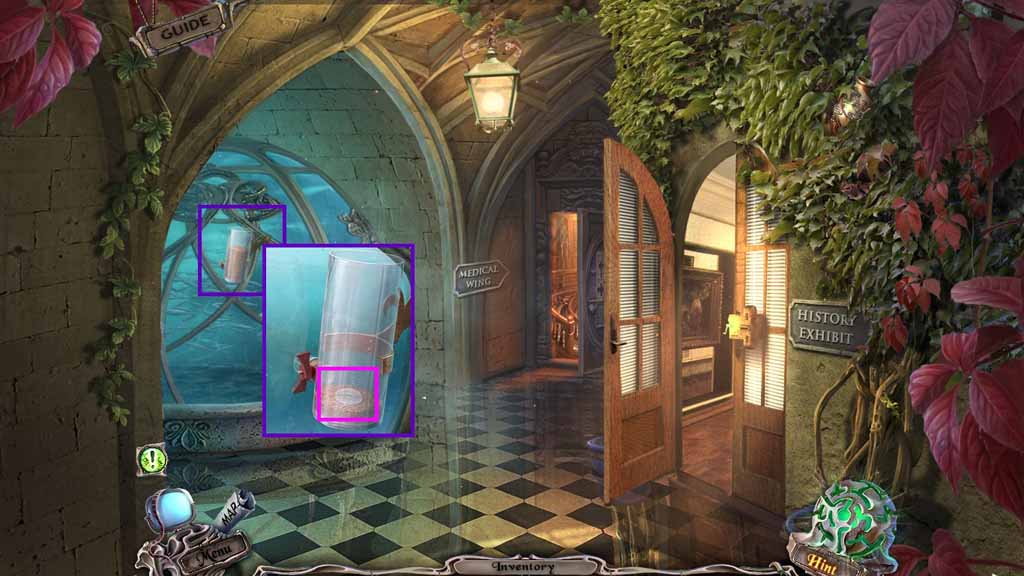
- Zoom into the ladder.
- Place the sleeve onto the ladder; collect it.
- Place the diamond ring onto the crystal to trigger a puzzle.
- Solve the puzzle by cutting all the lines but without repeating any lines.
- Use the following sequence to solve:
- C – B – A – F – B – G – F – K – L – Q – K – P – Q – R – S – T – O – S- N – O – J – E – D – J – I – N – M – H – I – D- C – H – G – L – M – R
- Place the ladder into the well; collect the smelling salts.
- Move through the passage way.
- Click anywhere.
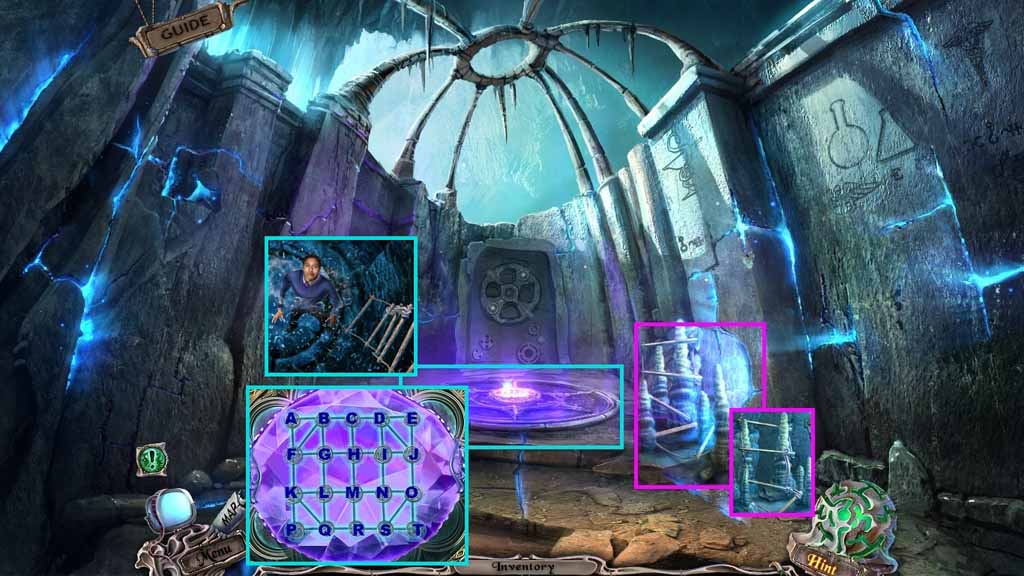
- Zoom into the professor.
- Select the smelling salts and use it on the professor.
- Collect the stick.
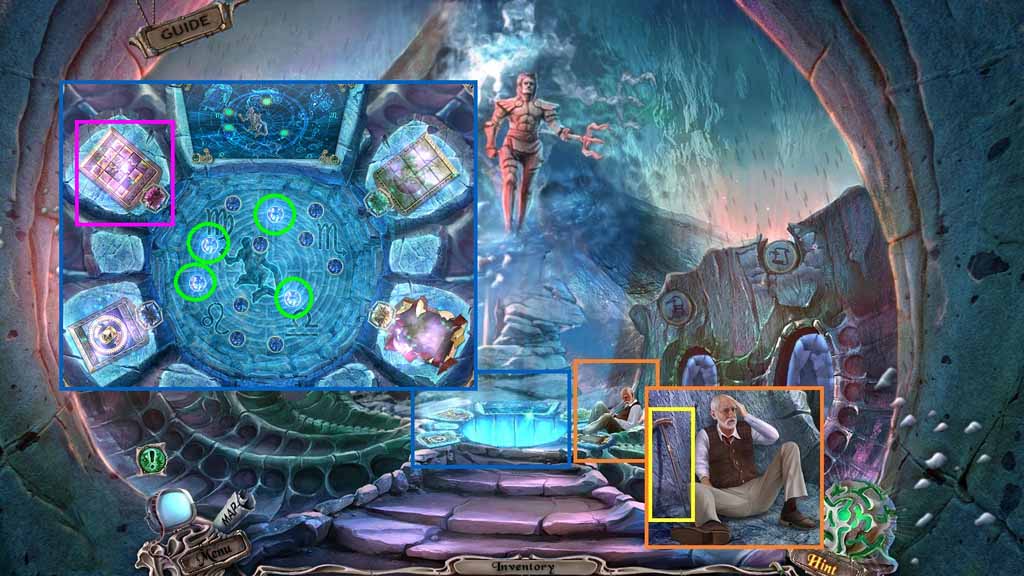
- Place the star map onto the pool.
- Select the stick to click the stars as shown on the map.
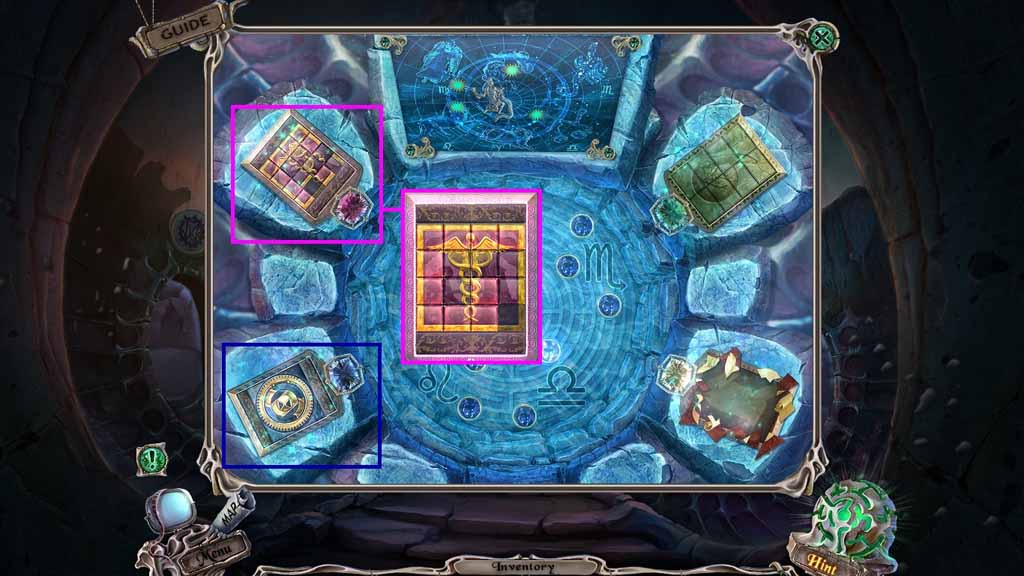
- Click the medical emblem to trigger a puzzle.
- Click the tiles to create the image to solve the puzzle.
- Click the lower left emblem to trigger a puzzle.
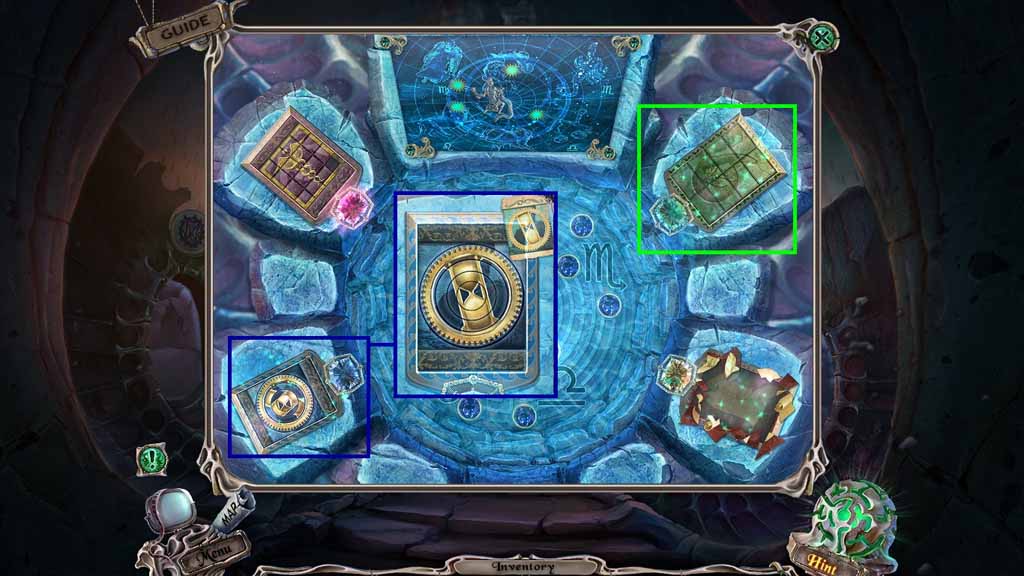
- Recreate the image by rotating the disks to solve the puzzle.
- Click the upper right emblem to trigger a puzzle.
- Solve the puzzle by finding the matching pairs.
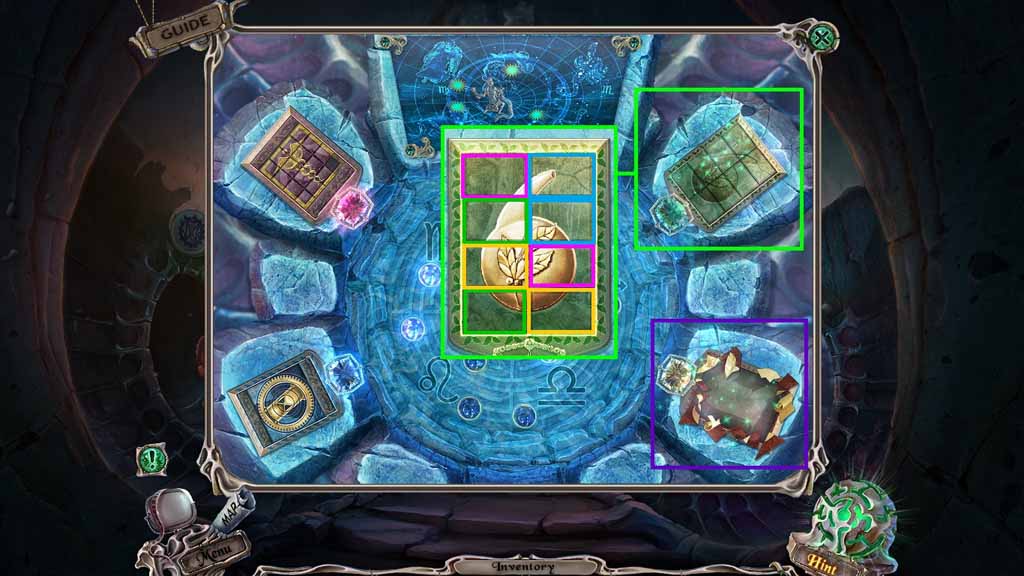
- Click the lower right emblem to trigger a puzzle.
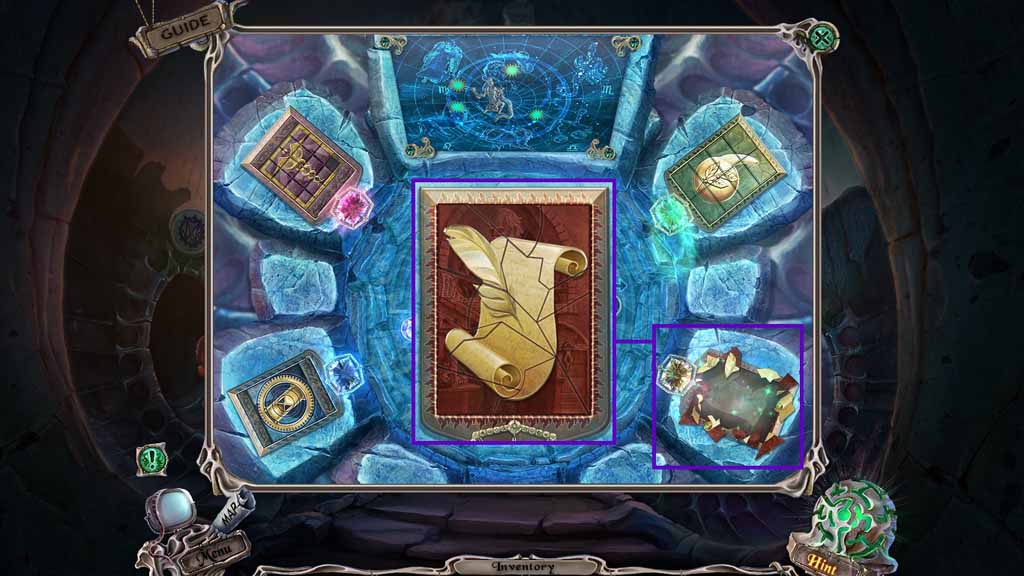
- Solve the puzzle by assembling the pieces to recreate the image.
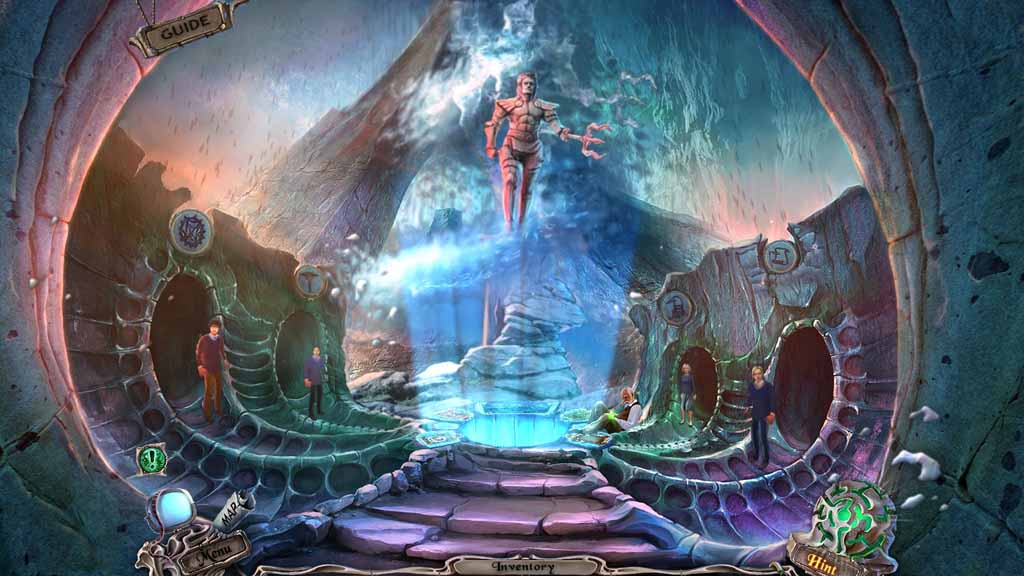
- Congratulations! You have freed the students and successfully completed the main game of Sable Maze: Norwich Caves Collector’s Edition
Comments will load when you reach this part of the walkthrough.