

Chapter Six: The Observatory
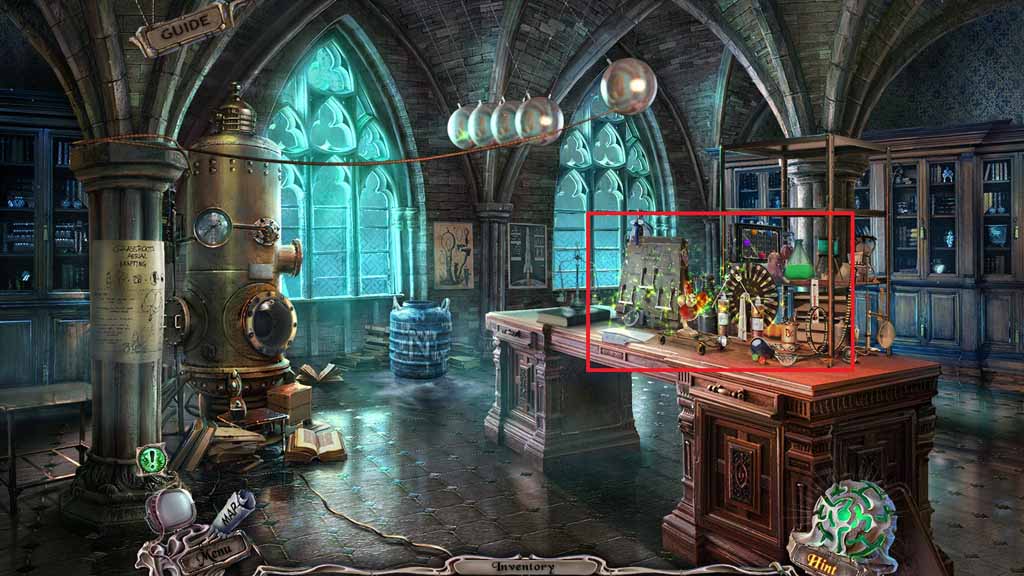
- Click the desk to trigger a hidden objects area.
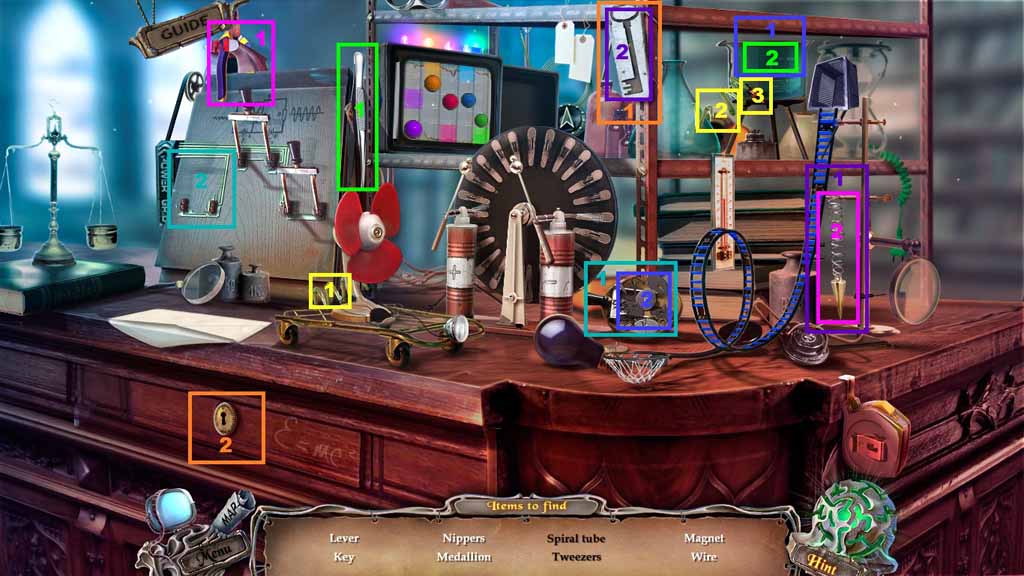
- Find the listed items.
- Select the spiral tube and insert it into the missing area then click the valve.
- Select the tweezers and use them to collect the magnet.
- Select the magnet to remove the metal and collect the lever.
- Insert the lever into the panel and click the all the levers down.
- Select the nippers and use them to collect the wire.
- Select the wire and insert it into the key mold; collect the key.
- Select the key and insert it into the drawer to reveal the medallion.
- Collect the 1 / 2 medallions.
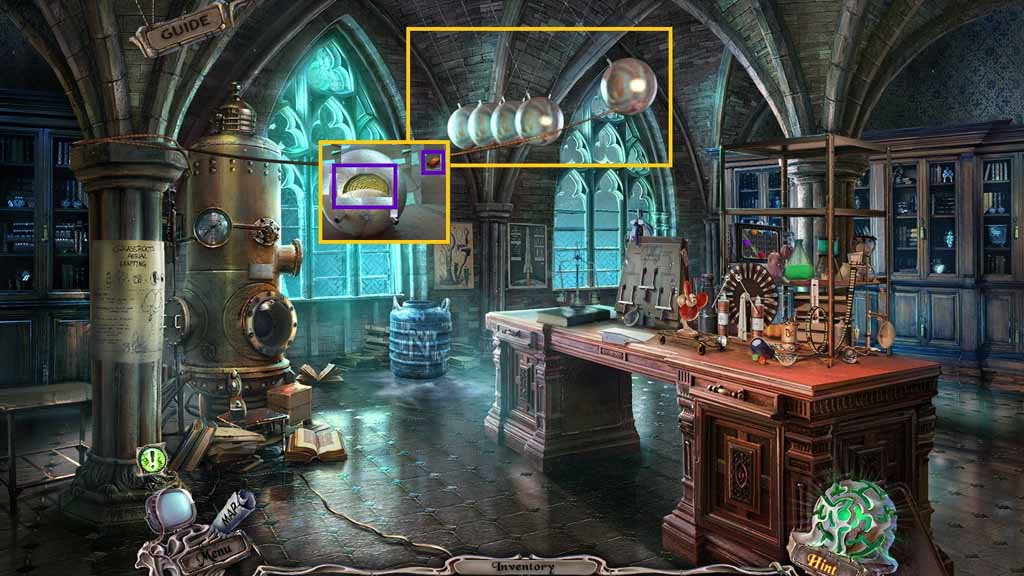
- Zoom into the balls.
- Select the throwing star to use on the balls; collect the button.
- Select the pin to collect the 2 / 2 medallions.
- Move to the University Radio Station.
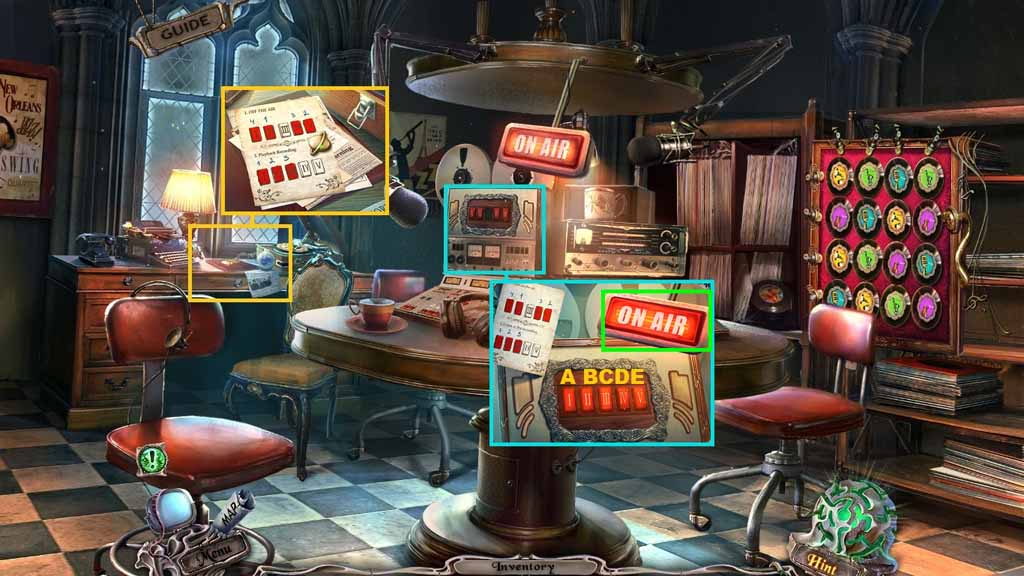
- Zoom into the desk.
- Insert the medallion into the dairy cover; collect the paper and the planet tile.
- Zoom into the controls and attach the button to trigger a puzzle.
- Solve the puzzle by recreating the pattern.
- Click the buttons as follows: B – E – D – A then A – B – C.
- Collect the lamp.
- Move down once.
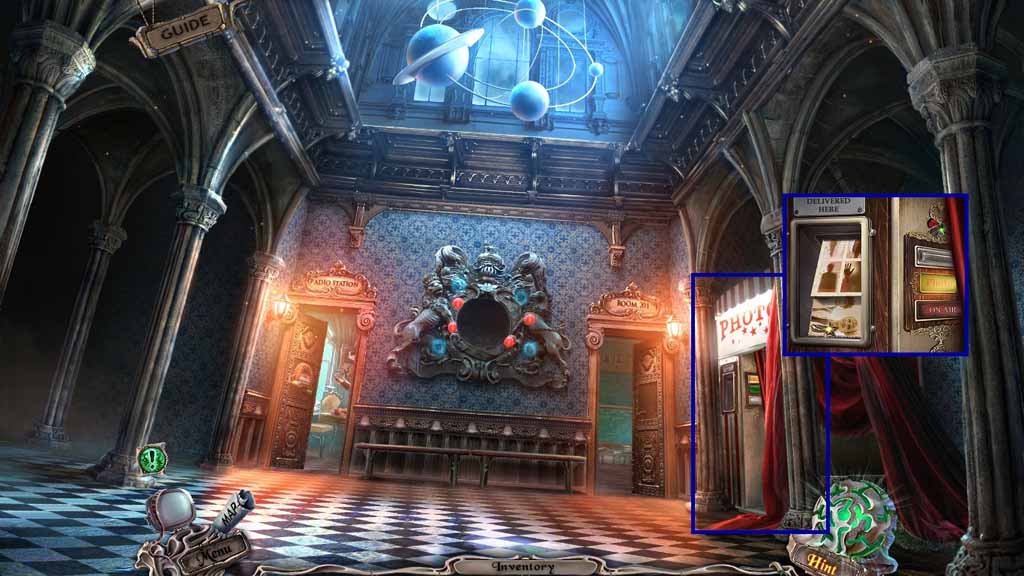
- Zoom into the photo booth.
- Insert the lamp onto the “on the air” button; click the photo button.
- Collect the star and zoom into the photos.
- Move down once.
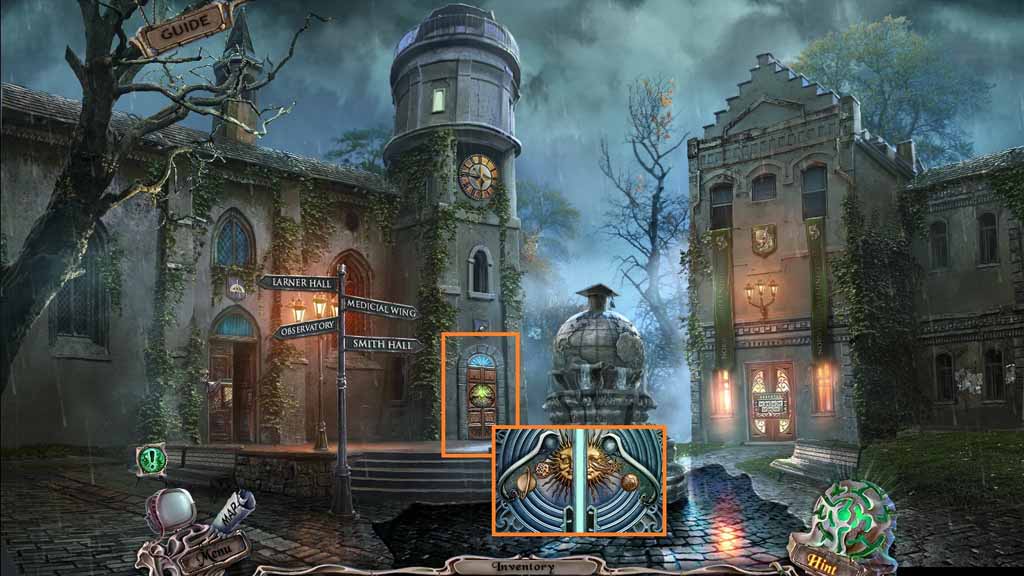
- Zoom into the door.
- Insert the star and the planet tile.
- Enter the doorway.
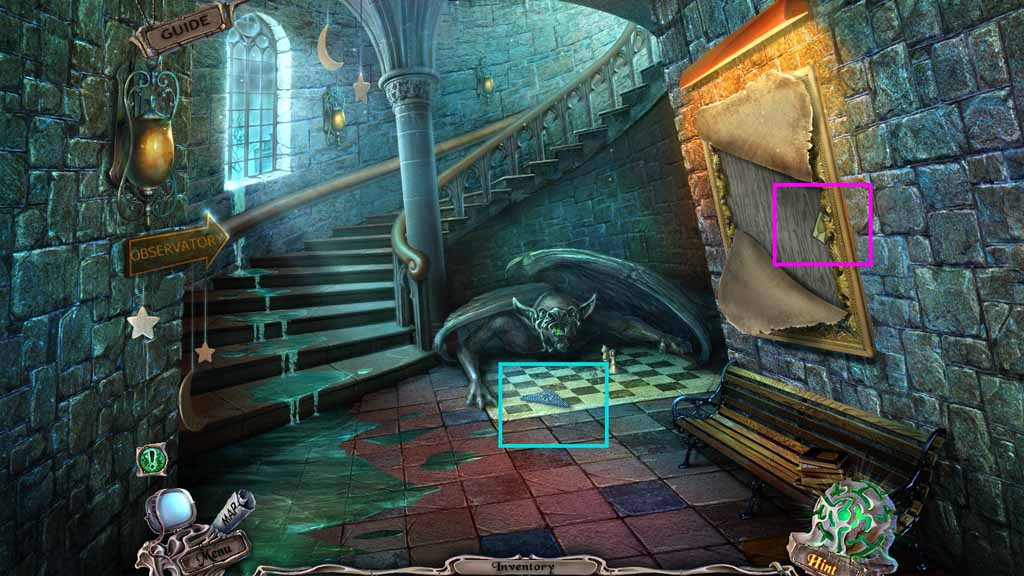
- Zoom into the chessboard; collect the 1 / 2 tiles.
- Zoom into the frame; collect the 5/ 7 tiles.
- Move upstairs.
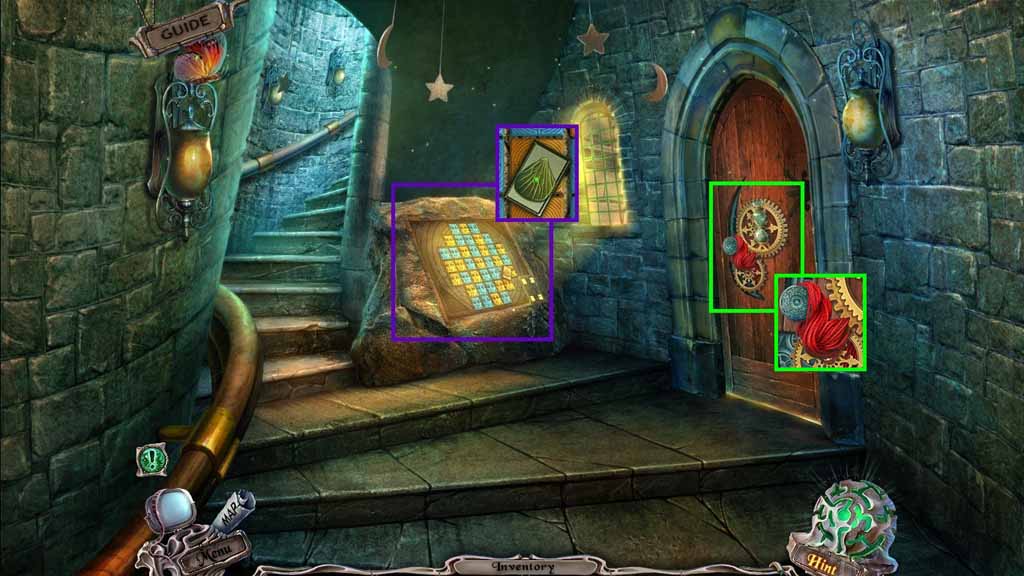
- Zoom into the stone; collect the 6 / 7 tiles.
- Zoom into the door; collect the string.
- Move upstairs.
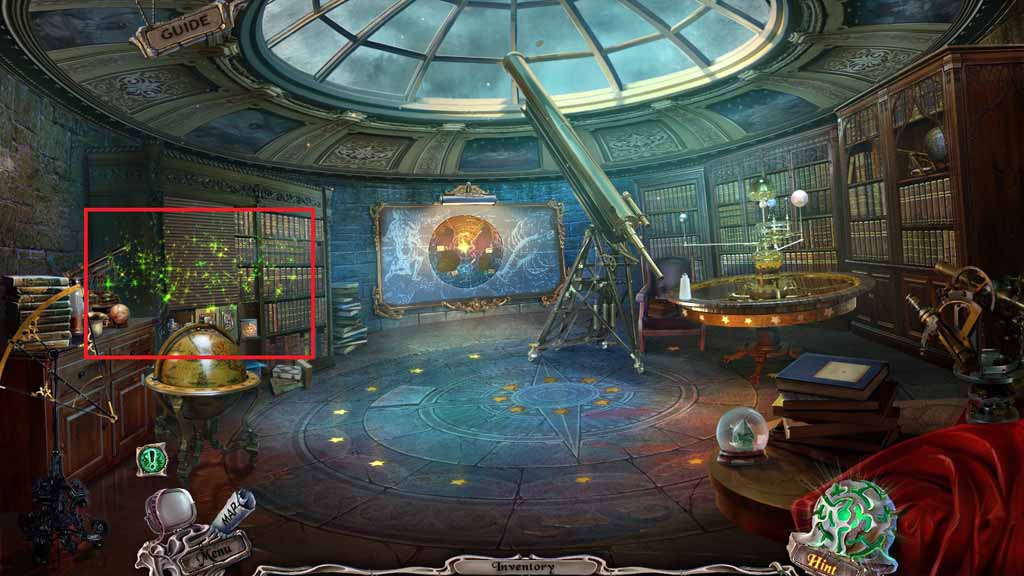
- Click the bookcase to trigger a hidden objects area.
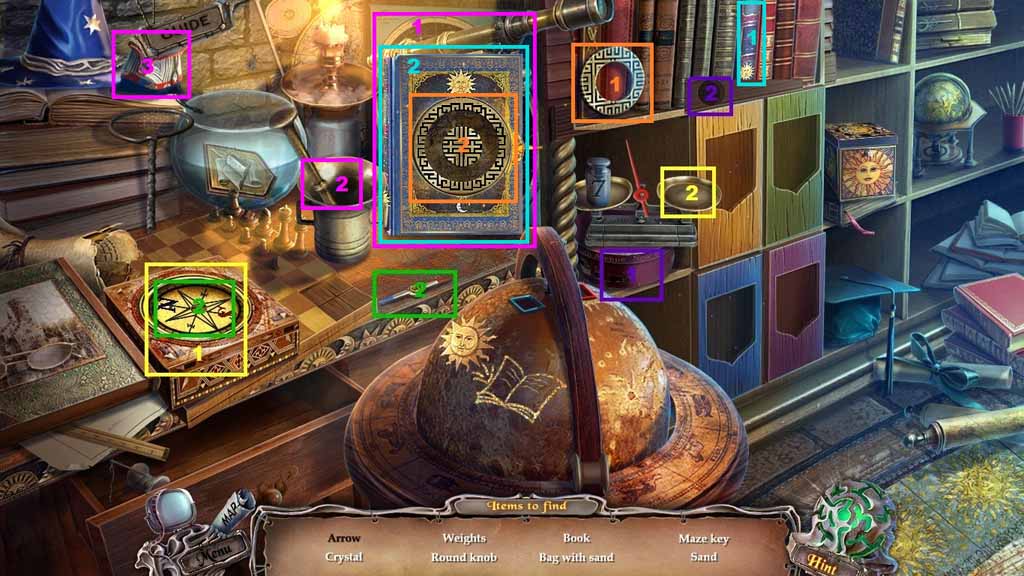
- Find the listed items.
- Select the arrow and insert it into the compass then click it to reveal the weights.
- Select the weights and place them onto the scale to reveal the round knob.
- Place the round knob onto the missing space to reveal the books; collect the book and reveal the missing maze piece.
- Insert the maze key and align the rings to uncover the crystal.
- Select the crystal and place it into the mortar; use the pestle to crush it and create the sand and then click the bag.
- Pour the sand into the bag to create the bag with sand.
- Collect the sand.
Comments will load when you reach this part of the walkthrough.