

Chapter Four: Through the Stadium
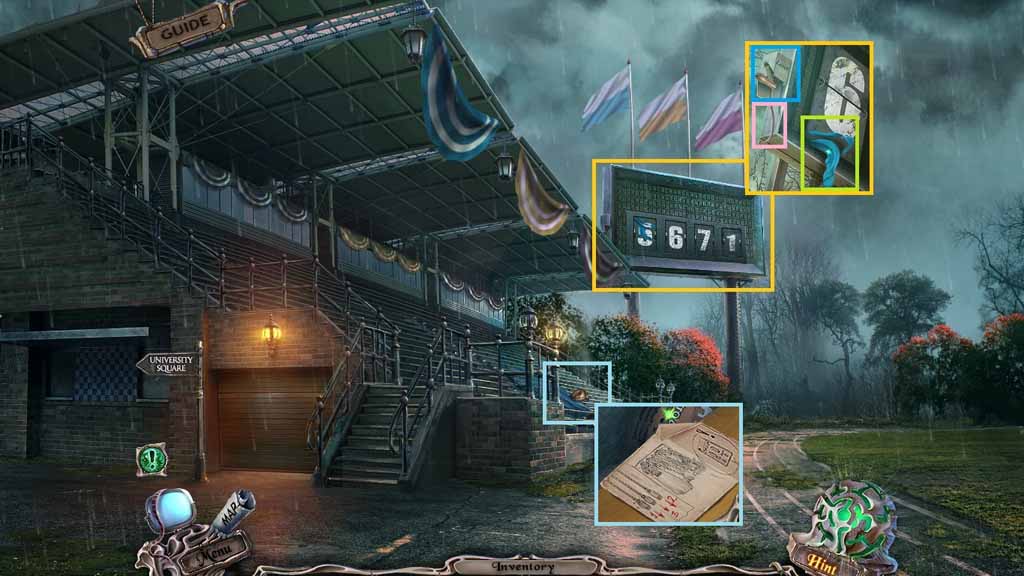
- Zoom into the scoreboard.
- Attach the handle and click it once; collect the scarf.
- Select the nippers to collect the wire.
- Zoom into the bleachers; collect the scheme.
- Move to the Theatre.
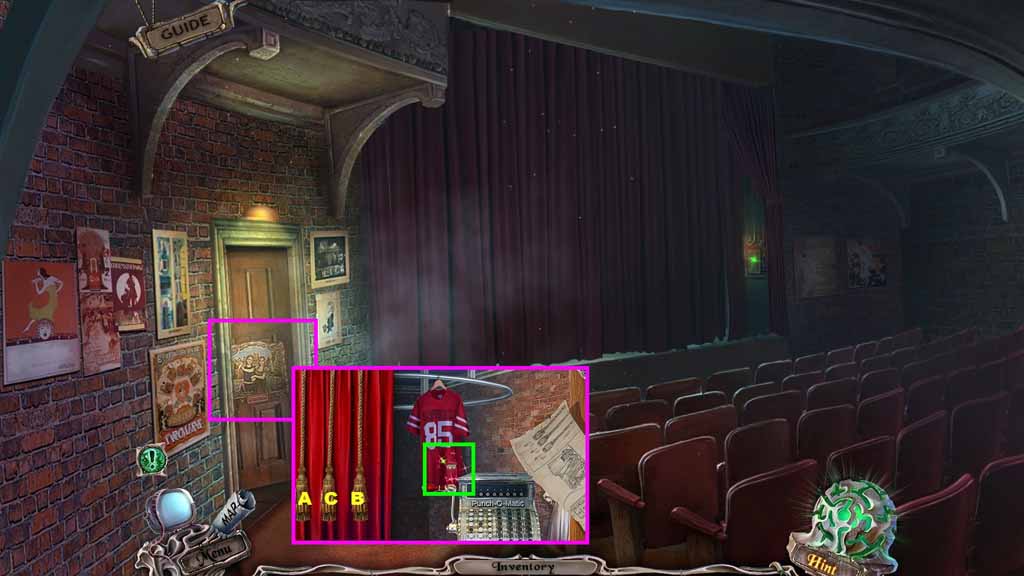
- Zoom into the door.
- Click the ropes in ABC order; collect the control panel.
- Move to the Stadium.
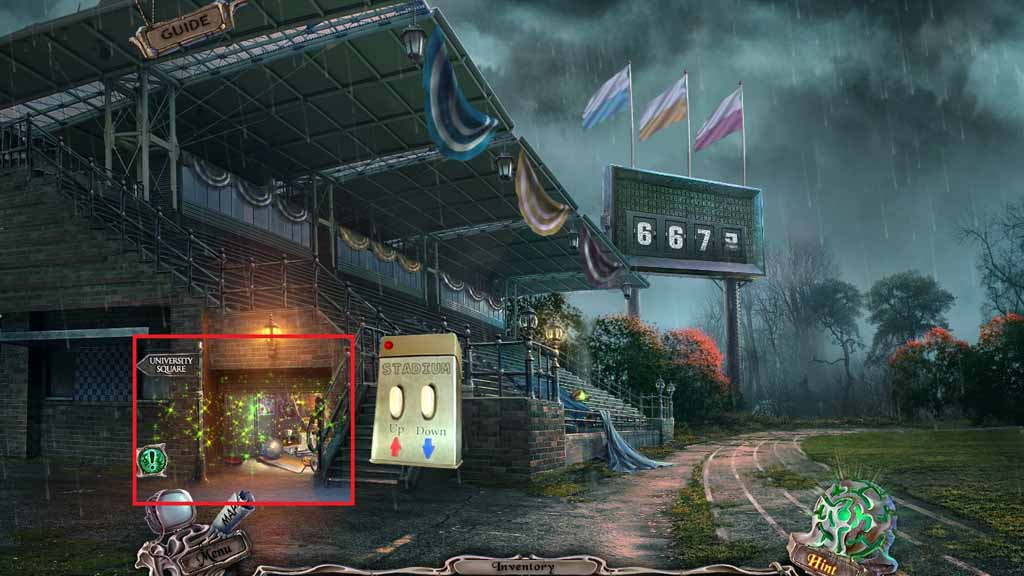
- Select the control panel to open the stadium door.
- Click the opened door to trigger a hidden objects area.
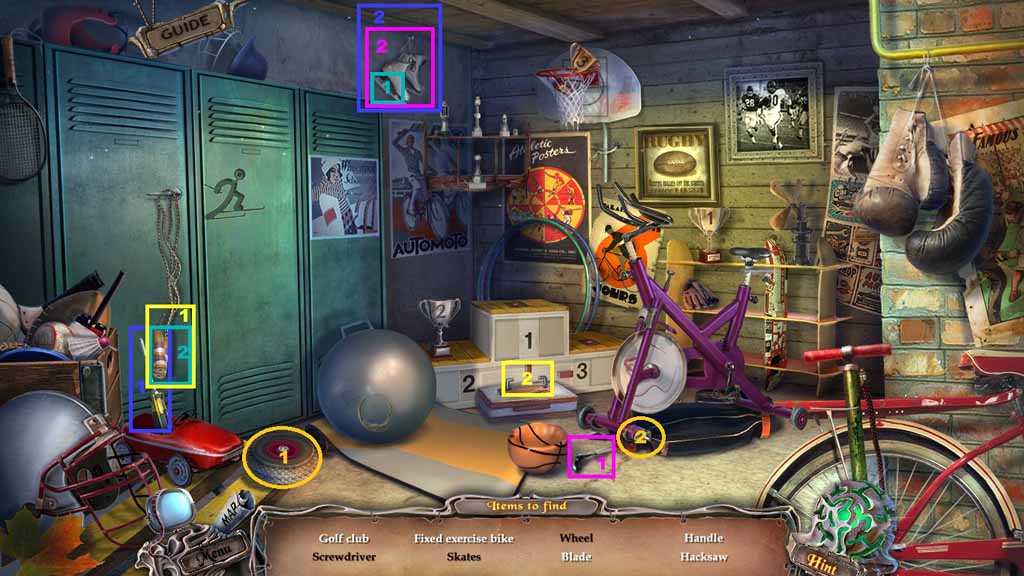
- Find the listed items.
- Select the wheel and place it on the bike to create the fixed exercise bike.
- Select the golf club to collect the skates.
- Select the screwdriver to remove the blade from the skate.
- Select the blade and use it to remove the jump rope handle.
- Select the handle and attach it onto the box to reveal the hacksaw.
- Collect the hacksaw.
- Move to the Library.
- Click the desk to access a hidden objects area.
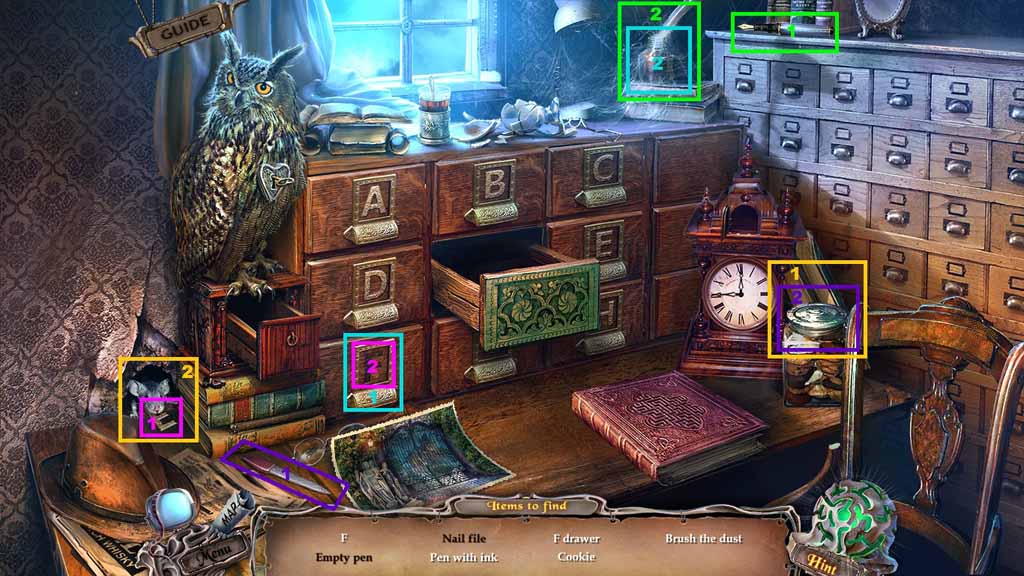
- Find the listed items.
- Select the nail file and use it to pry open the cookie jar; collect the cookie.
- Give the cookie to the mouse and collect the “F.”
- Insert the “F” into the drawer and collect the duster; use it to brush the dust.
- Select the pen and dip it into the ink pot and create the pen with ink.
- Collect the pen.
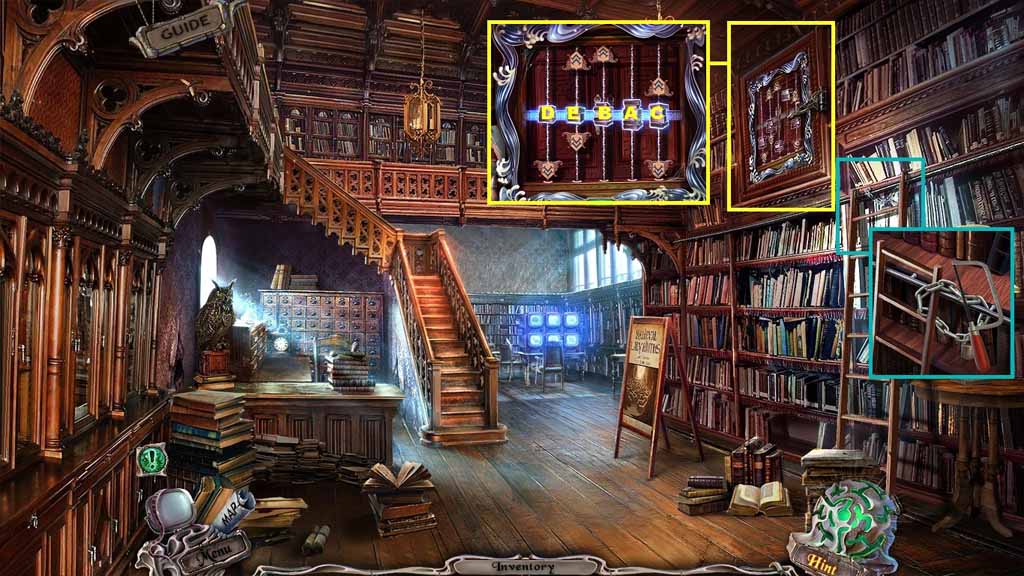
- Zoom into the shelf.
- Select the hacksaw to remove the chain.
- Zoom into the door panel to trigger a puzzle.
- Solve the puzzle by aligning the books correctly.
- Click the books in ABC order to solve.
- Enter the secret doorway.
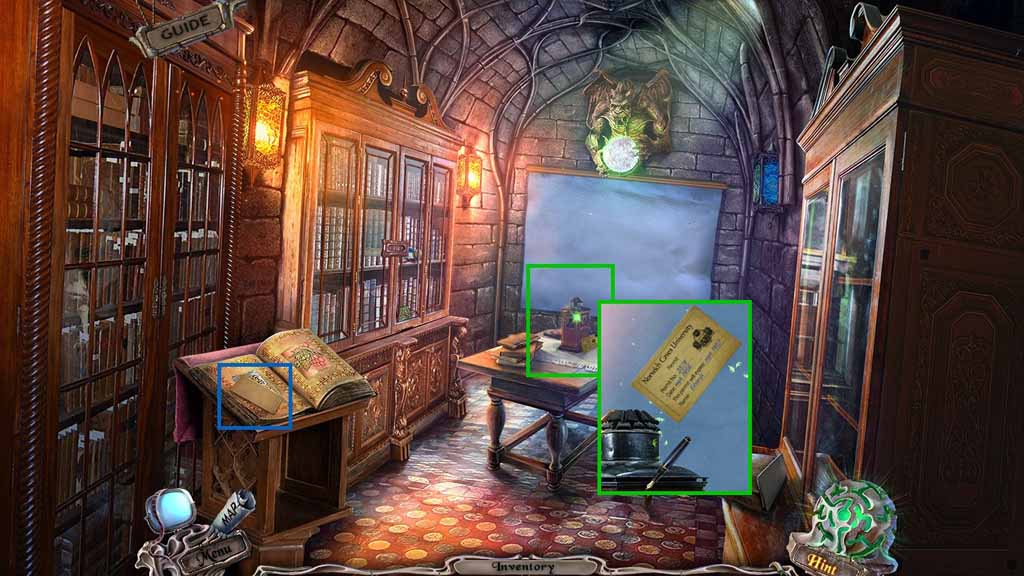
- Zoom into the book.
- Collect the punch card.
- Zoom into the desk.
- Click the blank pass and use the pen to collect the pass.
- Move to the Theatre.
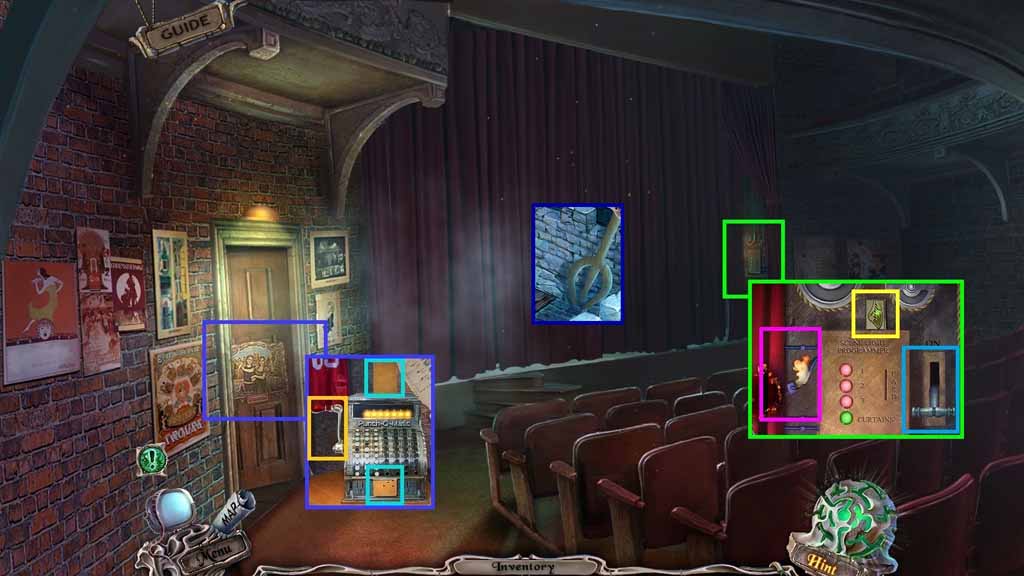
- Zoom into the door.
- Insert the blank punch card into the top of the punch-o-matic and click the handle.
- Collect the punch card.
- Zoom into the wall panel.
- Collect the 1 / 7 tiles.
- Insert the punch card into the slot and click the lever.
- Pour the cup of coffee onto the fire.
- Replace the burnt wire with the wire and click the lever.
- Zoom into the stage and collect the trident.
- Move to the Yard and take the path on the left toward the Square.
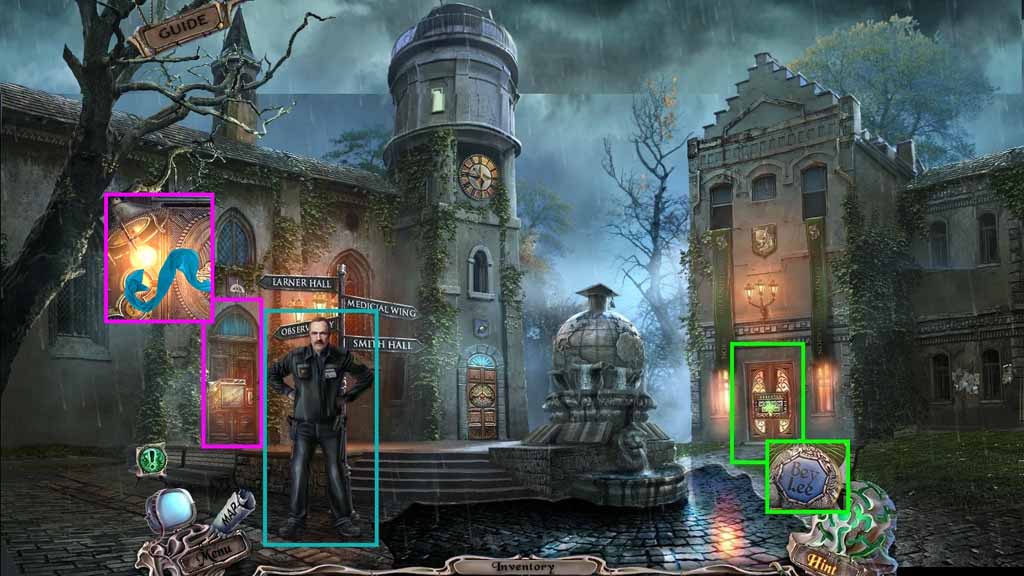
- Give the officer the pass.
- Zoom into the door; collect the bey lee tile.
- Zoom into the door.
- Select the scarf to collect the light bulb.
- Move to the right toward the Stadium.
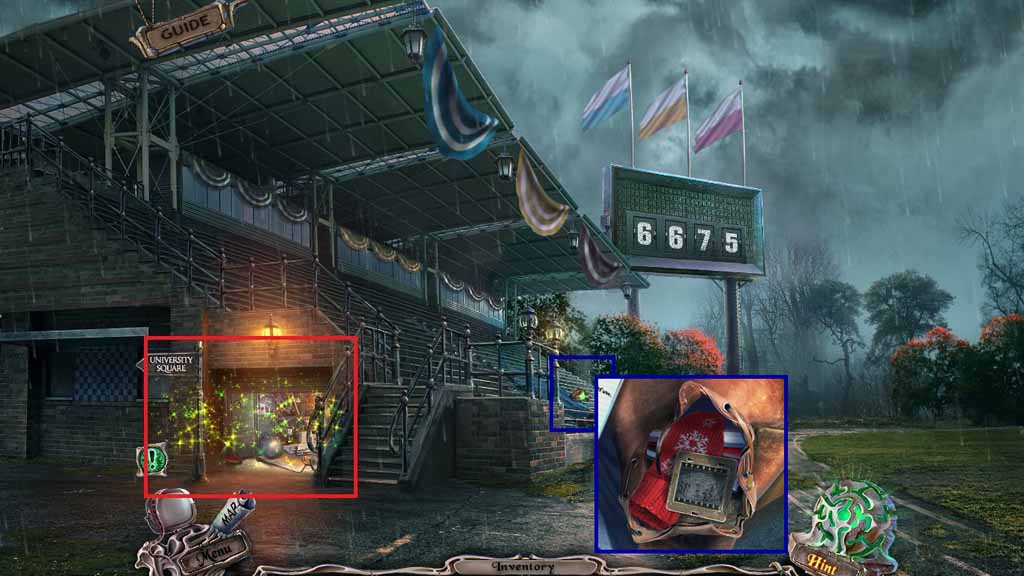
- Zoom into the bleachers.
- Insert the bey lee tile into the bag lock.
- Click the bag and collect the 4 / 5 slides and the mitten.
- Click the locker room door to access a hidden objects area.
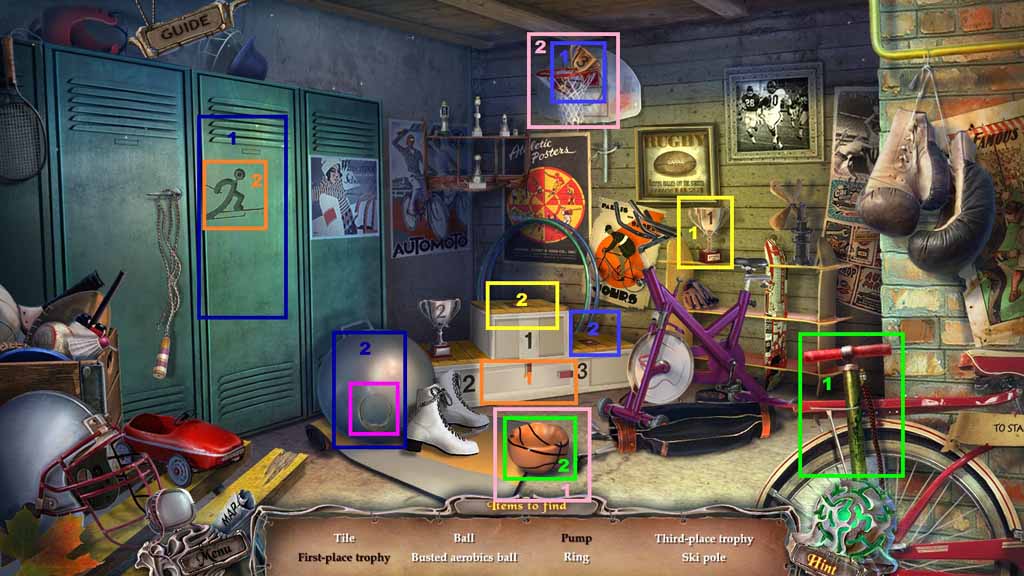
- Find the listed items.
- Select the first place trophy and place it onto the pedestal.
- Select the pump and use it to inflate the basketball.
- Select the basketball and throw it into the basket; collect the third place trophy and place it onto the pedestal to uncover the tile.
- Select the tile and insert it into the locker to reveal the ski pole.
- Select the ski pole and use it to bust the aerobics ball and reveal the ring.
- Collect the ring.
- Move to the Theatre.
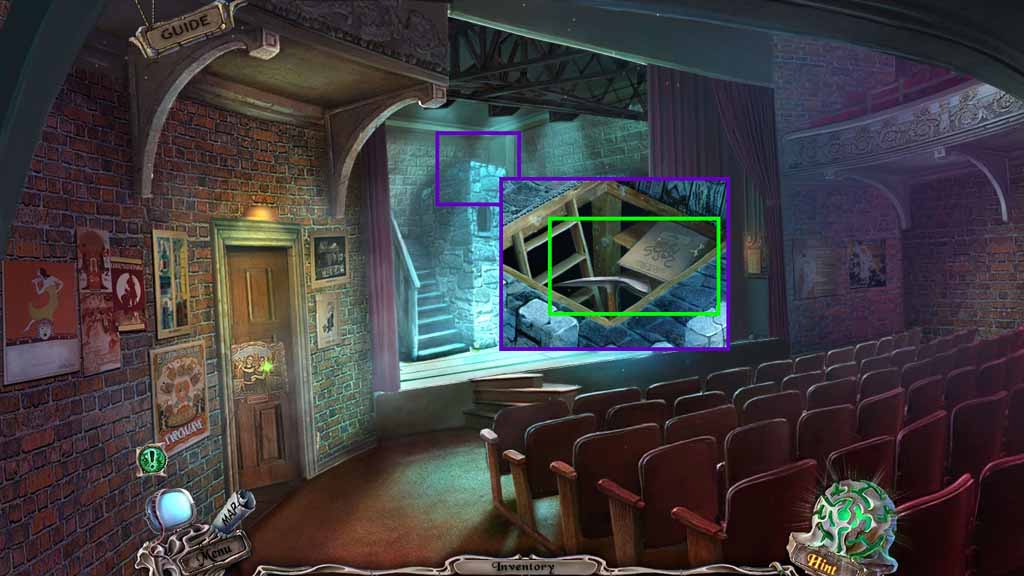
- Zoom into the stage and attach the ring to the hatch.
- Click the hatch open and collect the climbing pick.
- Click the book; collect the 5 / 5 slides.
- Move to the Hidden Niche.
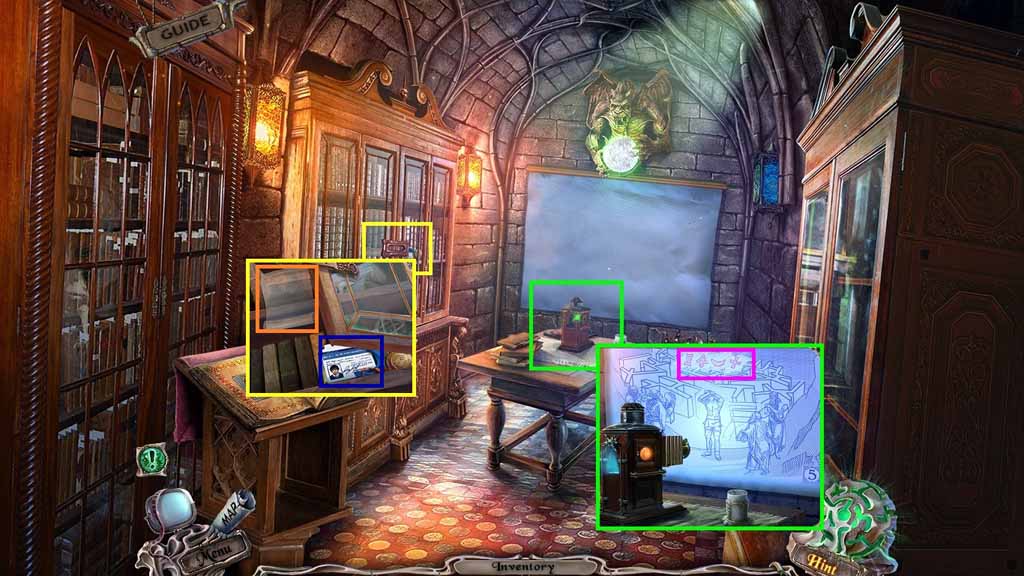
- Zoom into the projector and click the side panel; insert the light bulb.
- Insert the 5 slides and click the button to scroll through the 5 slides.
- Notice the code; use the code to open the cabinet lock.
- Collect the ID card, the 2 / 7 tiles and the tracing paper.
- Move to the Square.
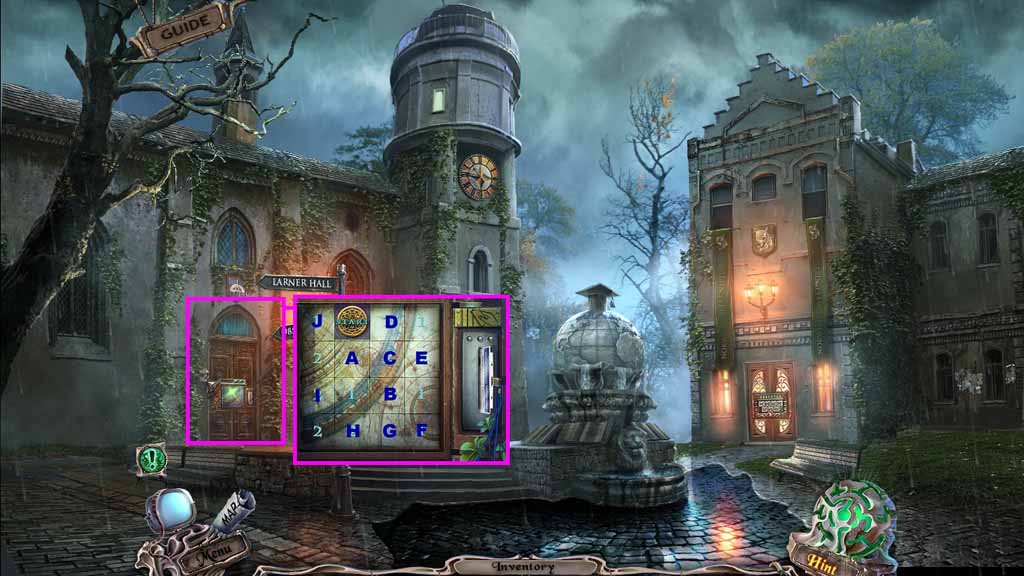
- Zoom into the door.
- Insert the ID card to trigger a puzzle.
- Solve the puzzle by moving the plates across all of the cells.
- Click the squares in ABC order.
- Enter the doorway.
Comments will load when you reach this part of the walkthrough.