Chapter 6: The Wagon
The following contains screenshots and instructions on how to complete Chapter 6 from the CGG Royal Detective: Lord of Statues Walkthrough.
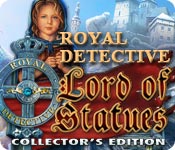
- Play the Hidden Object area behind the Archer.
- Find the objects listed.
- Receive the HERO'S SHIELD.
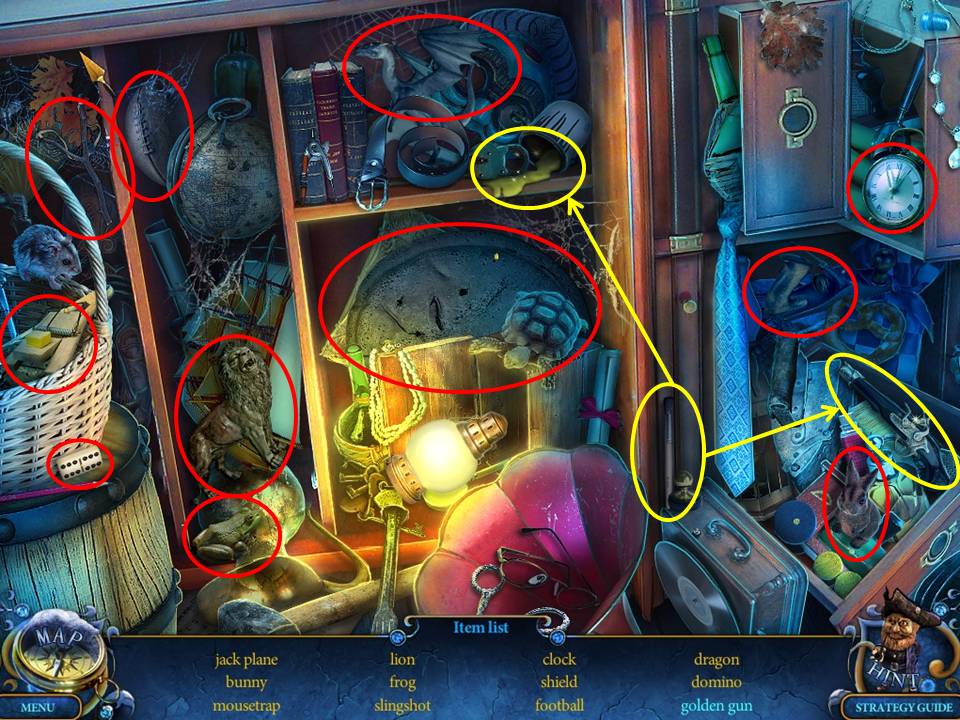
- Zoom into the stove on the left.
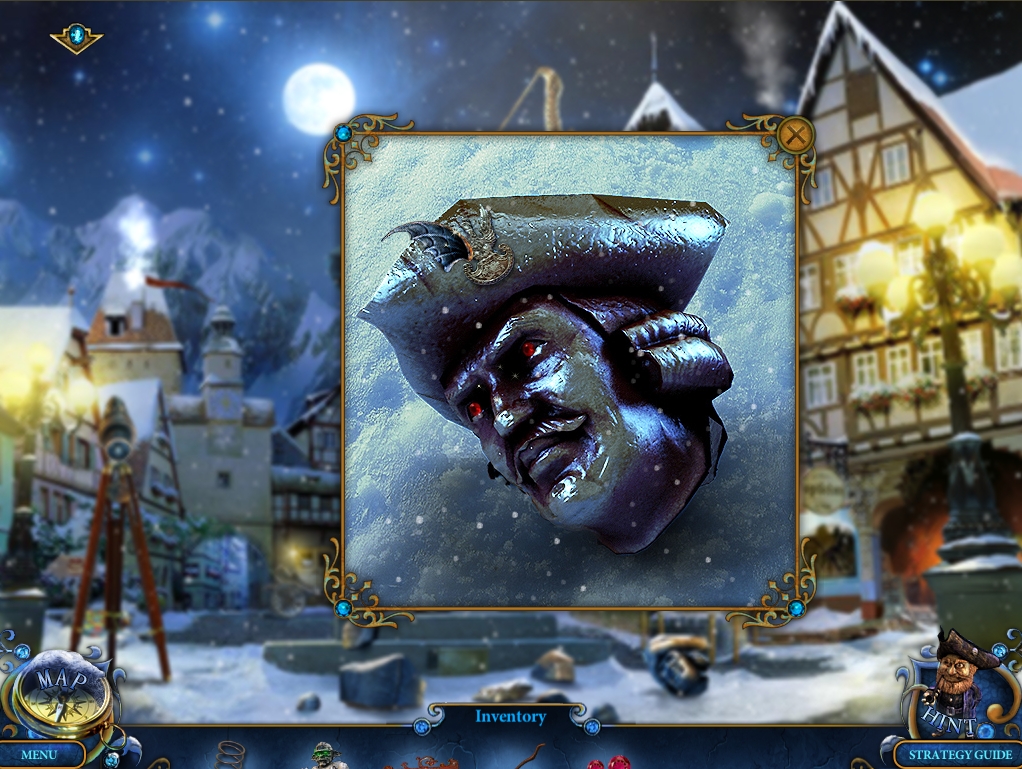
- Melt the ICE HEAD on the embers.
- Take the HERO'S HEAD.
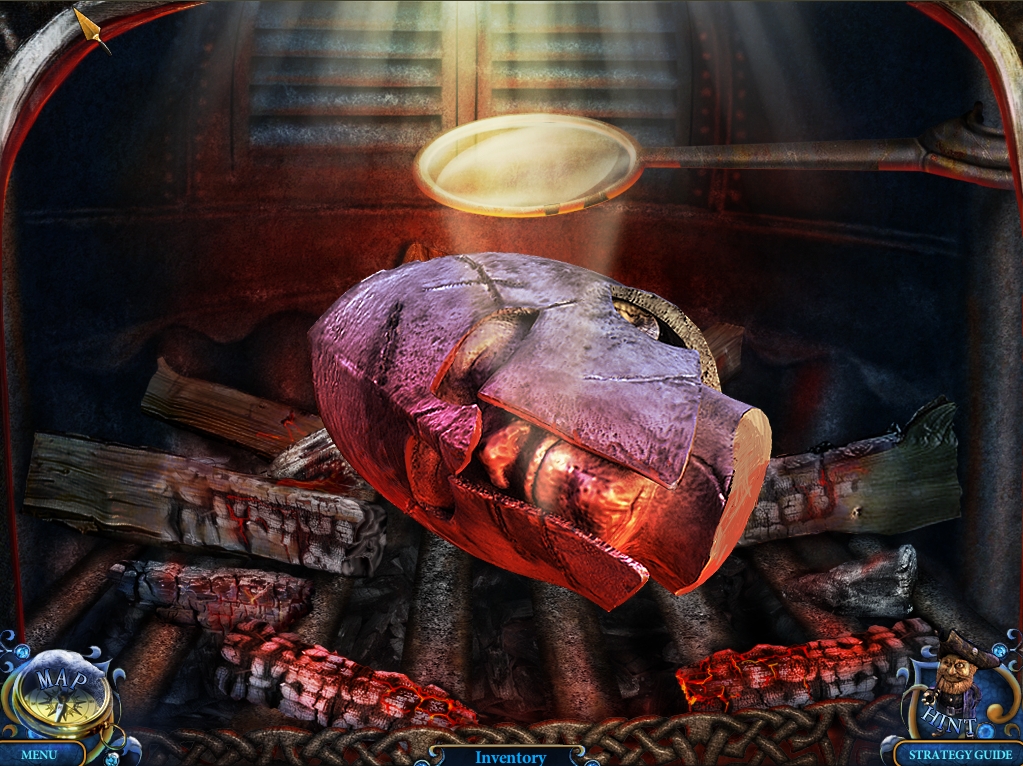
- Zoom into the Archer's left foot.
- Take the NOTES 1/4.
- Go to the Garden, then move forward to the Wagon.
- Click anywhere to watch a cutscene.
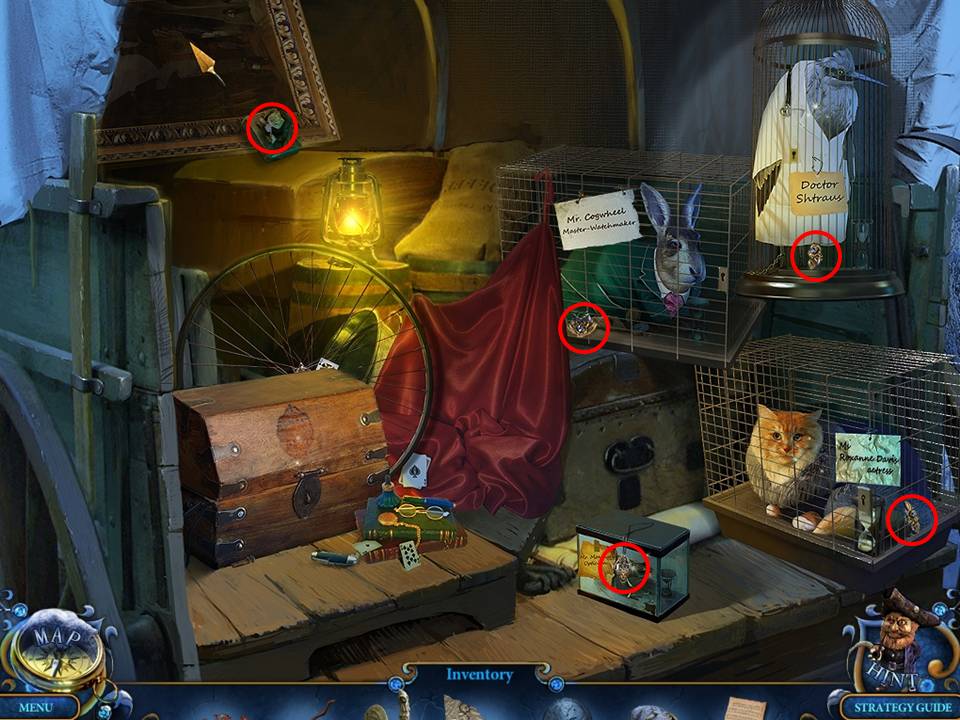
- Zoom in on the cages in the back of the wagon to take the PENDANT PARTS (x4).
- Take Miniature 22/26.
- Zoom into the chest towards the left.
- Use the PENDANT PARTS (x4) on the indentation to open the chest and start a puzzle.
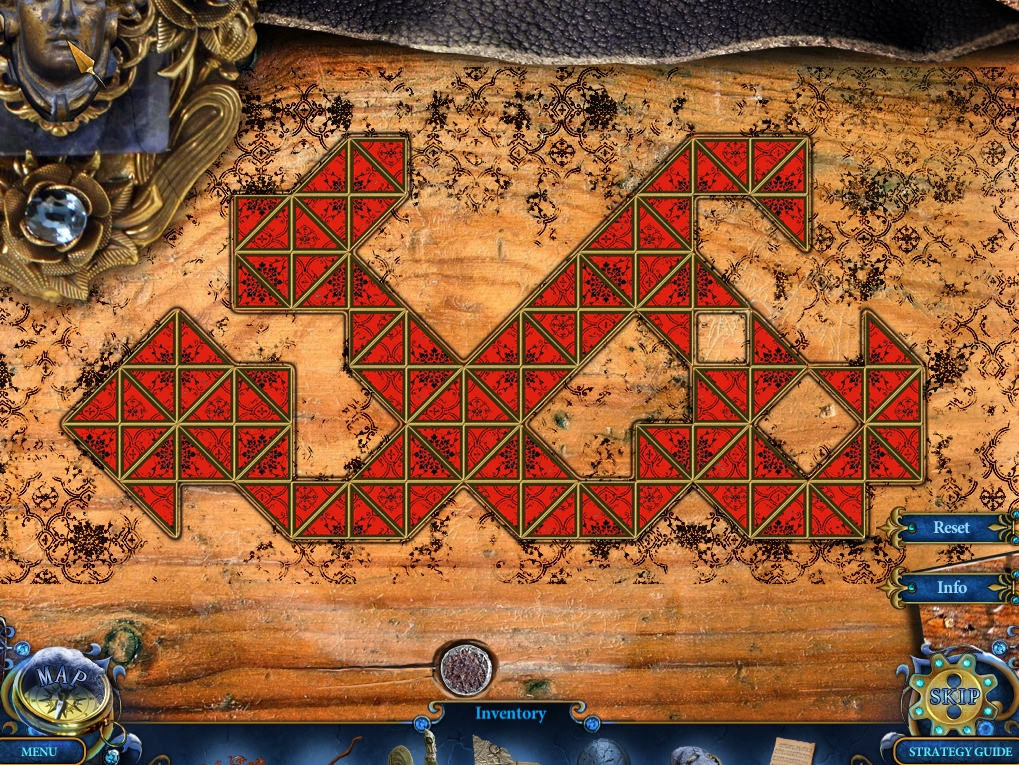
- The object of the puzzle is to make all of the triangles blue.
- The triangles change color when you click on them.
- Several solution variations exist.
- The best strategy is to start from a corner and work towards the middle.
- If you click on a triangle wrong, you can always click to change it back or click the ones around it to fix it.
- Keep trying different on-off patterns and you’ll soon find that there’s a certain ‘rhythm’ to making the color change progress.
- When finished, play the Hidden Object Area.
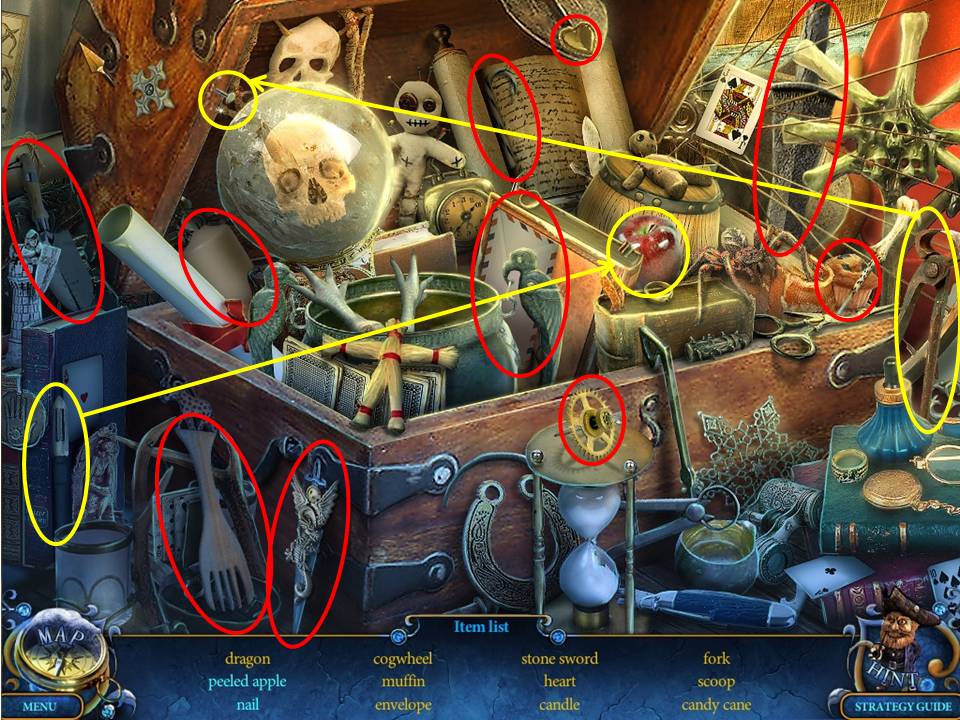
- Find the items listed.
- Receive the HERO'S SWORD.
- Return to the Tower Chamber.

- Zoom into the wardrobe on the left again.
- Use the HERO'S DIAGRAM on the torn paper on the upper right and the HERO'S HEAD on the empty shelf on the left to initiate a puzzle.
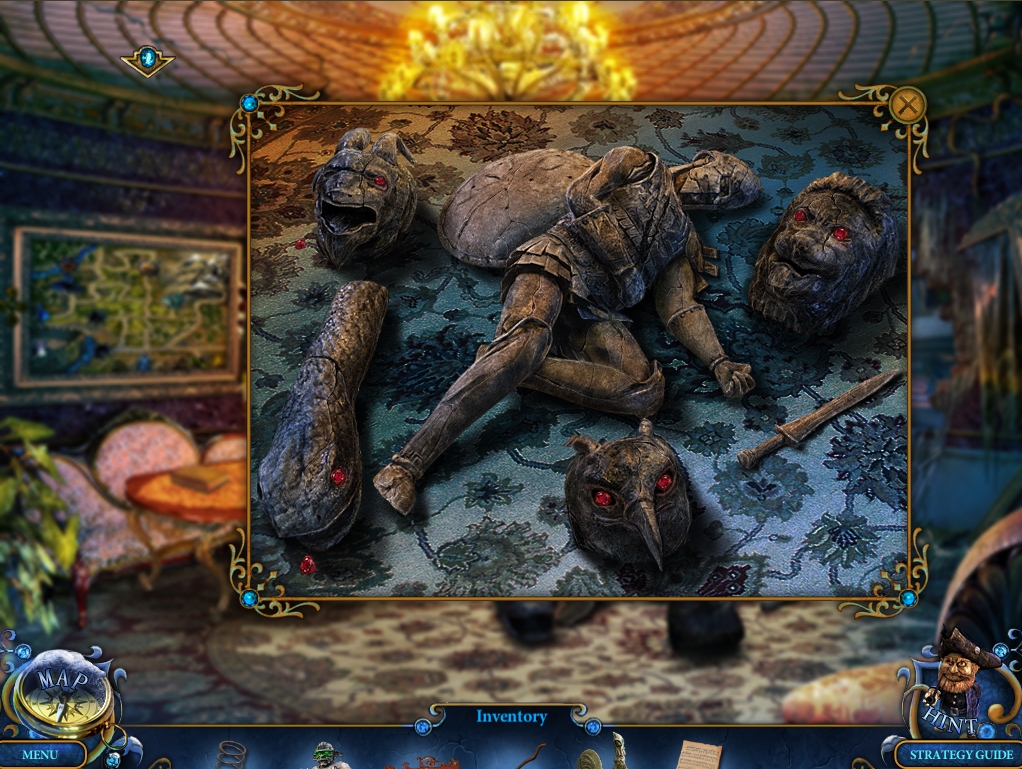
- The object of the puzzle is to assemble the statue as it is shown in the drawing.
- Click on the lever to slide the boxes.
- See screenshot for solution.
- When finished, place the HERO'S SHIELD and the HERO'S SWORD on the completed statue.
- Take the HERO.
- Return to Amadey's Secret Room.
- Place the HERO on the chimera on the right to watch a cutscene.
- When finished, zoom into the ruin on the floor.
- Take the RED EYES 8/12.
- Go through the hole in the wall on the right to the Chapel.
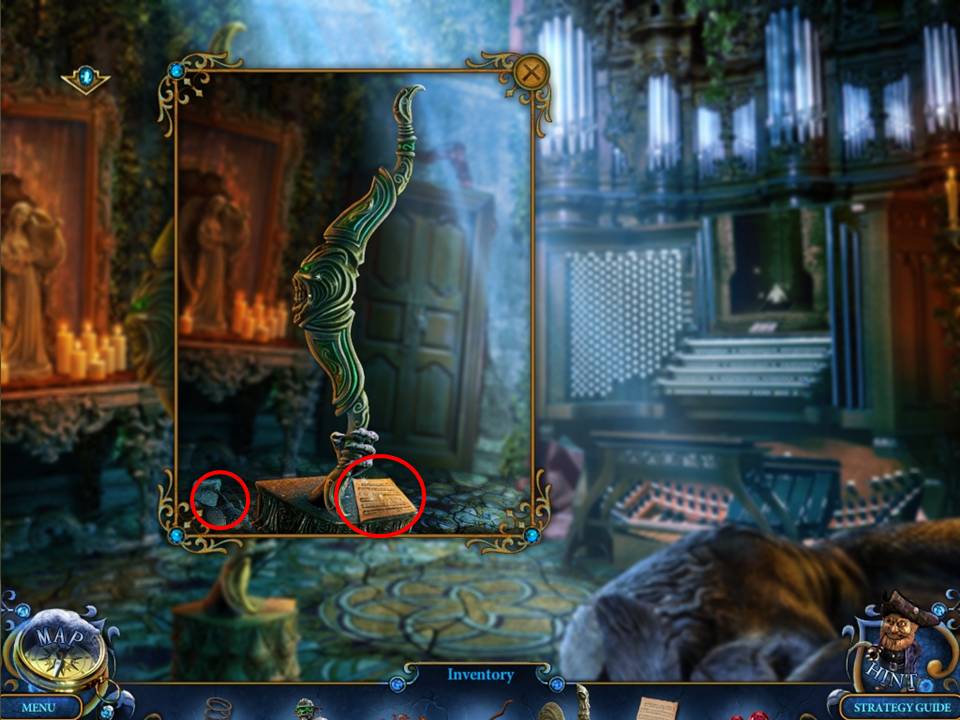
- Zoom into the bow statue towards the left.
- Take Miniature 23/26 and NOTES 2/4.
- Zoom into the organ on the right to initiate a puzzle.
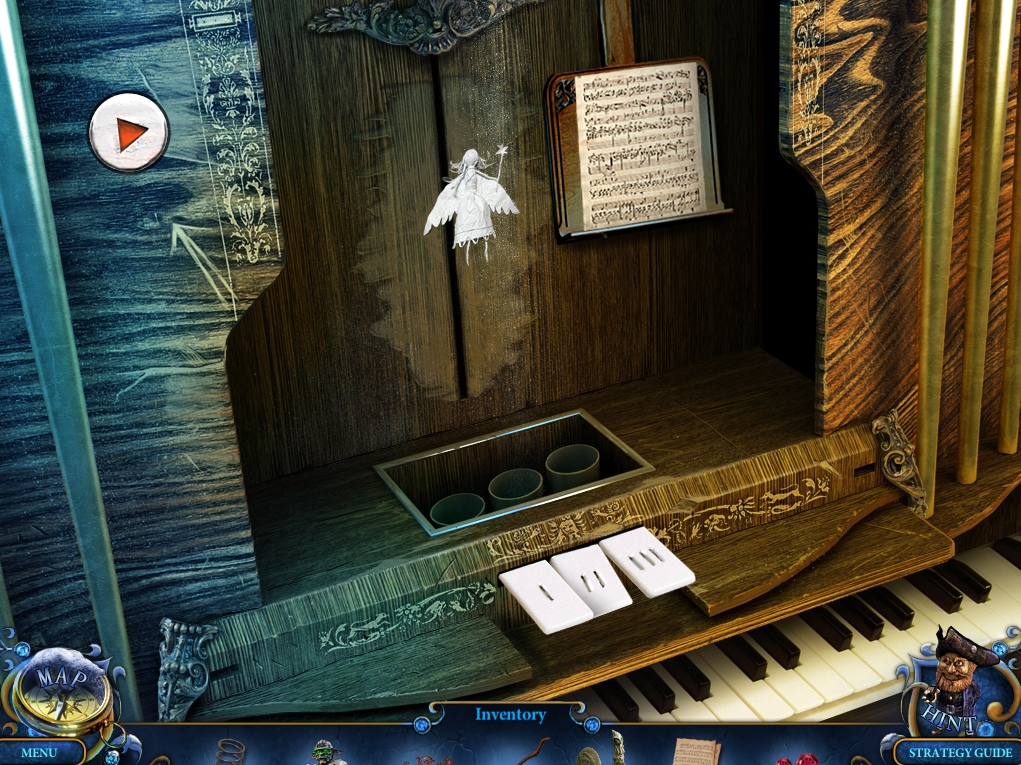
- The object of the puzzle is to help the angel fly away by flying it up and down through a series of slotted barriers that slide across from right to left.
- Click the keys to change the height of the angel's flight as the barriers slide across – you’ll get the idea with a little practice.
- It simply comes down to timing and remembering the sequence.
- Click the Play button on the upper left when ready.
- Assuming the keys are numbered one to three from left to right, click in this order: 2, 1, 3, 2, 1, 2, 1-1, 3, 2, 3, 1, 2, 1, 2. When finished, take NOTES 3/4.
- Return to the Mansion Hall and watch a cutscene.
- Have your ROOSTER distract the Angel statue.
- Proceed up the steps to the Princess Statue.
- Take the NOTES 4/4.
- Return to the Backyard House Entrance.

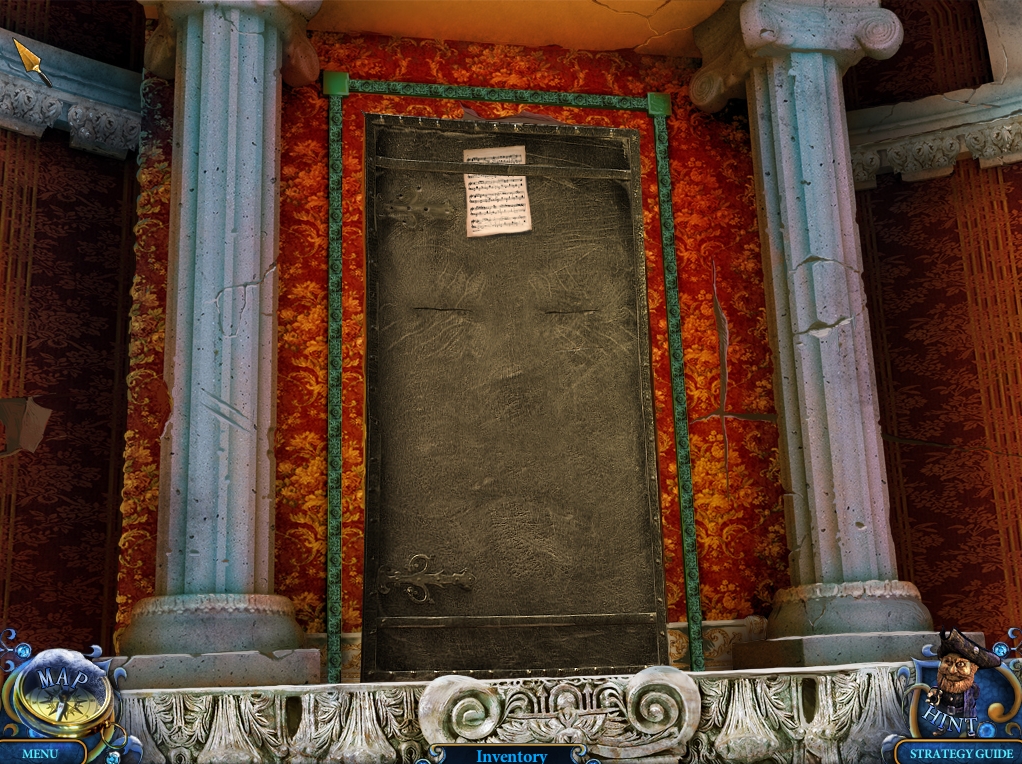
- Zoom into the music stand.
- Place the NOTES on the stand to initiate a Hidden Object Area.
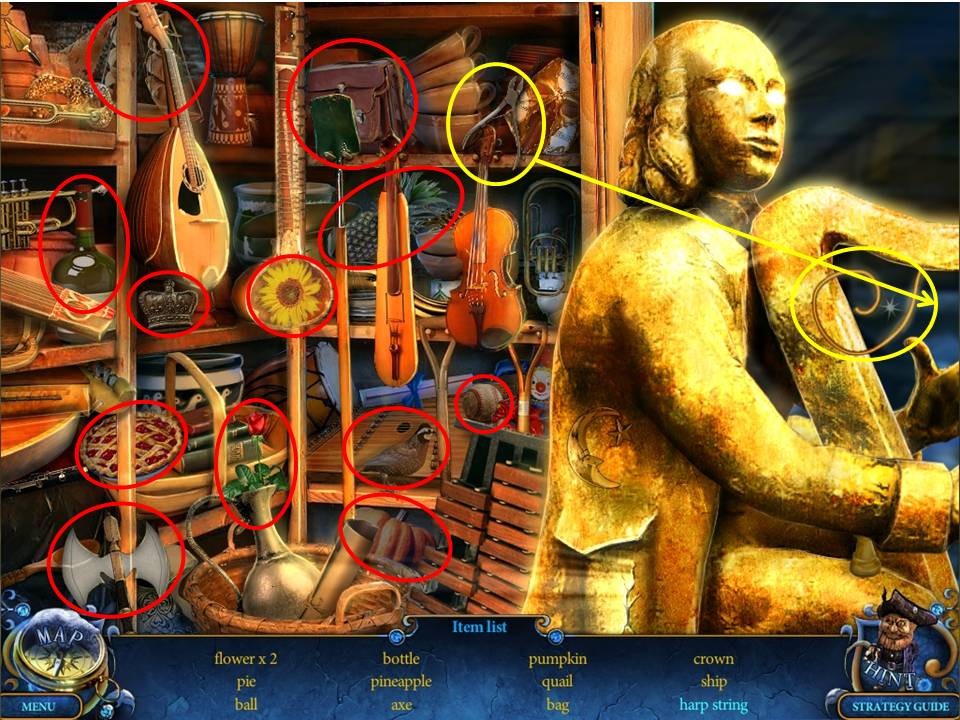
- Find the items listed.
- Receive the HARP STRING.
- Return to the Chapel.
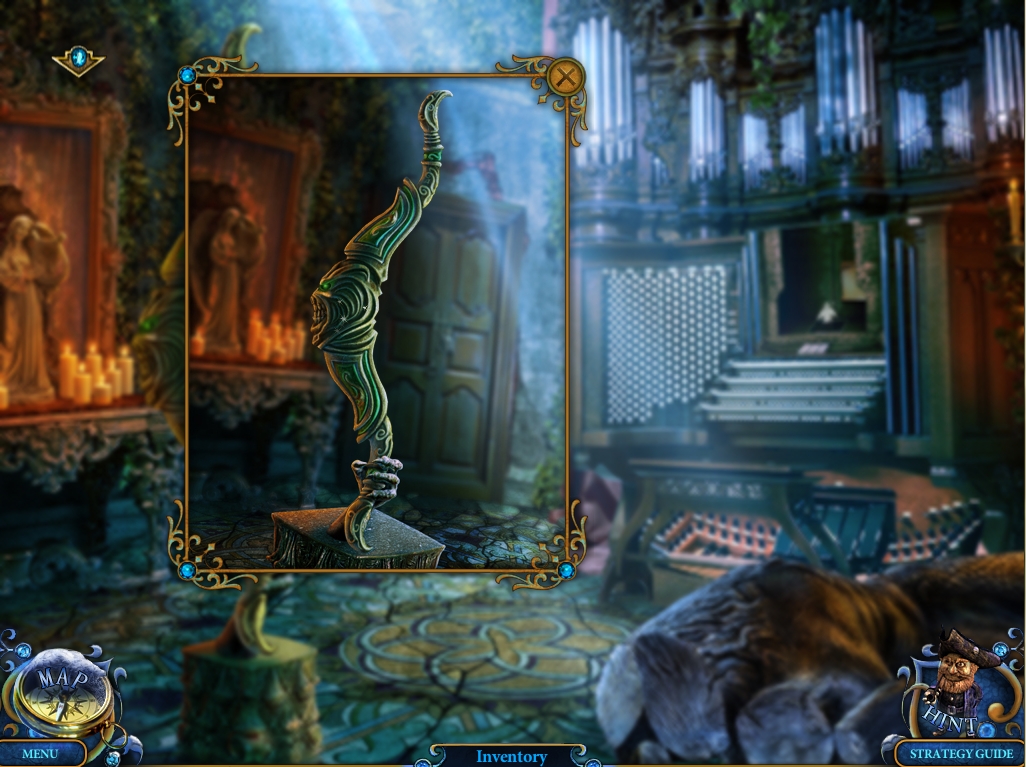
- Zoom into the bow statue.
- Place the HARP STRING on the bow statue.
- Take the BOW. Return to the Optics Workshop.
- Give the BOW to the Archer.
- Watch the cutscene.
- Go outside to the Square.
- Zoom into the stone head on the ground towards the right, near the pedestal.
- Take the RED EYES 10/12 and the METAL WING.
- Return to the Tower Chamber.
Congratulations! You've completed Chapter 6 from the Royal Detective: Lord of Statues Walkthrough!
Comments will load when you reach this part of the walkthrough.