

Chapter 2: The Mansion
The following contains screenshots and instructions on how to complete Chapter 2 from the CGG Royal Detective: Lord of Statues Walkthrough.
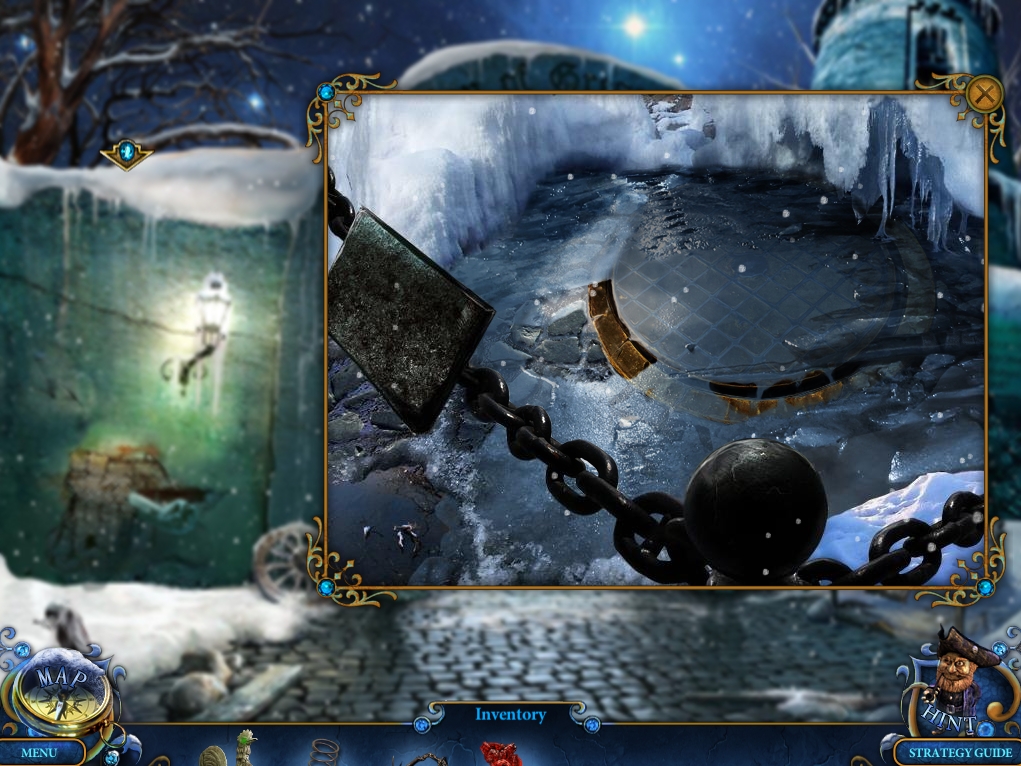
- Zoom into the chained area at right.
- Melt the ice with the EMBERS.
- Take the WRENCH.
- Play the Hidden Object Area.
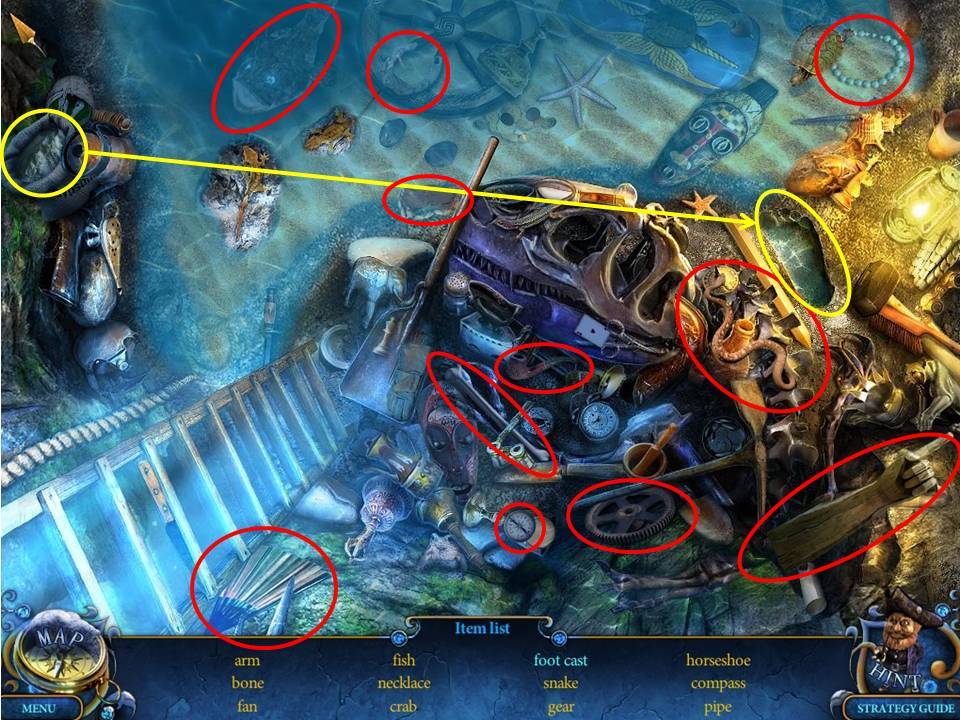
- Find the items listed.
- Take the FOSSIL.
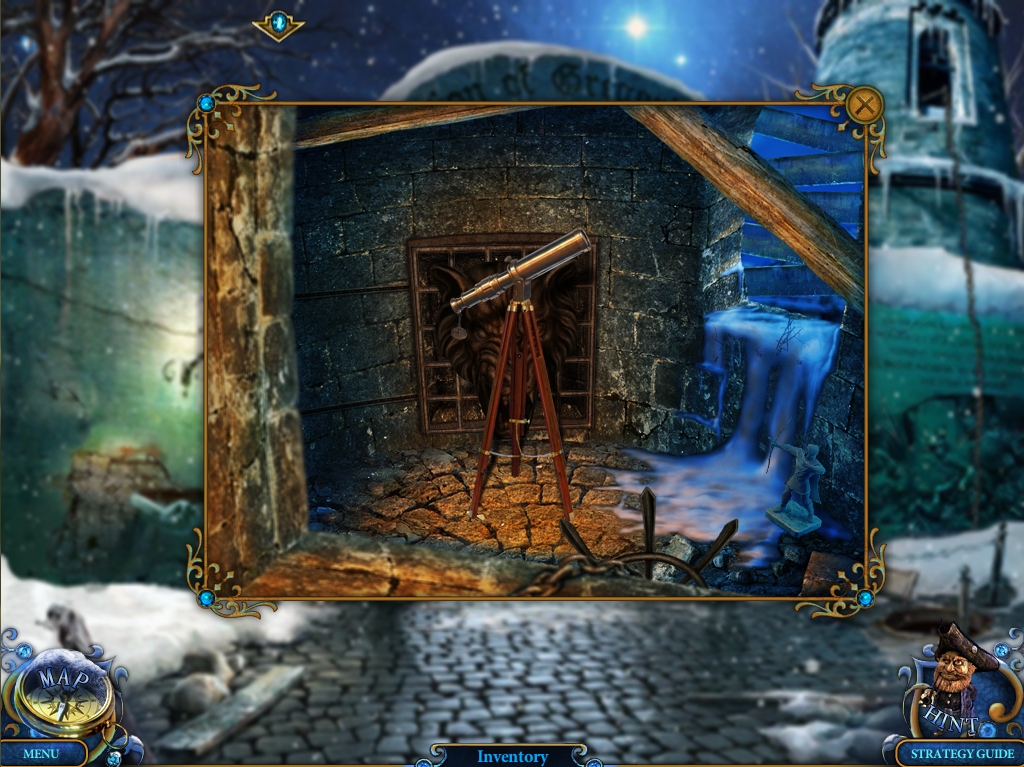
- Toss the HOOK WITH CHAIN through the window in the top right tower.
- Zoom inside.
- Take Miniature 4/26 and the TELESCOPE.
- Give the stone wolf the FOSSIL to make it move.
- Take the FLAIL.
- Return to the Stone Bridge.
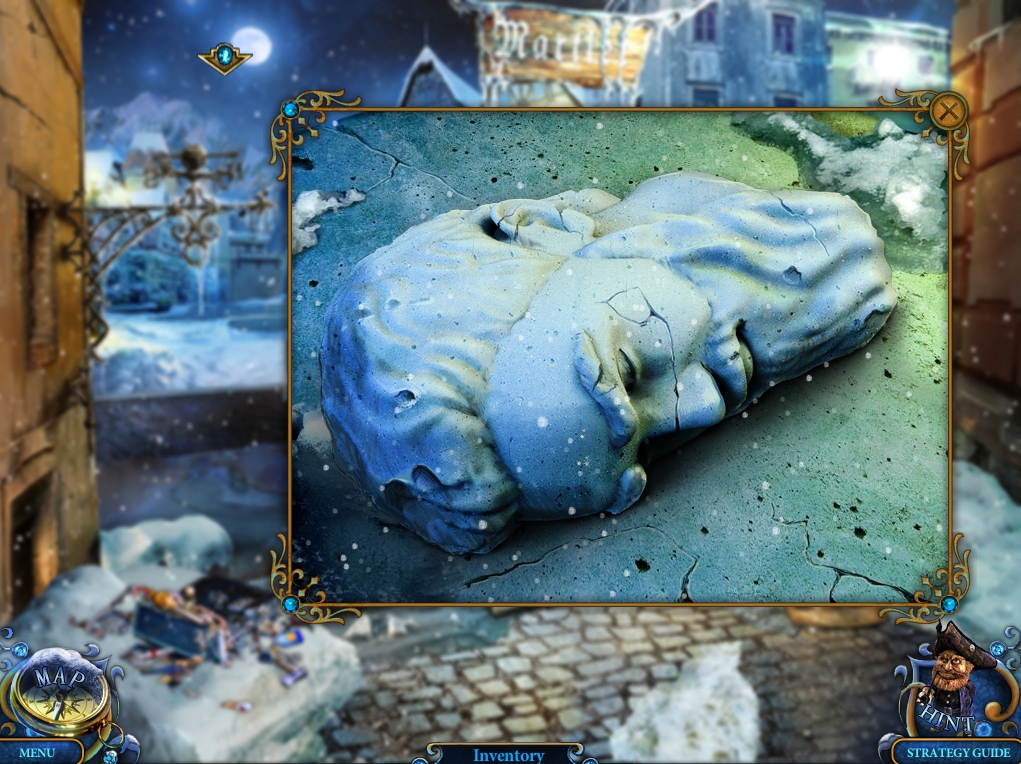
- Zoom into the dark statue at right.
- FLAIL the statue to trigger a cutscene.
- When finished, zoom into the pedestal on which the statue was sitting.
- Take ATLAS'S HEAD.
- Return to the Square.
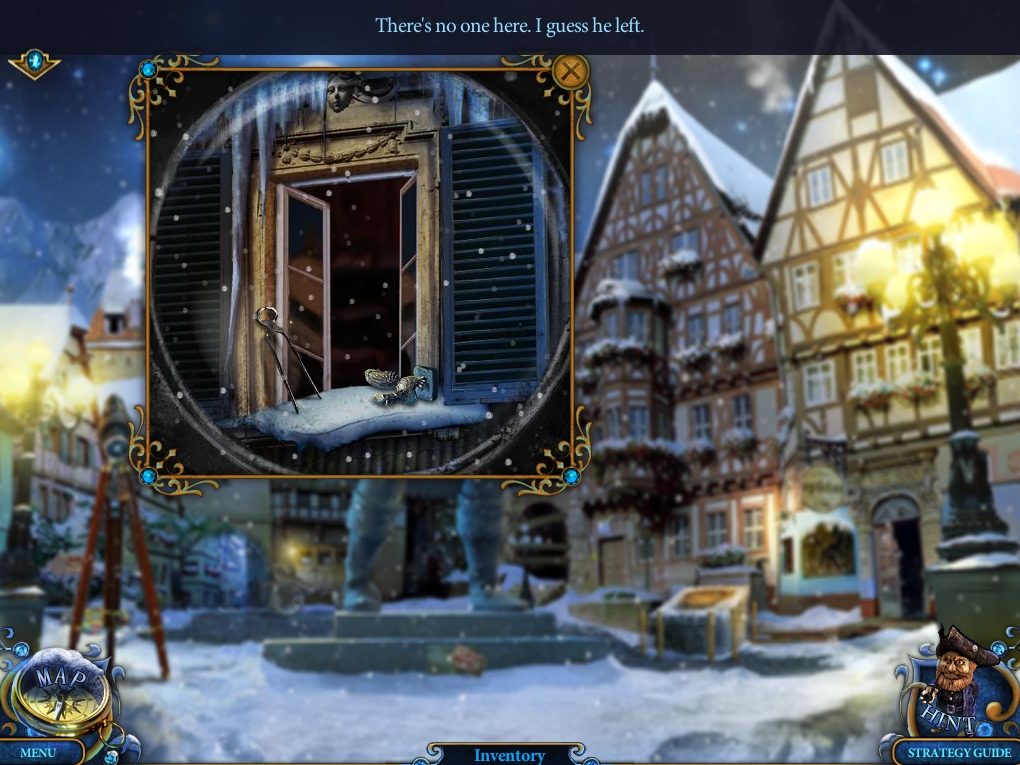
- Set up the TELESCOPE to point toward the window of the tall house on the left.
- Use the TELESCOPE to zoom in for a closer look.
- Take Miniature 5/26.
- Have your ROOSTER fetch the SMITH'S TONGS.
- Watch a cutscene.
- Take a closer look at the top of the telescope.
- Take the SMITH'S TONGS and the ROOSTER.
- Head right to the Store Entrance.
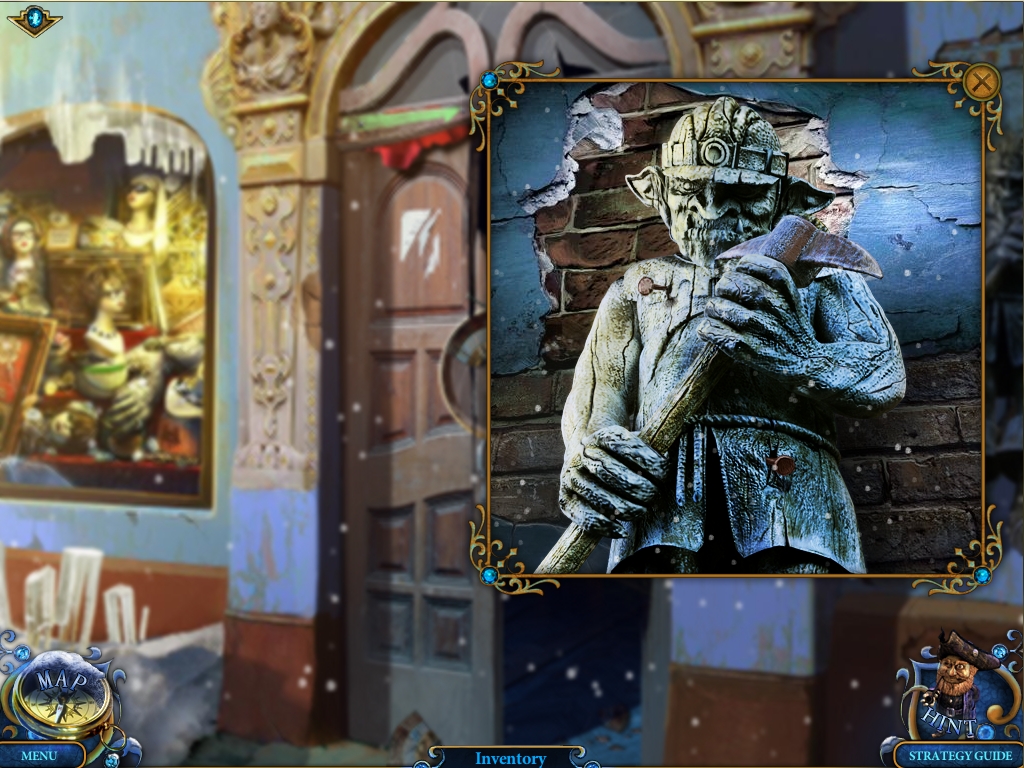
- Zoom into the statue on the right.
- Pull out the nails with the SMITH'S TONGS.
- Take the MINER.
- Return to the Mansion Gates.
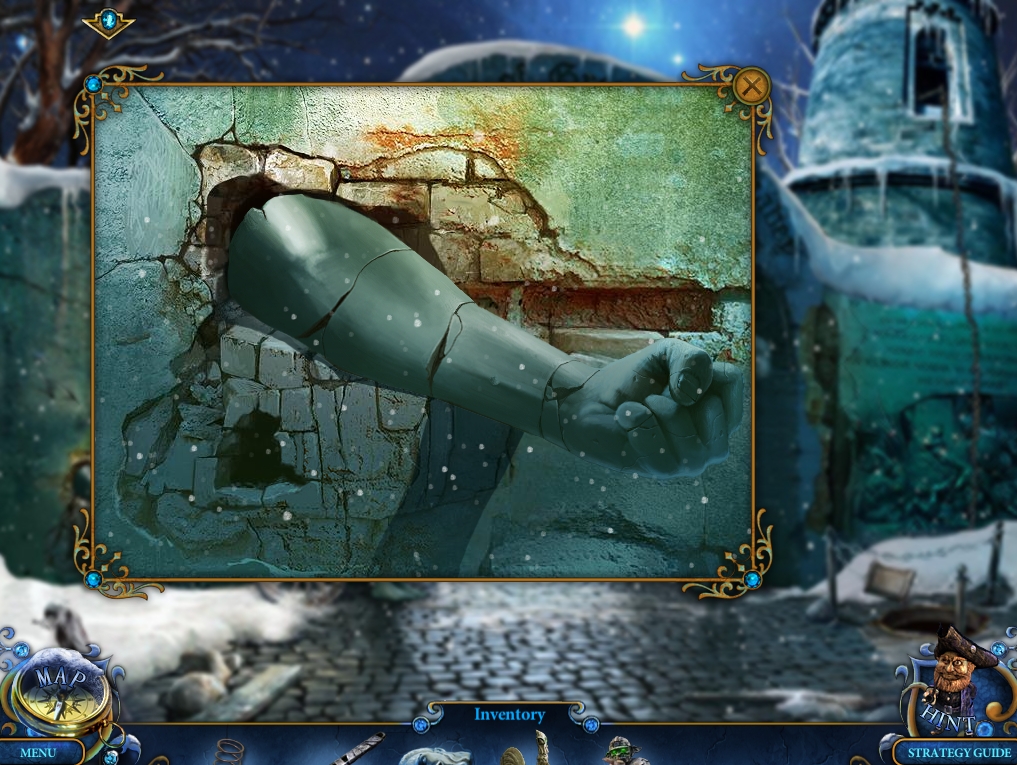
- Zoom into the broken wall on the left.
- Place the MINER on the wall section.
- Zoom in again and take ATLAS'S HAND.
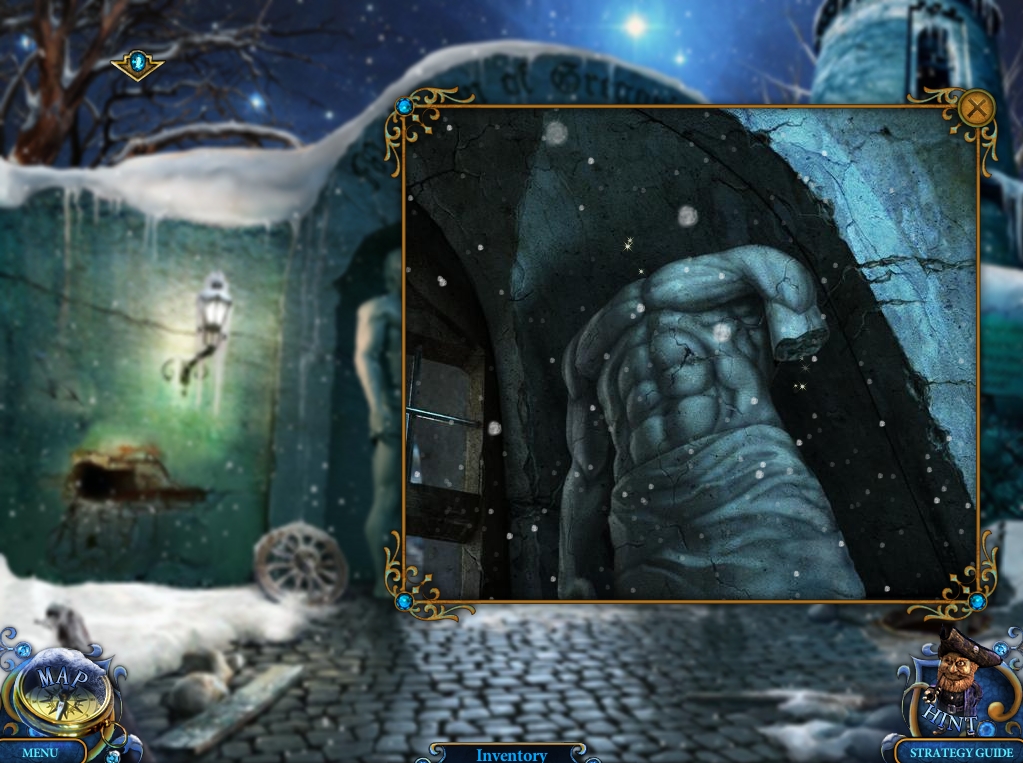
- Zoom into the statue with missing limbs on the right.
- Place ATLAS'S HAND and ATLAS'S HEAD on the statue.
- Click on the front of the portcullis to trigger a cutscene.
- When finished, use the lion knocker to open the portcullis.
- Head forward to the Garden.
- Click on the little girl and watch another cutscene.
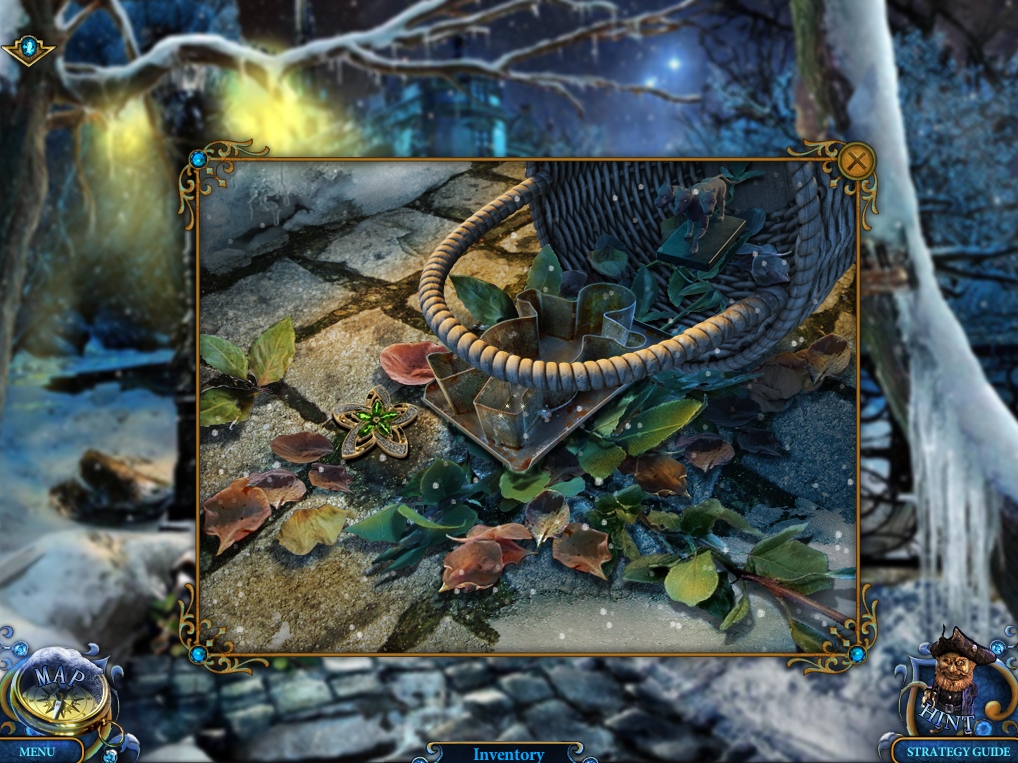
- Zoom into the fallen basket on the left.
- Take Miniature 6/26, the BAKING FORM, and the FLOWERS 1/2.
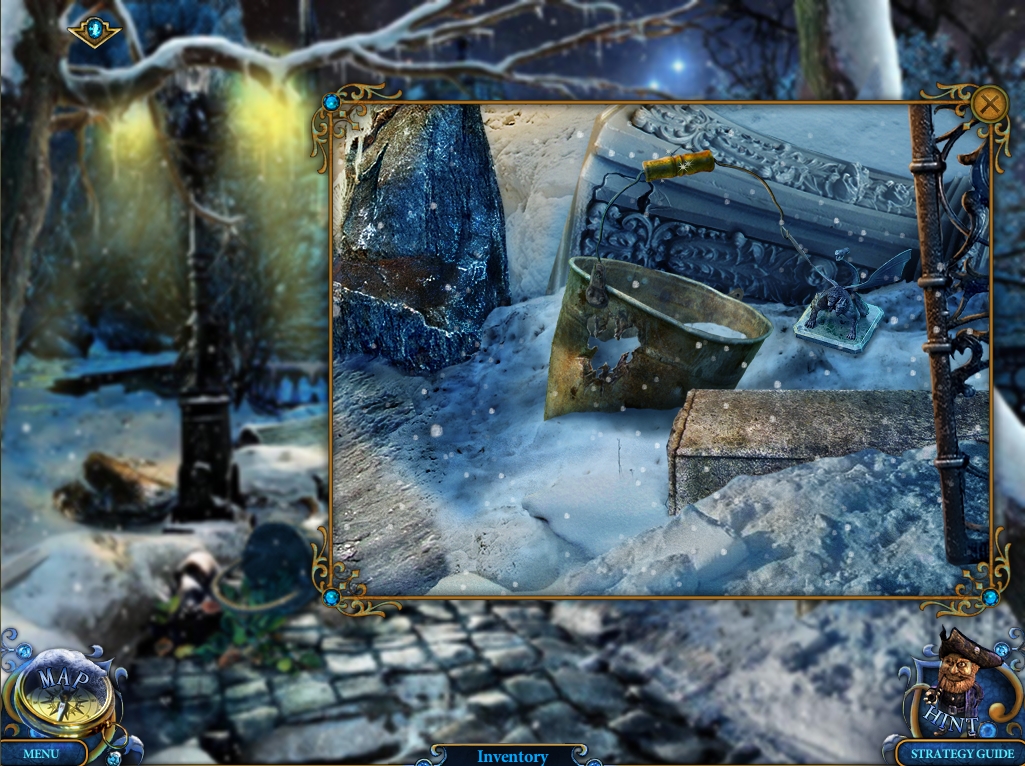
- Zoom into the bucket beneath the sign on the right.
- Take Miniature 7/26 and the HANDLE.
- Return to the main area and take Miniature 8/26 above the ‘Garden’ sign.
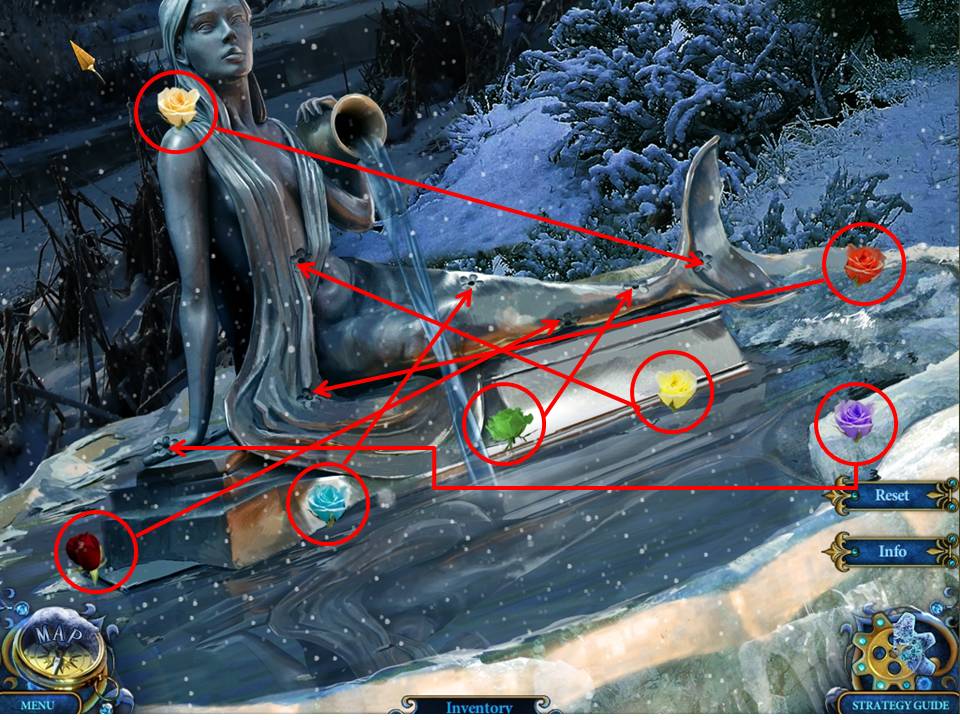
- Zoom into the fountain ahead.
- When the ice finishes falling, zoom in again to initiate a puzzle.
- Click on the jar to stop the water and see the mermaid's reflection.
- The object of the puzzle is to place the flowers correctly according to the colored rocks in the reflection.
- See screenshot for solution.
- When finished play the Hidden Object Area by the fountain.
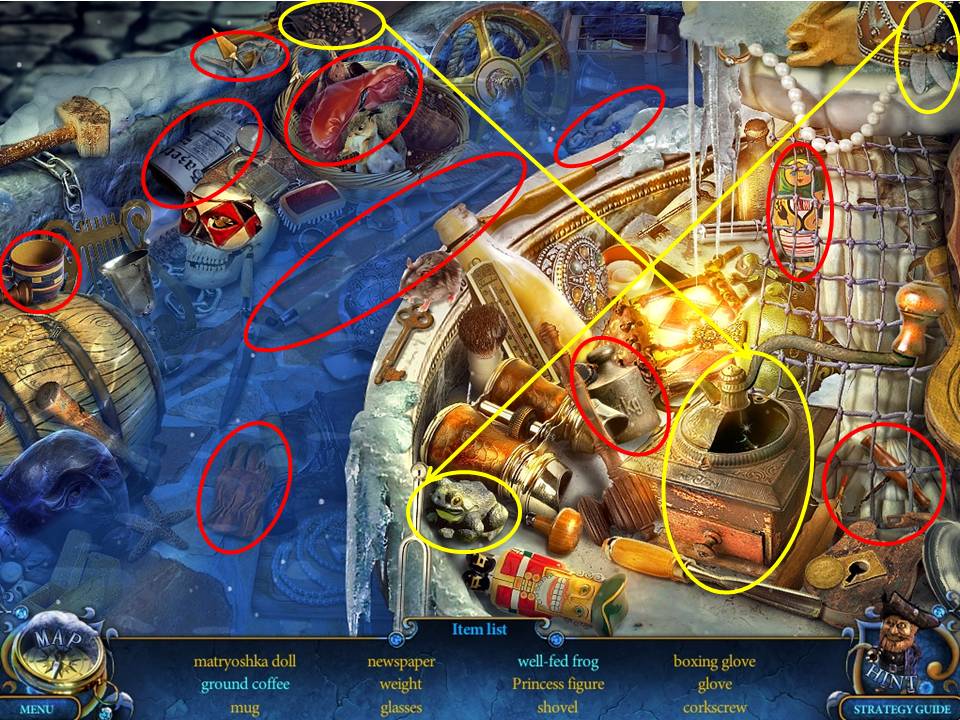
- Find the items listed.
- Receive the PRINCESS FIGURE.
- Head forward to the Mansion Entrance.
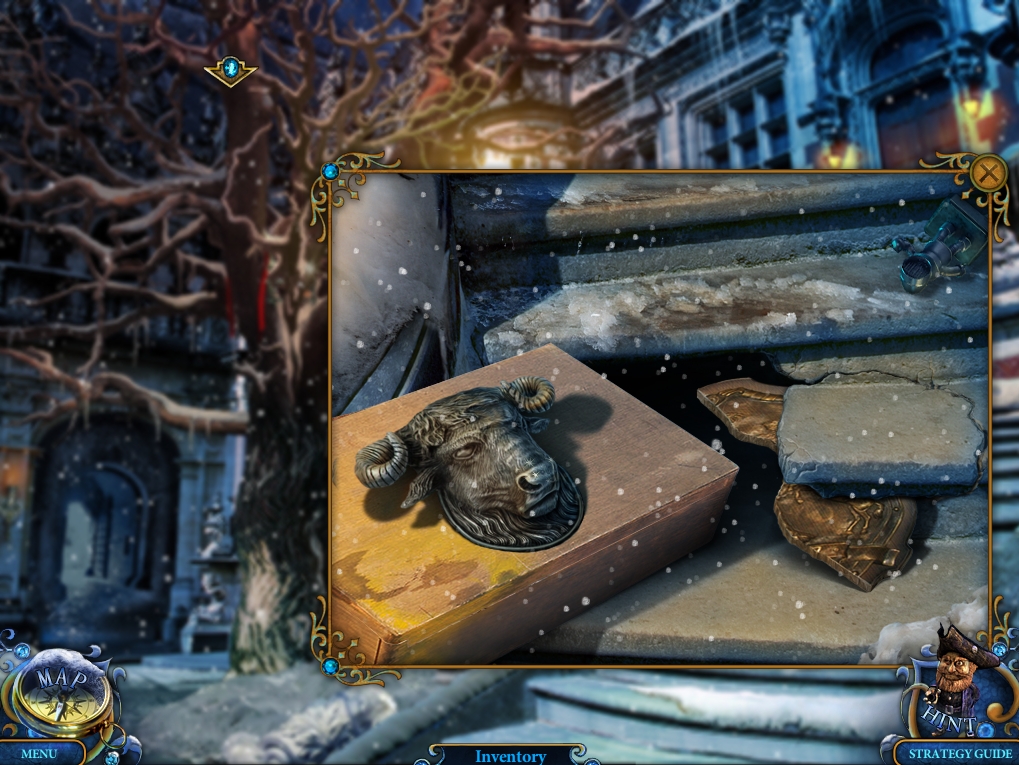
- Take Miniature 9/26 at bottom right hand corner of the picture, adjacent to the arm lying on the step.
- Zoom into the box lying on the steps.
- Take Miniature 10/26, then click on the stone step to remove it and collect CREST PART (1) beneath.
- Proceed through the archway to the left of the tree to the Tower Entrance.
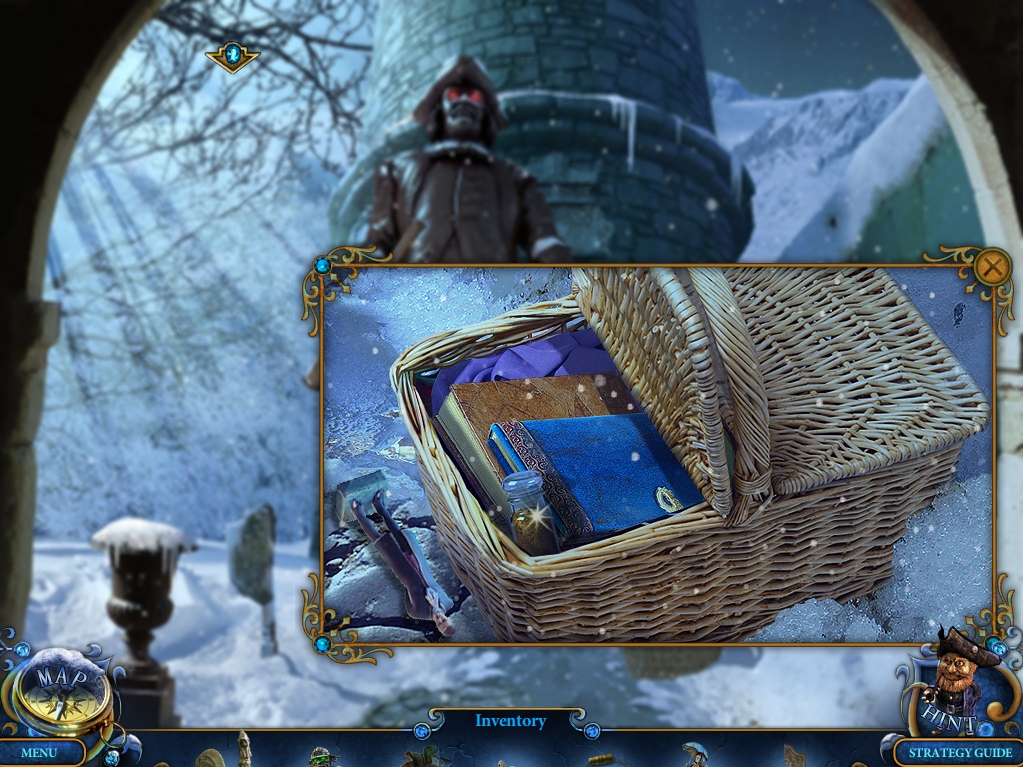
- Zoom into the basket on the ground.
- Take Miniature 11/26 and the GINGER.
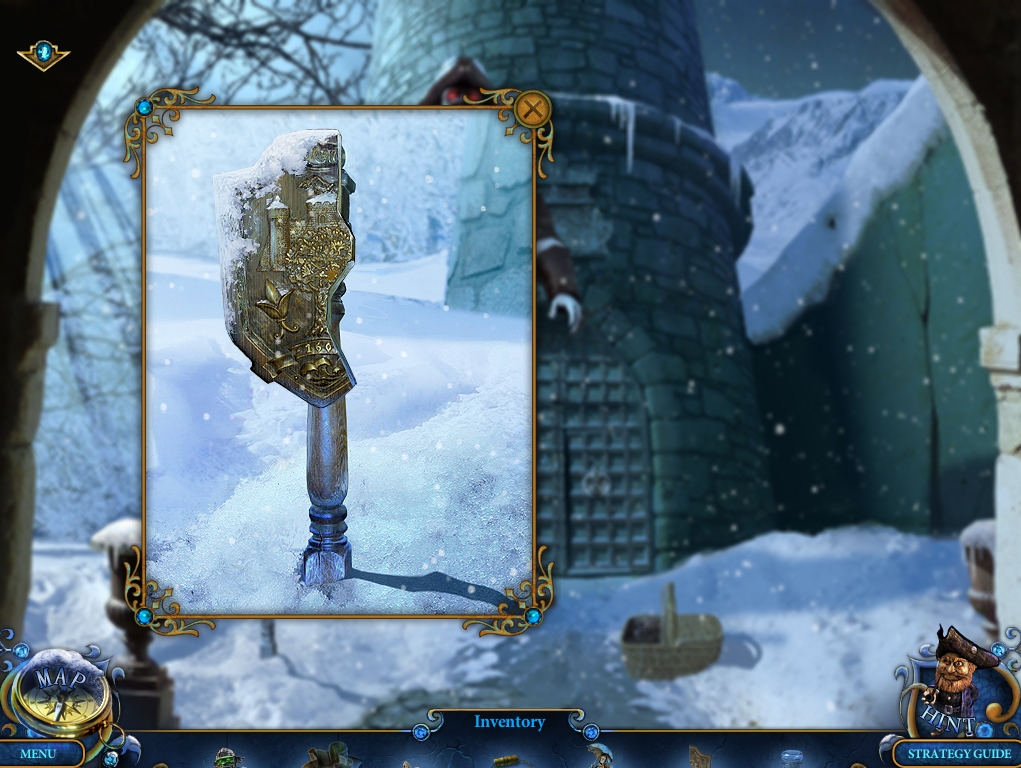
- Zoom into the post towards the left.
- Take CREST PART (2).
- Return to the Optics Workshop.
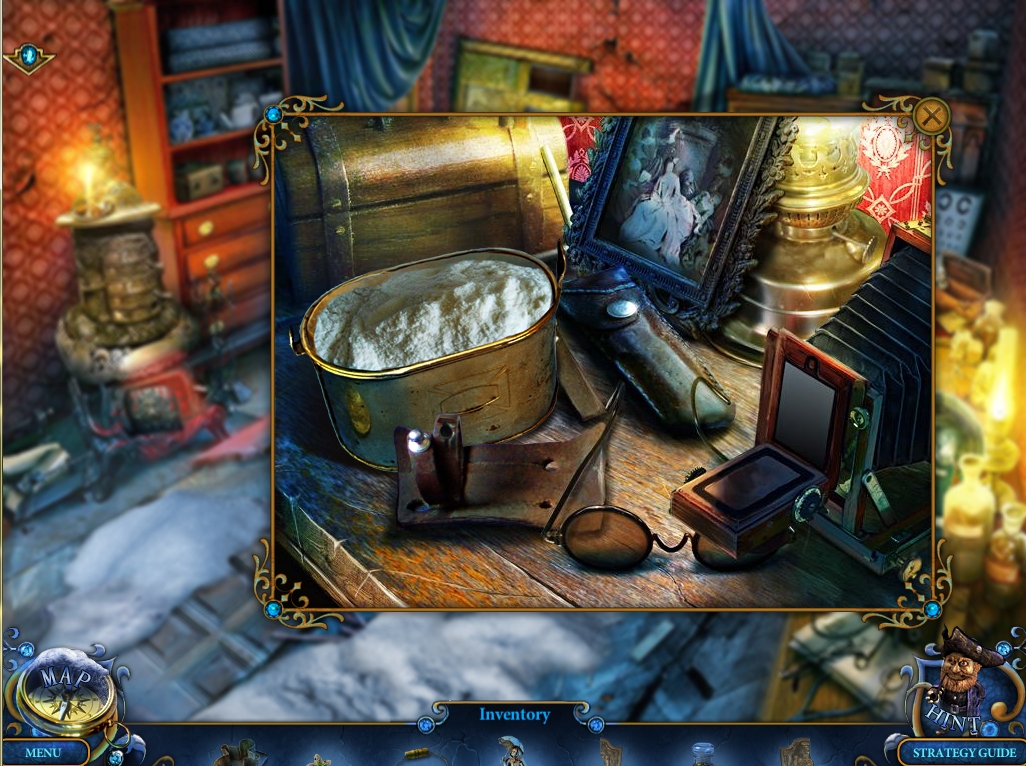
- Zoom into the camera on the table at right.
- Place the HANDLE on the CAN OF FLOUR to take it.
- Return to the Mansion Entrance and go through the door at the top of the steps to the Mansion Hall.
- Enter through the white doors on the lower right to enter the Dining Room.
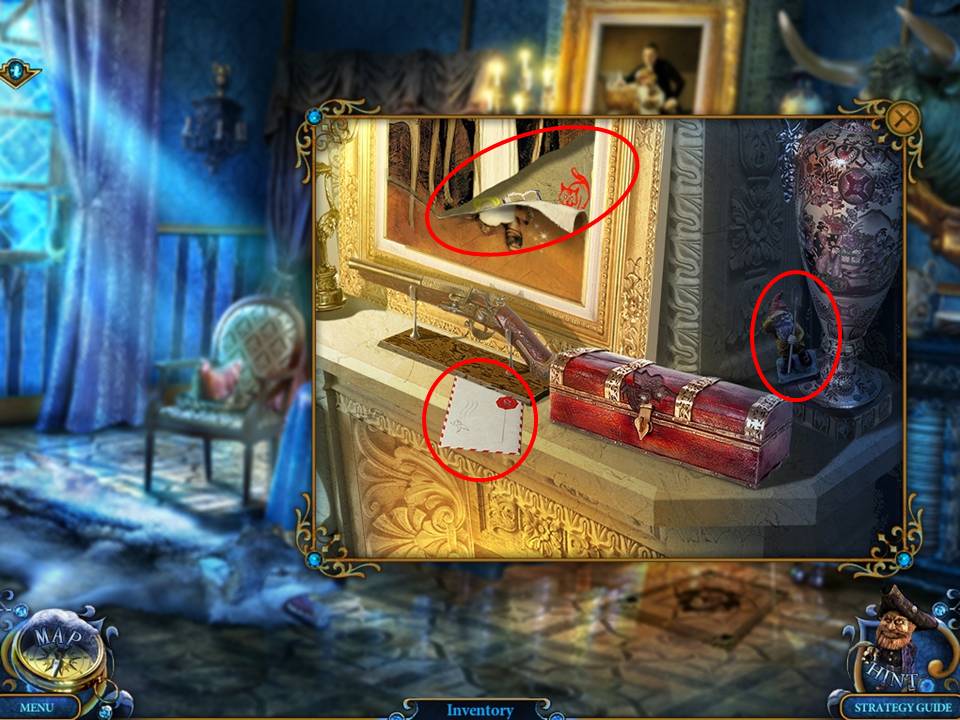
- Zoom into the mantle.
- Take Miniature 12/26 to collect it.
- Click on the letter to trigger a cutscene.
- When finished, zoom into the mantle again.
- Click on the painting tear to tear it down further.
- Note the clue and take the PRINCESS FIGURE (2).
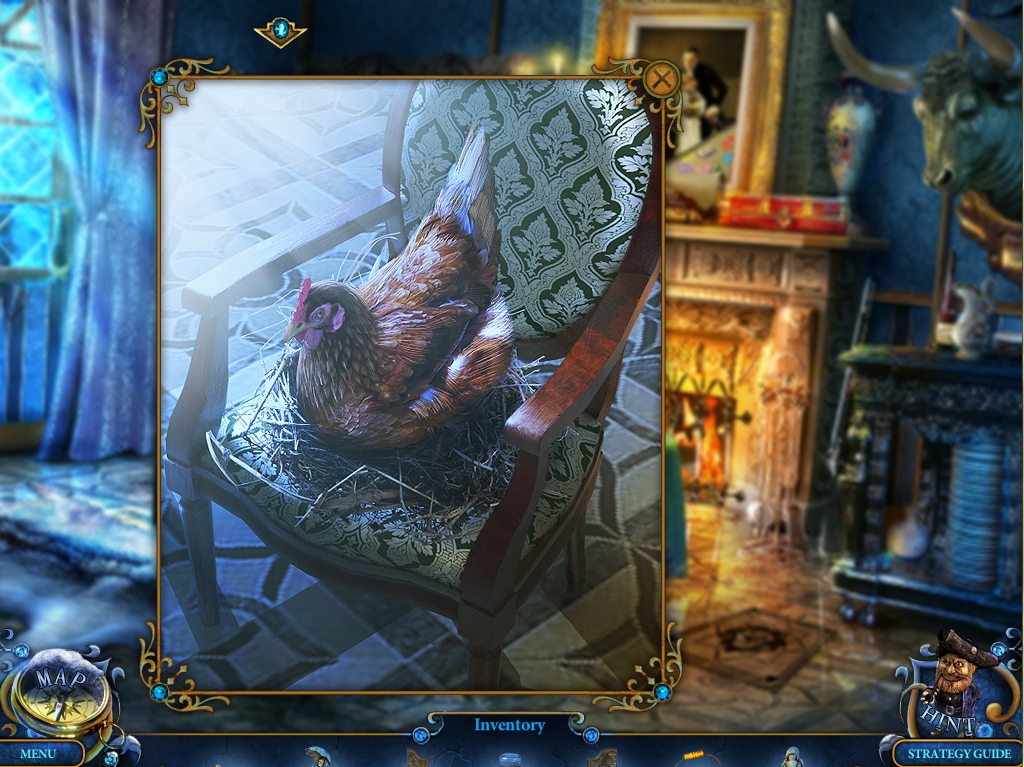
- Zoom into the chair on the left side of the table.
- Startle the chicken with the ROOSTER.
- Take the EGG.
- Remember to take the ROOSTER back, too.
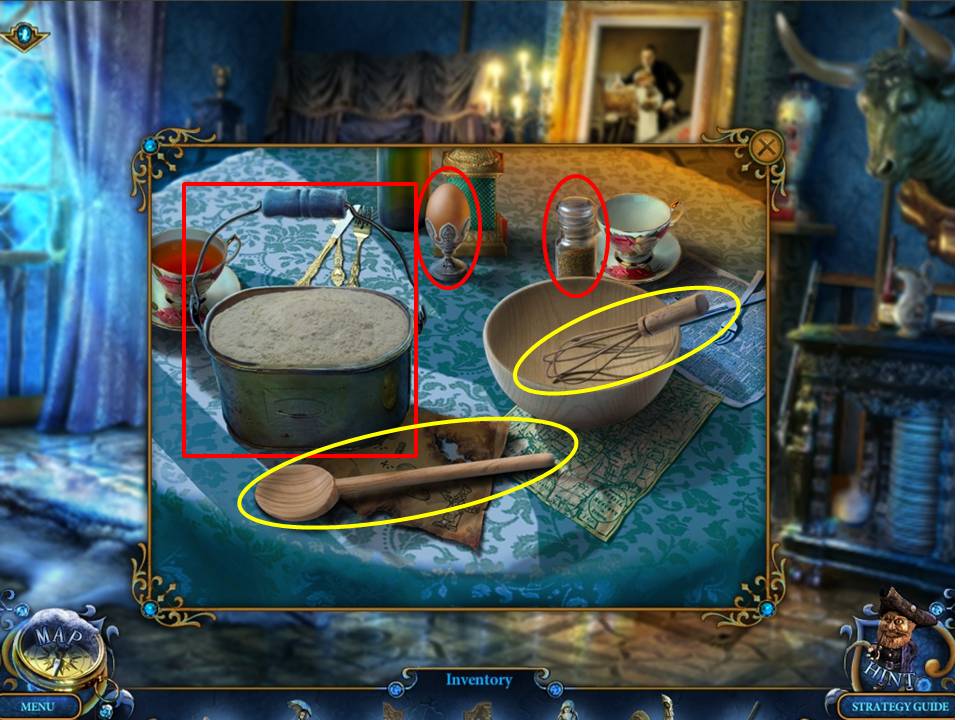
- Zoom into the table.
- Take the Miniature 13/26 and GLUE.
- Next, place the CAN OF FLOUR on the table on the left, the EGG on the stand, and the GINGER on the table as well.
- Use the wooden spoon to add the flour to the bowl, then add the egg and the ginger.
- Whisk them together.
- Take the DOUGH.
- Return to the Mansion Hall and head to the domed area up the steps toward the right.
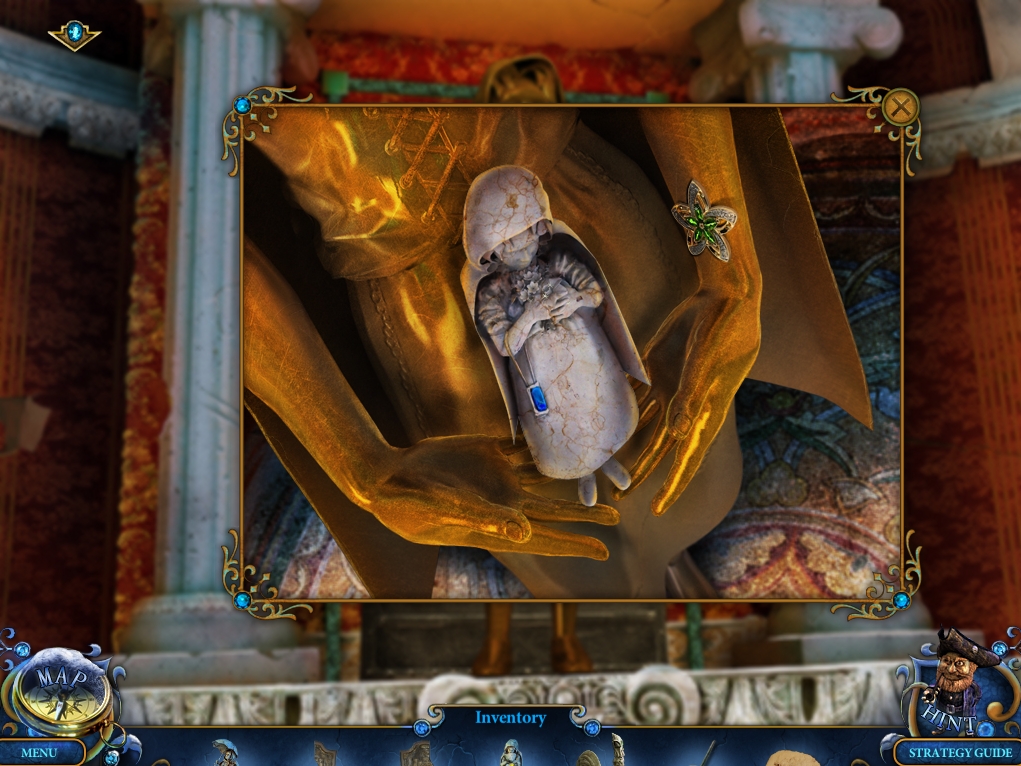
- Click the sheet to remove it.
- Zoom into the statue.
- Take the PRINCESS FIGURE (3) and the FLOWERS 2/2.
- Return to the Store Entrance.
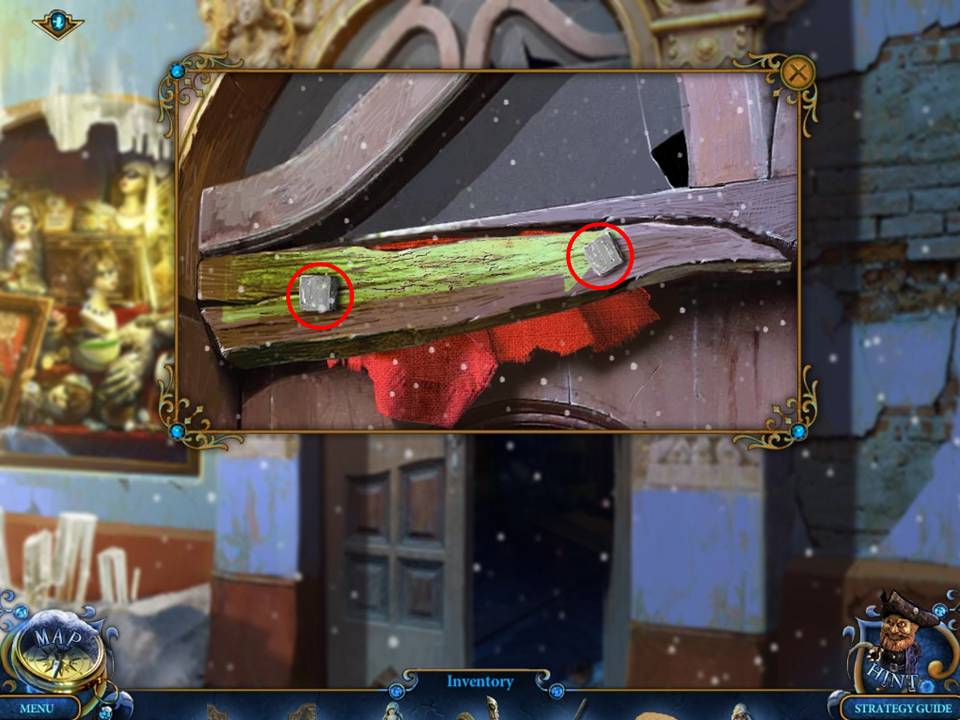
- Zoom into the area above the door.
- Loosen the bolts with the WRENCH.
- Take the red RAG.
- Enter the Optics Workshop.
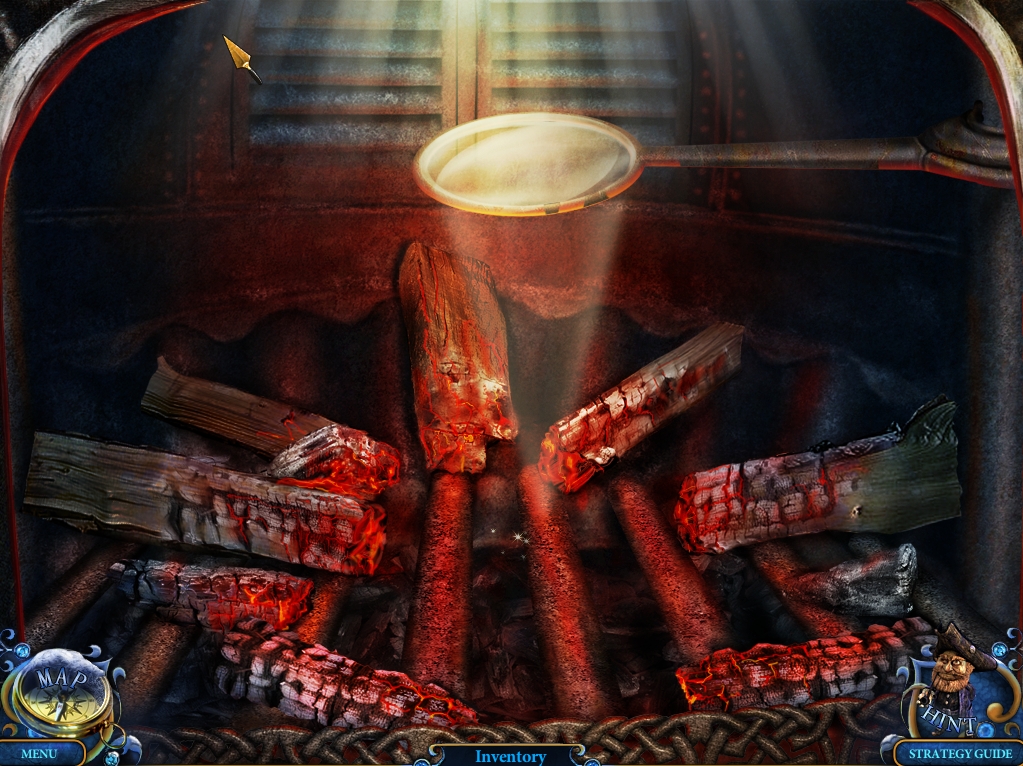
- Zoom into the oven on the left.
- Place the DOUGH into the BAKING FORM.
- Put the BAKING FORM in the oven.
- Take the GINGERBREAD.
- Return to the Mansion Hall.
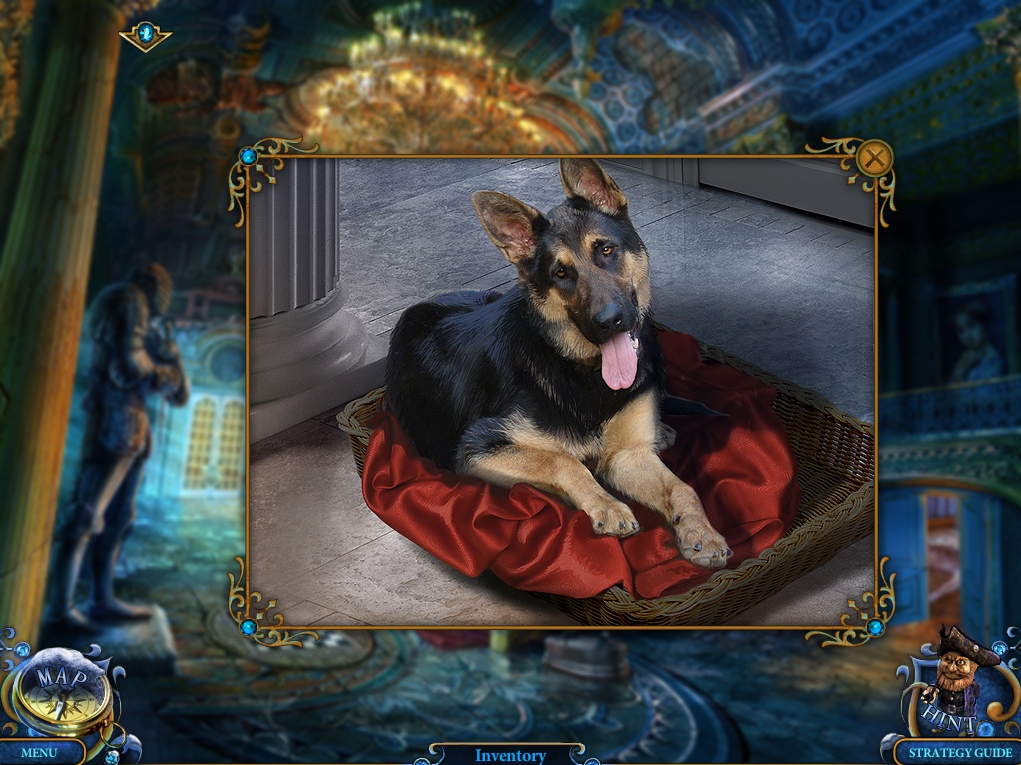
- Zoom into the dog.
- Give it the GINGERBREAD.
- Enter through the white door behind it to the Maid's Room.
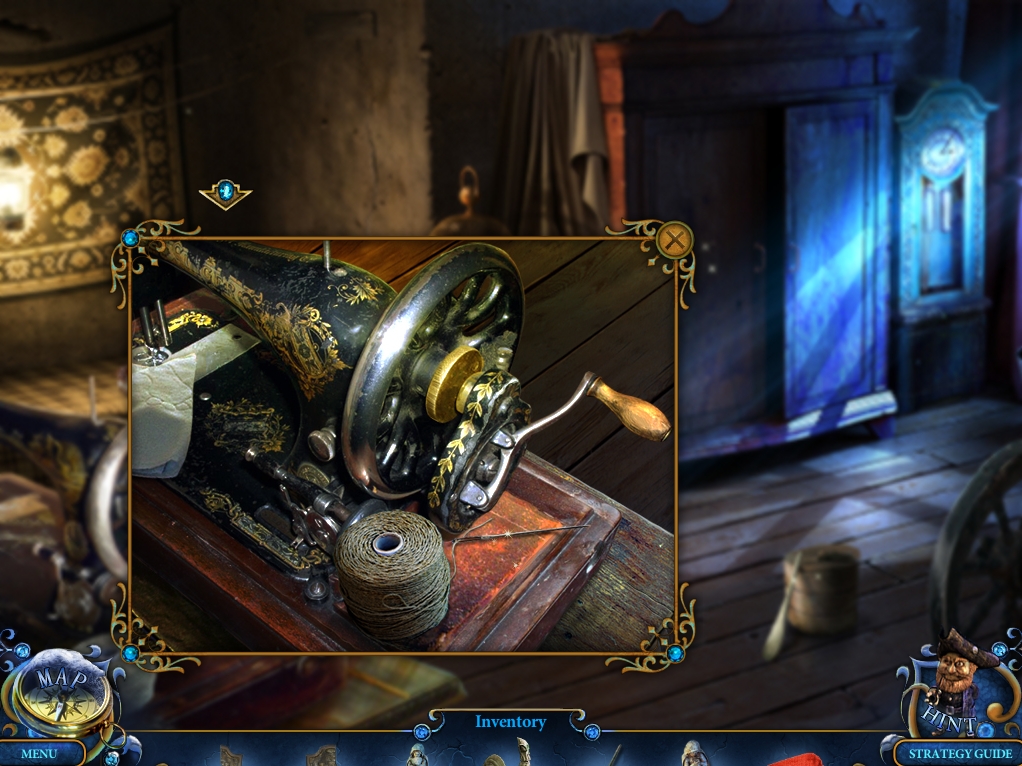
- Zoom into the sewing machine on the left.
- Take the NEEDLE AND THREAD.
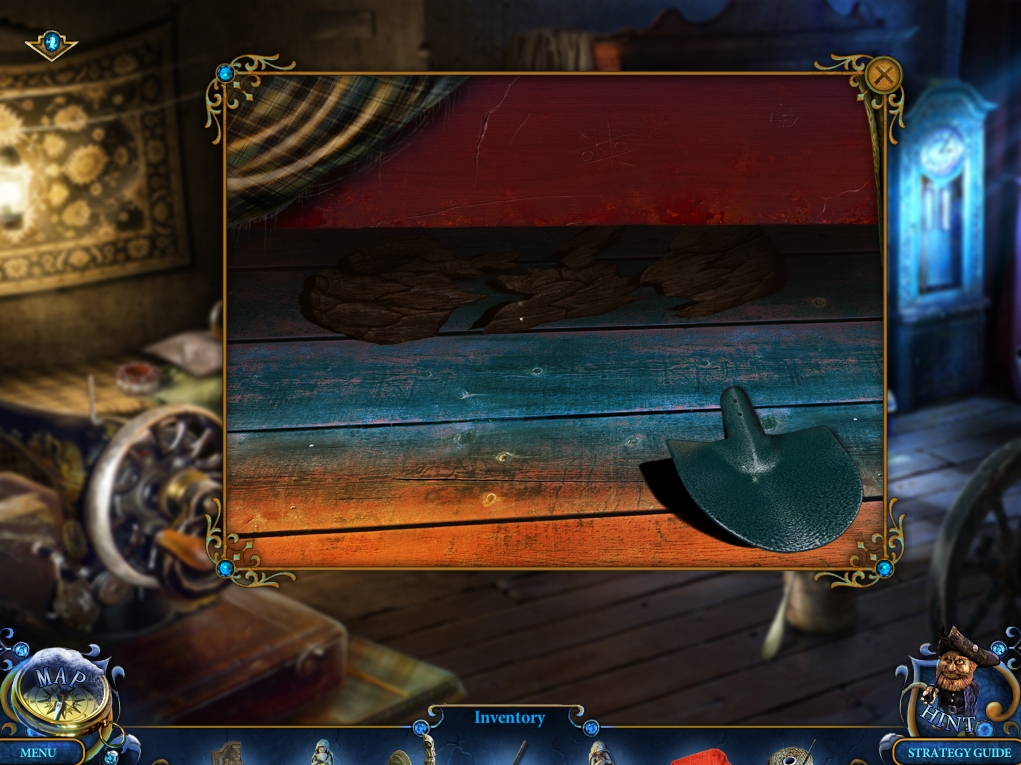
- Zoom under the bed.
- Take the SHOVEL.
- Zoom into the top of the bed.
- Click on the crystal ball for a short cutscene.
- Take the GOLDEN ANGEL.
- Read the book under the pillow for another cutscene.
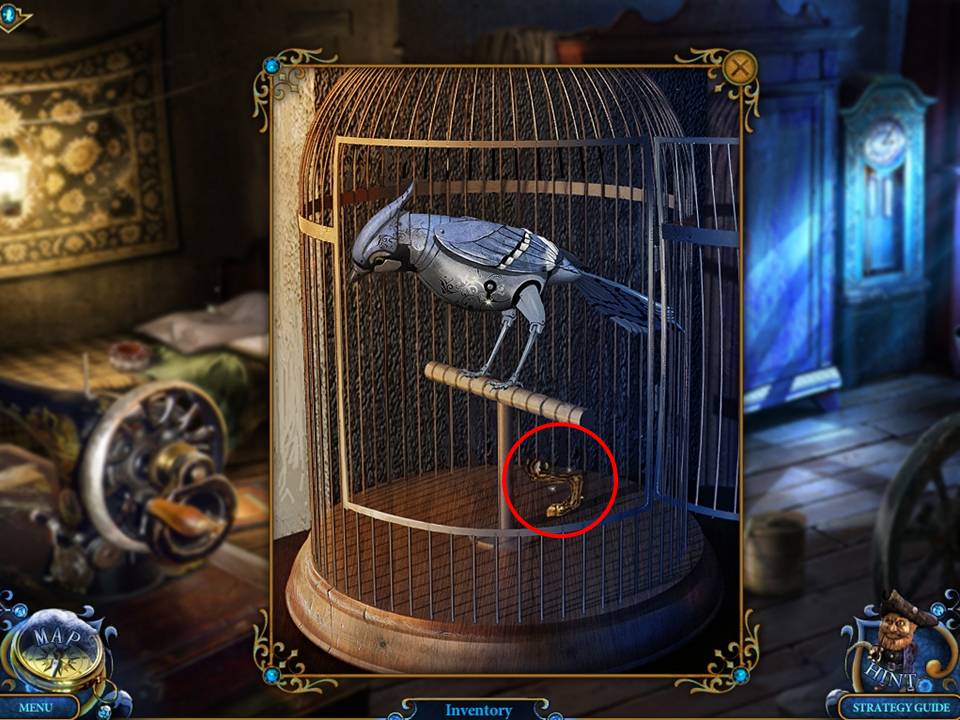
- Zoom into the birdcage.
- Open the cage door and take the HORSE'S LEG.
- Open the wardrobe and play the Hidden Object Area.
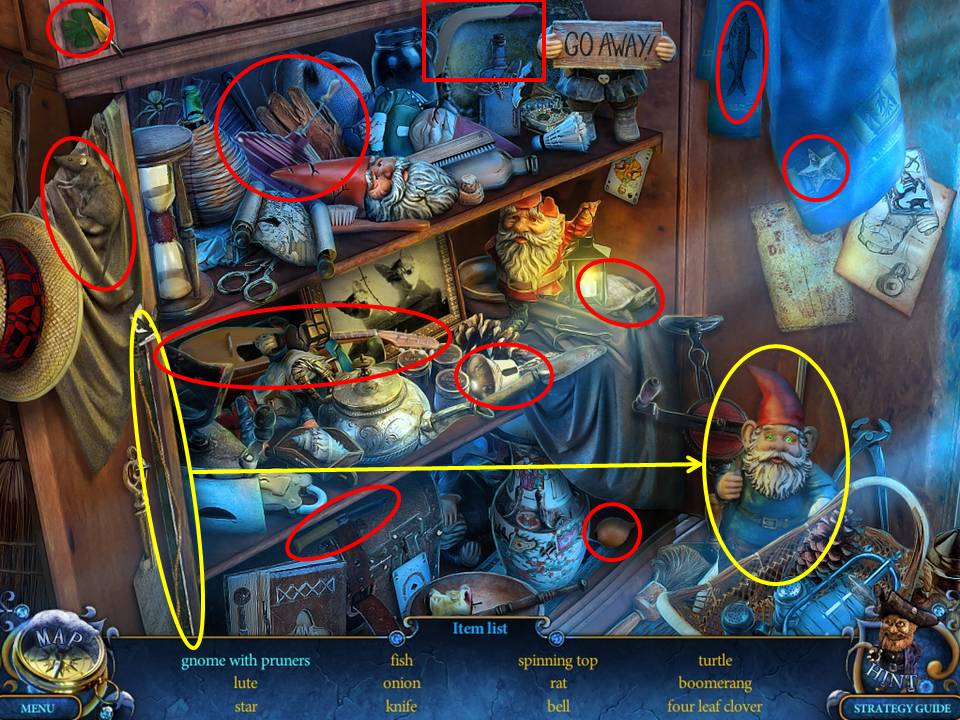
- Find the items listed.
- Take the GNOME.
- Return to the Optics Workshop.
Congratulations! You've completed Chapter 2 from the Royal Detective: Lord of Statues Walkthrough!
Comments will load when you reach this part of the walkthrough.