Chapter 4: The Gallery of Statues
The following contains screenshots and instructions on how to complete Chapter 4 from the CGG Royal Detective: Lord of Statues Walkthrough.
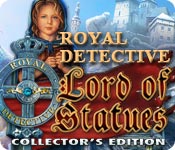
- Talk to Princess.
- Take the AMULET.
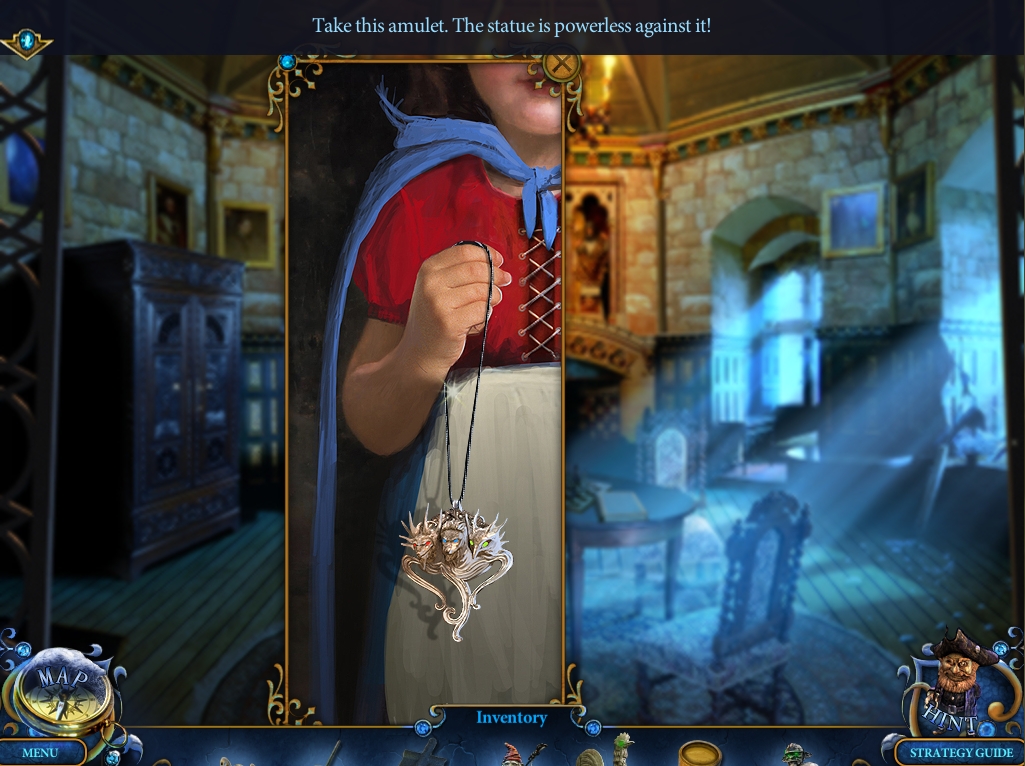
- Zoom into the table in the center of the room.
- Open the book.
- Take Miniature 16/26, the CHESS DIAGRAM, and the CHESS PIECE 1/2.
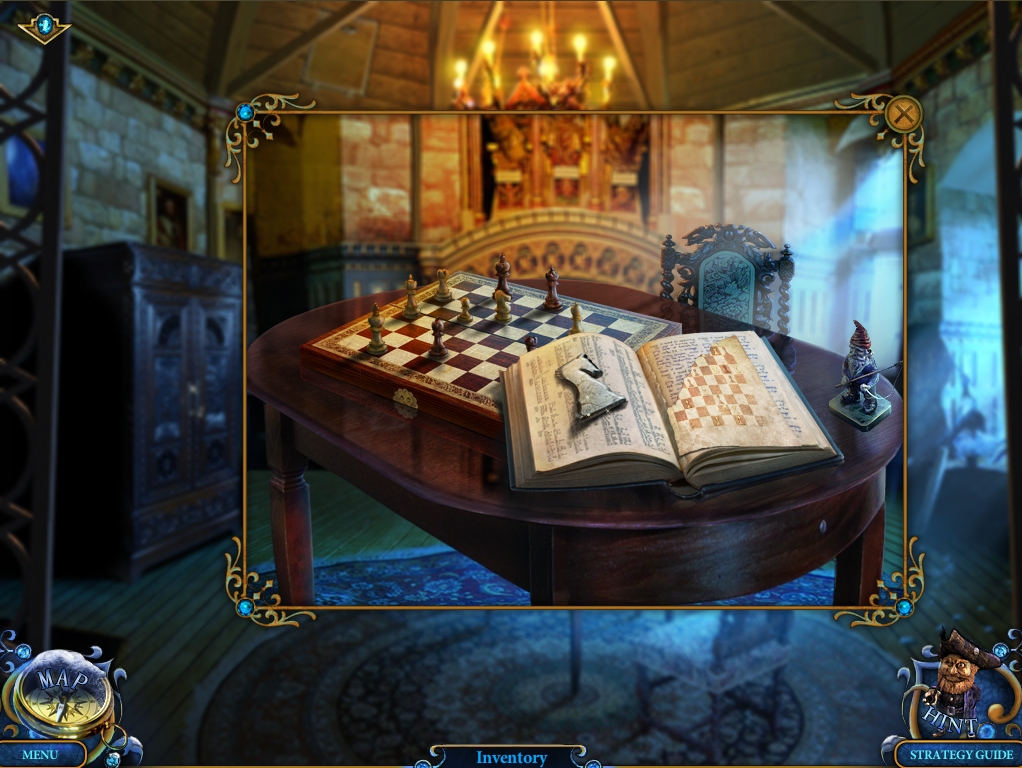
- Zoom into the first window on the right.
- Take the LITTLE ANCHOR.
- Zoom into the hatch in the upper left corner of the ceiling.
- Have your ROOSTER open it and knock the ladder down.
- Return to the Square.
- Zoom into the base of the pedestal.
- Place the SMALL ANCHOR in the groove on the left to fill it.
- Take CHESS PIECE 2/2.
- Return to the Mansion Hall.
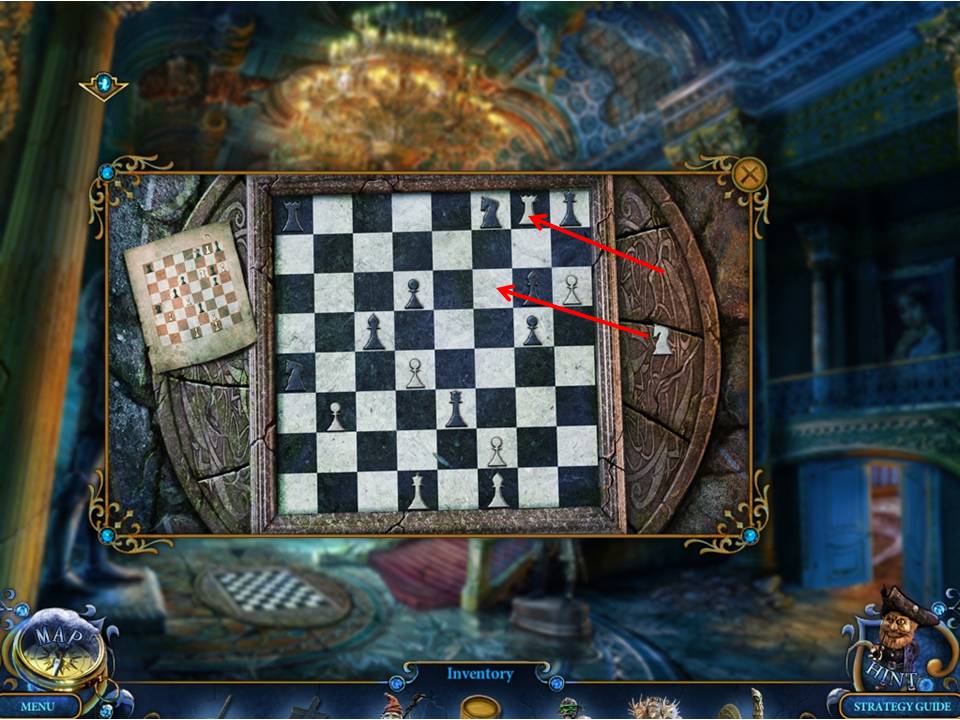
- Zoom into the chessboard pattern on the floor at the base of the staircase.
- Put the CHESS DIAGRAM and the CHESS PIECES on the board.
- Examine the diagram to see where the Chess Pieces should go.
- See screenshot for solution.
- Go down through the secret passage to the Stairs.
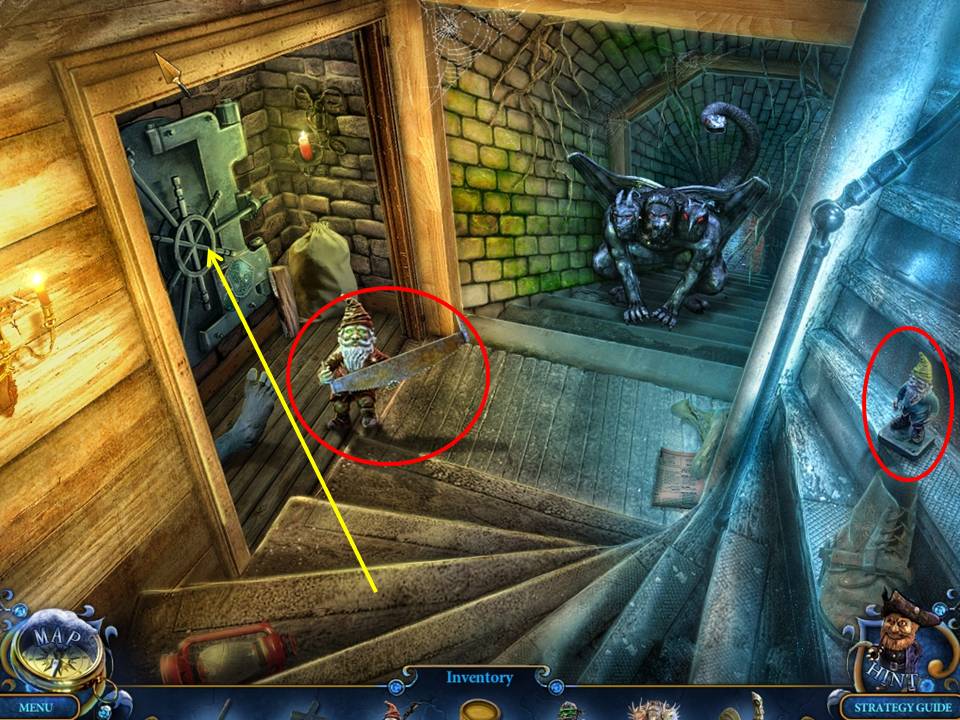
- Take Miniature 17/26 and the GNOME WITH SAW.
- Zoom into the safe door on the left to initiate a puzzle.
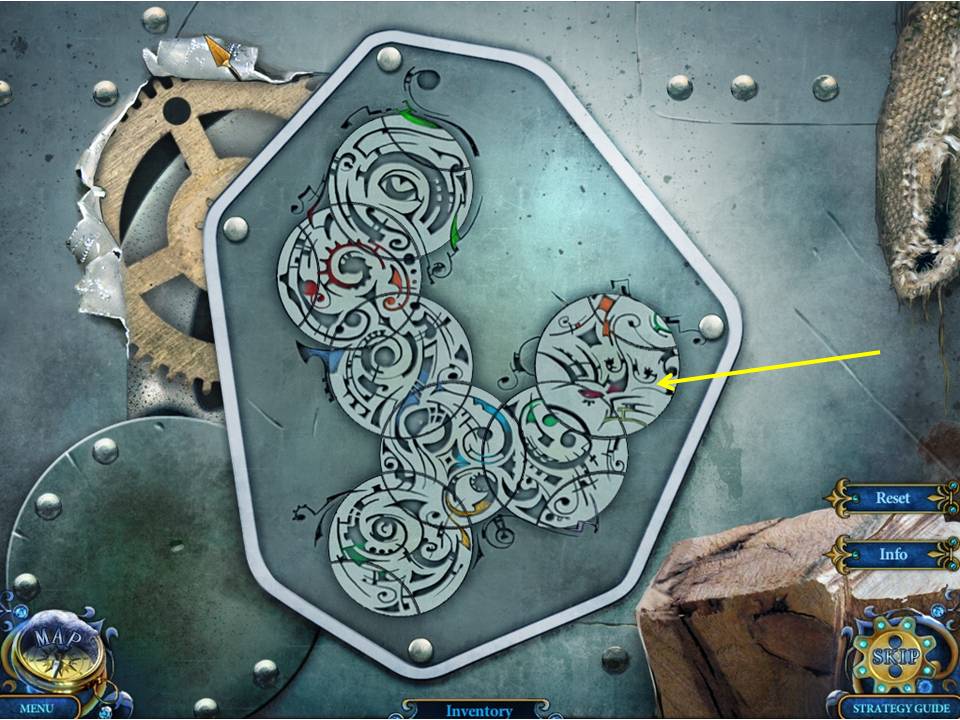
- The object of the puzzle is to restore the picture to open the safe door.
- Click the circles to rotate them.
- See screenshot for solution.
- Note closely the pattern on each wheel – sometimes you’ll be required to acquire a section from neighboring wheels to get the right pattern, or to move pieces off then back on to a wheel to get it in the correct position.
- Starting from the top left and working down, the arrow indicates the last turn required to complete the puzzle.
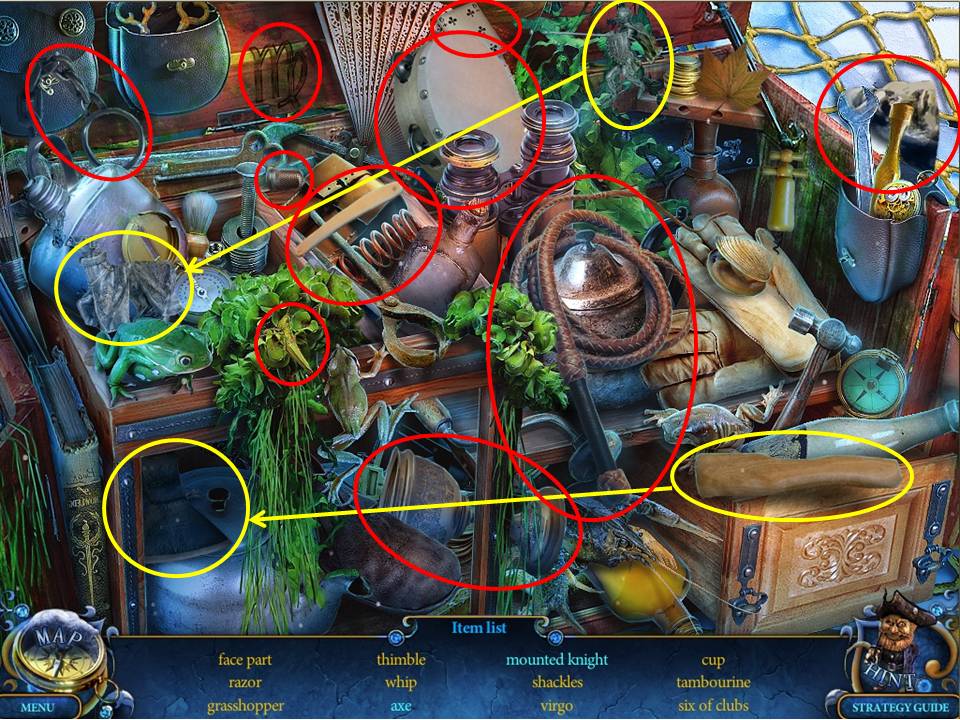
- When finished, play the Hidden Object Area.

- Find the items listed.
- Place the weights on the appropriate scales, at which point a gold bar will appear to the right of the elephant’s head and the number 12 will show on the scale.
- Click on both and accept the BAR OF GOLD.
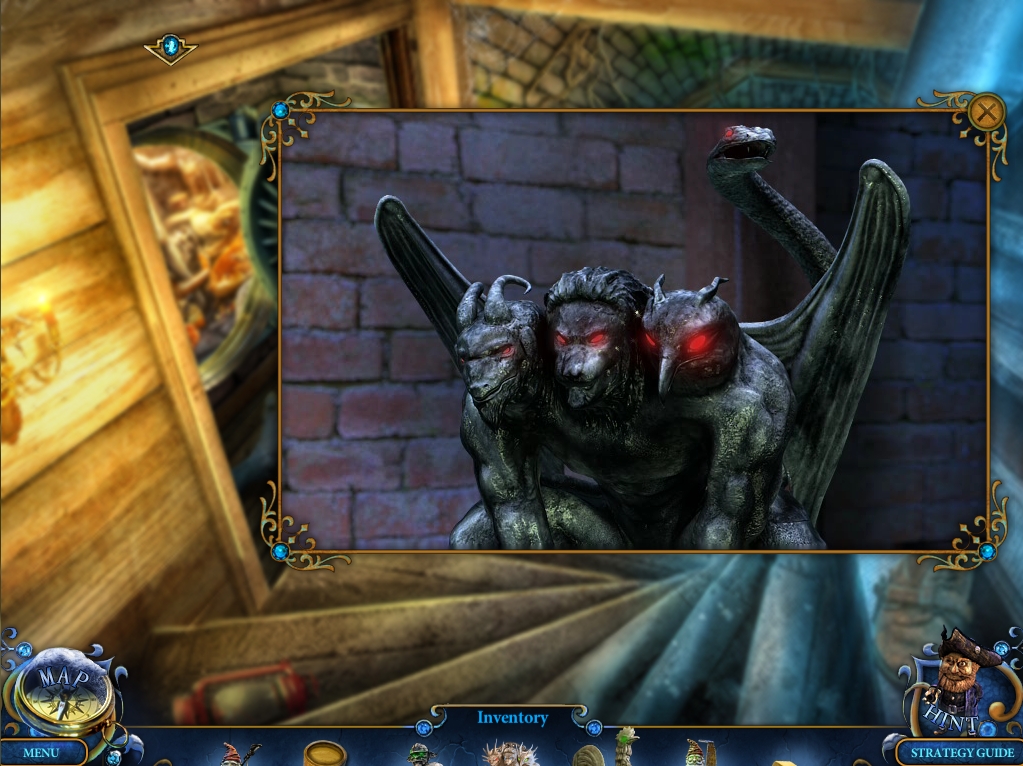
- Zoom into the chimera.
- Put it to sleep with the AMULET.
- Go down to the Gallery of Statues.
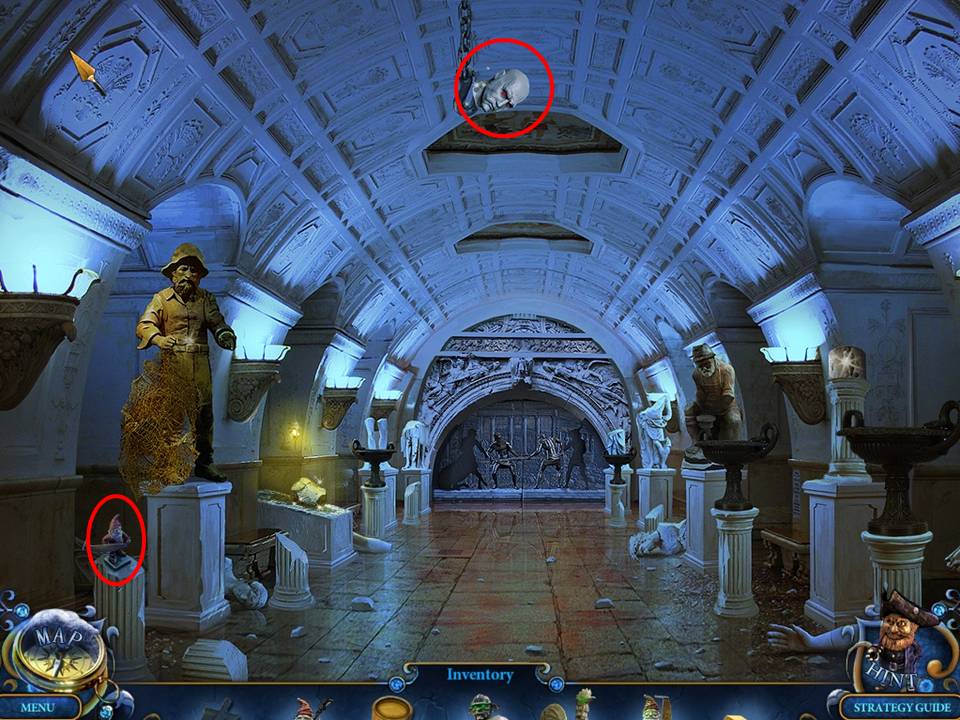
- Take Miniature 18/26.
- Zoom into the head on the hook near the ceiling.
- Have your ROOSTER knock it down.
- Zoom into it on the floor.
- Take the RED EYES (x2).
- Return to the Tower Entrance.
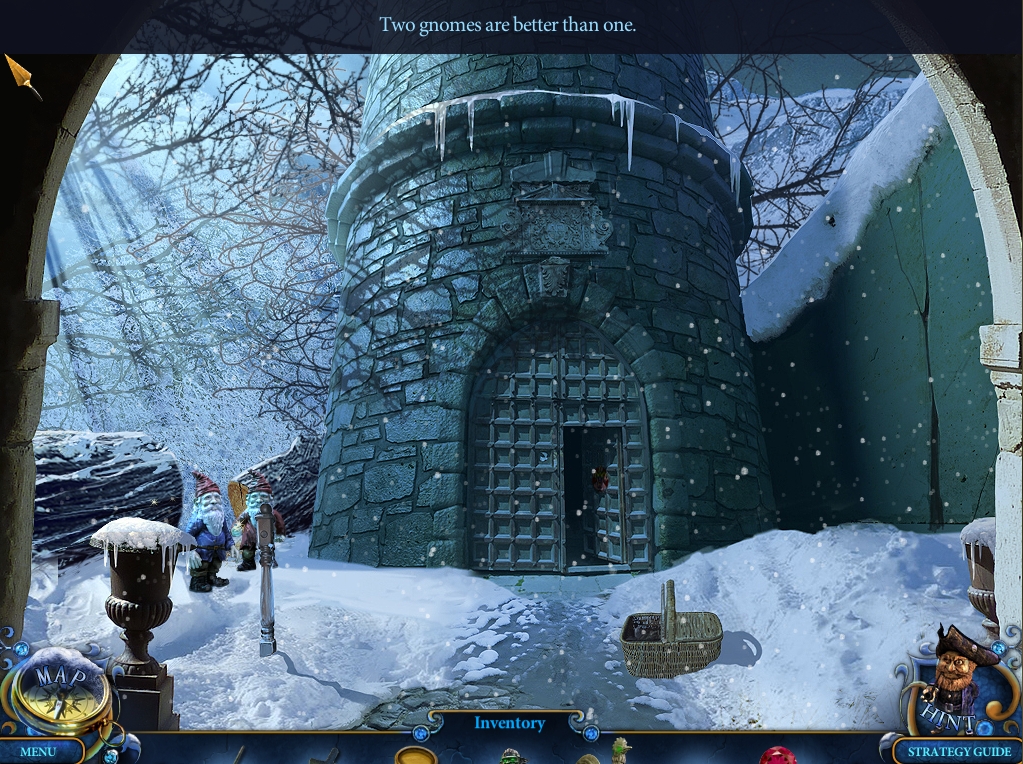
- Zoom into the fallen tree on the left.
- The GNOME WITH SAW and the GNOME will saw the tree and create a path for you.
- Once finished, return the GNOMES (x2) to inventory.
- Head forward to the Backyard.
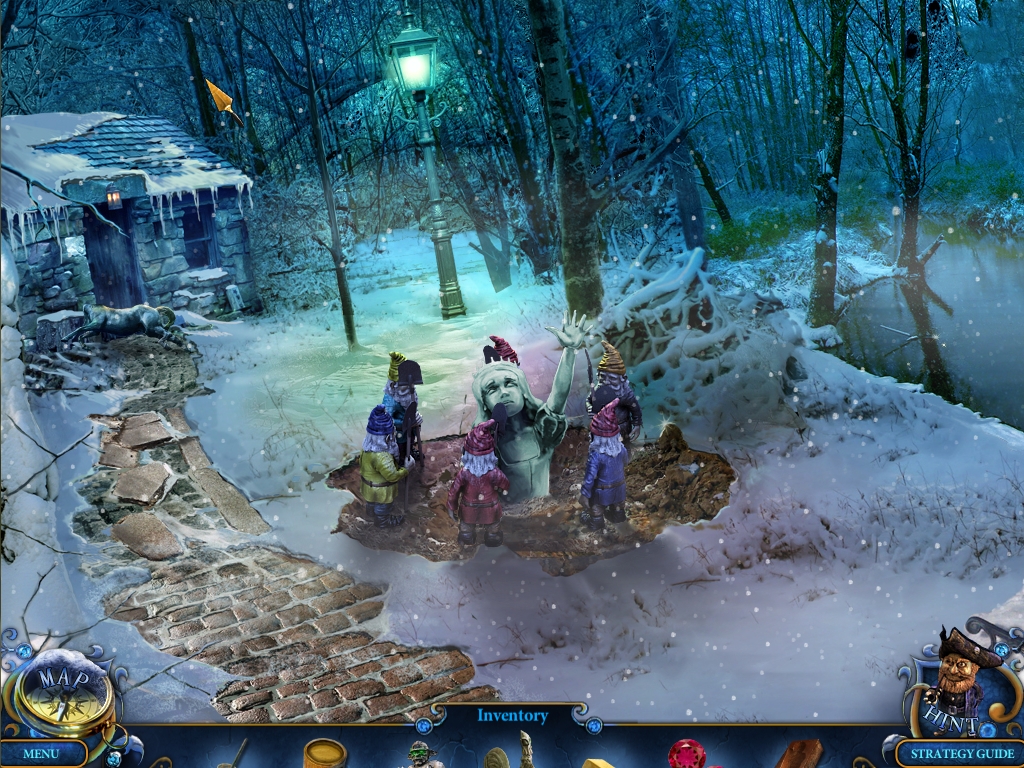
- Zoom into the gnome with the gold cap ahead on the right.
- Place the SHOVEL on the stick handle.
- Place the GNOMES (x2) from your inventory into the circle.
- Zoom into the river bank on the right.
- Take the FISH MOLD.
- Move forward to the Backyard House.

- Take Miniature 19/26, the HORSESHOE, and the WOODEN HANDS 1/2.
- Return to the Optics Workshop.
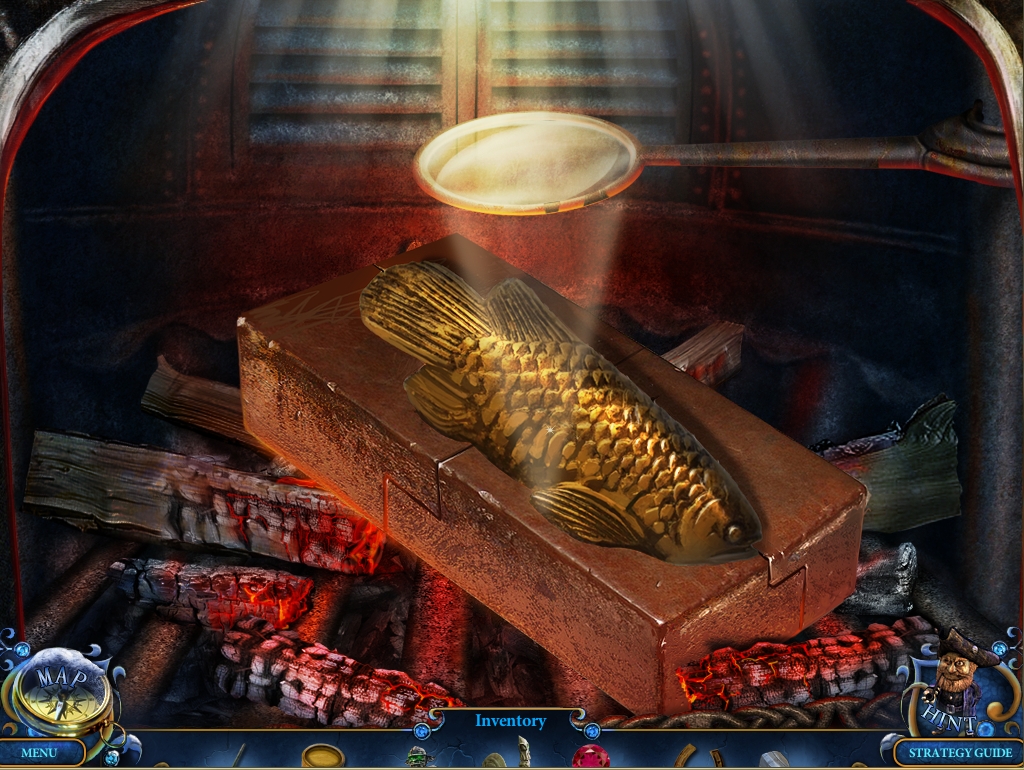
- Zoom into the stove on the left.
- Put the FISH MOLD in the embers.
- Place the BAR OF GOLD on the mold.
- Take the GOLDEN CARP.
- Return to the Gallery of Statues.
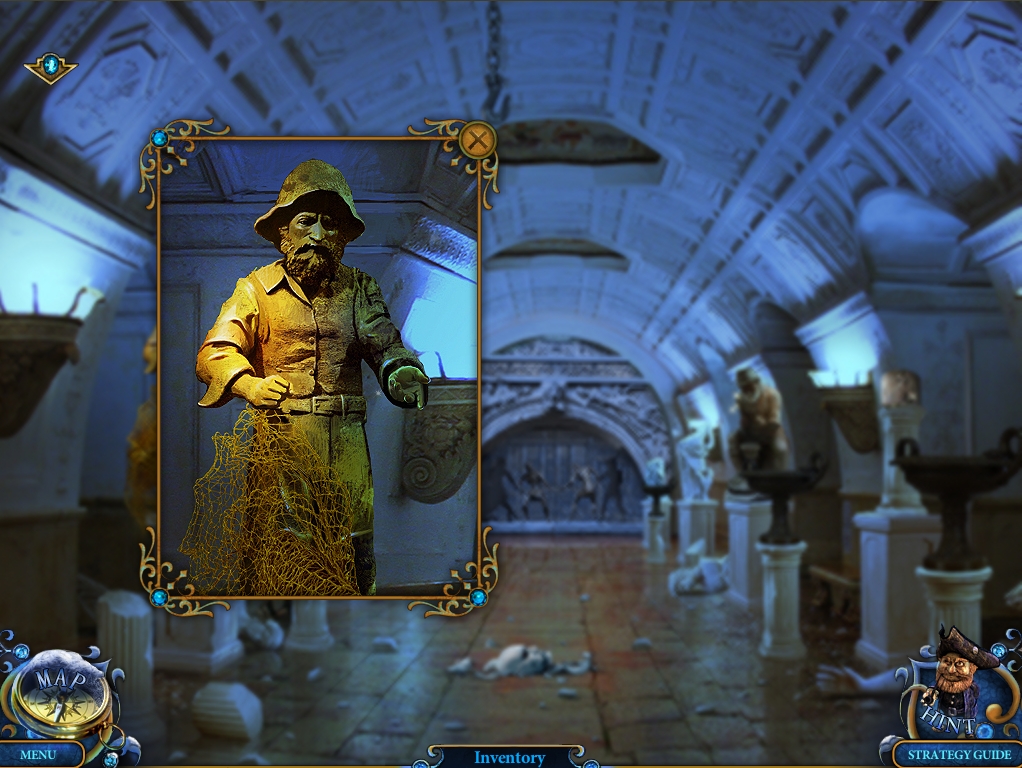
- Zoom into the Fisherman statue on the left.
- Give him the GOLDEN CARP.
- Take the GOLDEN NET.
- Return to the Backyard.

- Zoom into the riverbank on the right again.
- Place the GOLDEN NET on the water.
- Use the MINER to retrieve the chest.
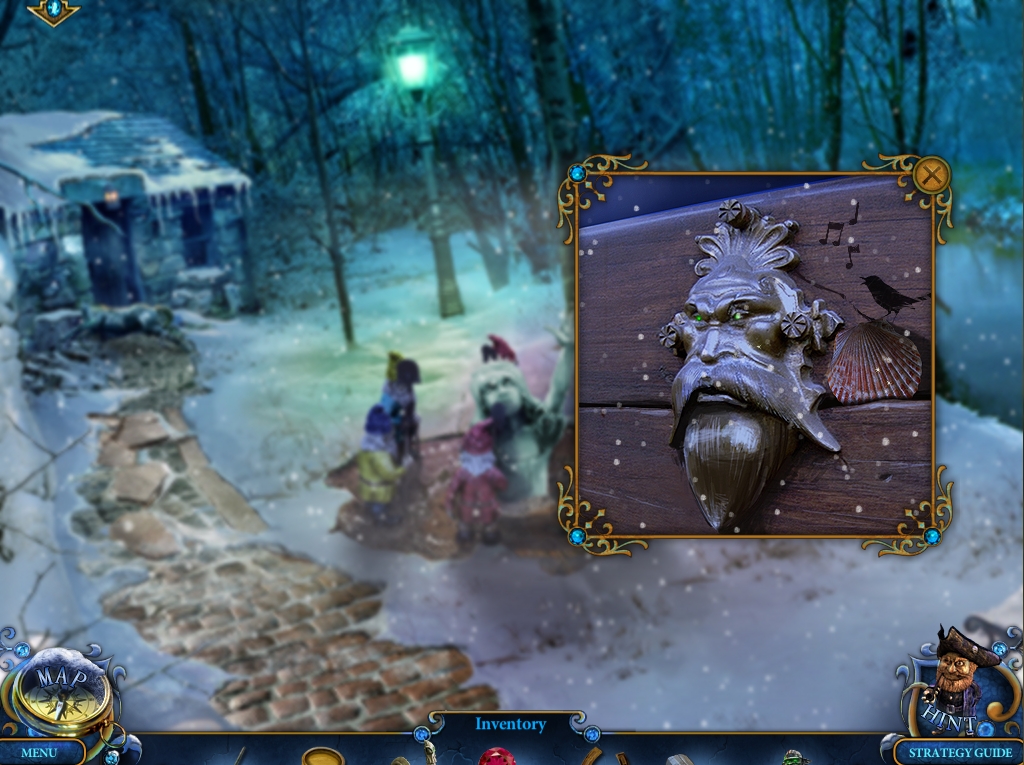
- Zoom into the chest.
- Take the SHELL.
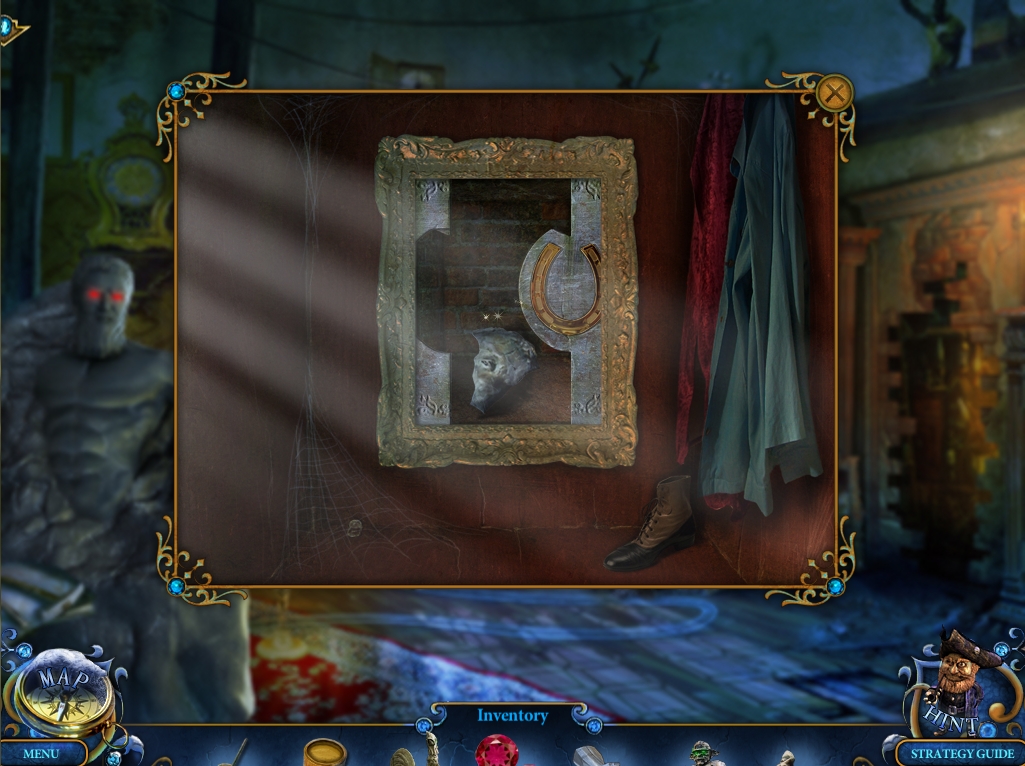
- Return to the Maid's Room.
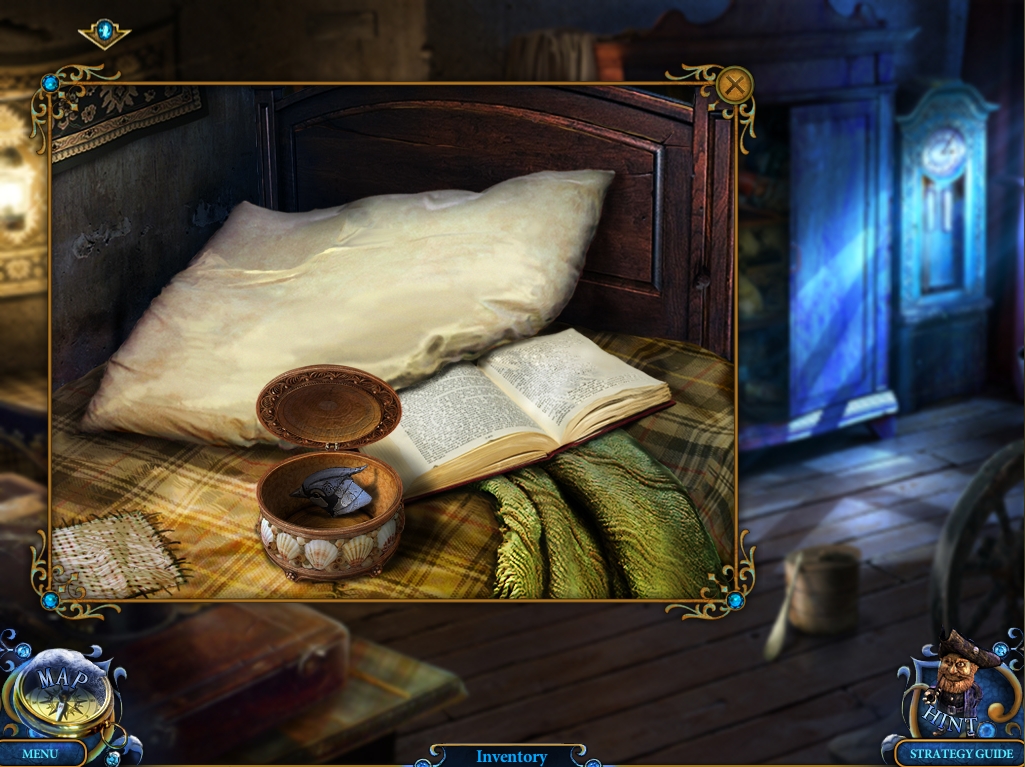
- Zoom into the top of the bed.
- Use the SHELL on the round box to open it.
- Take the BIRD'S HEAD.
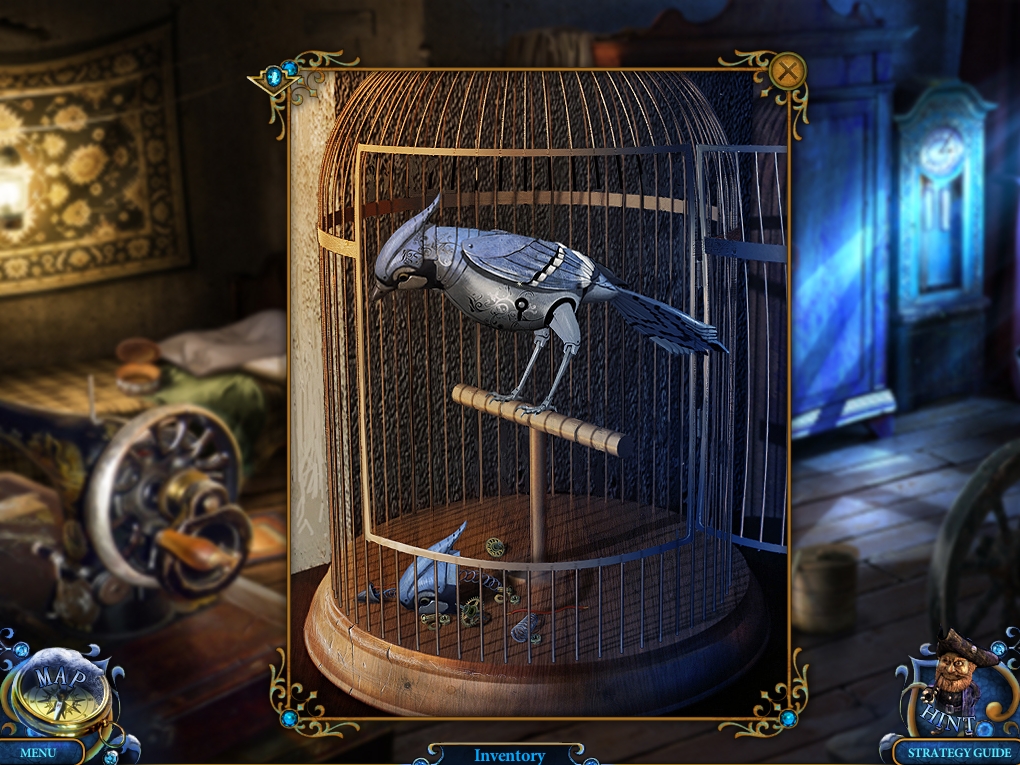
- Zoom into the birdcage.
- Place the BIRD'S HEAD on the mechanical bird body.
- Take the MECHANICAL BIRD.
- Return to the Backyard.

- Zoom into the chest near the riverbank.
- Open the chest with the MECHANICAL BIRD.
- Play the Hidden Object Area.
- Find the items listed.
- Receive the CENTAUR FACE PART 1/2.
- Return to Amadey's Workshop.
- Zoom into the large cabinet in the corner.
- Place the HORSESHOE in the groove on the back to open a secret compartment.
- Take CENTAUR FACE PART 2/2.
- Return to the Gallery of Statues.
- Zoom into the pedestal with the torso piece on the left.
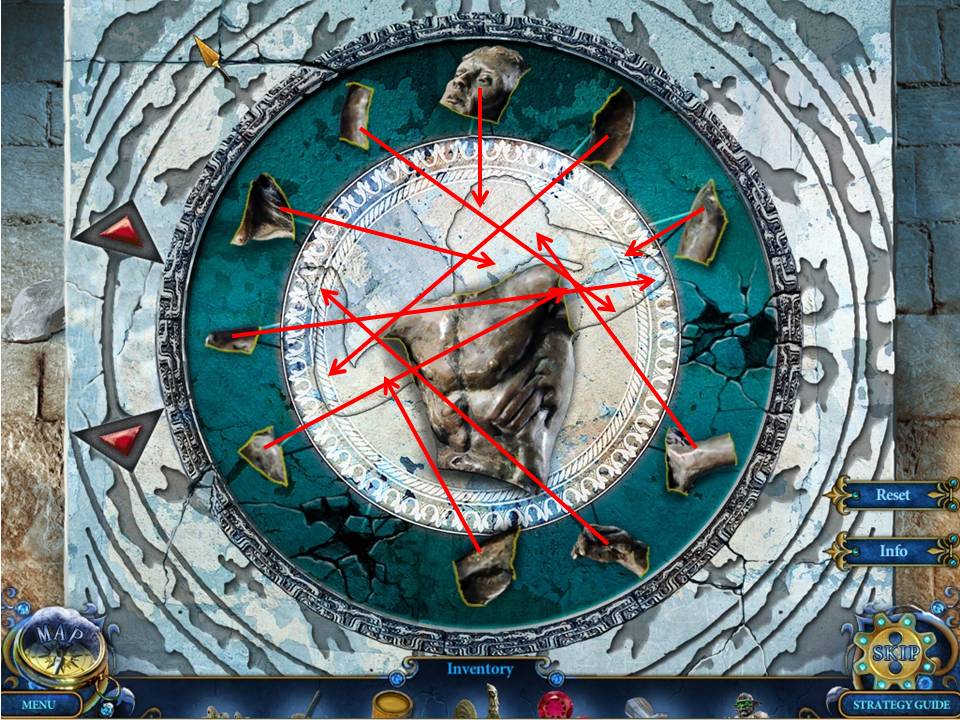
- Use the CENTAUR FACE PART on the ring to trigger a puzzle.
- The object of the puzzle is to assemble the statue.
- Click on the arrows to rotate left and right.
- See screenshot for solution, which shows the exact place for each piece – you need to rotate the figure to get the correct orientation to insert each one.
- When finished, receive the CENTAUR TORSO.
- Return to the Backyard House.
Congratulations! You've completed Chapter 4 from the Royal Detective: Lord of Statues Walkthrough!
Comments will load when you reach this part of the walkthrough.