
Chapter 5: The Backyard House
The following contains screenshots and instructions on how to complete Chapter 5 from the CGG Royal Detective: Lord of Statues Walkthrough.
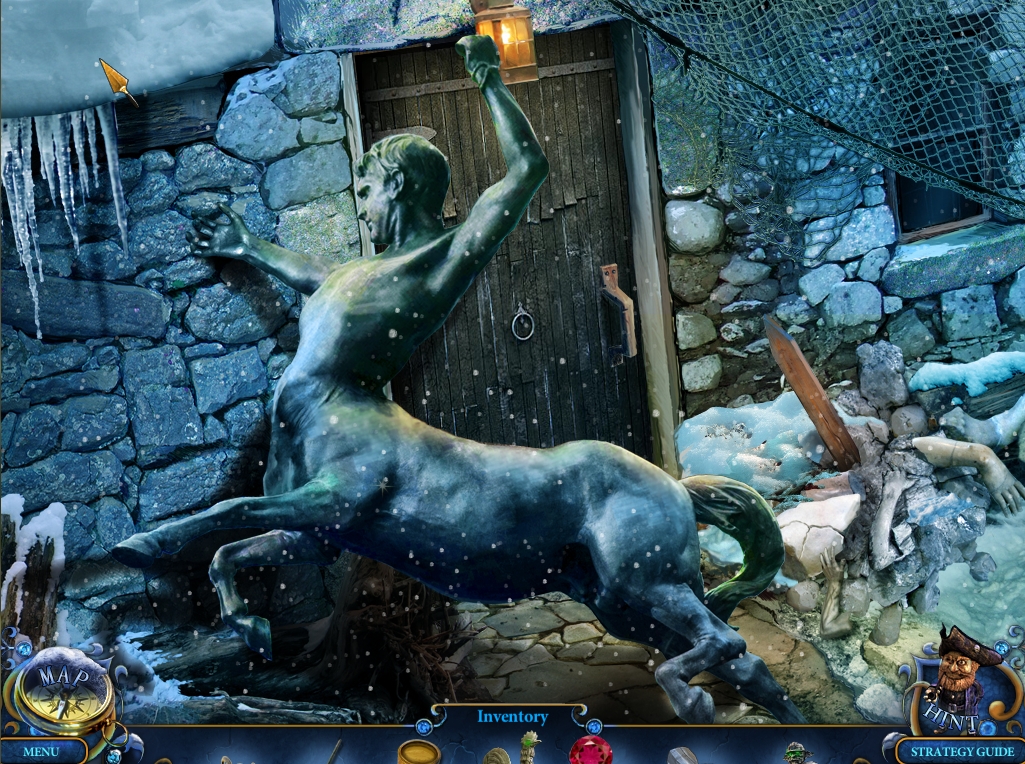
- Place the CENTAUR TORSO on the horse body.
- Take the completed CENTAUR.
- Click on the front door to open it.
- Receive the DOOR HANDLE.
- Speak with the door, then go back to the Gallery of Statues.
- Proceed forward to Amadey's Secret Room.
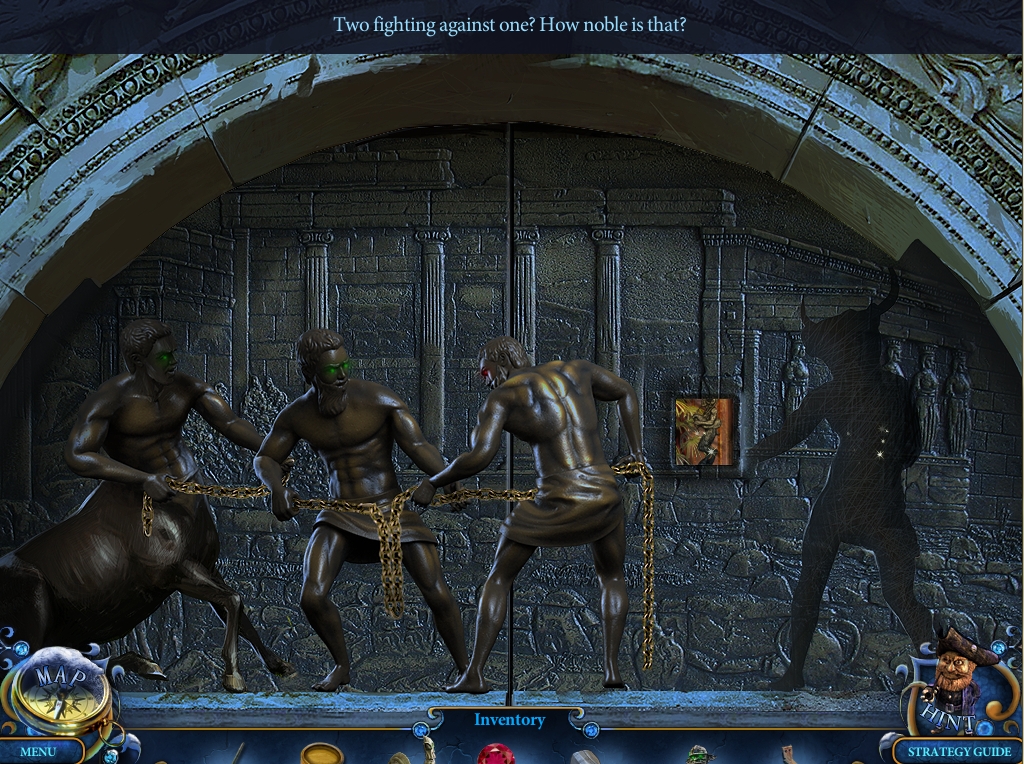
- Place the CENTAUR in the slot on the left wall.
- Click on the square window slot that appears on the right for a short cutscene.
- After the cutscene, receive the FAUN WITH BAGPIPES.
- Go to the Maid's Room.
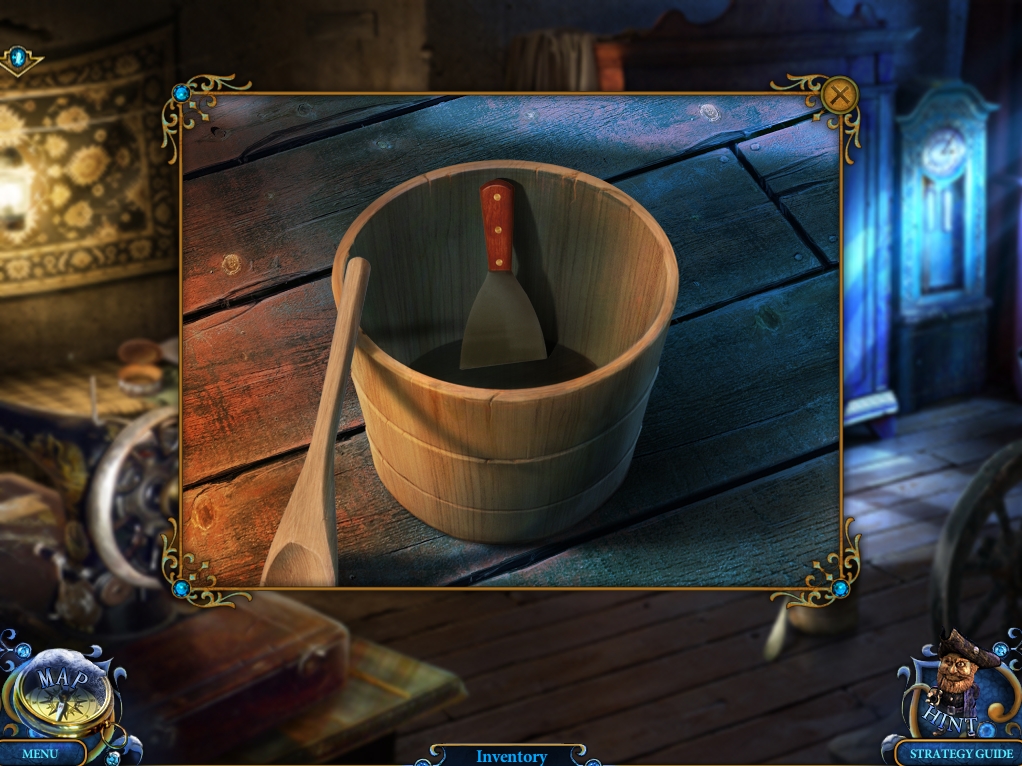
- Zoom into the pail on the floor.
- Open the lid with the DOOR HANDLE.
- Take the PALETTE KNIFE.
- Return to the Backyard House.
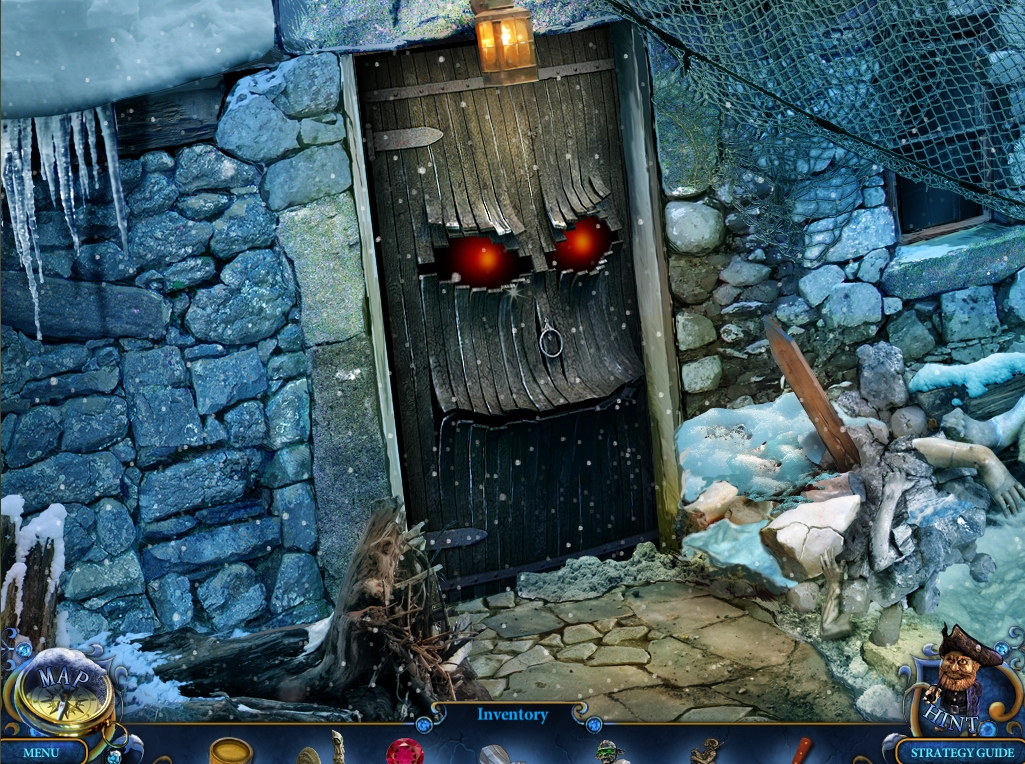
- Use the PALETTE KNIFE and PAINT on the door.
- Take the HINGE.
- Enter the house.
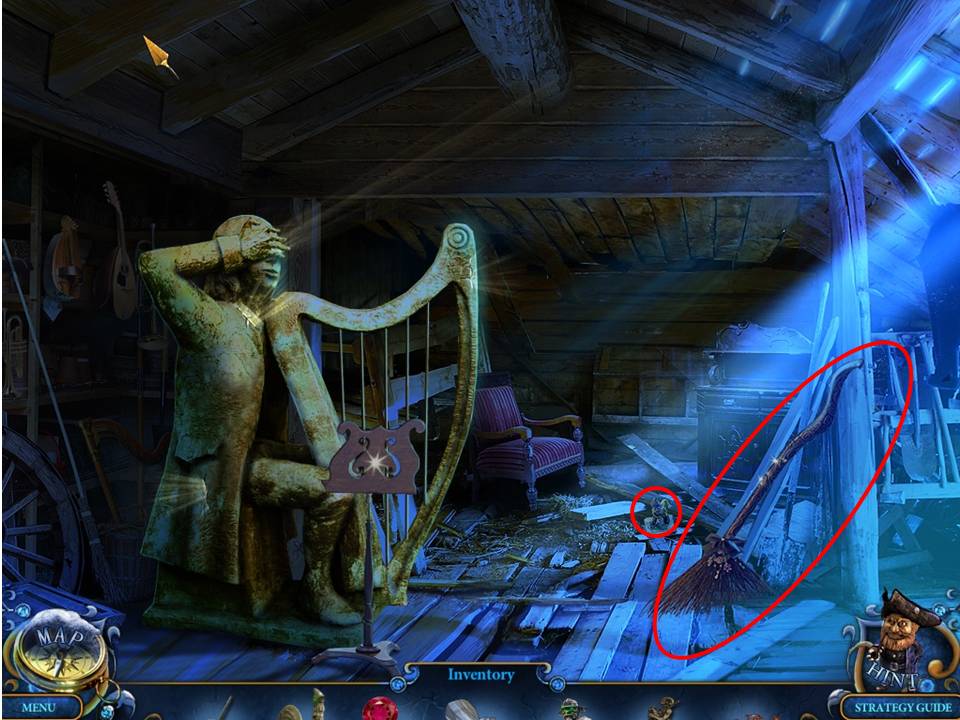
- Take Miniature 20/26 and the MAGIC BROOM.
- Return to the Maid's Room.
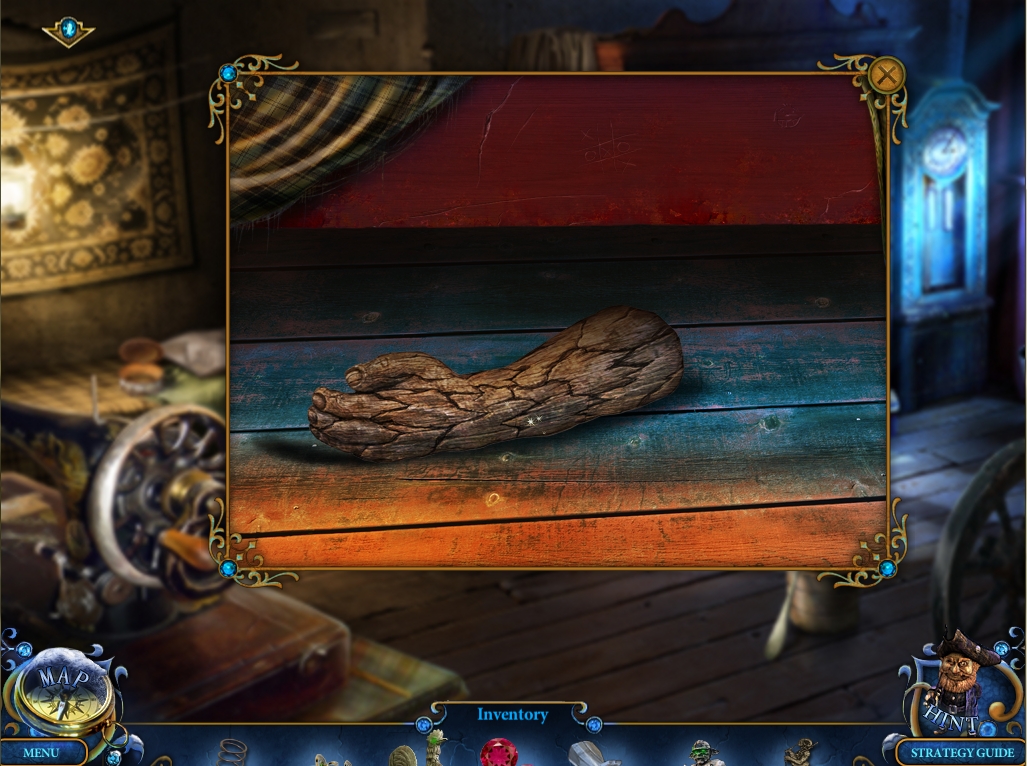
- Zoom into the area underneath the bed.
- Use the MAGIC BROOM to pull out the pieces of wood from under the bed.
- GLUE the pieces to reassemble and take the WOODEN HANDS 2/2.
- Return to the Gallery of Statues.
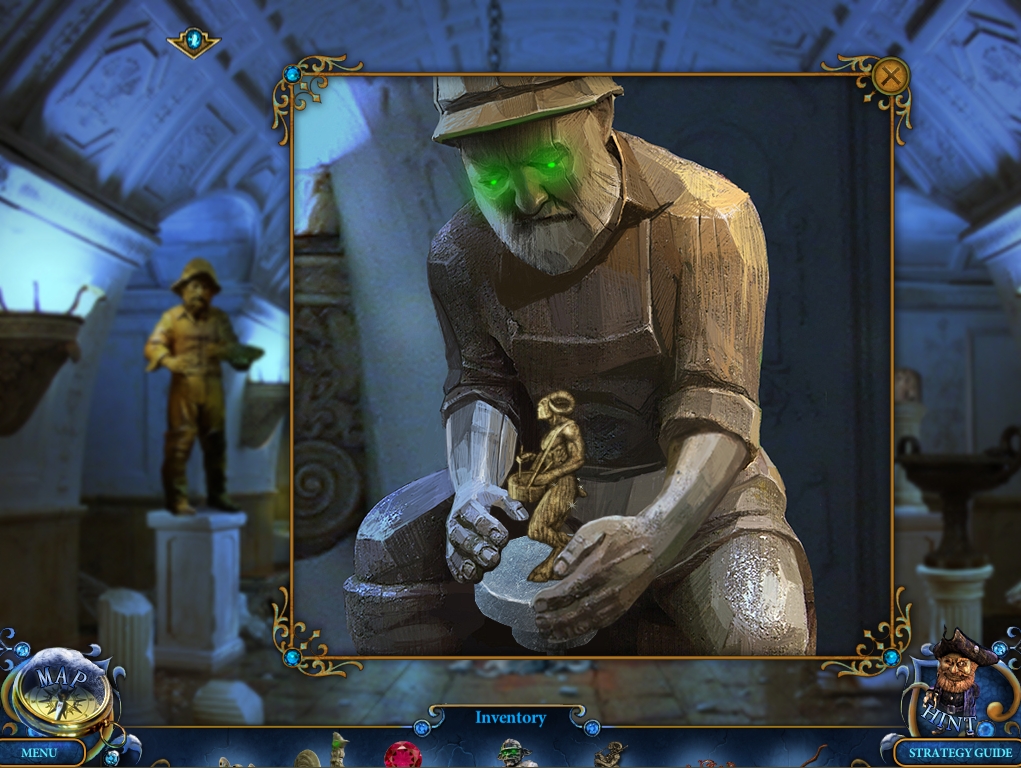
- Zoom into the sculptor statue on the right.
- Place the WOODEN HANDS on the statue.
- Take the FAUN WITH DRUM.
- Return to the Tower Chamber.
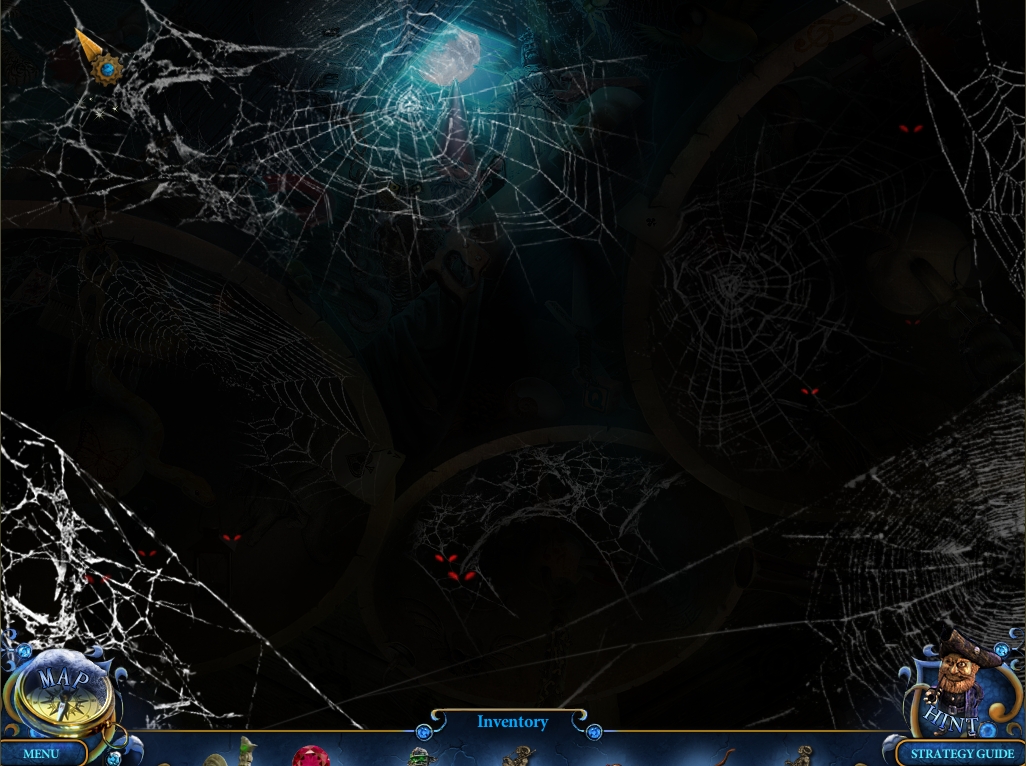
- Zoom into the ceiling hatch at upper left.
- Sweep out the cobwebs with the MAGIC BROOM.
- Have your ROOSTER clear out the bats.
- Play the Hidden Object Area.
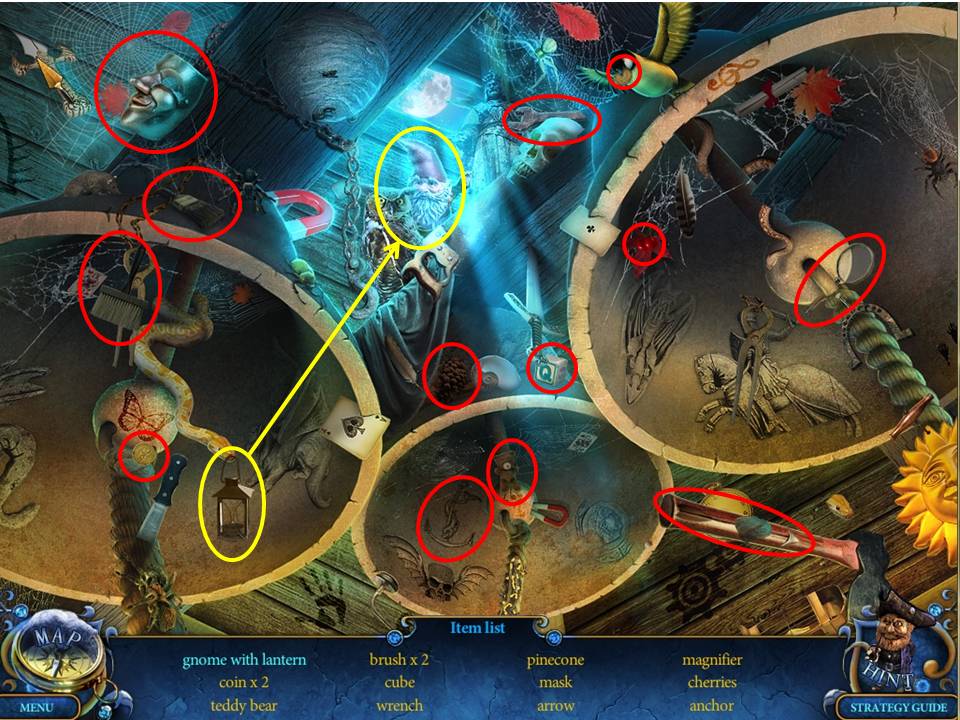
- Find the items listed.
- Receive the CHIEF GNOME.
- Return to the Backyard.
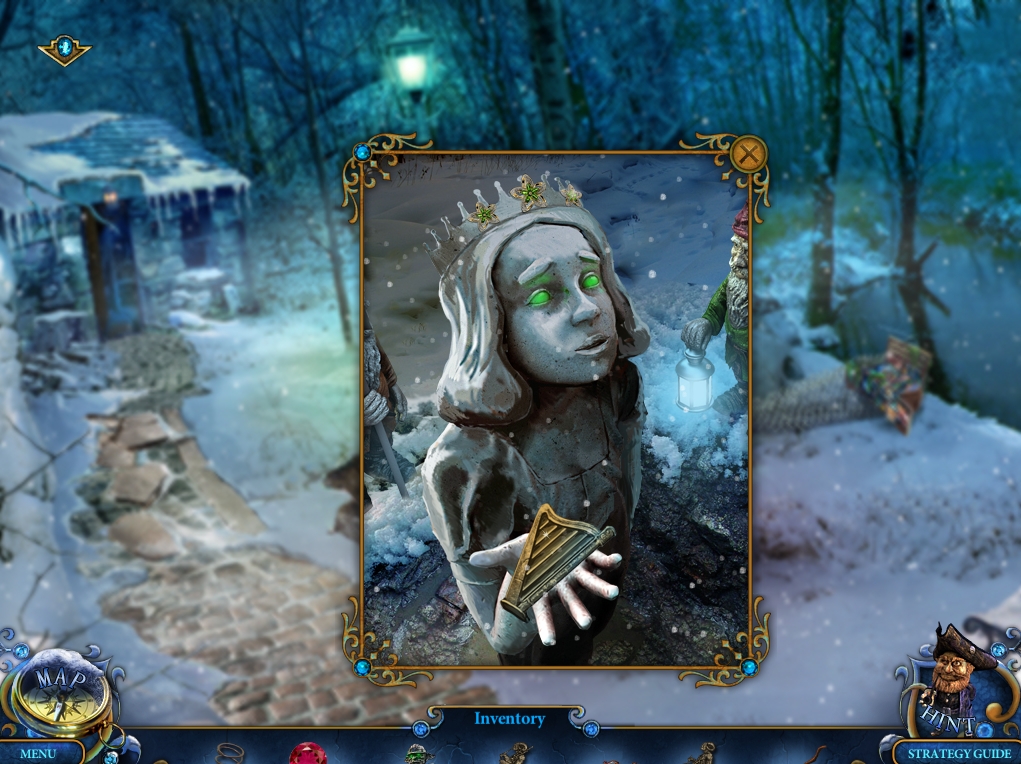
- Complete the circle of gnomes with the CHIEF GNOME.
- Watch as they dig out Snow White.
- When finished, zoom into Snow White.
- Place FLOWERS on her crown.
- Take the LITTLE HARP.
- Return to the Tower Chamber.
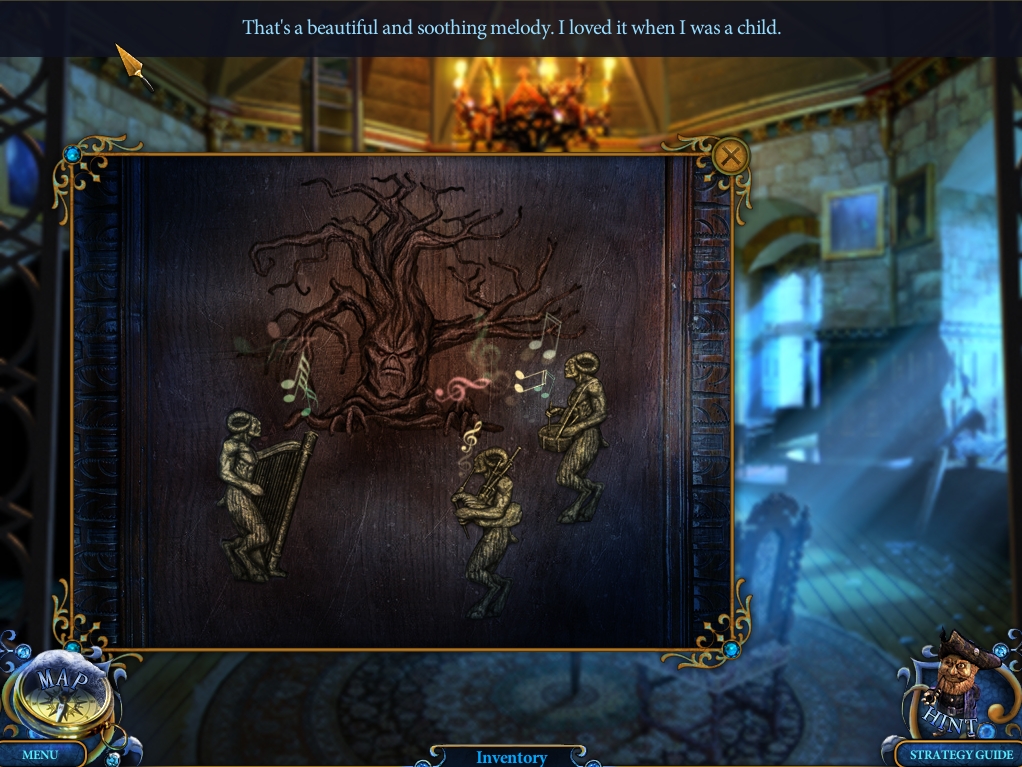
- Zoom into the wardrobe on the left.
- Use the LITTLE HARP, the FAUN WITH DRUM, and the FAUN WITH BAGPIPES on the appropriate slots to open it.
- Zoom inside the wardrobe.
- Take the DISK.
- Return to the Gallery of Statues.
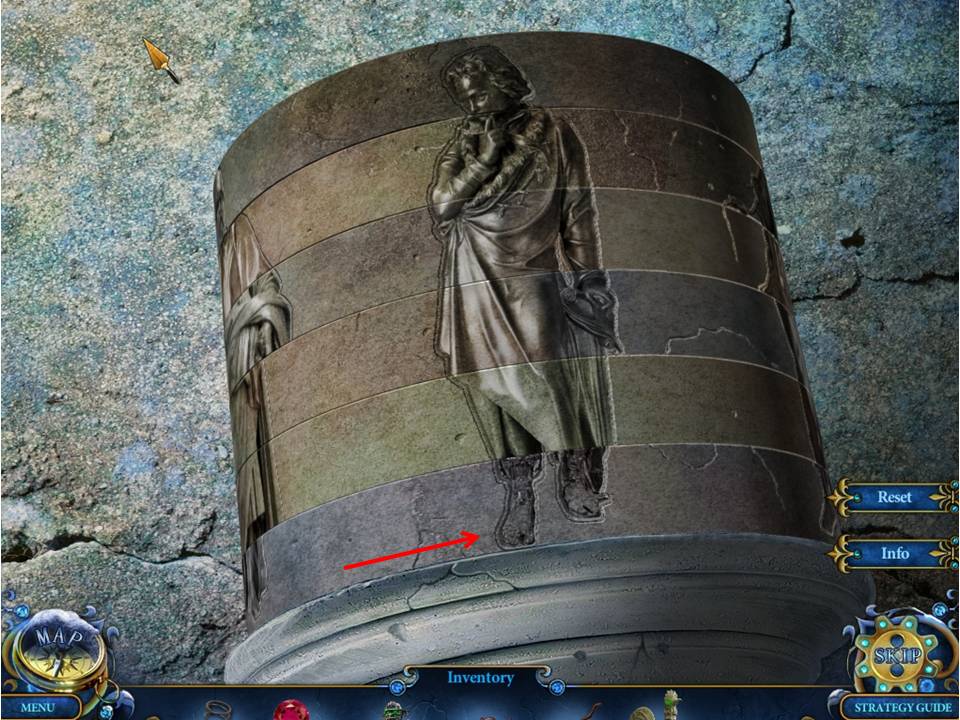
- Zoom into the stone cylinder on top of the pillar on right.
- Place the DISK there to initiate a puzzle.
- The object of the puzzle is to rotate the discs until they line up and form an image.
- See screenshot for solution, showing all but last move, indicated by arrow.
- When finished, play the Hidden Object Area.
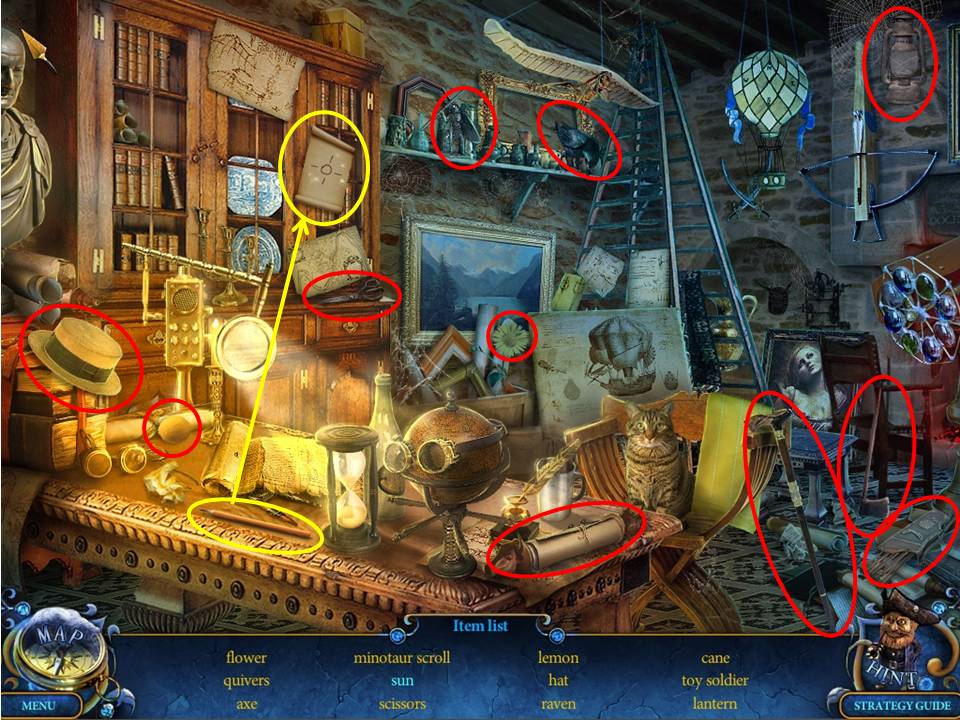
- Find the items listed.
- Receive the MINOTAUR SCHEME.
- Return to the Dining Room.
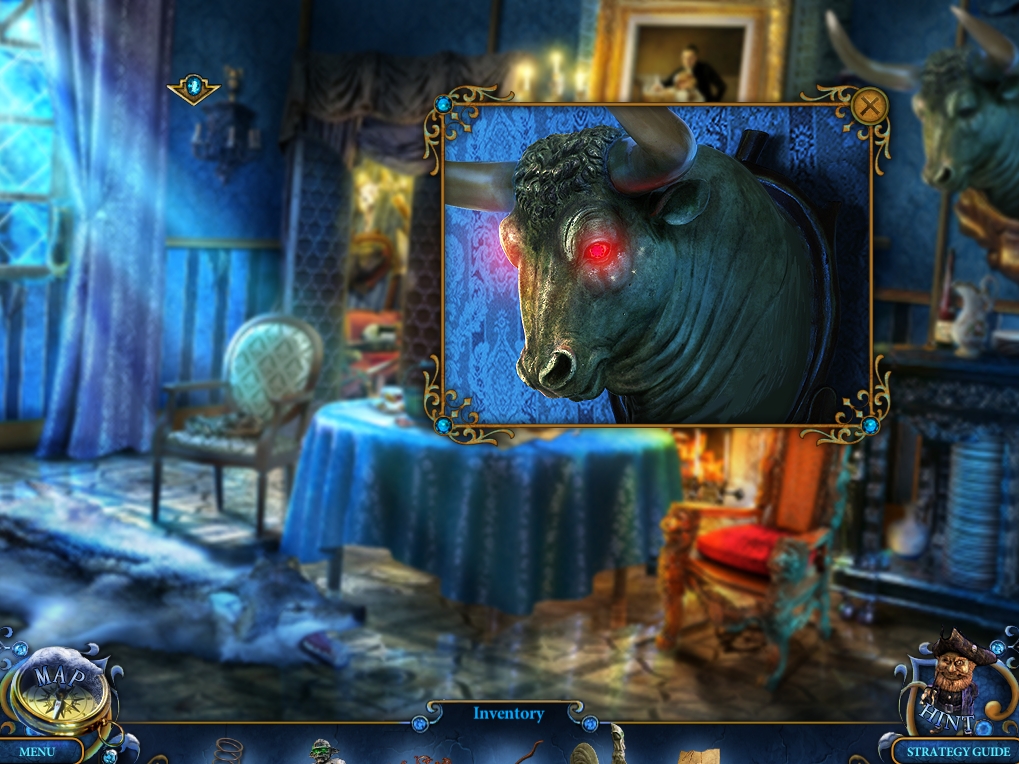
- Zoom into the ox head on the wall on the upper right.
- Place the RED EYES in the sockets.
- Take the MINOTAUR HEAD.
- Return to the Tower Chamber.
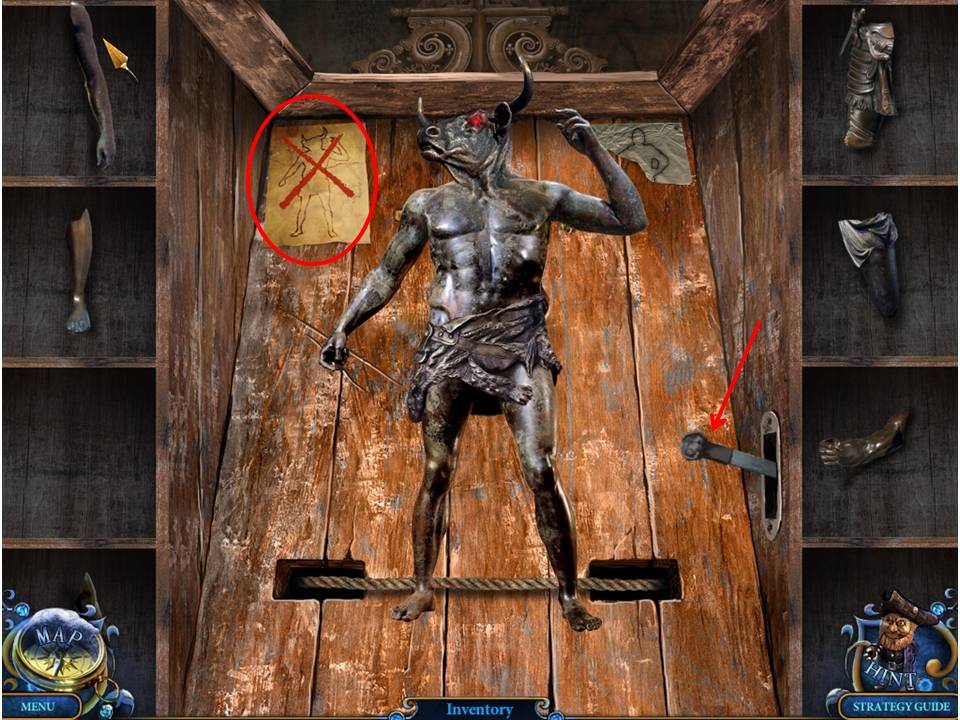
- Zoom into the wardrobe on the left again.
- Use the MINOTAUR SCHEME on the torn paper on the upper left.
- Place the MINOTAUR HEAD on the empty shelf on the left to initiate a puzzle.
- The object of the puzzle is to assemble the statue as it is shown in the drawing.
- Click on the lever to slide the boxes up and down to reveal alternative pieces that can be used to complete the figure.
- See screenshot for solution.
- When finished, take the MINOTAUR.
- Return to Amadey's Secret Room.
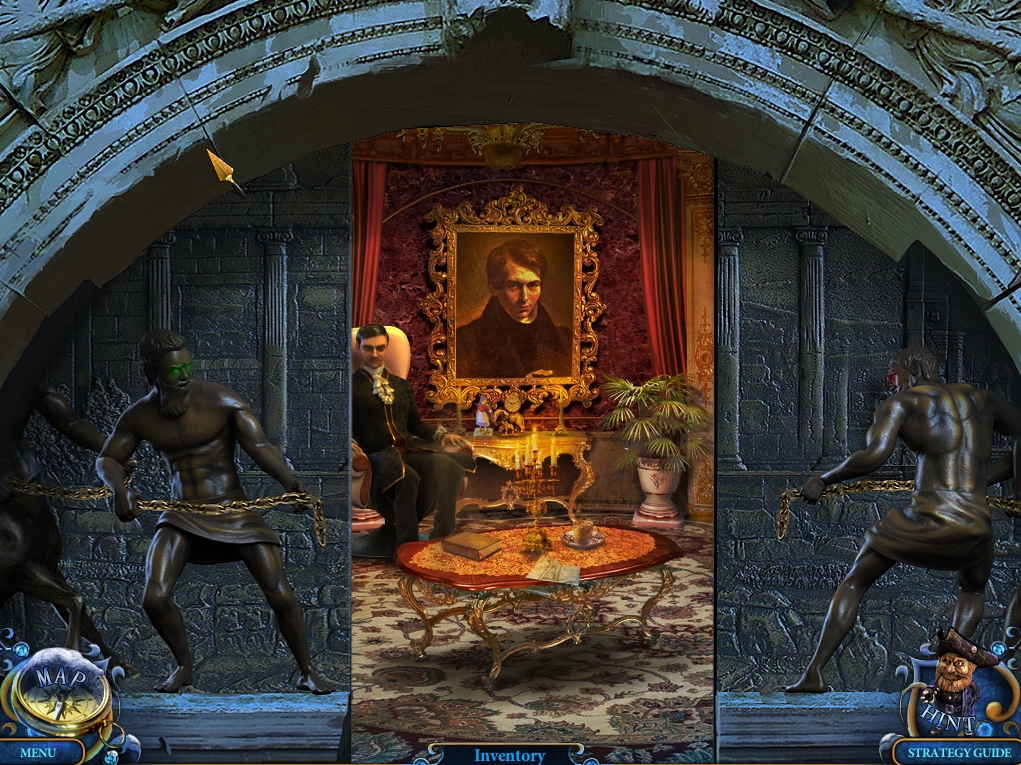
- Place the MINOTAUR on the slot on the right to open the door.
- Then click anywhere to watch a cutscene.
- Return to the Gallery of Statues.
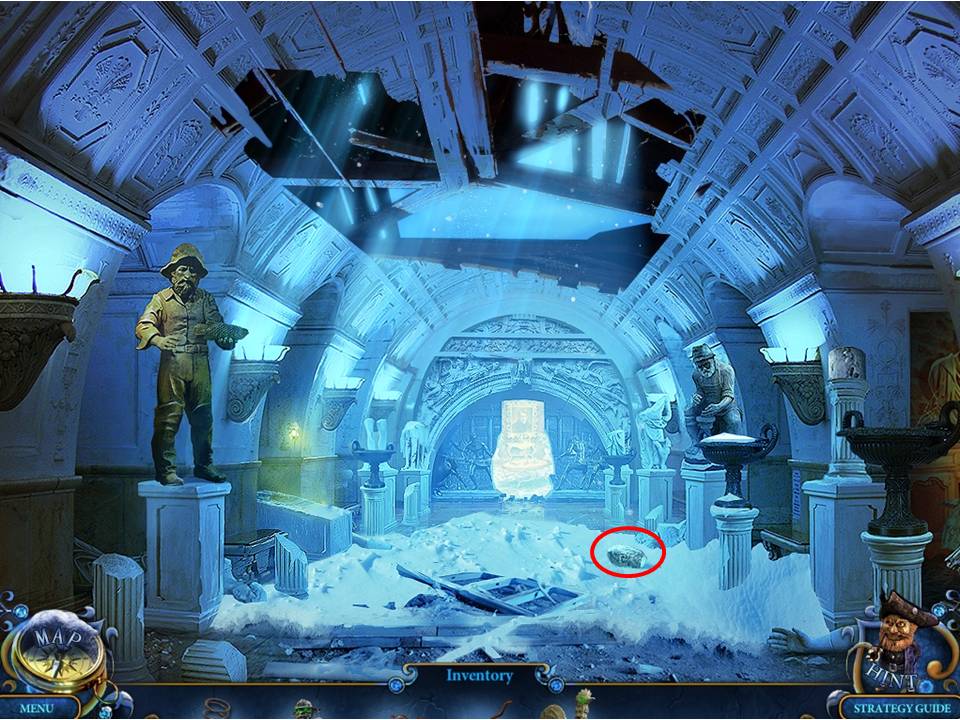
- You’ll watch another cutscene.
- Zoom into the snowy area of the floor on the right.
- Take the ICE HEAD.
- Return to Amadey's Secret Room.
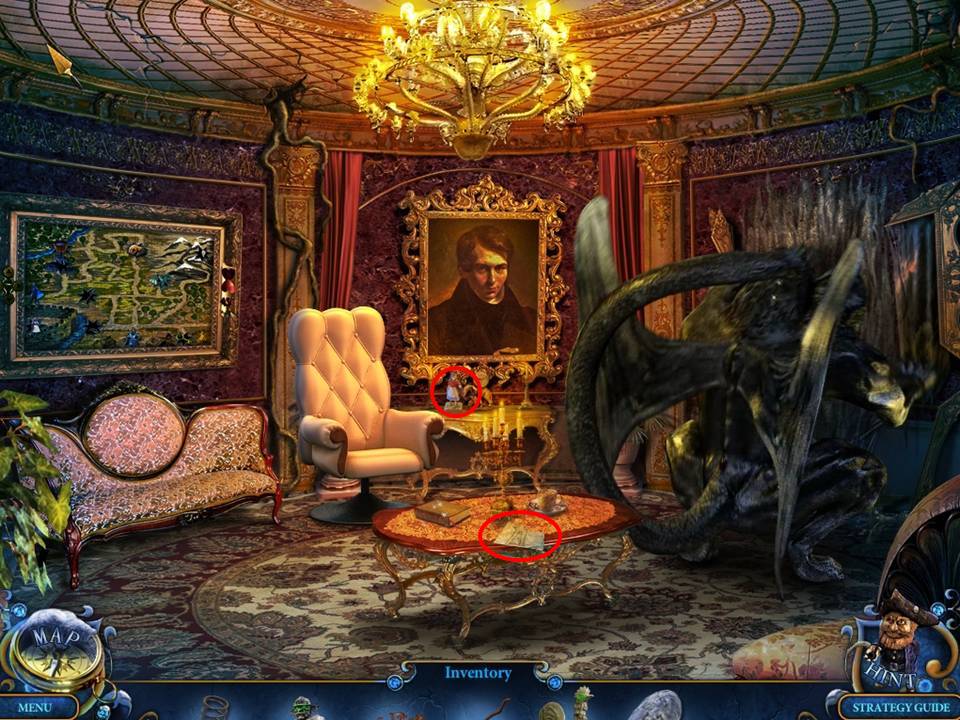
- Take Miniature 21/26 and the HERO'S DIAGRAM.
- Return to the Optics Workshop.
- Talk to the Archer.
Congratulations! You've completed Chapter 5 from the Royal Detective: Lord of Statues Walkthrough!
Comments will load when you reach this part of the walkthrough.