
Chapter Five: Dig Into the Ruins
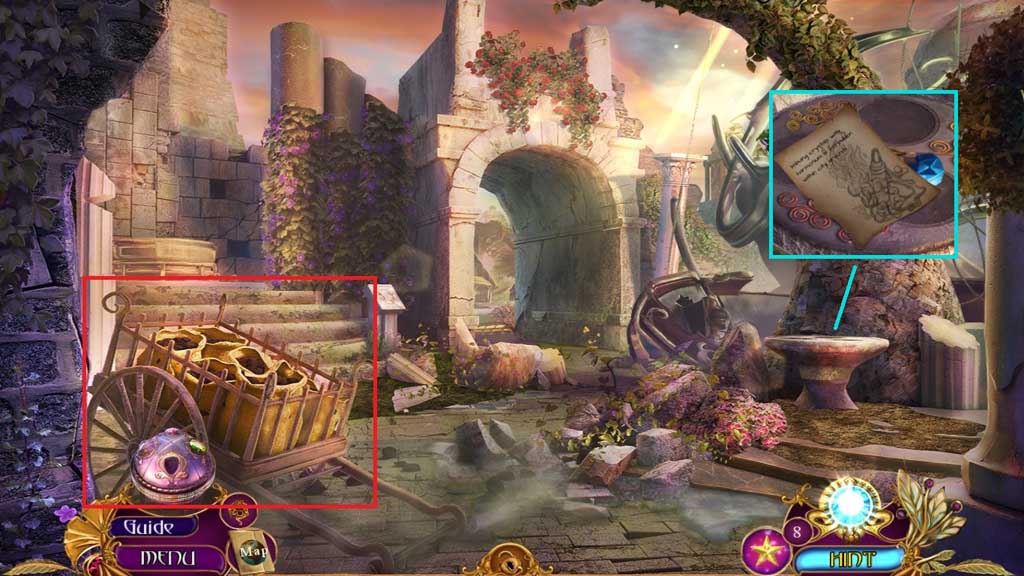
- Collect the note and 2 /5 shard fragments.
- Zoom into the cart to trigger a hidden objects area.
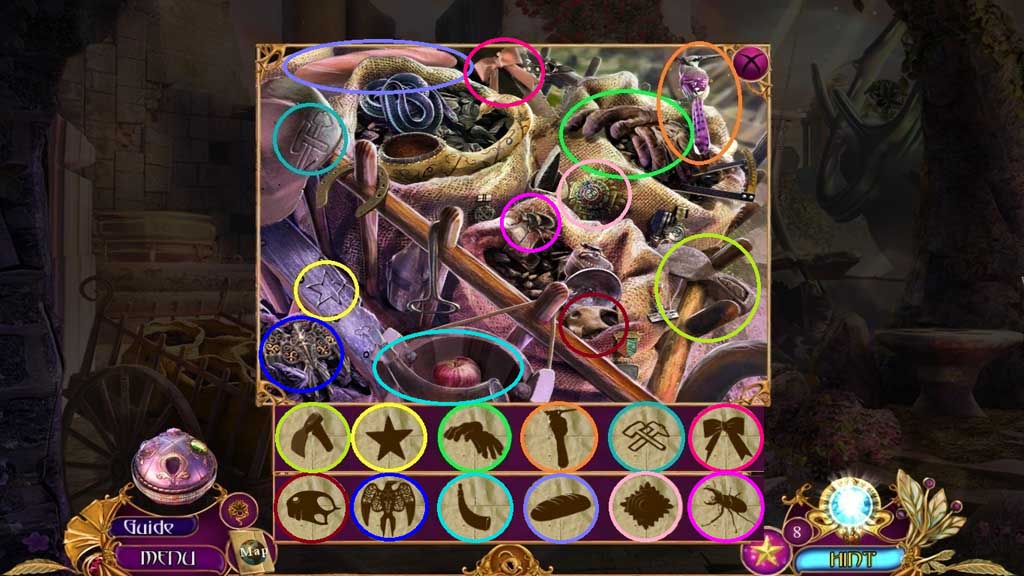
- Find the items.
- Collect the book insignia.
- Move ahead and click the hidden objects area.
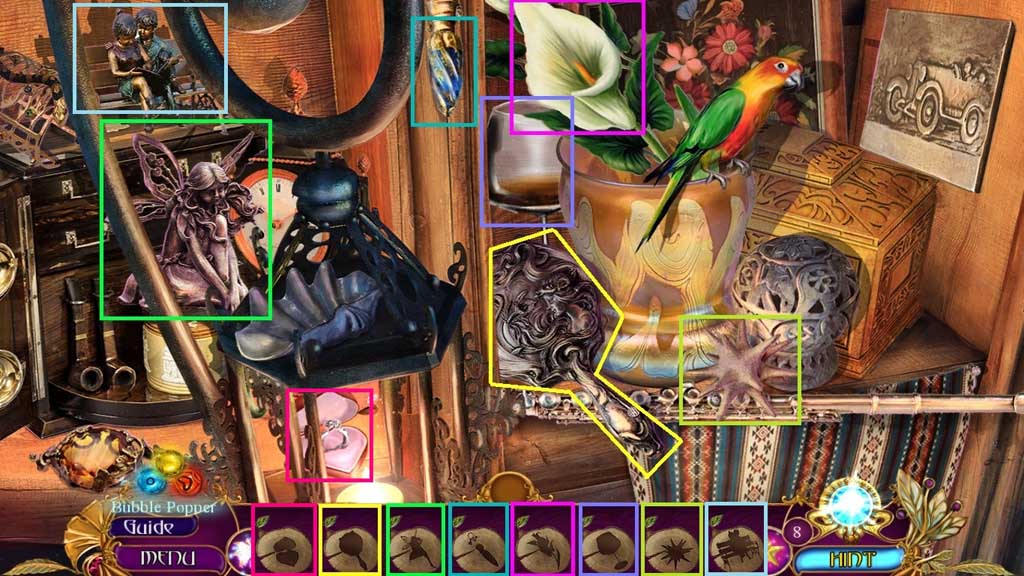
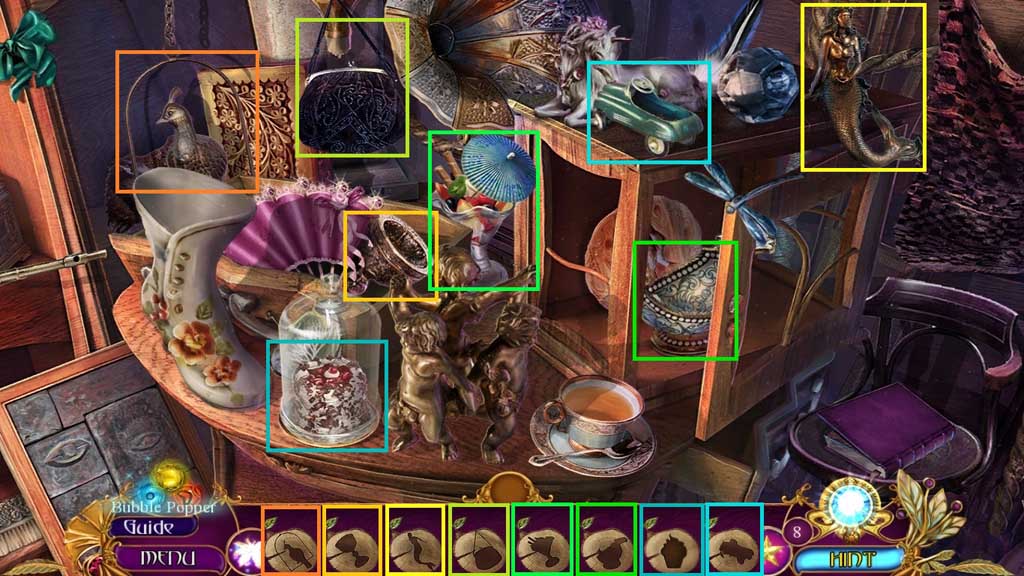
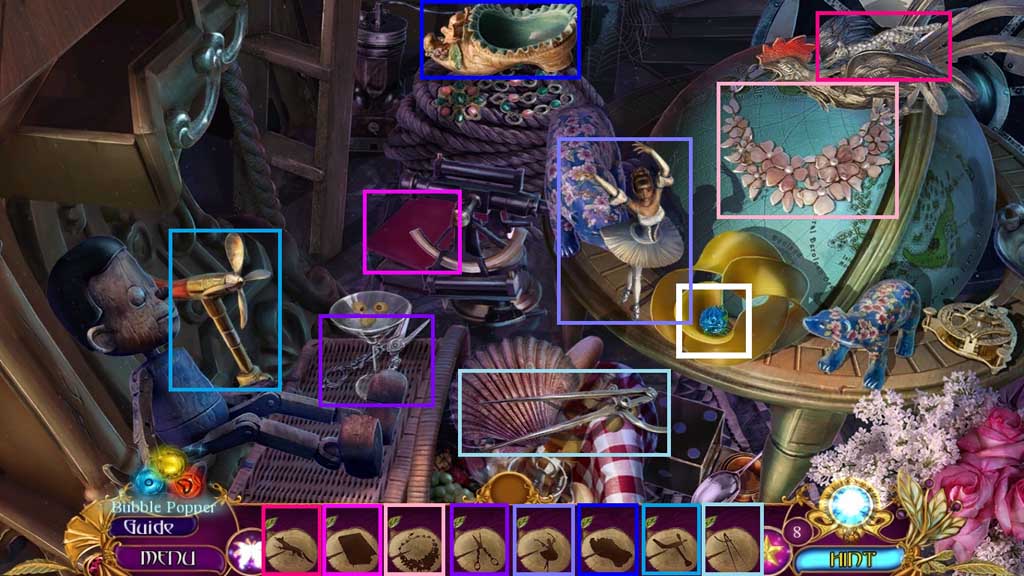
- Find the items.
- Collect the sapphire rose.
- Chapter-5-04-Faucet-Handle
- Collect the faucet handle.
- Move down 3x’s.
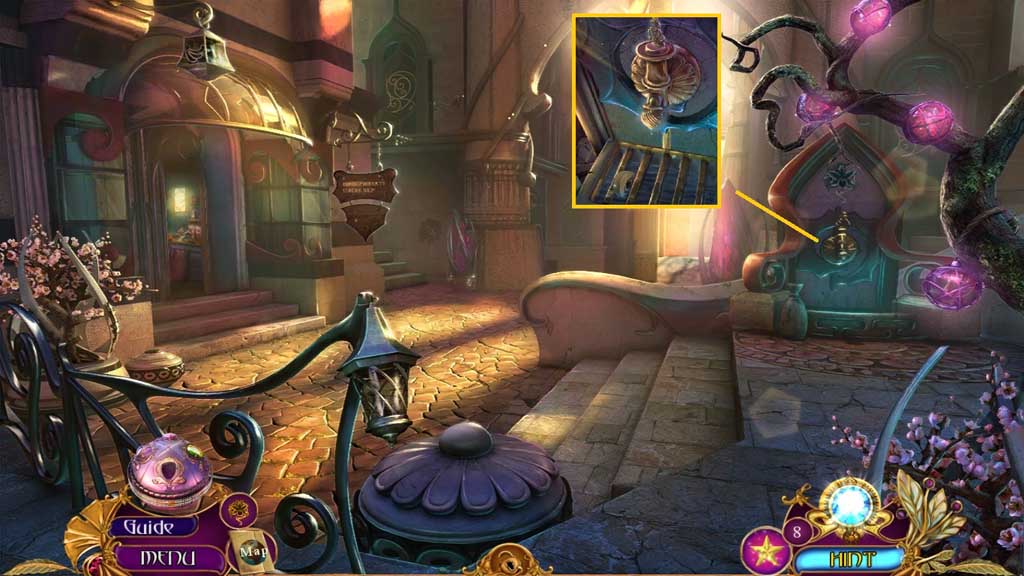
- Attach the faucet handle; collect the eye turnkey.
- Move ahead.
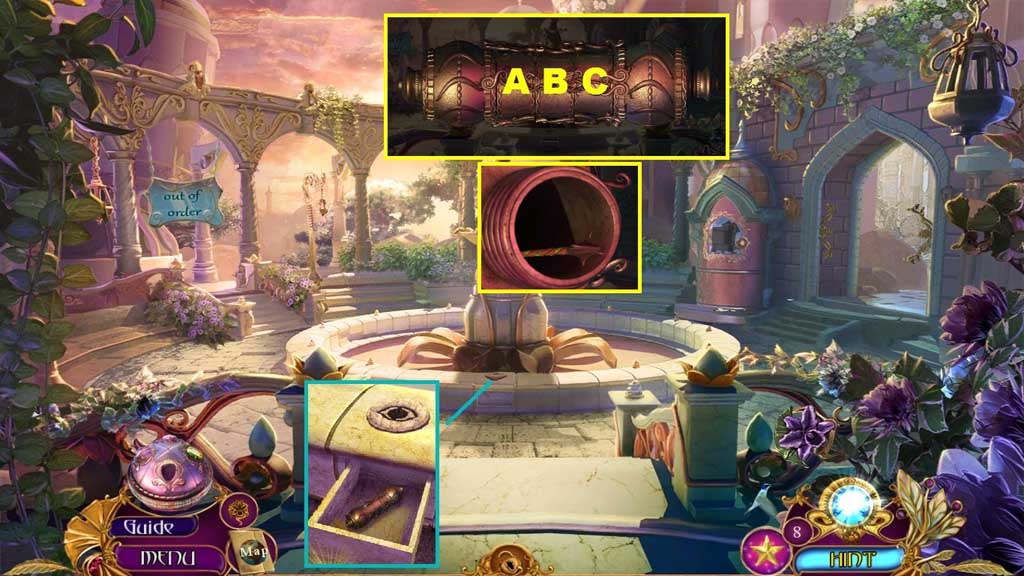
- Insert the eye turnkey; collect the long box and click it once to trigger a mini game.
- Solve the game by adjusting the cylinders to create a seamless pattern.
- Use the following solution to solve: A x 4 – B x 9 – C x 4
- Collect the rune arrow.
- Move to the right and then move ahead once.
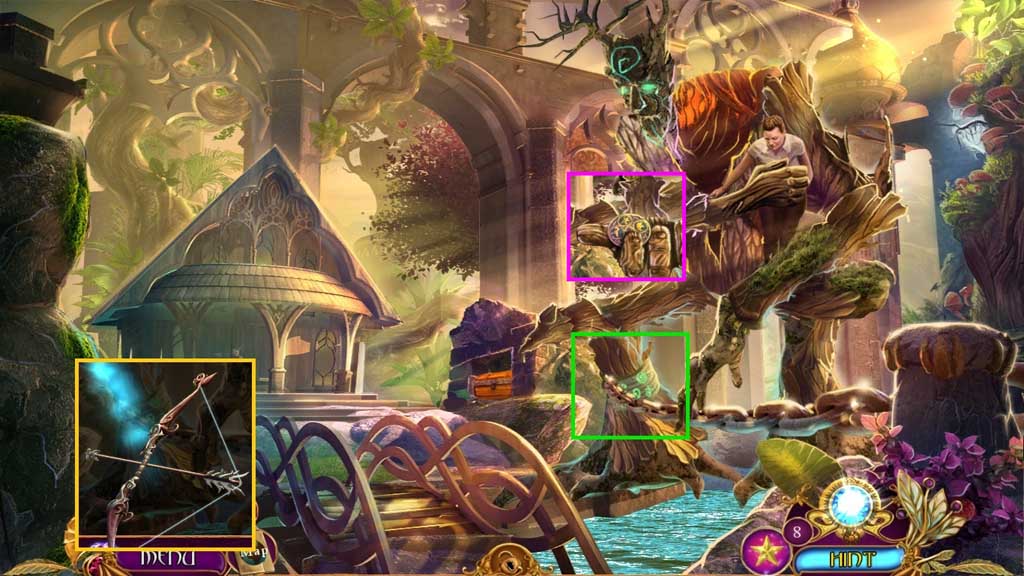
- Insert the rune arrow into the bow to create and collect the bow with rune arrow.
- Shoot it towards the chain.
- Collect 2 /3 elemental discs.
- Move down 2x’s.
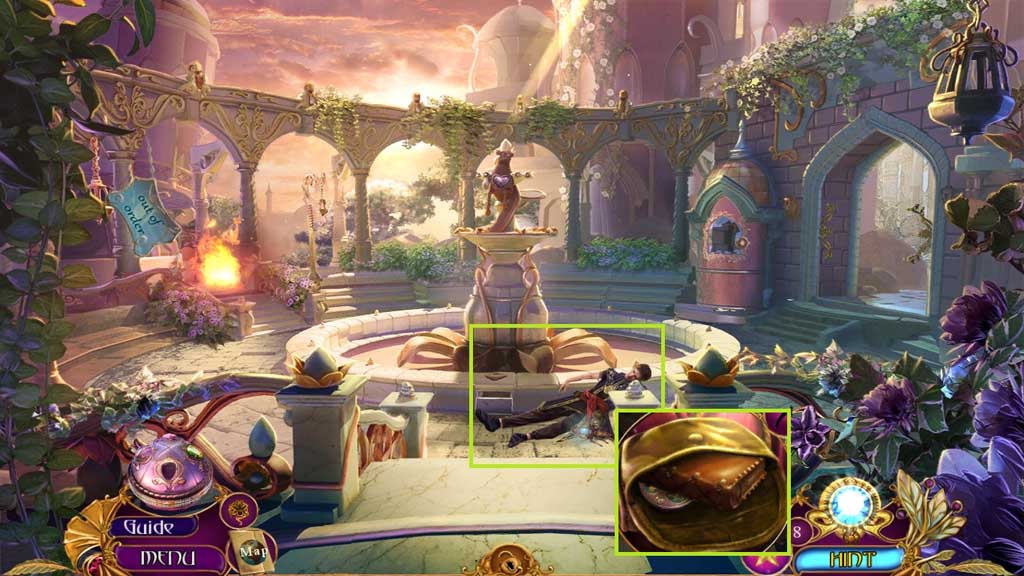
- Speak to the man.
- Click the bag; collect 3 /3 elemental discs and the spell book.
- Move to the right.
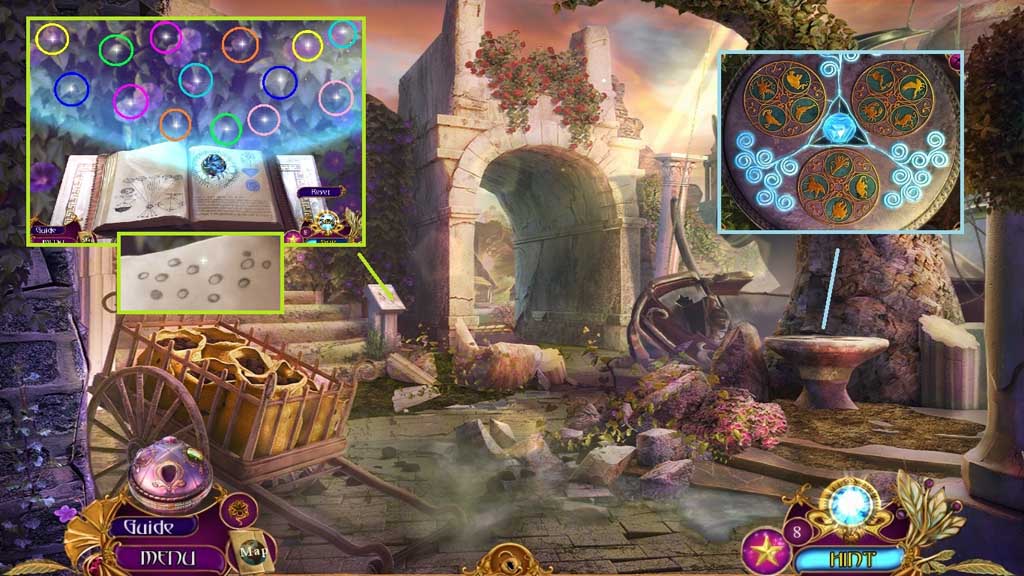
- Insert the 3 elemental discs and the empty crystal to trigger a mini game.
- Solve the game by adjusting the discs correctly to charge the crystal.
- Collect the water crystal.
- Place down the spell book and the sapphire rose to trigger a mini game.
- Solve the game by finding the 7 matching pairs.
- Collect the punch paper.
- Move down once.
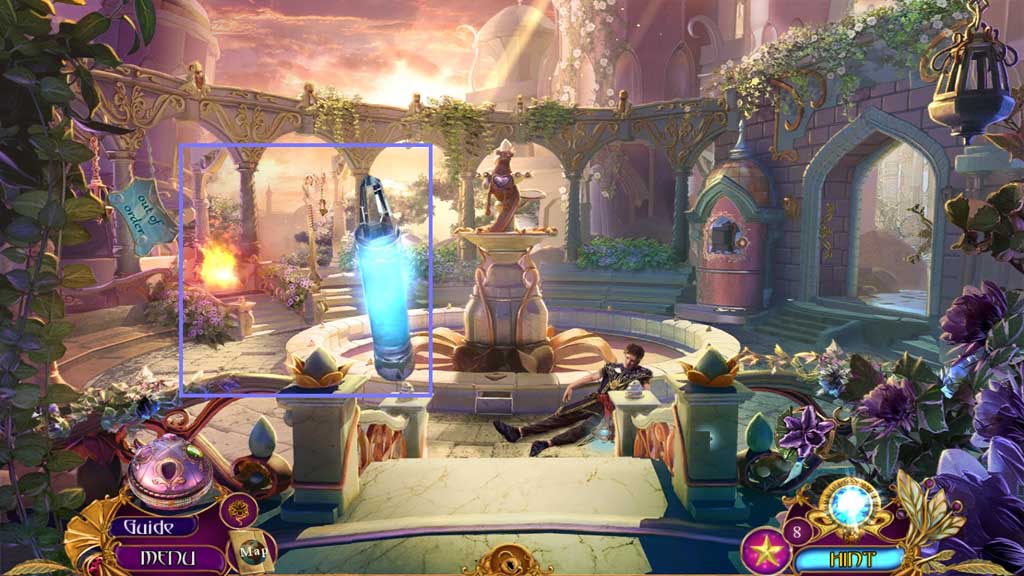
- Select the water crystal to neutralize the fire.
- Move to the left and click the hidden objects area.
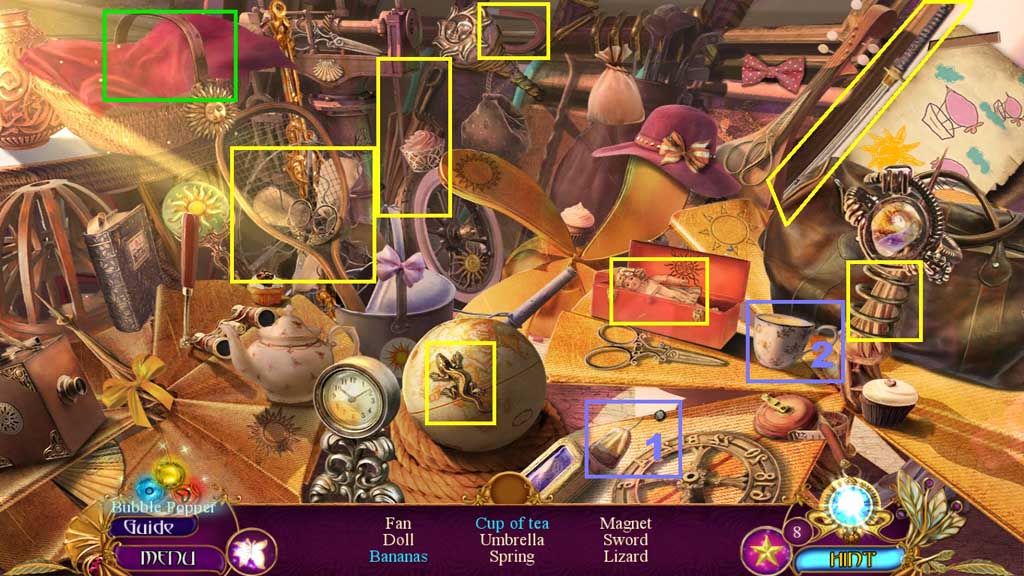
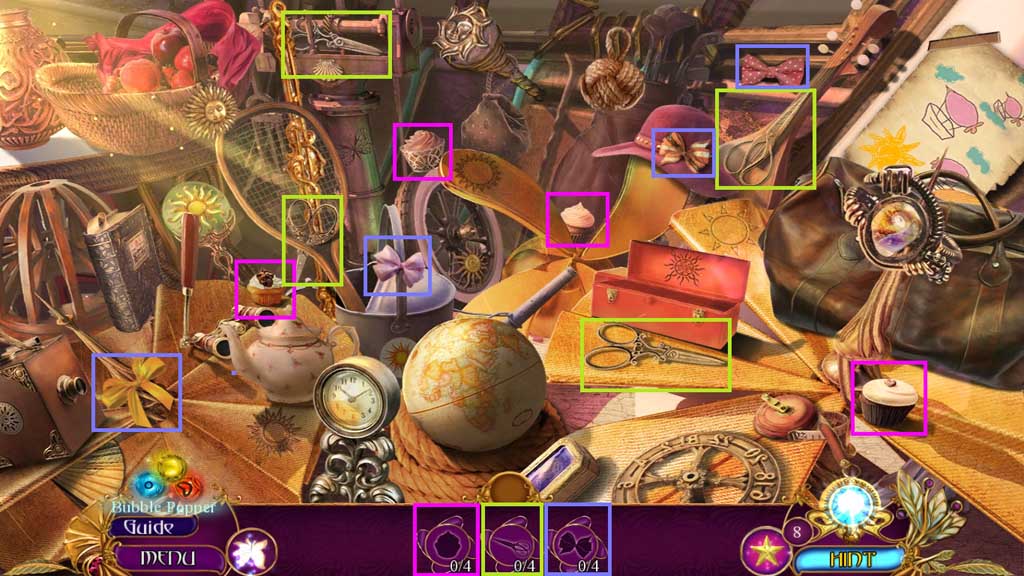
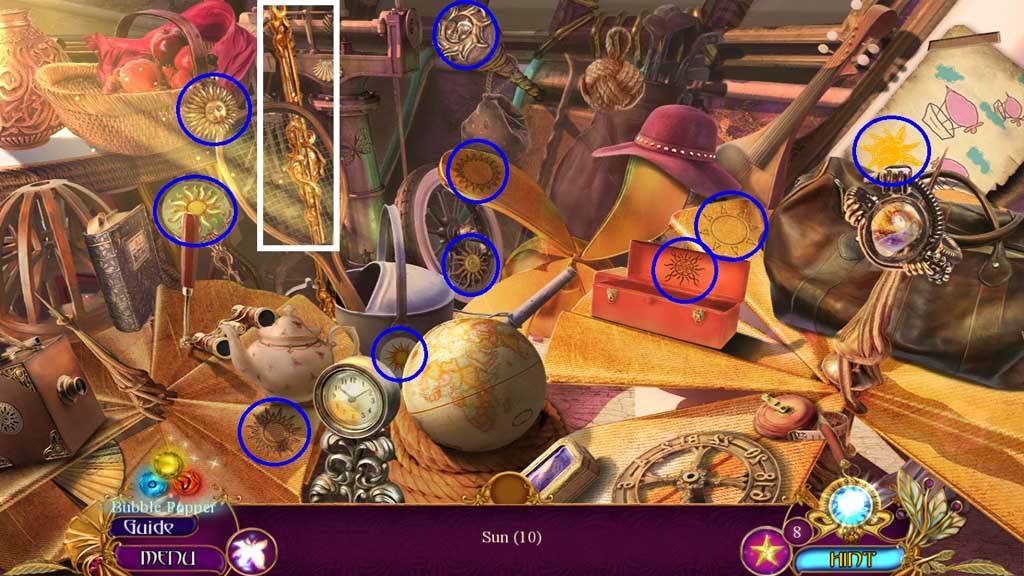
- Find the items.
- Click the basket; collect the bananas.
- Select the tea bag and place it into the teacup; collect the cup of tea.
- Collect the gilded rod.
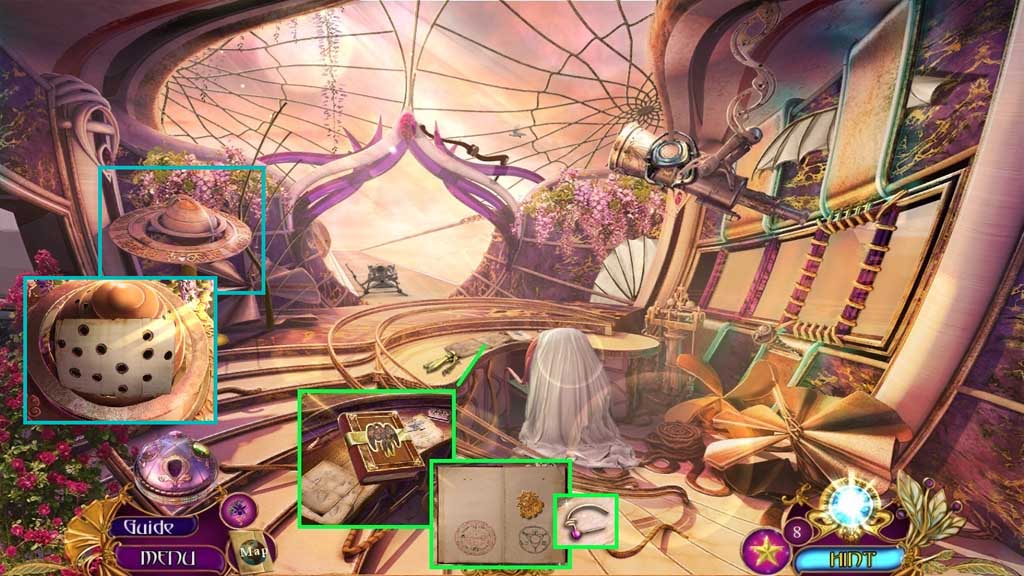
- Click the 2 notes and click the book; insert the book insignia.
- Click the page.
- Collect the membership badge.
- Collect the chest pin.
- Collect 1 /2 water wheel paddles.
- Place the punch paper.
- Move down once and go right.
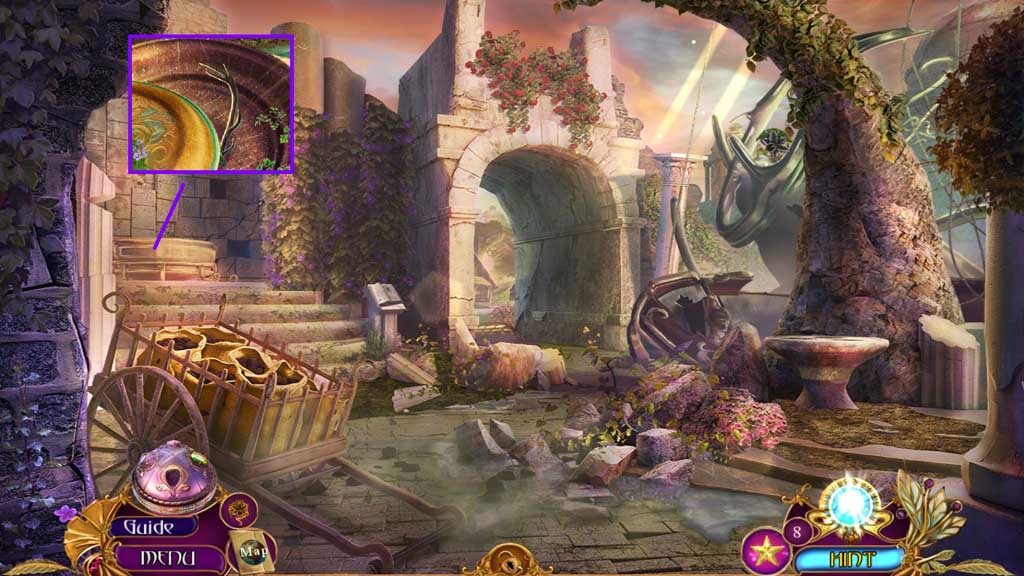
- Select the gilded rod to pry the lid open; collect the right antler.
- Move down once.
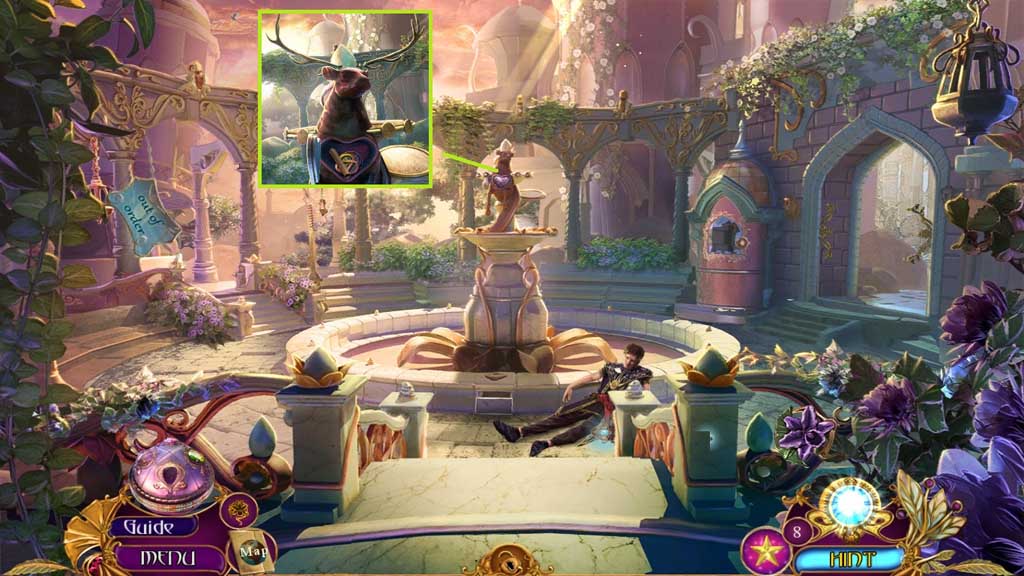
- Attach the left and right antlers.
- Collect the note, the badge of knowledge and the compass.
- Move to the right and then move ahead.
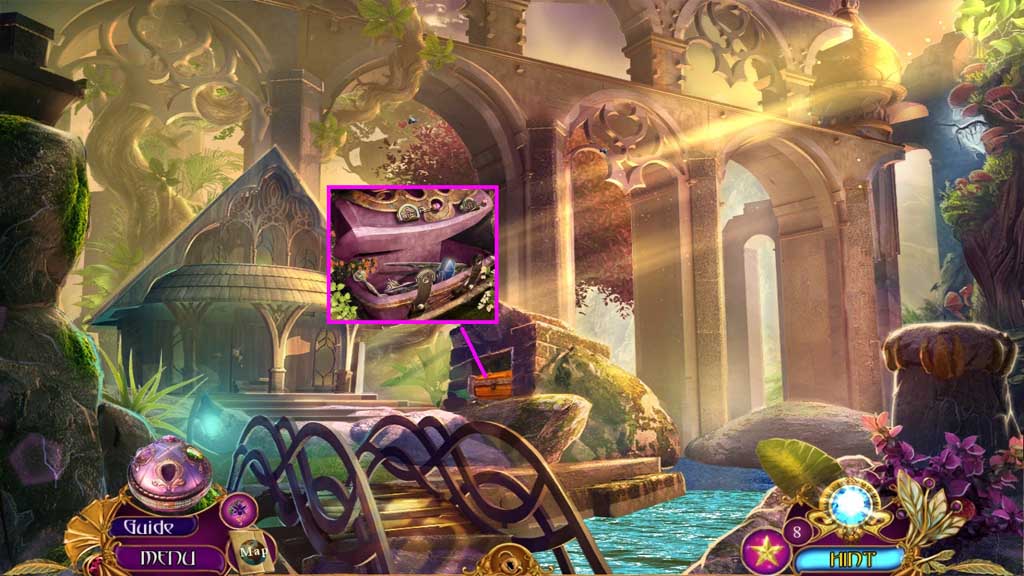
- Select the chest pin to unlock the chest.
- Collect 3 /5 shard fragments and the divider.
- Move down 2x’s and go left.
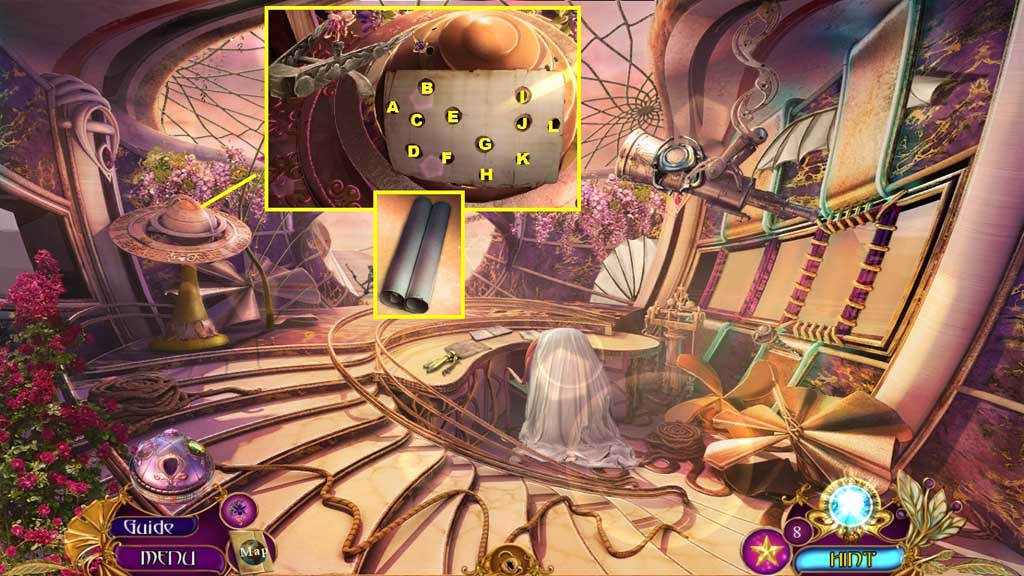
- Select the divider to trigger a mini game.
- Solve the game by clicking the holes in ABC order.
- Collect the blueprint.
- Another mini game will trigger.
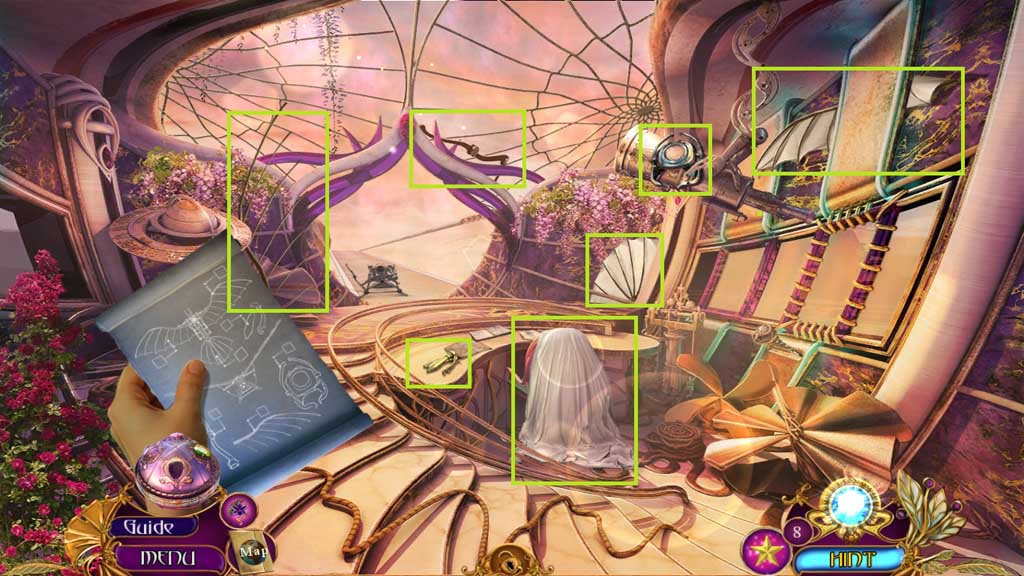
- Solve the game by finding and collecting the 7 parts shown on the blueprint.
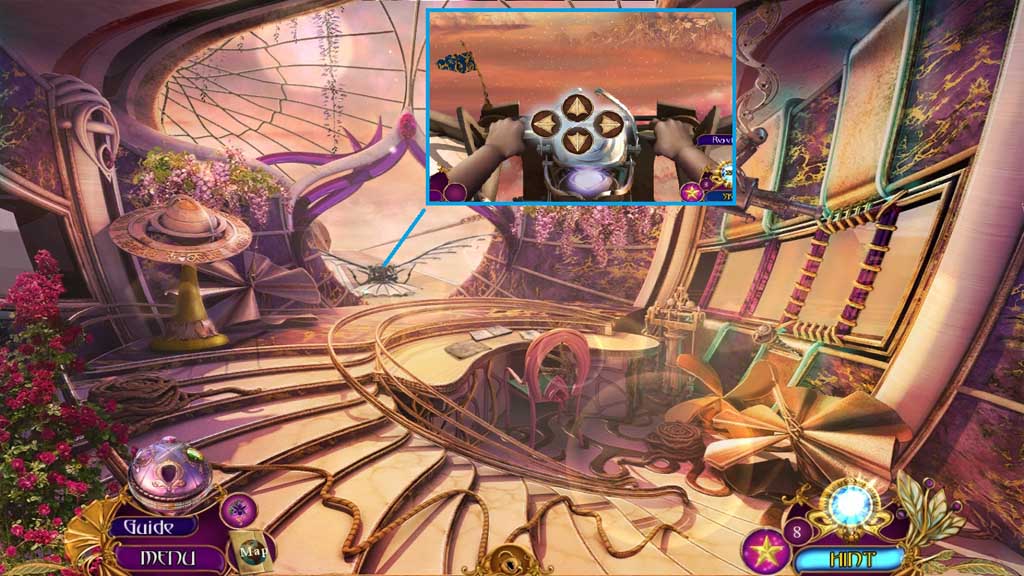
- Zoom into the flying contraption.
- Insert the compass to trigger a mini game.
- Solve the game by avoiding the floating islands.
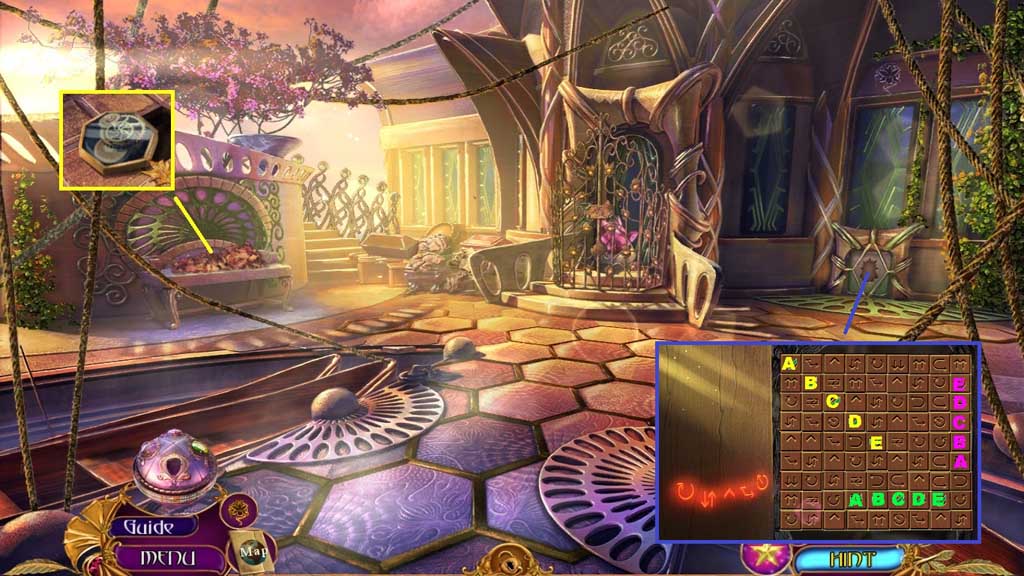
- Click the leaves 2x’s; collect the cogwheel mechanism.
- Insert the membership badge to trigger a mini game.
- Solve the game by finding the correct sequence on the grid 3x’s.
- Move ahead into the Passageway and click the hidden objects area.
Comments will load when you reach this part of the walkthrough.