

Chapter Four: Into Elana’s House
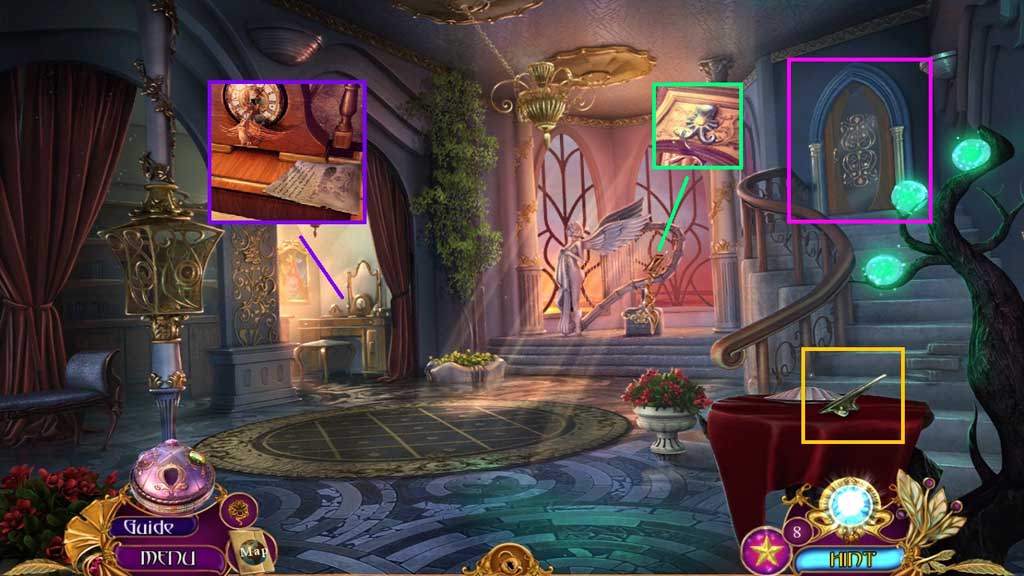
- Collect the note and the cuckoo.
- Collect the squid head and the ceramic wing.
- Attempt to open the door.
- Move down once.
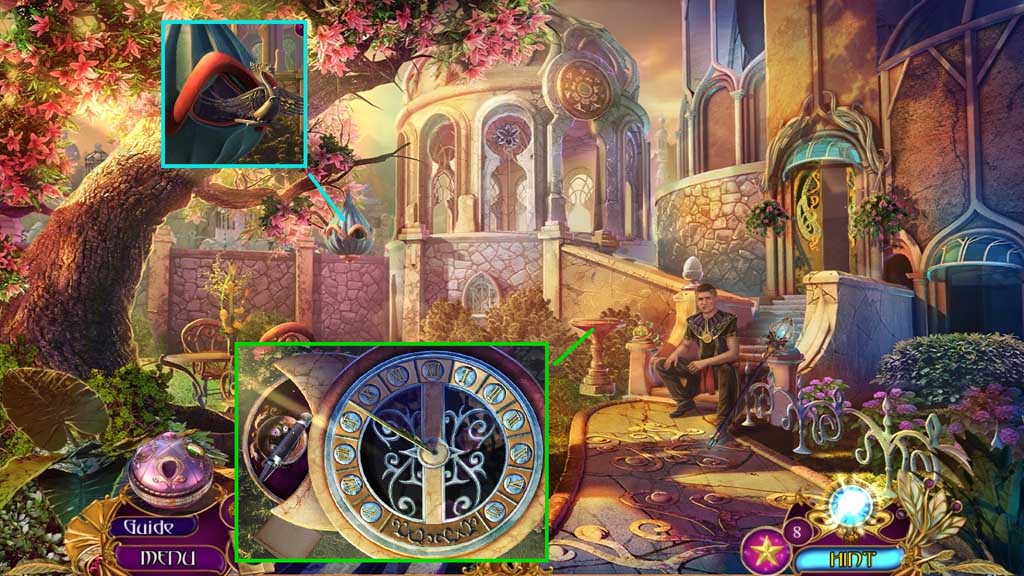
- Insert the cuckoo.
- Insert the ceramic wing to trigger a mini game.
- Solve the game by arranging the numbers correctly.
- Collect the empty crystal and the incomplete decorative lock.
- Move to the right.
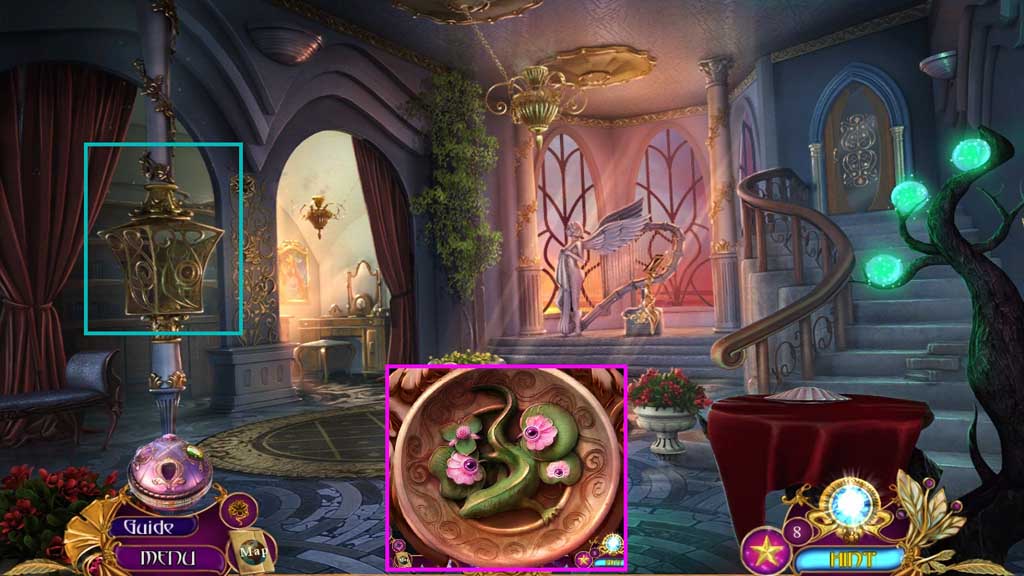
- Click the incomplete decorative lock and insert the porcelain gecko.
- Adjust the gecko and the lilies into the correct alignment; collect the decorative lock and insert it into the handle.
- Click it once.
- Move down once.
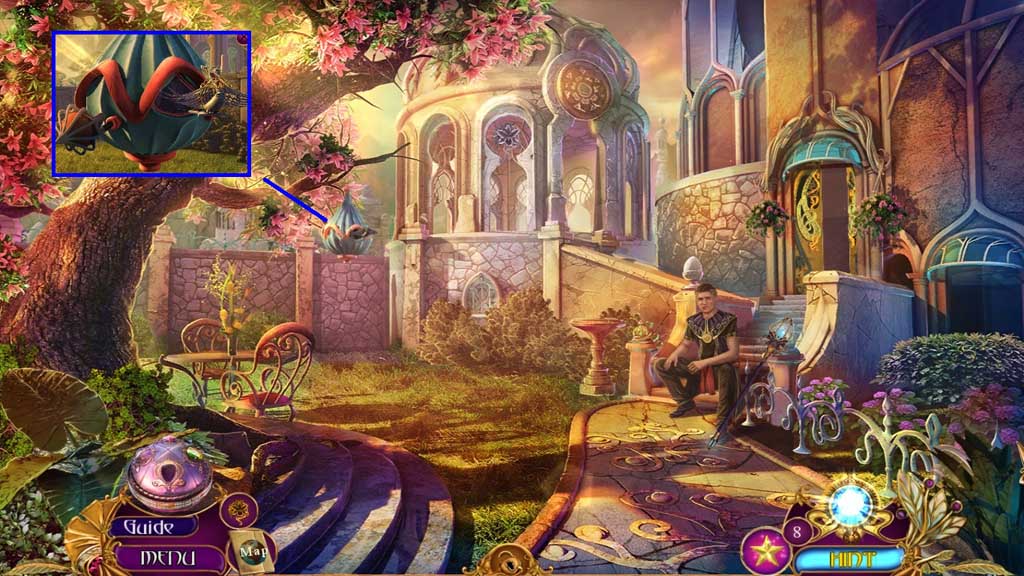
- Attach the turn handle; click it once.
- Collect the safety lock.
- Move to the right.
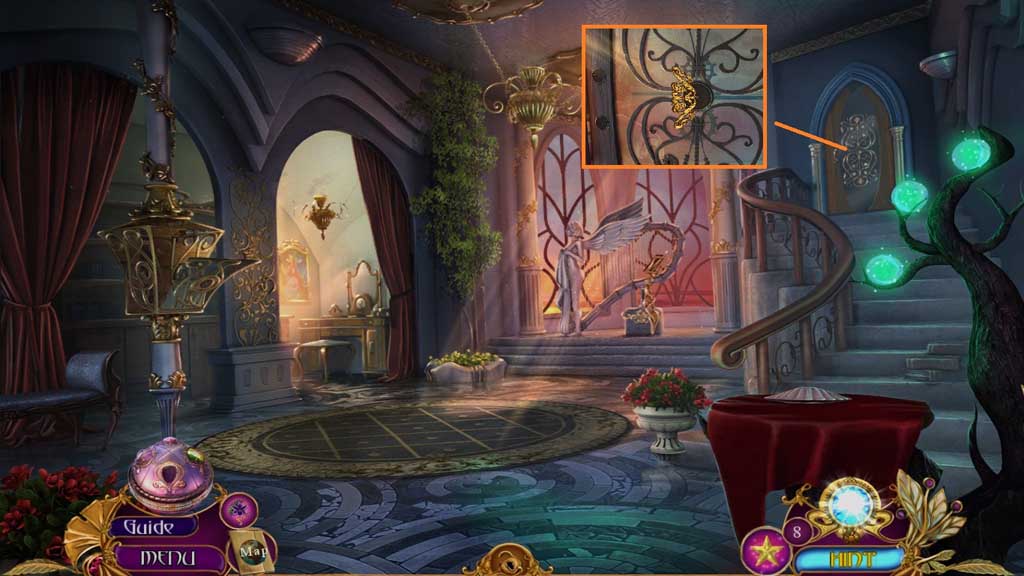
- Select the safety lock to open the door.
- Move to the right.
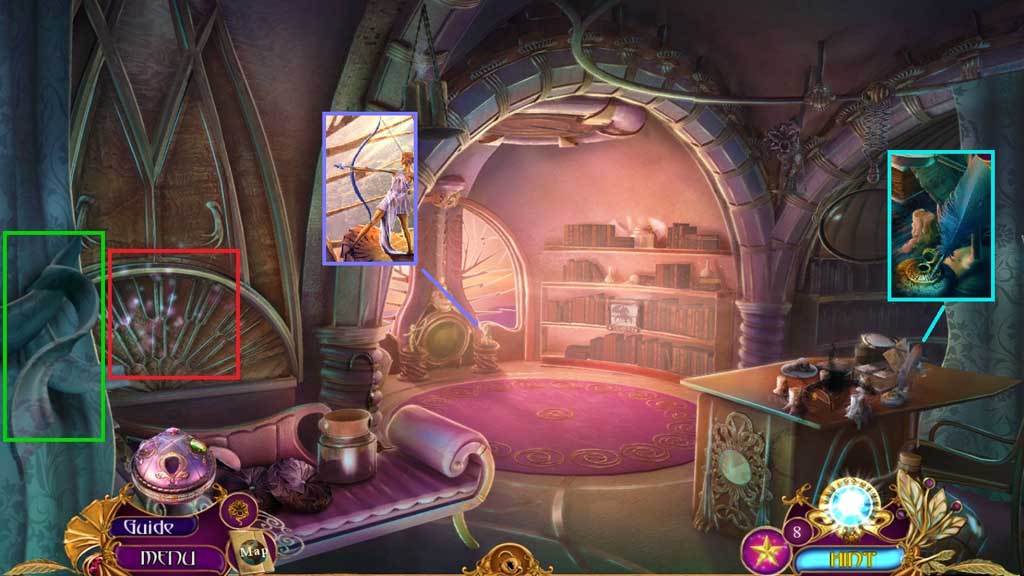
- Attach the miniature arrow head.
- Collect the ink and the quill.
- Select the curtain tie to hold the curtain and trigger a hidden objects area.
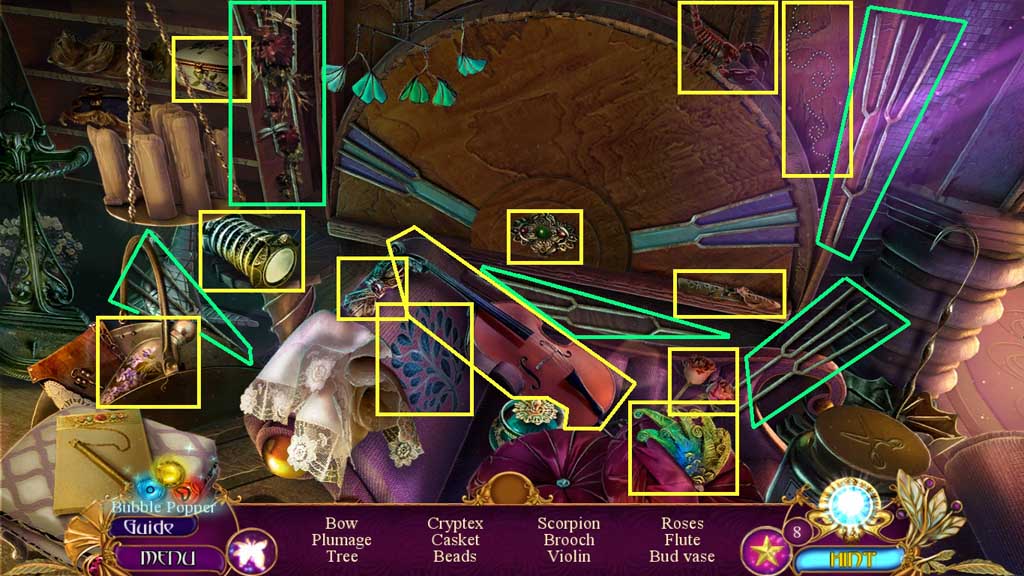
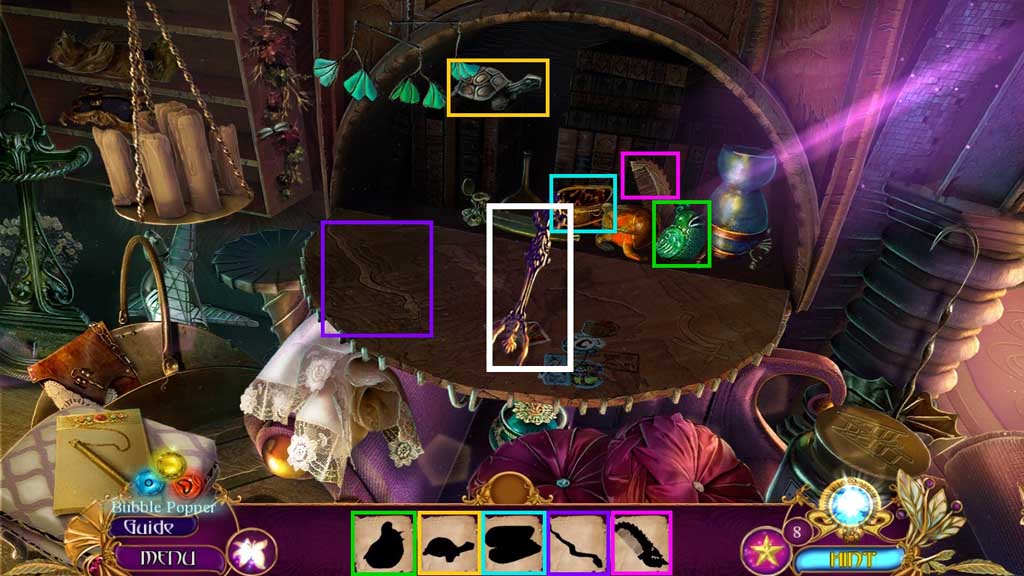
- Find the items.
- Collect the bident.
- Move down once.
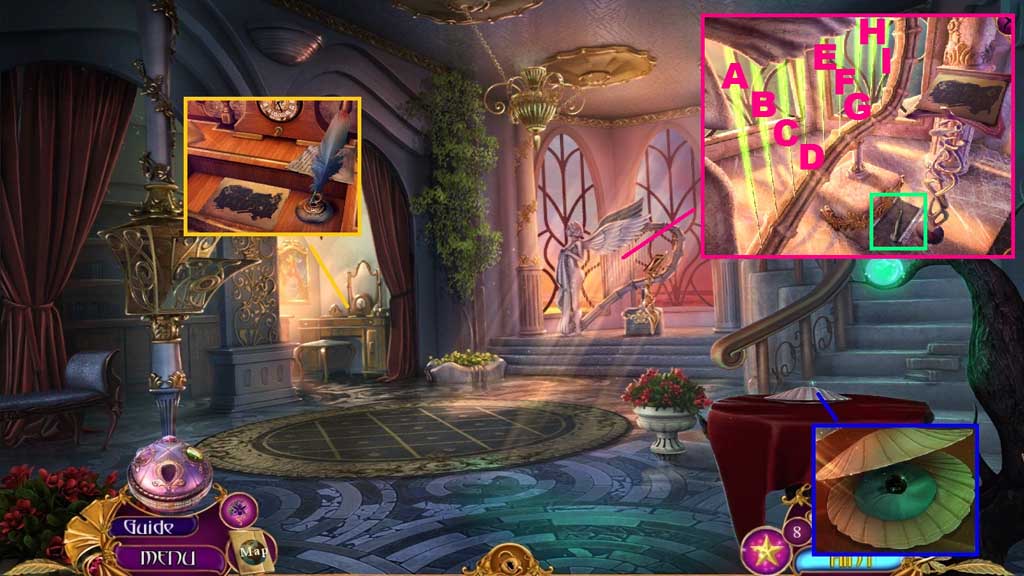
- Select the bident to open the shell; collect the black pearl.
- Select the ink and quill to create and collect the harp notes.
- Place the harp notes onto the harp to trigger a mini game.
- Solve the game by strumming the correct melody.
- Use the following sequence to solve: B – G – D – F – H - E – C – A - I
- Collect 1 /2 flints and steel.
- Move to the right.
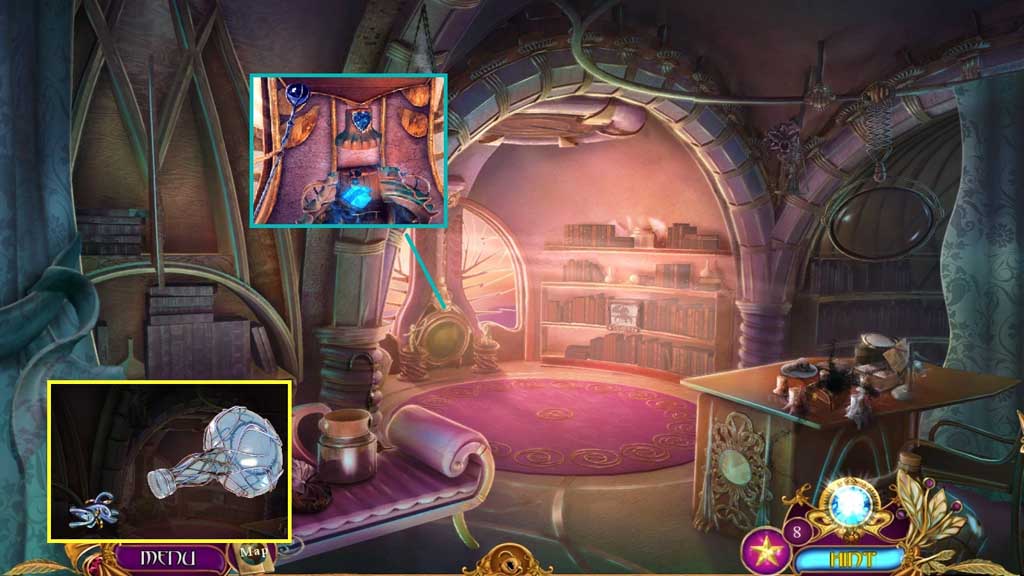
- Insert the black pearl; collect 1 /5 fragment shards and the vial.
- Pour the vial into the open bottle; click the bottle.
- Collect the squid tentacles.
- Move down 2x’s.
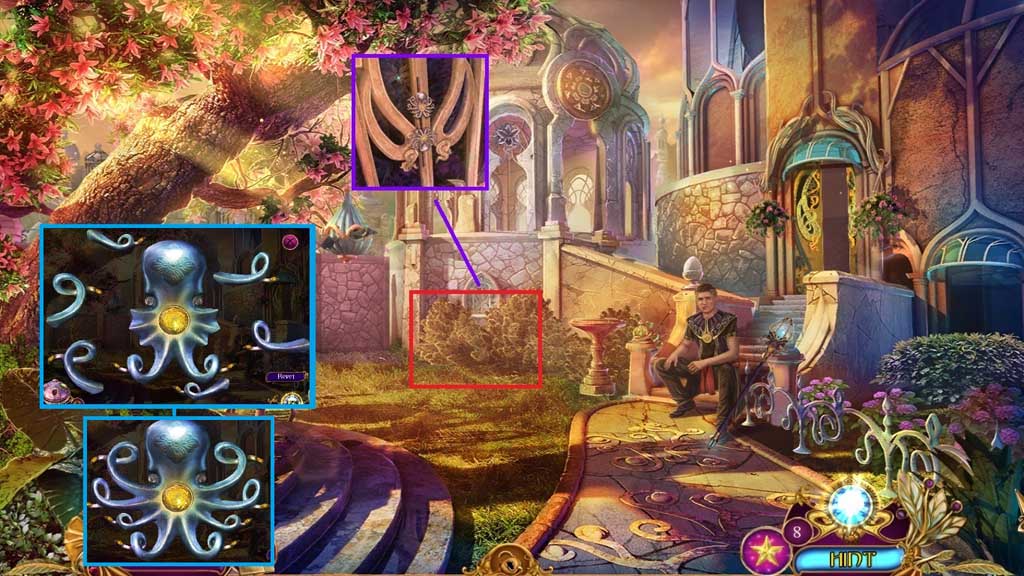
- Attach the squid tentacles onto the squid head to trigger a mini game.
- To solve the game assemble the squid correctly.
- Collect the squid key and insert it to trigger a hidden objects area.
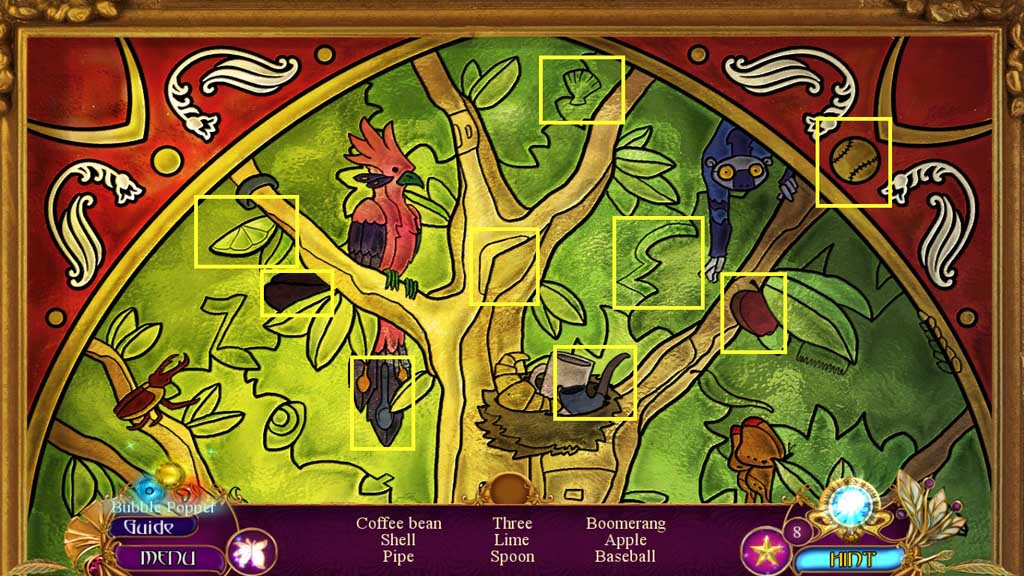
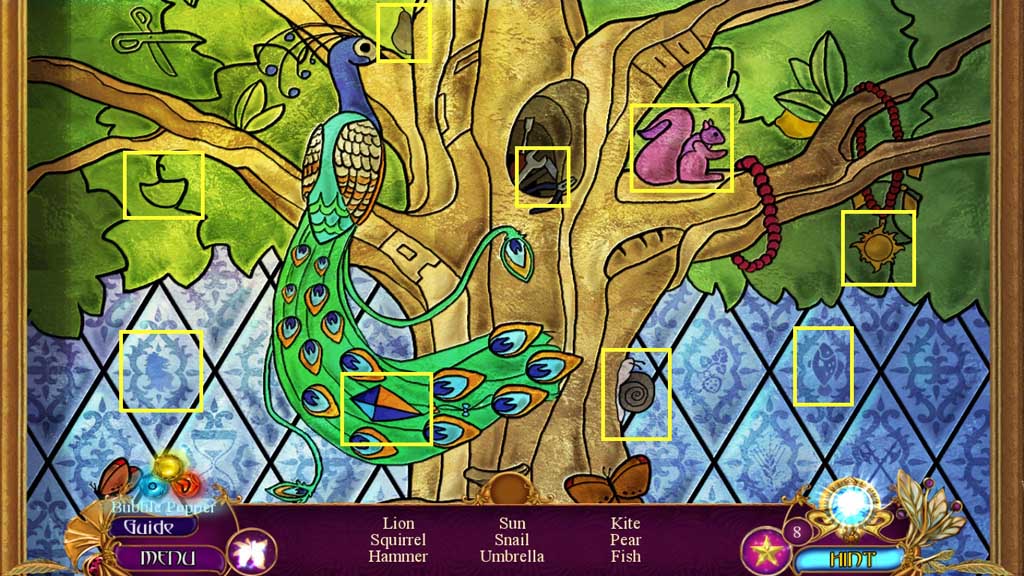
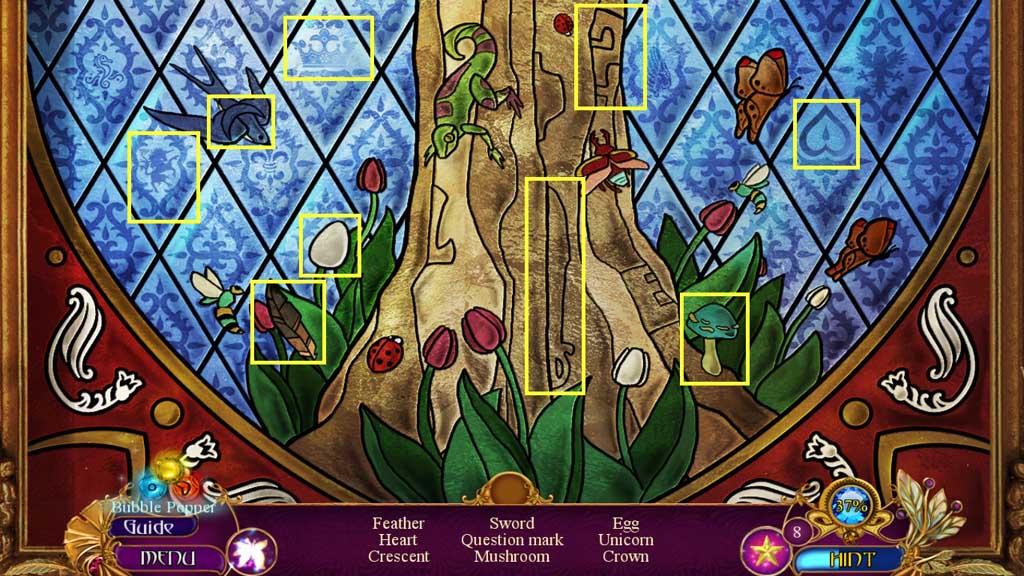
- Find the items to unlock the window.
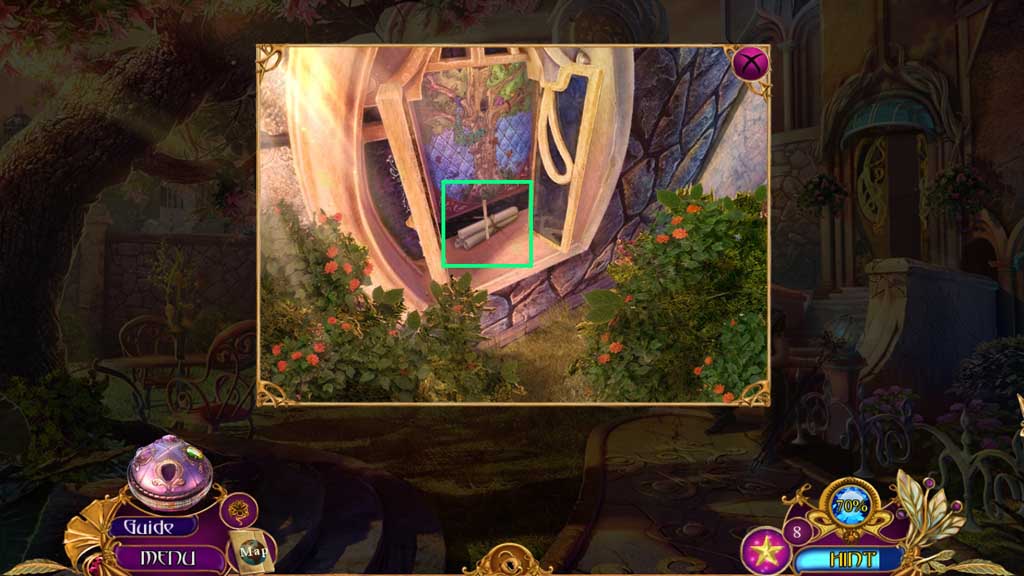
- Collect the animal sketches.
- Move to the right 2x’s.
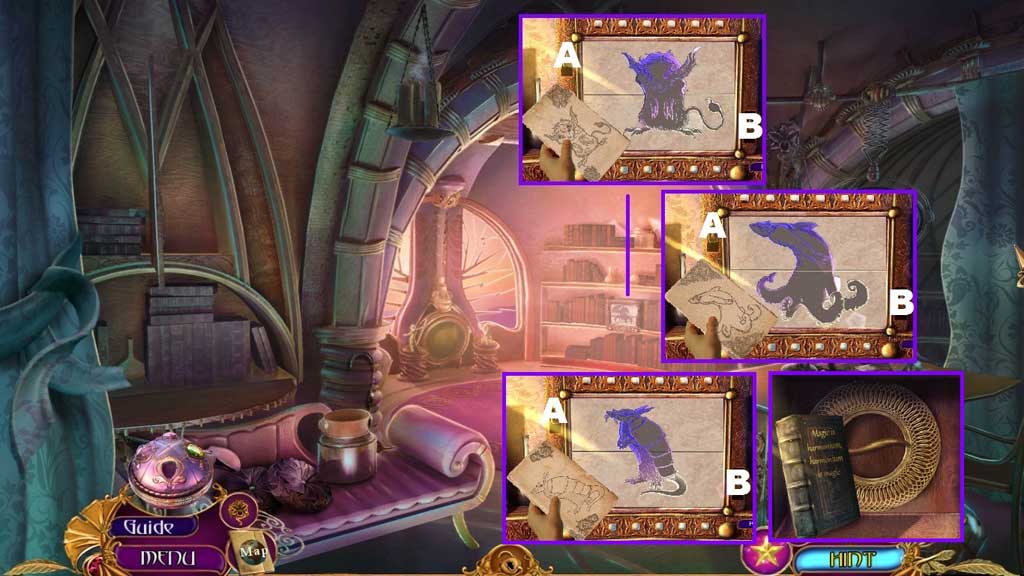
- Place down the animal sketches to trigger a mini game.
- Solve the game by re-creating the images.
- Solve the game using the following sequences:
- Sketch 1: A – A – A – B – B – B
- Sketch 2: A – A - A – A – B – B
- Sketch 3: A – A – A – A – B – B
- Read the book and click the handle.
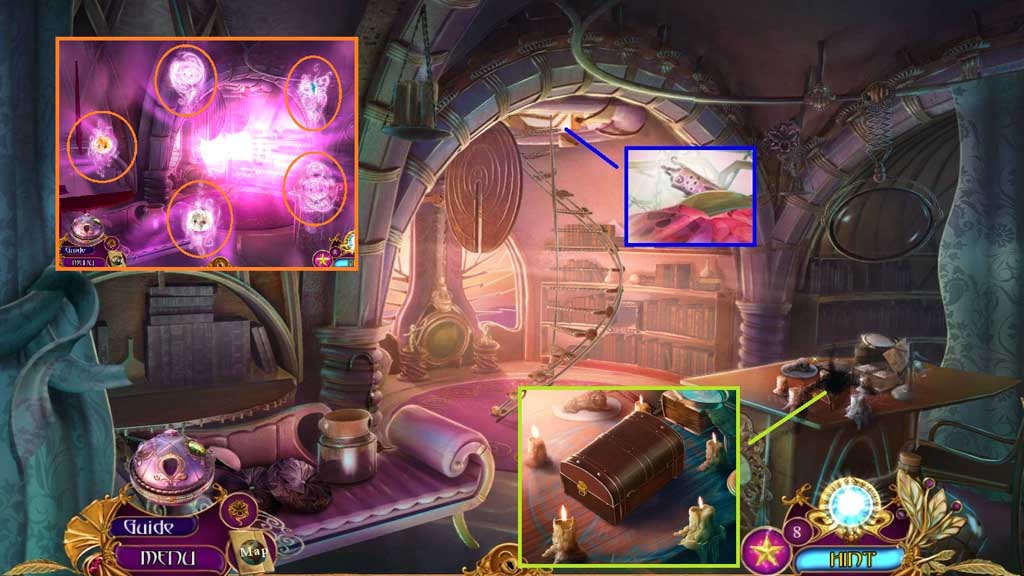
- Collect the 5 flower essences.
- Collect 2 /2 flints and steel.
- Select the flint and steel to light the candles; collect the box.
- Move down 2x’s.
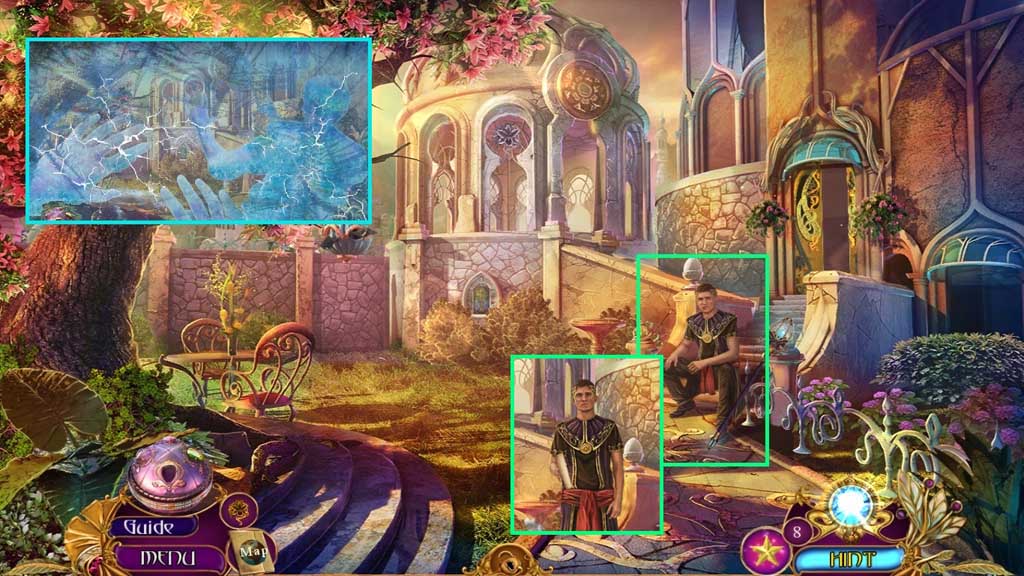
- Give the man the box.
- Click the ice 4x’s.
- Collect the code for the bells.
- Move ahead.
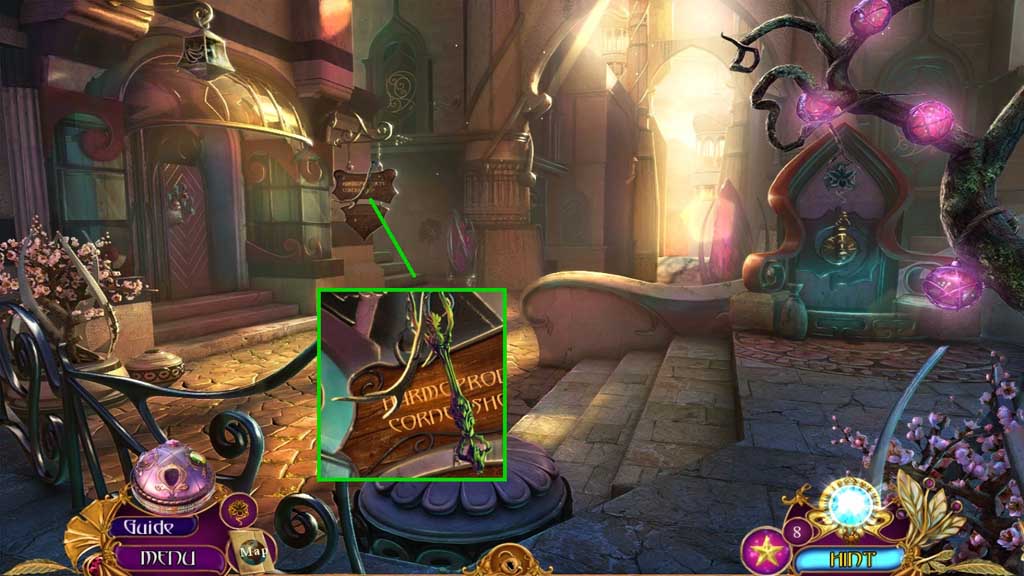
- Use the bident to collect the left antler.
- Move ahead.
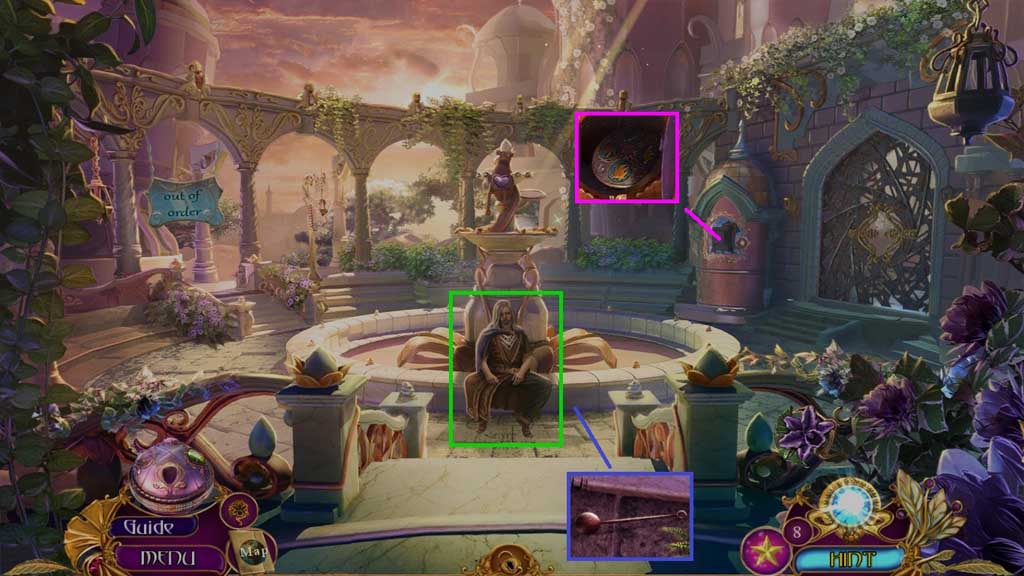
- Speak to the man.
- Collect the bell clapper and 1 / 3 elemental discs.
- Move down once.
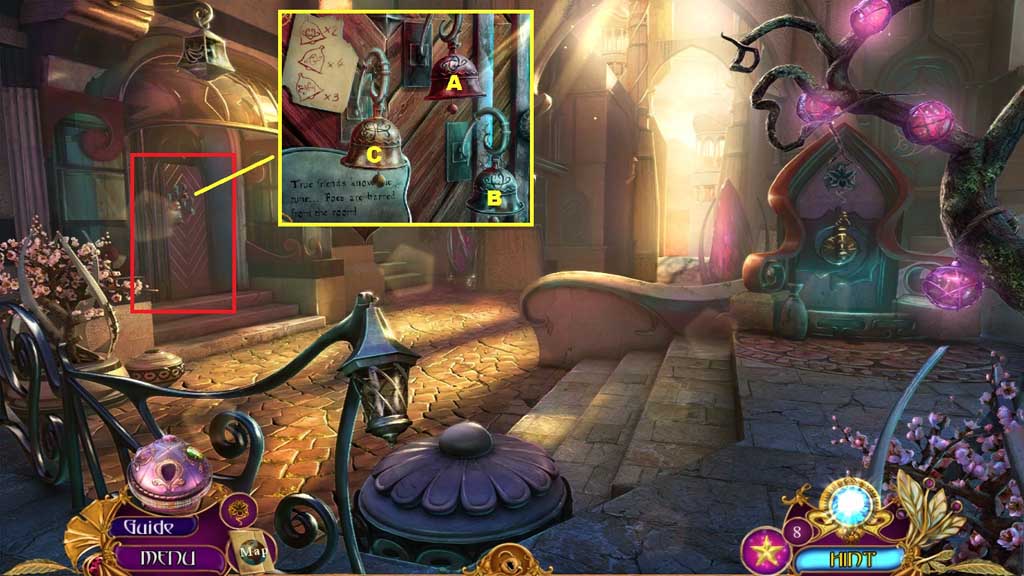
- Place the code for bells down and attach the bell clapper to trigger a mini game.
- Solve the game by clicking the bells in the correct sequence.
- Use the following sequence to solve: C – C – A – A – A – A – B – B – B
- Click the hidden objects area.
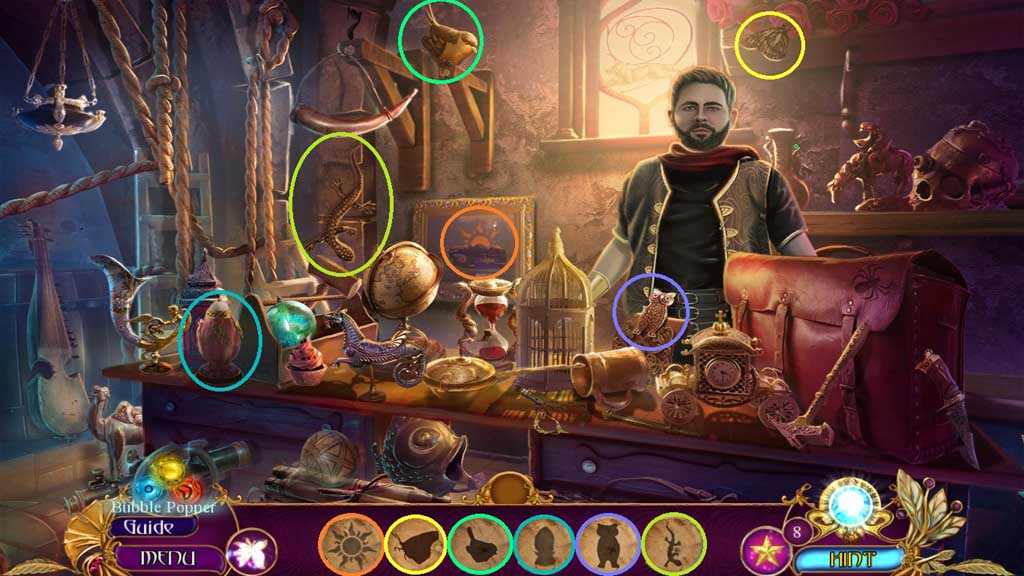
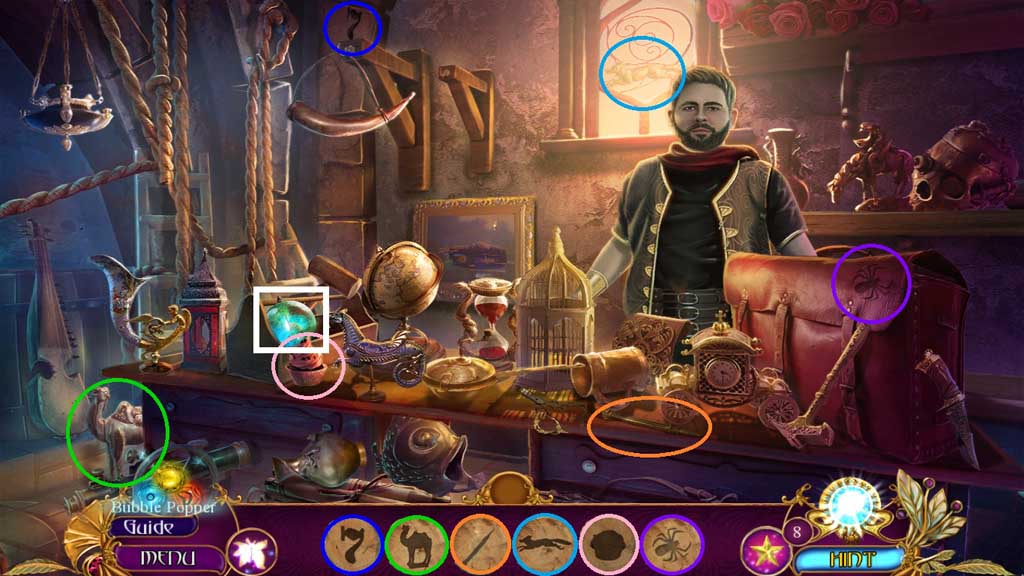
- Find the items.
- Collect the power source.
- Move to the Square.
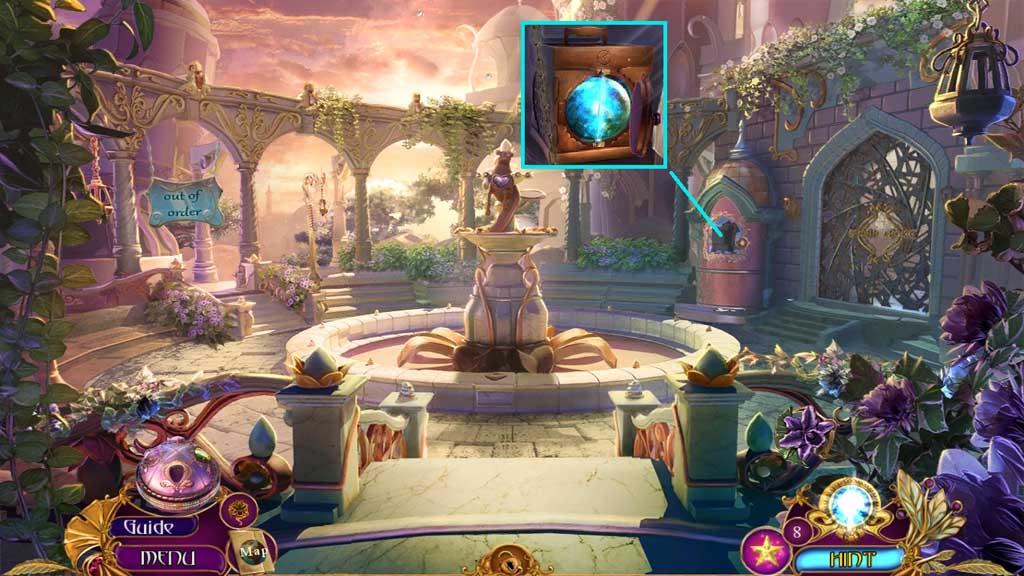
- Insert the power source.
- Move to the right.
Comments will load when you reach this part of the walkthrough.