

Chapter One: Enter the Camp
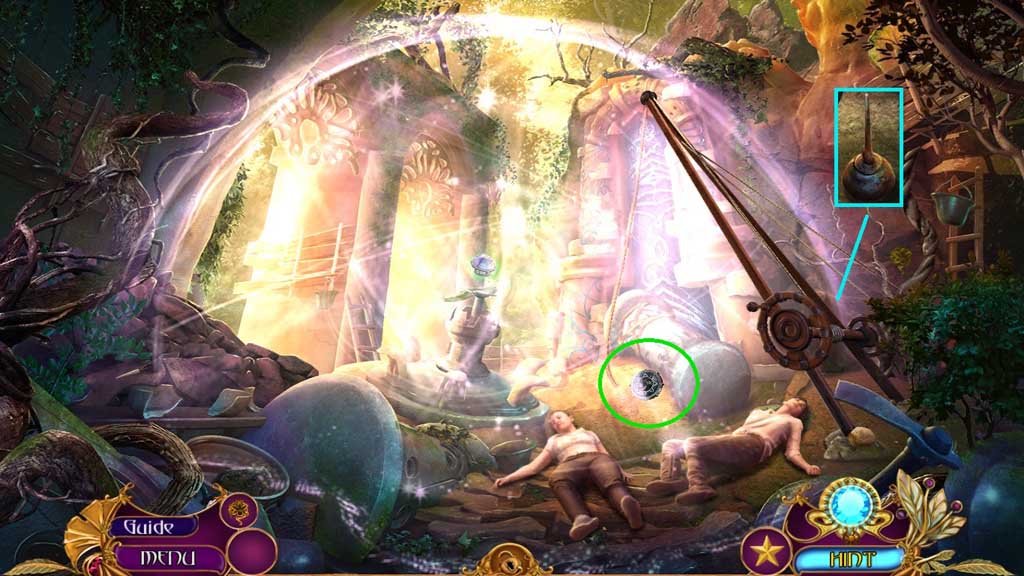
- Move ahead.
- Collect the oil.
- Click the disc 3x’s and receive 1 /3 strange discs.
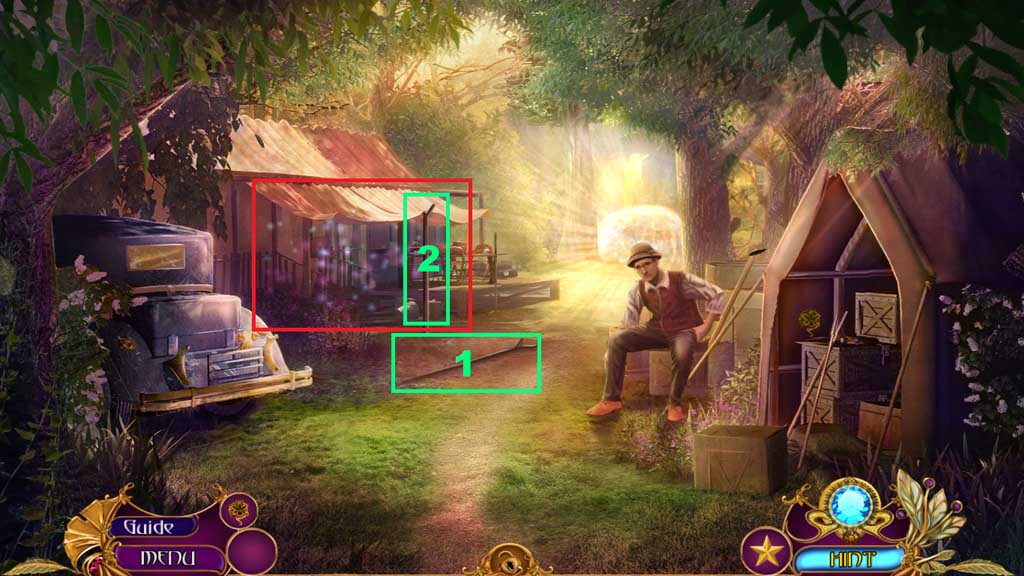
- Collect the tent pole.
- Attach the tent pole to trigger a hidden objects area.
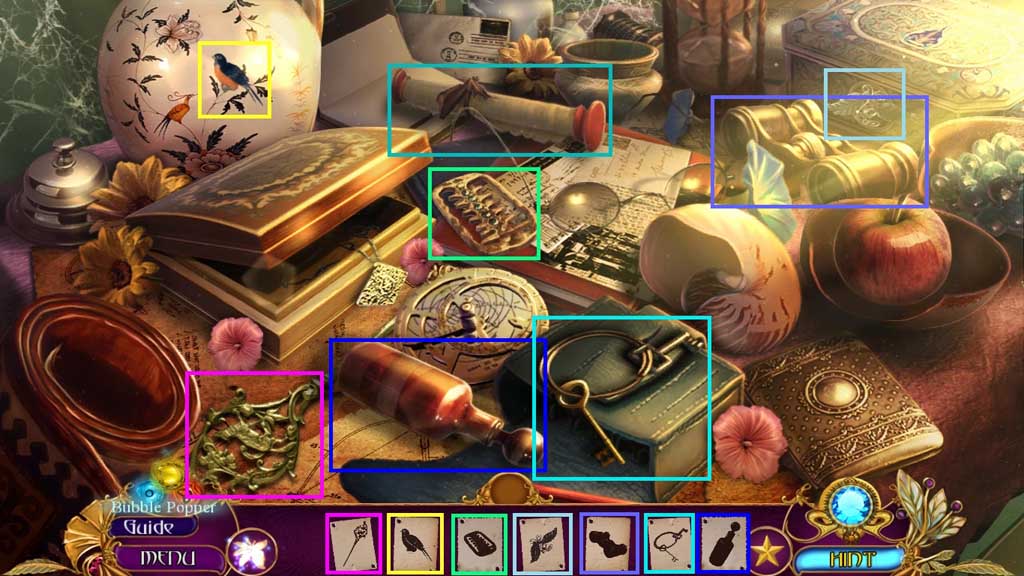
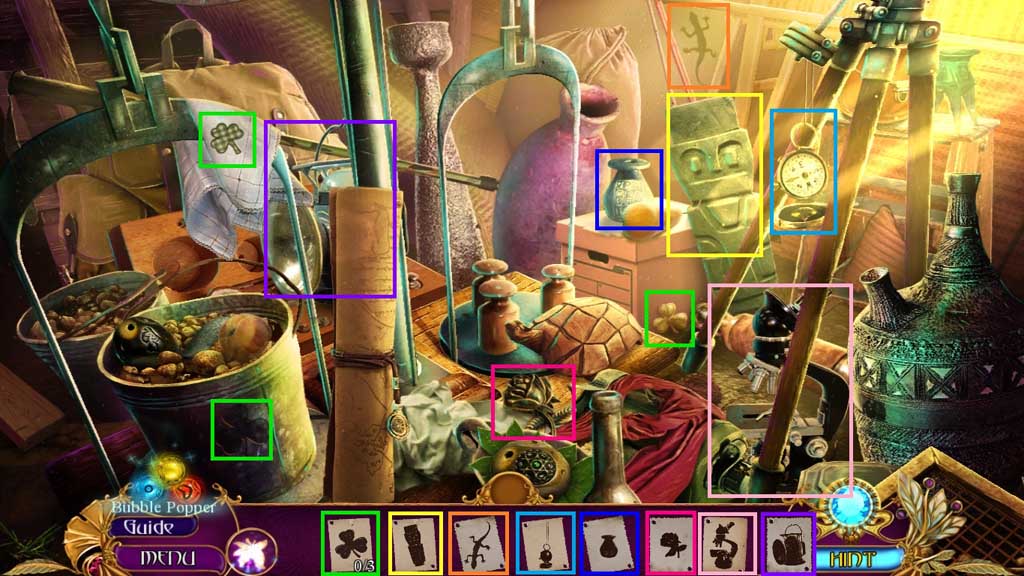
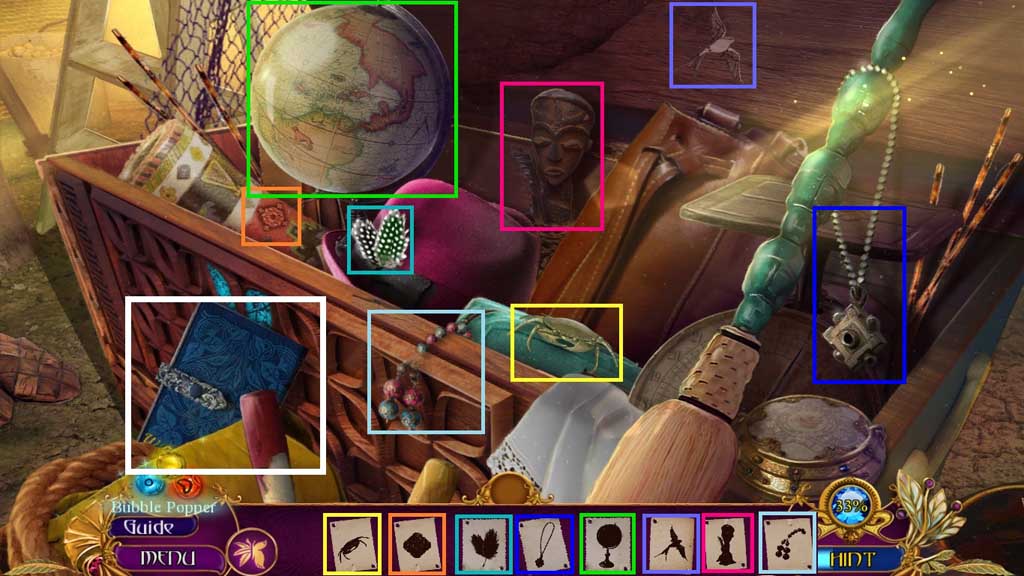
- Find the items.
- Collect Winfield’s journal.
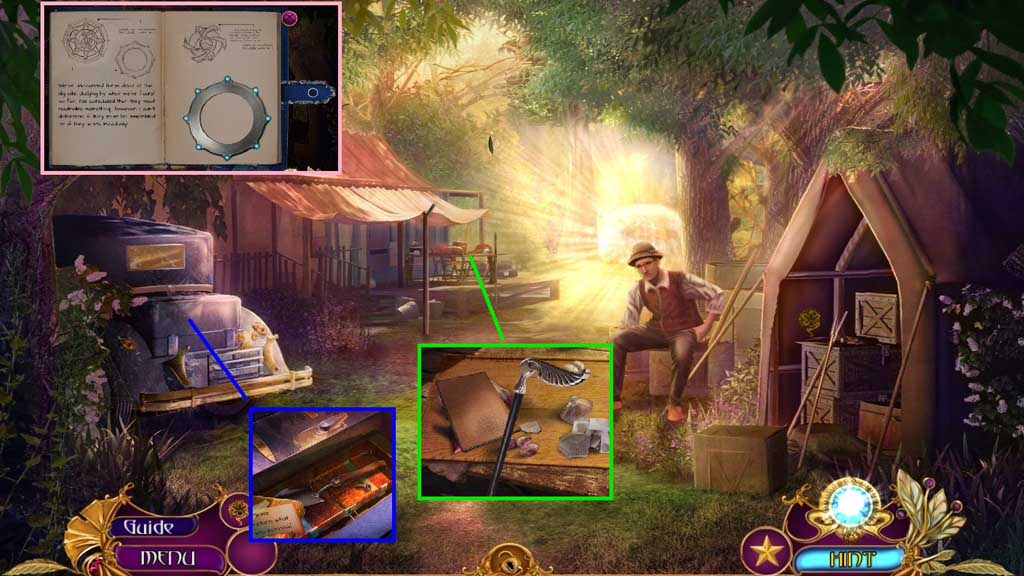
- Click Winfield’s journal 4x’s; collect 2 /3 strange discs.
- Select the oil to lubricate the latch; click the box open.
- Collect the trowel.
- Collect the walking cane, the map, the red shard and 3 /3 strange discs.
- Move ahead.
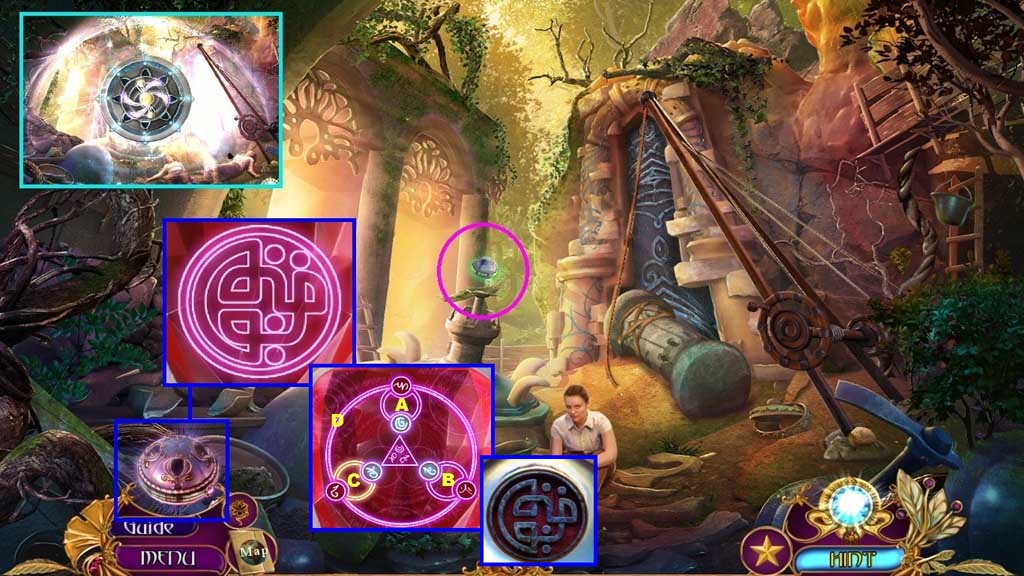
- Select the 3 strange discs to remove the dome.
- Collect the strange orb.
- Insert the red shard into the orb to trigger a mini game.
- Solve the game by aligning the image correctly.
- Another mini game will trigger.
- Solve the game by aligning the glyphs to match the one in the center.
- Use the following sequence to solve: D – A – B – C – D – B – D – C
- Collect the vault seal.
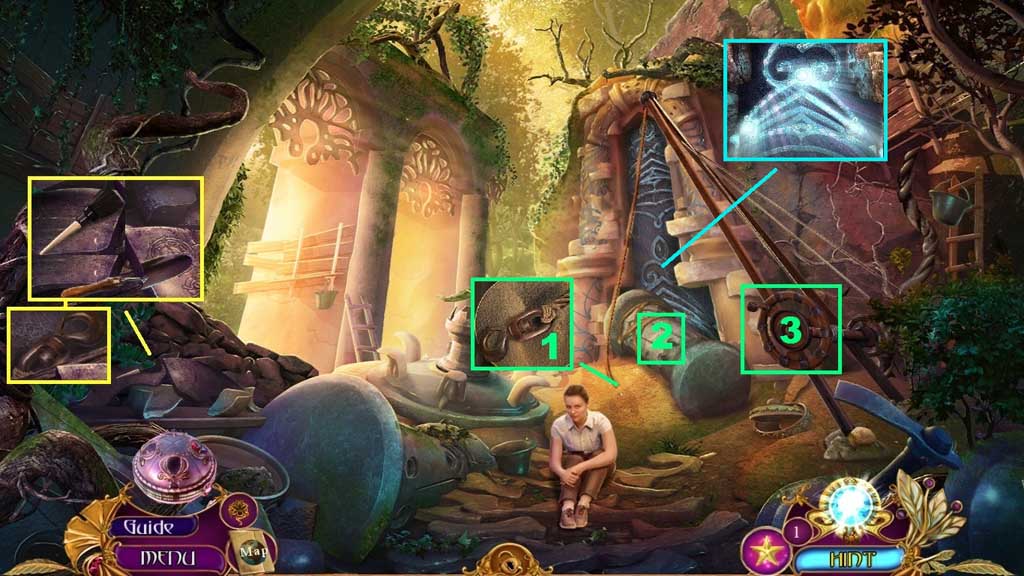
- Collect the brush; select the trowel to hoist the stone and collect the crane hook.
- Connect the crane hook onto the dangling rope; attach the crane hook onto the column
- Click the wheel.
- Remove the dust using the brush; insert the vault seal.
- Move ahead.
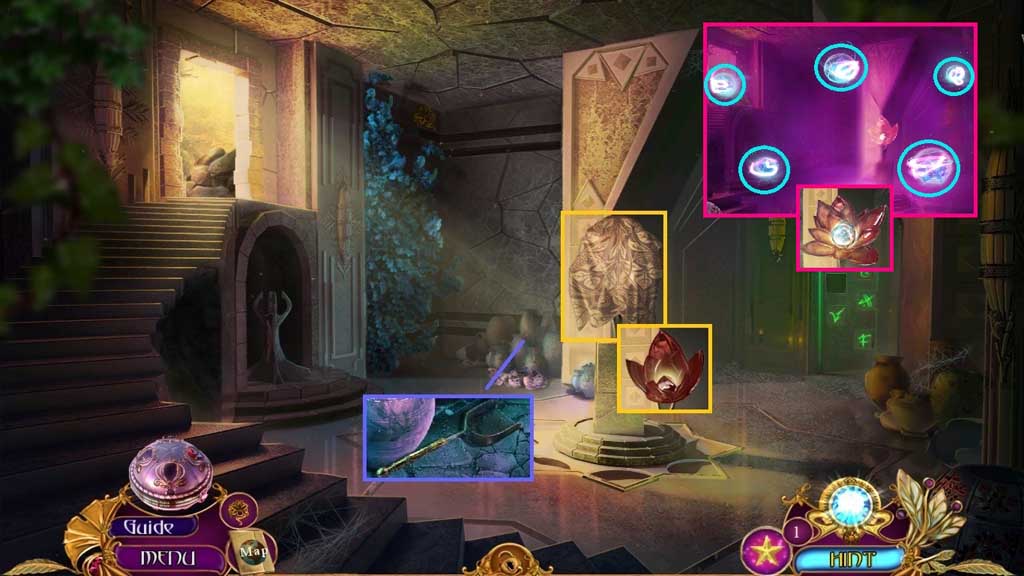
- Collect the coal sifter and the cloth.
- Click the flower.
- Collect the 5 flower essences.
- Collect the wayfarer’s pearl.
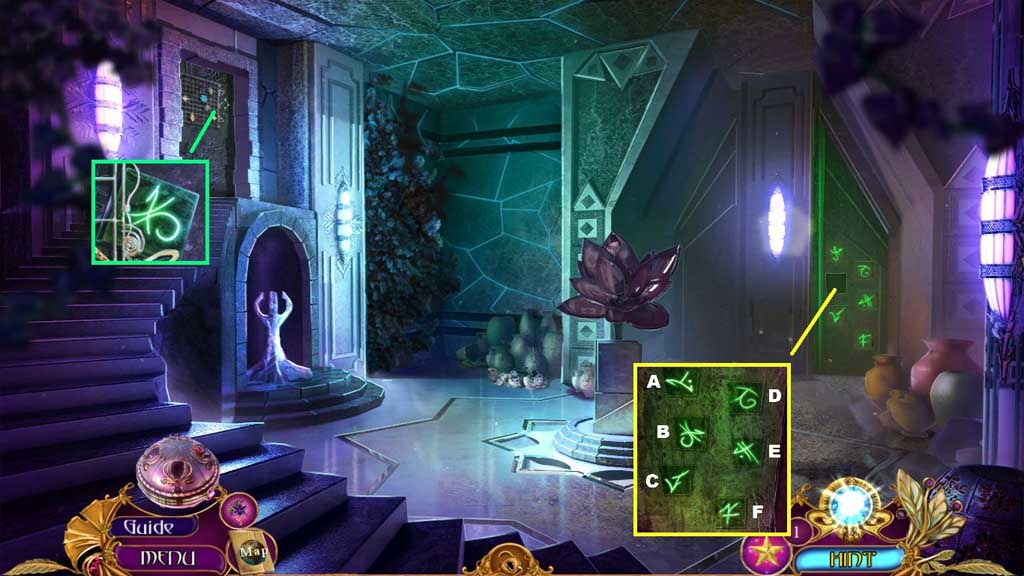
- Collect the glyph plate and insert it into the wall to trigger a mini game.
- Solve the game by repeating the sequence shown.
- Use the following sequence to solve: D –A – B – F – D – E – A – C – B
- Move to the right.
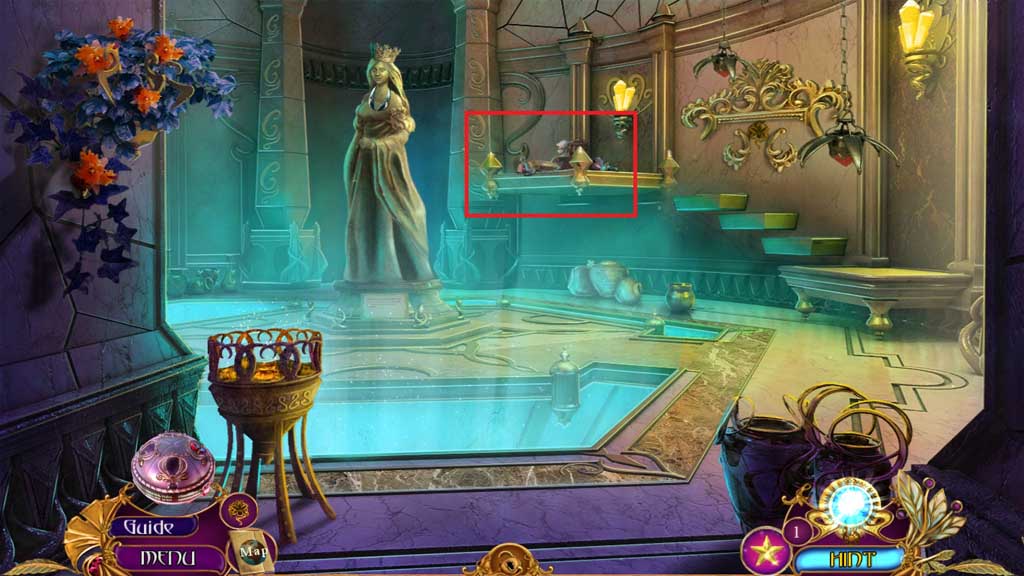
- Zoom into the shelf to trigger a mini hidden objects area.
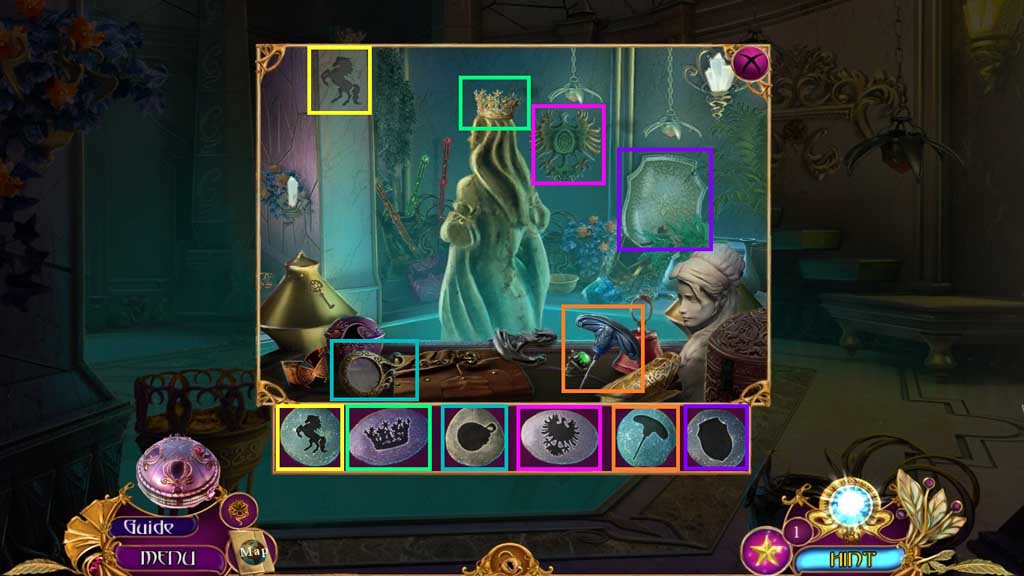
- Find the items.
- Collect the gimlet tool.
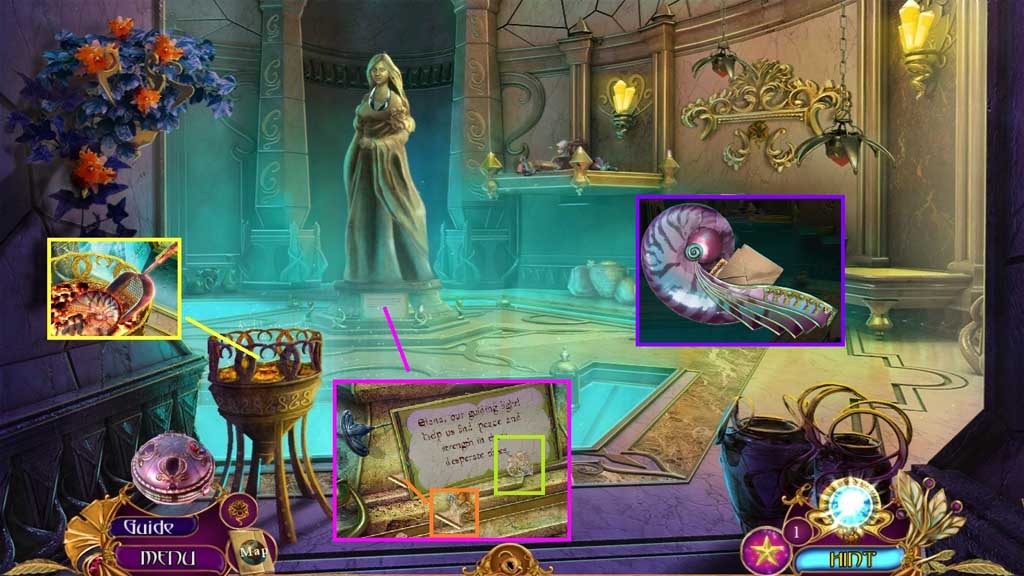
- Collect the memory shell using the coal sifter.
- Collect the fruit husk.
- Collect 1 /3 jeweled pieces using the gimlet tool.
- Click the memory shell 2x’s; collect the note and 2 /3 jeweled pieces.
- Move down once.
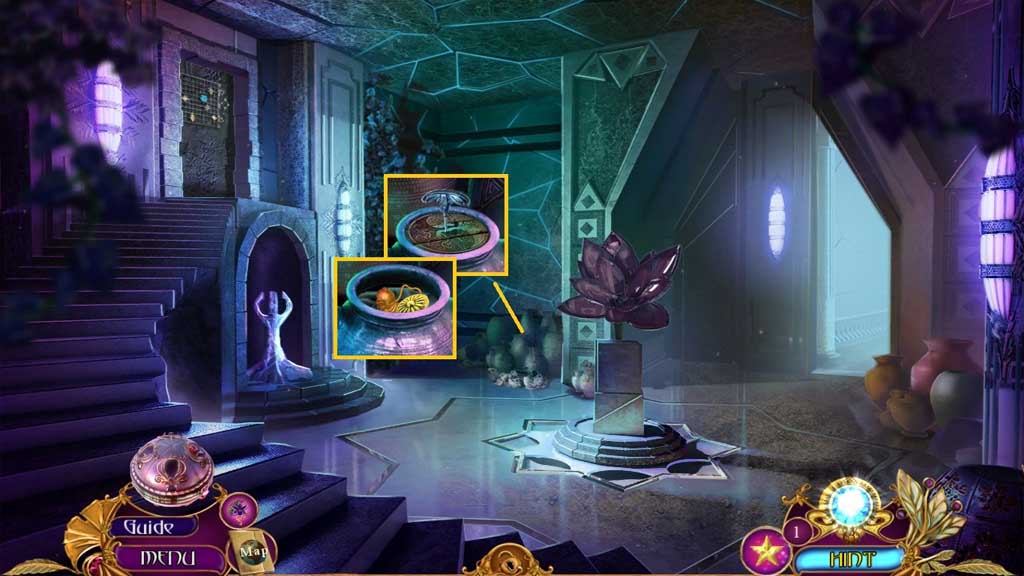
- Select the gimlet tool to collect the ornate knob and the copper leaf.
- Move to the right.
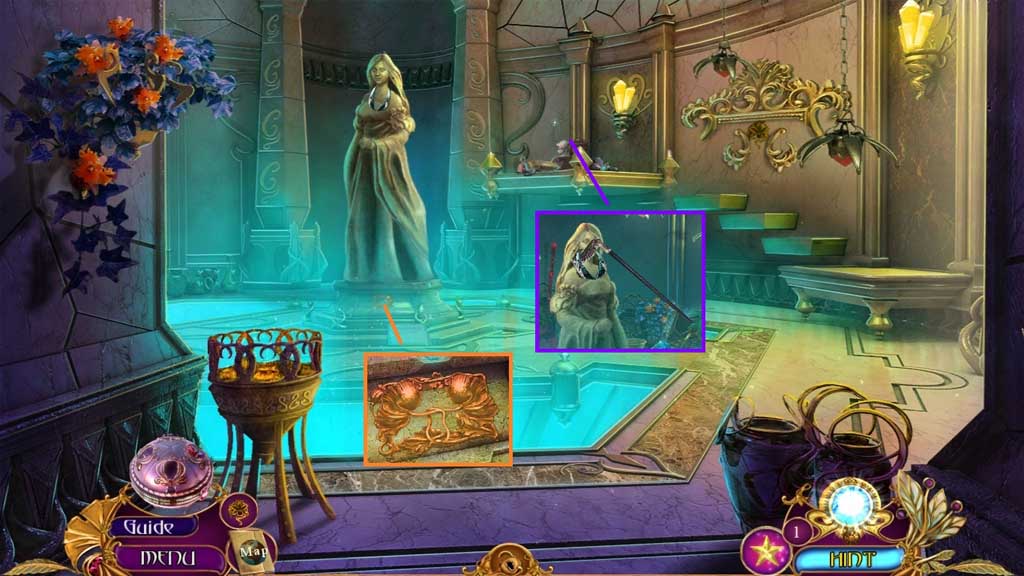
- Insert the copper leaf.
- Zoom into the shelf; collect the necklace using the walking cane.
- Move down once.
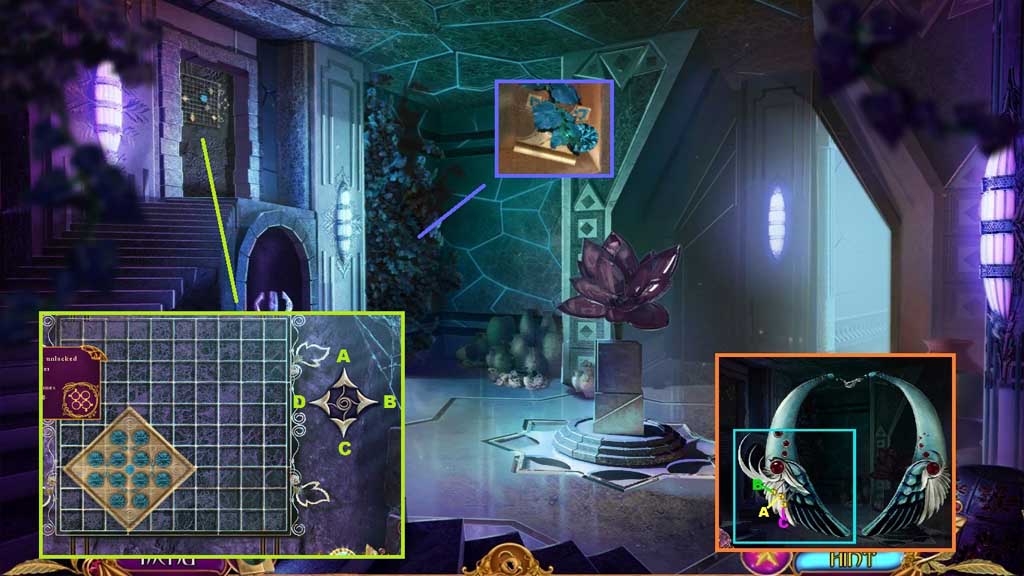
- Click the necklace once.
- Click the buttons on the necklace in the ABC order.
- Collect the dagger and use it to collect 3 /3 jeweled pieces.
- Insert the 3 jeweled pieces to trigger a mini game.
- Solve the game by using the arrows to assemble the switch.
- Use the following sequence to solve: C – B – A x 2 – D – C x 5 – B – D – A x 6 – C x 2- D x 2 – C – D – A x 2 – C x 4
- Click the lever.
- Move to the left.
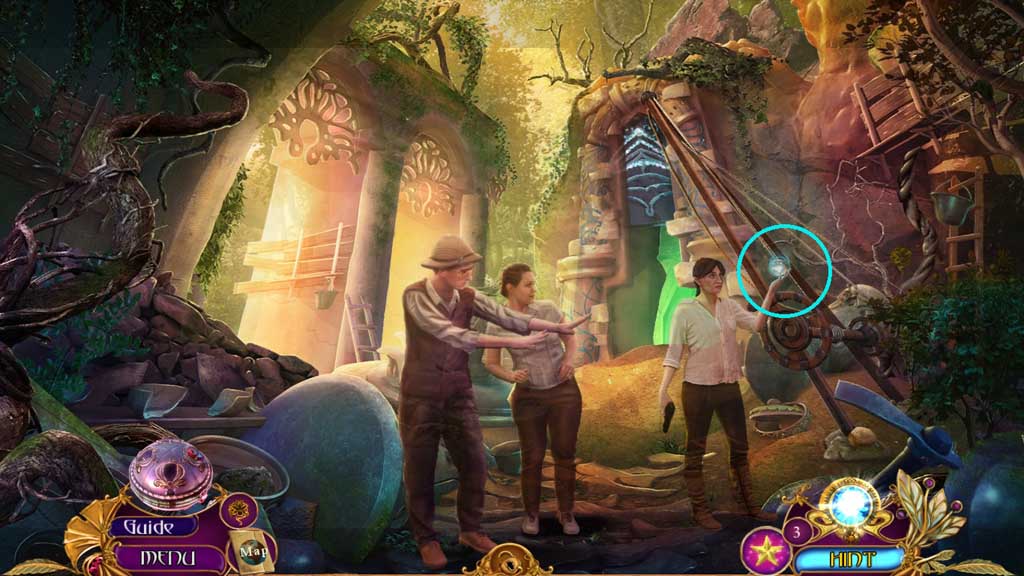
- Select the Wayfarer’s pearl to give to the woman.
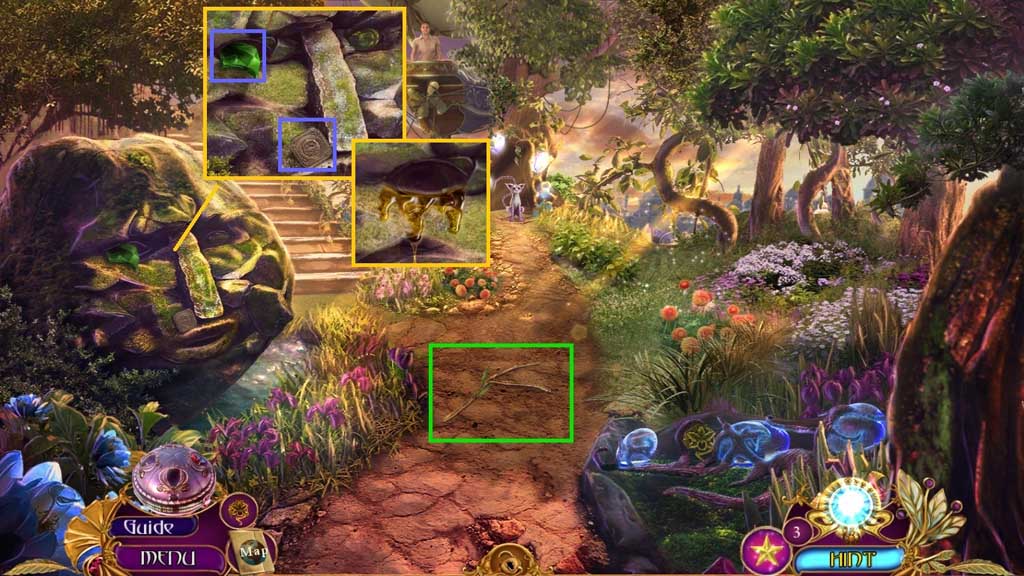
- Collect the twig, 1 /5 shard fragments and the square coin.
- Select the twig to place it into the nectar; collect the twig with nectar.
- Move to the left.
Comments will load when you reach this part of the walkthrough.