

Chapter Two: Riding the Tram
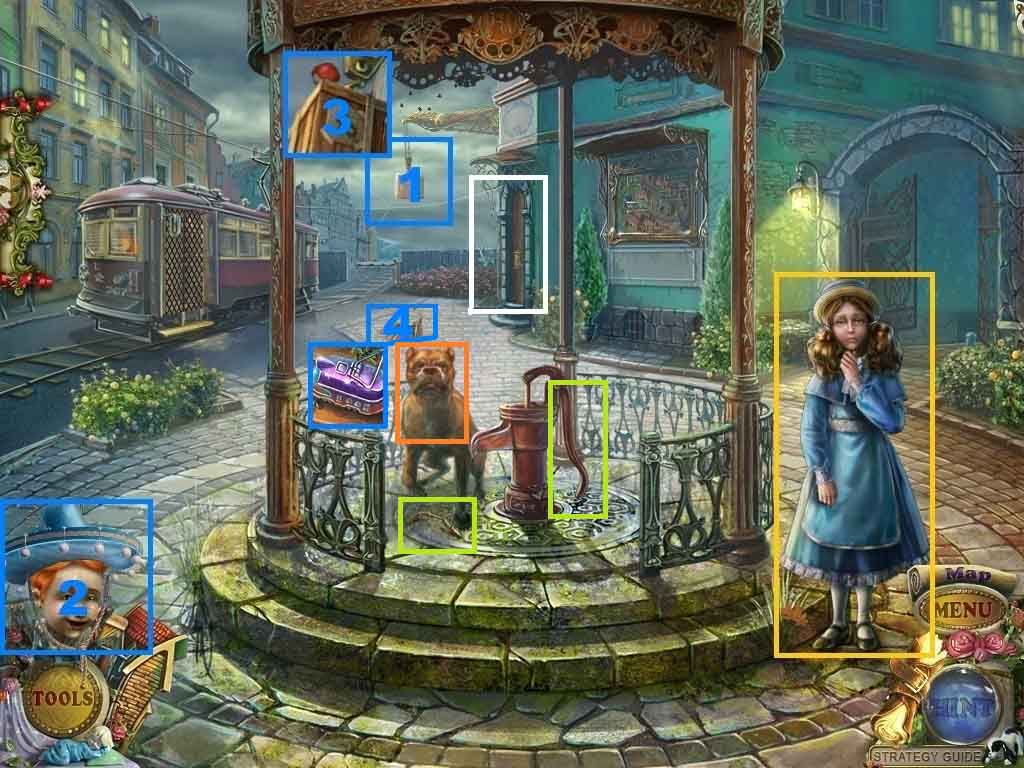
- Click Felicia.
- Click the box; use the puppet helper on the box.
- Click the fallen box; collect the violet tram.
- Click the doorway.
- Click the dog.
- Click the handle and collect the gas burner part.
- Move through the gate.
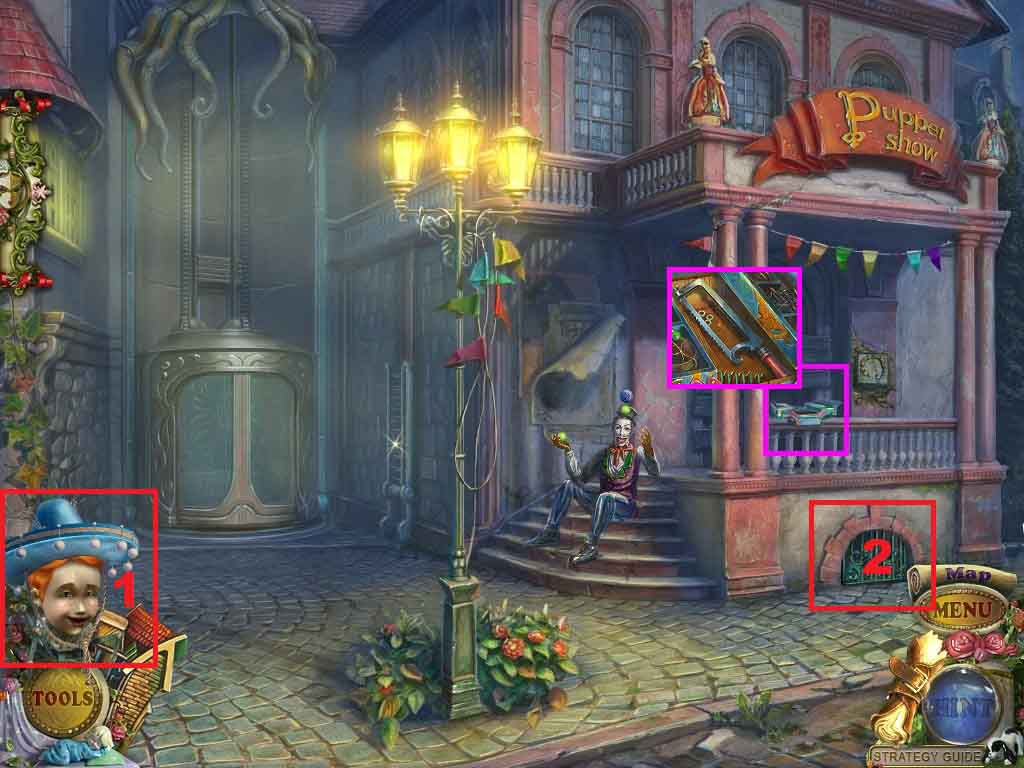
- Click the toolbox; collect the saw.
- Click the grate and use the puppet helper on it.
- Click the lever and trigger a hidden objects area.
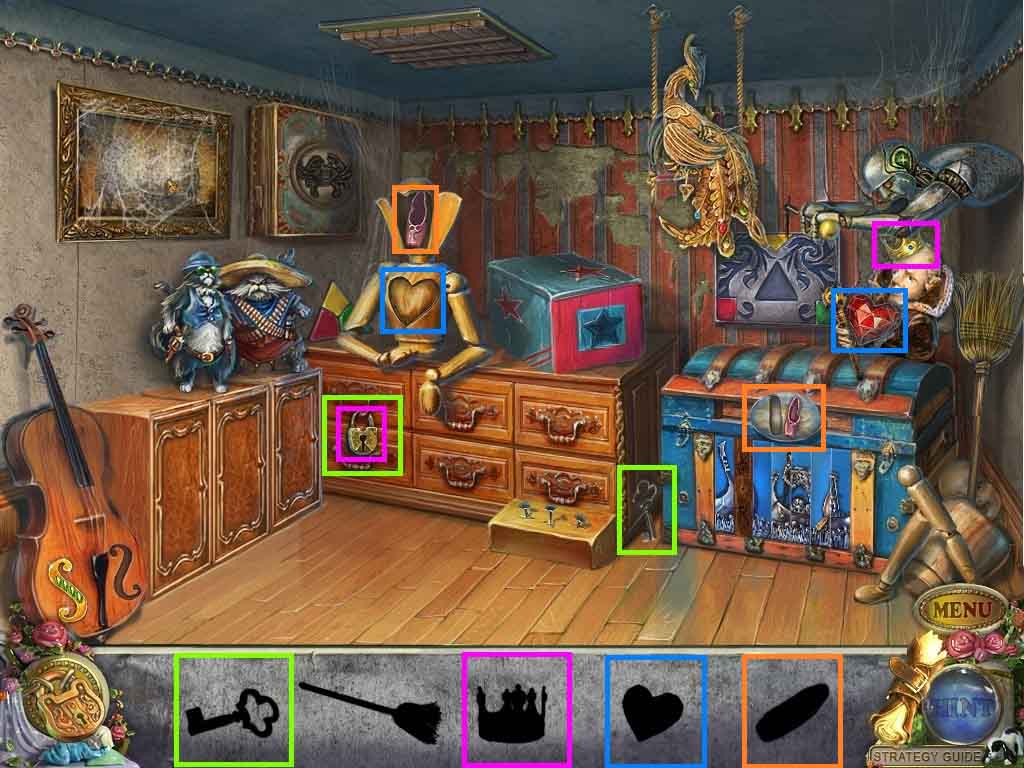
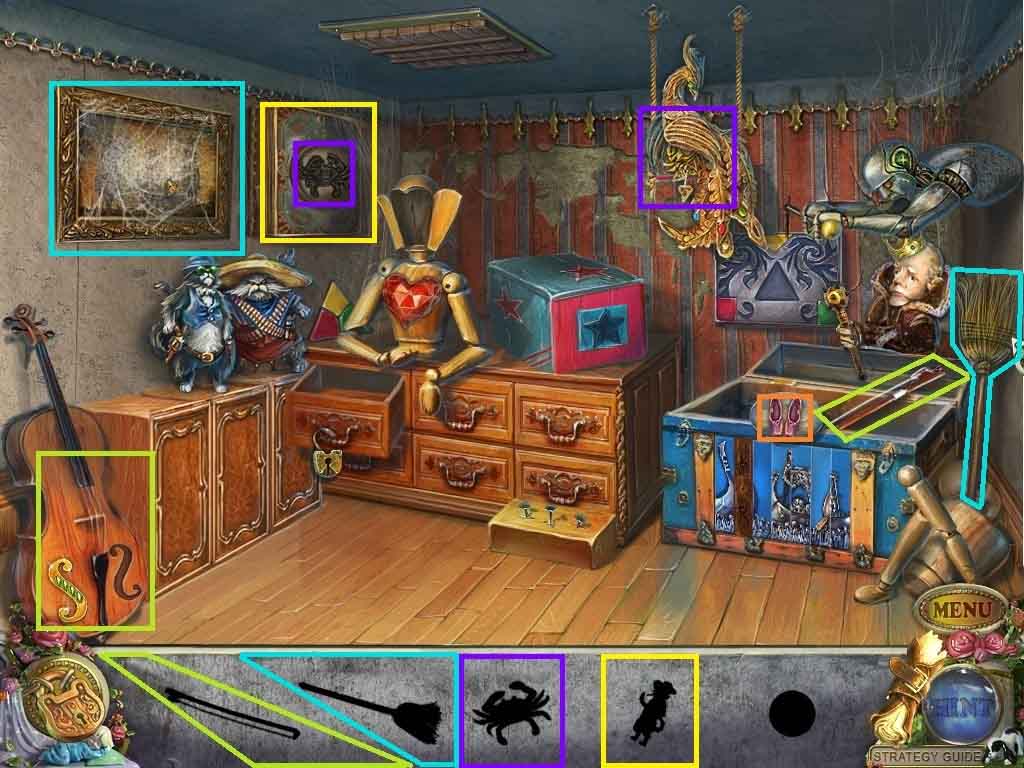
- Find the items.
- Insert the key into the lock; collect the crown.
- Place the crown onto the head; collect the heart.
- Insert the heart into the slot; collect the pointe.
- Insert the pointe into the slot; collect the violin bow.
- Play the cello using the violin bow; collect the crab.
- Insert the crab into the slot; collect the cat.
- Click the picture; use the broom to clear the cobwebs.
- Place the cat down.
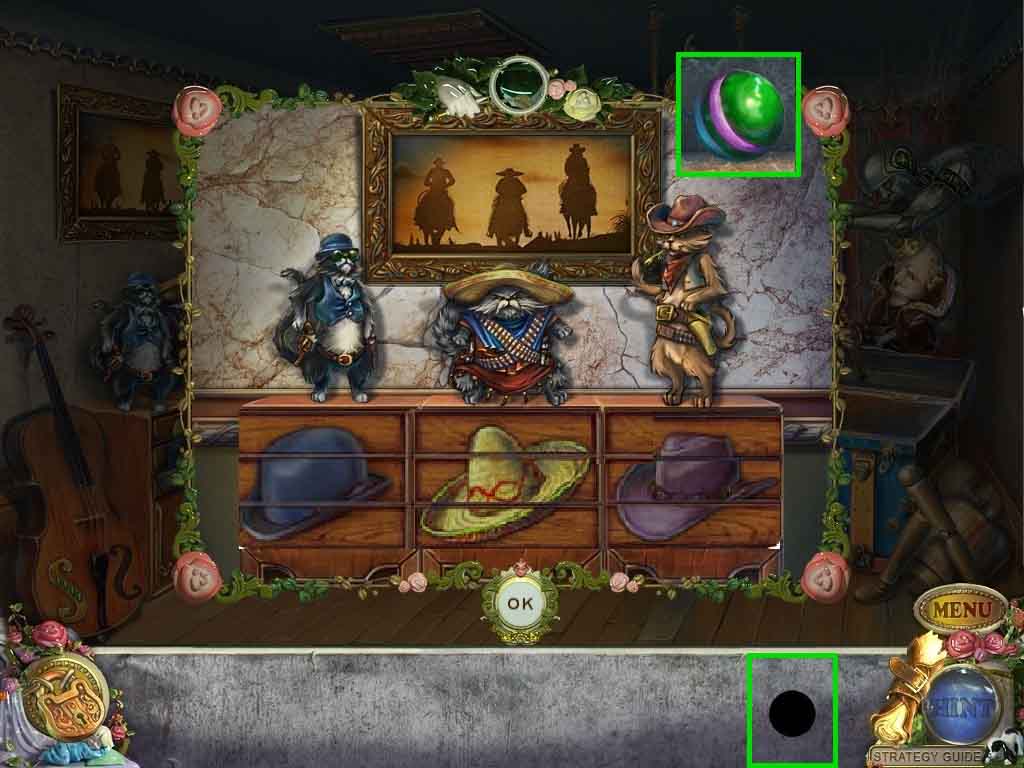
- Arrange the cats according to the clues.
- Click the hat parts around to create a completed picture of the hats correctly arranged.
- Collect the juggling ball.
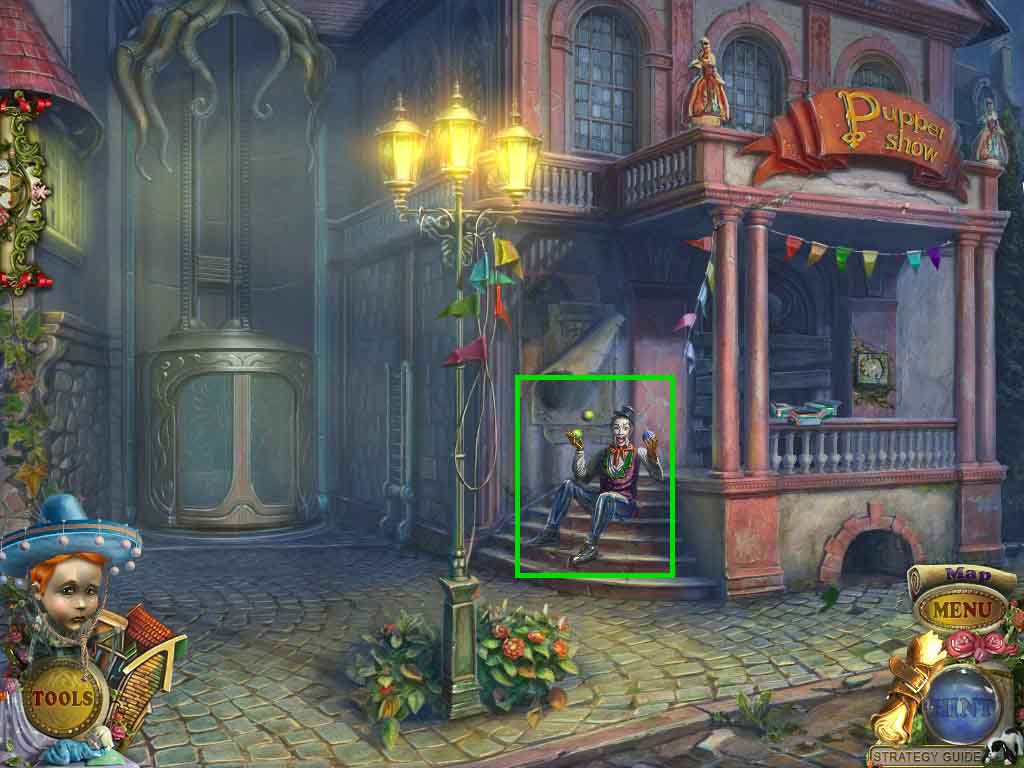
- Click the juggler and hand him the juggling ball; collect the button.
- Move down one time.
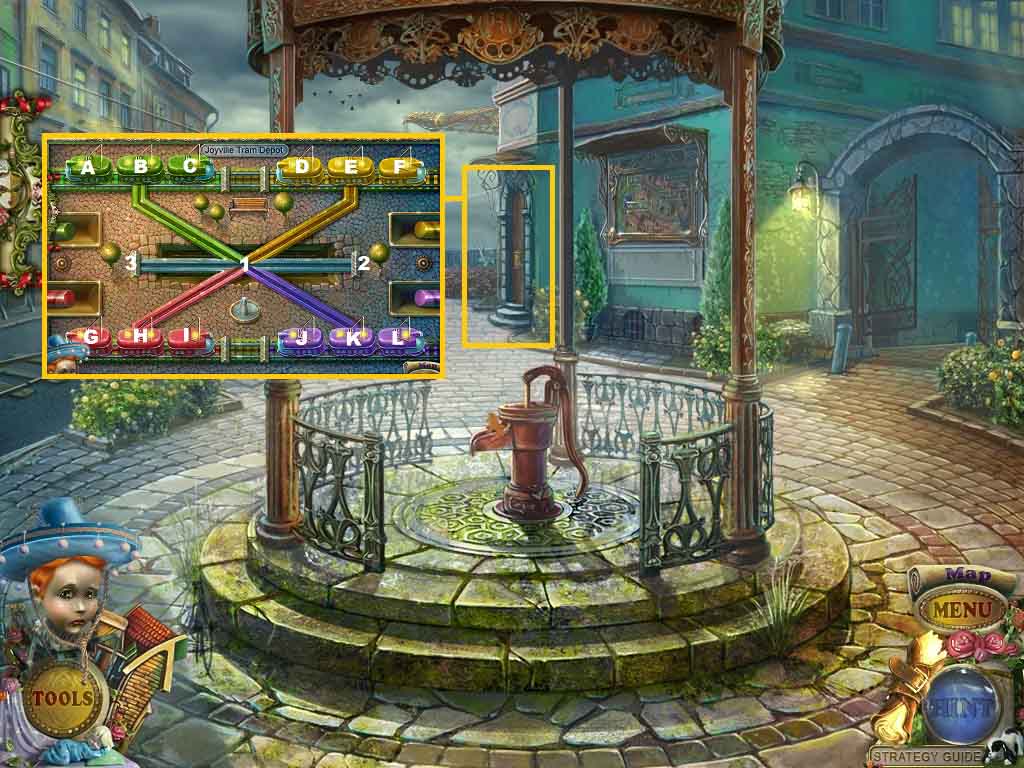
- Click the doorway.
- Insert the violet and green trams to trigger a puzzle.
- Arrange the trams onto tracks of the same color.
- Solve as follows:
- (K-1) (1-2) (J-K) (K-1) (1-3) (E-1) (1-K) (K-J) (B-1) (1-E) (A-B) (B-1) (1-K) (3-1) (1-B) (B-A) (C-B) (B-1) (1-3) (H-1) (1-B) (1-3) (H-1) (1-B) (H-1) (1-B) (I-H) (H-1) (B-C) (1-B) (3-1) (1-H) (H-I) (B-1) (1-3) (C-B) (B-1) (1-H) (3-1) (F-E) (E-1) (1-K) (H-1) (1-E) (E-F) (D-E) (E-1) (1-H) (2-1) (1-E) (E-D) (H-1) (1-2)(G-H) (H-1) (1-E) (2-1) (1-H) (H-G) (I-H) (H-1) (1-2) (K-1) (1-H) (H-1) (3-1) (1-H) (L-K) (K-1) (1-3) (2-1) (1-K) (K-L) (J-K) (K-1) (1-2) (E-1) (1-K) (K-J) (2-1) (1-K) (F-E) (E-1) (1-2) (3-1) (1-E) (E-F) (2-1) (1-E).
- Move through the door.
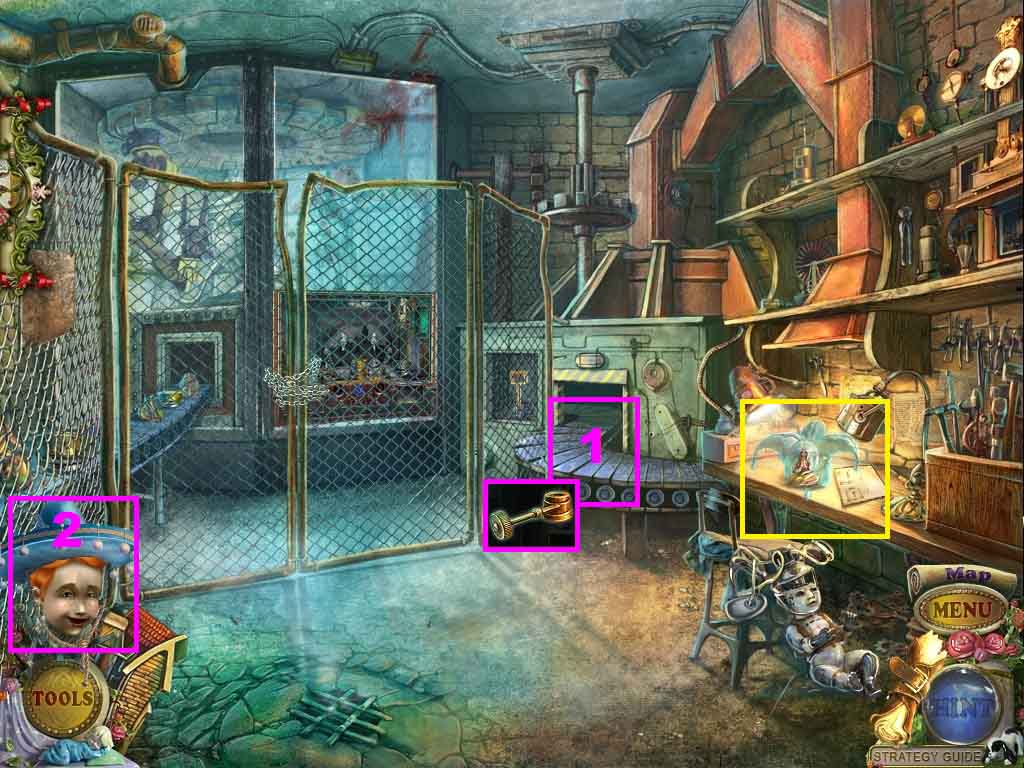
- Click the beltline.
- Use the puppet helper to collect the gas burner part.
- Click the table; collect the puppet and the hat pattern.
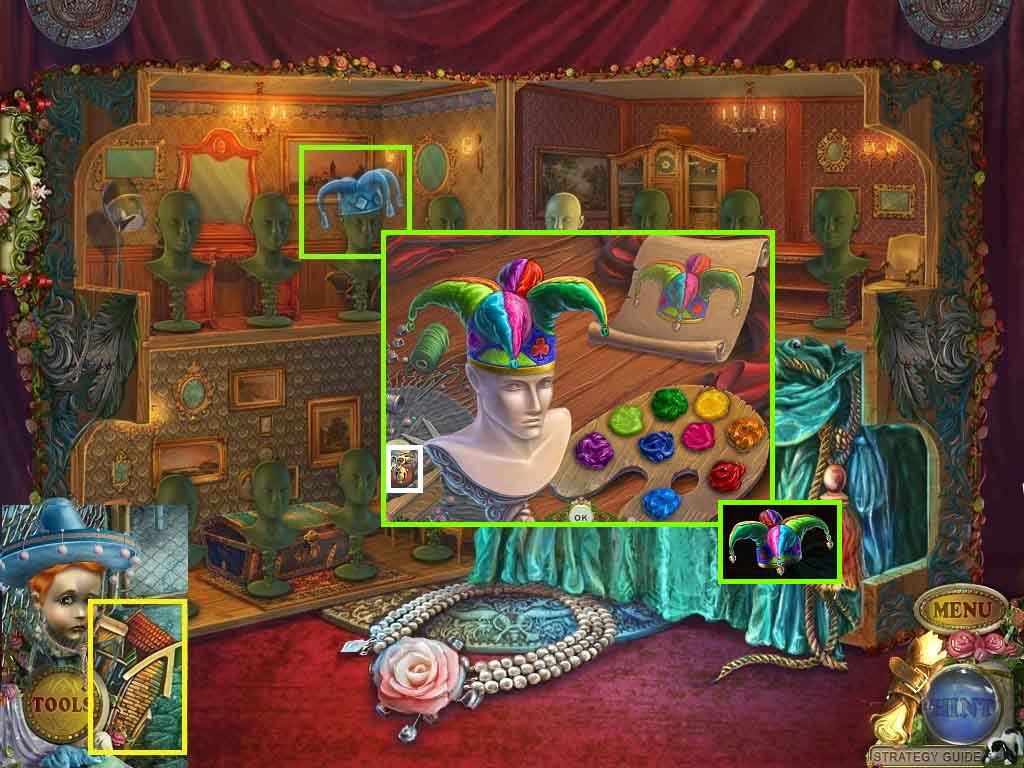
- Click the puppet house.
- Click the fool’s hat to trigger a puzzle.
- Complete the hat according to the picture.
- Once the hat is painted; add the bells to the hat.
- Collect the fool’s hat; leave the puppet house.
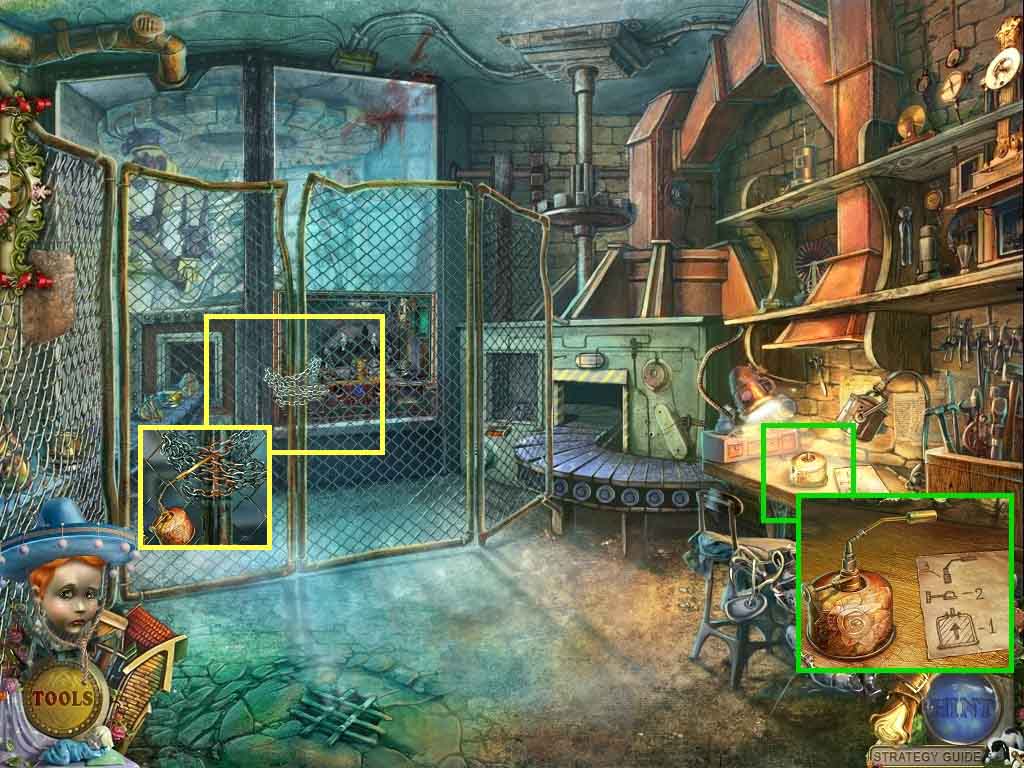
- Click the burner.
- Insert the 2 gas burner parts and collect the gas burner.
- Click the chain and use the gas burner on it.
- Move down once.
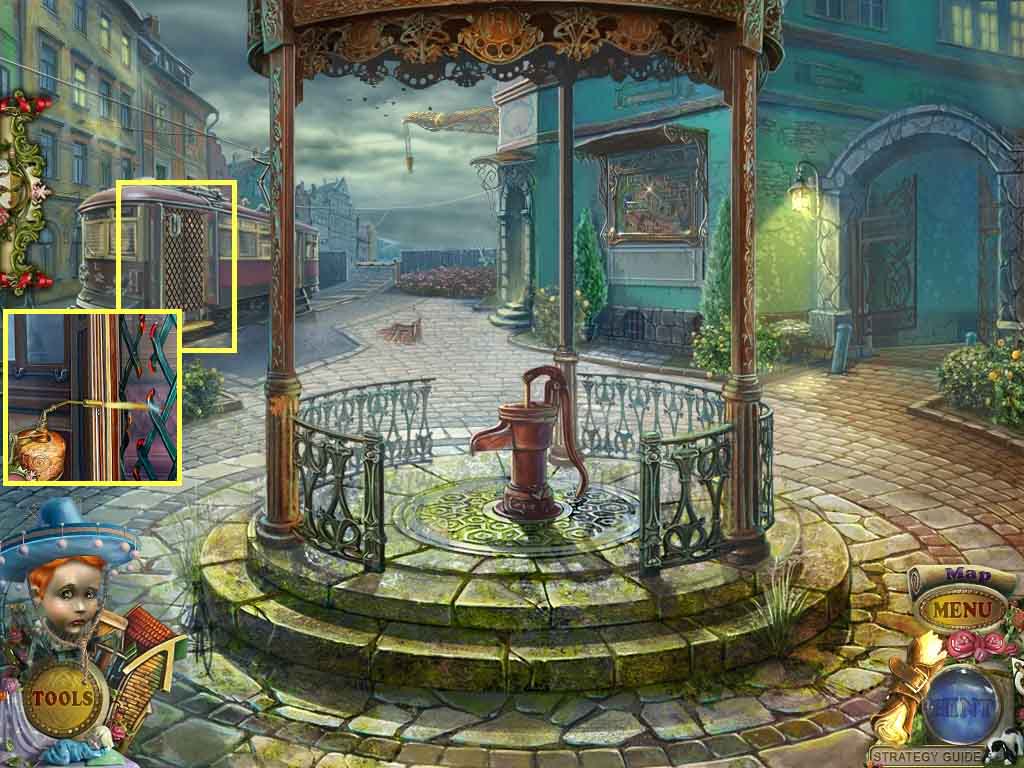
- Click the grating.
- Use the gas burner on it; click the grating.
- Go into the tram.
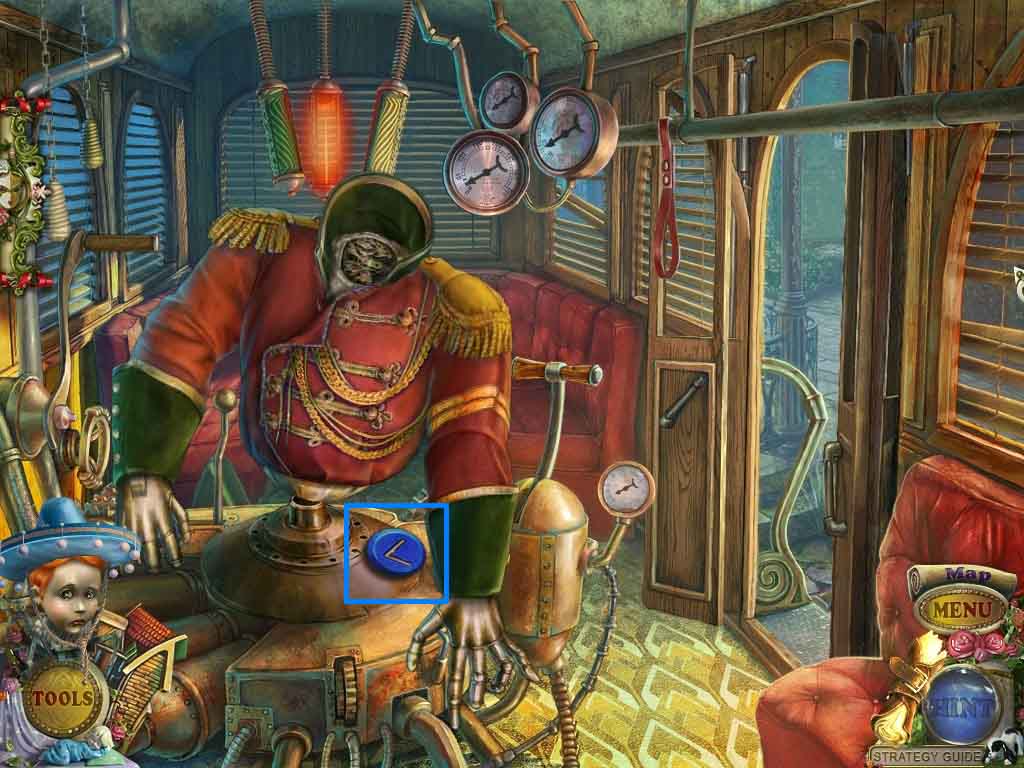
- Collect the button.
- Move to the workshop.
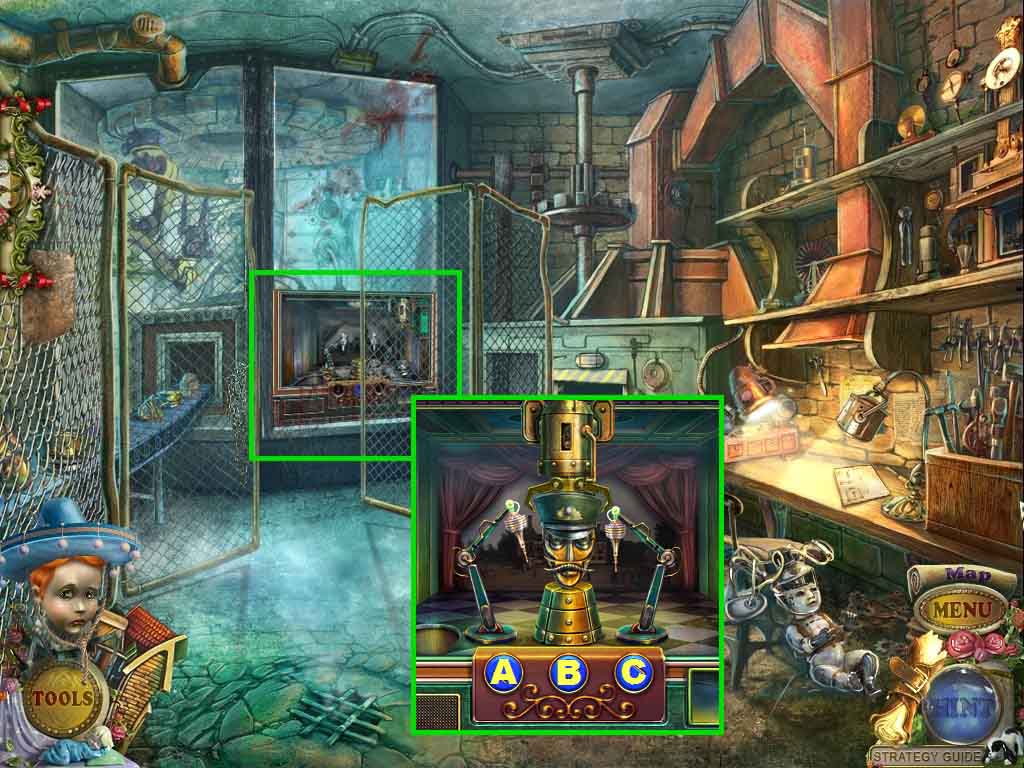
- Click the mechanism and insert the 2 buttons to trigger a puzzle.
- Click the buttons to assemble the head.
- Solve as follows:
- A – B – C – B – C – B – A - B – C – C –B – A – B
- Collect the head.
- Move to the tram.
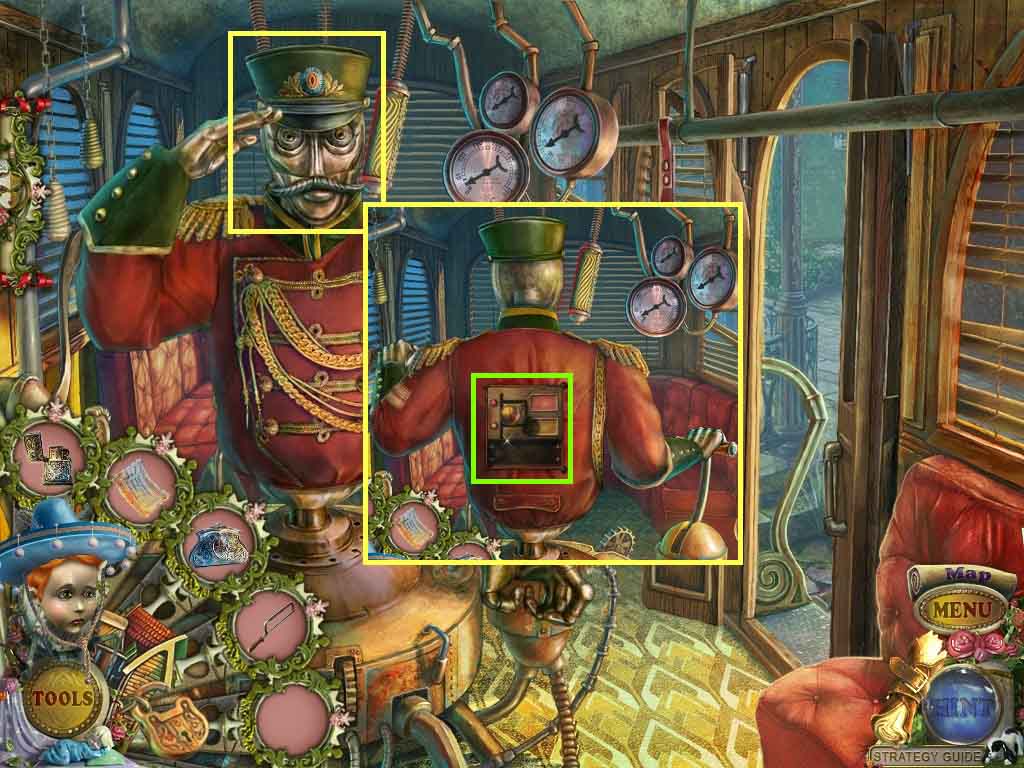
- Put the head onto the puppet.
- Click the controls.
- Click the lever.
- Leave the tram when it stops.
Comments will load when you reach this part of the walkthrough.