

Chapter Seven: Trestle Road
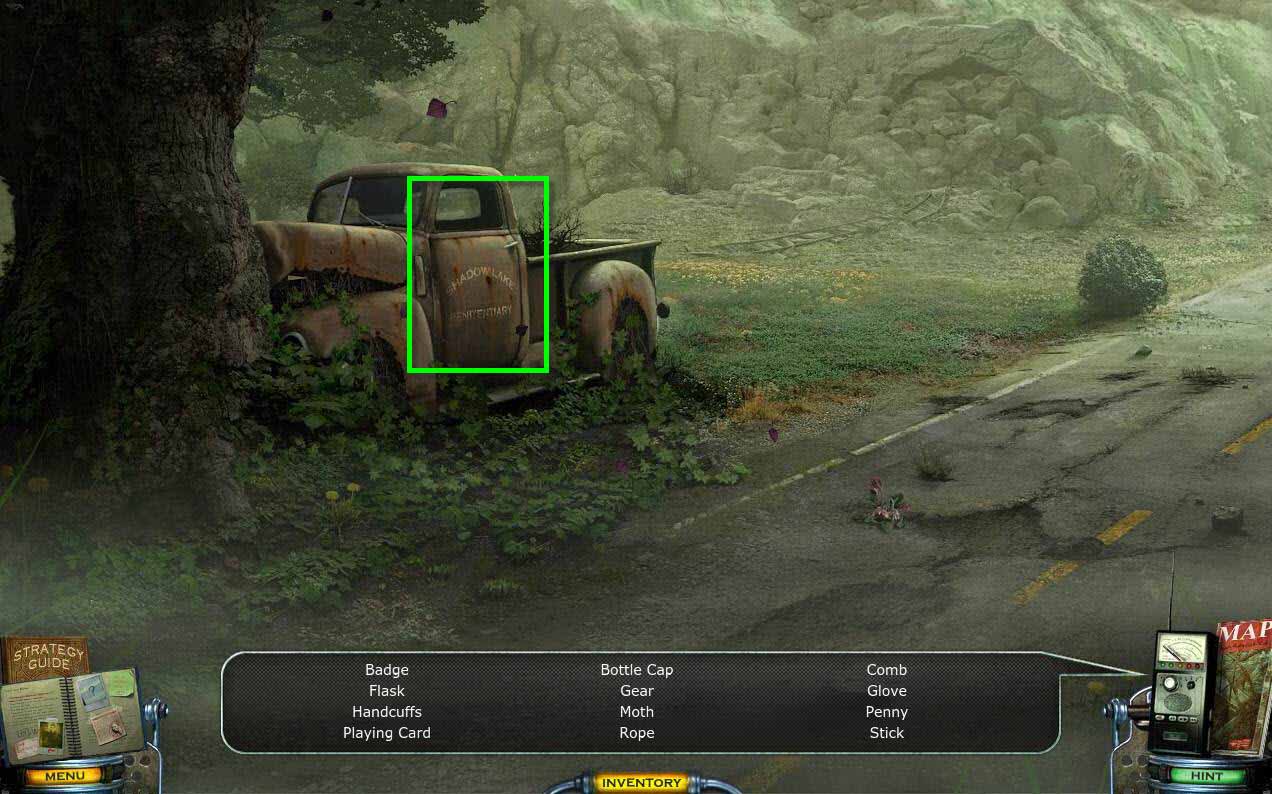
- As soon as you arrive, a hidden object area will start.
-
Click on the truck to zoom in.
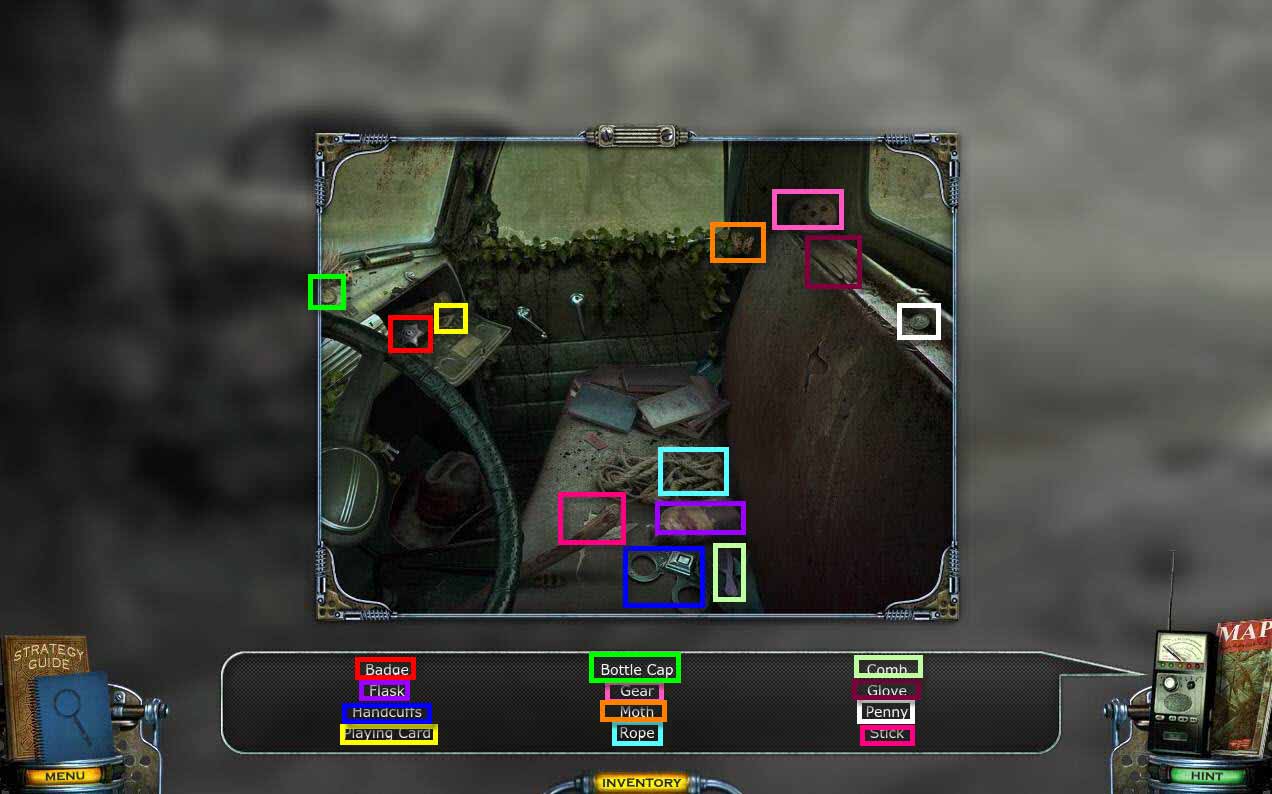
- Click on the glove compartment to open it.
-
Find the items on the list in the scene.
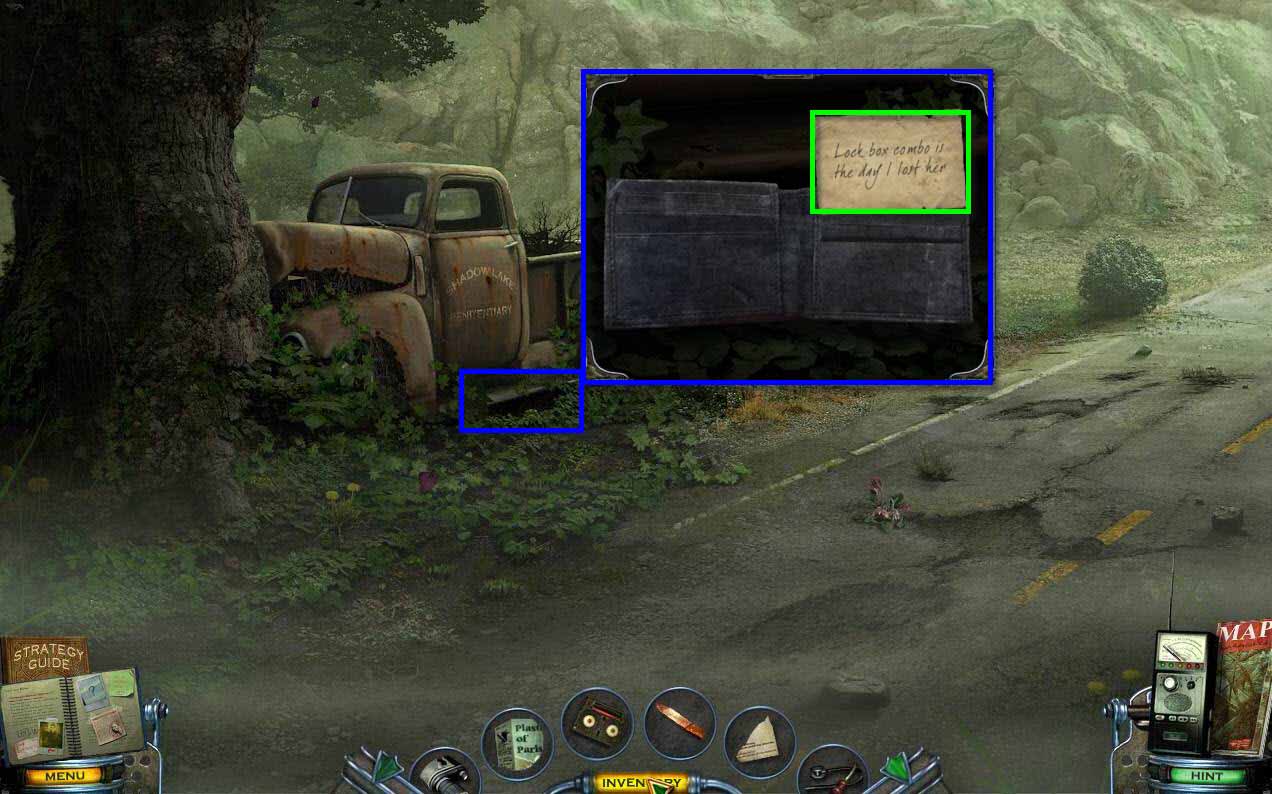
- Click under the truck to zoom in.
- Click on the wallet to open it.
- Click on the note in the wallet to read it.
- Go back downtown and return to the Sheriff's Office.
-
Go into the Evidence Room to start a hidden object area.
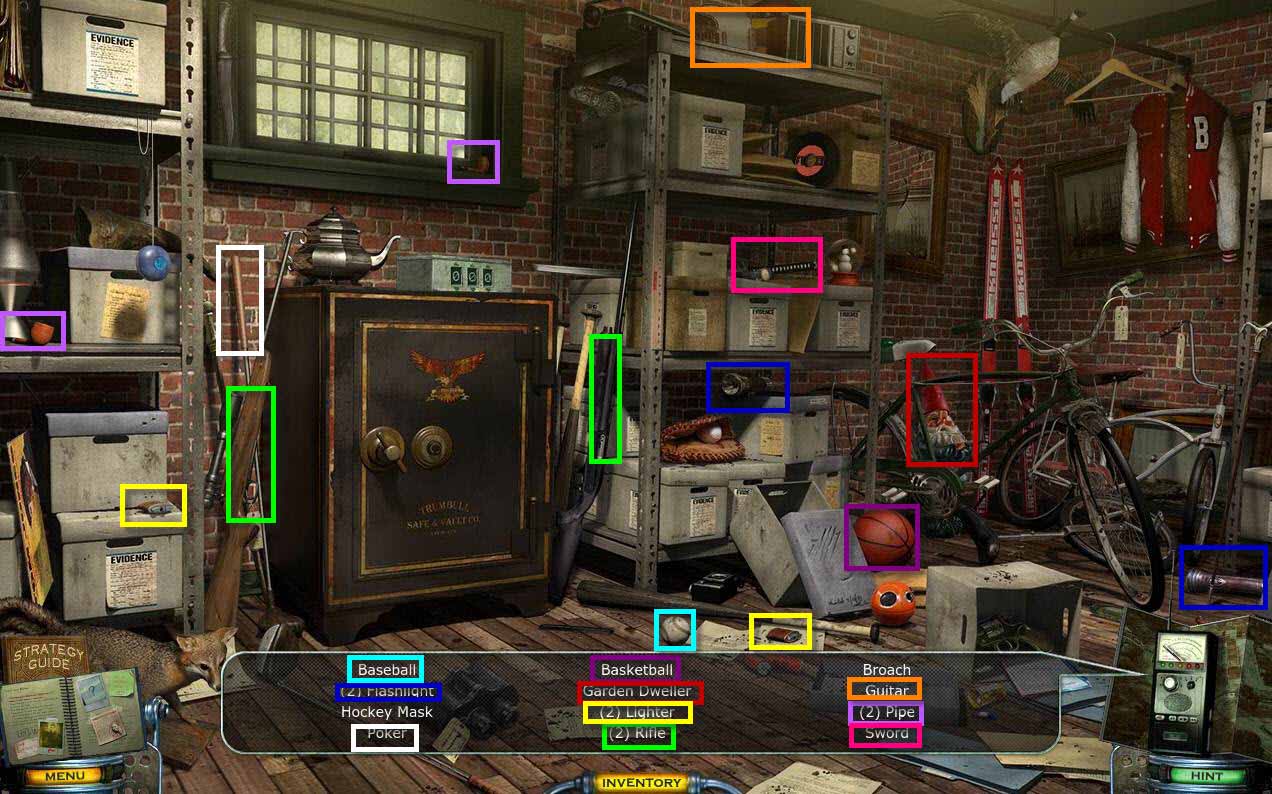
- Find the items that are in the scene.
-
Click on the Safe to zoom in.
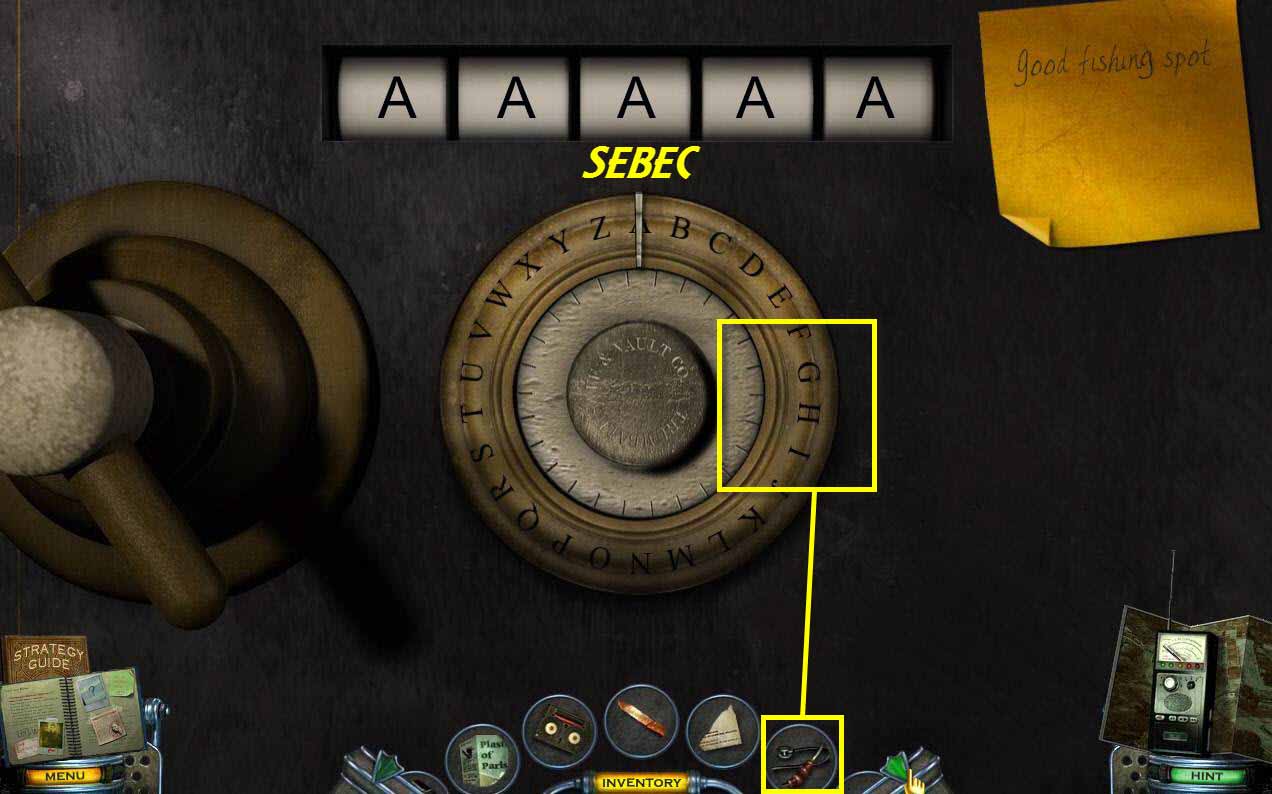
- Use the STETHOSCOPE on the safe.
- Rotate the dial to the letters S, E, B, and C. They will show up on the paper.
-
Next, input the letters S-E-B-E-C using the dial and moving from clockwise to counterclockwise until all the letters are in and the safe is open.
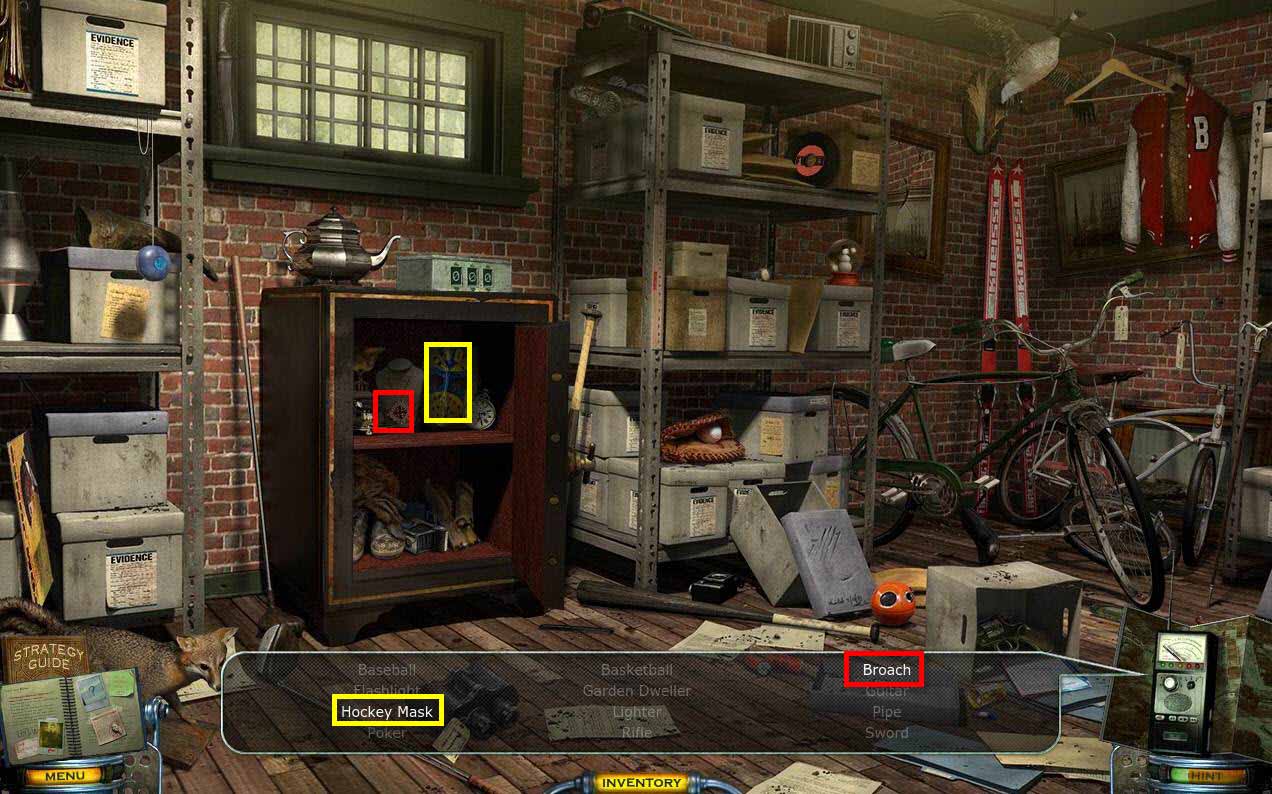
- Find the rest of the items in the safe.
- Return to the motel and Cassandra to get the next set of drawings.
-
Travel to the Trestle Road.
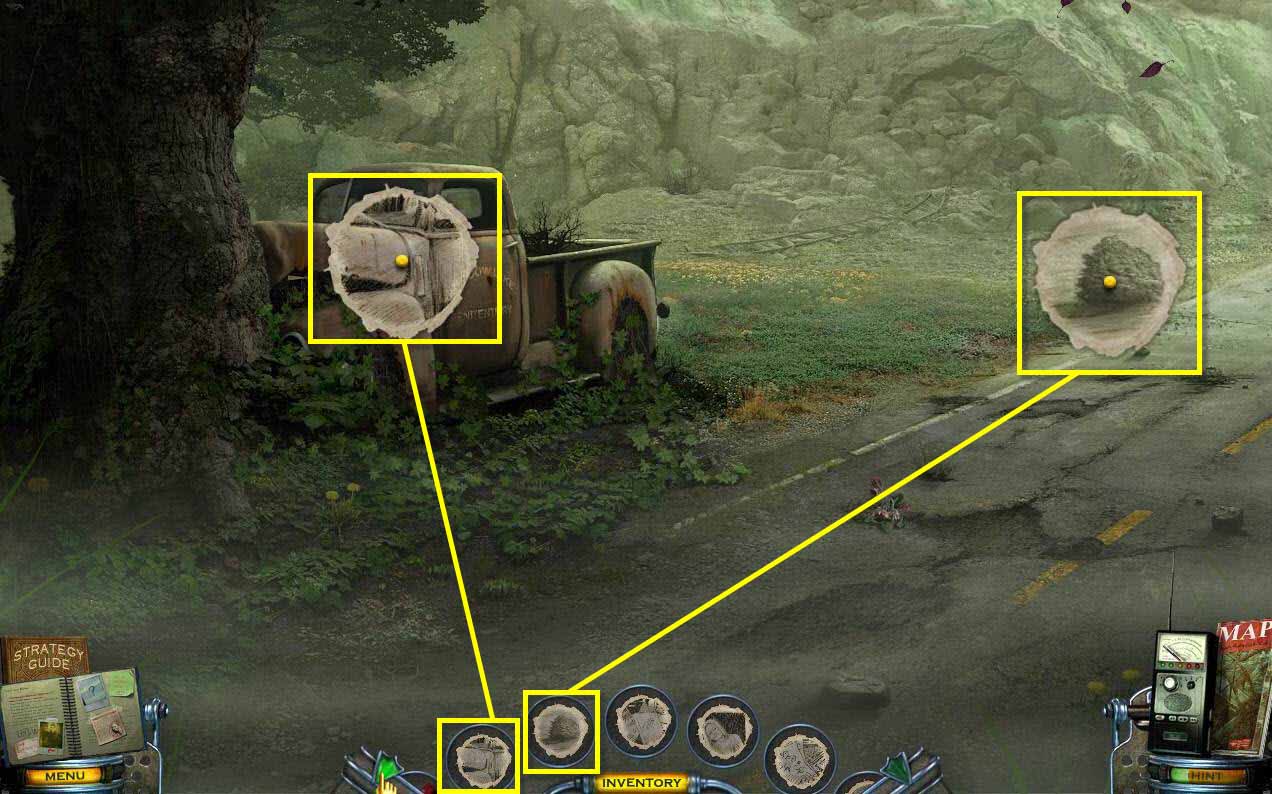
- Use the DRAWING on the truck.
- You will receive a CHARGED DRAWING.
- Use the DRAWING on the bush on the right.
- You will receive a CHARGED DRAWING.
-
Go back to the Sheriff's Office.
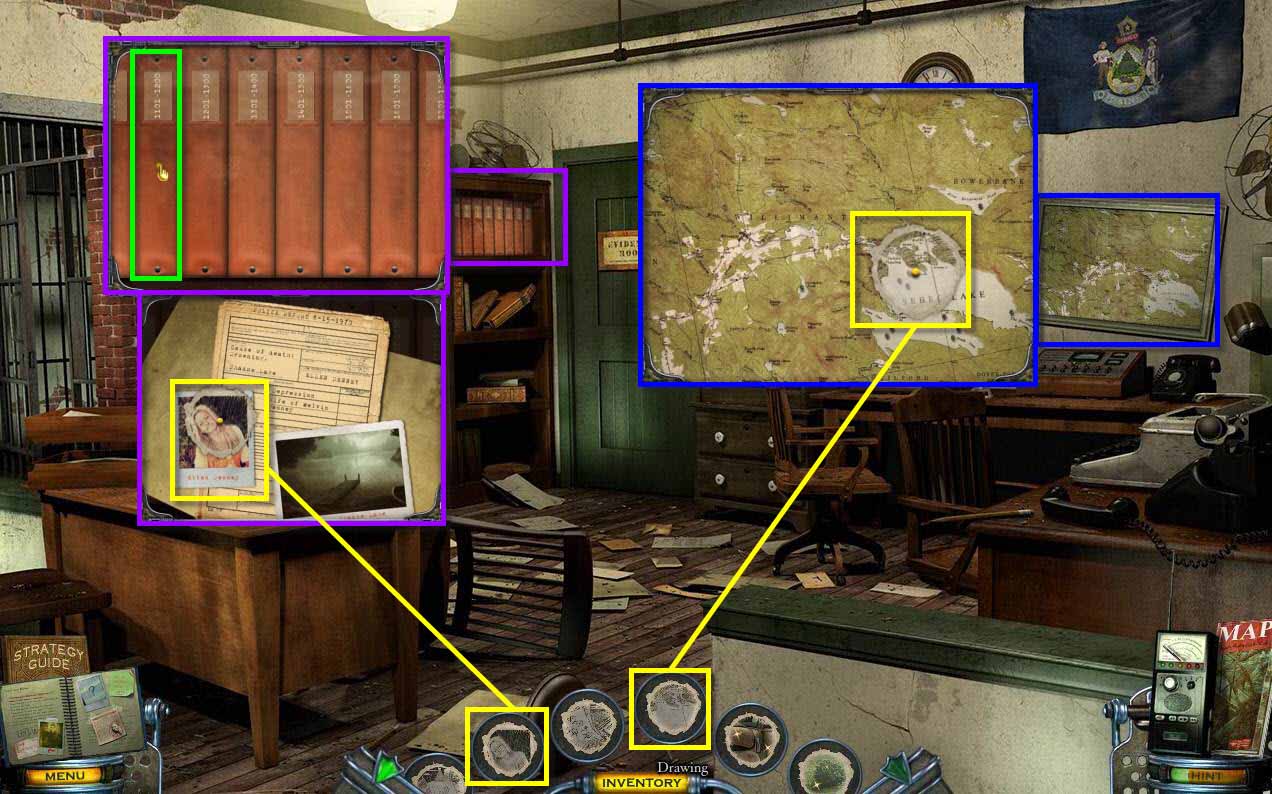
- Click on the map to zoom in.
- Use the DRAWING on the map.
- You will receive a CHARGED DRAWING.
- Click on the bookshelf on the left to zoom in.
- Click on the binder on the left to open it.
- Use the DRAWING on the picture.
- You will receive a CHARGED DRAWING.
-
Go into the evidence room.
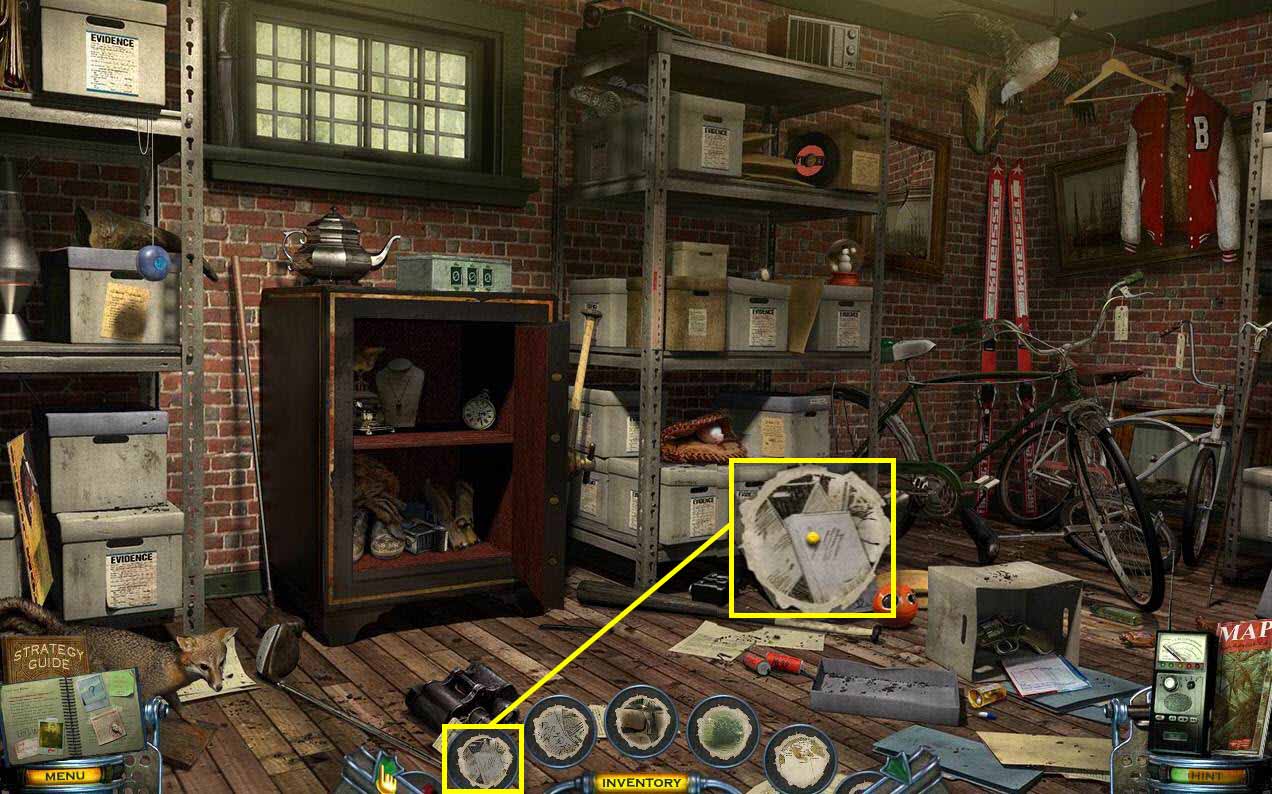
- Use the DRAWING on the box on the floor.
-
You will receive a CHARGED DRAWING.
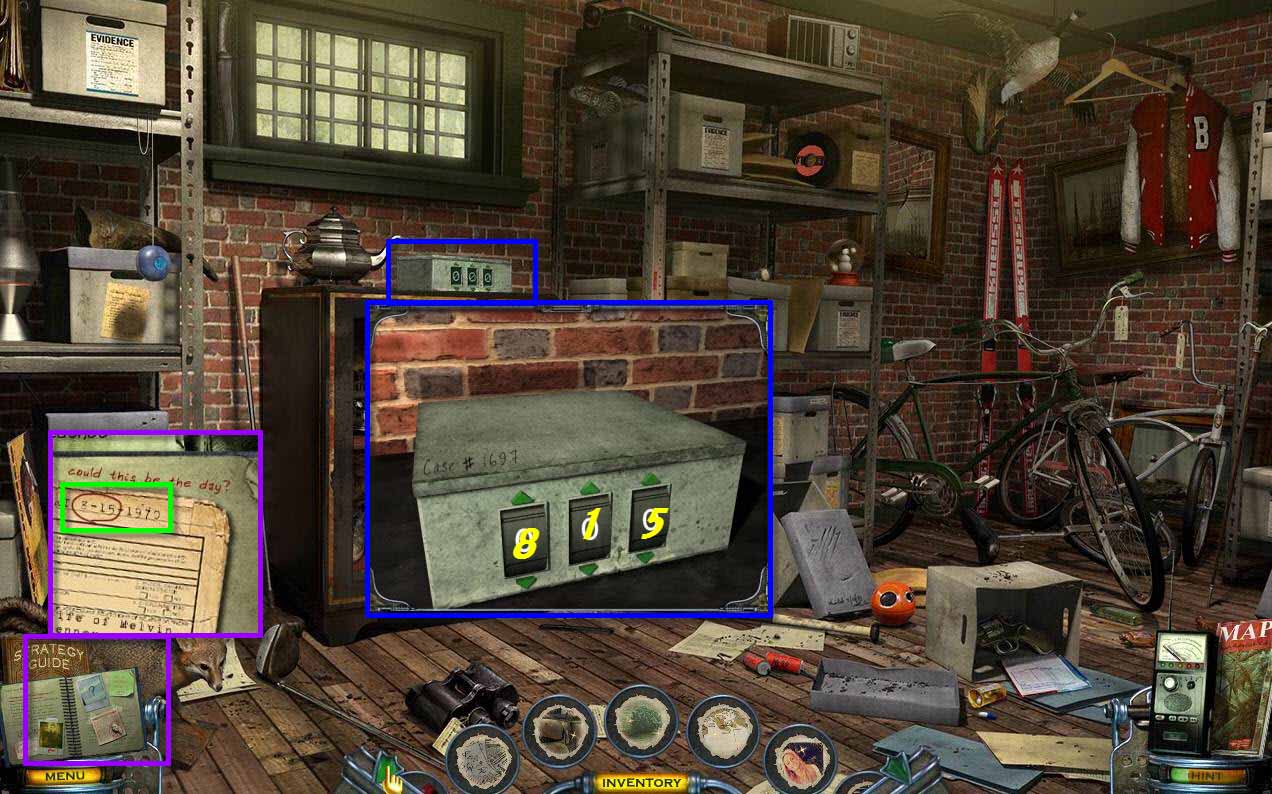
- Click on the lock box on the safe to zoom in.
- The combination is the day the the Warden's Wife died.
- This was found in her case file which is now in your notebook.
-
The combo is 815. Input that number to open the lock box.
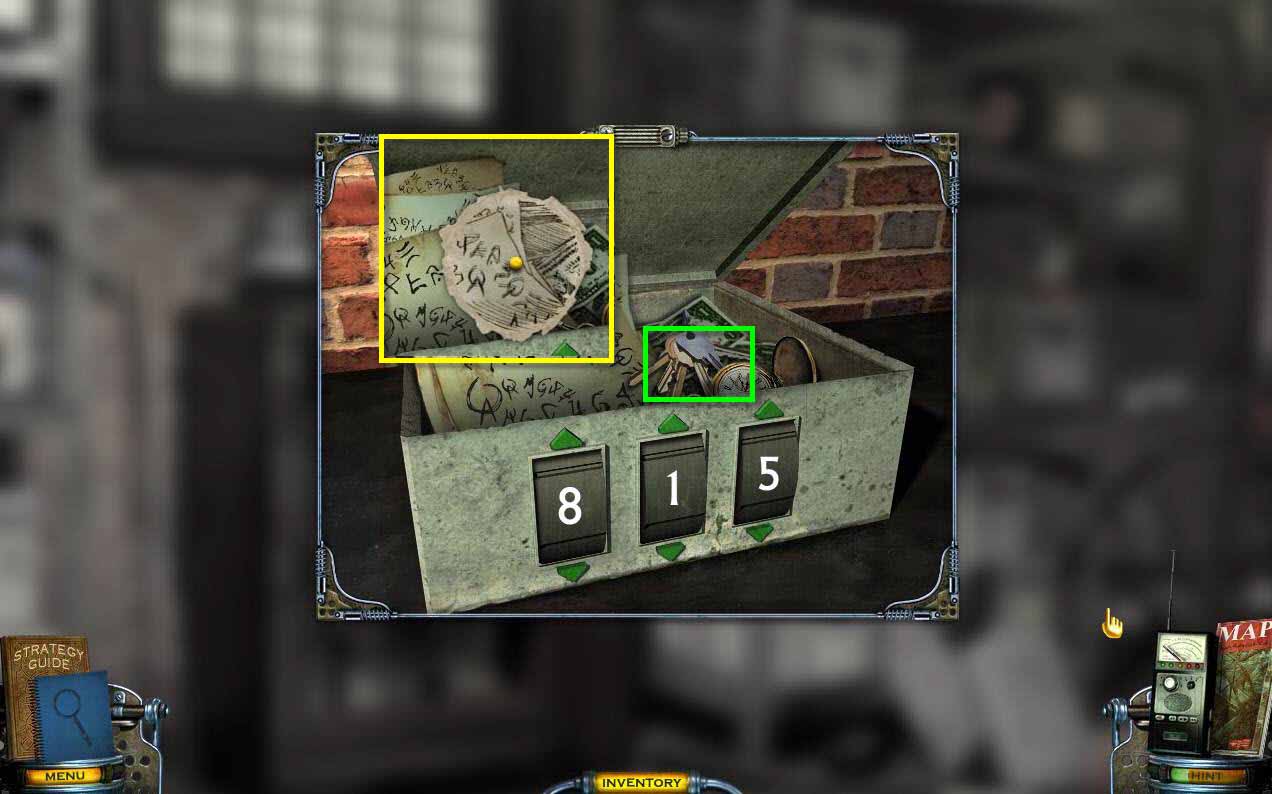
- Take the WARDEN'S KEYS.
- Use the DRAWING on the scribbles on the paper.
- You will receive a CHARGED DRAWING.
-
Return to the motel and Cassandra so she can do another reading.
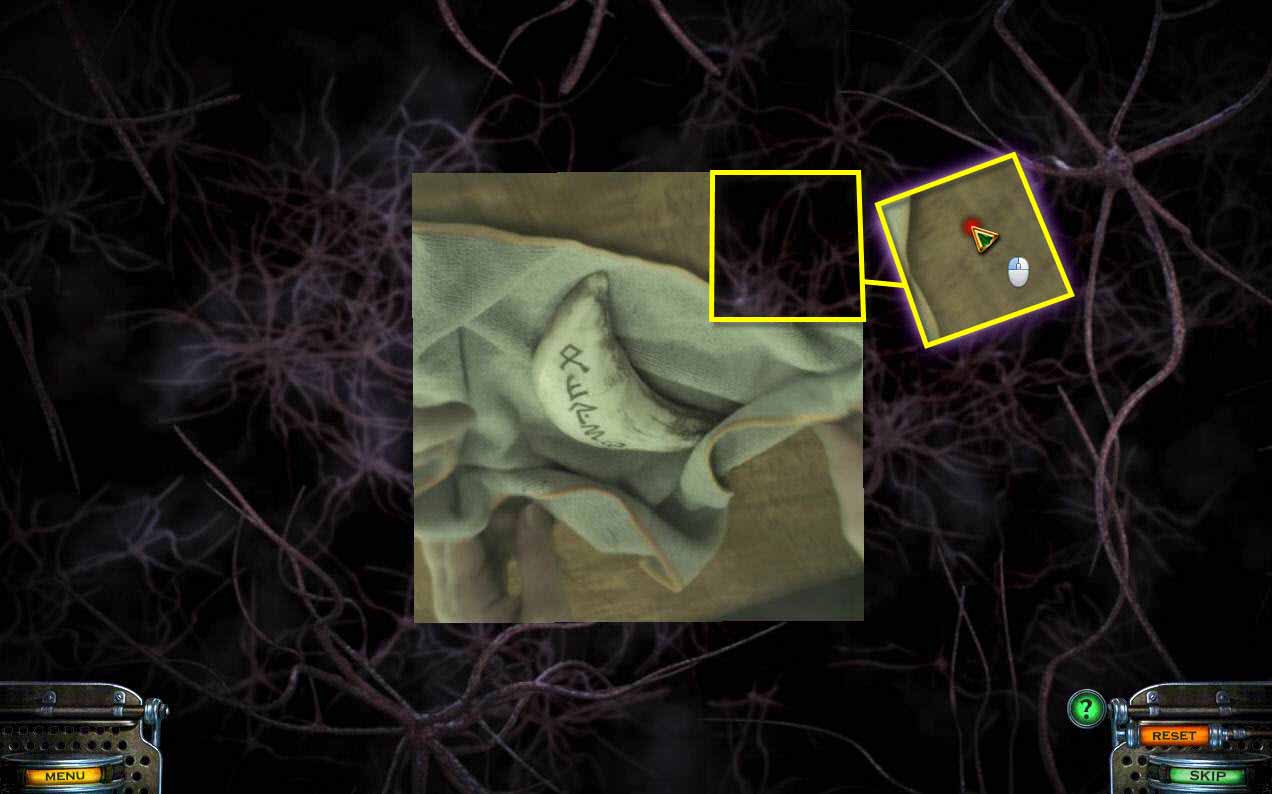
- Here's another moving picture puzzle.
-
See the screenshot for help.
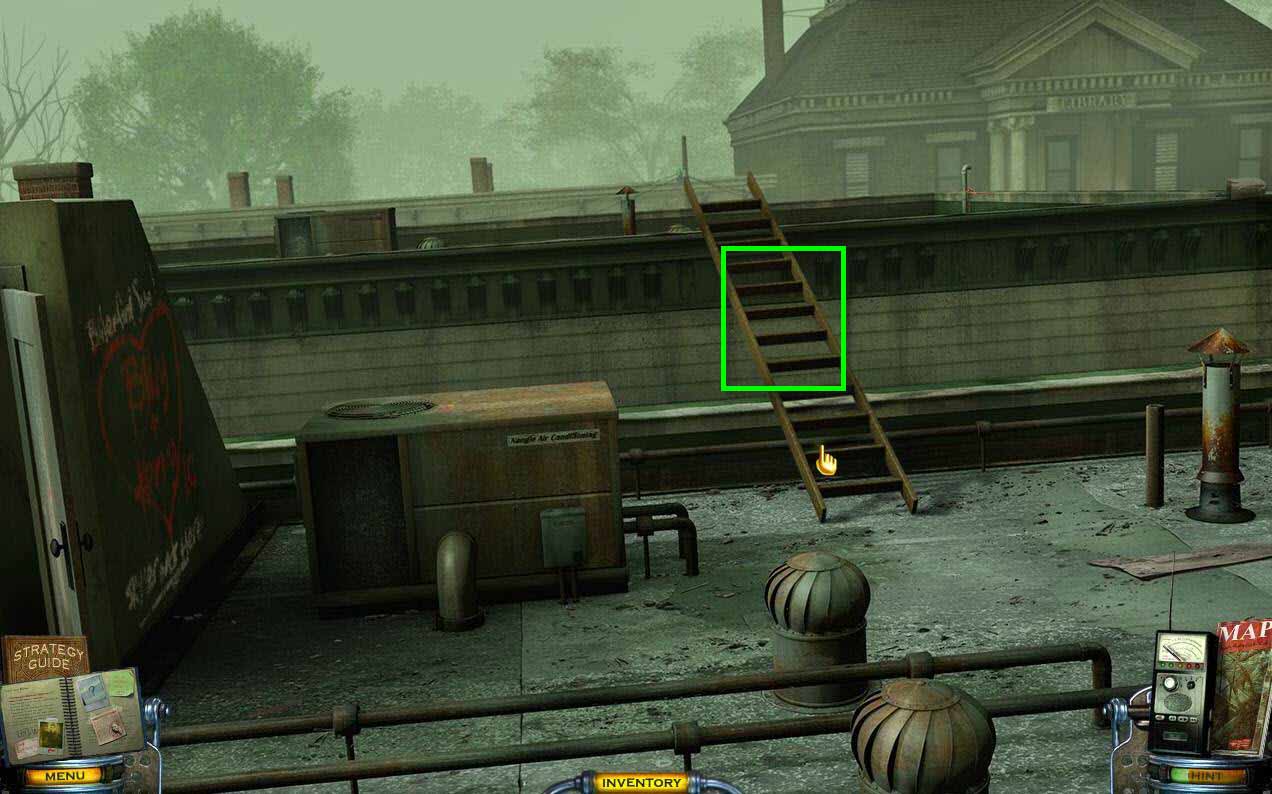
- Use your map and go back downtown.
- Go to the roof of the drug store.
- You will need to get that LADDER back now.
- Now use your map to fast travel to the Church.
Comments will load when you reach this part of the walkthrough.