
Chapter Two: Shadow Lake Penitentiary
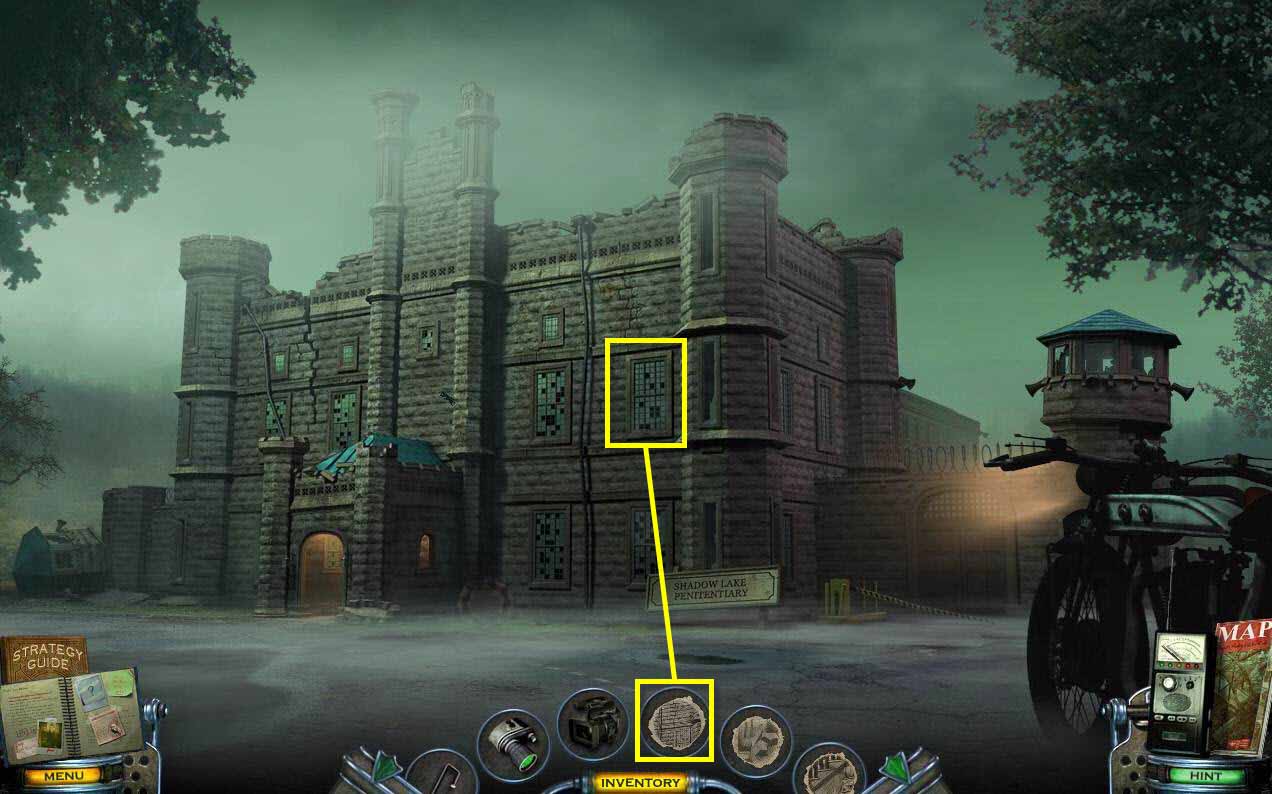
- Use the DRAWING on the window of the Penitentiary.
- You will receive the CHARGED DRAWING.
-
Go forward to the main door.
- Click to zoom in on the left window.
- Click on the tape recorder to play it.
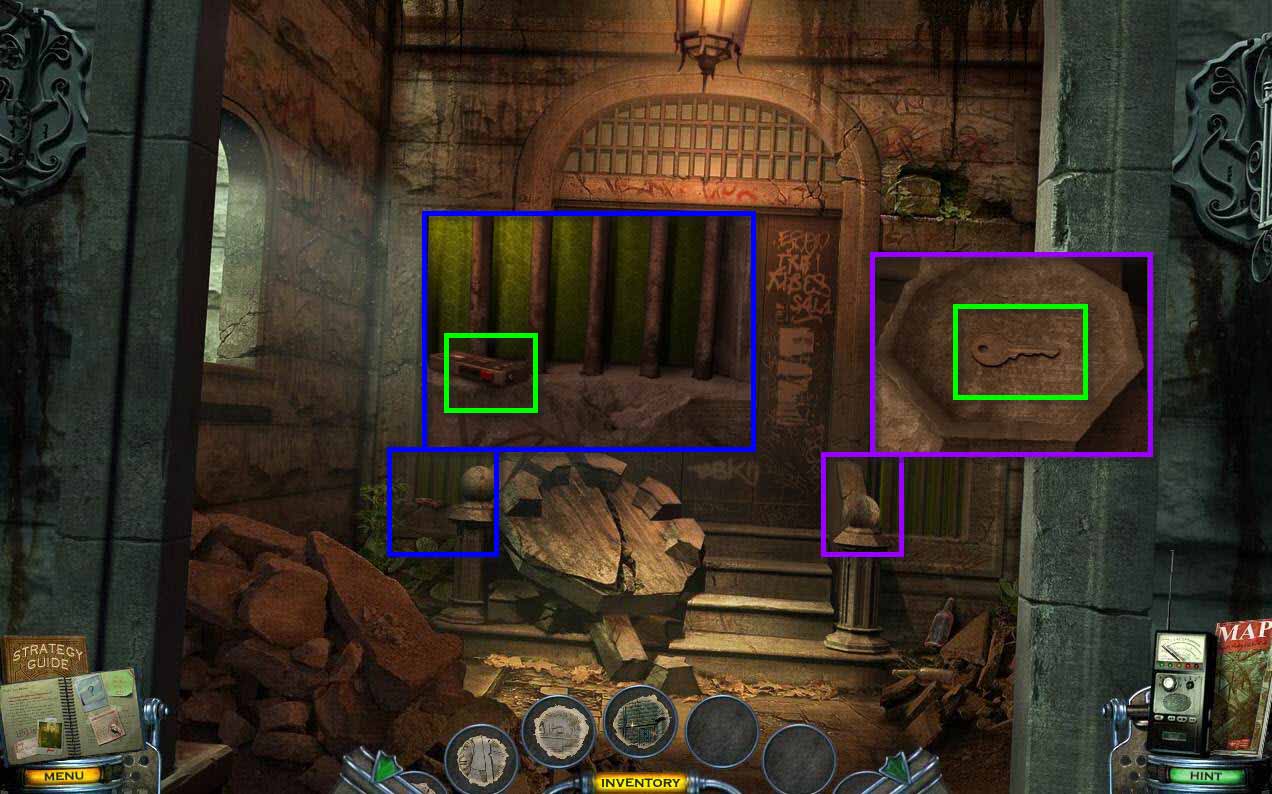
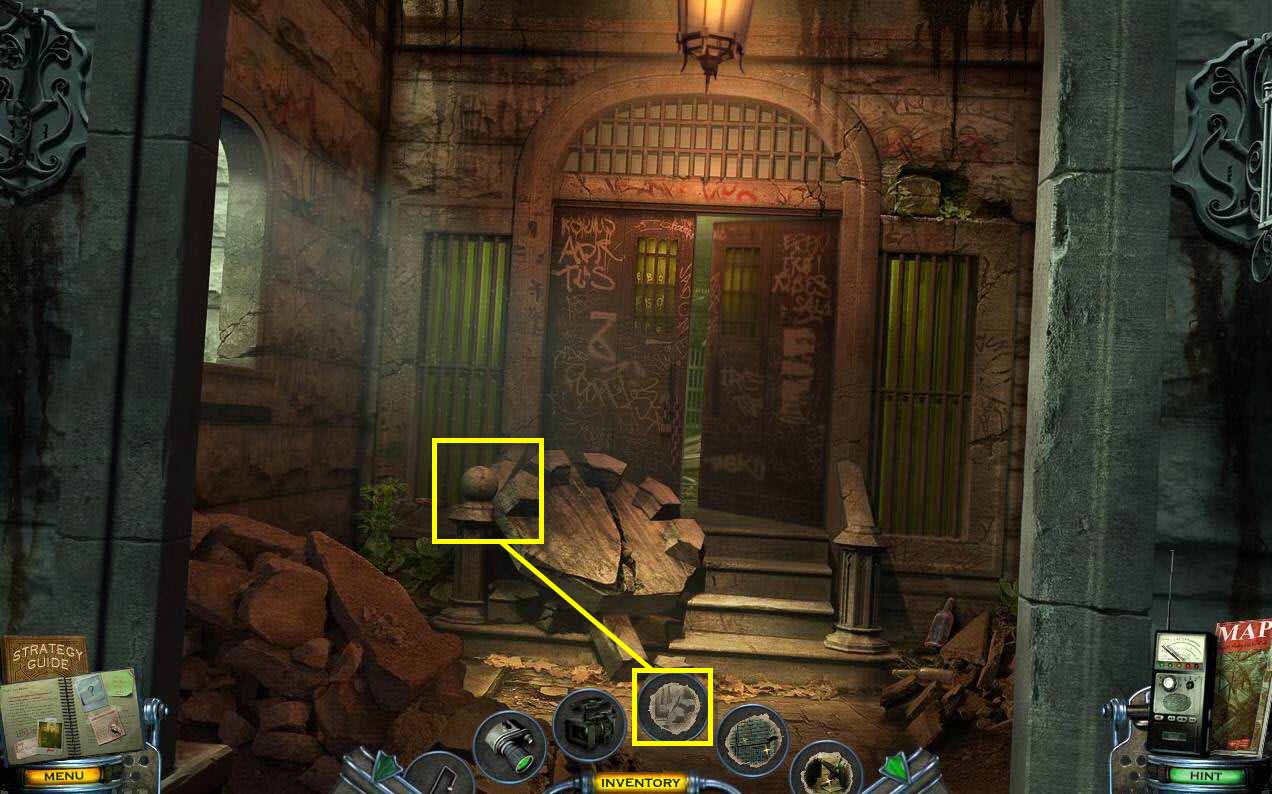
- Click on the right stone ball on the staircase to move it.
- Click to zoom in on the pillar.
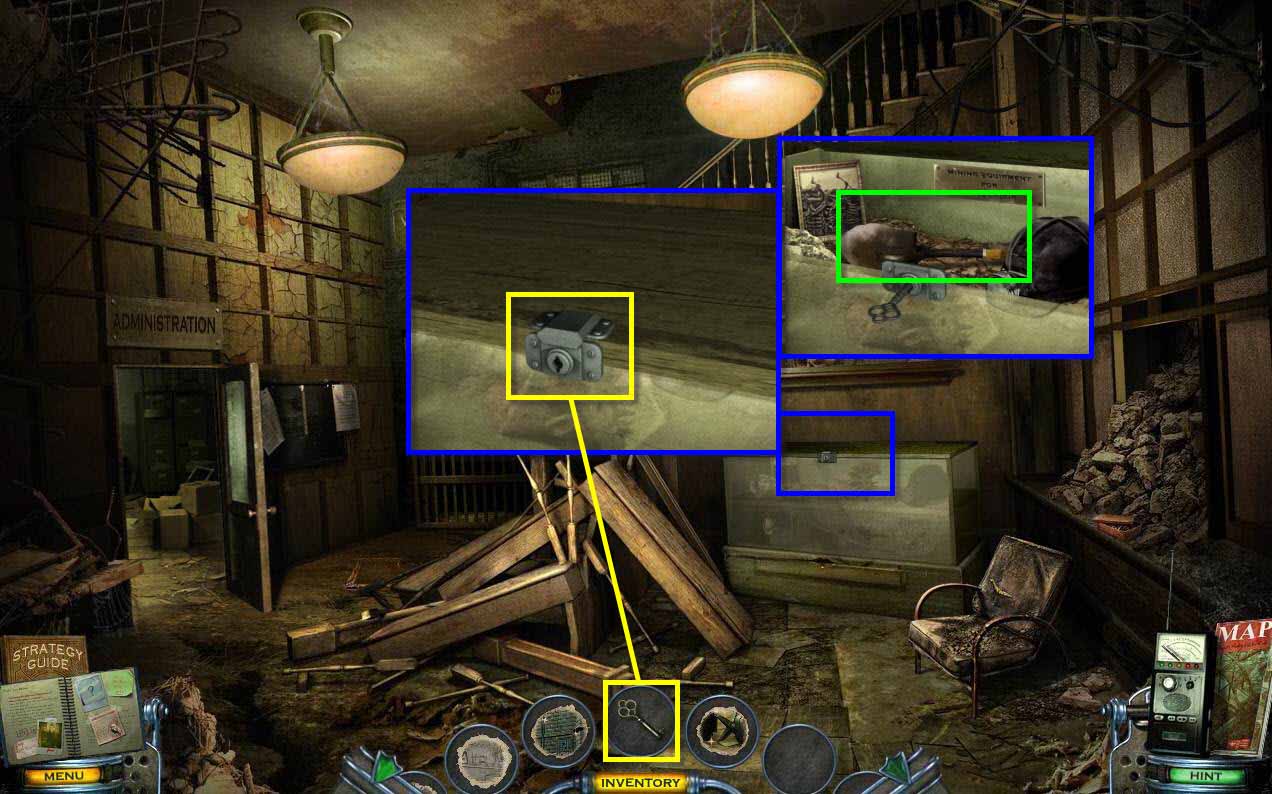
- Take the PRISON KEY.
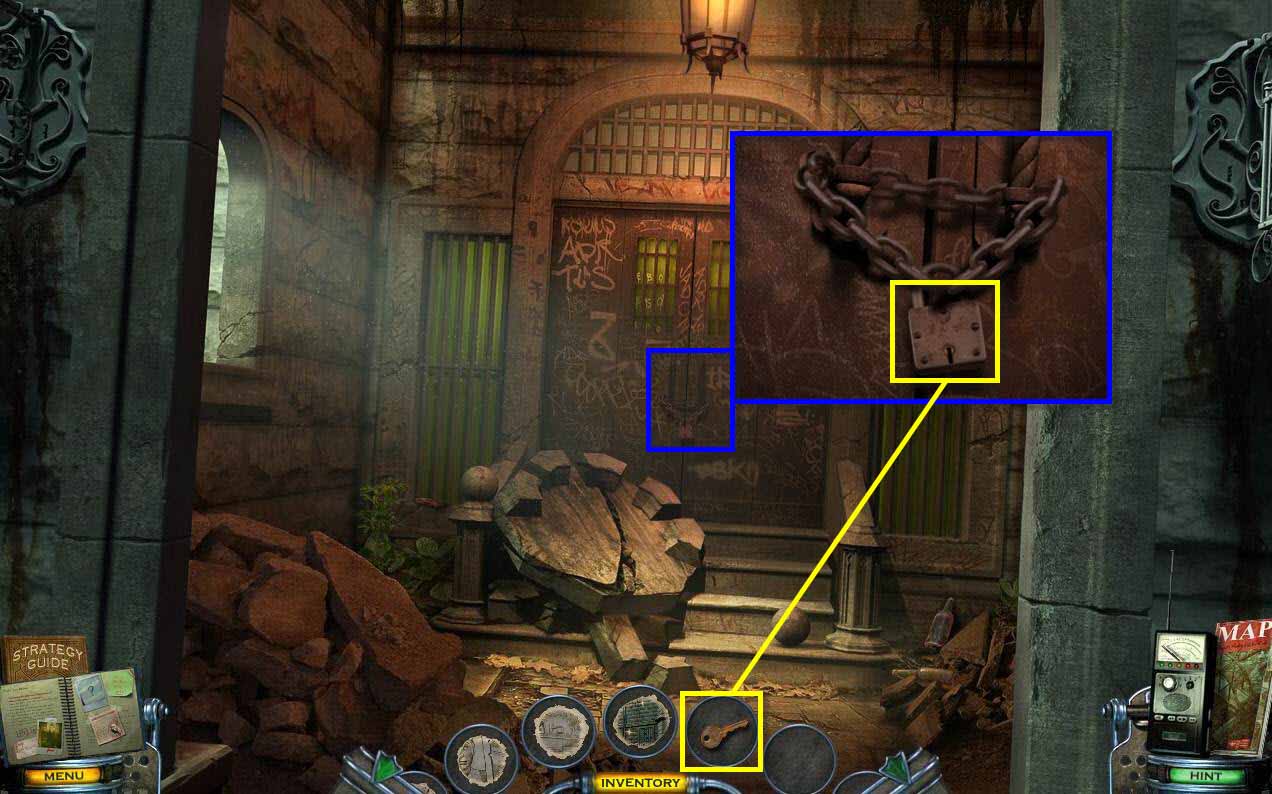
- Click on the door of the prison to zoom in.
- Use the PRISON KEY on the lock.
- Enter the prison.
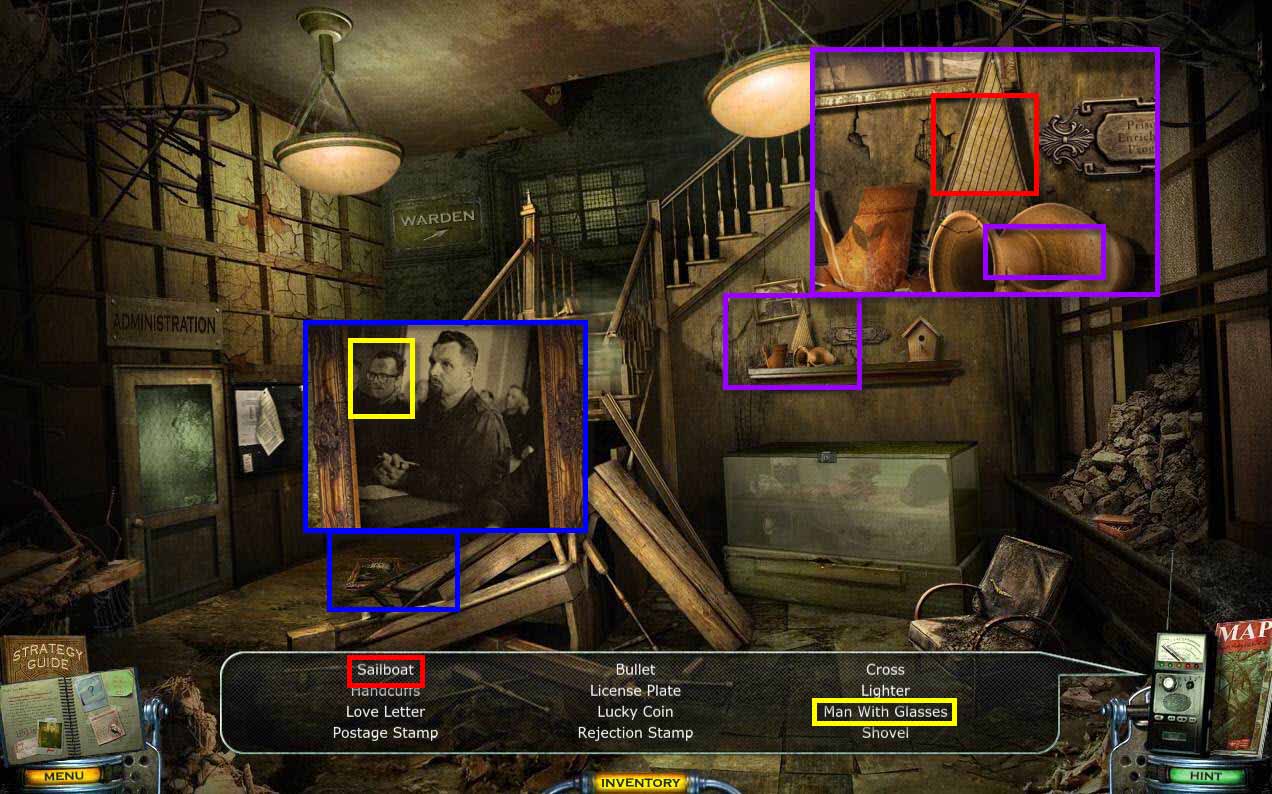
- This is your first hidden object area. It will span multiple rooms.
- There are two objects in this room.
- Click on the shelf on the wall to zoom in.
- Click on the jar to move it.
- Click on the SAILBOAT.
- Click on the frame on the floor.
- Click on the MAN WITH GLASSES.
- Go into the room on the right.
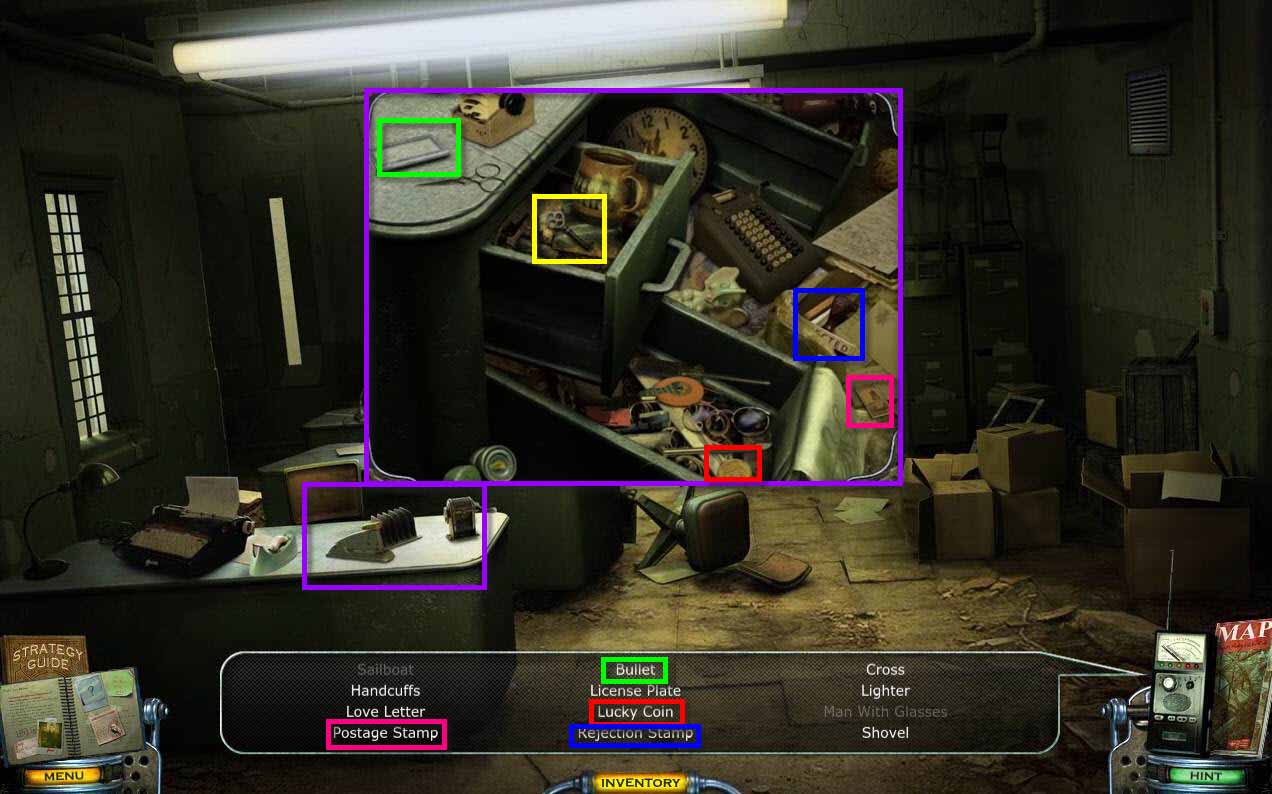
- Click on the desk on the left to zoom in.
- Click on the case on the desk to open it.
- Find the BULLET.
- Take SMALL SILVER KEY.
- Find the LUCKY COIN, the REJECTION STAMP, and the POSTAGE STAMP.

- Click on the filing cabinet in the back of the room to zoom in.
- Click to open the drawer on the left.
- Find the LOVE LETTER.
- Find the CROSS, LIGHTER, LICENSE PLATE, HANDCUFFS, and the LIGHTER.
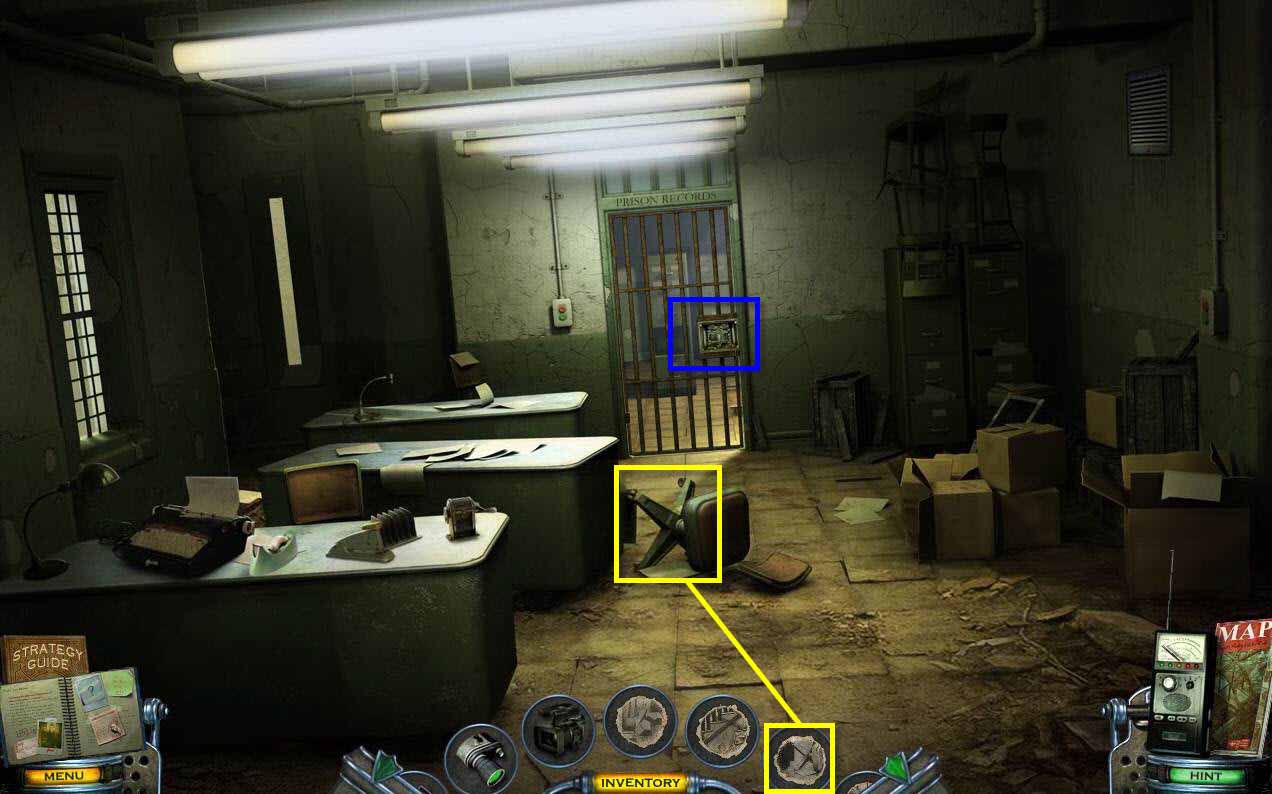
- Use the DRAWING on the area where the chair is on the ground. (Find the right drawing)
- You will receive the CHARGED DRAWING.
- Click on the door in the back to zoom in.
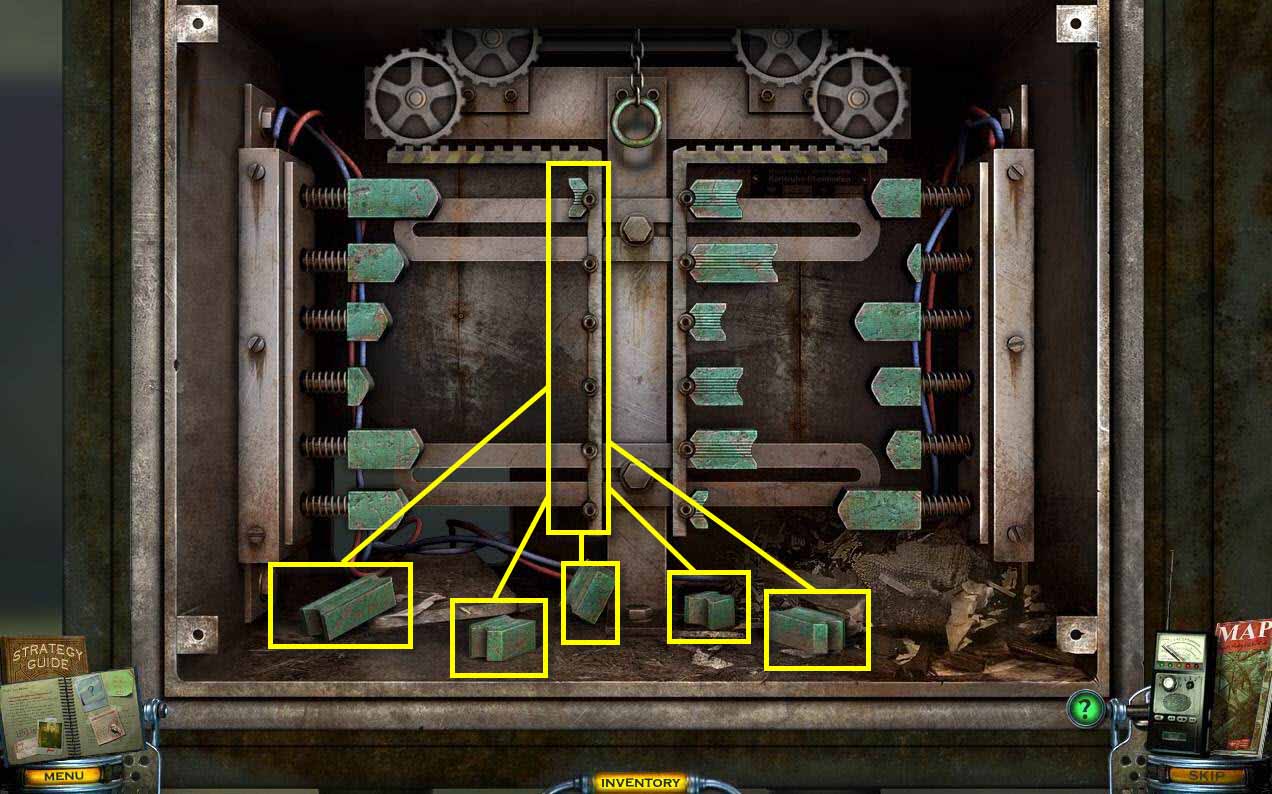
- Click on all the pieces at the bottom of the box and place them on the bar.
- This will start a puzzle.
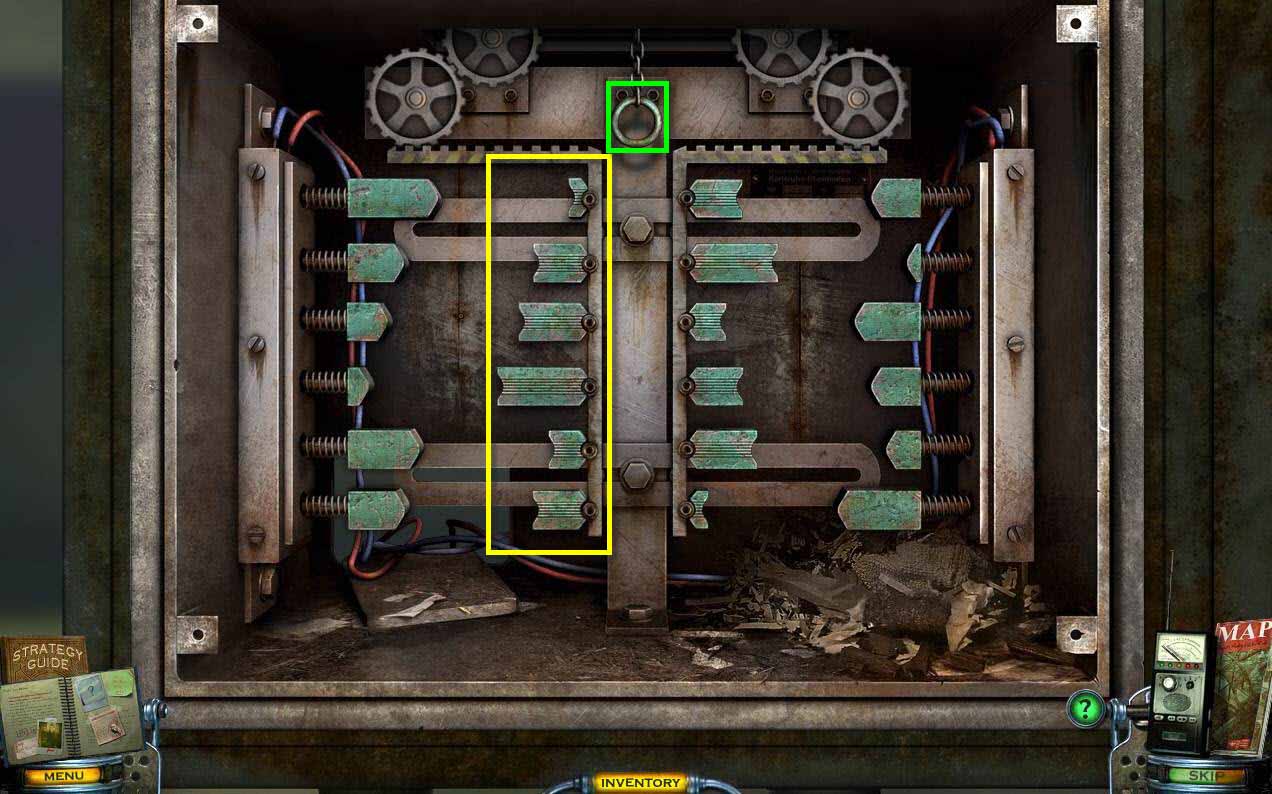
- The goal of the puzzle is to arrange all the pieces in the correct order so that when you pull the chain, the pieces match up.
- See the screenshot for the solution.
- Click on the chain at the top when you have the pieces in the correct order.
- Go back one screen.
- Click on the chest on the right to zoom in.
- Use the SMALL SILVER KEY on the lock.
- Find the last hidden object the SHOVEL.
- Go back to the left and enter the records room.
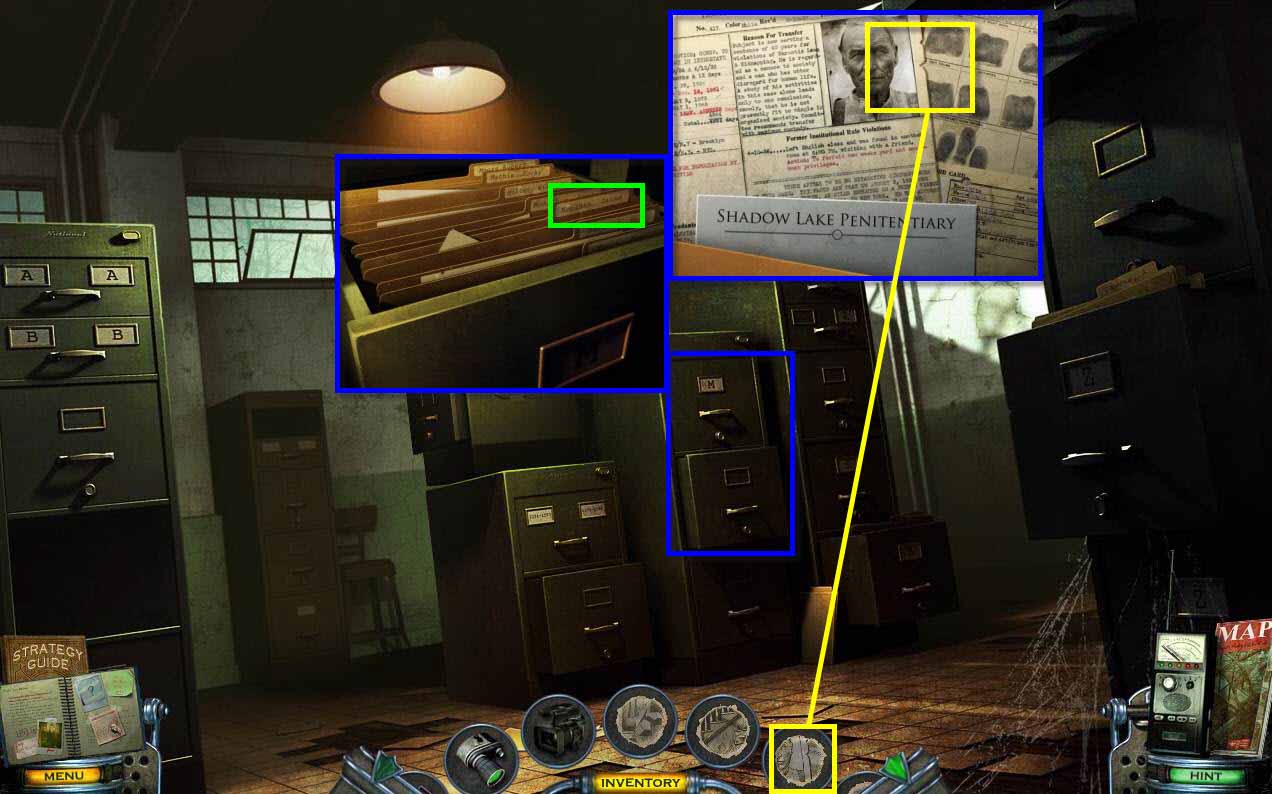
- Click on the filing cabinet to zoom in.
- Click on the file labeled Jaime Monihan.
- Use the DRAWING (find the one with the face) on the image of Jaime.
- You will receive another CHARGED DRAWING.
- Go back outside the prison to the main doors.
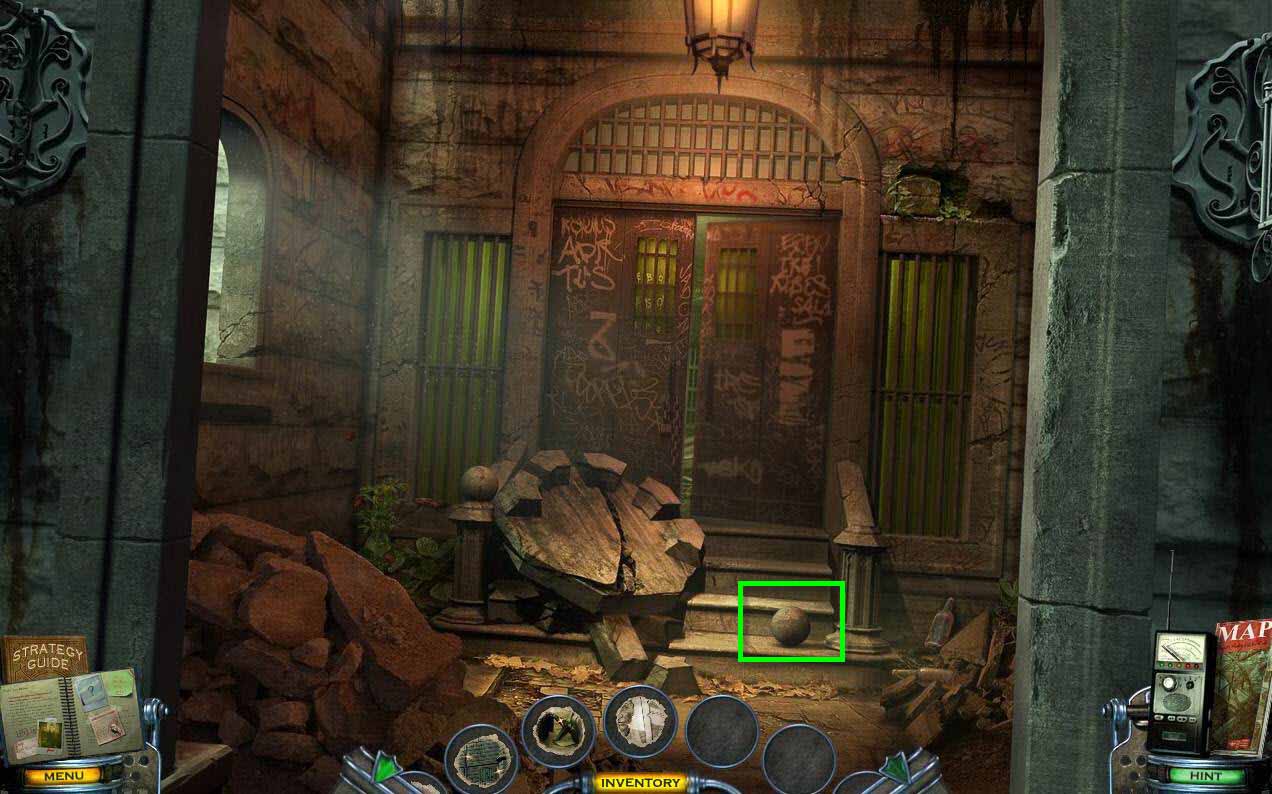
- Take the STONE BALL.
- Return to the records room.
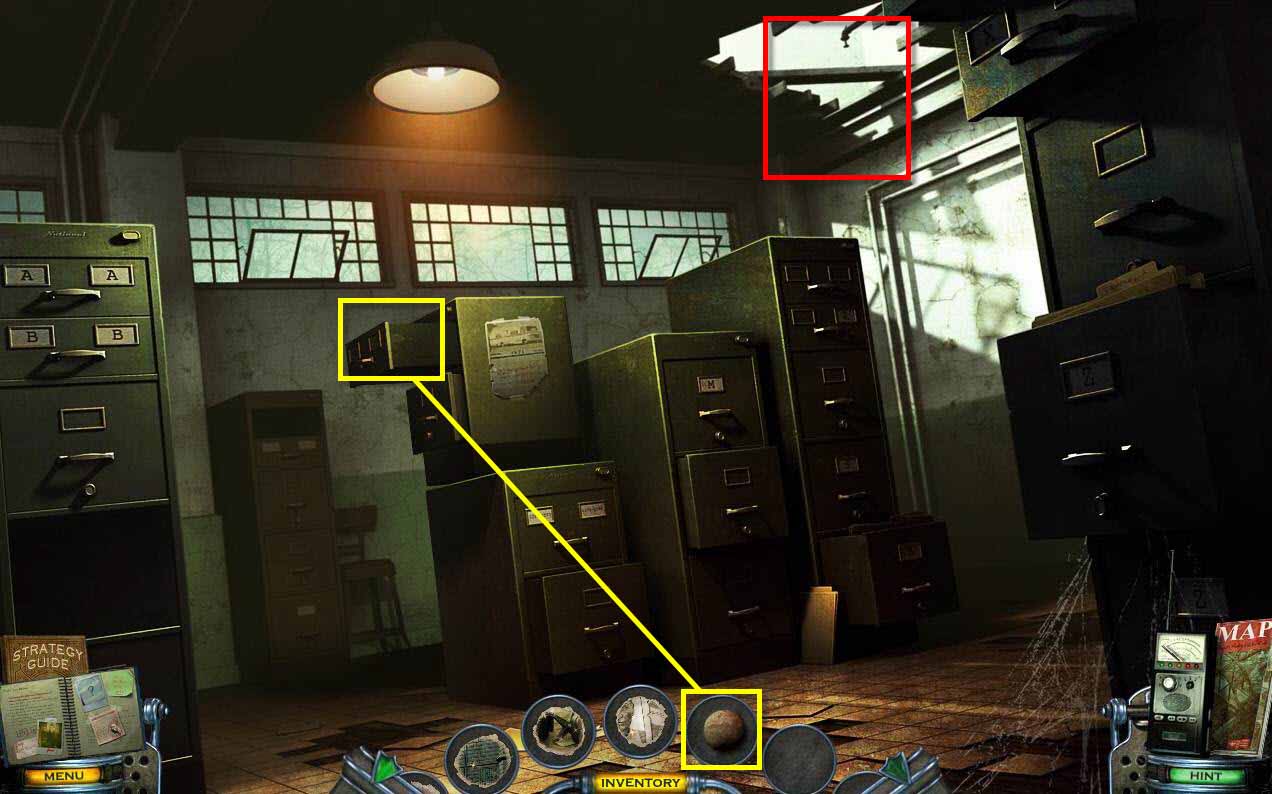
- Use the STONE BALL on the cabinet to make it fall over.
- Now you can walk up them and get to the second floor.
- Click on the shelf on the left first to bring up the list of hidden objects to find.
- Click on the desk to zoom in.
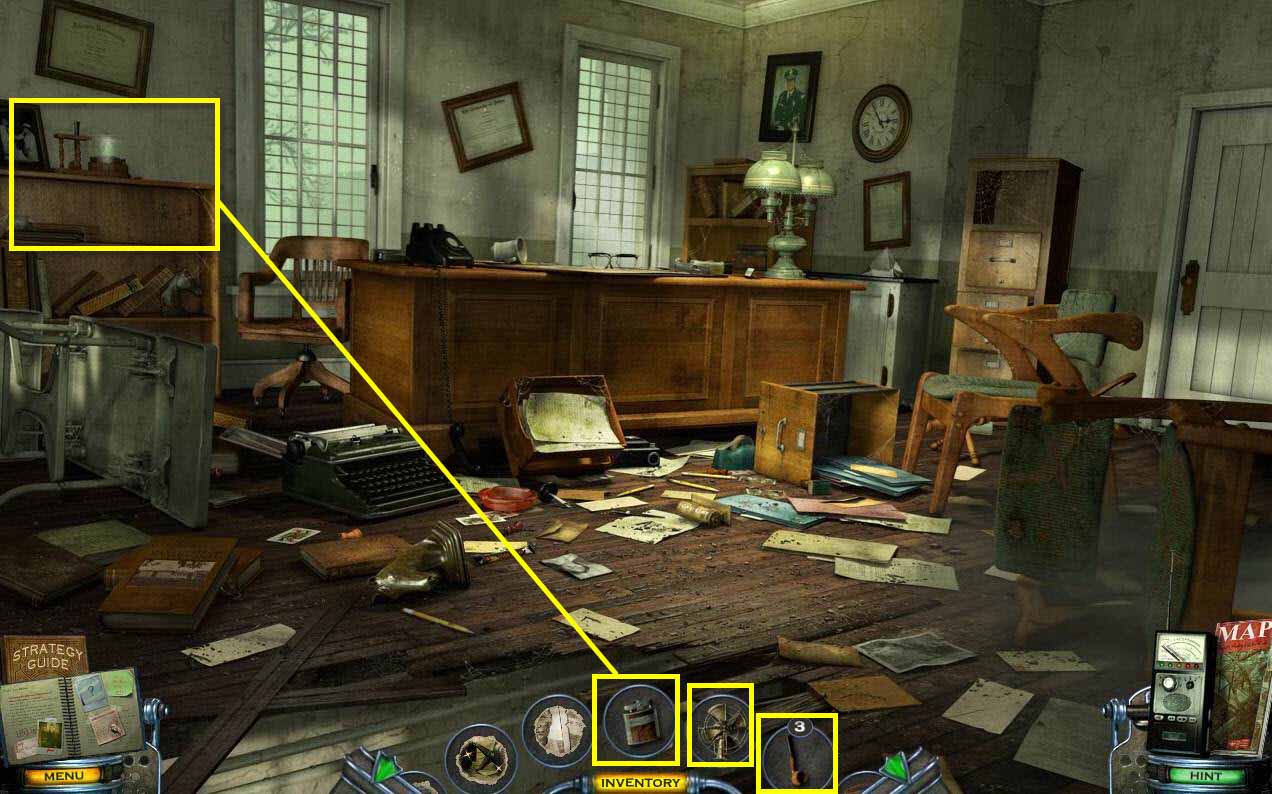
- Find the LIGHTER.
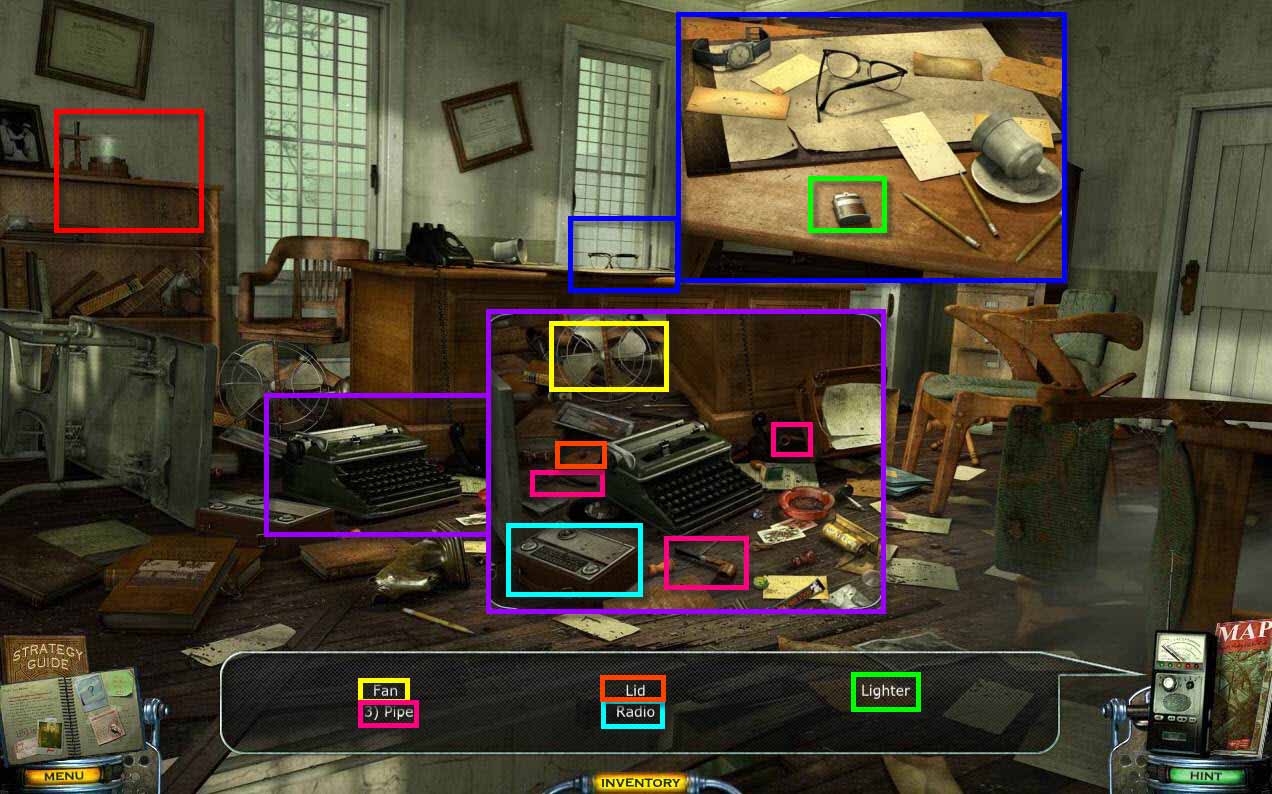
- Click on the typewriter on the floor to zoom in.
- Find the FAN, the 3 PIPES, RADIO, and the LID.
- Now it's time to recreate the scene.
- Use the 70's FAN, 3 PIPES, LID, LIGHTER, and the RADIO on the shelf.
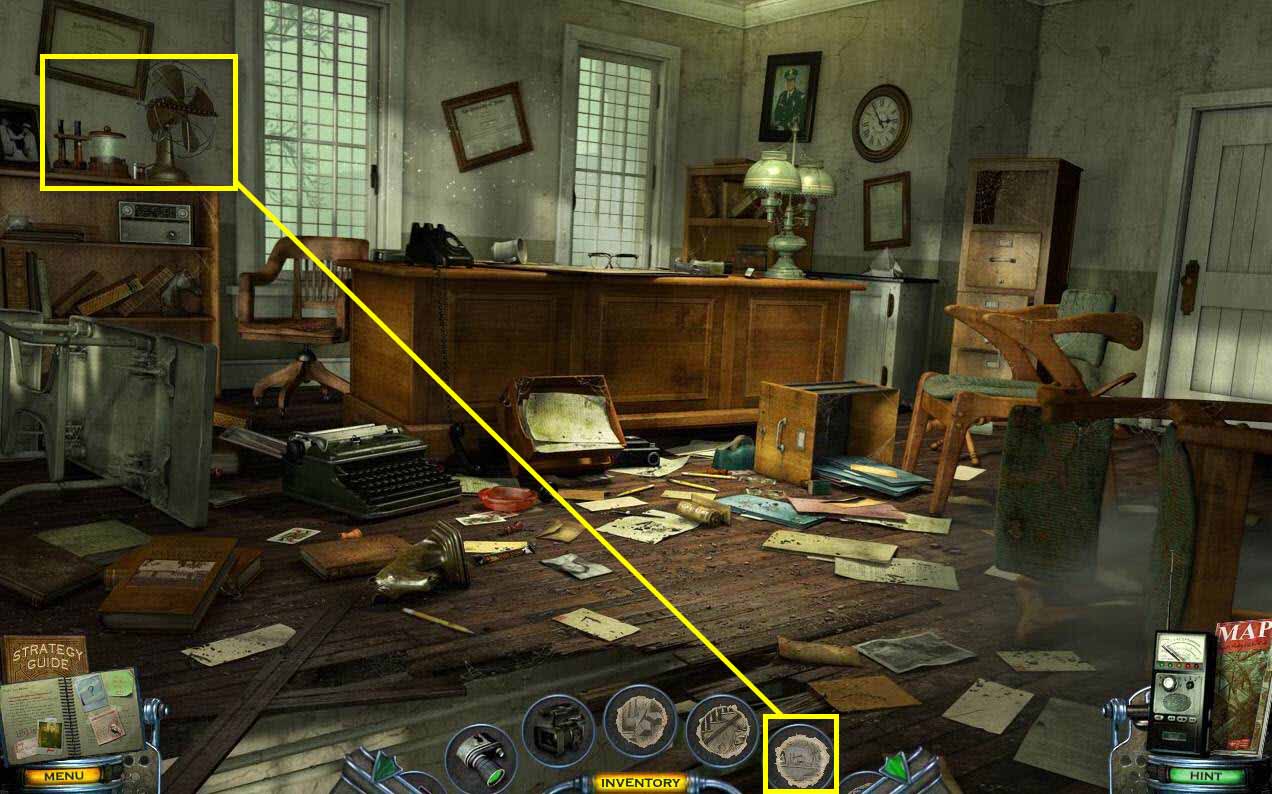
- Use the DRAWING on the finished scene by the shelf.
- You will receive another CHARGED DRAWING.
- Go back three scenes to the area with the stairs.
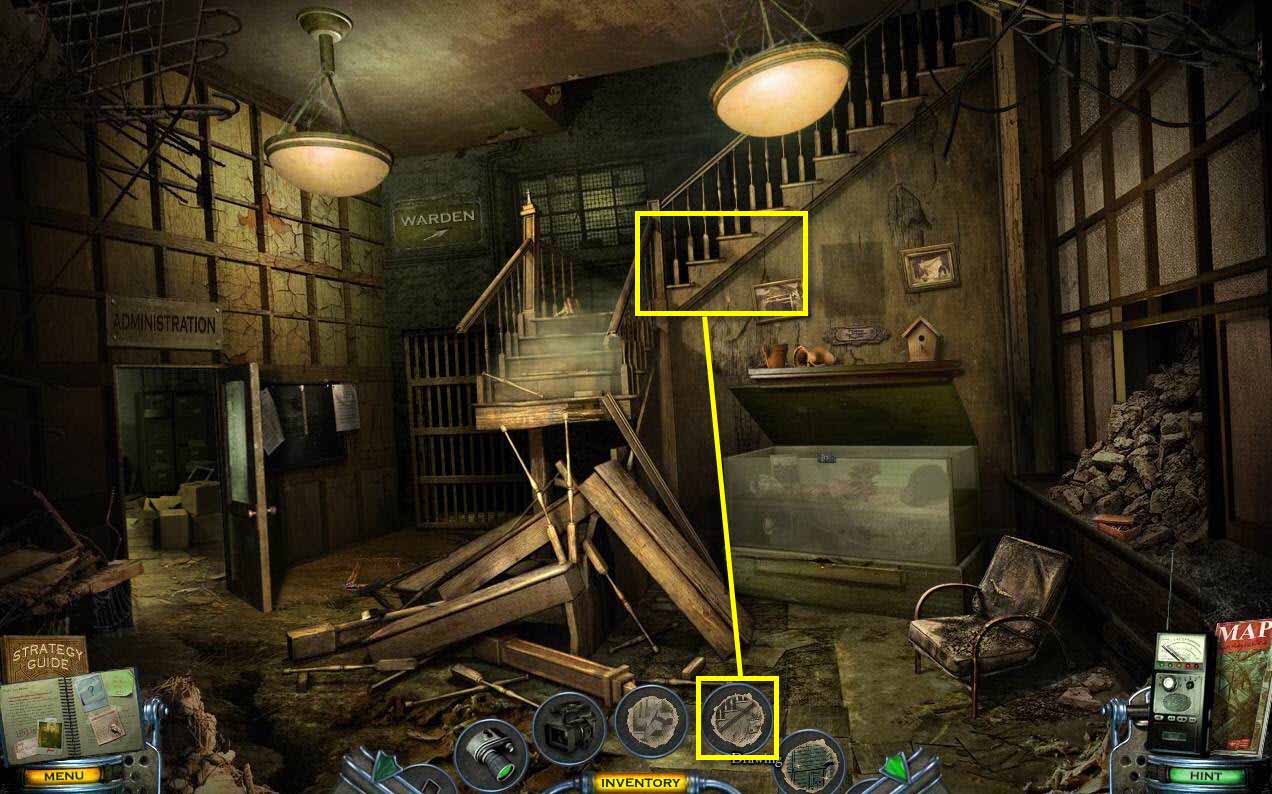
- Use the DRAWING on the stairs. (find the one that looks like the stairs)
- You will receive another CHARGED DRAWING.
- Go back on screen to outside the prison.
- Use the final DRAWING on the stone ball on the left.
- You will receive the final CHARGED DRAWING.
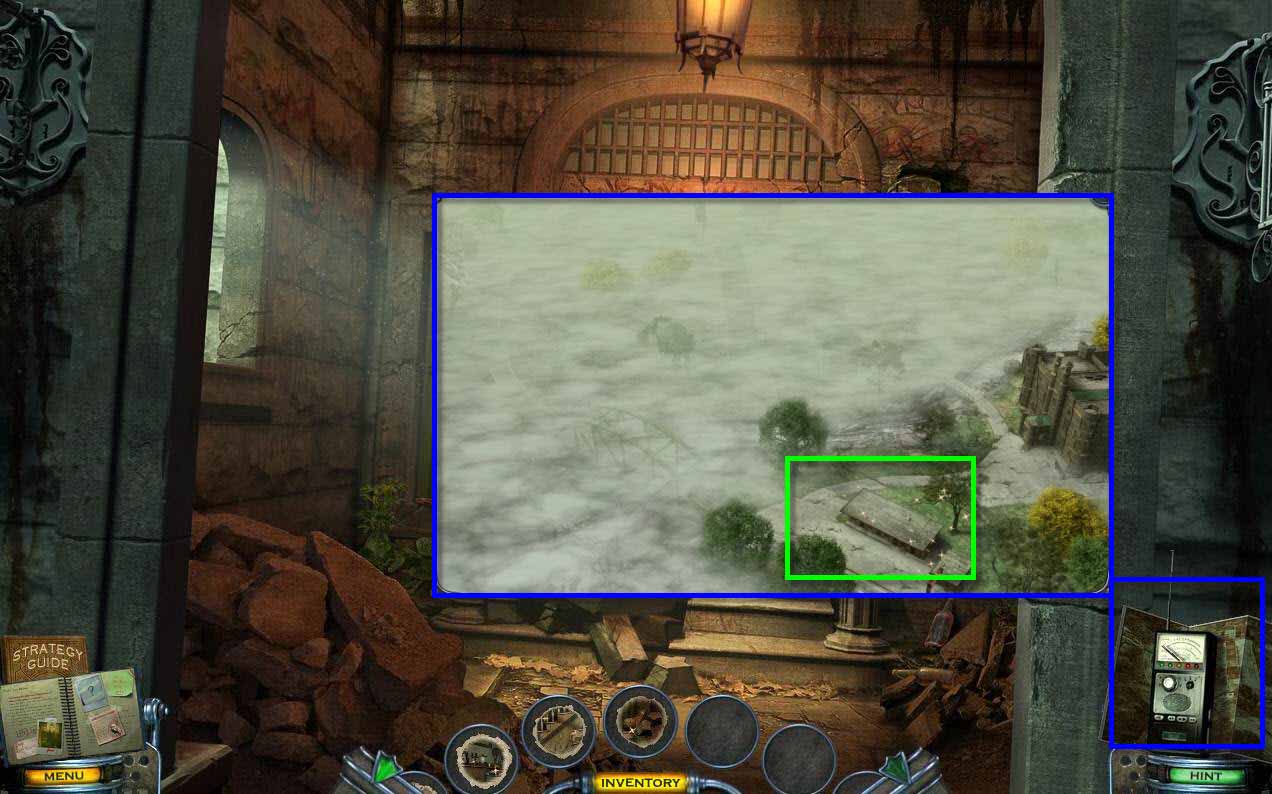
- Click on the map.
- Click on the motel to return to Cassandra.
Comments will load when you reach this part of the walkthrough.