

Chapter Five: Downtown Bitterford
-
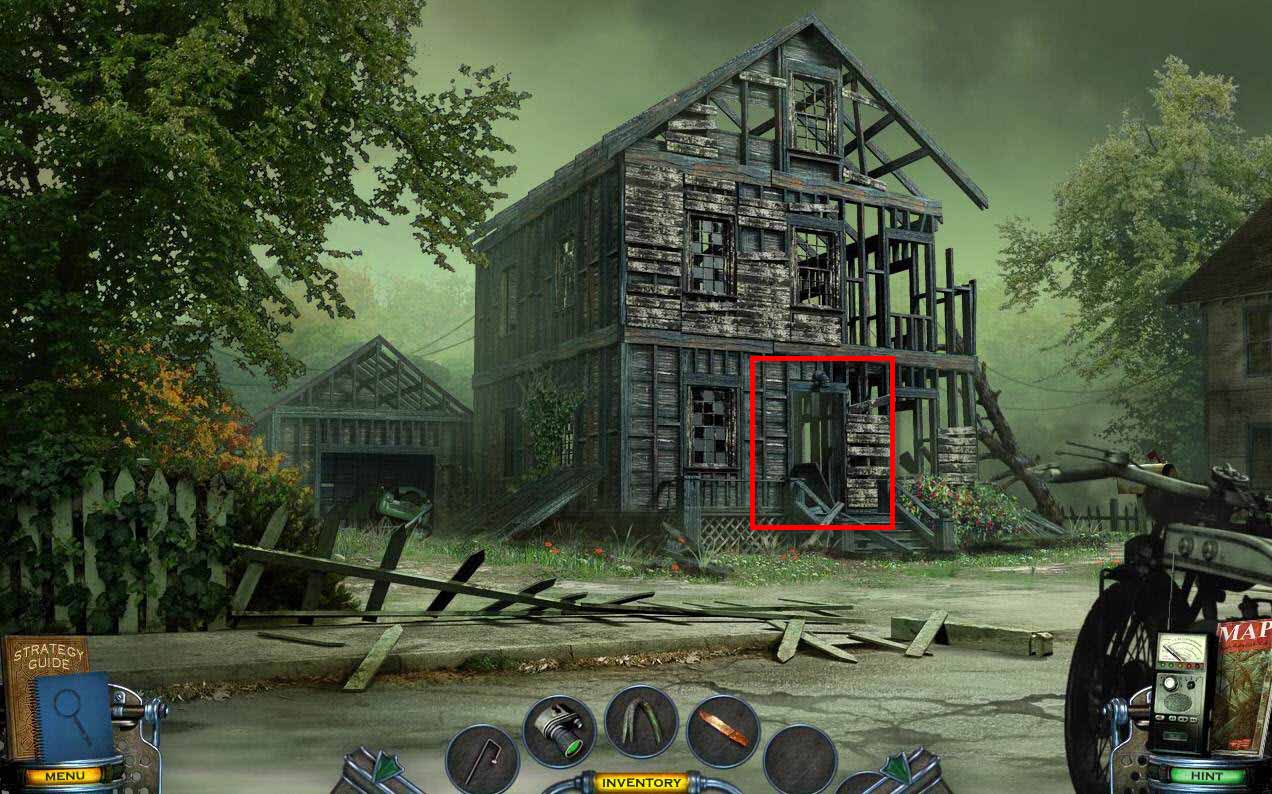
Go forward and enter the burned out house.
-
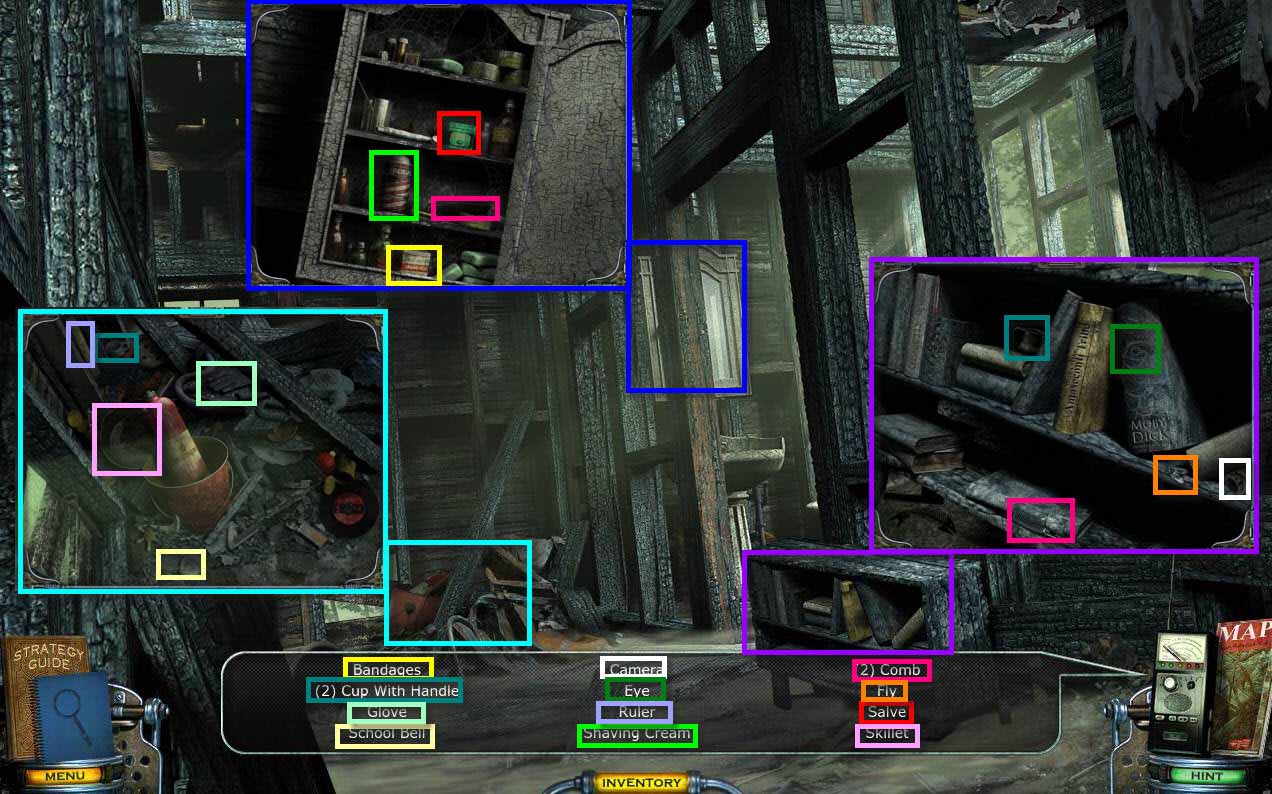
Find all the objects on the list in the house.
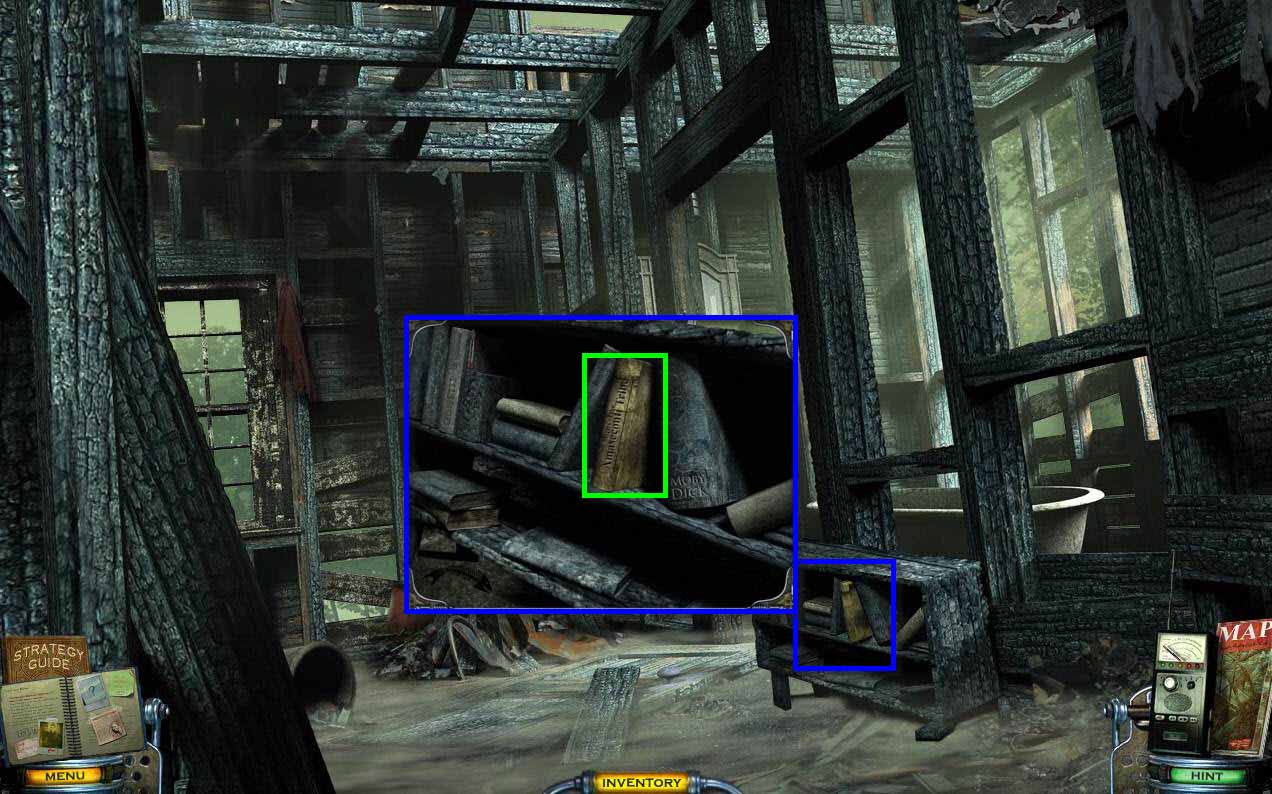
- Click on the bookshelf to zoom in.
- Click on the book labeled "Stories of the Amaseconti Tribe."
- Click to turn the page of the book.
-
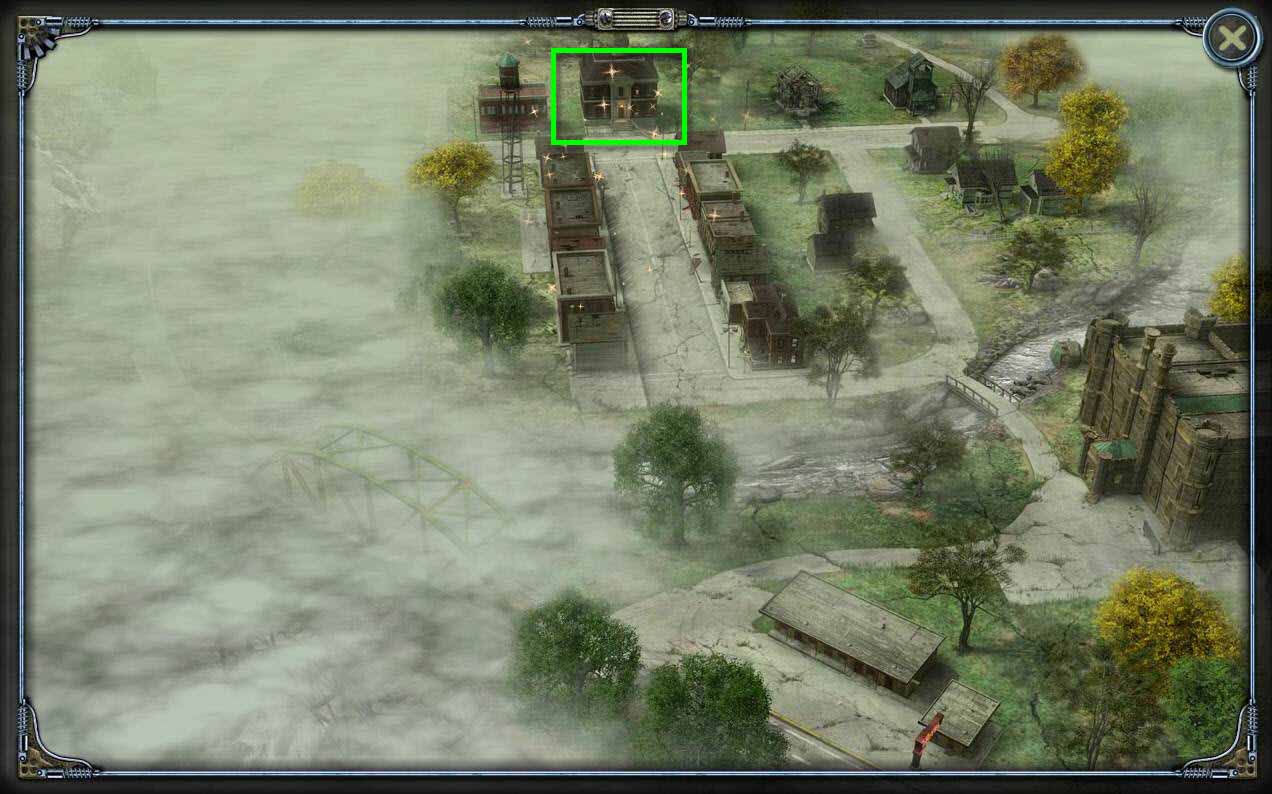
Click on your map to open it.
-
Click on the sparkling downtown area to travel.
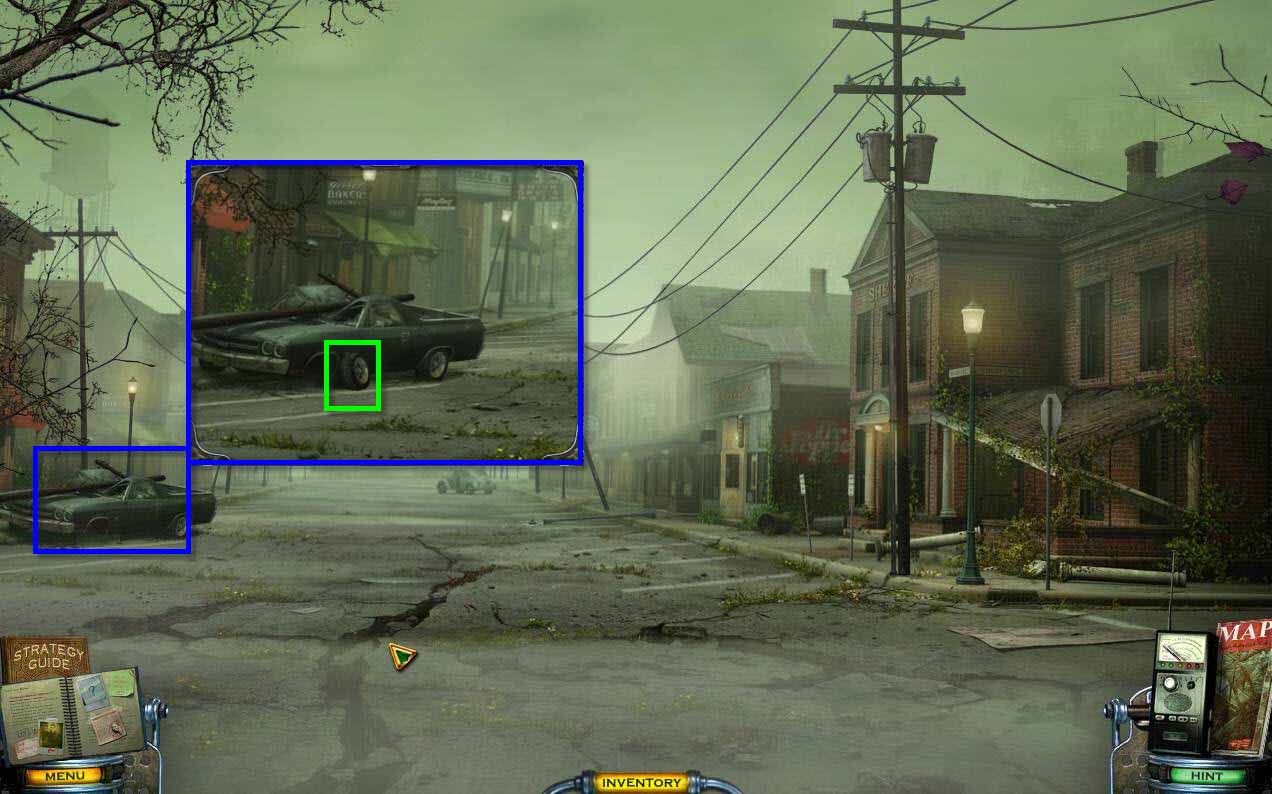
- Zoom in on the car on the left.
- Take the SPARE TIRE.
-
Go forward one screen.
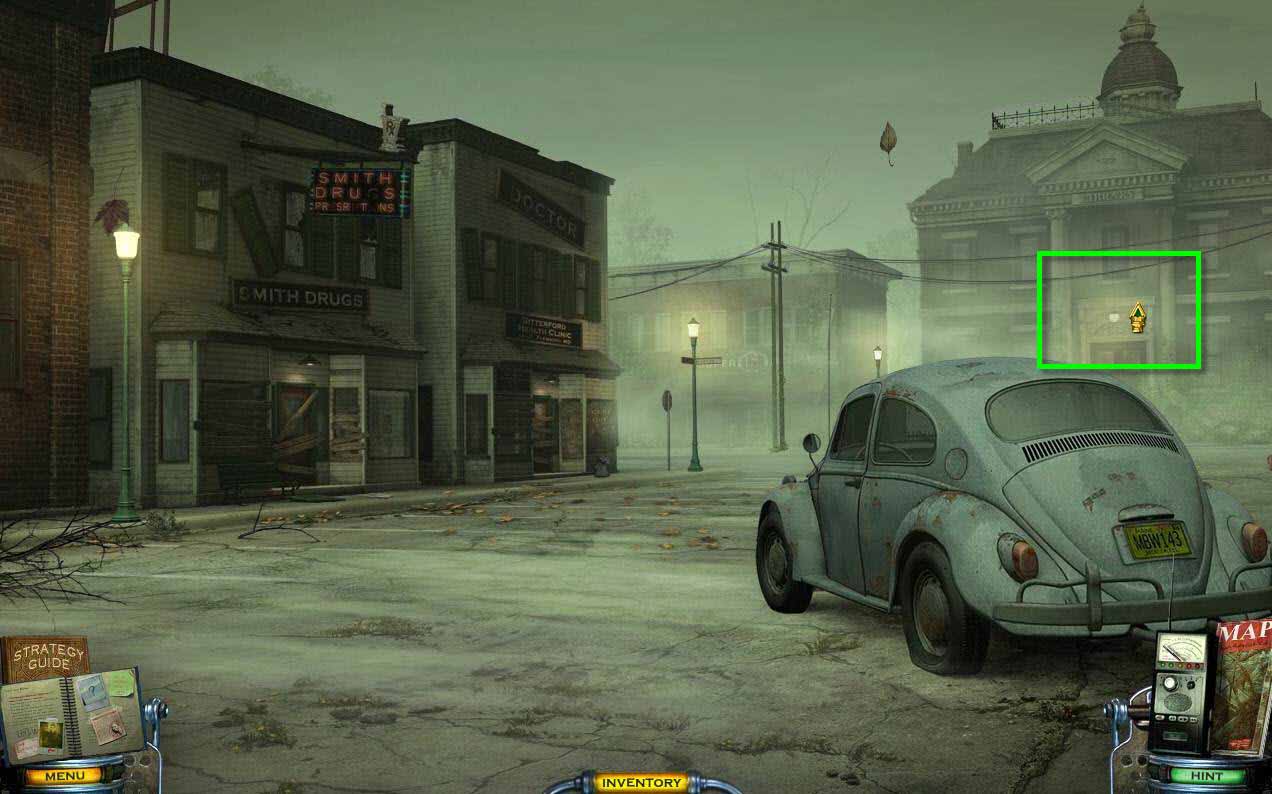
- Take note of the flat tire on the bug.
-
Go forward one more screen.
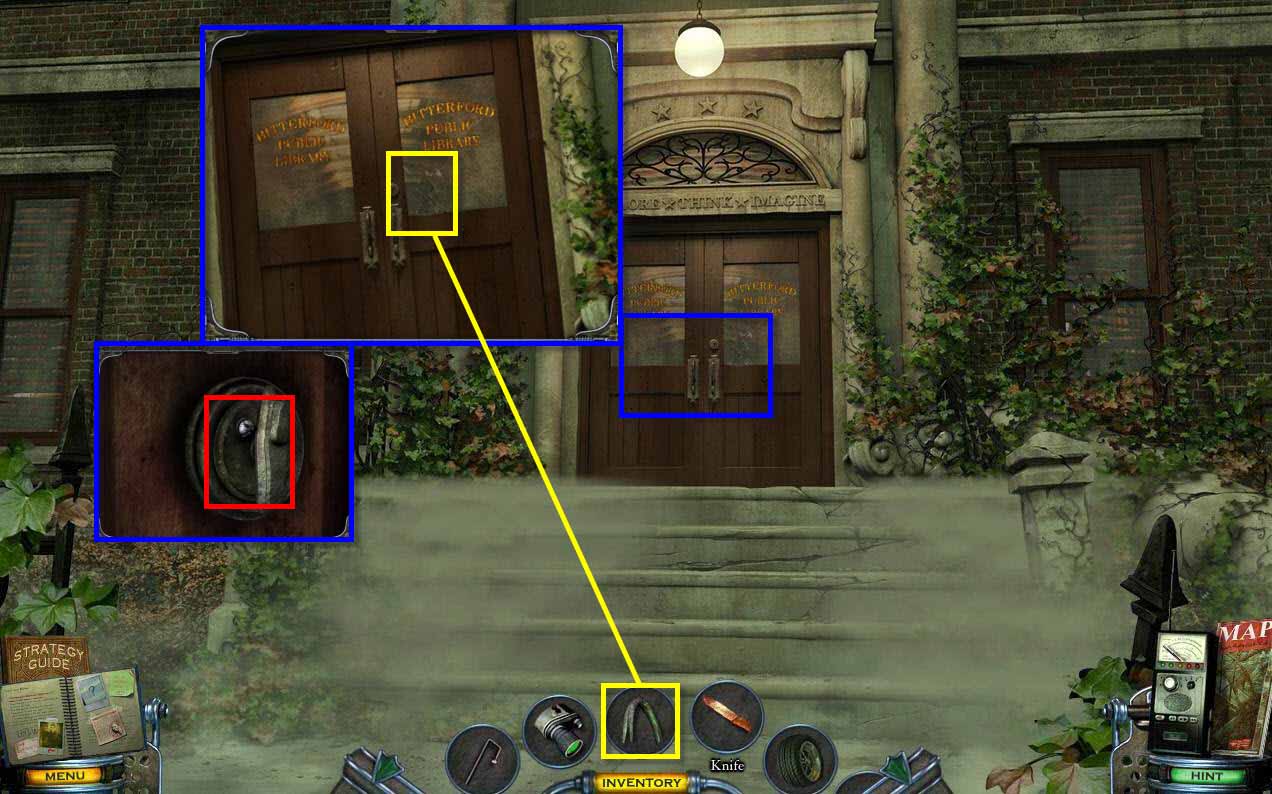
- Click on the doors of the library to zoom in.
- Use the CROWBAR on the cracked glass of the door.
- Click on the broken glass area.
- Click to unlock the door.
-
Enter the library.
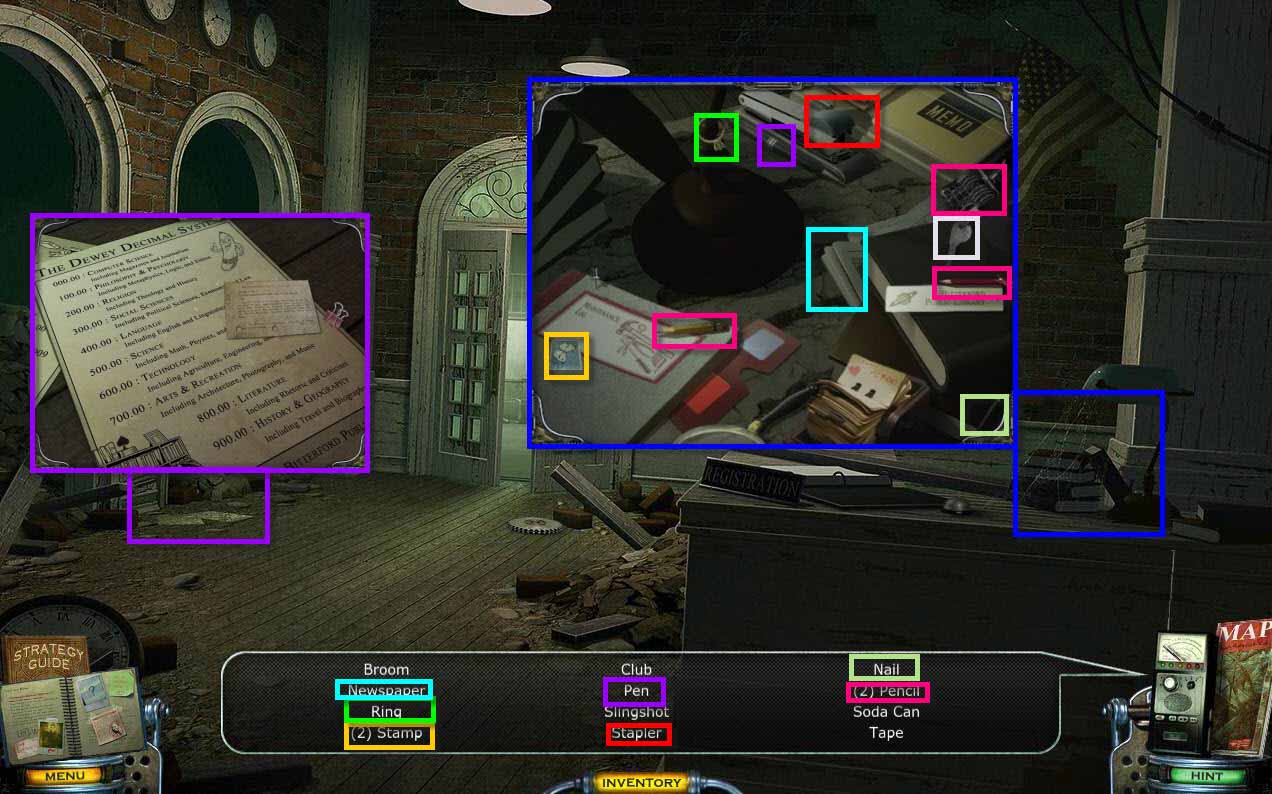
- Find the items on the list that are located in this room.
-
Click to zoom in on the note on the floor.
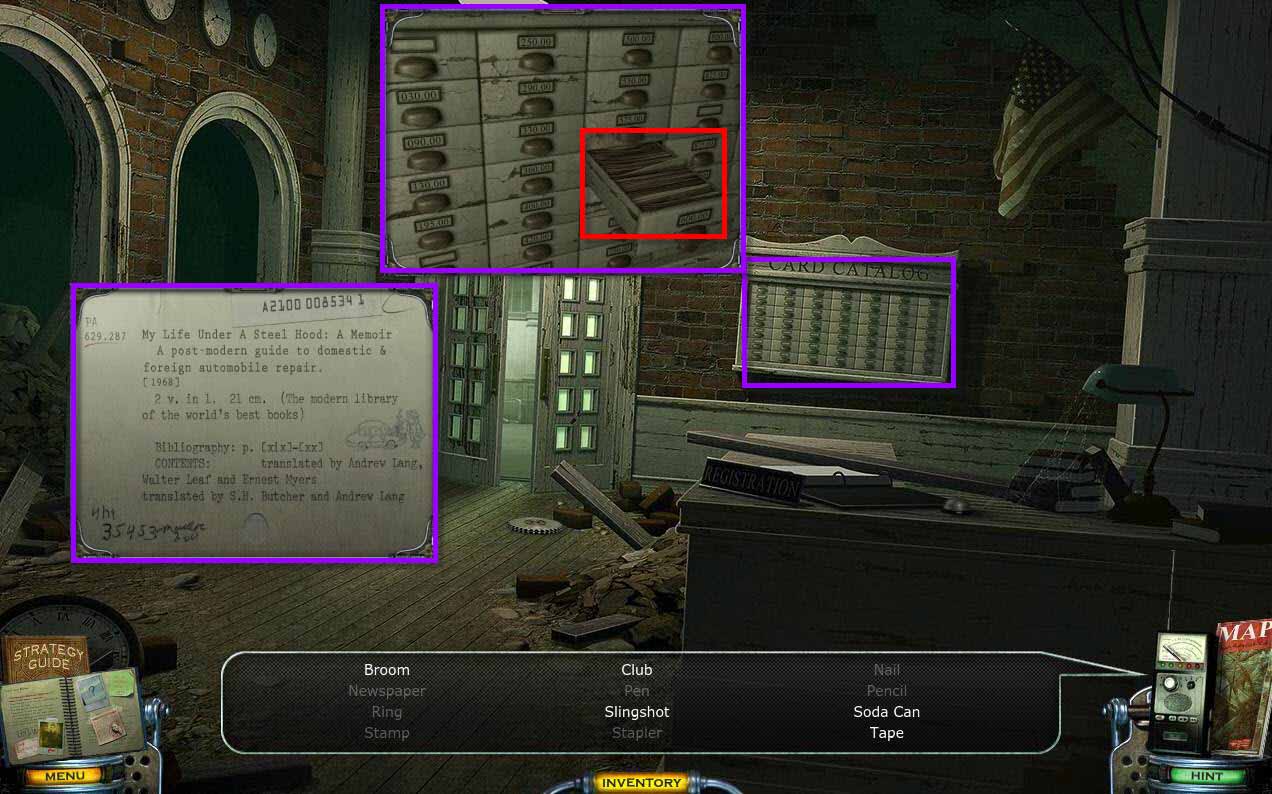
- Click on the card catalog.
- Open the 600 drawer.
- Click on the drawer to look up the book about cars.
-
Go through the doors.
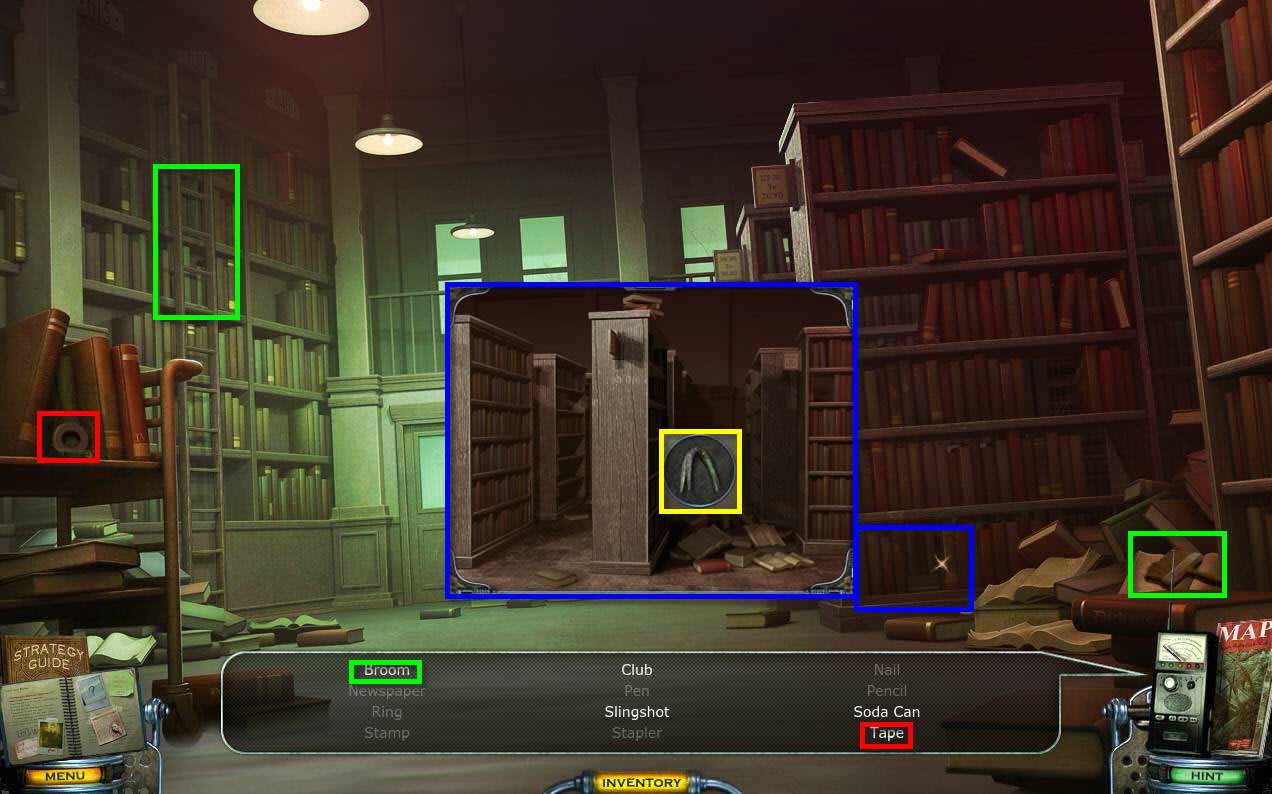
- Find the items on the list in this scene.
- Click to zoom in on the bookcase.
- Use the CROWBAR on the bookcase.
-
Click on the crowbar twice to knock over the shelves.
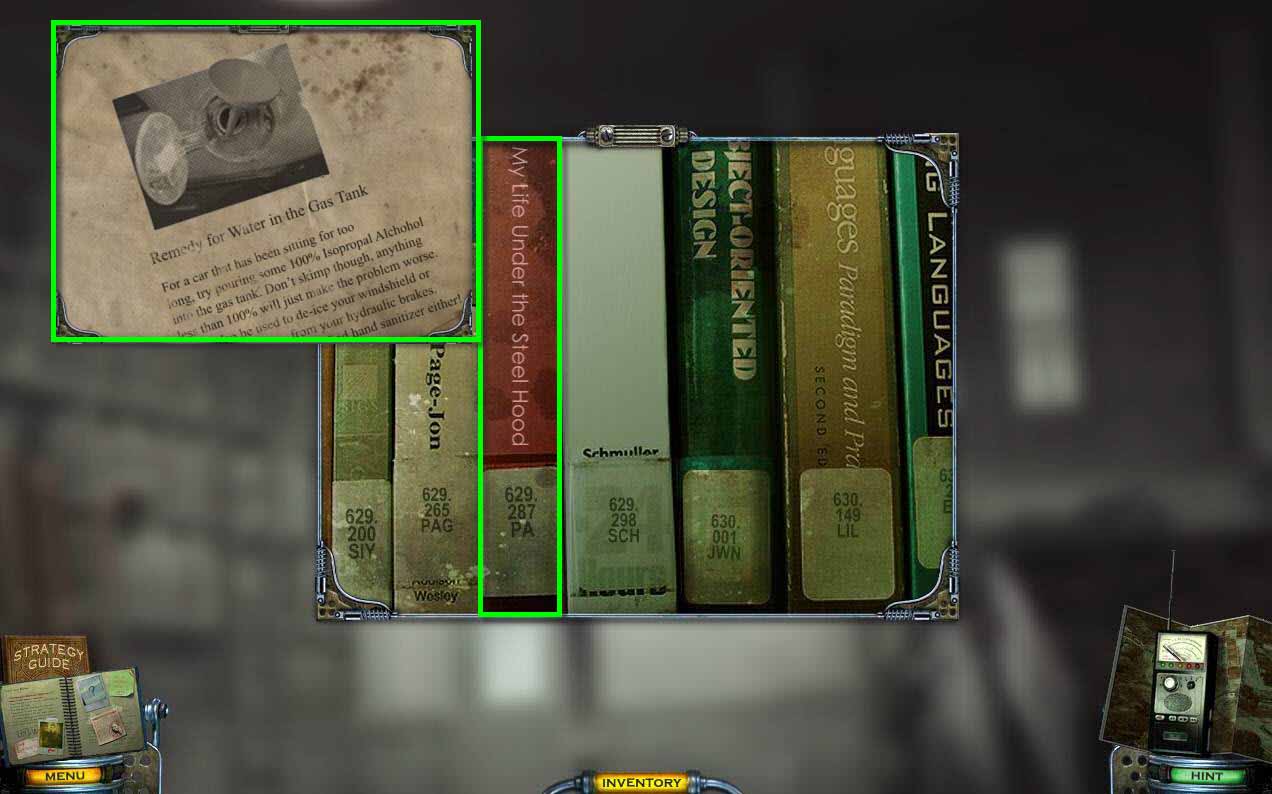
- Click on the ladder on the left to move it.
- Click on the top shelf to zoom in.
- Read the book My Life Under the Steel Hood.
- Go to the chapter about Water in the Gas Tank.
- Take the LADDER.
-
Go through the door.
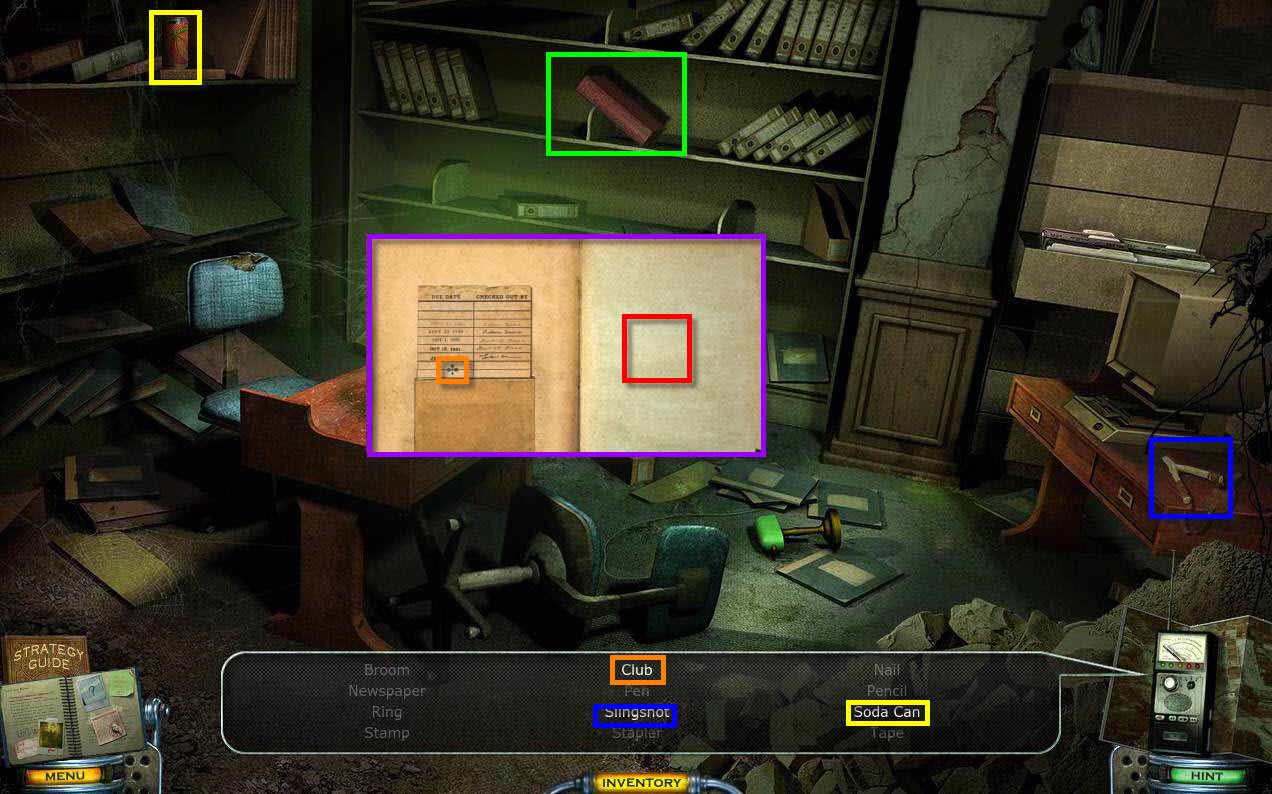
- Find the remaining items on the list.
- Click on the book on the shelf to place it on the desk.
- Click to open the book.
- Click to see who checked it out last.
- Click to turn the page.
-
Return to the motel and Cassandra to get the new drawings.
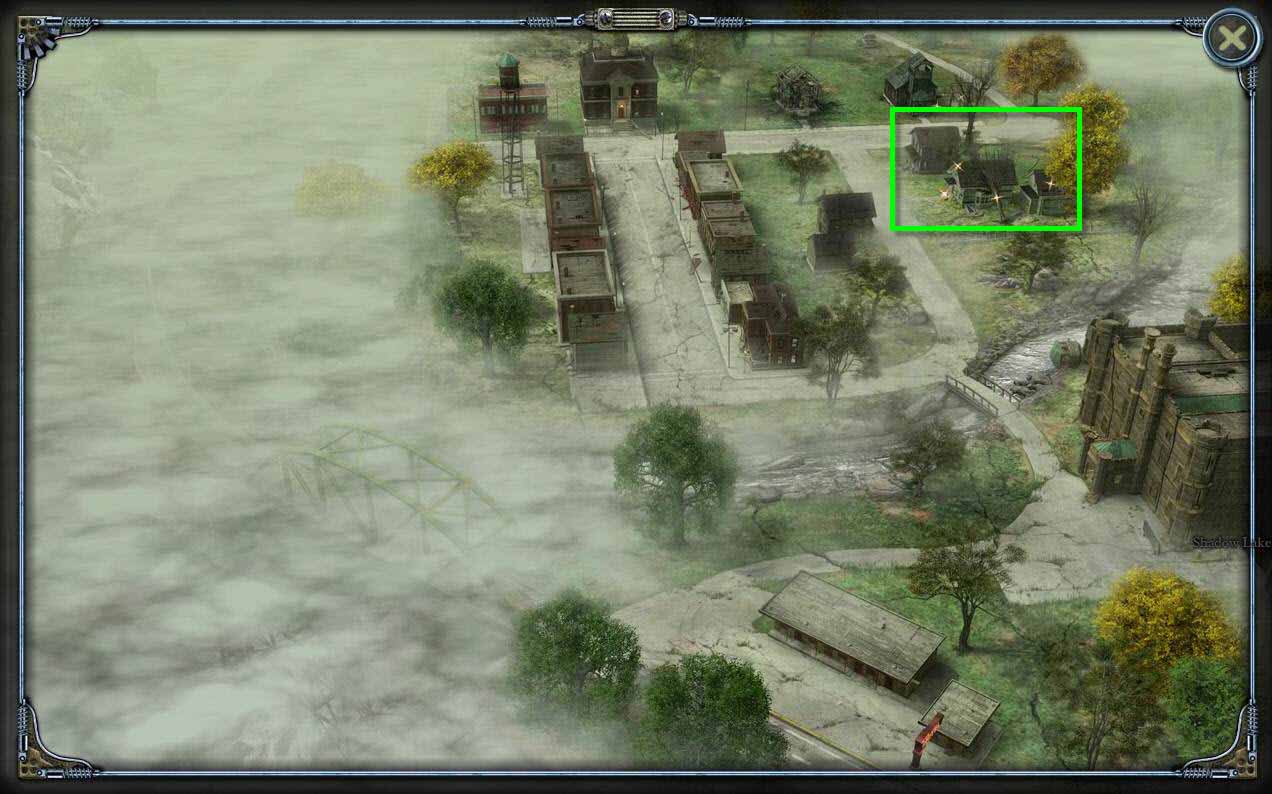
- Go to the Warden's House.
-
Go back up the stairs to the bedroom on the right.
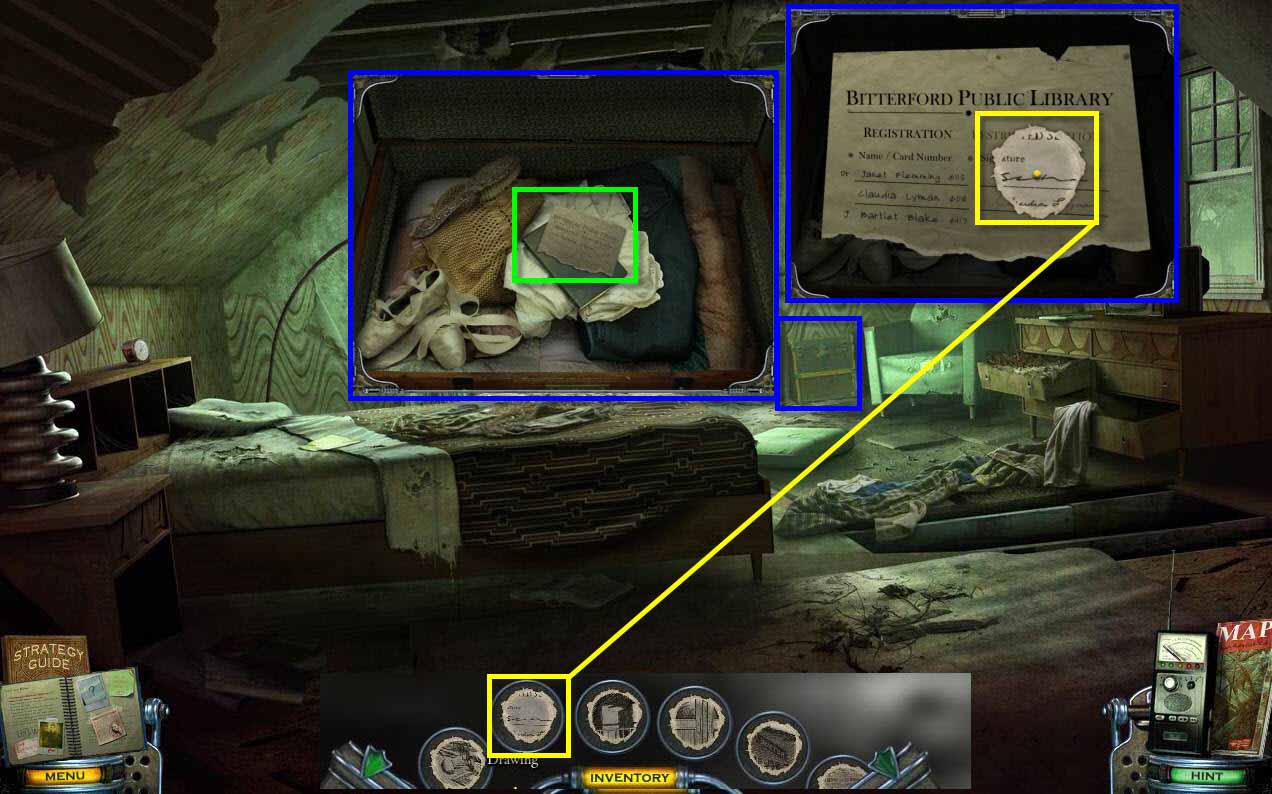
- Click on the chest in the corner.
- Zoom in on it.
- Look at the note to see the Doctor's name.
- Use the DRAWING on the note.
- You will receive the first CHARGED DRAWING.
- Go back downtown.
-
Go forward one screen.
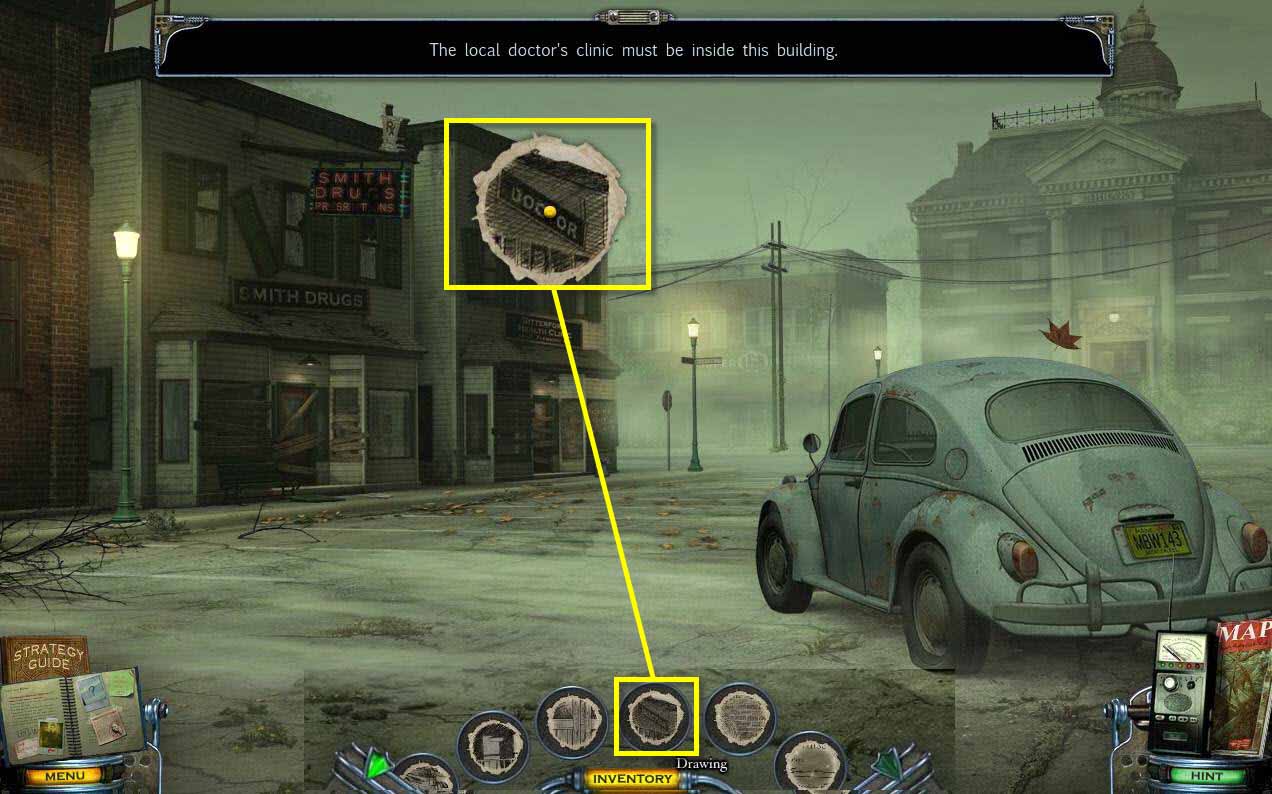
- Use the DRAWING on the doctor's sign.
- You will receive a CHARGED DRAWING.
-
Go forward one screen.
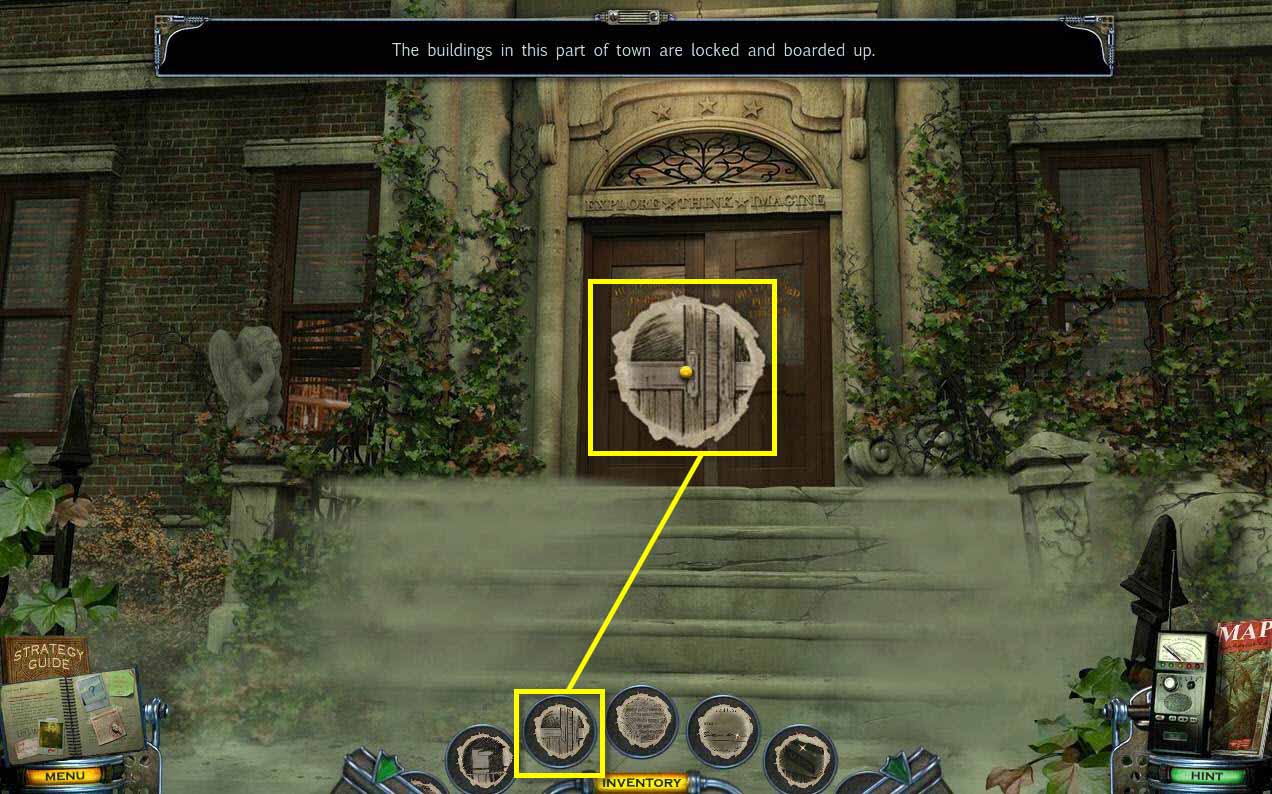
- Use the DRAWING on the Library Door.
- You will receive a CHARGED DRAWING.
-
Enter the Library.
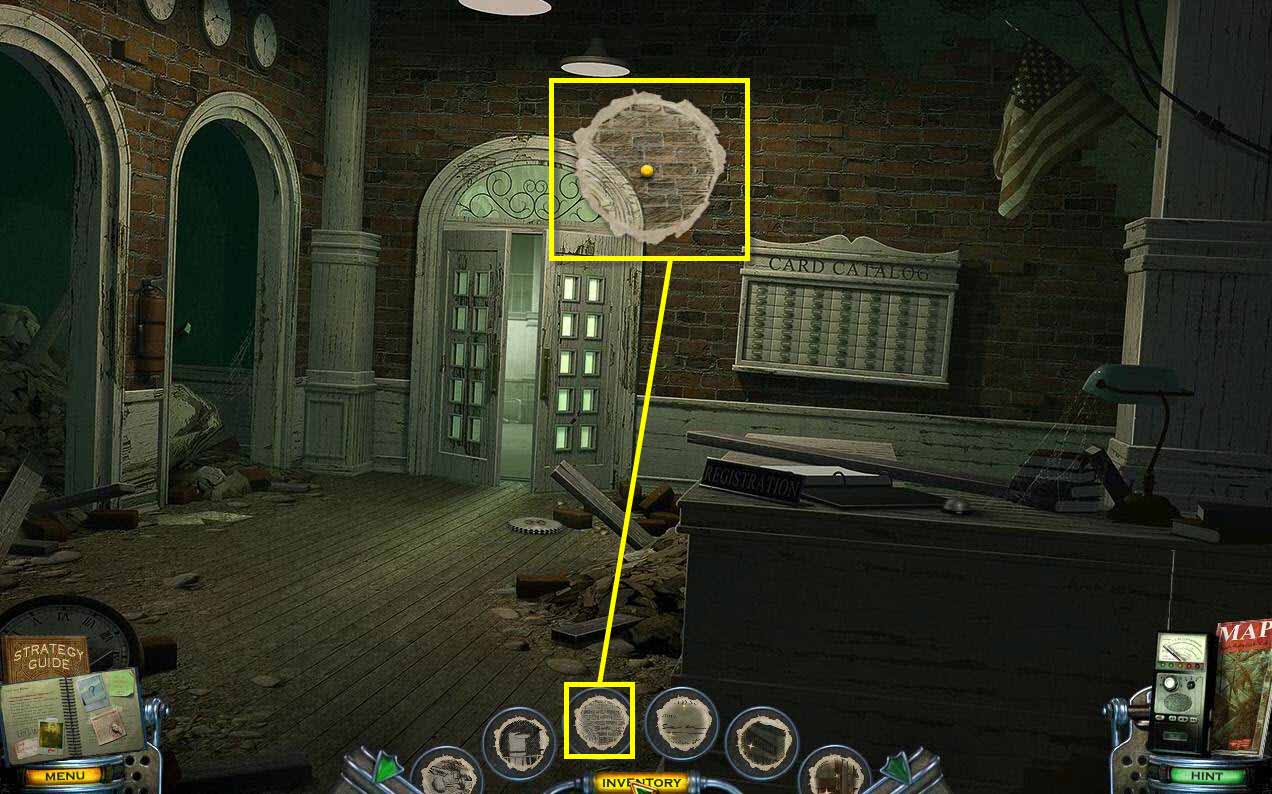
- Use the DRAWING on the top of the doors ahead of you.
- You will receive a CHARGED DRAWING.
-
Go forward one screen.
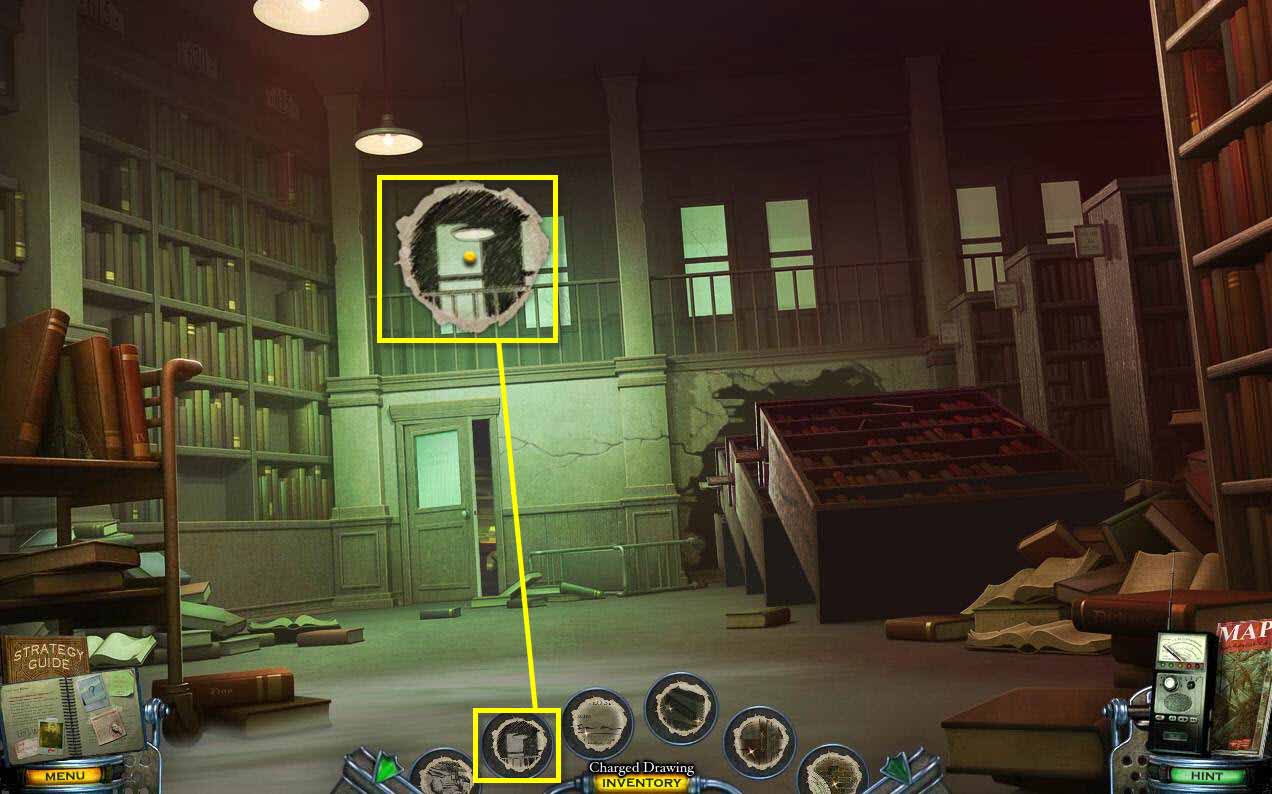
- Use the DRAWING on the light overhead.
- You will receive a CHARGED DRAWING.
-
Go forward one screen.
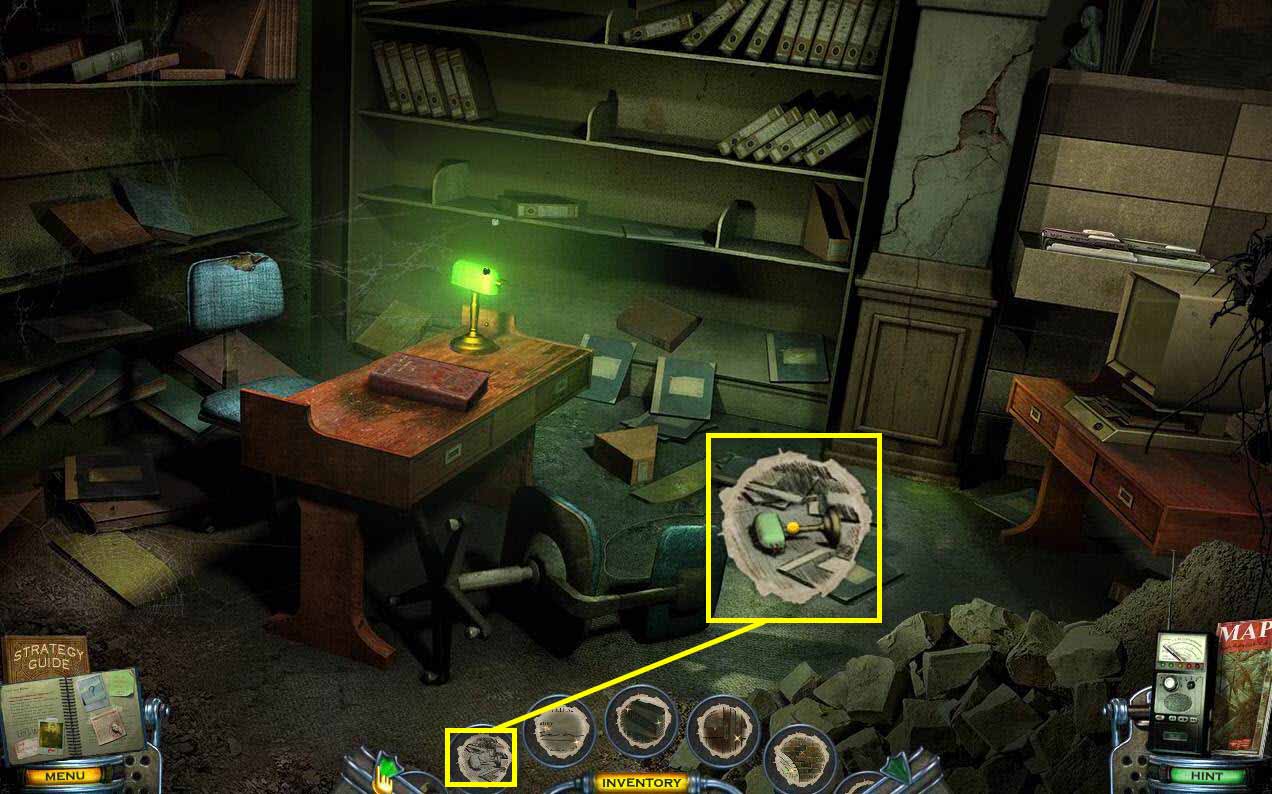
- Use the DRAWING on the lamp on the floor.
- You will receive a CHARGED DRAWING.
-
Return to the motel and Cassandra.
- Once you give her the CHARGED DRAWINGS, she will do another reading.
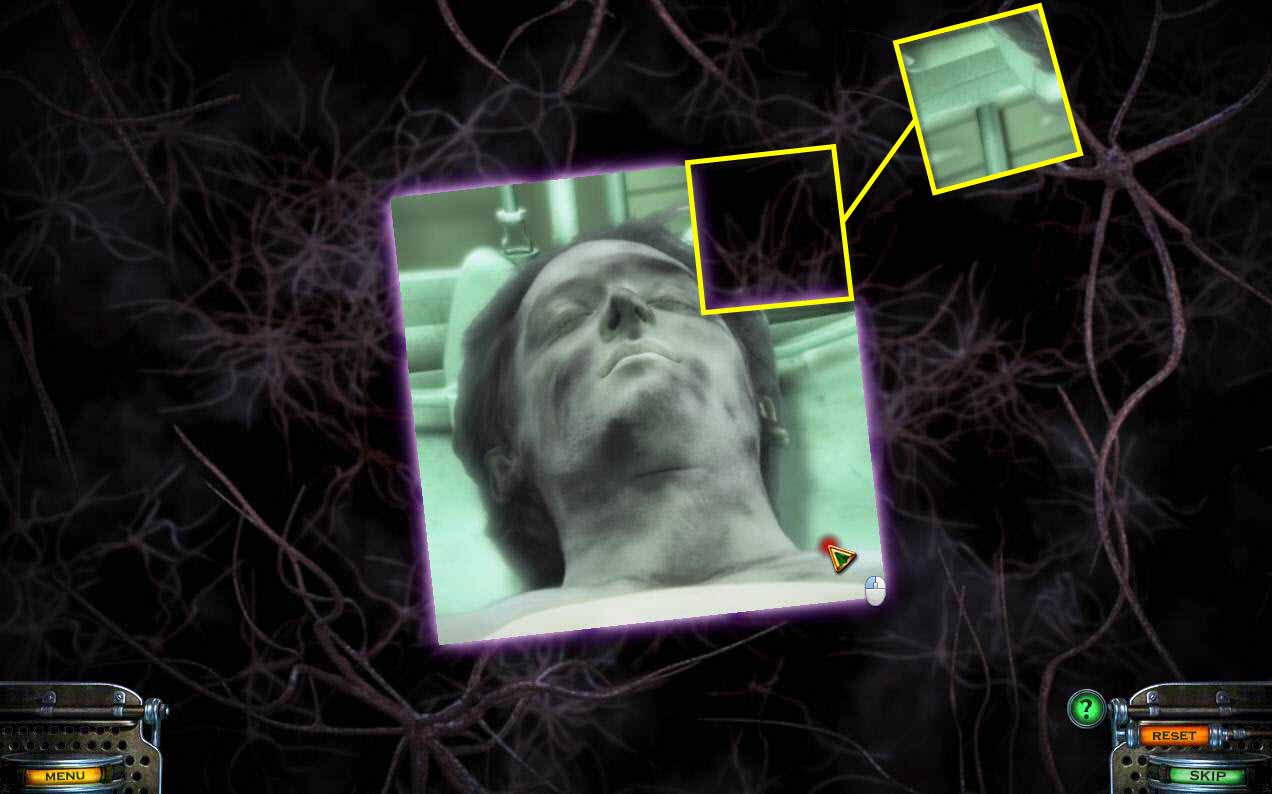
- Here's another moving puzzle to solve.
-
See the screenshot for the solution.
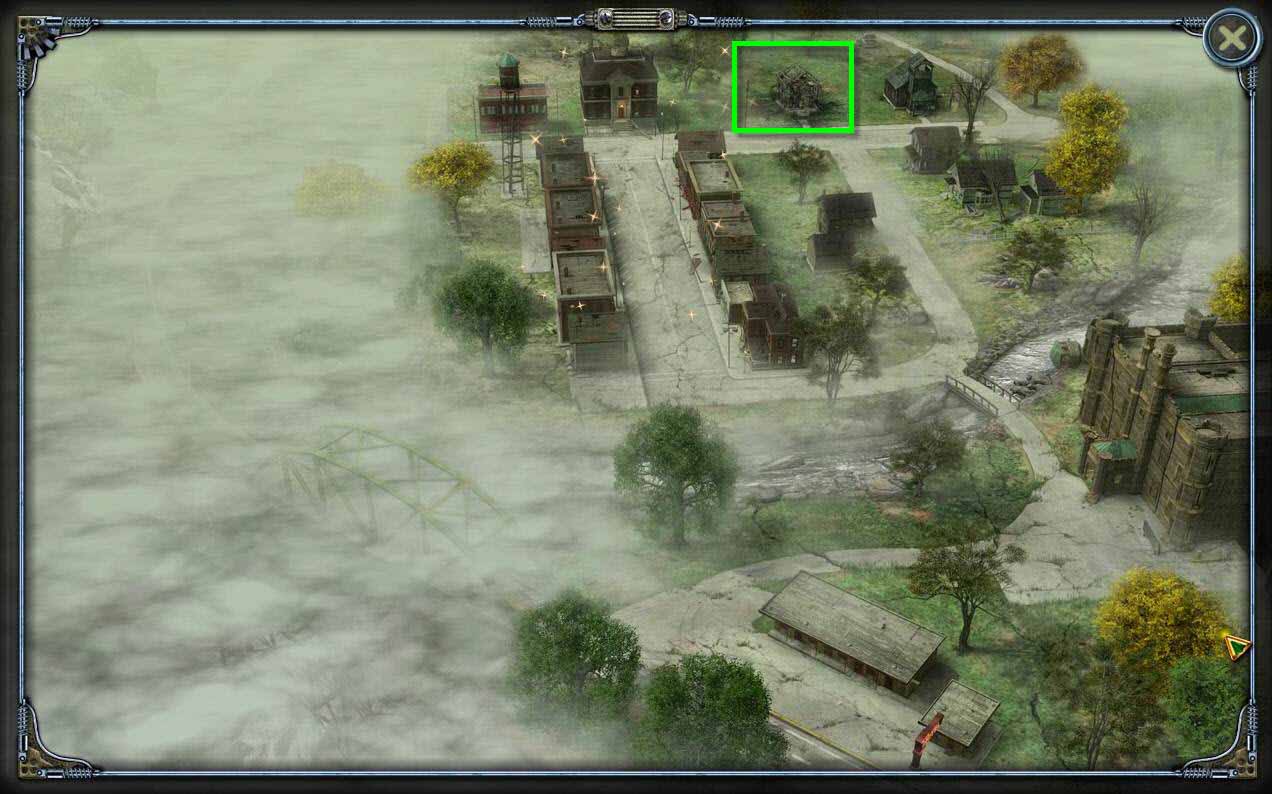
- Once you are done, open the map.
- Click on the teacher's house to fast travel there.
Comments will load when you reach this part of the walkthrough.