
Chapter 6: The Piper's Flute
The following contains screenshots and instructions on how to complete Chapter 6 from the CGG Fabled Legends The Dark Piper Walkthrough.
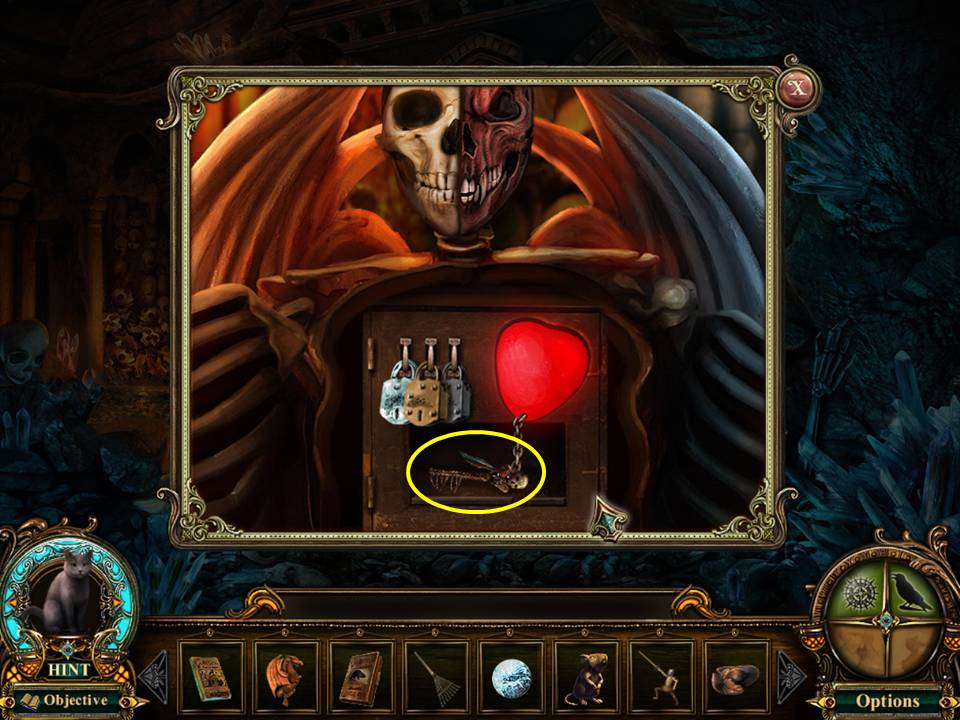
- Zoom into the skeleton statue.
- Place the SKELETAL HALF MASK on the left and the BURNT HALF MASK on the right.
- Place the GOLD LOCK, SILVER LOCK, and DIAMOND LOCK on the rings.
- Take the SKELETON KEY.
- Click down twice.
- Climb up the rope.
- Go forward.
- Enter the stables and go down to the sewer.
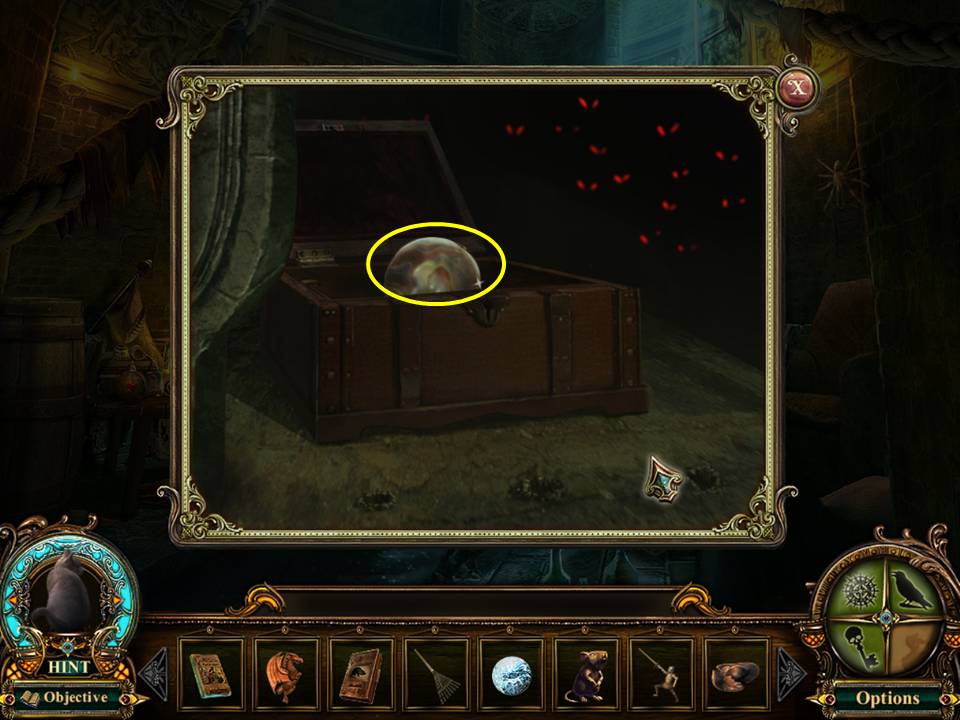
- Zoom into the area under the statue.
- Open the chest with the SKELETON KEY.
- Take WHITE CRYSTAL #2.
- Exit the sewer.
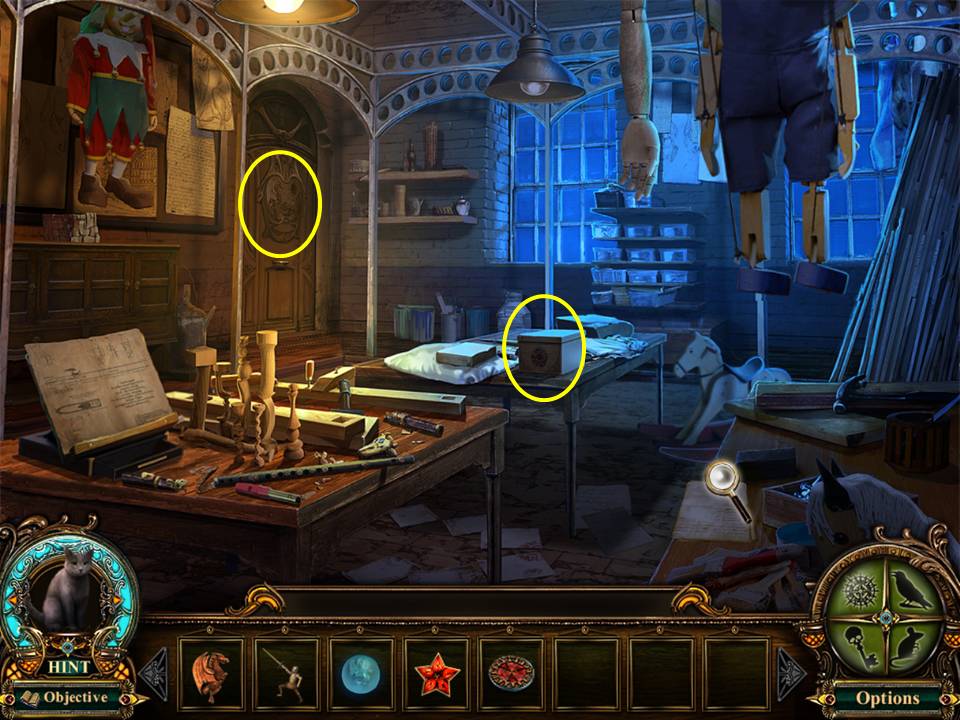
- Click down twice. Go left, forward left, then enter the morgue.
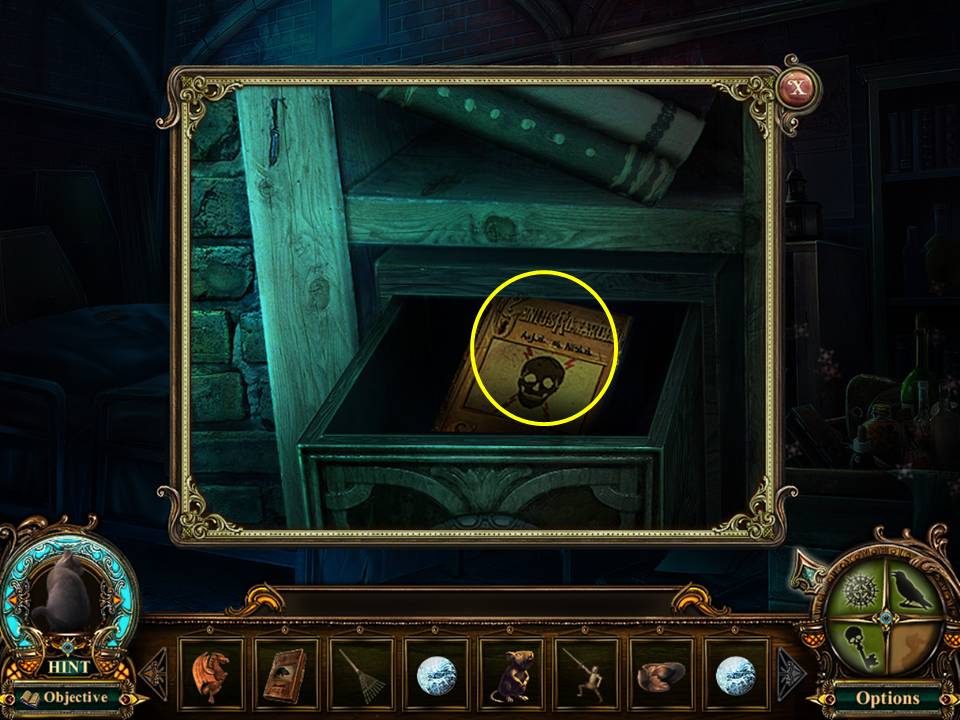
- Zoom into the box.
- Open with the SKELETON KEY.
- Take the BOOK OF POISON.
- Play the Hidden Object Area by the cabinet.
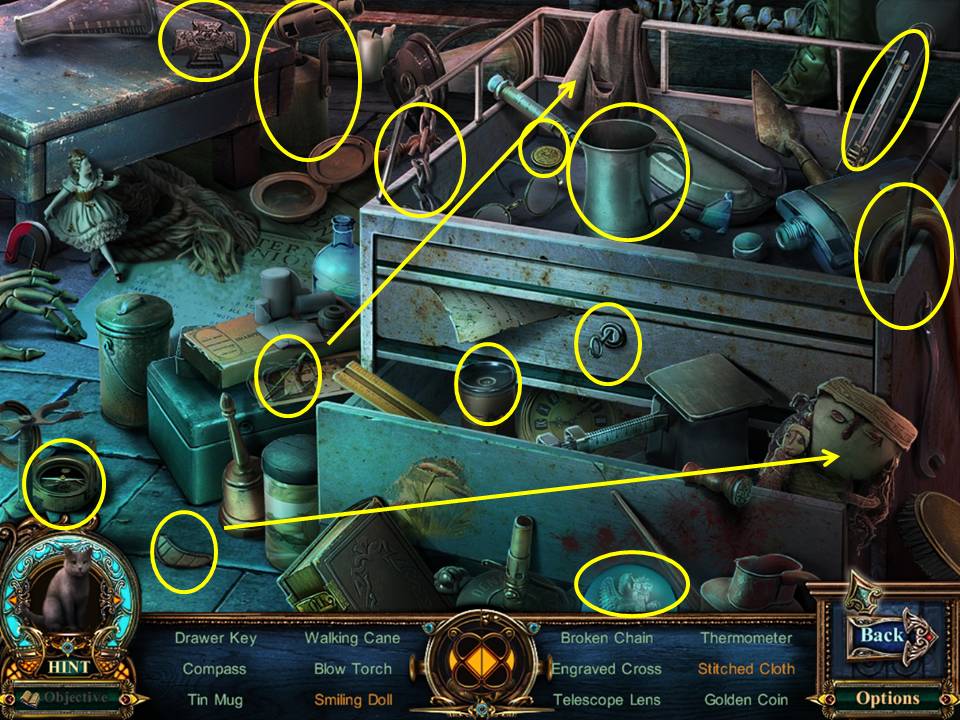
- Find the items listed.
- Sew the cloth with the needle and thread to get the stitched cloth.
- Place the mouth on the doll to get the smiling doll.
- Receive the GLOWING ORB.
- Click down twice, go through the left gate, and forward to the mansion.
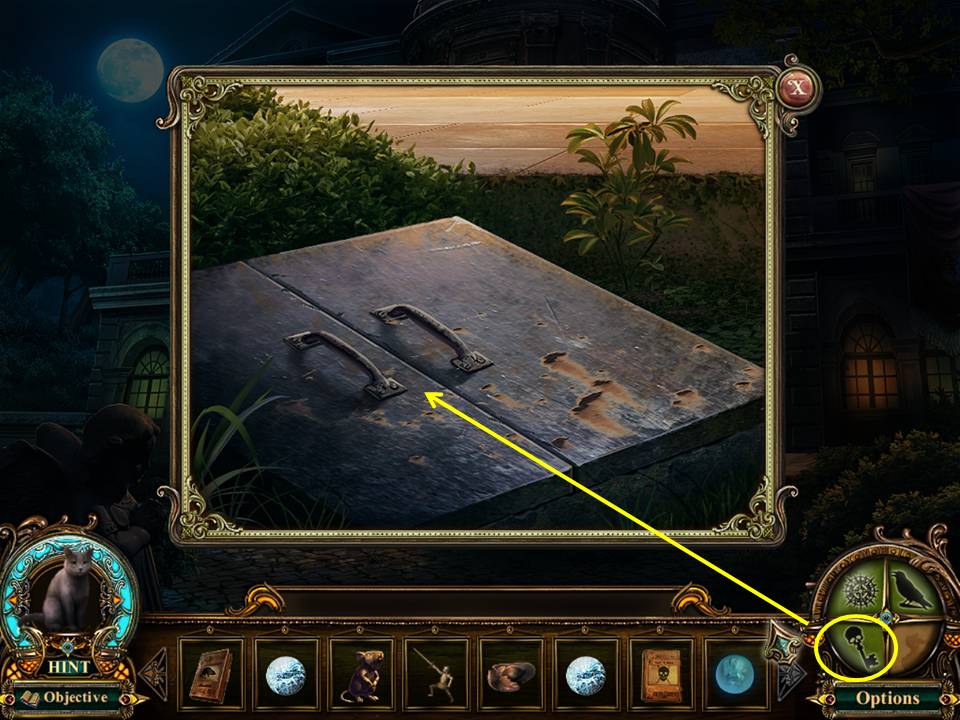
- Zoom into the shrubs.
- RAKE the area to remove growth.
- Unlock the cellar door with the SKELETON KEY.
- Enter the cellar.
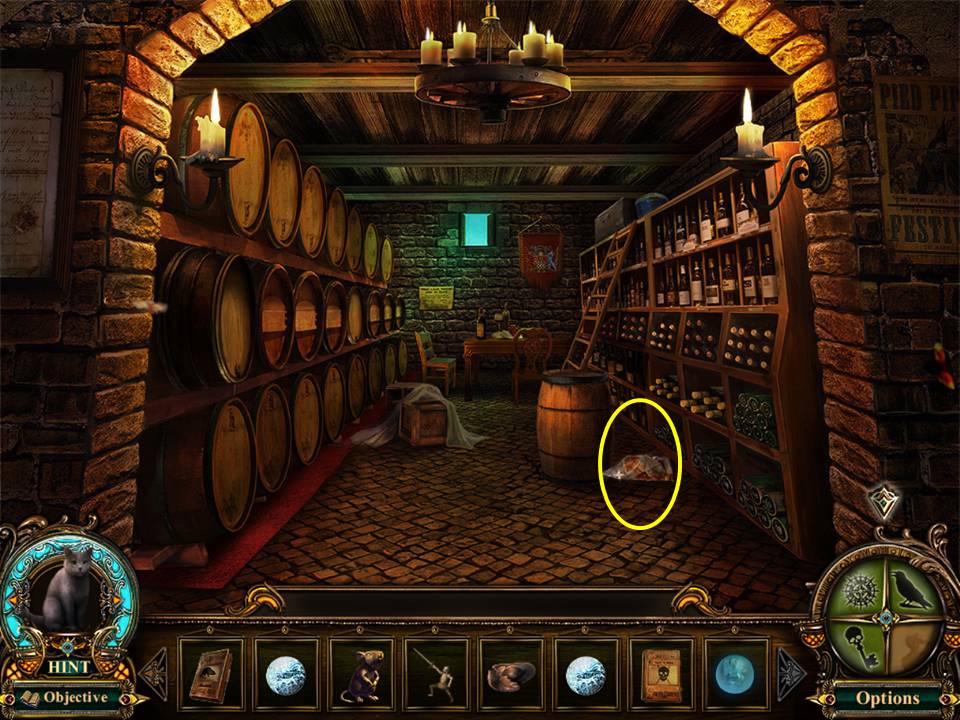
- Move the barrel to find PAINTING PIECE 2.
- Note that the keg requires something.
- Exit the cellar and enter the mansion.
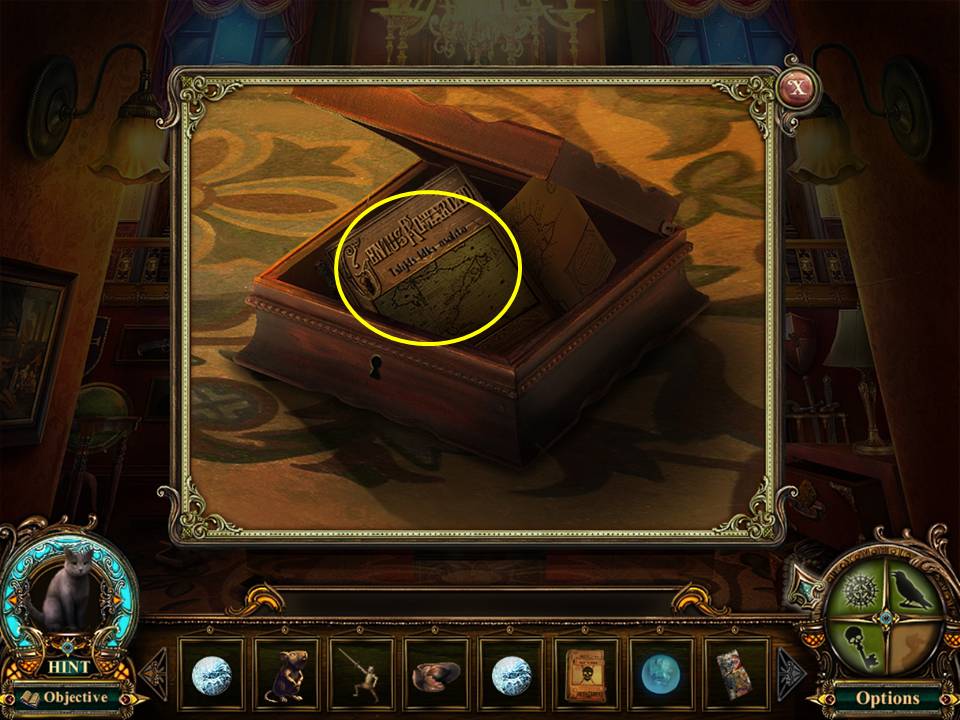
- Zoom into the box.
- Open with the SKELETON KEY.
- Take the BOOK OF MAPS.
- Enter the door on the left.
- Play the Hidden Object Area by the bed.
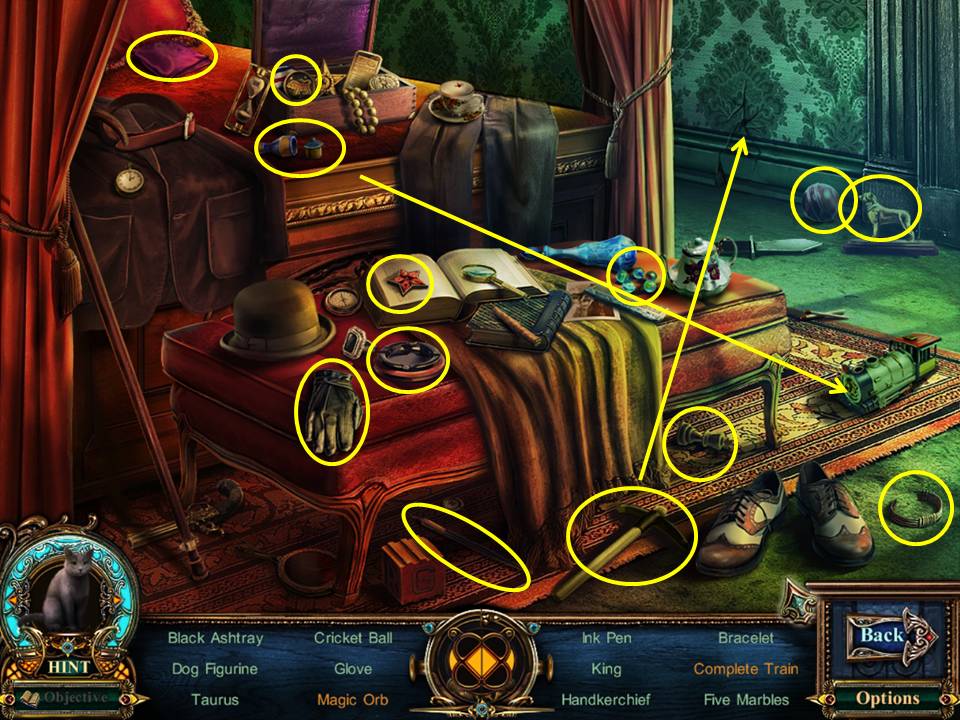
- Find the items listed.
- Use the pick on the wall to get the magic orb.
- Place the smokestacks on the train to get the complete train.
- Receive the STAR EMBLEM.
- Click down 6 times.
- Go forward, enter the clock tower, then enter the door on the left.
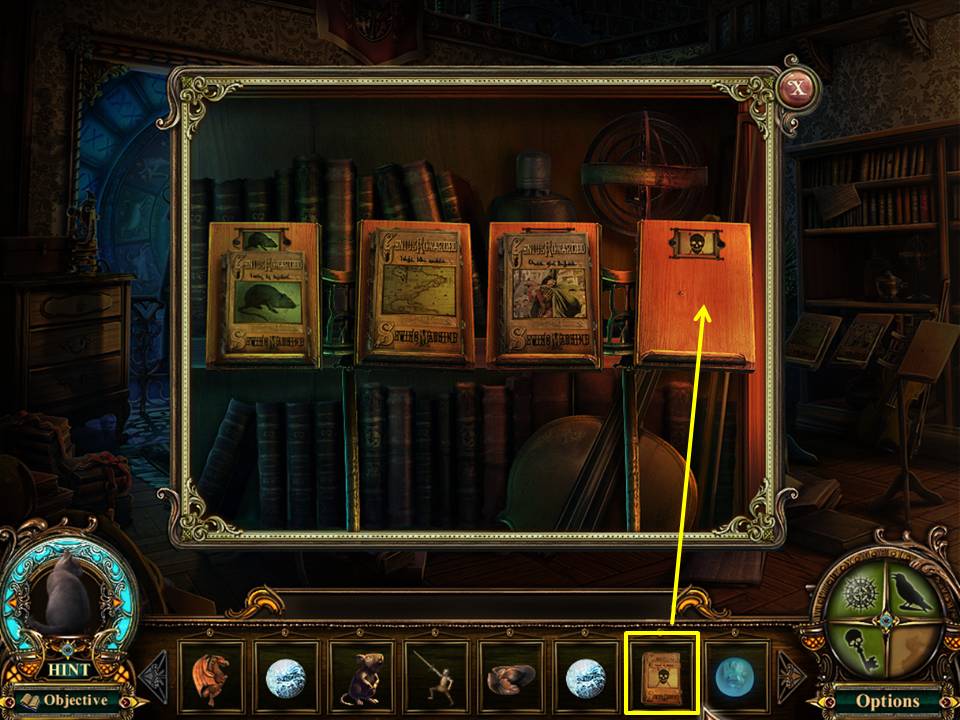
- Zoom into the stands.
- Place the books from left to right – BOOK OF RATS, BOOK OF MAPS, BOOK OF PIED PIPER, and BOOK OF POISON.
- Enter the newly-opened door.
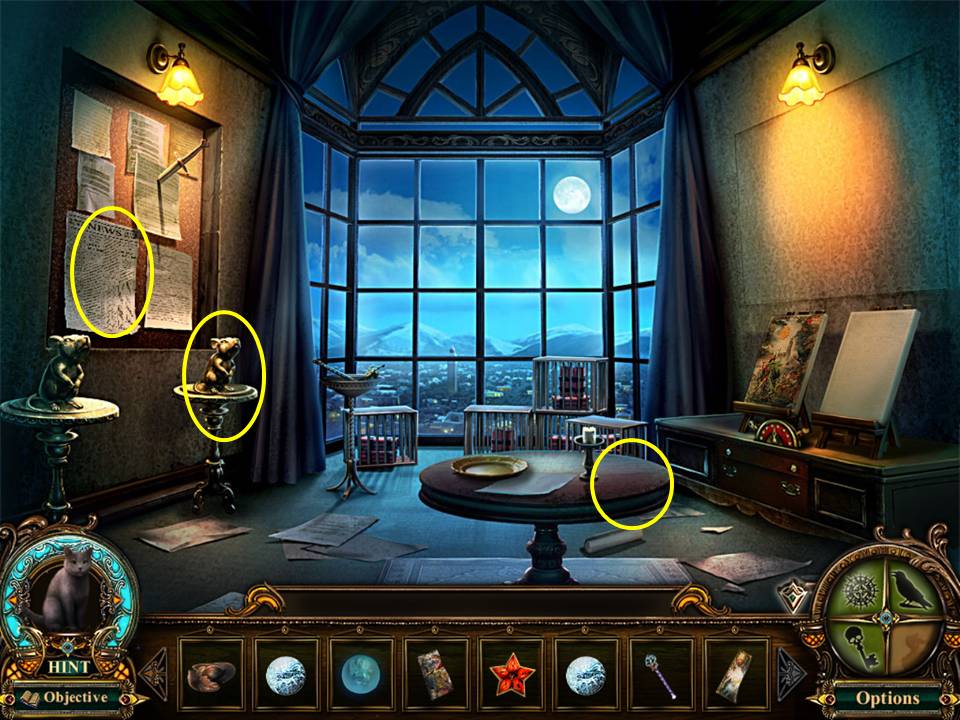
- Place the RAT CARVING on the pedestal.
- Zoom into the newspaper on the bulletin board.
- Take WHITE CRYSTAL #3. Take the MINIATURE WAND.
- Click down 4 times. Go left, forward, left, and enter the pharmacy.
- Play the Hidden Object Area in the cabinet.
- FO: The poster in the pharmacy.
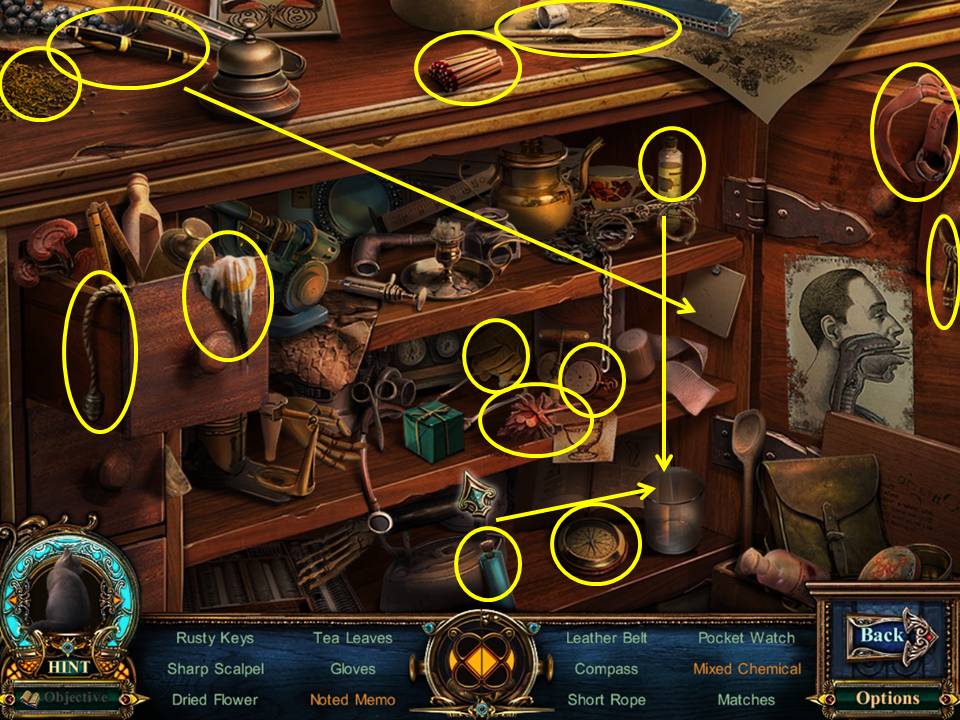
- Find the items listed.
- Pour the 2 small bottles into the beaker to get the mixed chemicals.
- Write with pen and paper to get the noted memo.
- Receive PAINTING PIECE 1.
- Click down twice.
- Enter the left gate.
- Play the Hidden Object Area by the angel fountain.
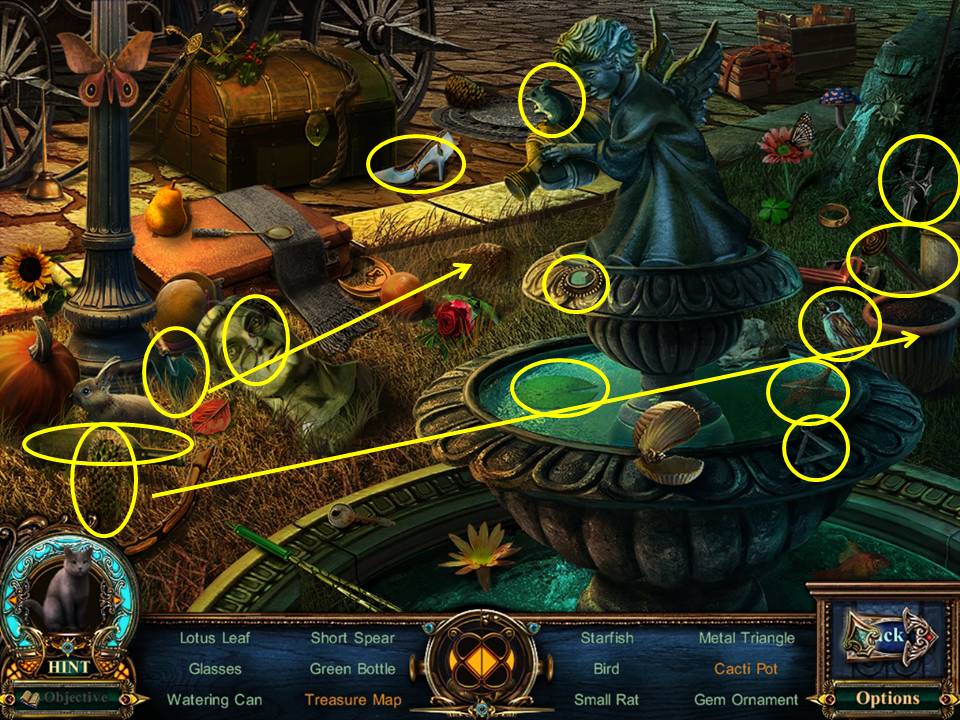
- Find the items listed.
- Place the cactus into the pot to get the cacti pot.
- Dig in the dirt with the shovel to get the treasure map.
- Receive the MINIATURE HEELS.
- Go to the Mansion.
- Enter and go through the left door.
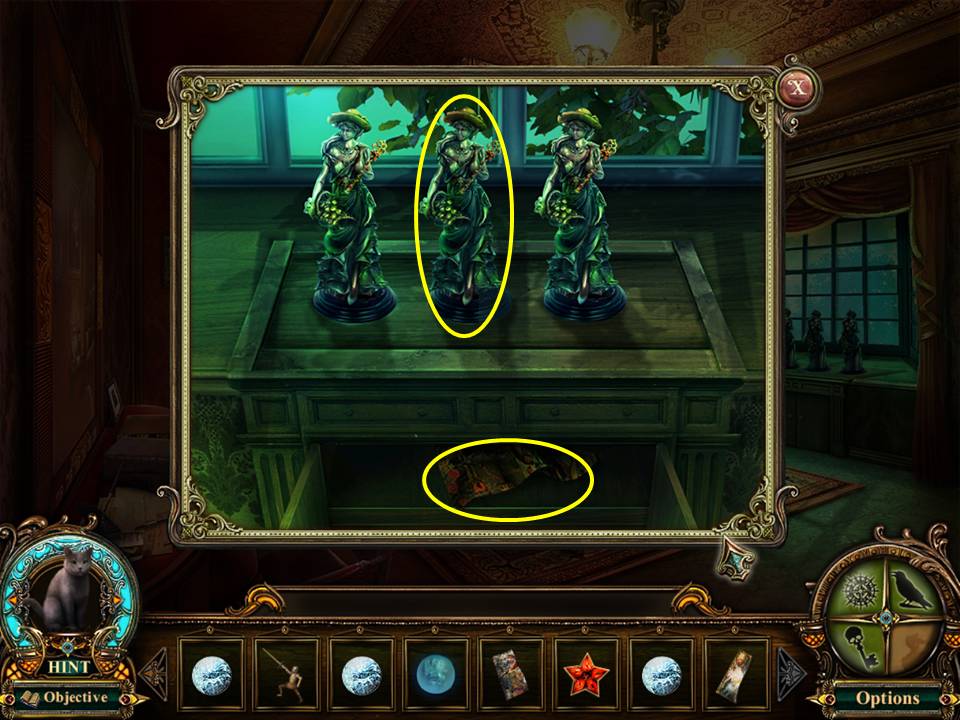
- Zoom into the figurines on the windowsill.
- Place the MINIATURE HEELS, MINIATURE HAT, and MINIATURE WAND on the center figurine.
- Take PAINTING PIECE 3.
- Click down 6 times.
- Walk forward, enter the clock tower, enter the left door, then walk forward again.
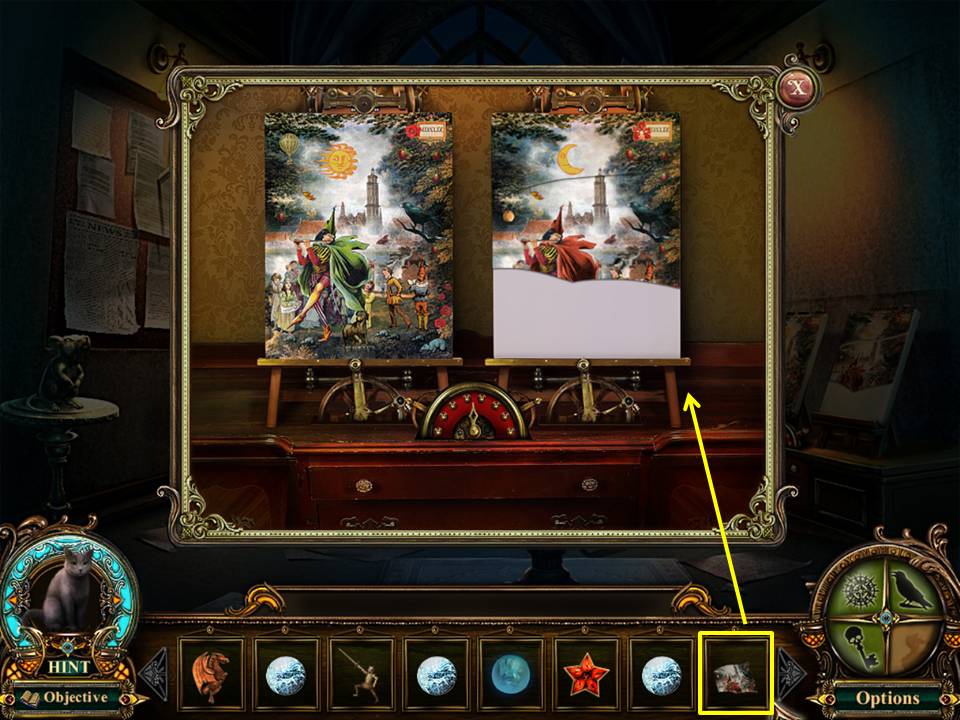
- Zoom into the canvases on the right.
- Place the 3 PAINTING PIECES onto the blank canvas.
- Click on the canvases for a mini-game.
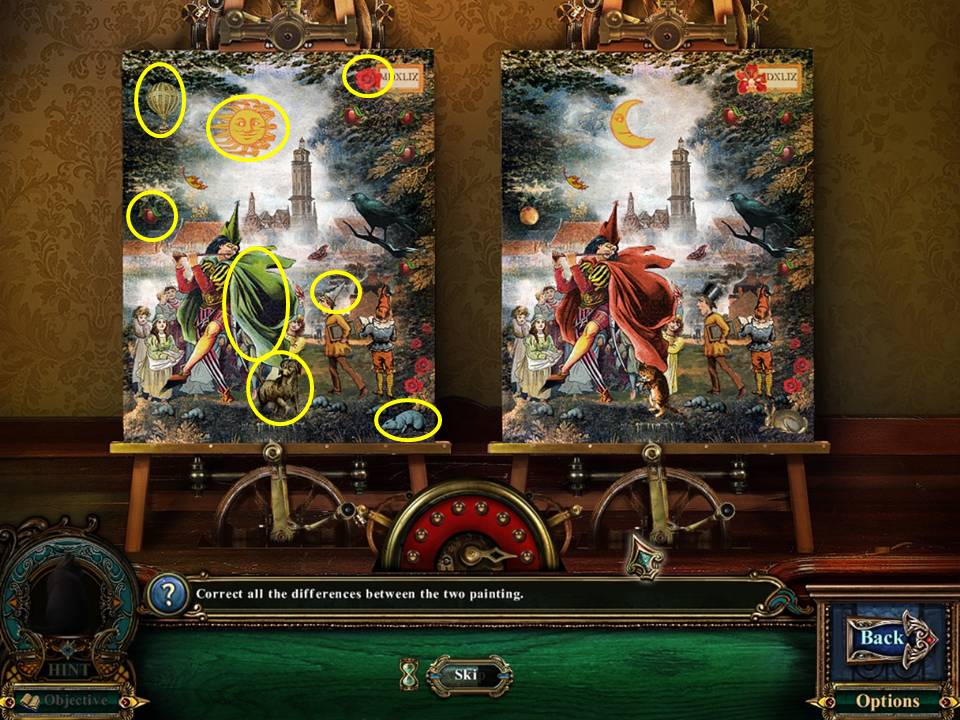
- The object of the game is to correct all the differences between the two paintings.
- See screenshot for solution.
- When finished, zoom into the bulletin board on the right.
- Take the WHITE CRYSTAL #4.
- Click down 4 times.
- Enter the manhole.
- Walk forward twice.
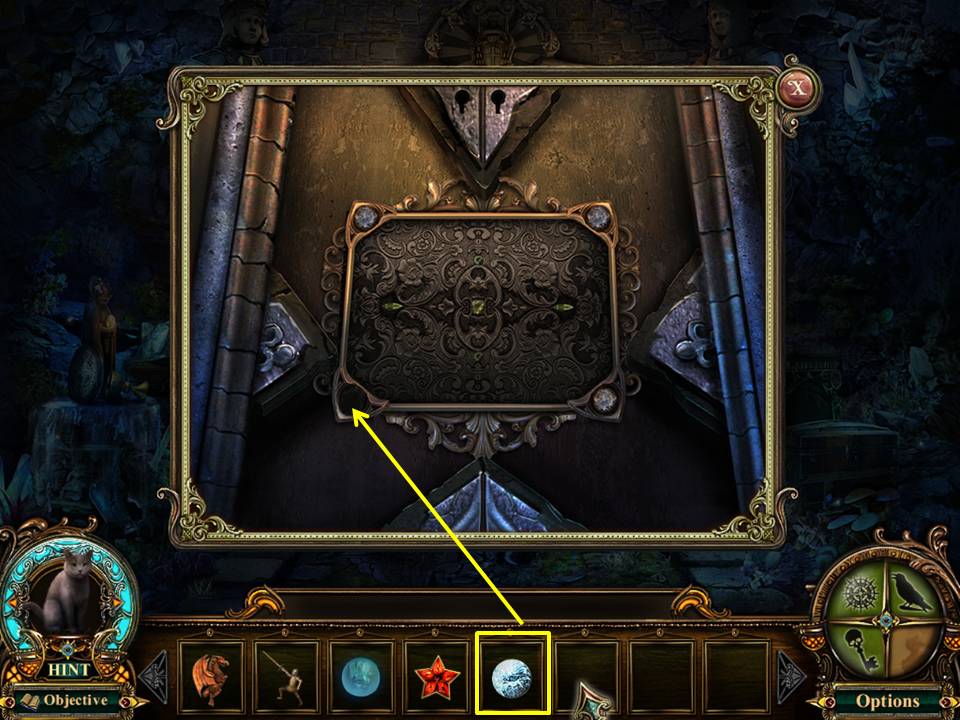
- Zoom into the vault door.
- Place the 4 WHITE CRYSTALS into the 4 corners.
- Click on the center to play a mini game.
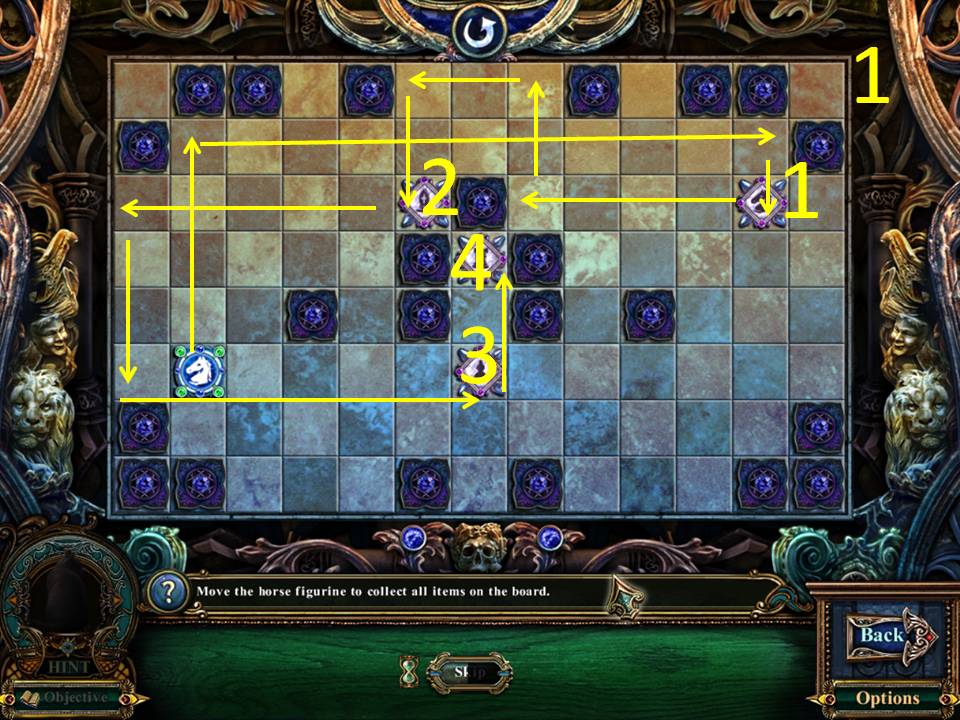
- The object of the game is to move the horse figurine to collect all the items on the board.
- When you select the horse, you will see all the possible directions it can move.
- When you proceed down one path, the horse will move until something stops it.
- Follow the path in numerical order to complete the game.
- When finished, press the glowing button then walk forward.
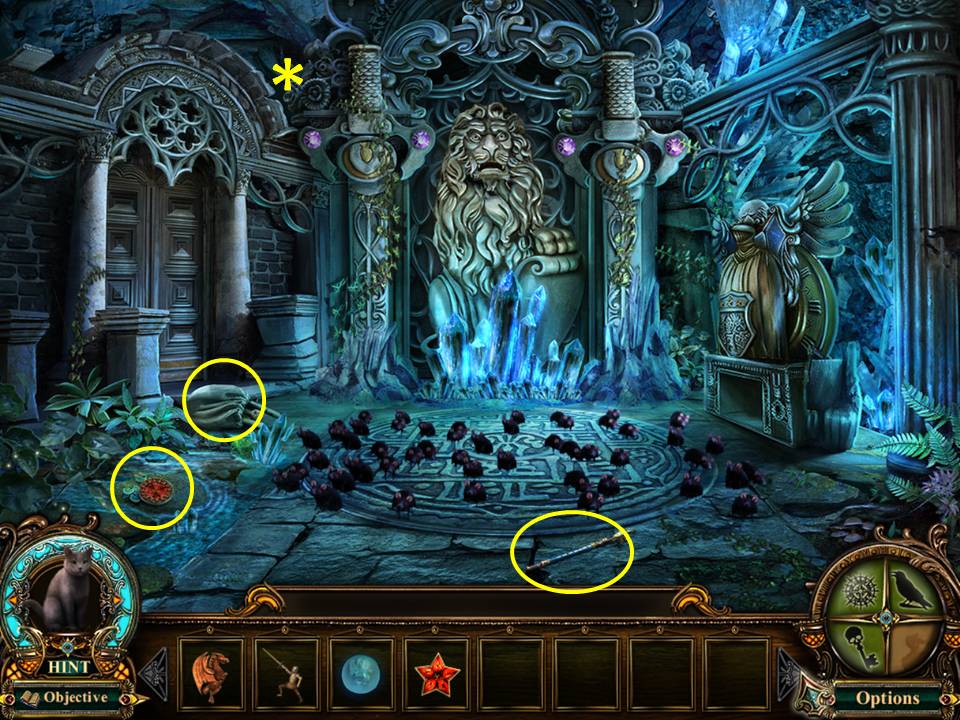
- Zoom into the Dark Piper.
- Take the WOODEN SUN.
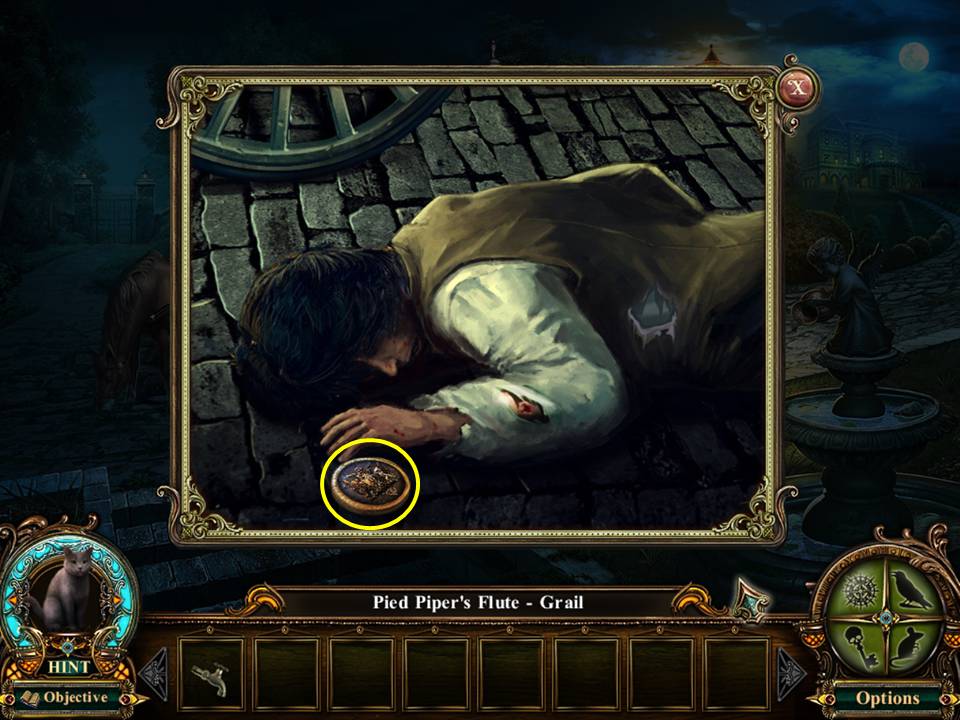
- Zoom into the sack.
- Open the box and take the FLUTE GEM.
- Zoom into the flute.
- Place the FLUTE GEM in the niche.
- Take the PIED PIPER’ FLUTE and use it to scatter the rats.
- Click down 3 times, climb up the rope, walk left and then forward.
- Use the PIED PIPER’S FLUTE to get rid of the rats.
- Walk to the left and enter the workshop.
- FO: The flower carving in the vault.
- Zoom into the box.
- Place the STAR EMBLEM on the front.
- Take the FAUCET TAP.
- Zoom into the door.
- Place the WOODEN DRAGON, WOODEN SUN, and WOODEN KNIGHT into the carving.
- Walk through the door.
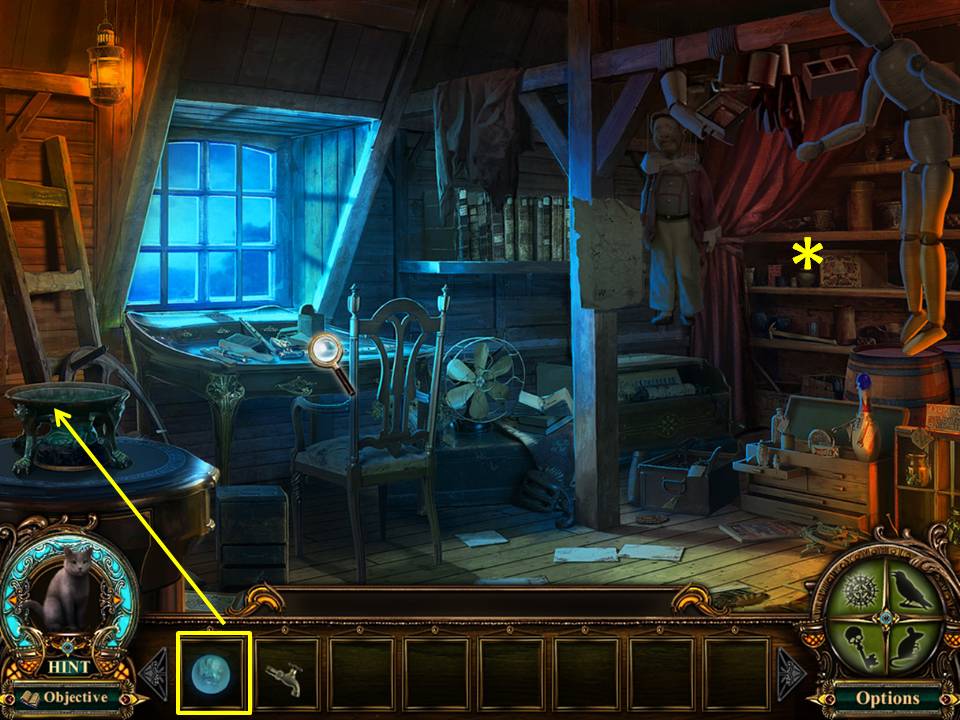
- Zoom into the pedestal.
- Place the GLOWING ORB in the base.
- Take the HANDSAW.
- Click down 3 times.
- Zoom into the left gate.
- Saw the chains with the HANDSAW.
- Proceed through the left gate.
- Use the RAVENLORE WHISTLE to steal the vanishing cloak.
- Use the PIED PIPER’S FLUTE to call the rats on the Piper.
- Zoom into the Piper and take DUKE’S EMBLEM.
- Head to the Mansion and go inside.
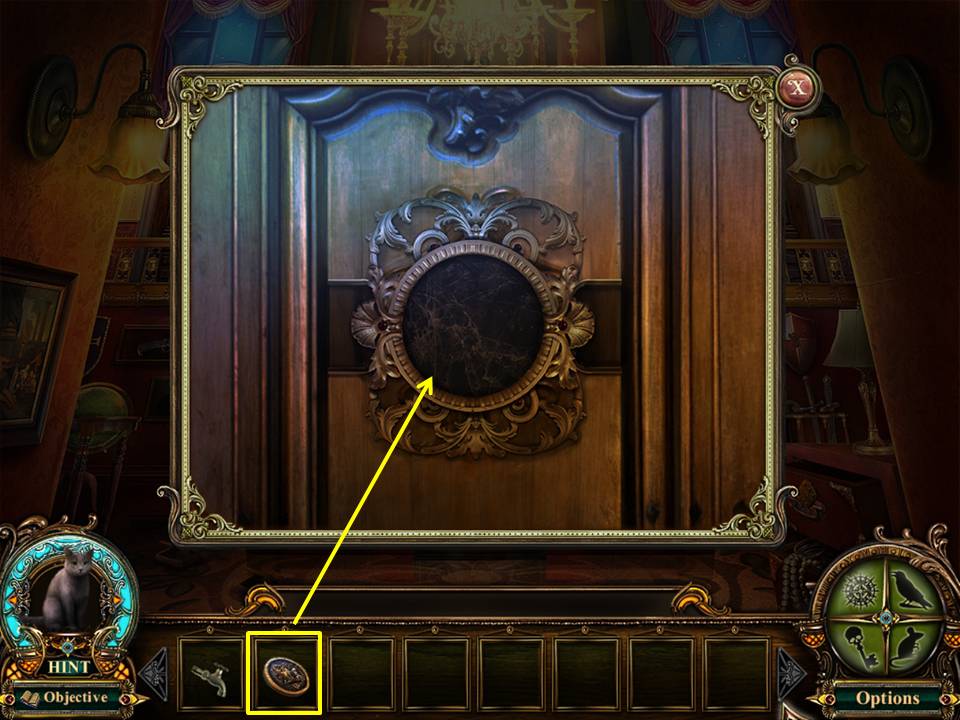
- Zoom into the right door.
- Place the DUKE’S EMBLEM in the circle.
- Enter the right door.
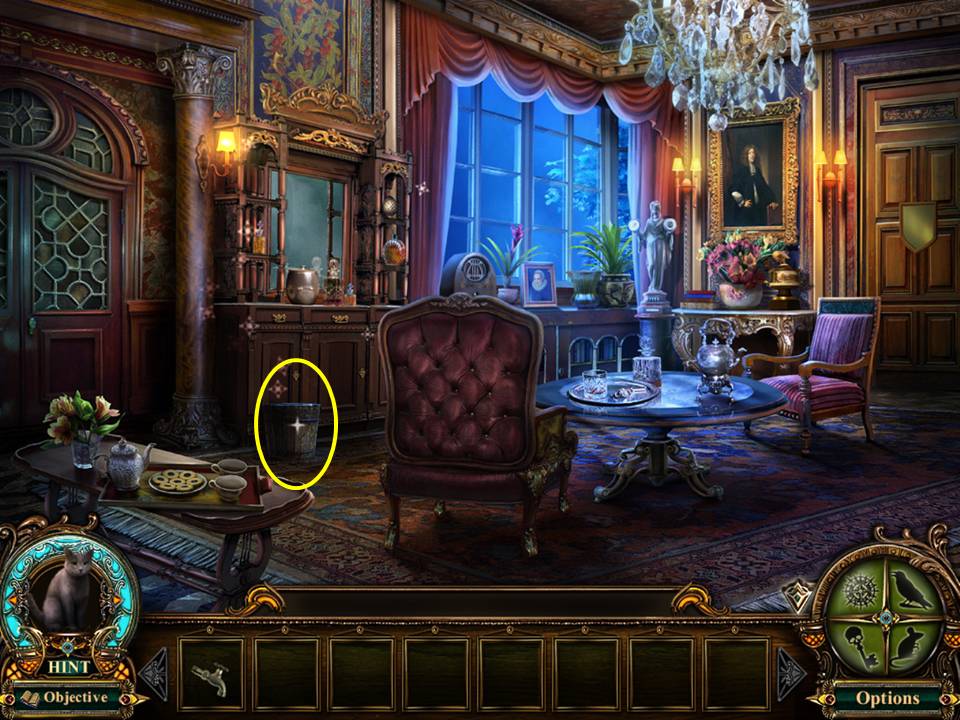
- Take the BUCKET.
- Play the Hidden Object Area by the cabinet.
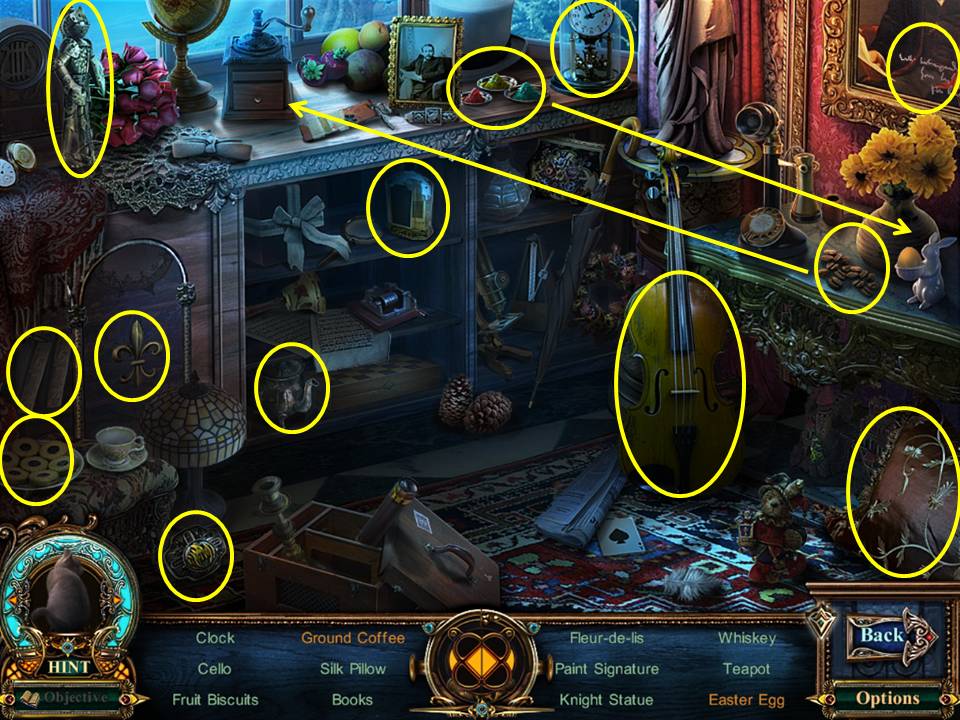
- Find the items listed.
- Grind the coffee beans to get ground coffee.
- Dye the egg to get the Easter egg.
- Receive the FIRE EMBLEM.
- Click down twice and enter the cellar.
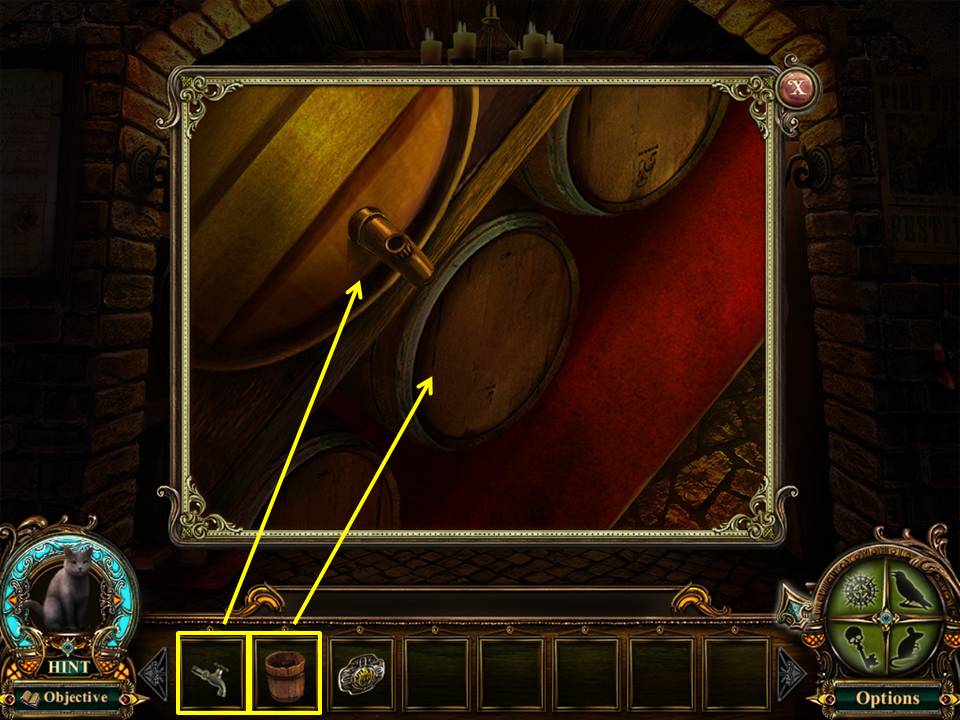
- Zoom into the keg.
- Place the BUCKET underneath.
- Place the FAUCET TAP on the keg.
- Take the BUCKET WITH ALCOHOL.
- Click down 5 times, go forward, enter the clock tower, then the left door.
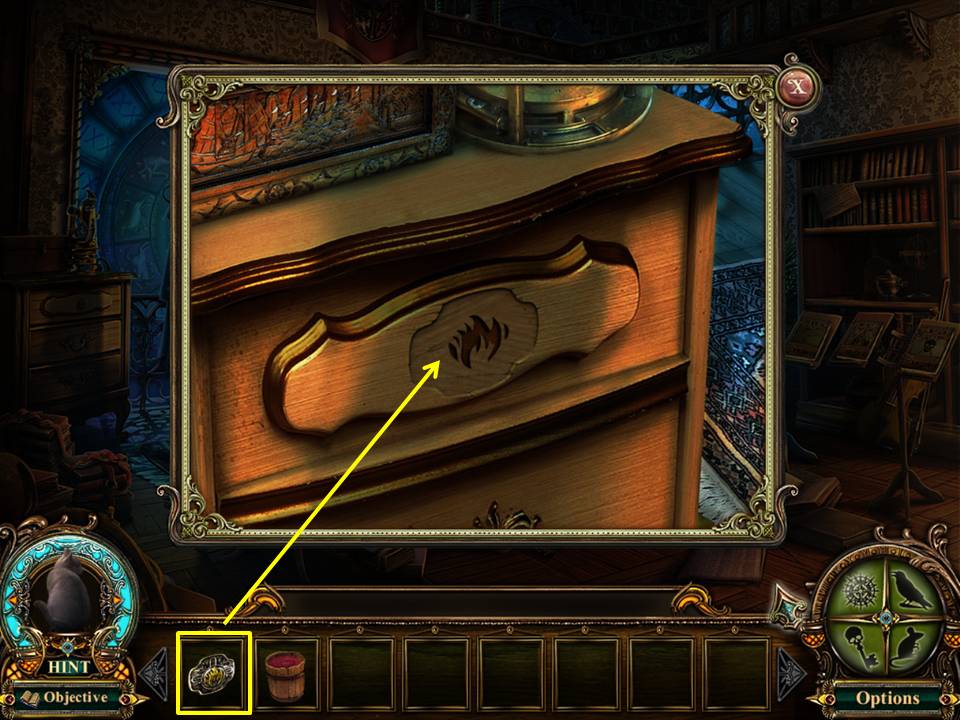
- Zoom into the drawers.
- Place the FIRE EMBLEM into the indentation.
- Take the MATCHES.
- Click down 3 times, go left, forward, then through the left gate.
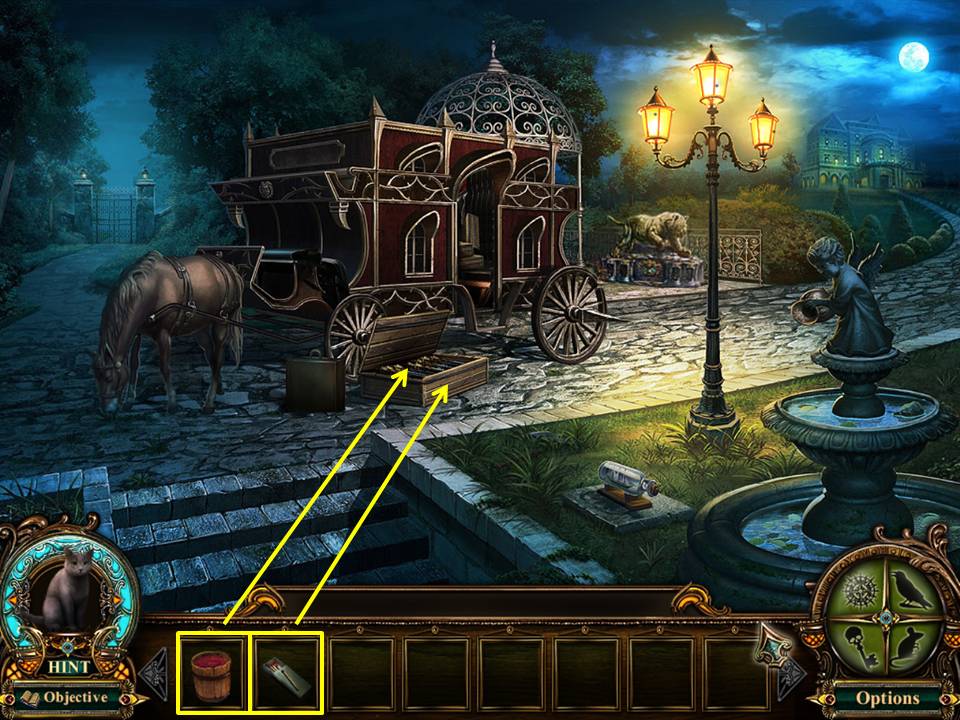
- Pour the BUCKET OF ALCOHOL on the crate.
- Light the crate with the MATCHES.
- Click down 3 times then go forward.
- Blow the PIED PIPER’S FLUTE to scatter the rats.
- Enter the clock tower and go through the left door.
- Blow the PIED PIPER’S FLUTE again.
- Open the door and walk forward.
- Talk to the Piper.
Congratulations! You have completed our Fabled Legends: The Dark Piper Walkthrough!
Comments will load when you reach this part of the walkthrough.