

Chapter 5: The Double-Cross
The following contains screenshots and instructions on how to complete Chapter 5 from the CGG Fabled Legends The Dark Piper Walkthrough.
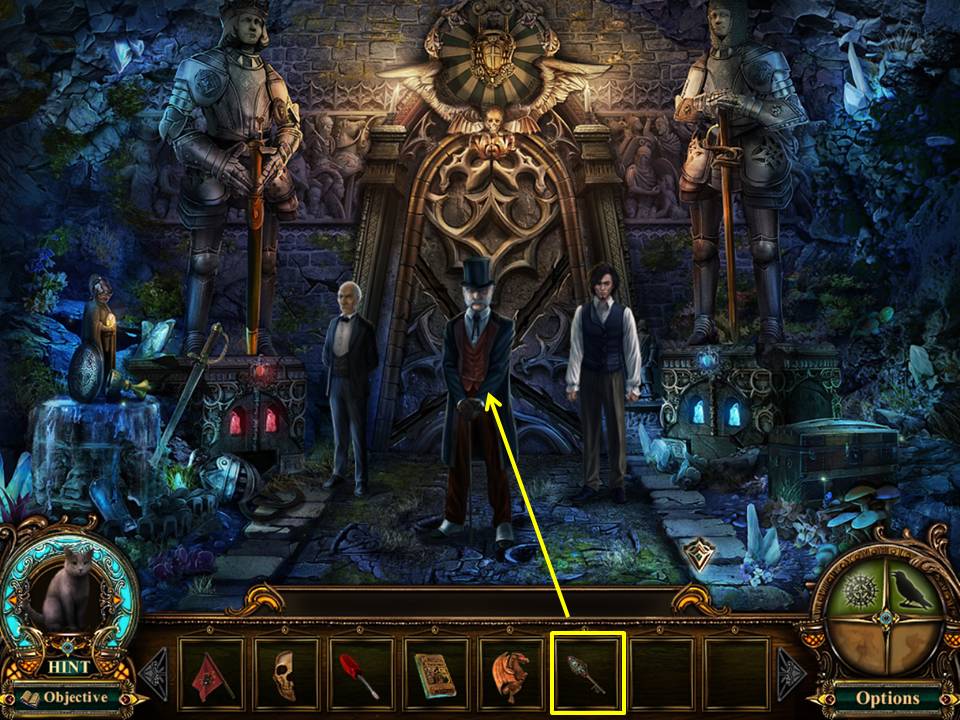
- Give VAULT KEY #2 to the Duke.
- After the cut-scene, zoom into the Duke’s body.
- Take the MANSION KEY.
- Click down twice.
- Climb up the rope.
- Proceed left and forward.
- Enter the right gate leading to the lake.
- Play the Hidden Object Area by the tree hollow.
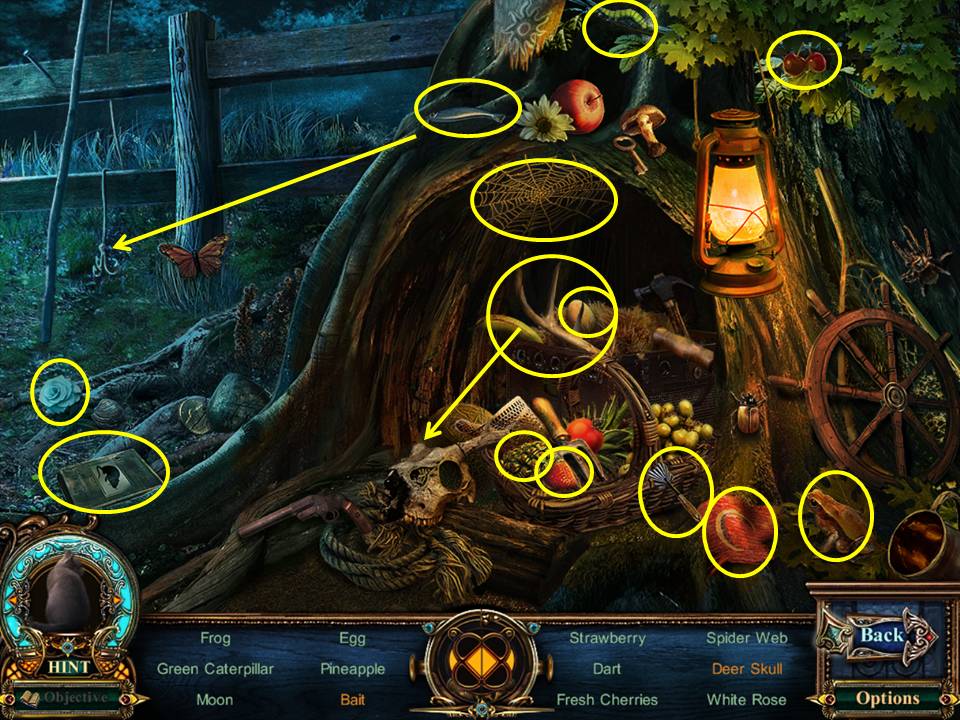
- Find the items listed.
- Place the fish on the hook to get the bait.
- Place the antler on the skull to get the deer skull.
- Receive the BOOK OF RATS.
- Click down.
- Enter the left gate.
- Proceed to the mansion.
- Open the front door with the MANSION KEY.
- Go inside.
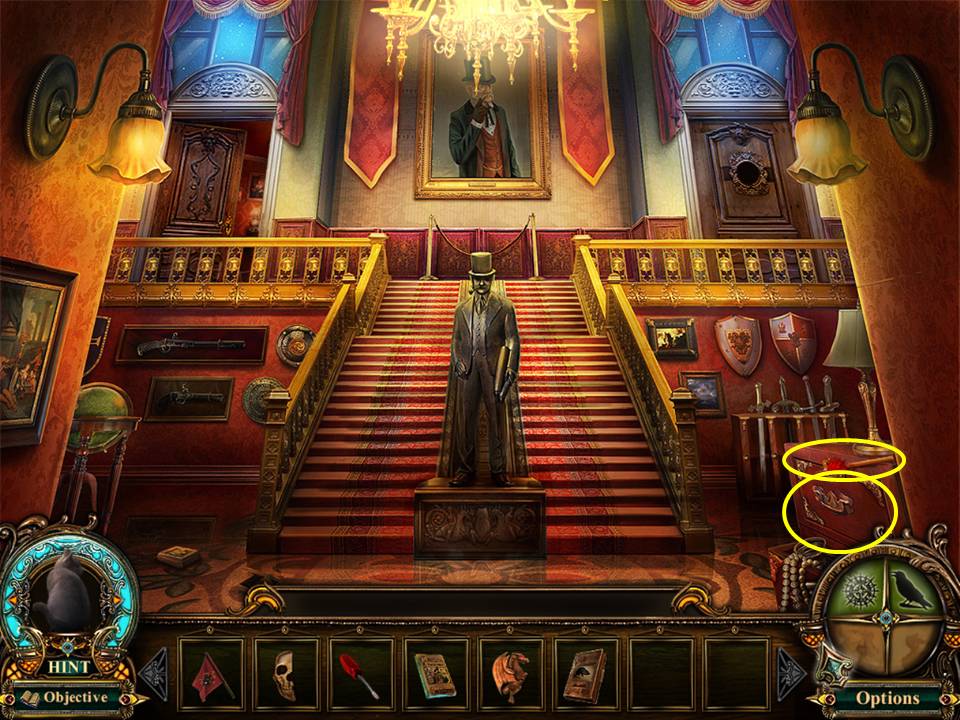
- Take the BLOW DART.
- Zoom into the drawers.
- Use the SCREWDRIVER to remove the plate.
- Take the BURNT HALF MASK.
- Enter the left door.
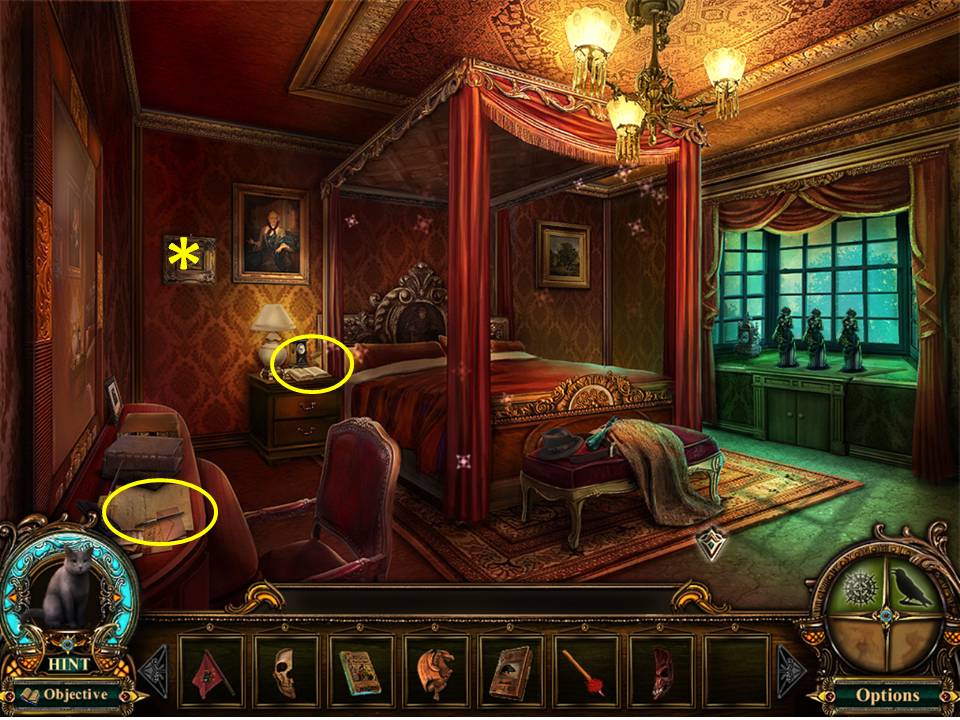
- Zoom in and read the correspondence and the diary.
- Play the Hidden Object Area by the bed.
- FO: The painting in the bedroom.
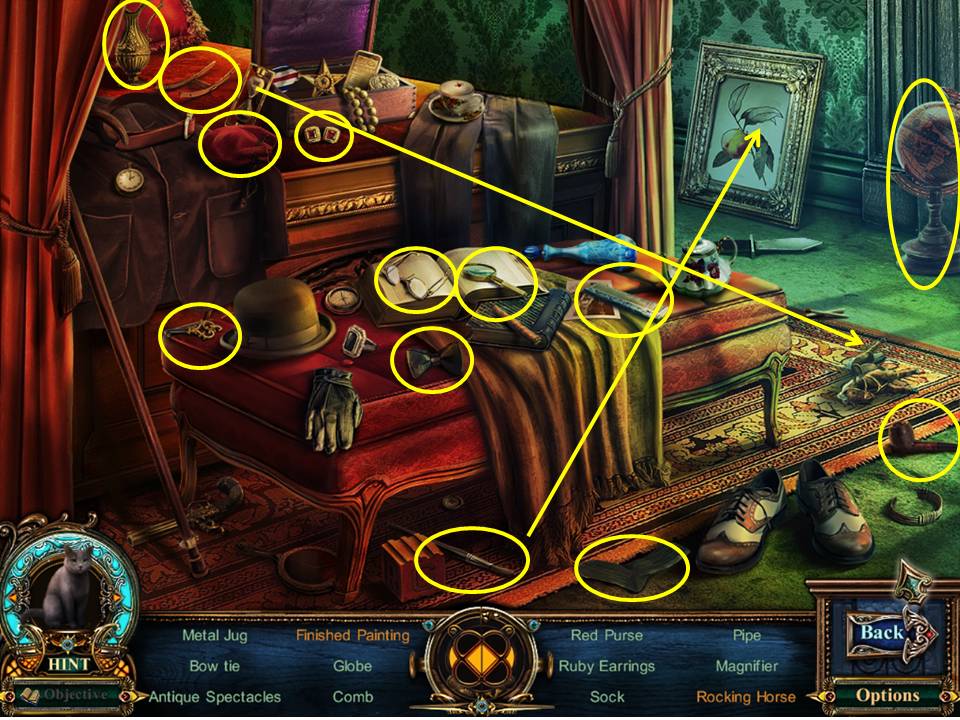
- Find the items listed.
- Paint the canvas to get the finished painting.
- Place the rails on the horse to get the rocking horse.
- Receive the WORKSHOP KEY.
- Click down 4 times then go left.
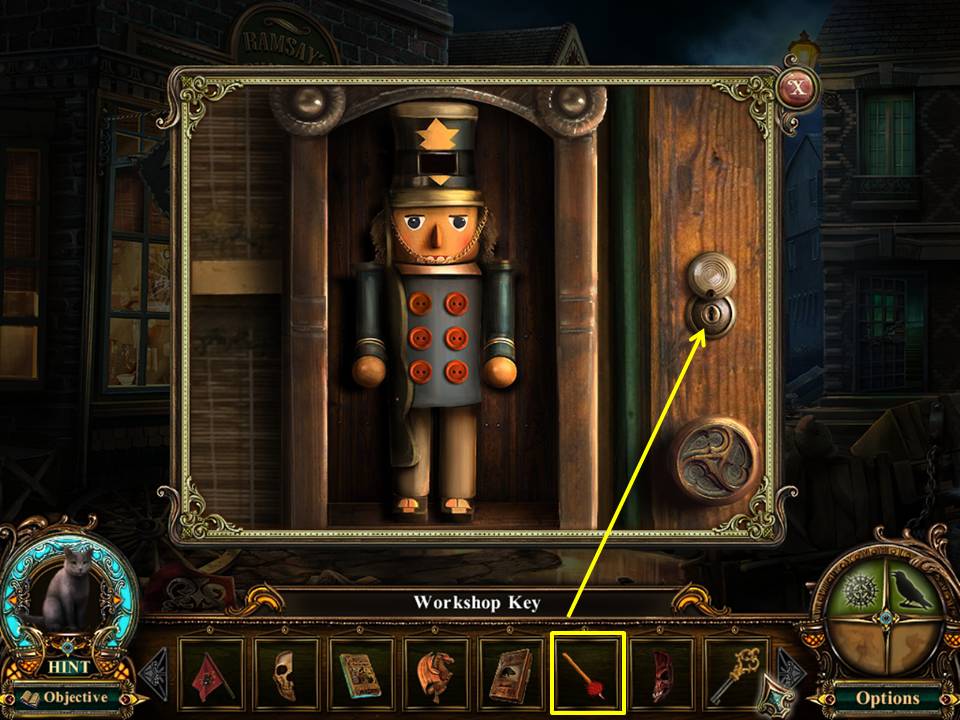
- Zoom into the workshop door.
- Open the door with the WORKSHOP KEY.
- Enter the workshop.
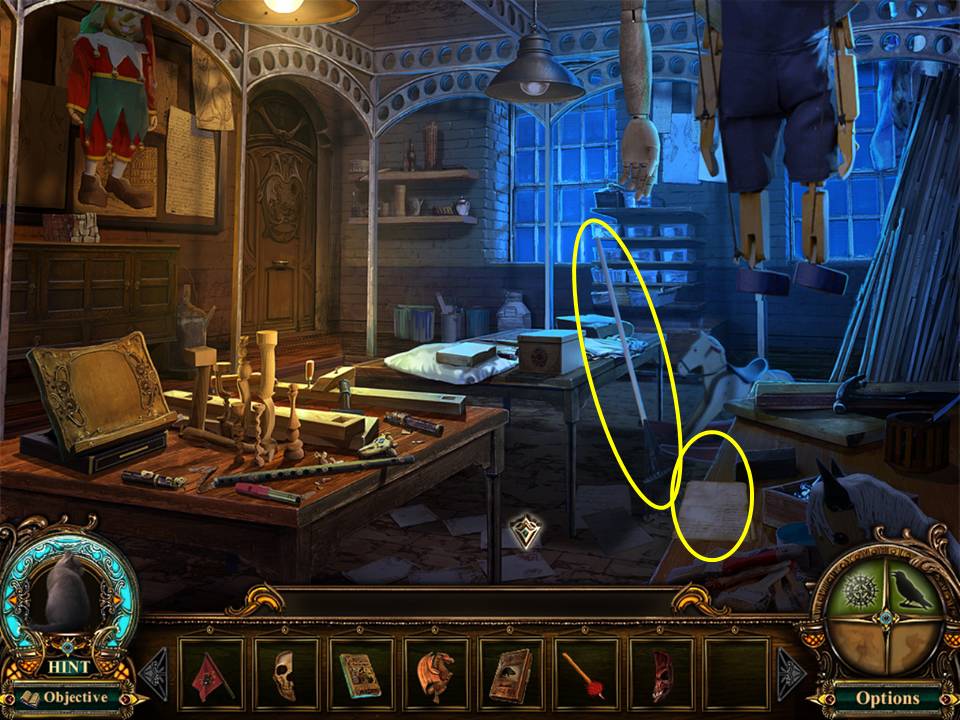
- Take the RAKE.
- Read the order.
- Click down 4 times.
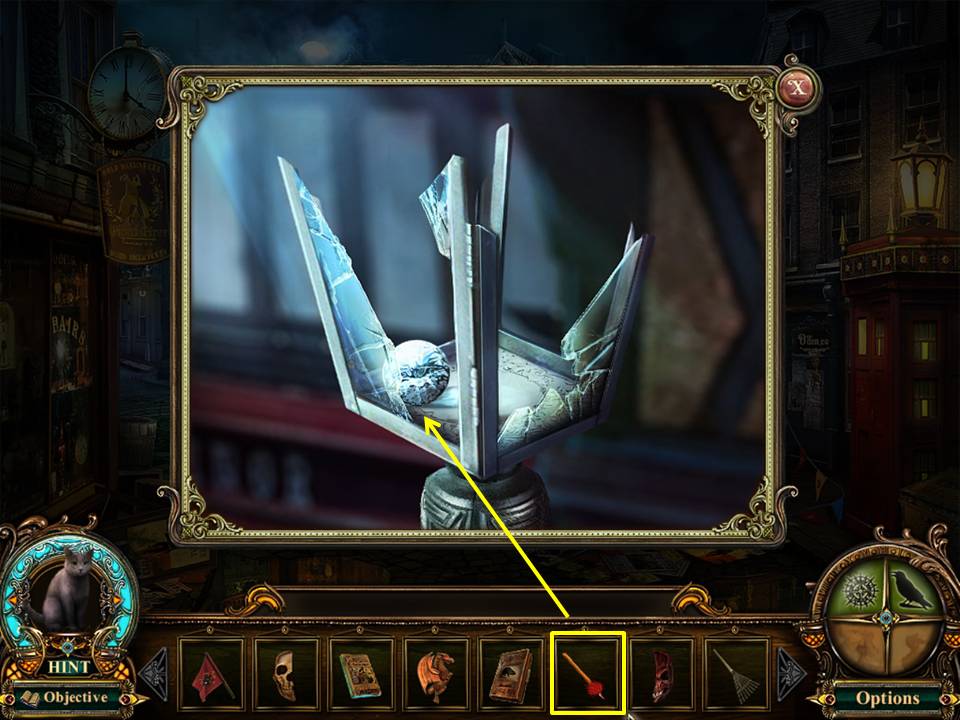
- Blow the Ravenlore Whistle.
- Zoom into the lamp.
- Use the BLOW DART to get WHITE CRYSTAL #1.
- Go forward and enter the clock tower.
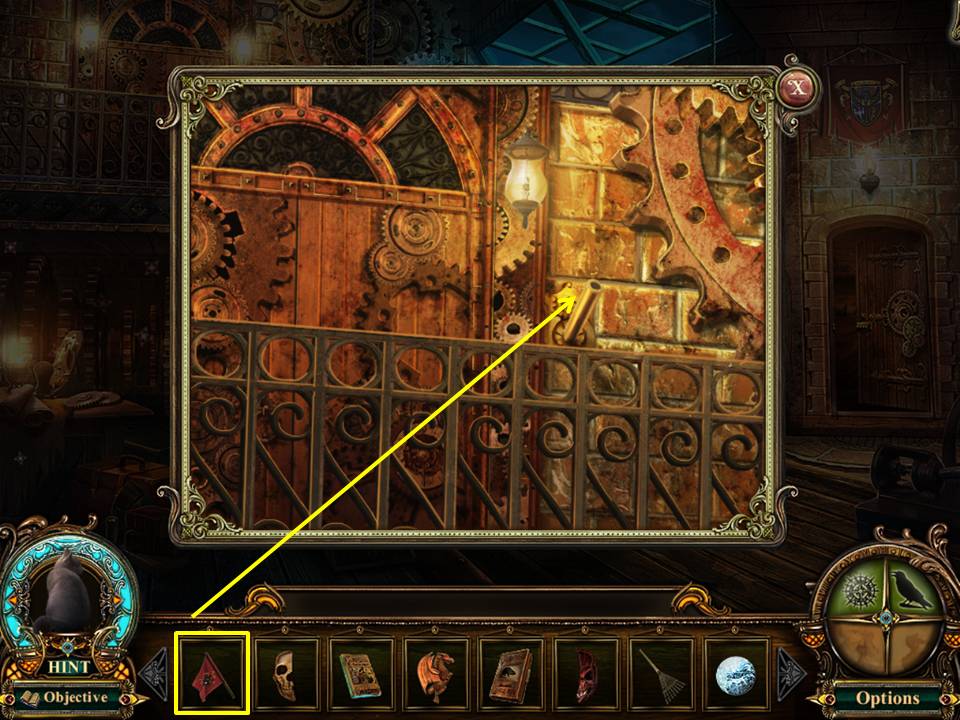
- Zoom into the left door.
- Place the FLAG in the holder.
- Play the Hidden Object Area on the left.
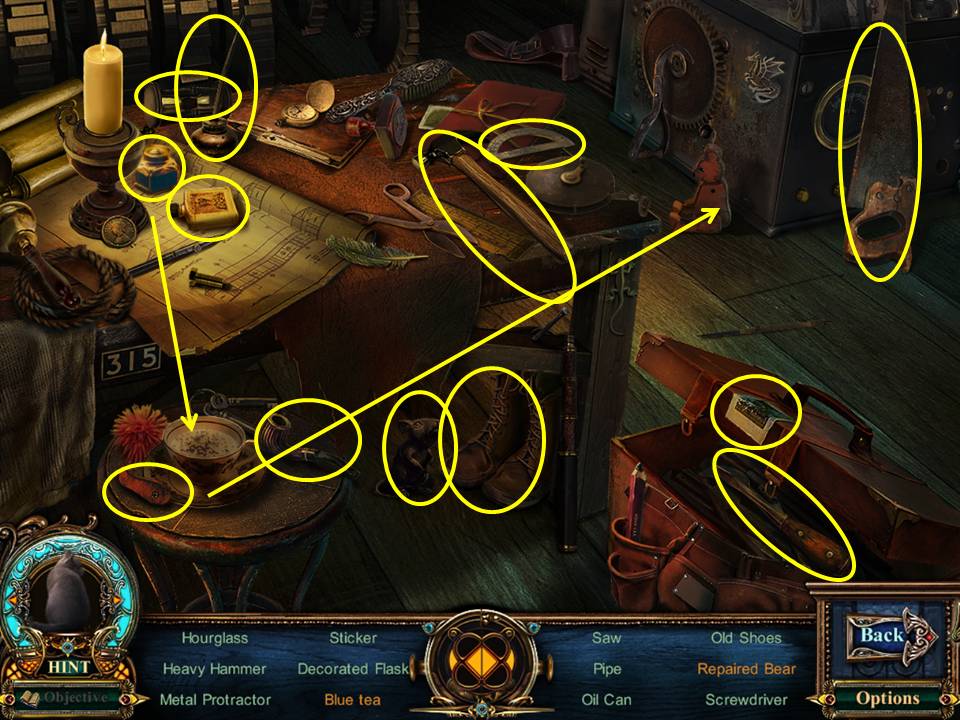
- Find the items listed.
- Place the ink in the tea to get blue tea.
- Place the leg on the bear to get the repaired bear.
- Receive the RAT CARVING. Enter the door on the top left.
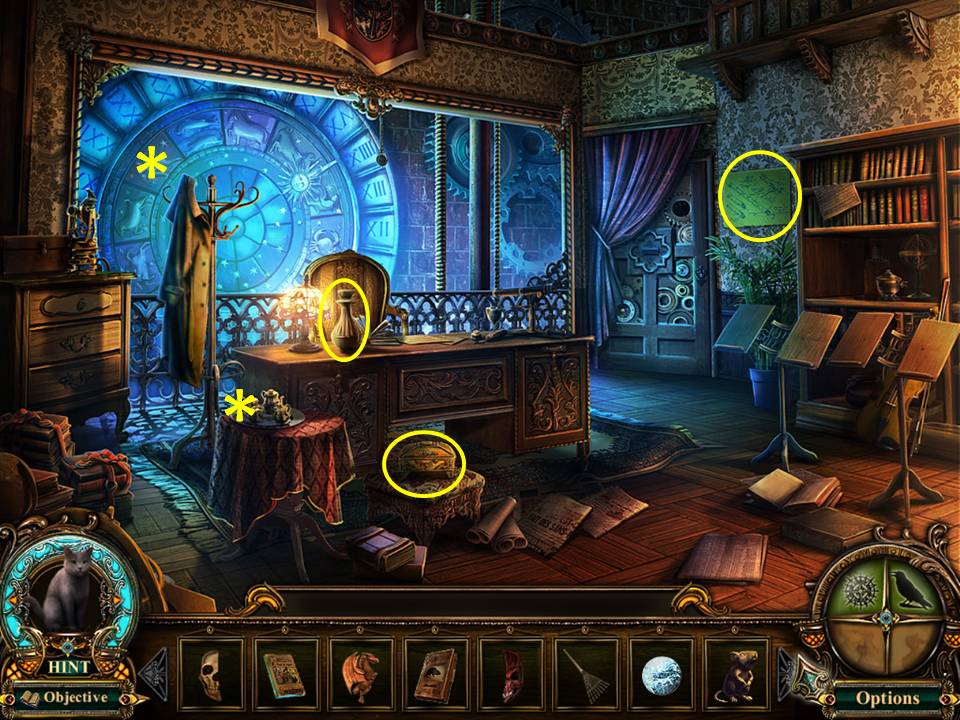
- Zoom into the small chest.
- Take the WOODEN KNIGHT.
- Take the BLUEPRINT from the wall.
- Take the METAL VASE from the desk.
- Click down 3 times.
- Go left, forward, then through the left gate.
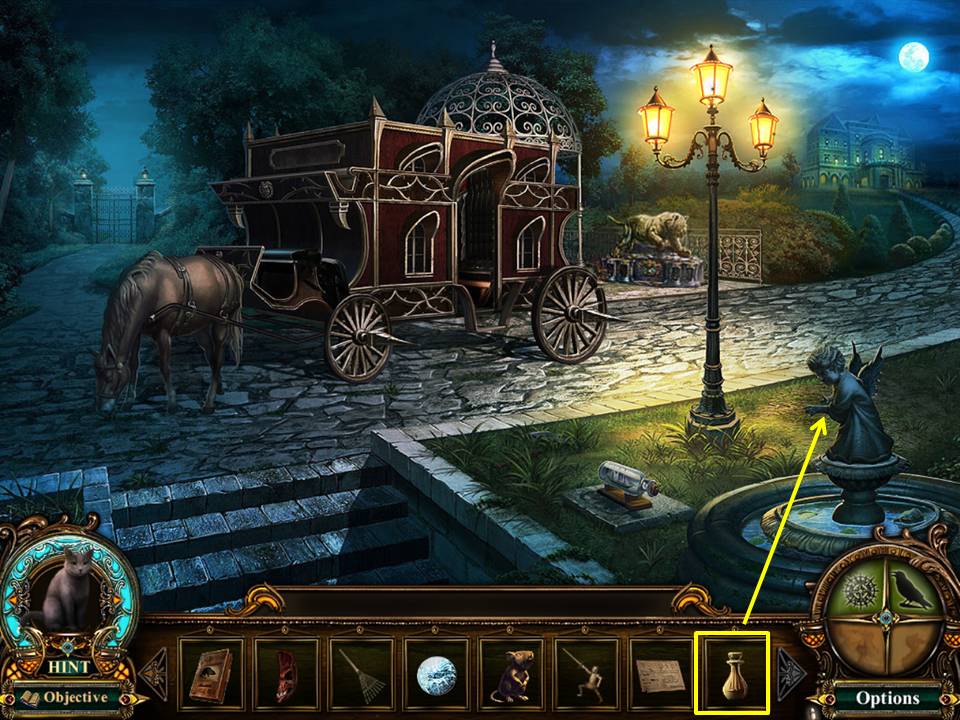
- Place the METAL VASE on the angel.
- Play the Hidden Object Area by the fountain.
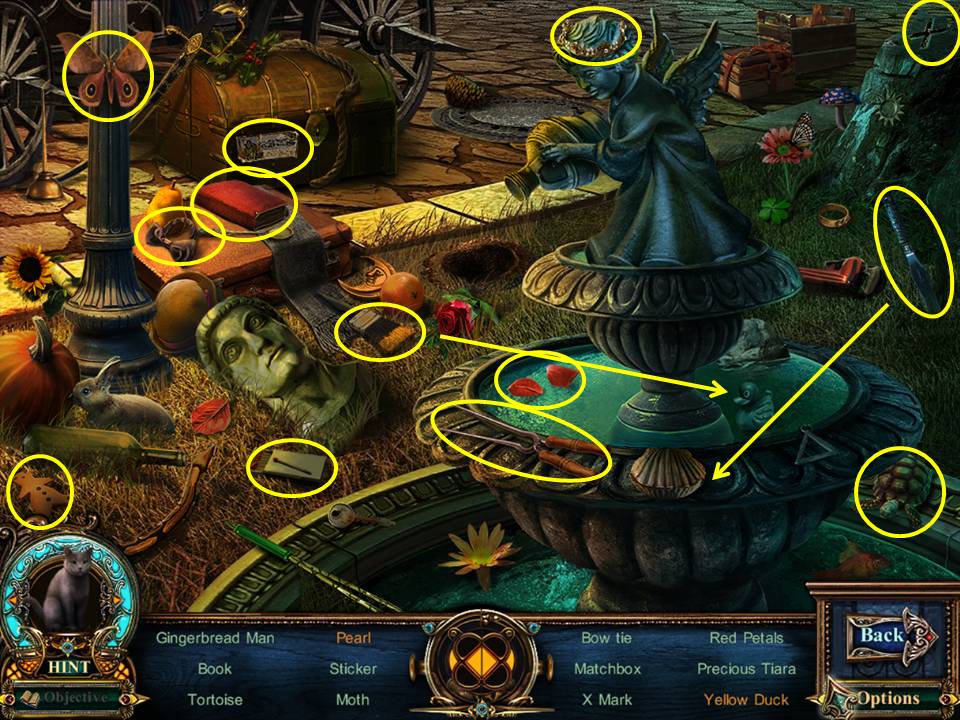
- Find the items listed.
- Paint the duck to get the yellow duck.
- Use the knife on the shell to get the pearl.
- Receive the TONGS.
- Click down, go left, enter the morgue.
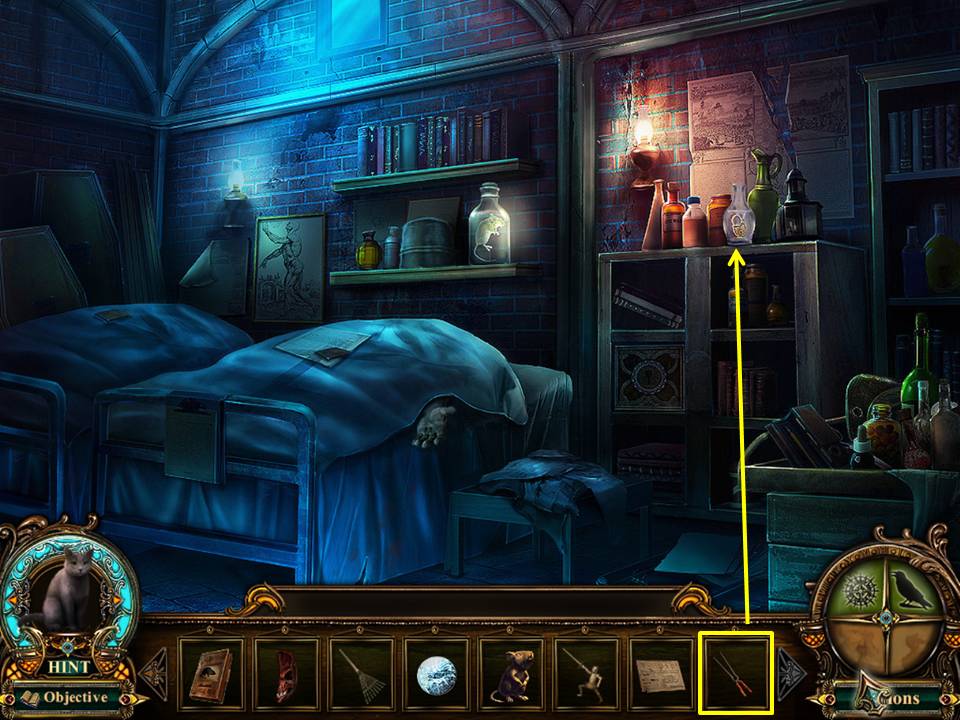
- Zoom into the bottle.
- Use the TONGS to get the GOLD LOCK.
- Click down.
- Enter the workshop.
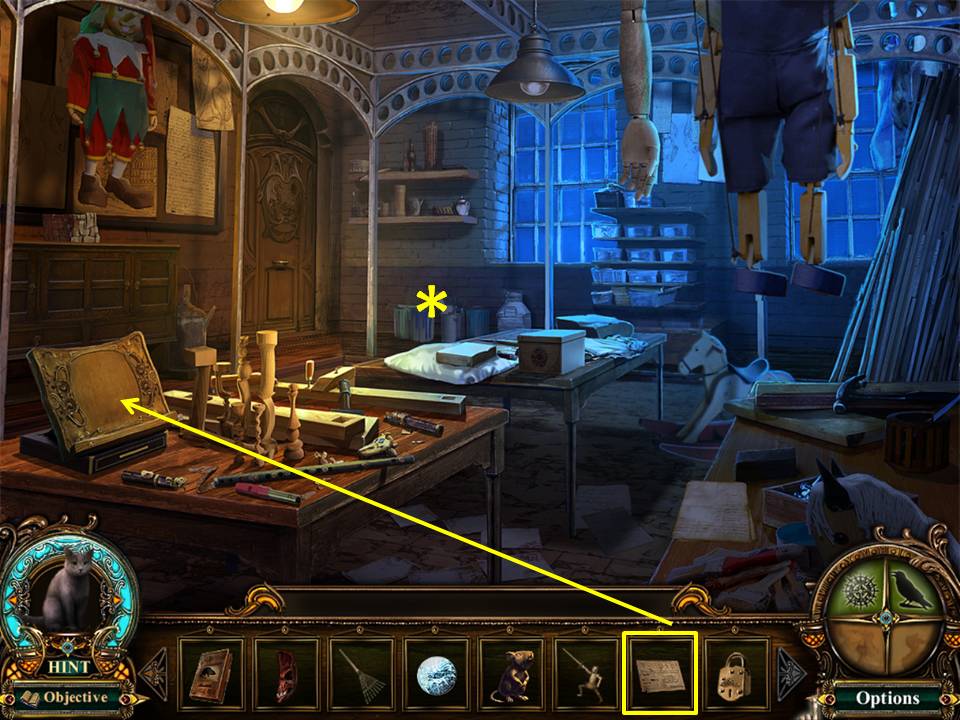
- Zoom into the table.
- Place the BLUEPRINT on the stand.
- Take the DIAMOND LOCK.
- Click down 3 times.
- Play the Hidden Object area by the chest on the left.
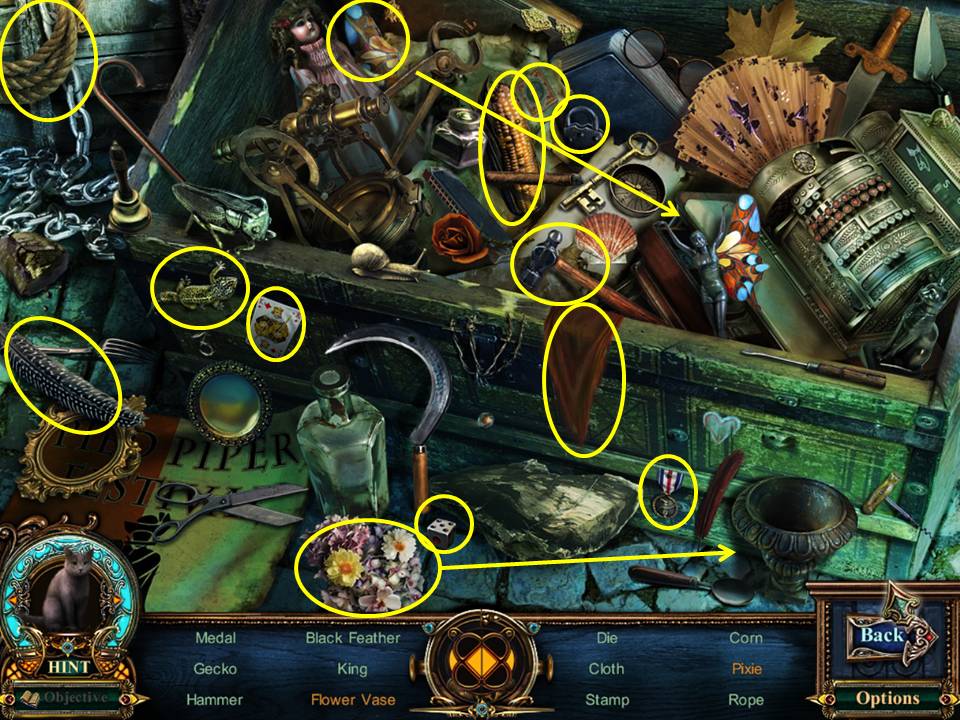
- Find the items listed.
- Place the flowers in the vase to get the flower vase.
- Place the wing on the figure to get the pixie.
- Receive the SILVER LOCK.
- Click down.
- Enter the manhole.
- Go forward and enter the right door.
- Play the Hidden Object Area on the left.
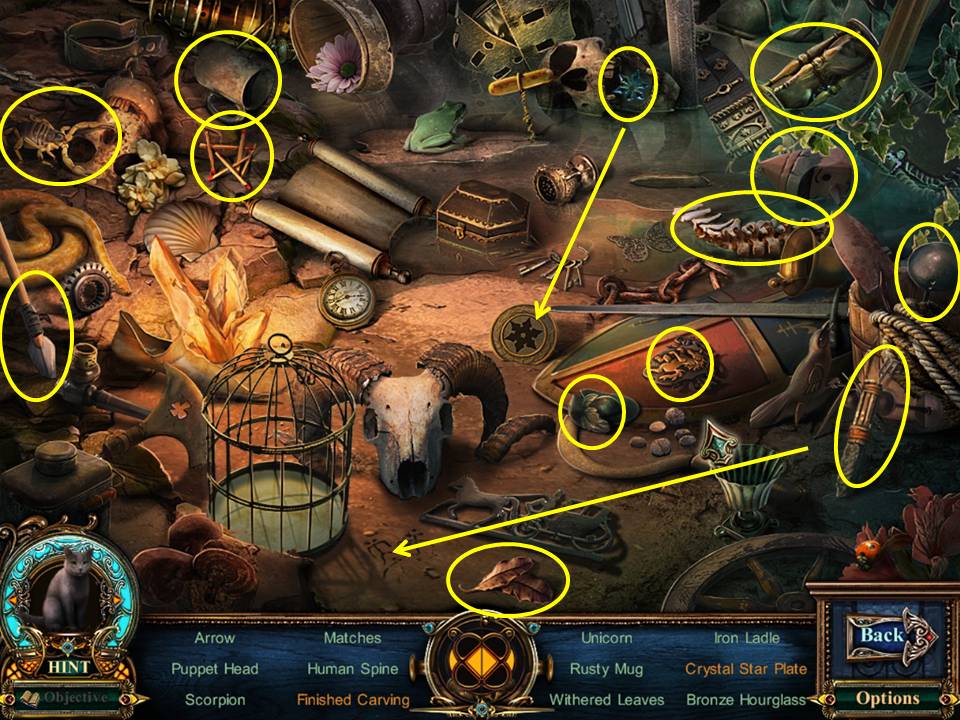
- Find the items listed.
- Place the star in the plate to get the crystal star plate.
- Chisel the carving to get the finished carving.
- Receive the MINIATURE HAT.
Congratulations! You've completed Chapter 5 of our Fabled Legends the Dark Piper Walkthrough!
Comments will load when you reach this part of the walkthrough.