

Chapter 3: The Underground City
The following contains screenshots and instructions on how to complete Chapter 3 from the CGG Fabled Legends The Dark Piper Walkthrough.
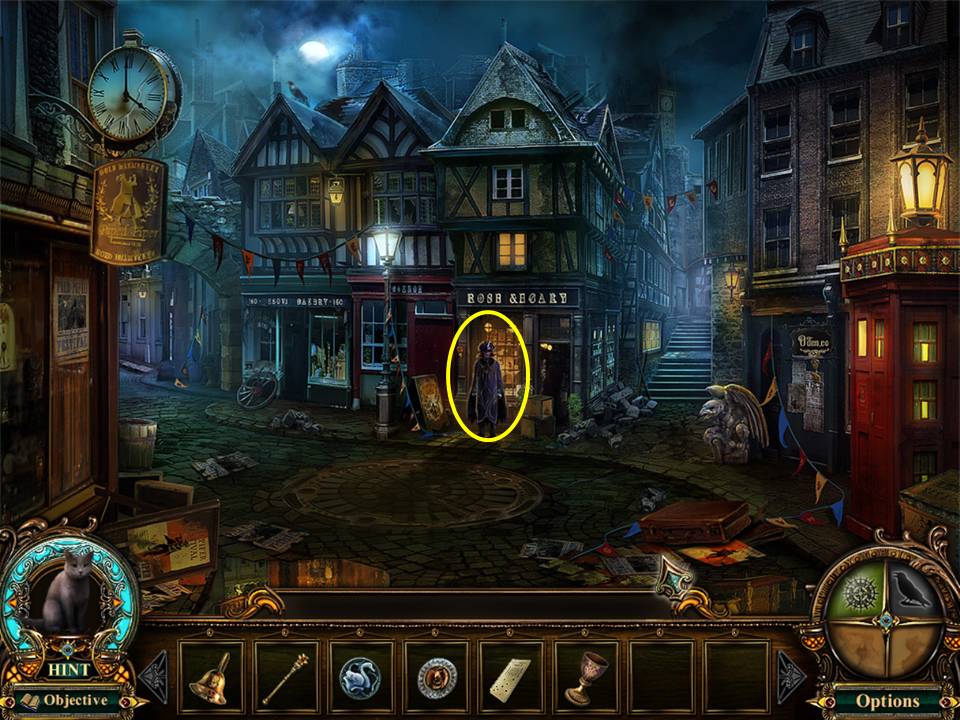
- Talk to the Piper.
- You will fall through the manhole in the center of the street.
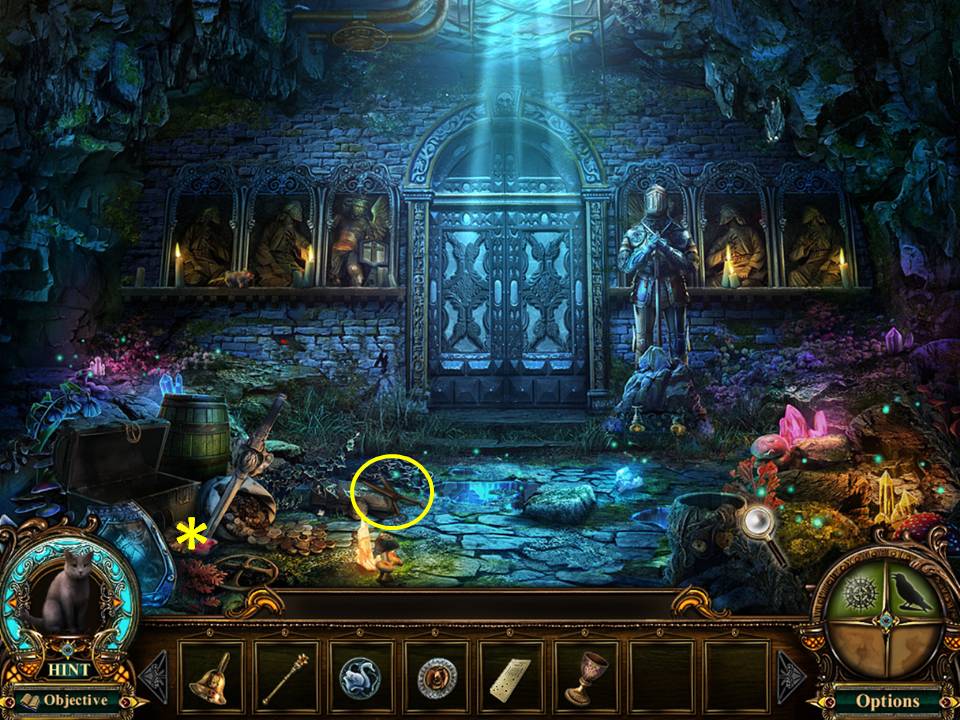
- Take the scissors.
- Proceed through the doors directly in front of you.
- FO: The mushroom, the wall carving and the skull in the Underground Cave.
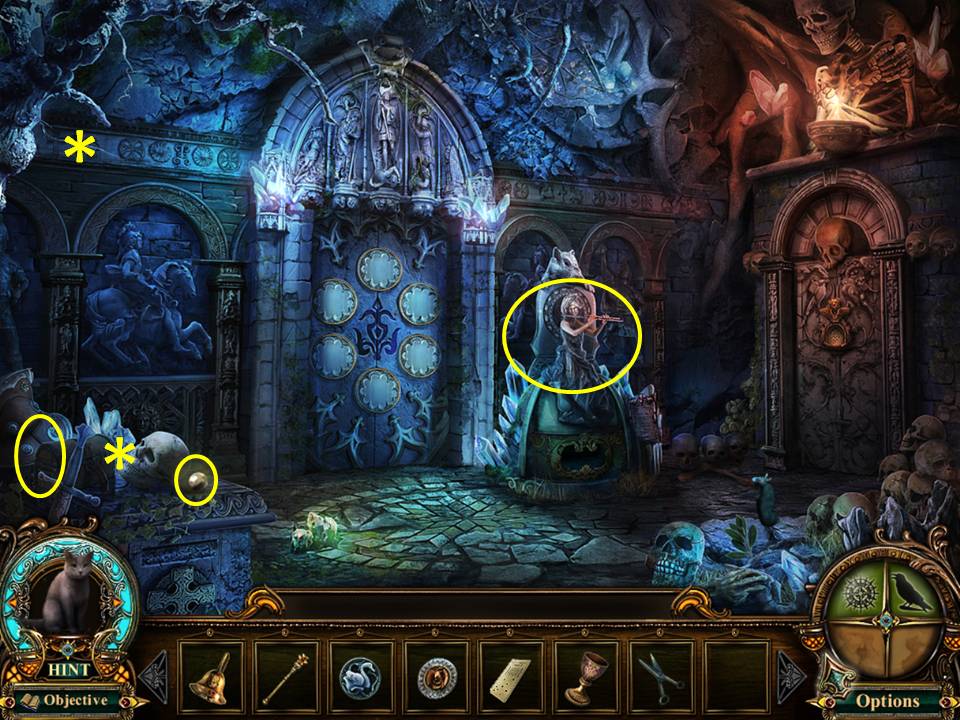
- Take the PEARL.
- Take the FLAG on the left.
- Zoom into the statue with the lady.
- Take the ROPE WITH HOOK.
- Click down once.
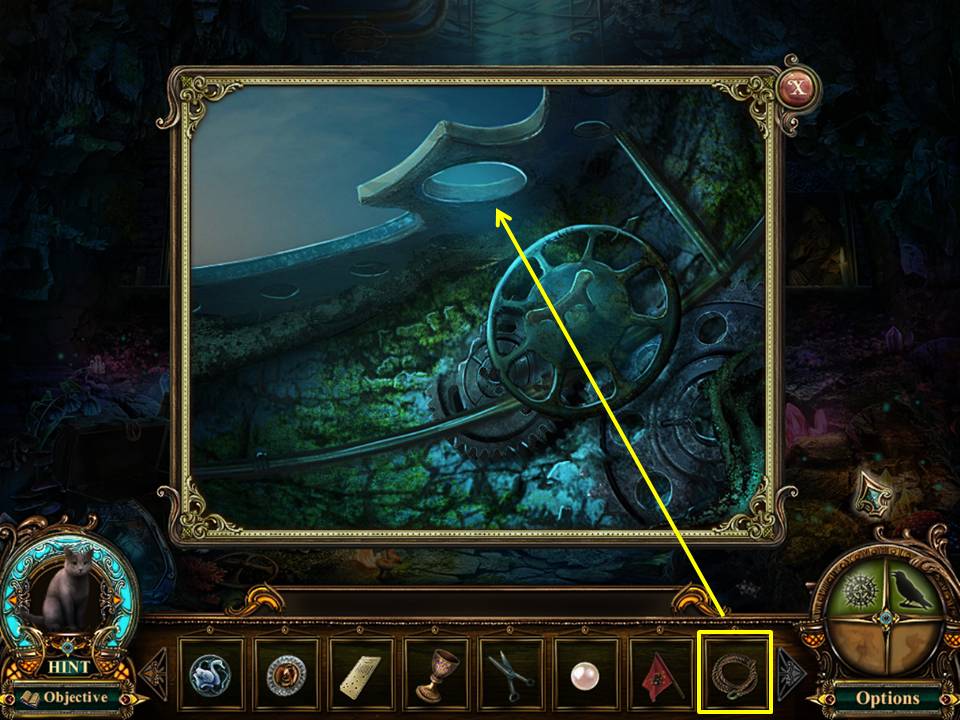
- Zoom into the opening above you.
- Use the ROPE WITH HOOK on the hole.
- Play the Hidden Object Area on the right.
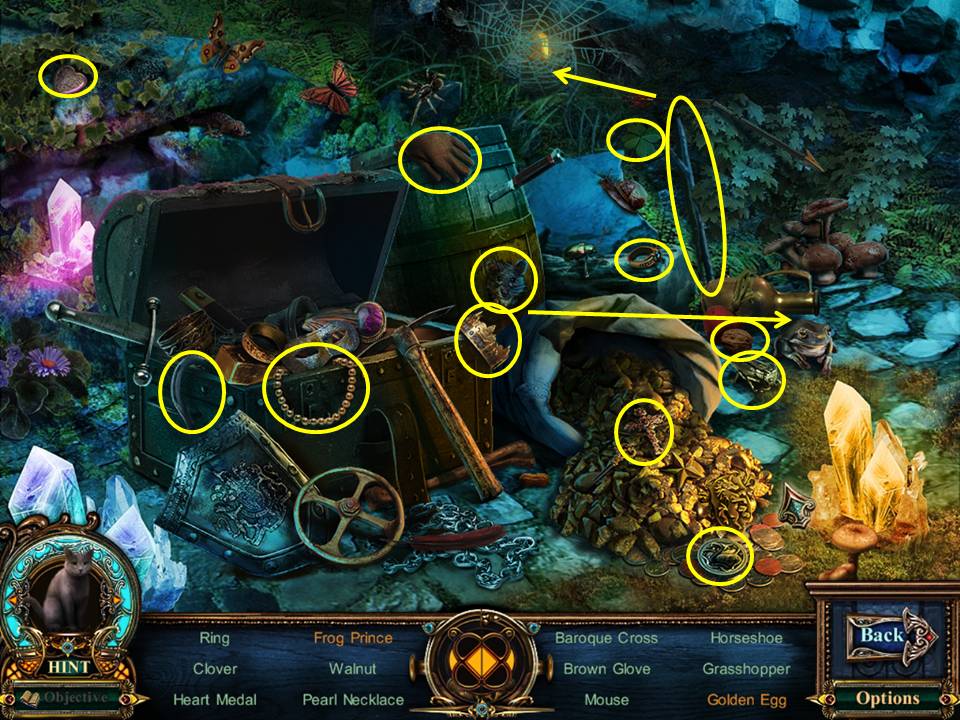
- Find the items listed.
- Place the crown on the frog to get the frog prince.
- Use the stick on the spiderweb to find the golden egg.
- Receive the BLACK SWAN EMBLEM.
- When finished, climb up the rope.
- Proceed forward and enter the stables.
- Play the Hidden Object Area by the back stall.
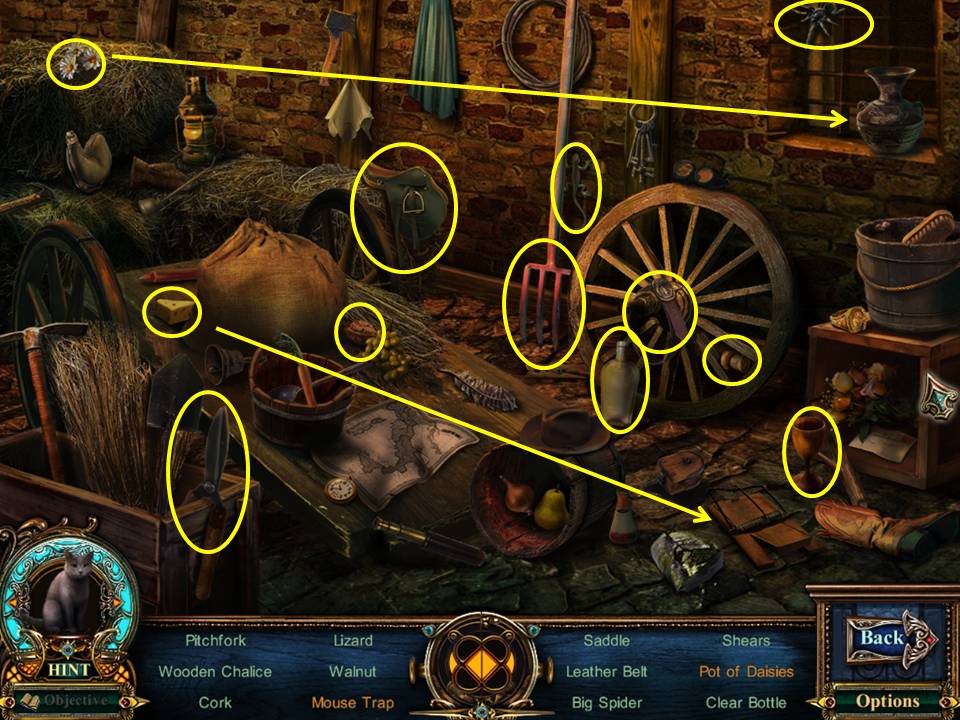
- Find the items listed.
- Place the cheese on the trap to get the mousetrap.
- Place the flowers in the pot to get the pot of daisies.
- Receive the RUST REMOVER.
- Enter the trapdoor to the sewer.
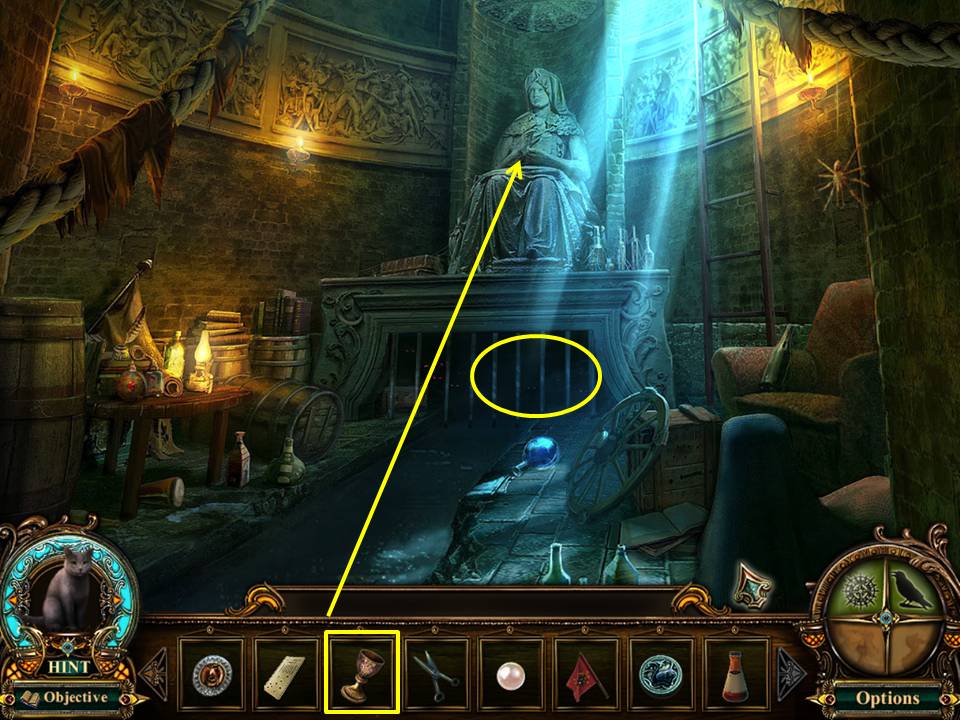
- Zoom into the statue.
- Place the GOLD CHALICE in her hands.
- Zoom into the opening and take the PHARMACY KEY.
- Exit the sewer. Click down twice.
- Proceed left and enter the door under the window.
- Play the Hidden Object Area by the cabinet on the right.
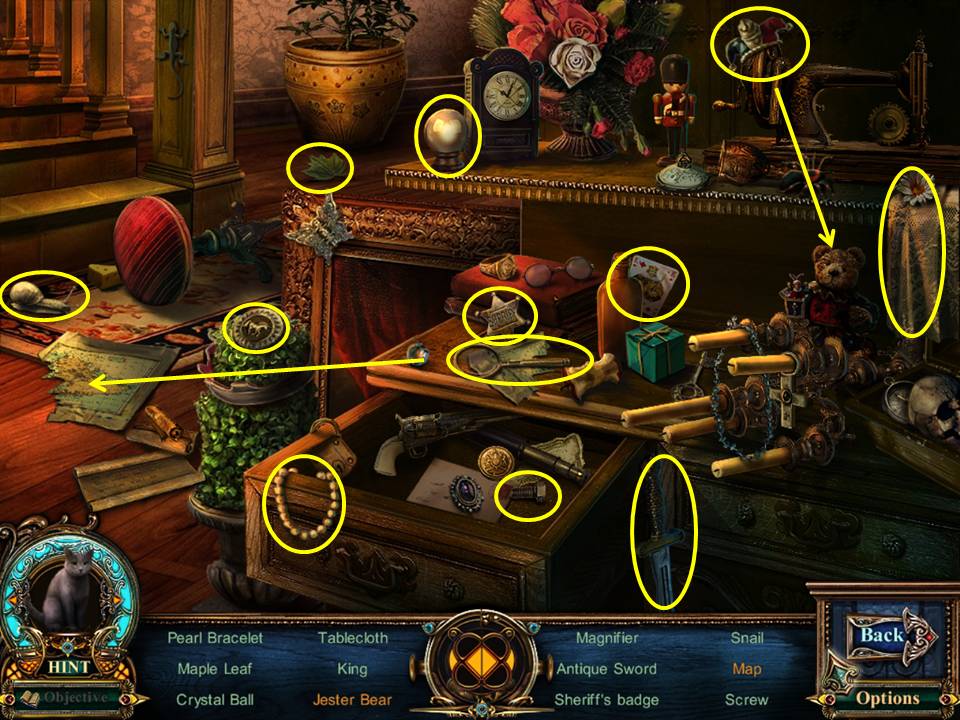
- Find the items listed.
- Place the hat on the bear to get the jester bear.
- Match the two paper scraps to get the map.
- Receive the UNICORN PLATE.
- Click down once.
- Scale the ladder.
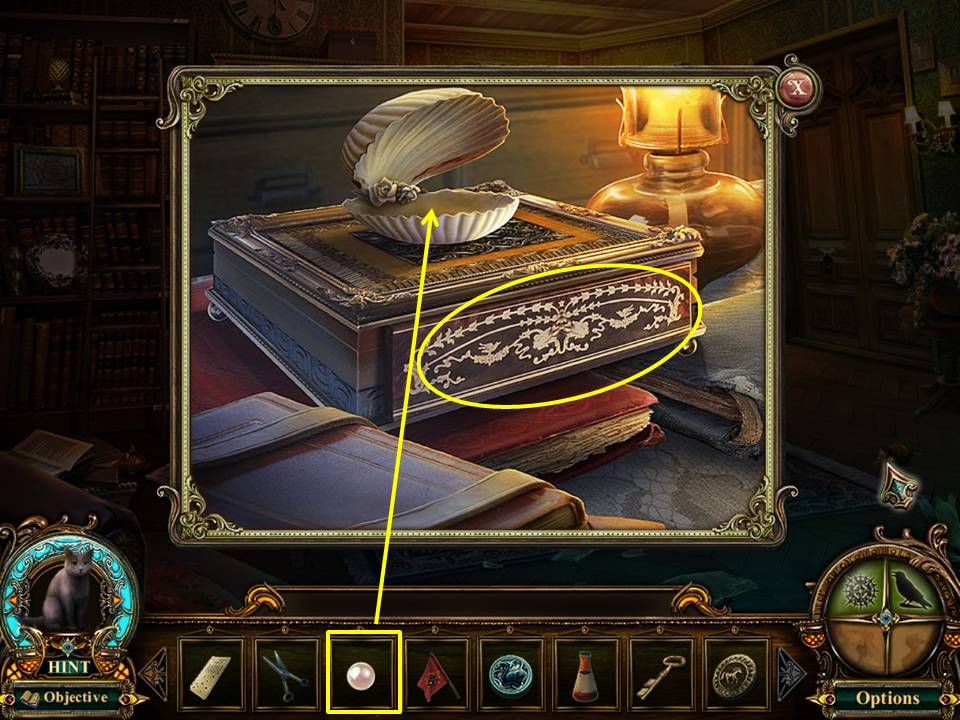
- Zoom into the table.
- Place the PEARL in the shell.
- Take the CLOCK TOWER KEY from the drawer.
- Exit the room.
- Walk forward to the gravesite.
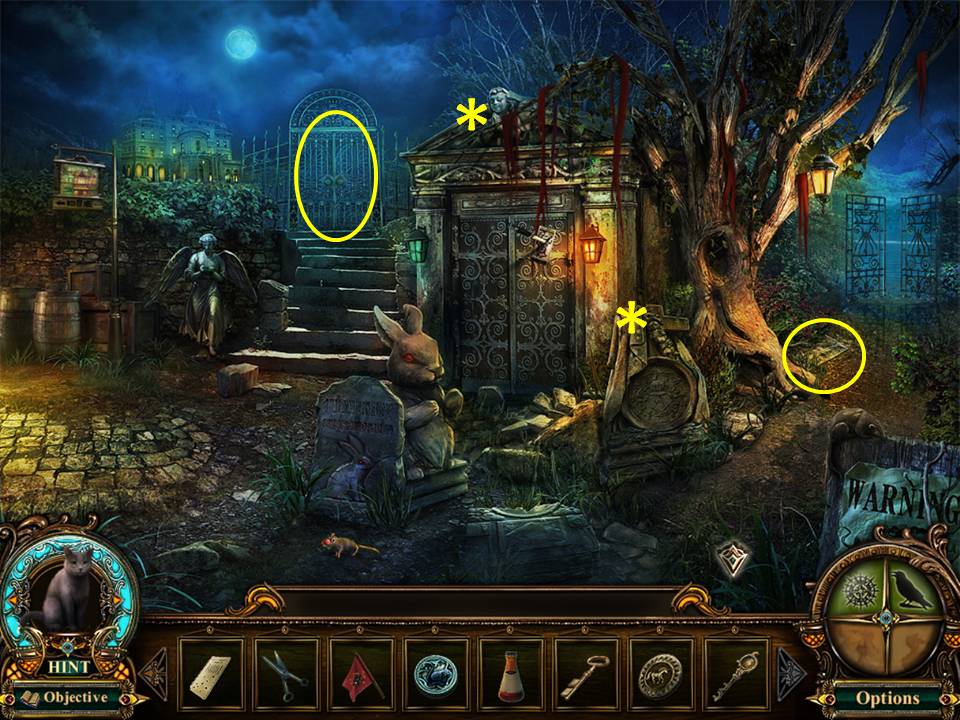
- Zoom into the tombstone.
- Push it back and take the INVISIBLE INK.
- Zoom into the left gate.
- Place the WHITE SWAN EMBLEM and BLACK SWAN EMBLEM into the circles.
- Proceed forward through the gate.
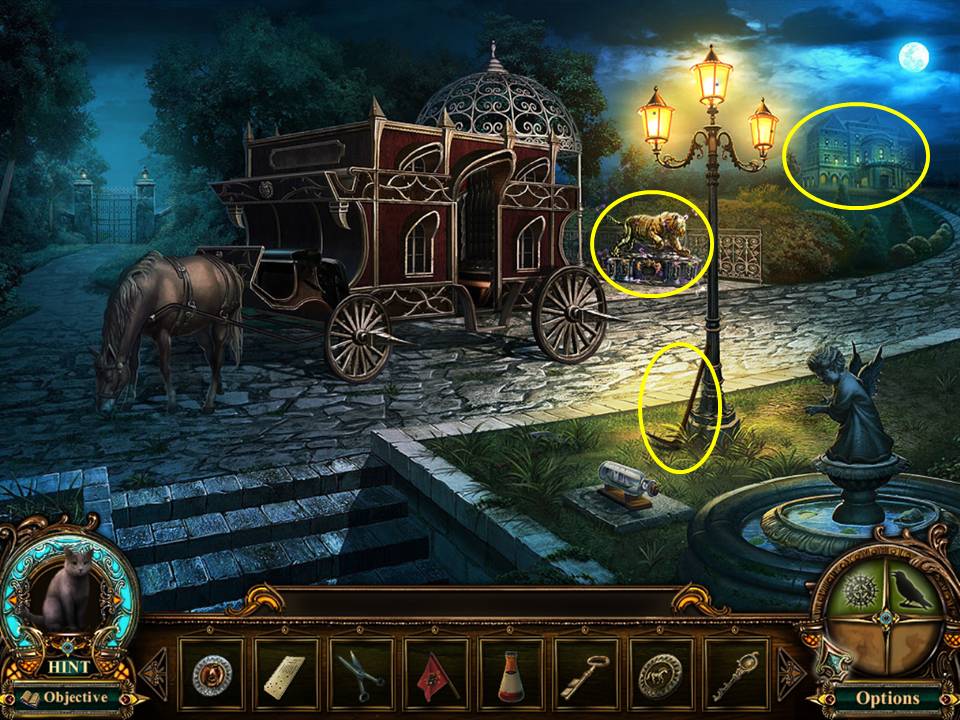
- Take the RUSTY PICKAX.
- Zoom into the Duke’s Mansion.
- Zoom into the tiger to play a mini-game.
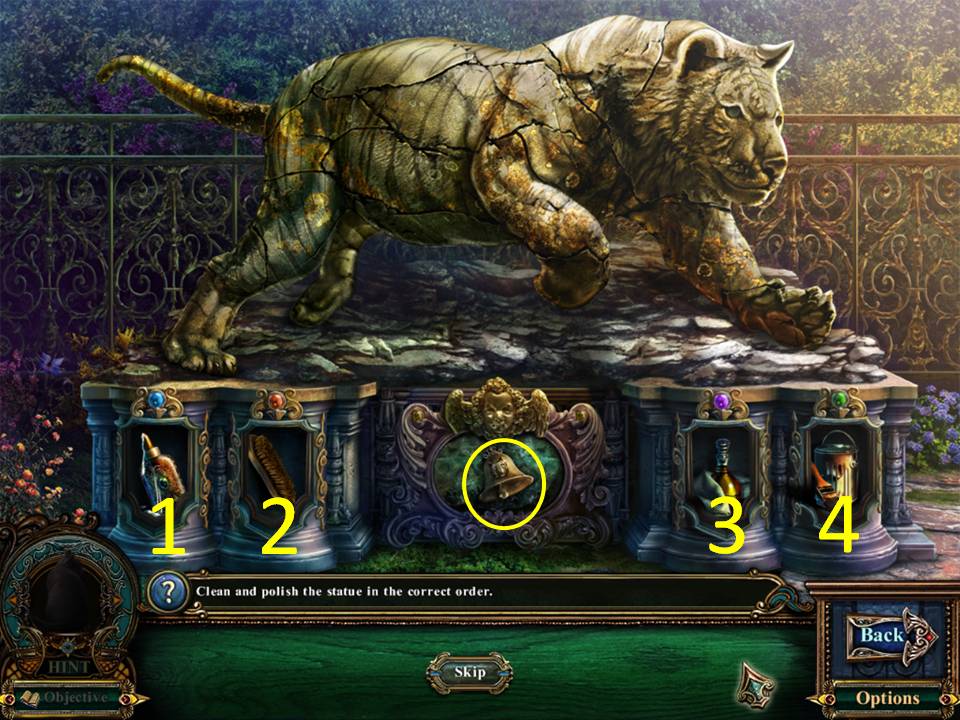
- The object of the game is to clean and polish the statue in the correct order.
- Place the pieces to restore the tiger statue.
- Use the cleaning supplies under the statue.
- Assuming the bins are number one to four (not counter the center bin with the cherub face), use them in this order: 1, 2, 4, 3. When finished, take the SILVER BELL from the center bin.
- Proceed to the Mansion.
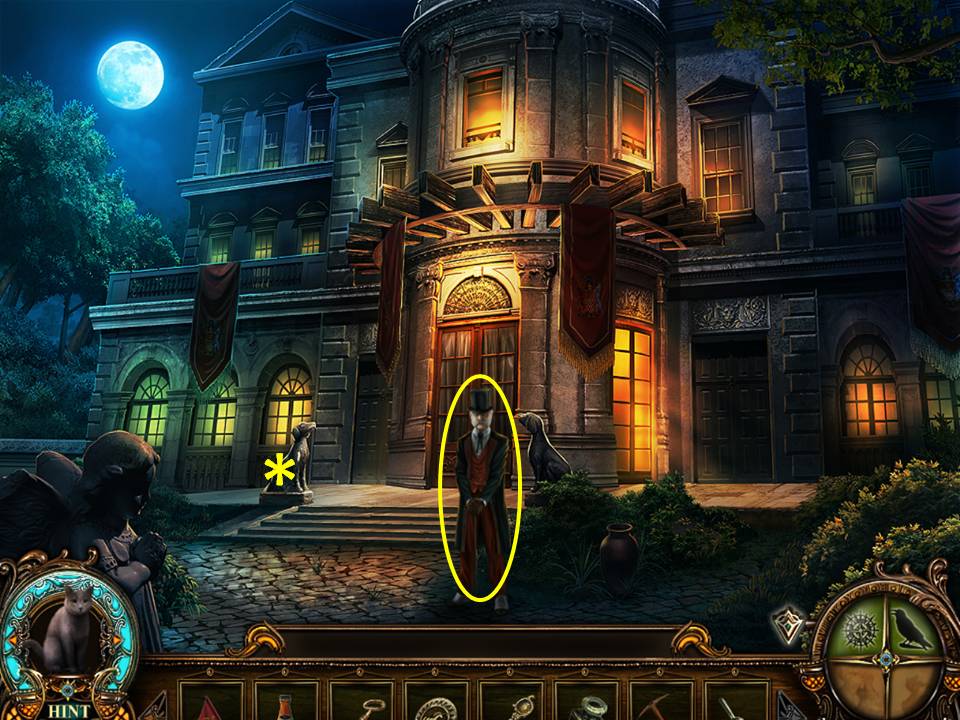
- Talk to the Duke.
- Receive the WOLF PLATE.
- Click down twice.
- Proceed left.
- FO: The left dog statue at the mansion entrance.
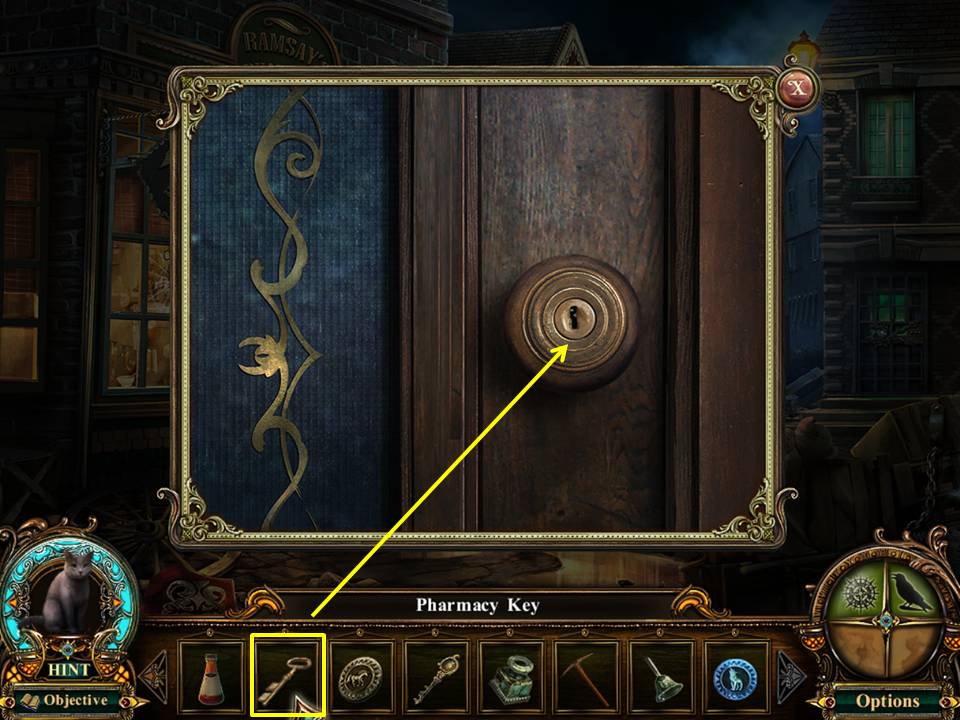
- Zoom into the pharmacy door.
- Open the lock with the PHARMACY KEY.
- Enter the pharmacy.
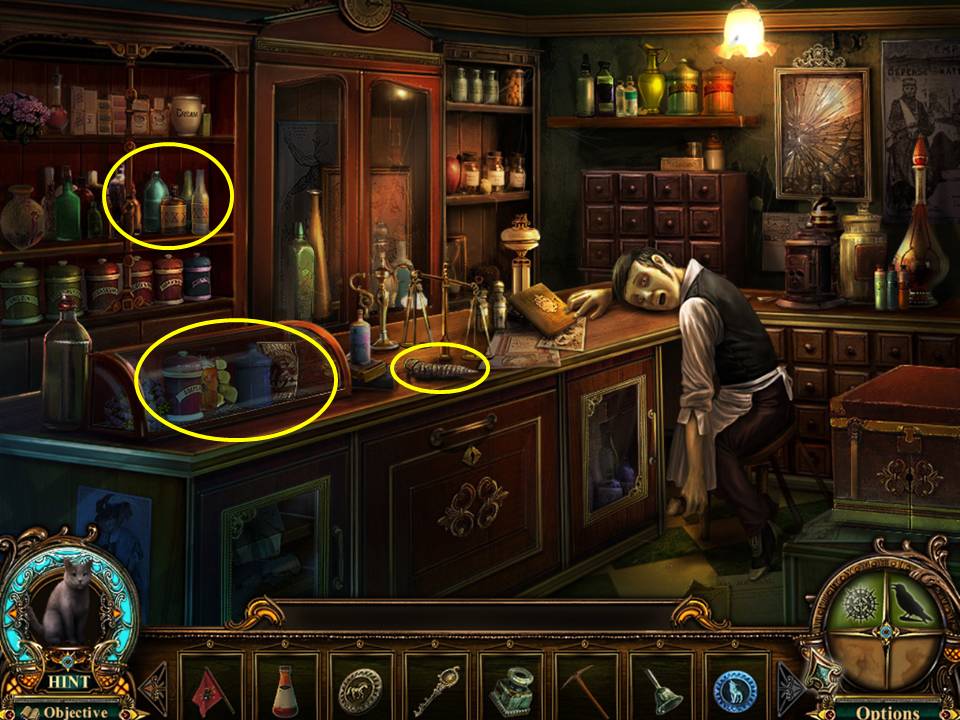
- Zoom into the glass case.
- Take the SMALL SHIP.
- Zoom into the shelf.
- Take the INSECTICIDE.
- Take the STONE CARROT.
- Click down twice to get to the Gravesite.
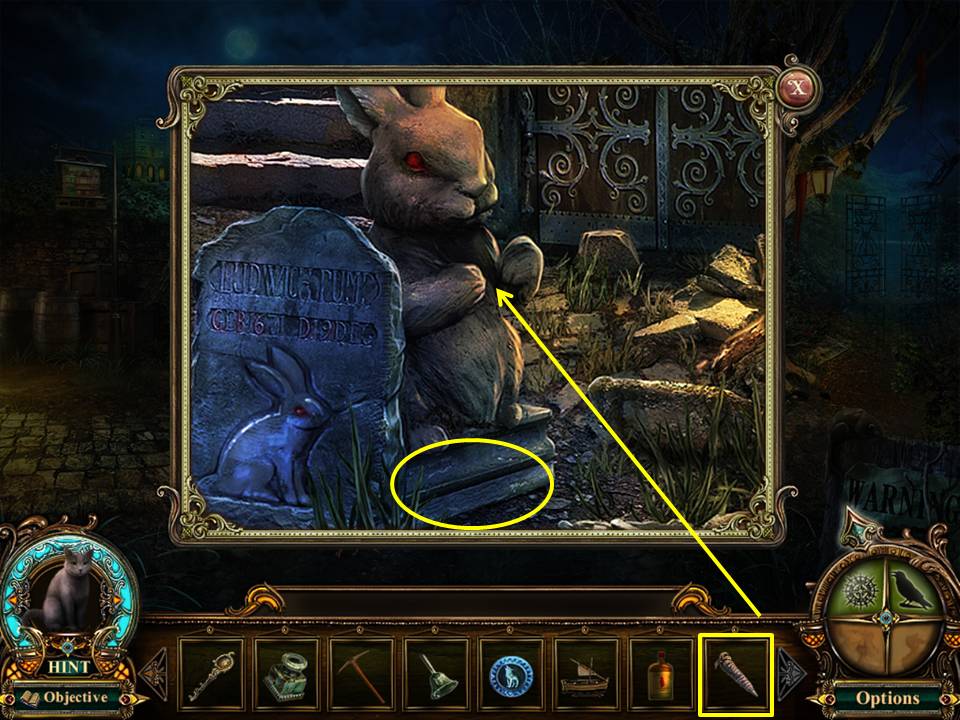
- Zoom into the rabbit statue.
- Place the STONE CARROT in its paws.
- Take the DIARY KEY and the CABINET KEY.
- Proceed through the gate to the lake.
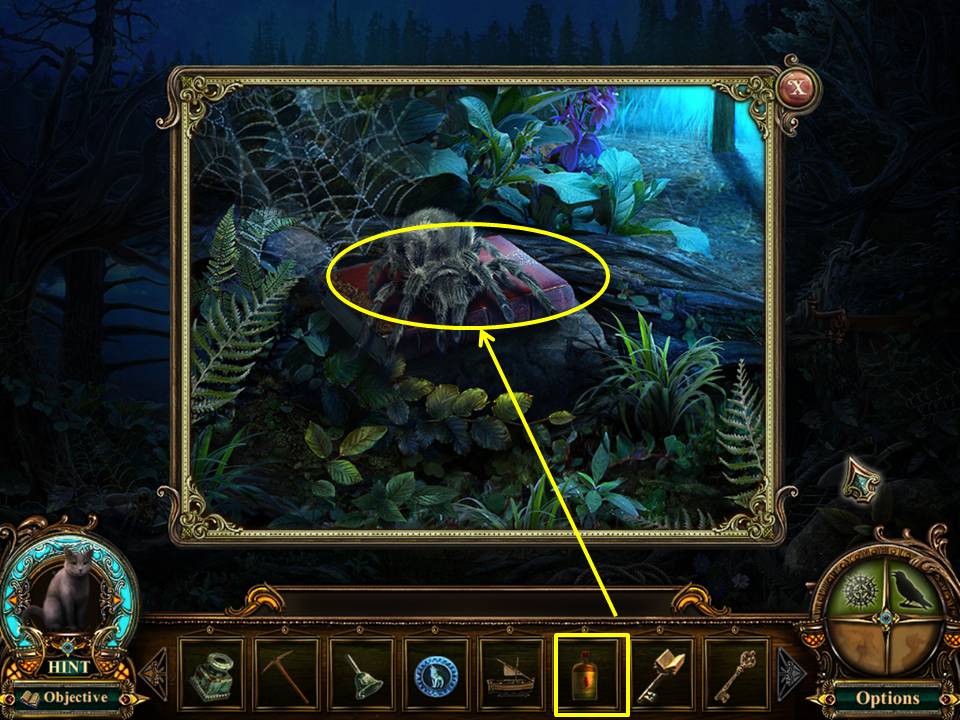
- Zoom into the spider.
- Spray it with INSECTICIDE.
- Take the ADDRESS BOOK.
- Click down.
- Proceed left and enter the pharmacy.
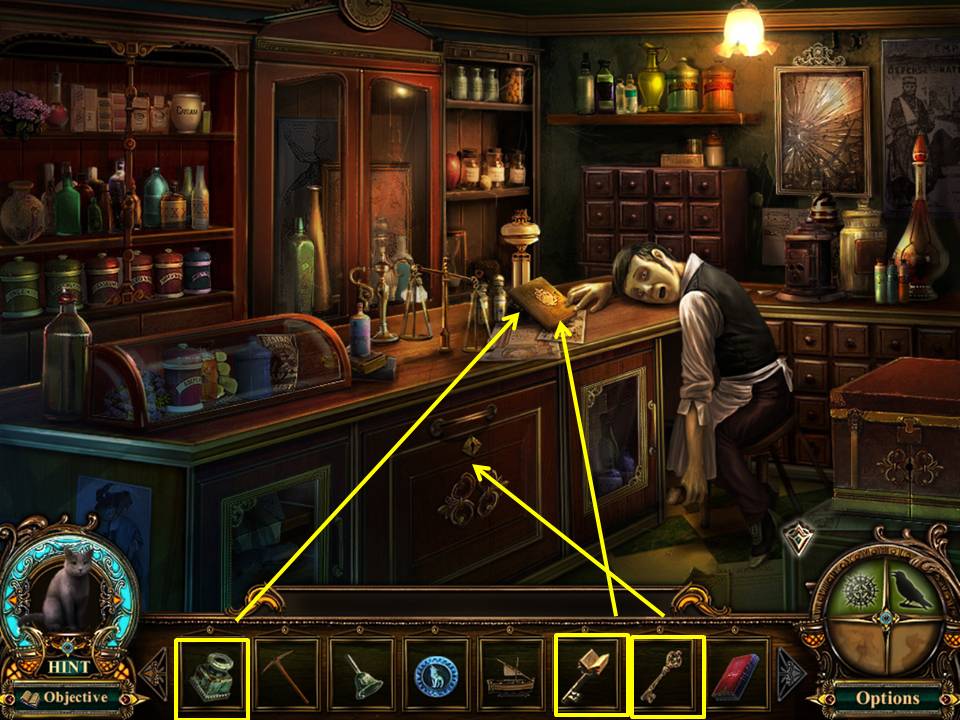
- Zoom into the diary.
- Use the DIARY KEY on the lock.
- Use the INVISIBLE INK on the pages.
- Take the ENCRYPTED RECEIPT.
- Unlock the cabinet with the CABINET KEY.
- Play the Hidden Object Area by the cabinet.
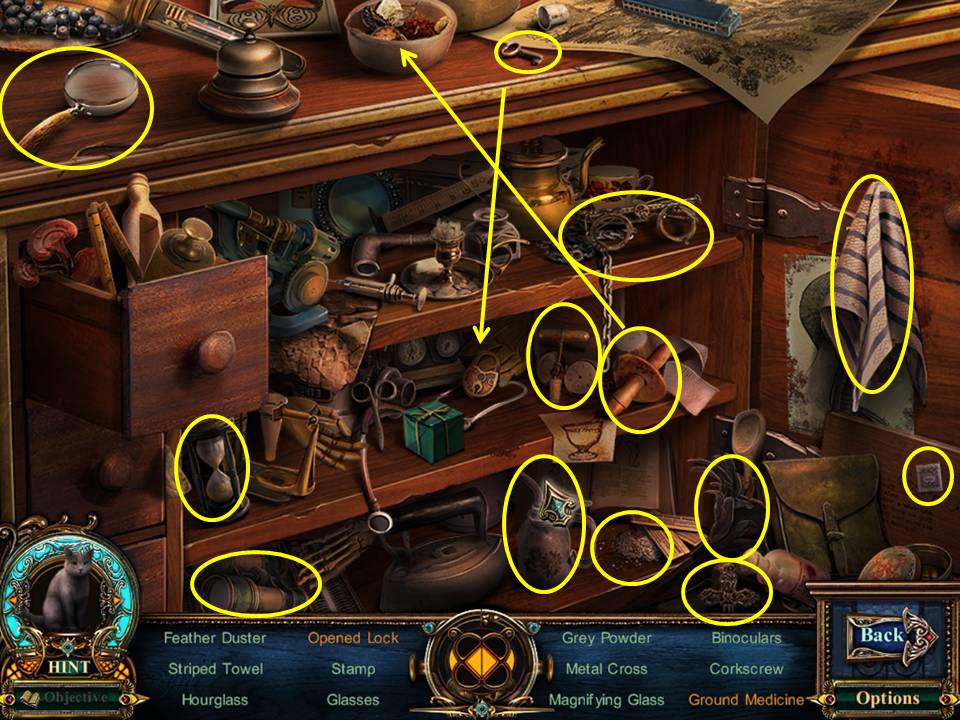
- Find the items listed.
- Use the key in the lock to get the opened lock.
- Use the pestle in the mortar to get the ground medicine.
- Receive the OIL.
- Click down four times and then proceed forward.
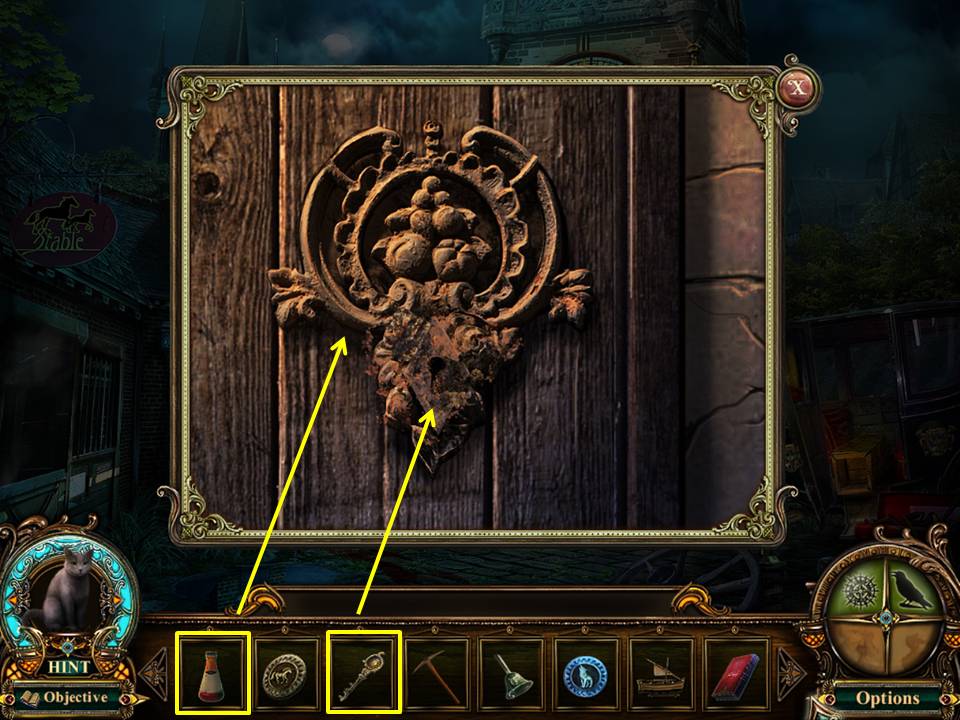
- Zoom into the clock tower door and use the RUST REMOVER on the lock.
- Open the lock with the CLOCK TOWER KEY.
- Enter the tower.
- FO: The lamp and carriage emblem in the clock tower courtyard.
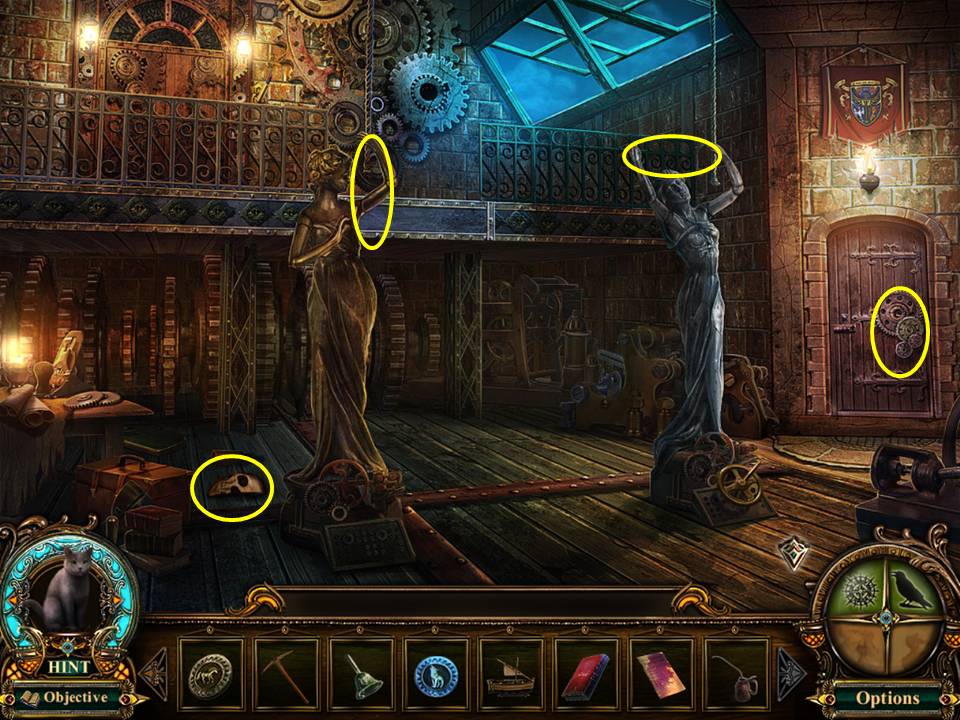
- Take the SKELETAL HALF MASK.
- Place the GOLD BELL on the gold statue and the SILVER BELL on the SILVER STATUE.
- Zoom into the door on the right. OIL the lock.
- Play the Hidden Object Game by the table on the left.
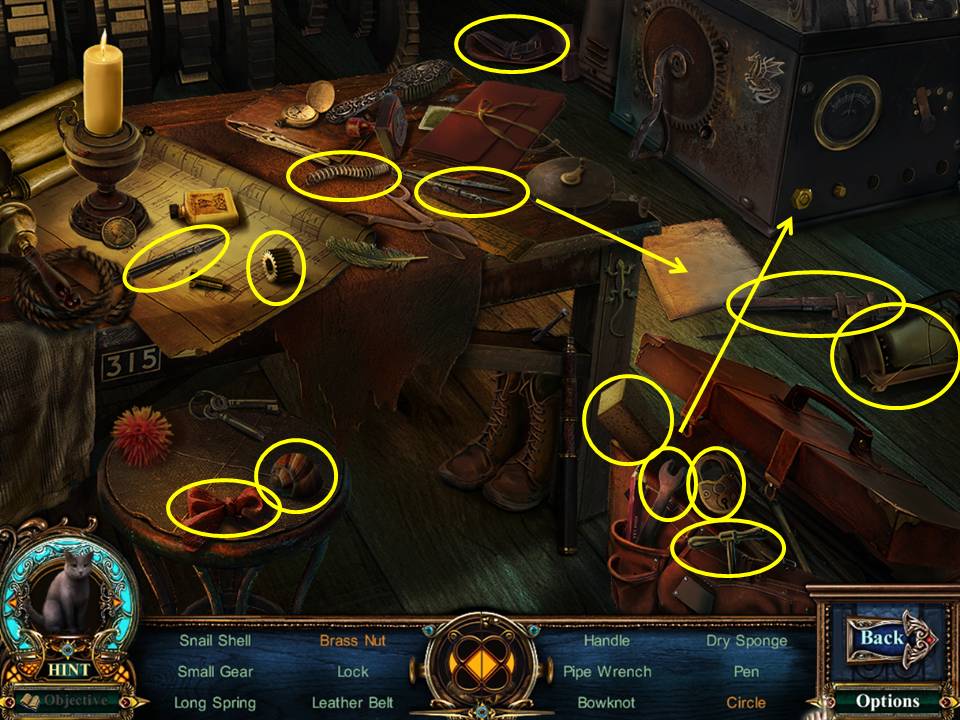
- Find the items listed.
- Remove the brass nut with the wrench.
- Make the circle on the paper with the compass.
- Receive the LAMP.
- Proceed through the door on the right.
Comments will load when you reach this part of the walkthrough.