

Chapter 1: Summoned To Hamelin
The following contains screenshots and instructions on how to complete Chapter 1 from the CGG Fabled Legends The Dark Piper Walkthrough.
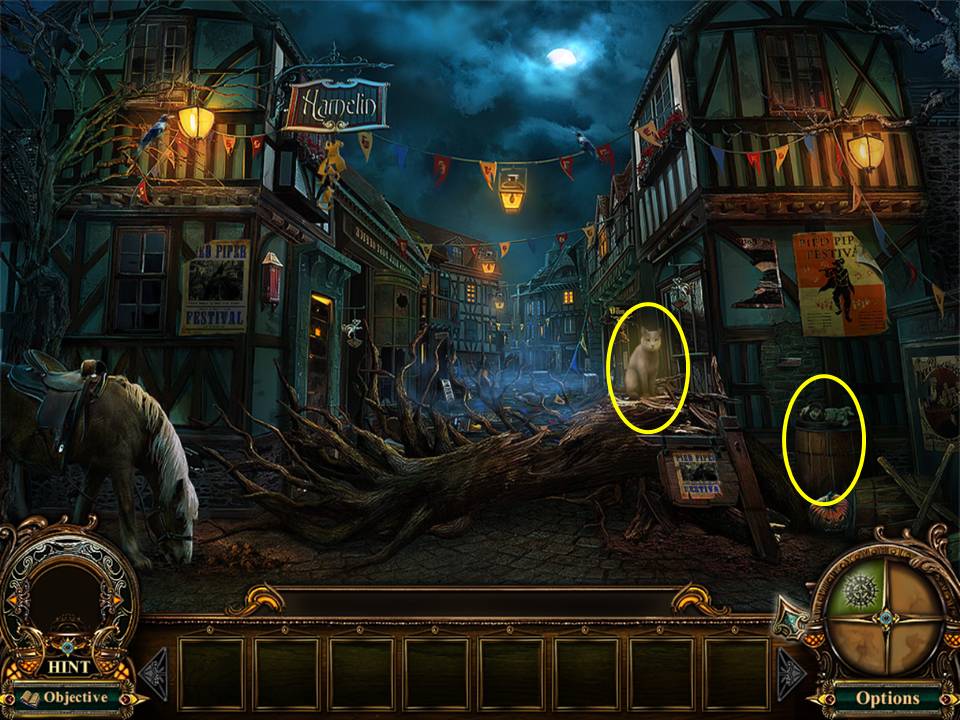
- Click on the cat to start the hint meter.
- Choose whether you want to access interactive help.
- Play the Hidden Object Area by the barrels.
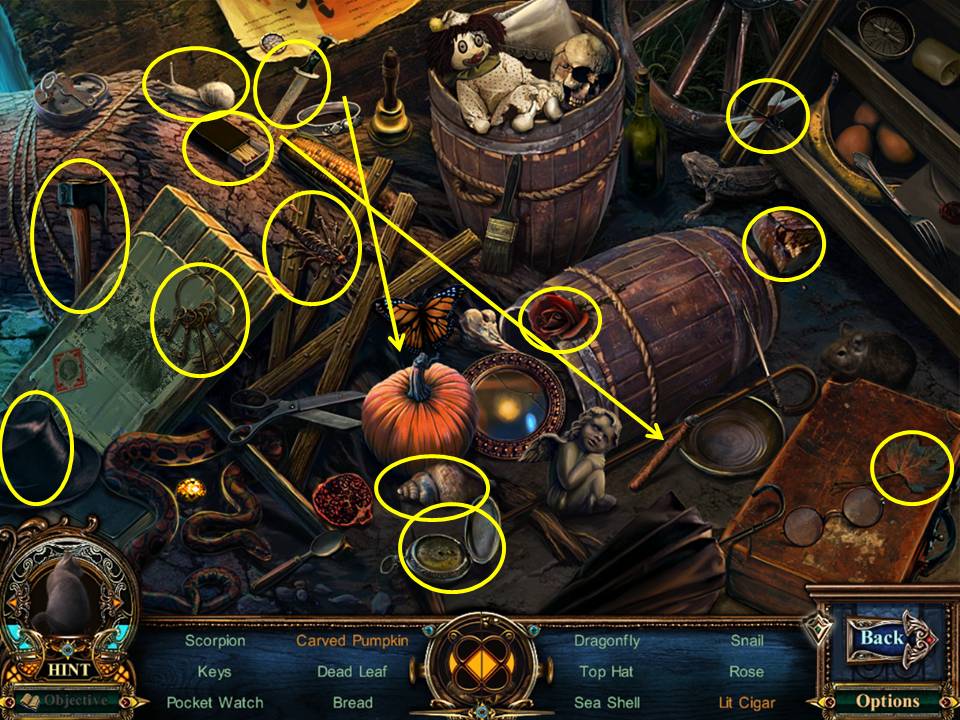
- Find the items listed.
- Carve the pumpkin with the knife to get the carved pumpkin.
- Light the cigar with the matches to get the lighted cigar.
- Receive the WOODEN AX.
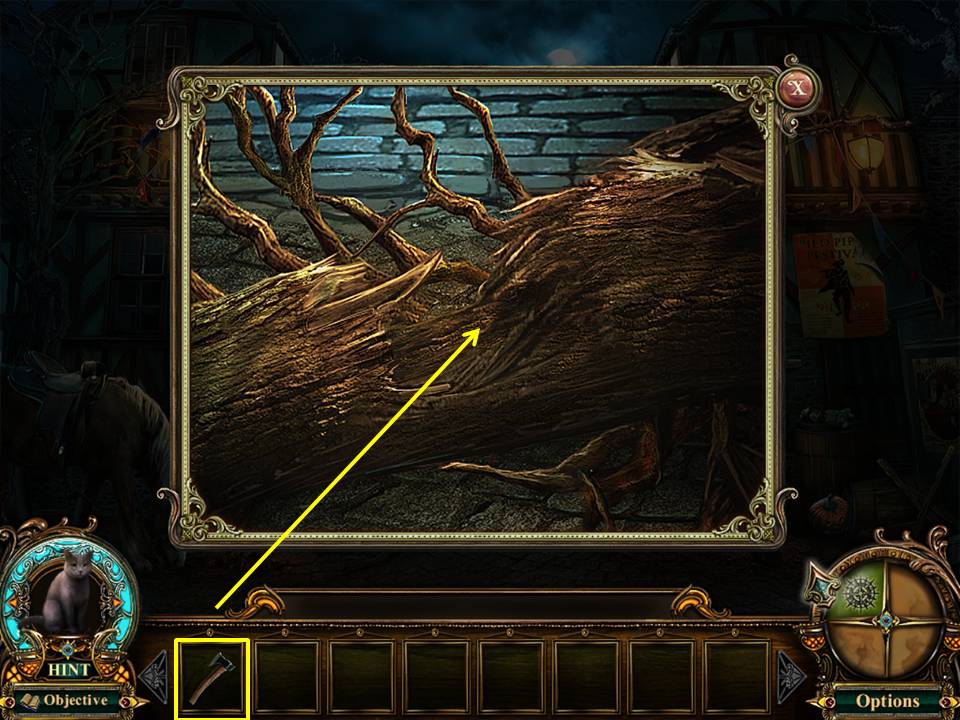
- Zoom into the fallen tree.
- Chop the tree with the WOODEN AX.
- Proceed forward.
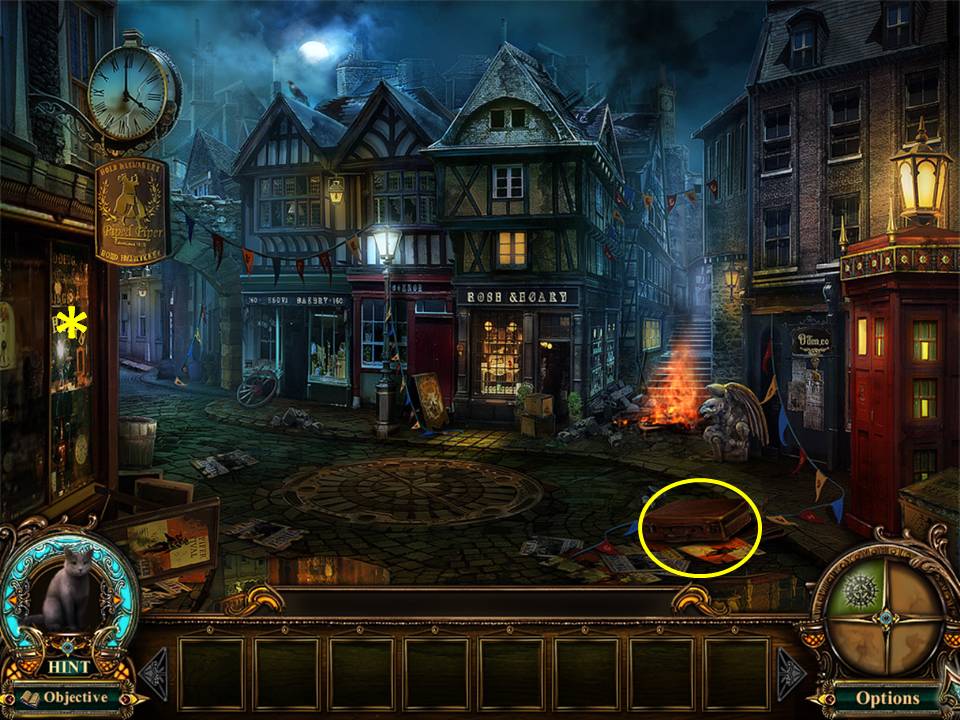
- Open the suitcase on the right.
- Take the ROCK. Proceed to the left.
- FO: The window under the clock in the Town Square.
- Zoom into the Piper and watch the cut scene.
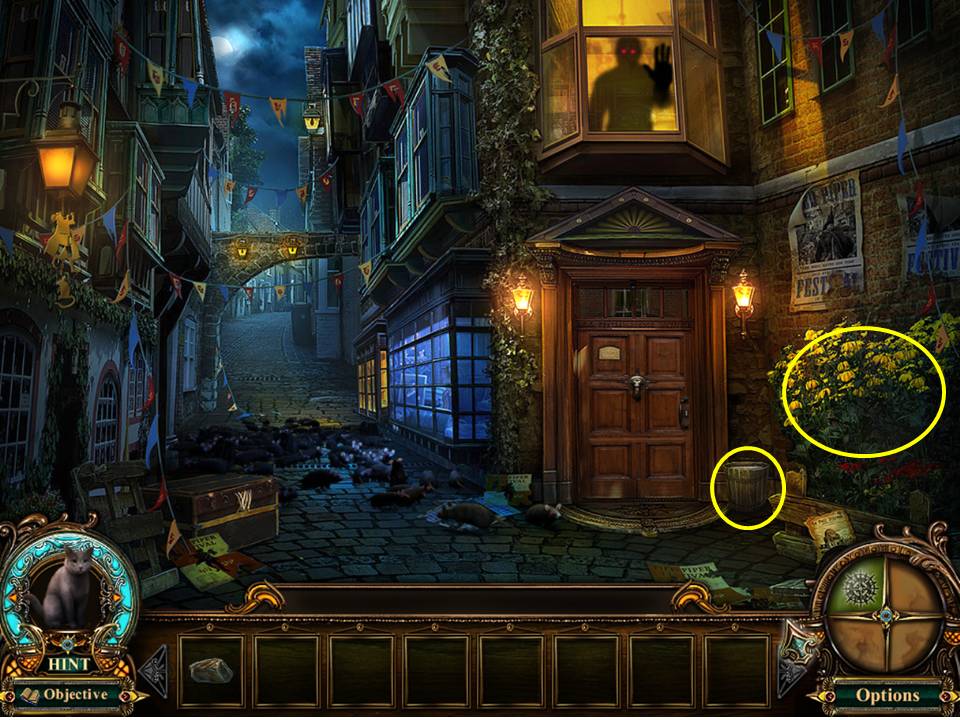
- Zoom into the flowers.
- Take the HAND SHOVEL and the BUCKET OF WATER.
- Take note of the person in the window.
- Click down once.
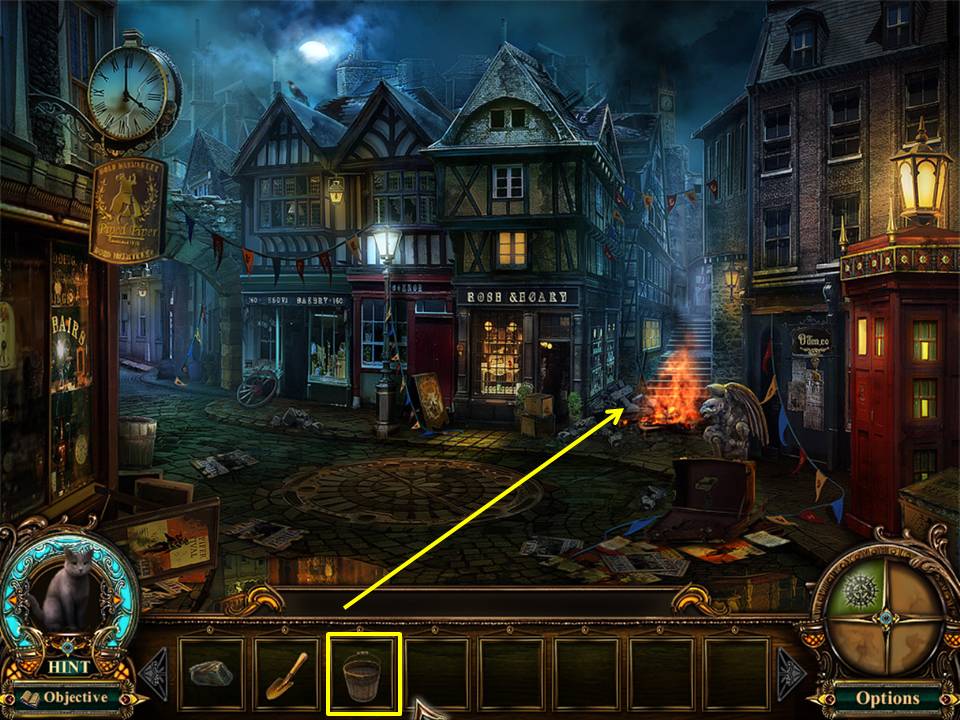
- Douse the flames with the BUCKET OF WATER.
- Proceed forward.
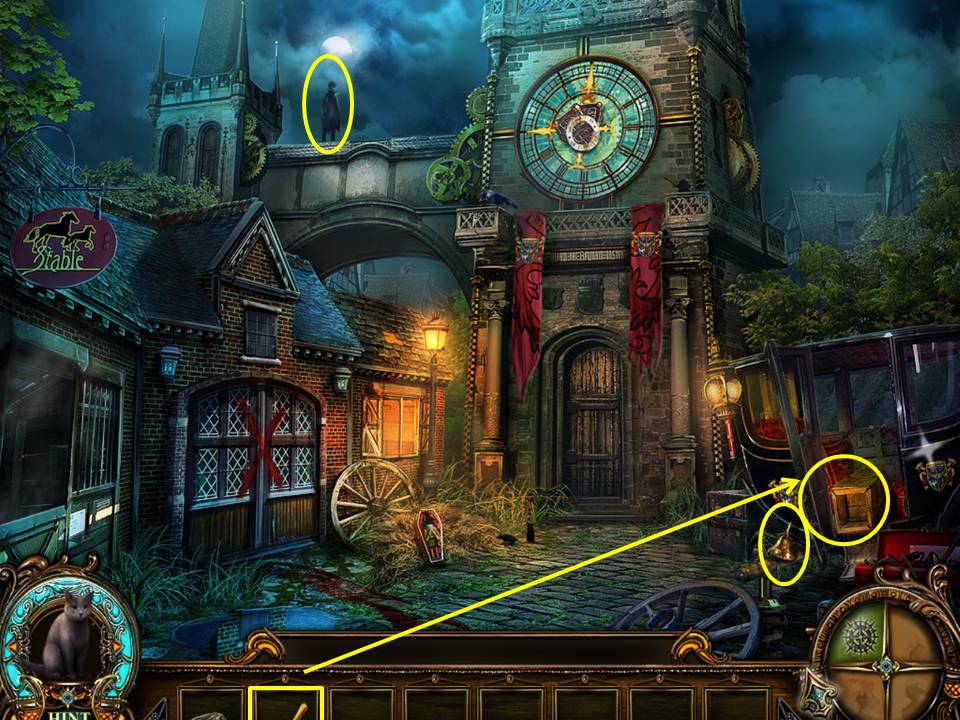
- Zoom into the Piper.
- Take the GOLD BELL.
- Zoom inside the coach.
- Take the BOLT CUTTER.
- Dig with the HAND SHOVEL on the crate to reveal a box.
- Click on the box to initiate a mini-game.
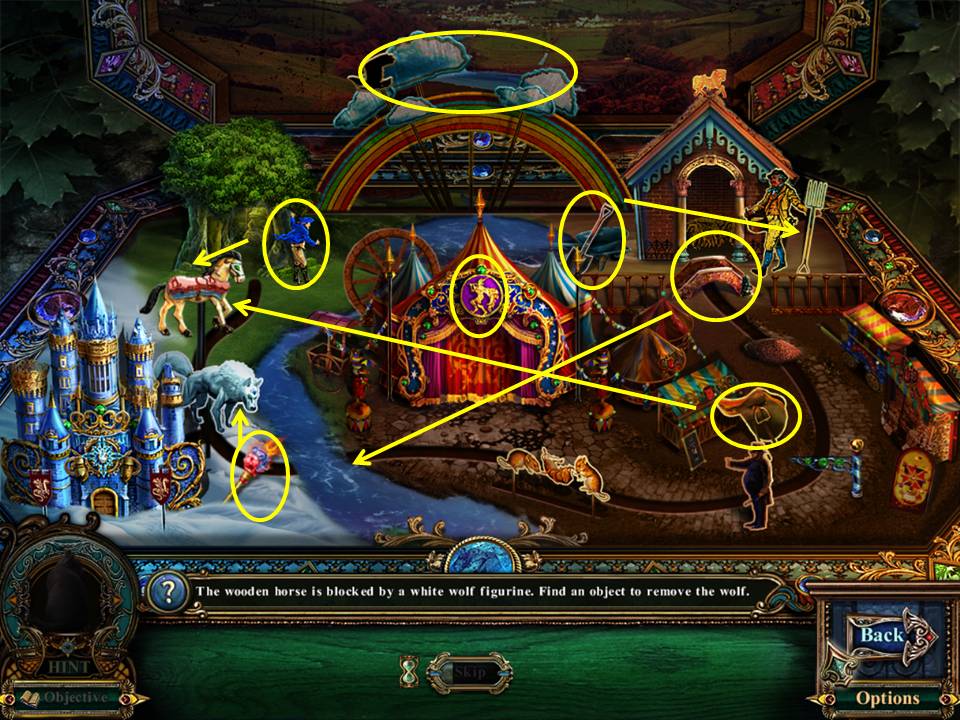
- The object of the game is to use items within the scene to move the horse along the track.
- Use the torch on the wolf.
- Place the bridge over the stream.
- Click the clouds to change the time to night.
- Click the Piper symbol on the tent.
- Saddle the horse and place the rider on it.
- Shovel dirt into the wheelbarrow.
- Take the STABLE KEY.
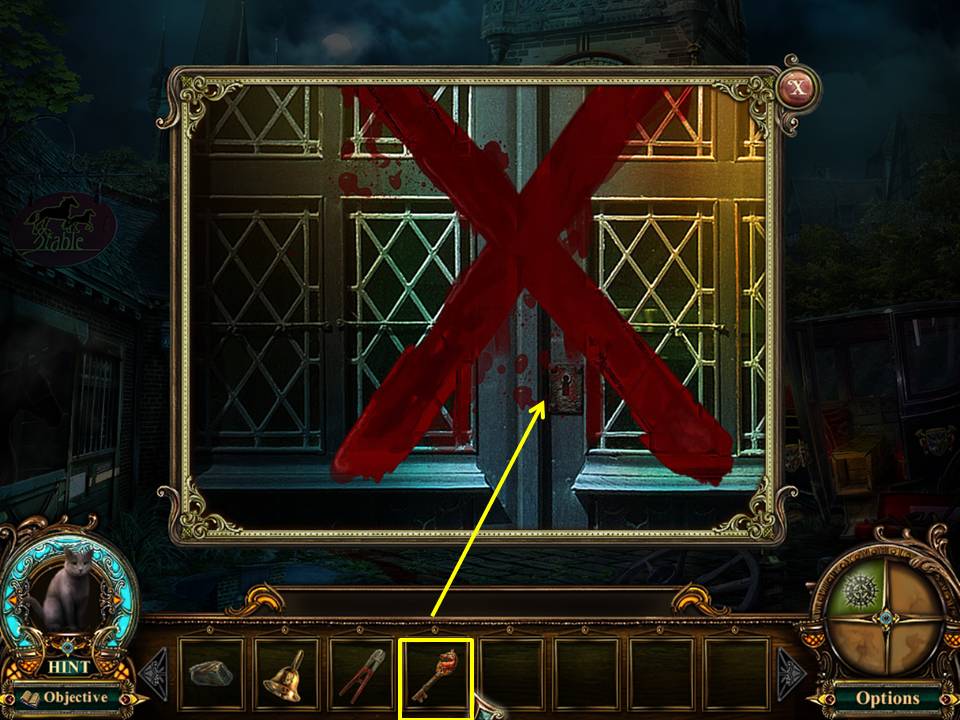
- Zoom into the stables for a new objective.
- Zoom into the stable door again and use the STABLE KEY to gain entrance.
- Enter the Stables.
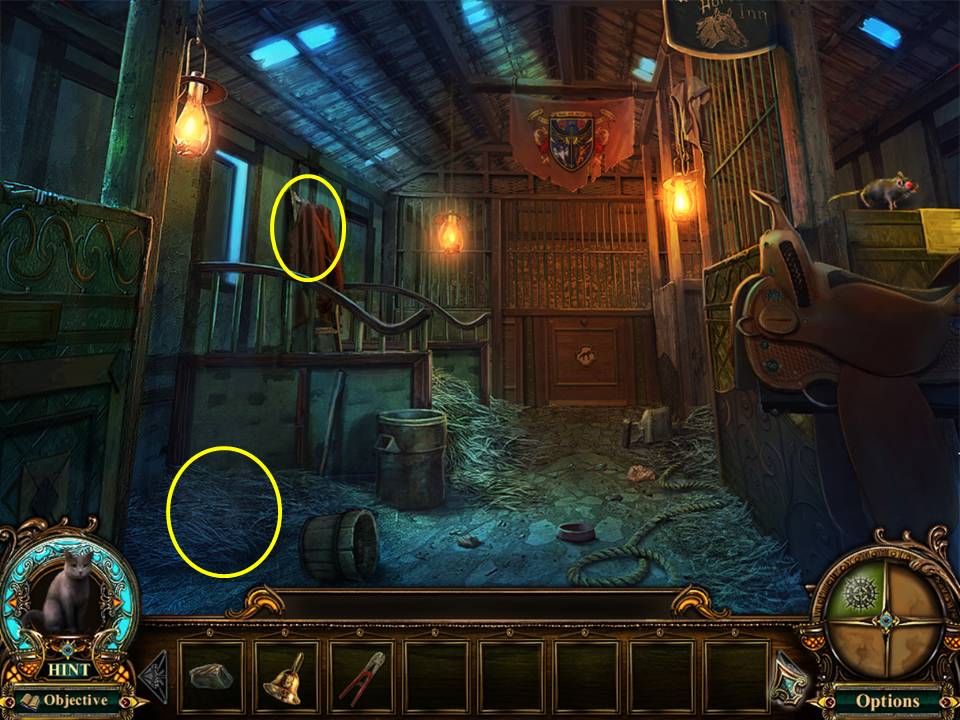
- Take note of the smoke coming from under the hay.
- Move the cloth and take the LADDER.
- Click down twice, then go left.
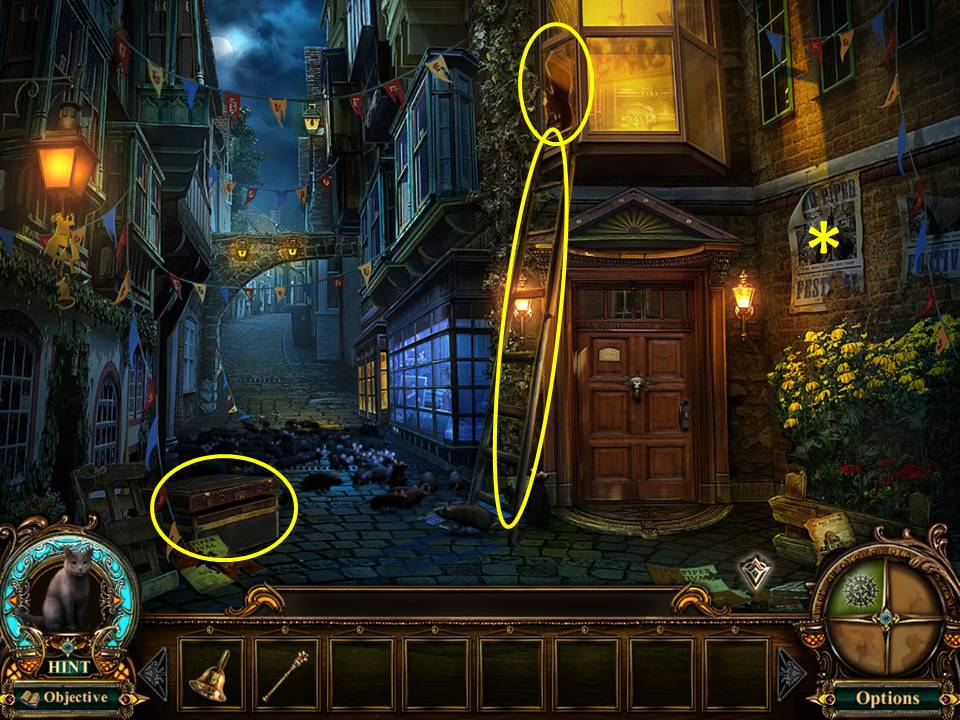
- Zoom into the window and place the LADDER beneath it.
- Break the window with the ROCK.
- Zoom into the chest near bottom left of screen and cut the wires with the BOLT CUTTER.
- Play the Hidden Object Area by the chest.
- FO: The poster in the alley.
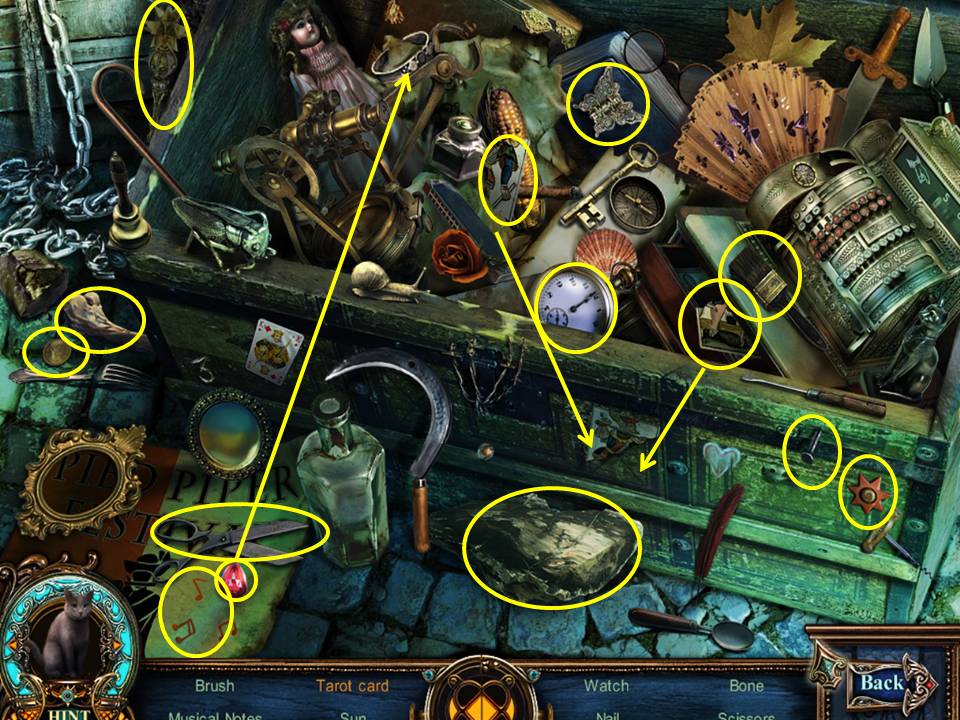
- Find the items listed.
- Place the ruby in the cuff to get the ruby bracelet.
- Assemble the three card pieces to get the tarot card.
- Receive the BRONZE SCEPTER.
- Enter the window.
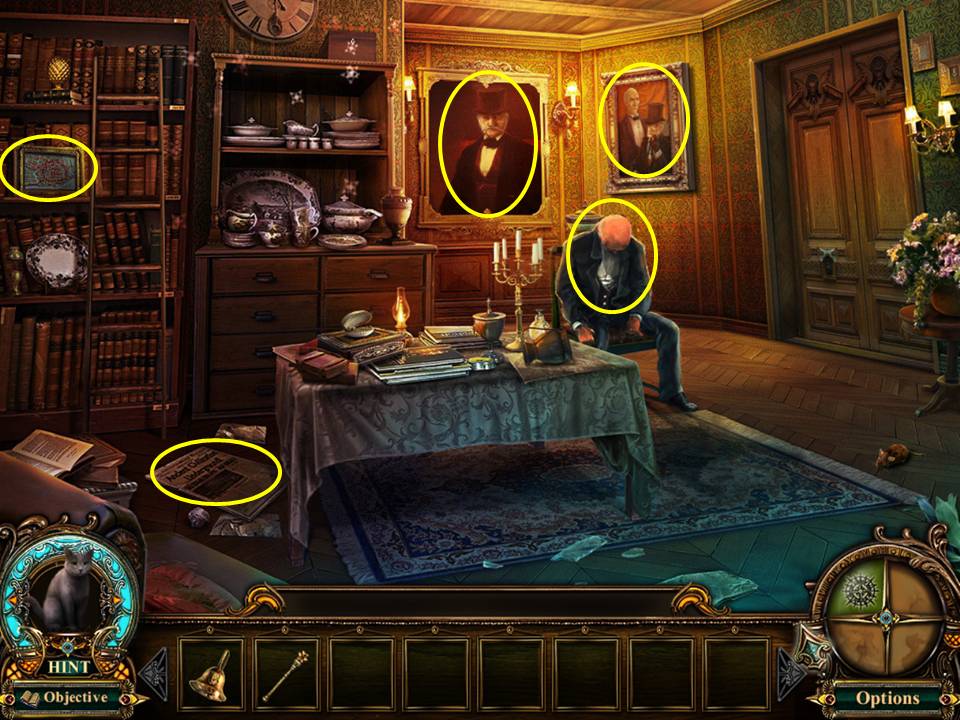
- Zoom into the newspaper.
- Read the headline and take the CHISEL.
- Zoom into the map on the left.
- Zoom into the two portraits.
- Zoom into the butler.
- Play the Hidden Object Area by the china cabinet.
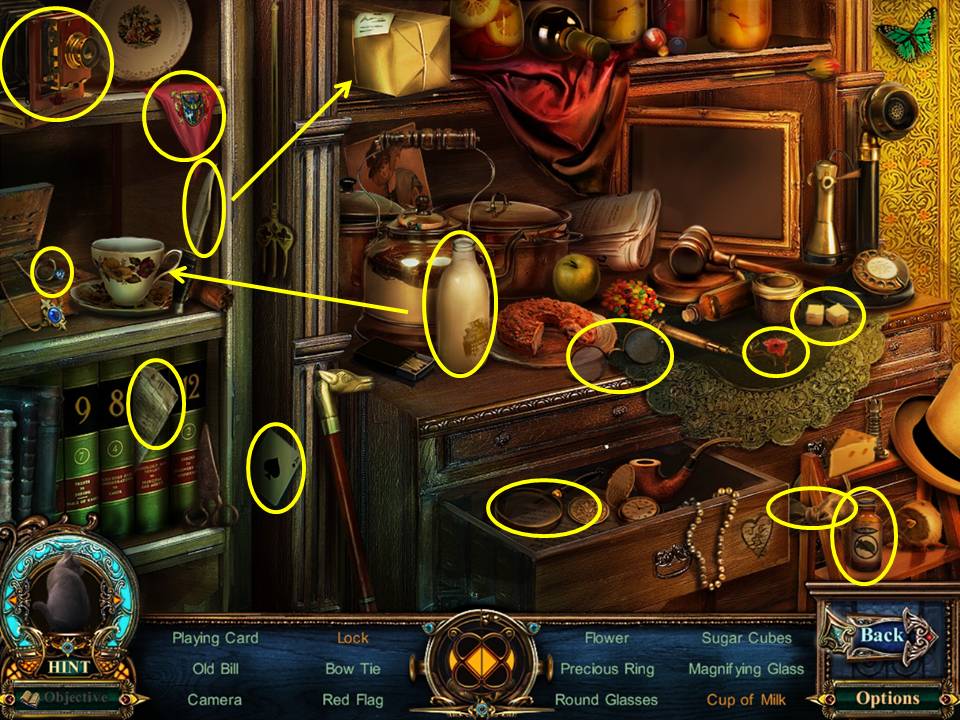
- Find the items listed.
- Pour milk into the cup to get the cup of milk.
- Cut open the box with the knife to get the lock.
- Receive the VERMIN REPELLENT.
- Click down once.
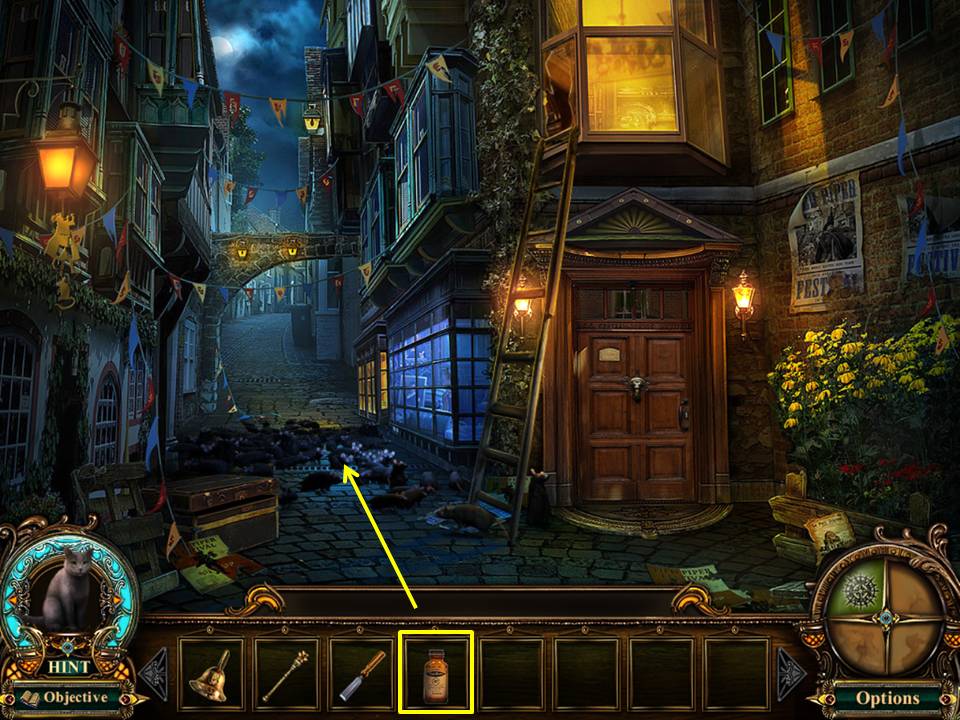
- Scatter the rats with the VERMIN REPELLENT.
- Proceed forward.
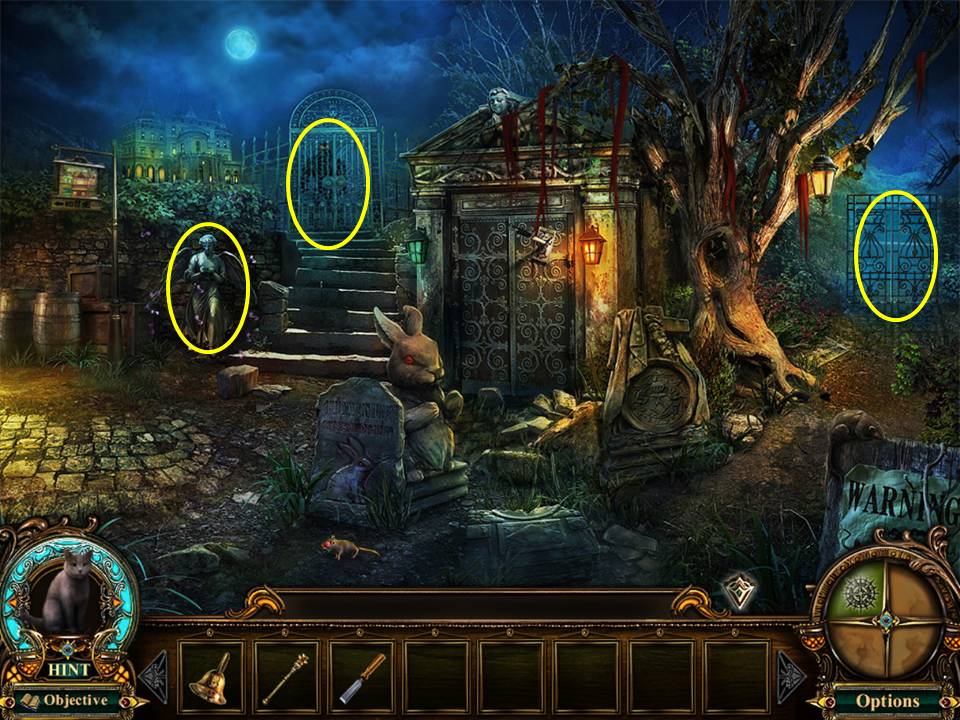
- Zoom into the figure behind the gate straight ahead.
- Note the gate to the lake on the right.
- Play the mini-game by the angel statue.
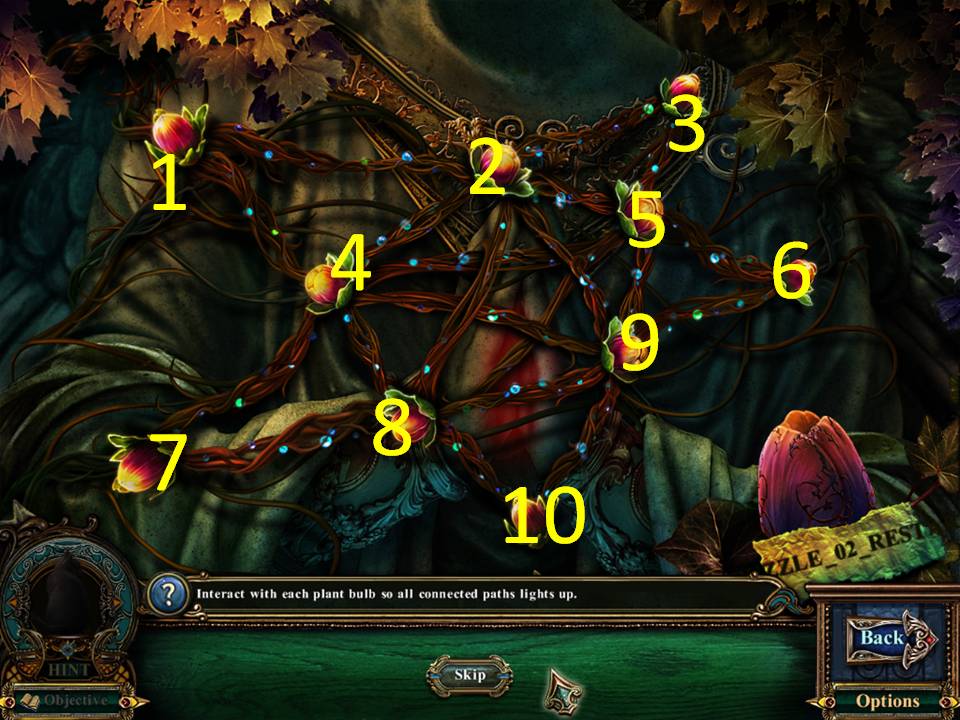
- The object of the game is to click the buds to form a pathway in which all light up.
- Assuming the buds are numbered 1 to 10, from left to right, click in this order: 4, 8, 7, 4, 1, 2, 4, 5, 2, 3, 5, 6, 9, 2, 8, 10, 9, 8, 5, 9, 4.
- When finished, take the RUBY EYE.
- Proceed left.
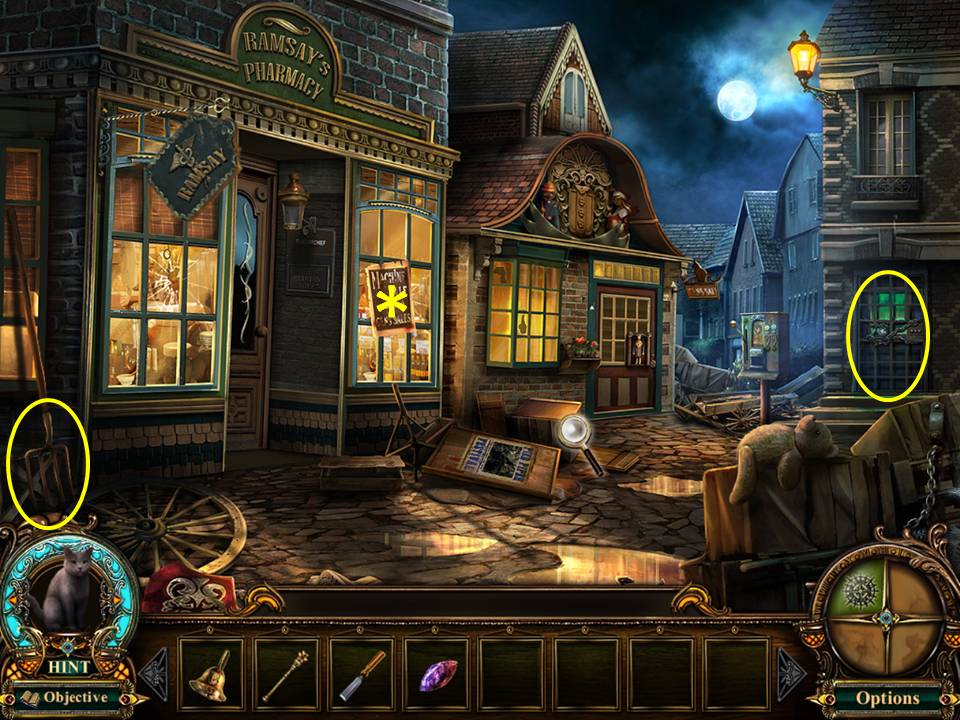
- Zoom into the door.
- Take the WOODEN DOLL HEAD from the window on the right.
- Take the HAY FORK from the left.
- Click down once.
- Proceed through the gate that leads to the lake.
- FO: The poster on the pharmacy window on the street.
Congratulations! You've completed Chapter 1 of our Fabled Legends the Dark Piper Walkthrough!
Comments will load when you reach this part of the walkthrough.