

Chapter Six: Tour the Old Tower
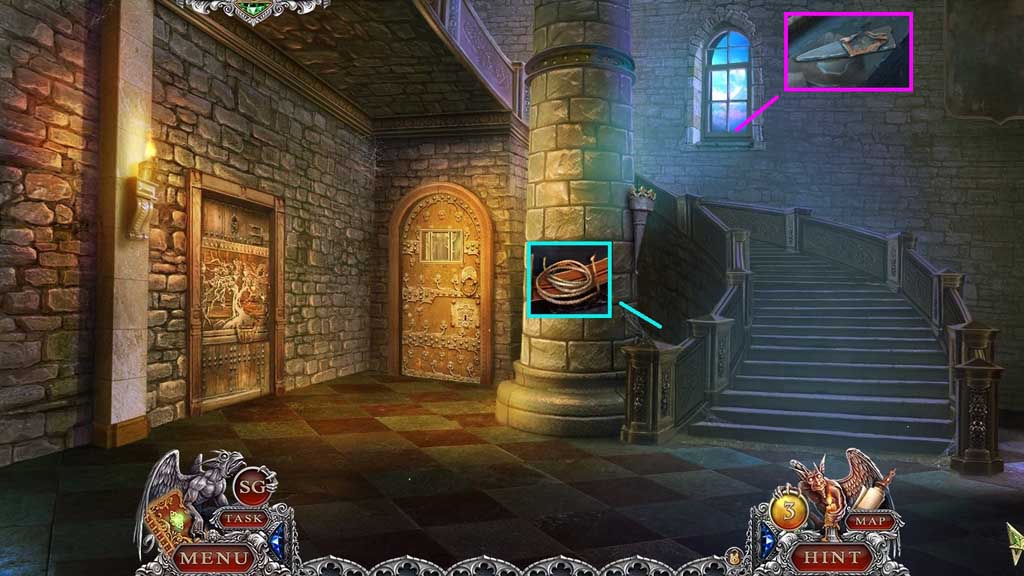
- Select the handkerchief to collect the glass shard.
- Collect the twine.
- Move up the stairs.
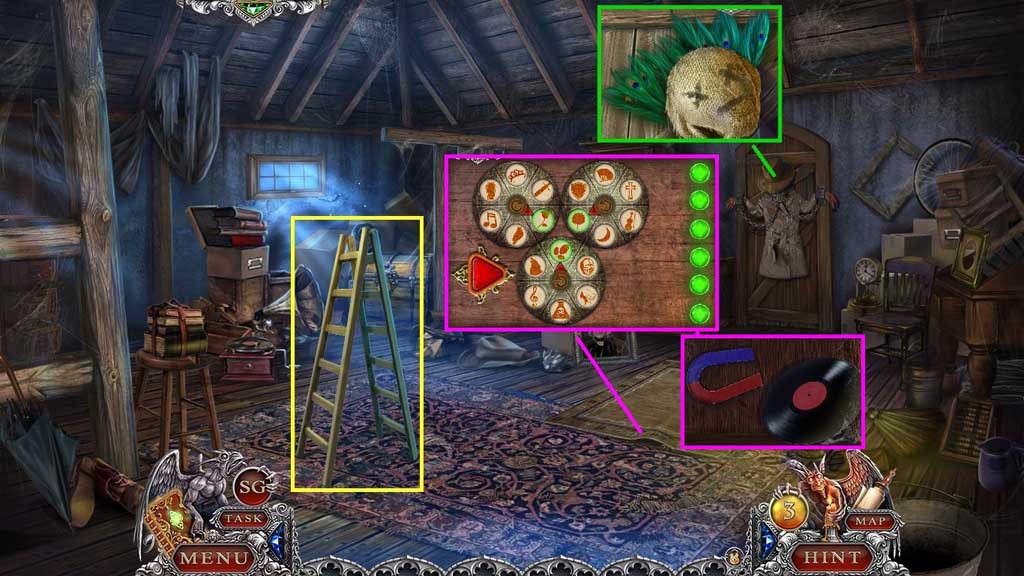
- Click the hat; collect the peacock tail.
- Collect the stepladder.
- Click the rug 2x’s to trigger a mini game.
- Solve the game by switching the circles within the segments to show matching images in the center; press the play button.
- Collect the record and the magnet.
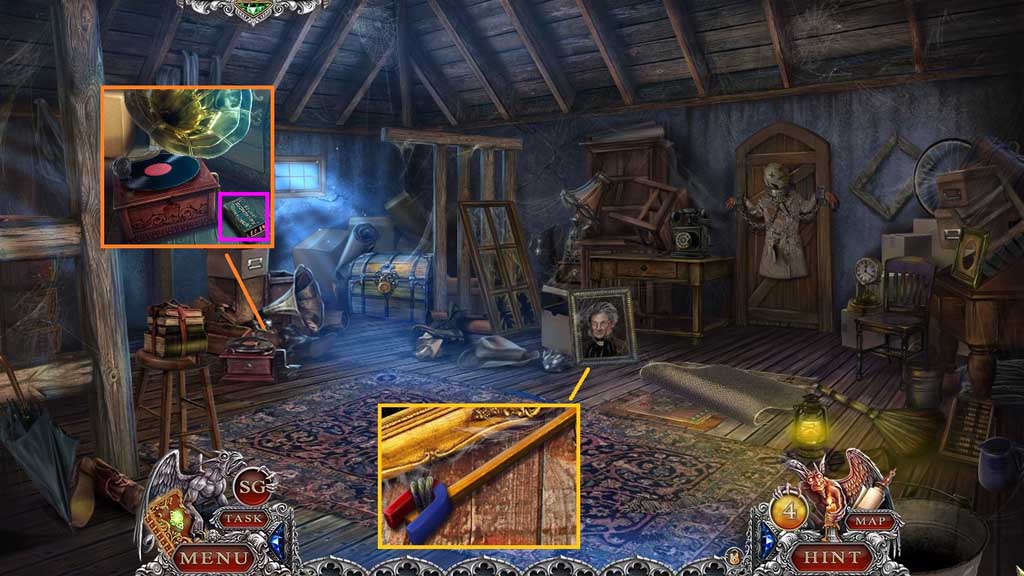
- Place the magnet onto the stick, secure it with the twine to create and collect the magnet on stick.
- Place the record onto the gramophone; collect the matches.
- Move down once.
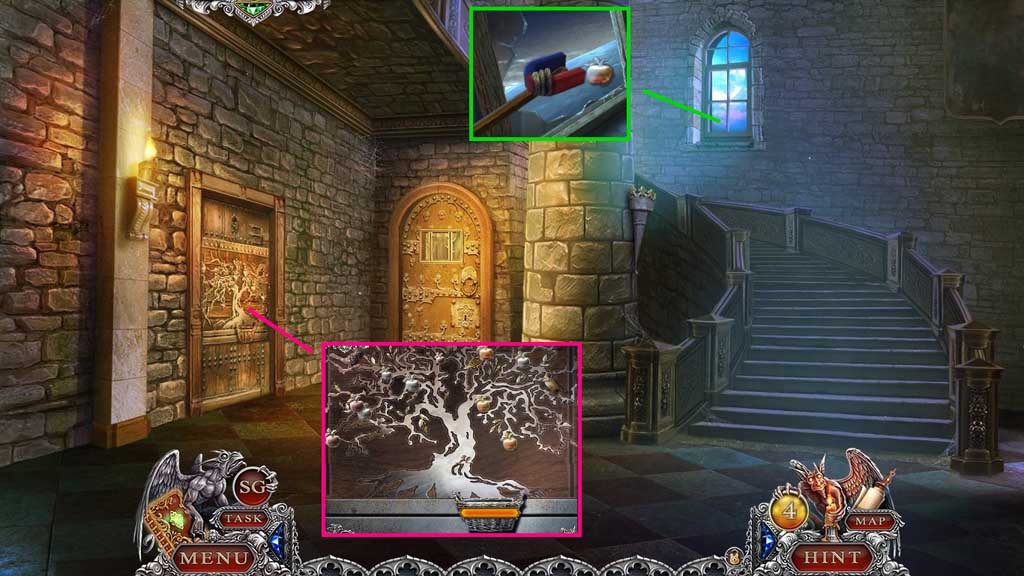
- Select the magnet on stick to collect the apple.
- Insert the apple to trigger a mini game.
- Solve the game by gathering the apples to fill the scale while avoiding the bronze apples.
- Enter the doorway and click the hidden objects area.
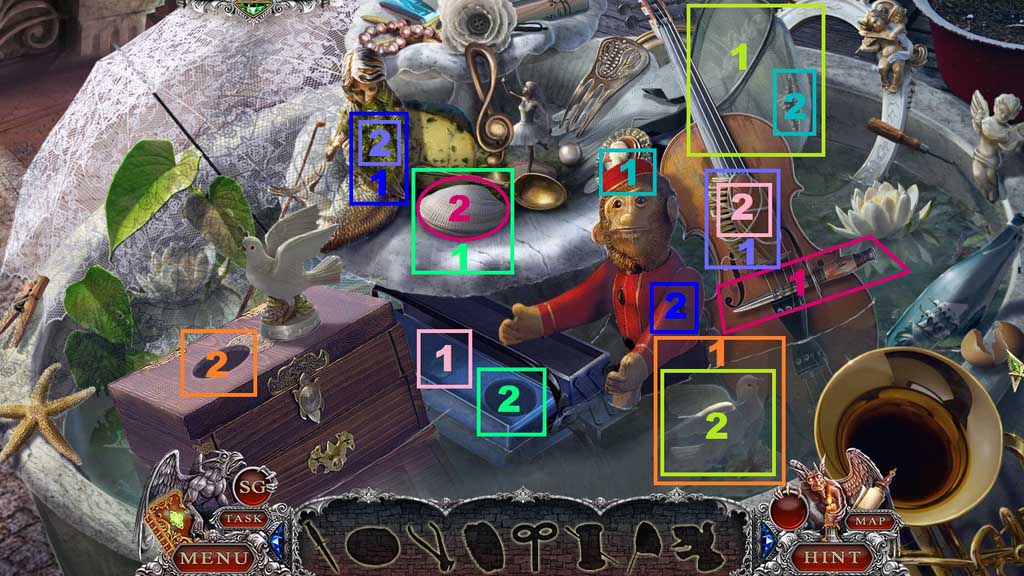
- Find the items.
- Select the knife and use it to open the shell; collect the knob and place it into the slot.
- Click it once and collect the pinchers; use them to clip the wire and collect the brush.
- Select the brush to scrub the moss; collect the wind up key and place it into the monkey.
- Collect the needle and thread; use it to mend the net.
- Use the net to collect the dove figurine.
- Place it onto the box.
- Collect the shackles key.
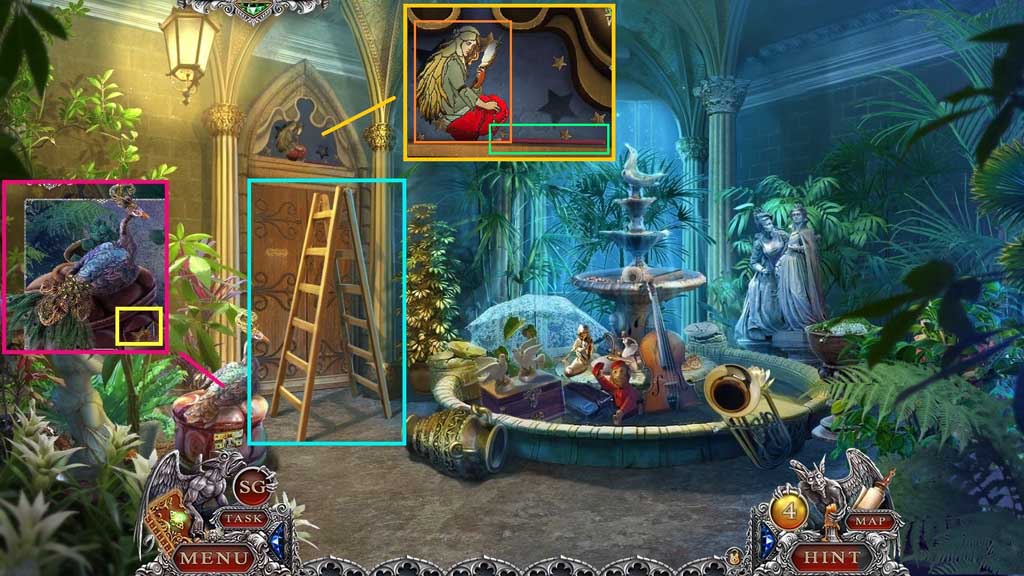
- Collect the palette knife; insert the peacock tail.
- Collect the golden star and the mosaic tile.
- Select the stepladder to place in front of the door; collect the weaving maid and the pencil.
- Move to the Attic.
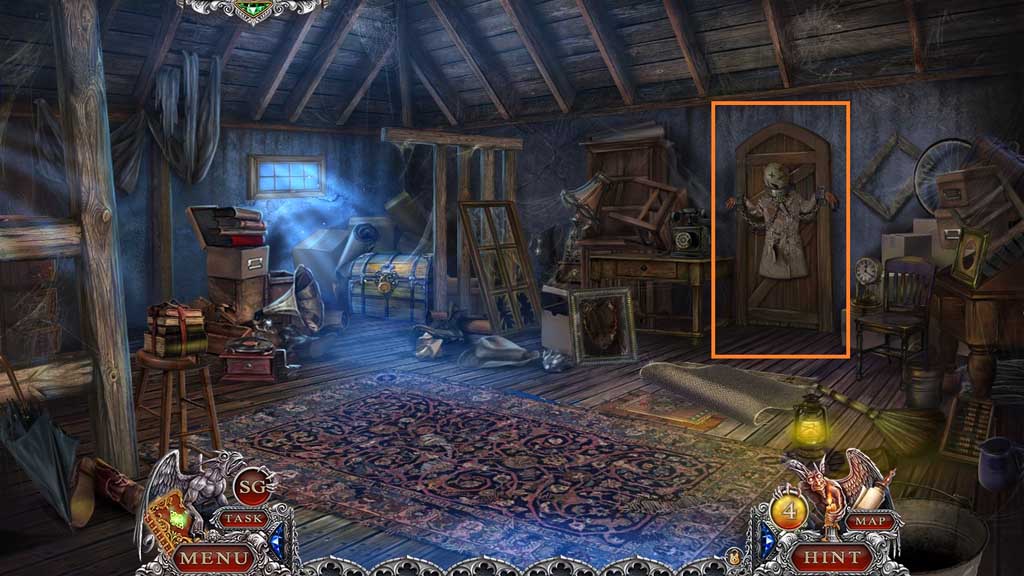
- Insert the shackle key.
- Enter the doorway.
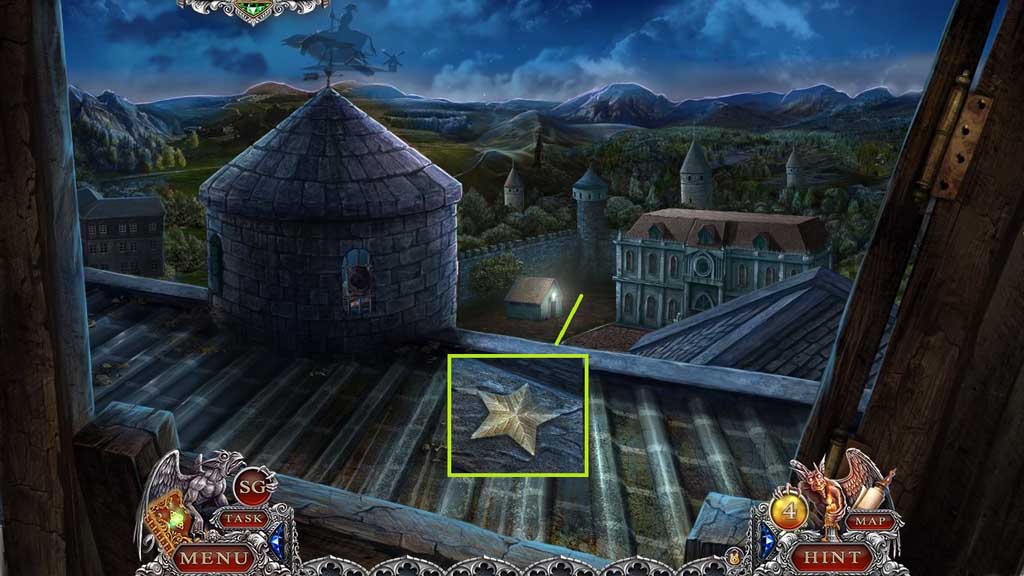
- Collect 2 /2 golden stars.
- Move to the Winter Garden.
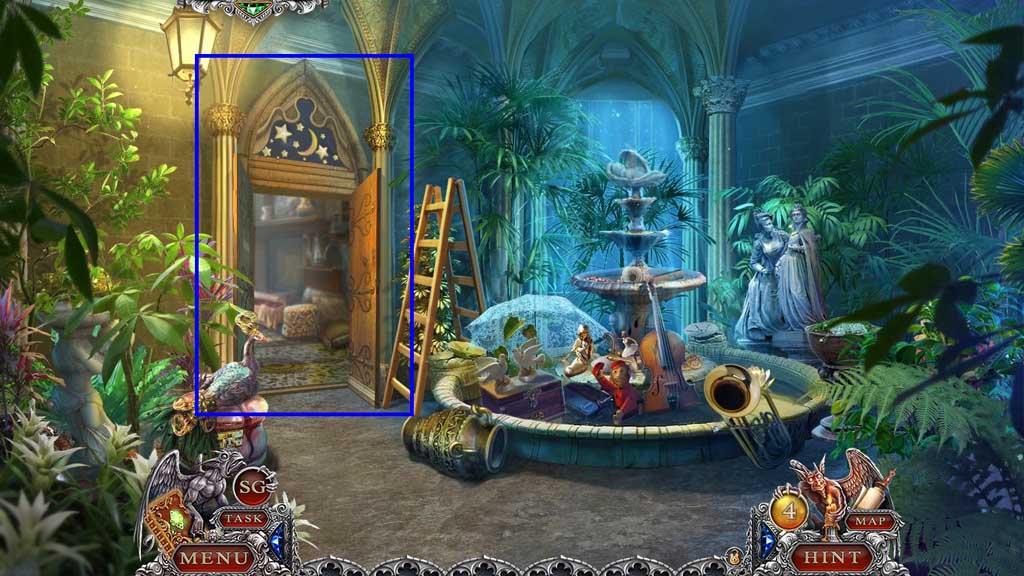
- Insert the golden stars.
- Enter the doorway.
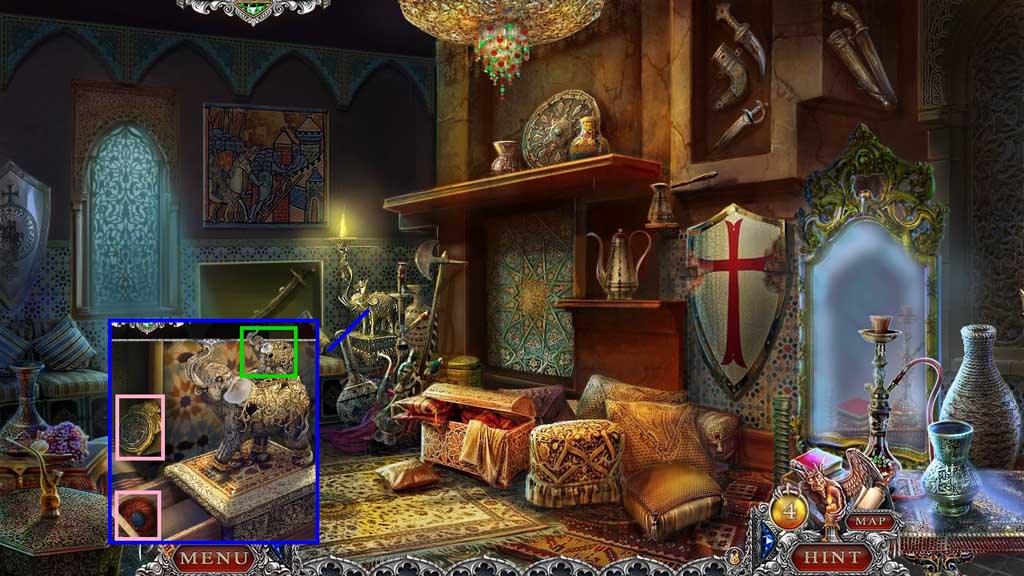
- Insert the elephant figurine.
- Collect the golden seal, 1 /3 thread sets and the tracing paper.
- Move to the Attic.
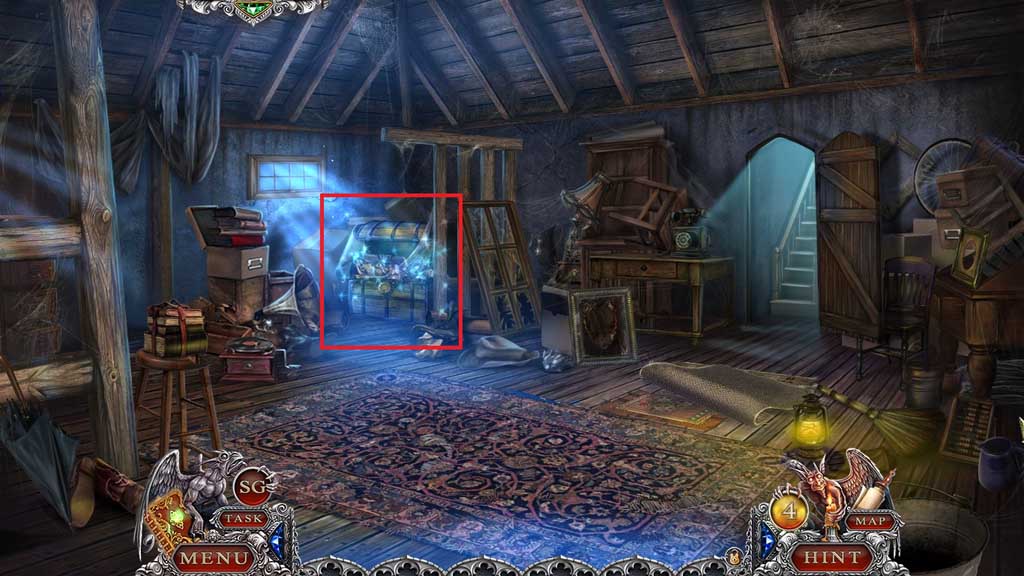
- Insert the golden seal to trigger a hidden objects area.
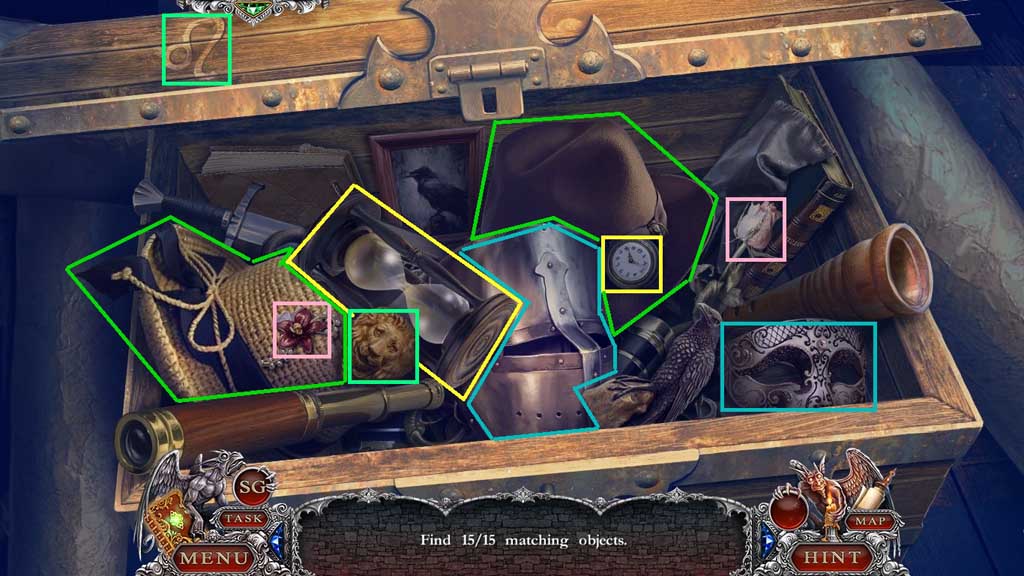
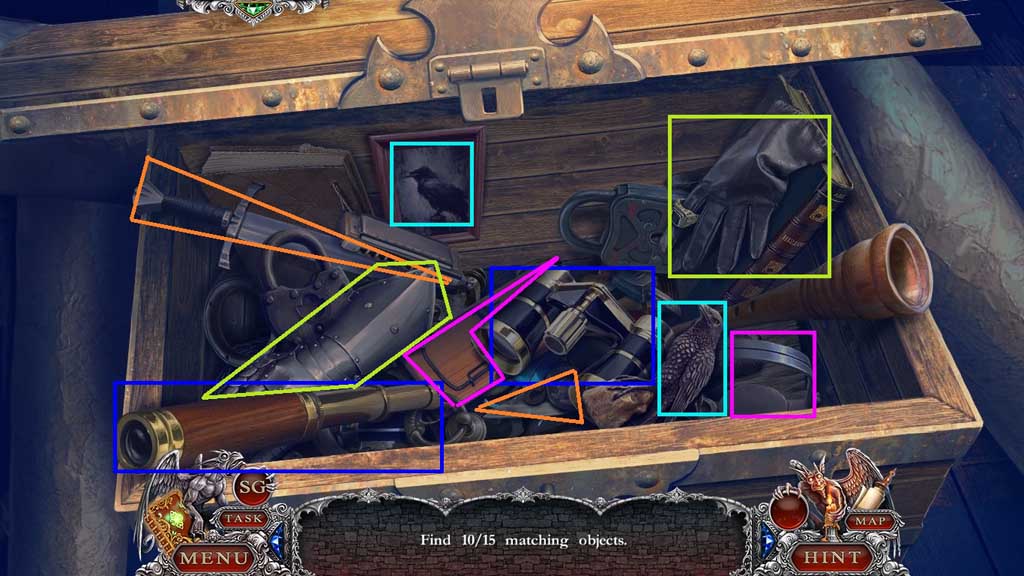
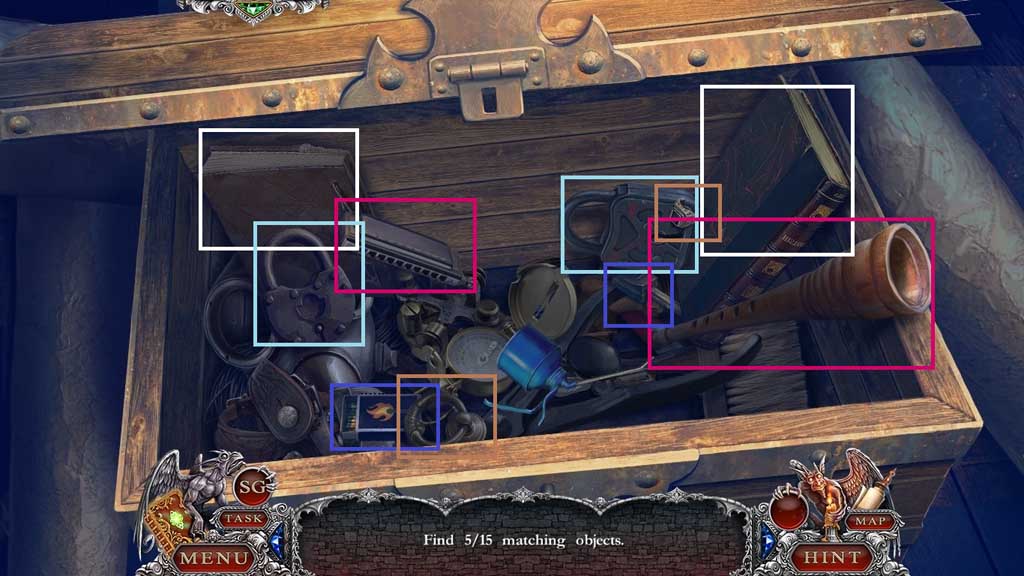
- Find the matching items.
- Collect the oilcan.
- Move down once.
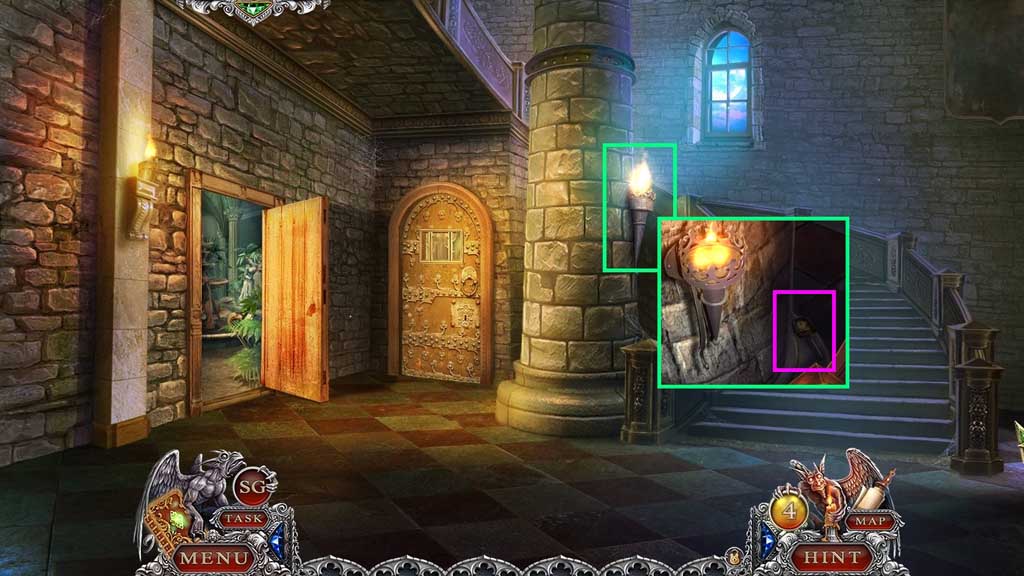
- Select the oil can and the matches to fill and ignite the torch; collect the lever.
- Move to the Secret Treasure Room.
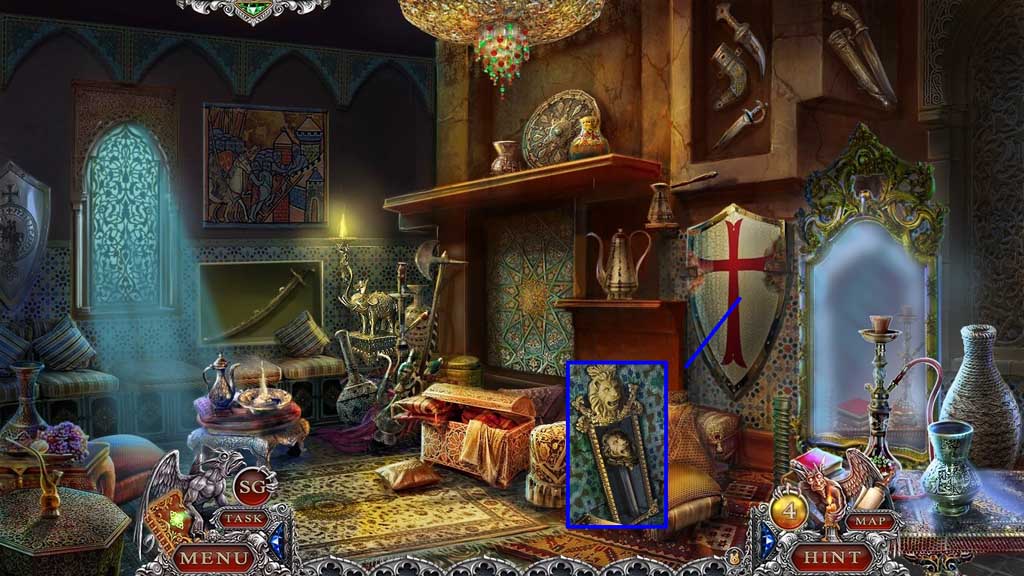
- Select the oilcan to pour onto the rusty shield; click it once.
- Attach the lever; click it once.
- Move to the Crypt.
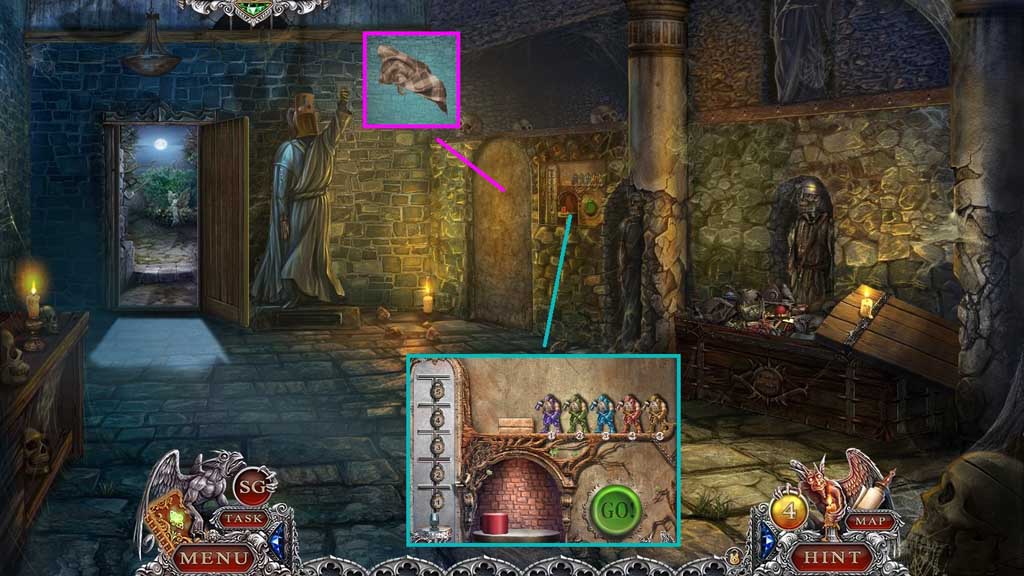
- Insert the giant to trigger a mini game.
- Solve the game by aligning the giants correctly.
- Use the following sequence to solve: purple – green – turquois – red – yellow
- Zoom into the doorway and use the rug to receive Isaac’s remains.
- Move to the Agnes’ Tomb.
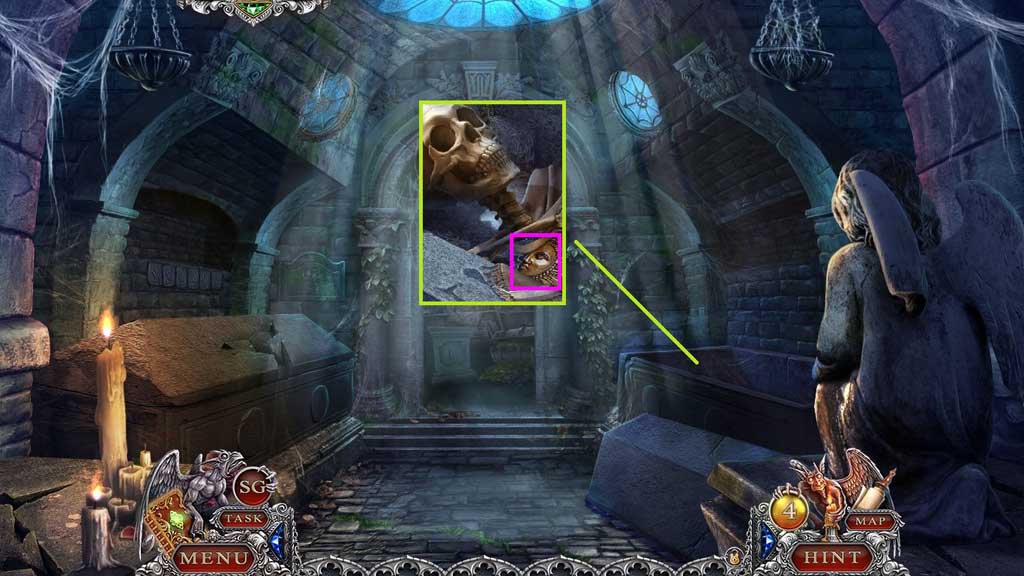
- Open the tomb using the crowbar and insert Isaac’s remains.
- Collect the celestial token.
- Move to the Roof.
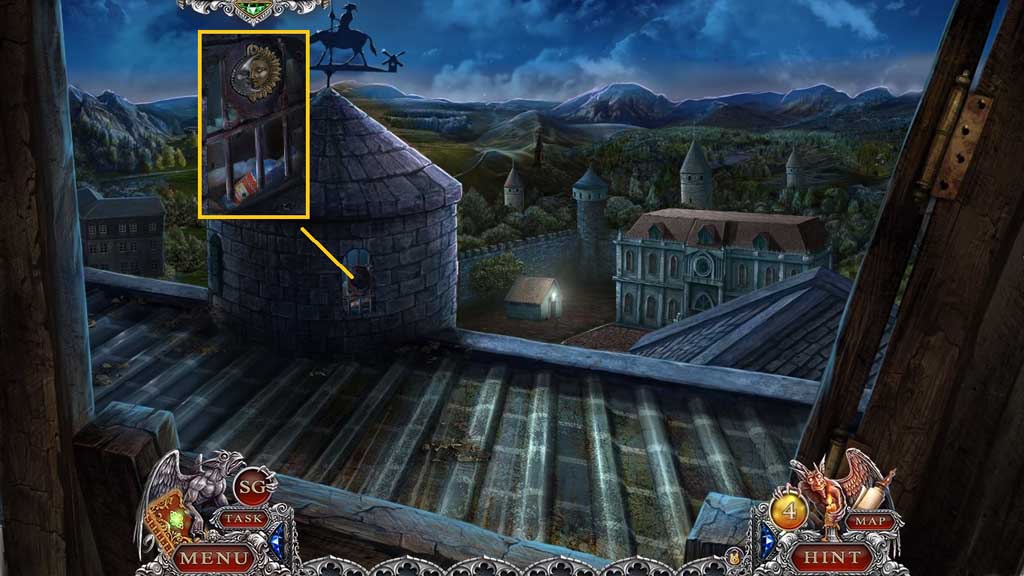
- Insert the celestial token; collect the nitrogen cylinder.
- Move to the Spiral Stairs.
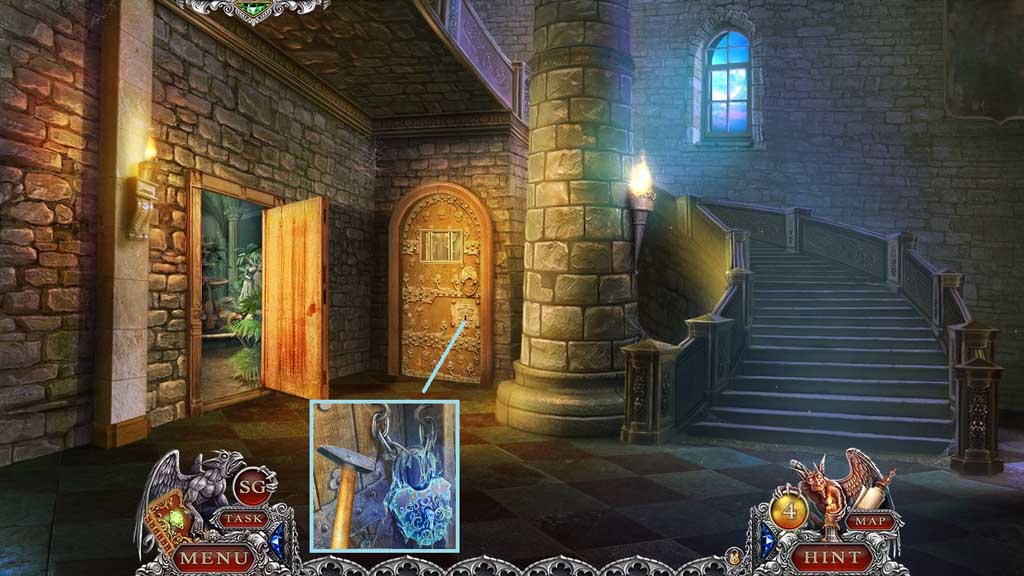
- Select the nitrogen cylinder and the hammer to break the lock.
- Enter the doorway.
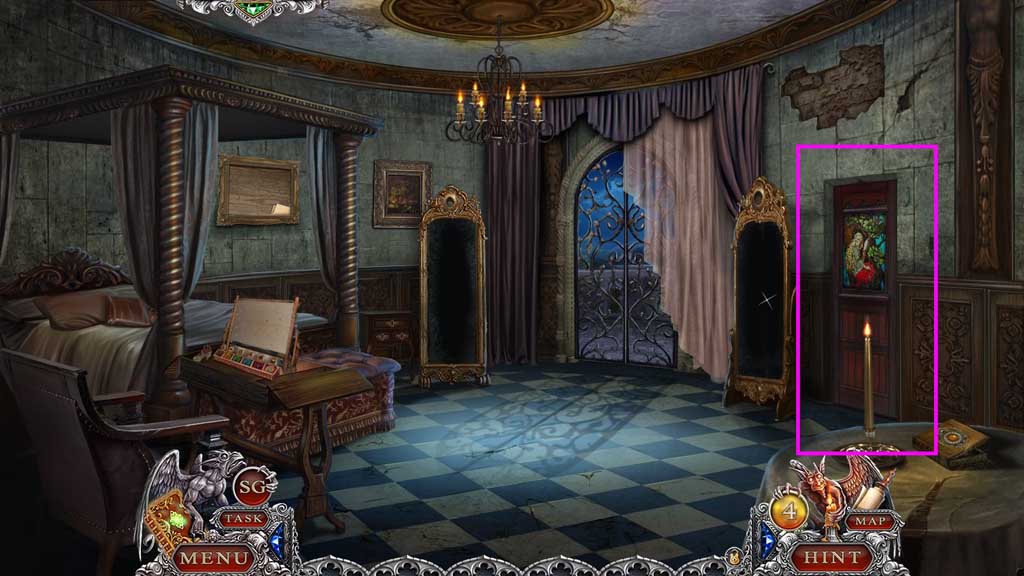
- Insert the weaving maid.
- Enter the doorway and click the hidden objects area.
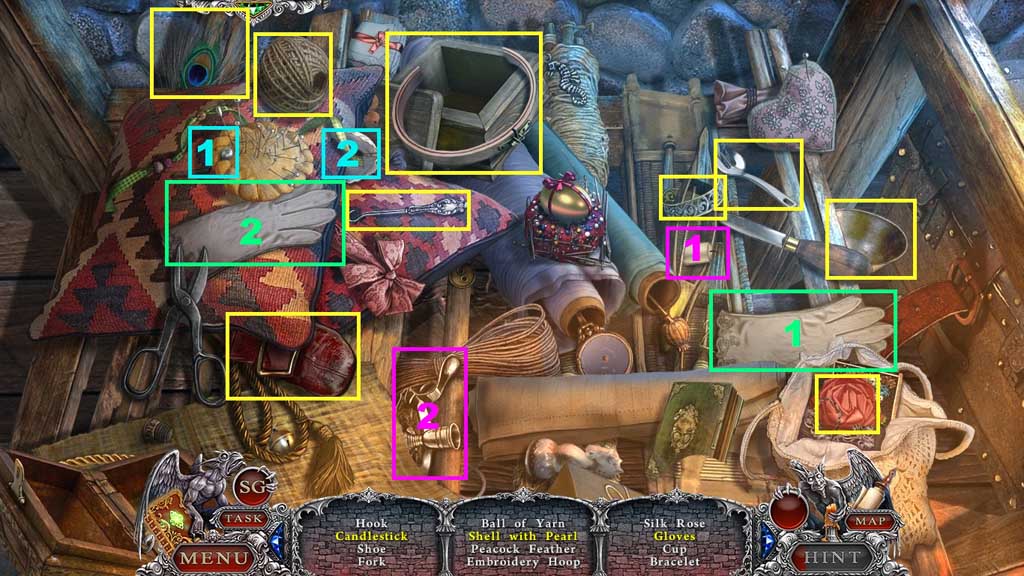
- Find the items.
- Select the candle and place it into the holder; collect the candlestick.
- Select the pearl and insert it into the shell; collect the shell with pearl.
- Select the glove and place it along with the other; collect the gloves.
- Collect 2 /3 thread sets.
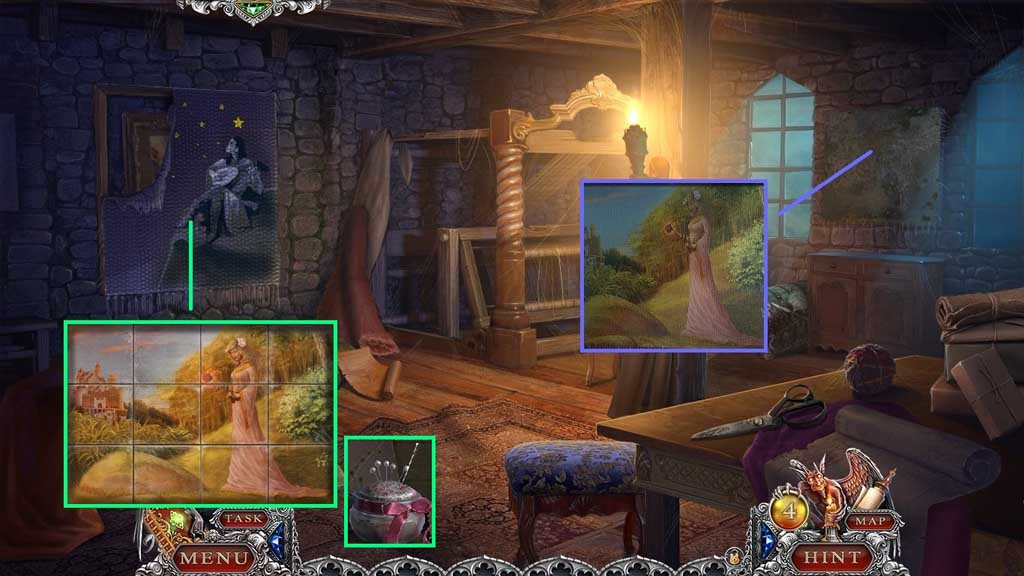
- Select the palette knife to reveal the painting.
- Select the glass shard to slice the canvas.
- Zoom into the frame to trigger a mini game.
- Solve the game by clicking the tiles to recreate the image on the painting.
- Collect the embroidery needle.
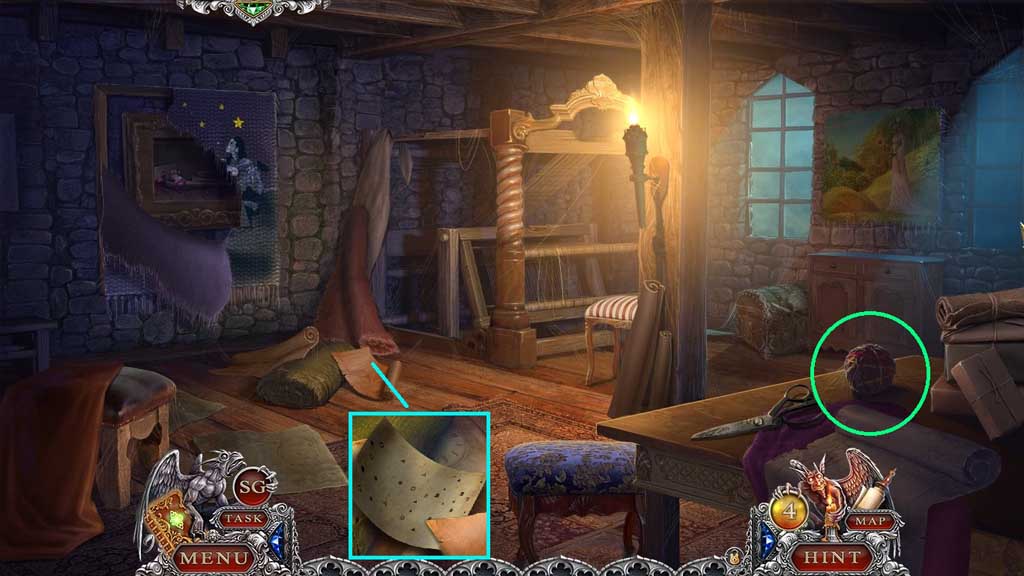
- Click the paper; collect the needlework pattern.
- Collect 3 /3 thread sets.
- Move to Agnes’ Room.
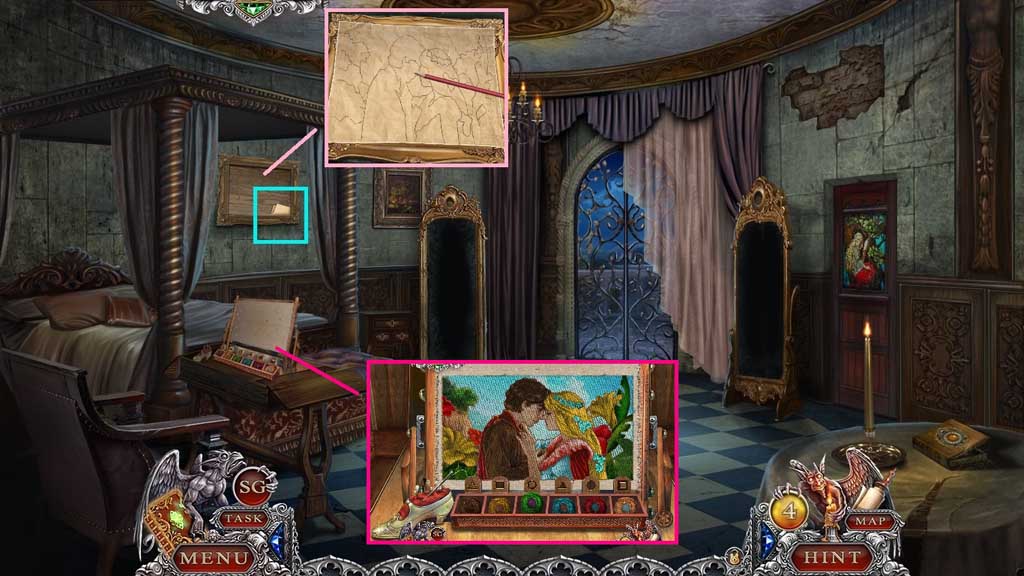
- Collect the note and place down the tracing paper.
- Select the pencil to use on the paper; collect the tracing paper with pattern.
- Select the thread set, the needlework pattern, the tracing paper with pattern, and the embroidery needle to trigger a mini game.
- Solve the game by using the correctly embroidering the image.
- Collect the embroidery.
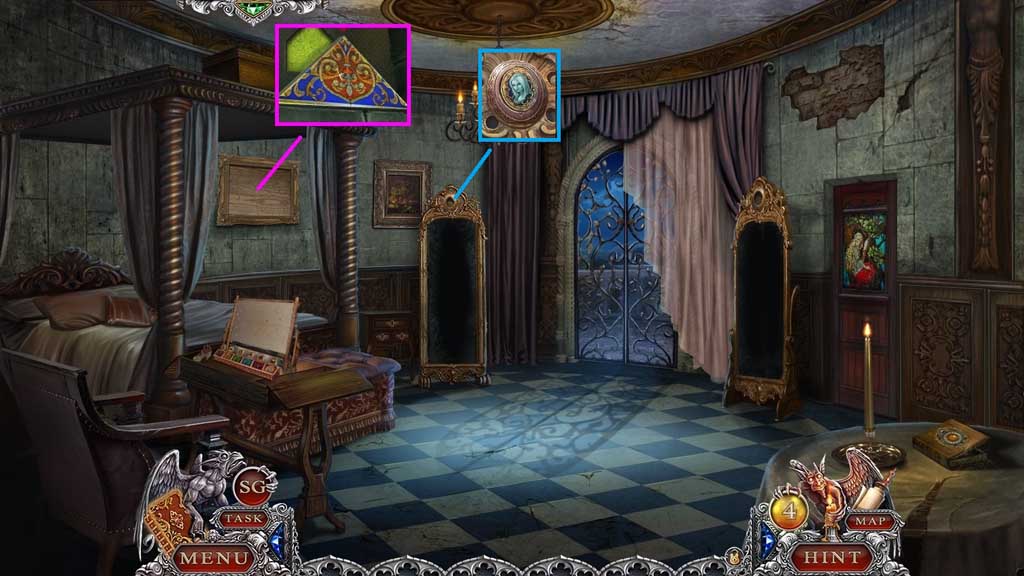
- Insert the embroidery into the frame.
- Collect 2 /2 mosaic tiles.
- Insert Agnes’ locket.
- Move to the Secret Treasure Room.
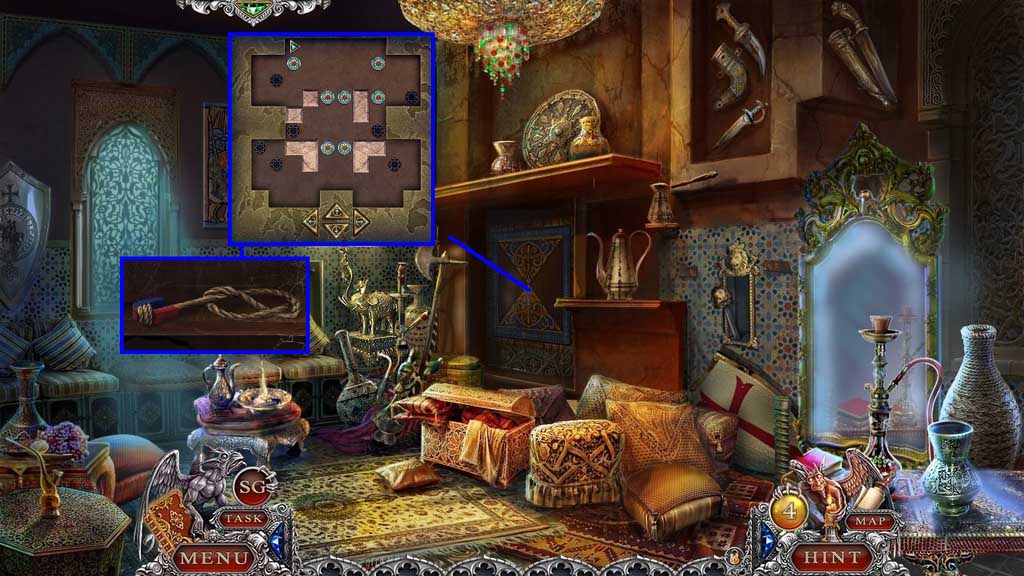
- Insert the mosaic tile to trigger a mini game.
- Solve the game by moving the round tokens into the black spaces.
- Select the magnet and attach it onto the string; collect the magnet on string.
- Move to the Roof.
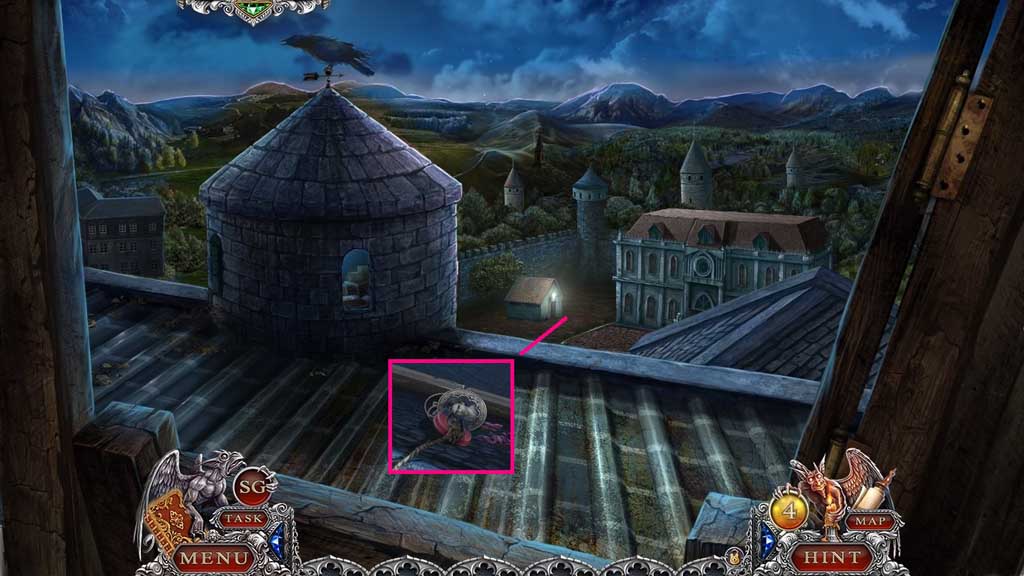
- Collect Isaac’s locket using the magnet on string.
- Move to Agnes’ Room.
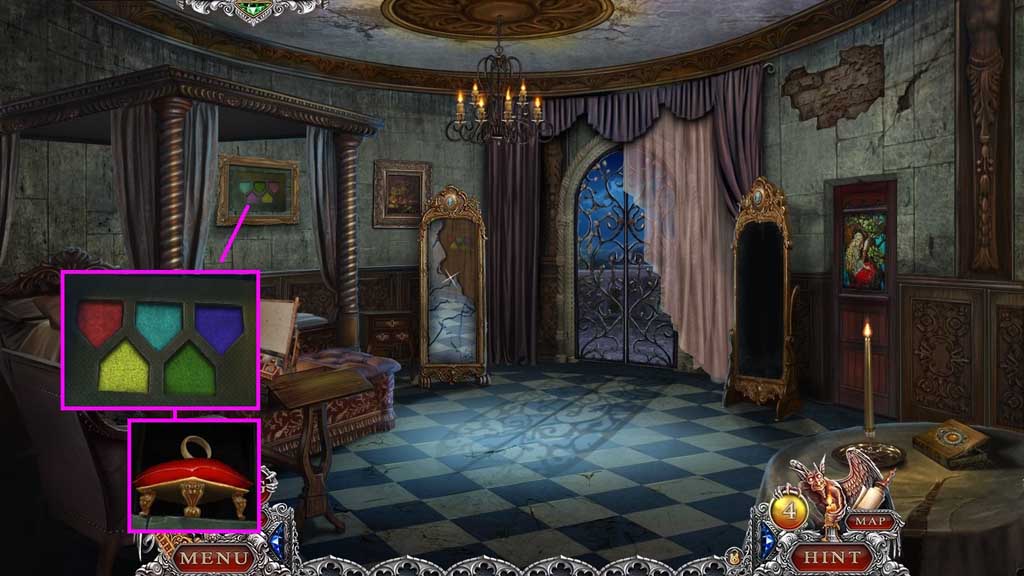
- Insert Isaac’s locket.
- Click the frame to trigger a mini game.
- Solve the game by clicking the shapes to color coordinate with the colored shapes in the mirror frame.
- Collect the ring of inseparability.
- Move to Agnes’ Tomb.
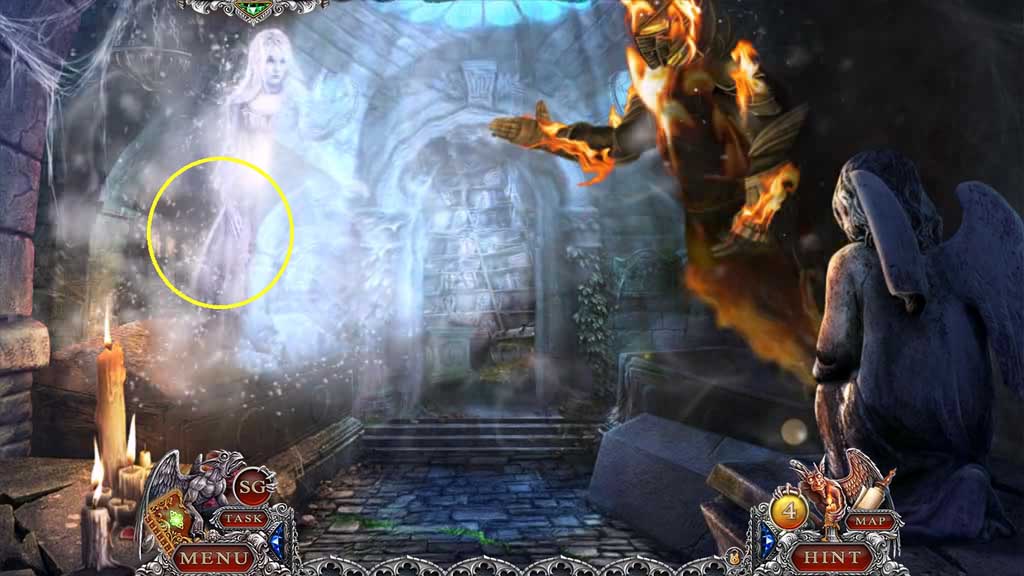
- Select the ring of inseparability to place on the finger.
- Congratulations! You have successfully completed the main game of Spirit of Revenge: Cursed Castle C. E.
Comments will load when you reach this part of the walkthrough.