
Chapter Two: On the First Floor
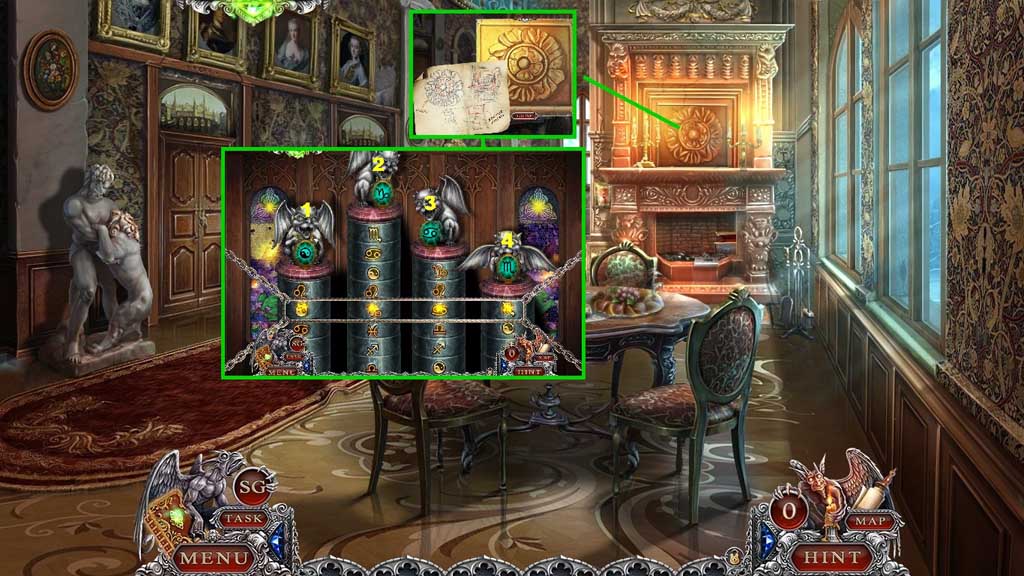
- Click the petals as shown in the diagram.
- Click the mantel to trigger a mini game.
- Solve the game by arranging the cylinders correctly.
- Use the following solution to solve: Lower columns 1 – 3 – 4 by one slot each , raise column 2 by 3 slots and lower column 1 by 3 slots.
- Move ahead and move up the ladder.
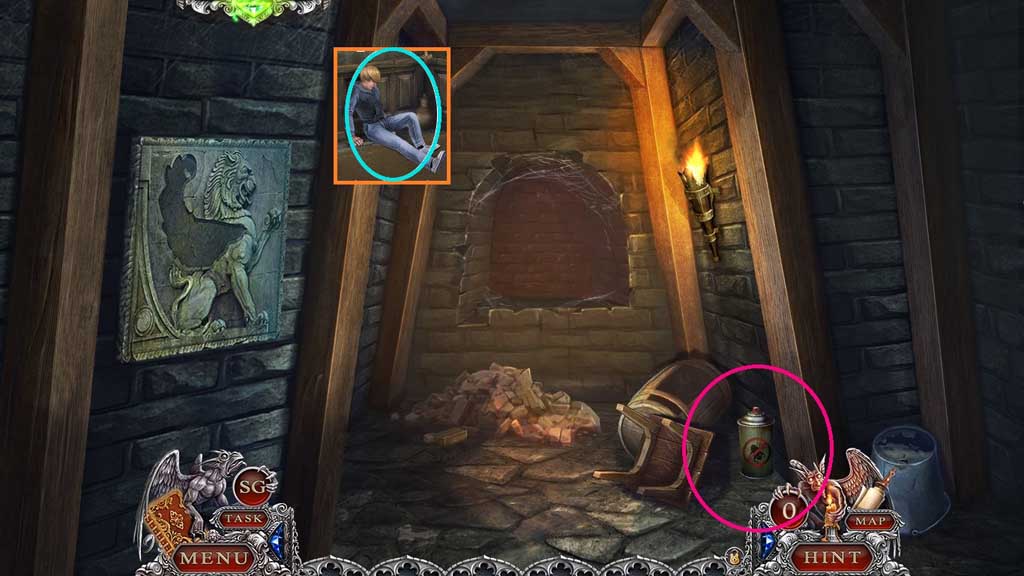
- Speak to James.
- Click the stool aside; collect the insect repellent.
- Move down once.
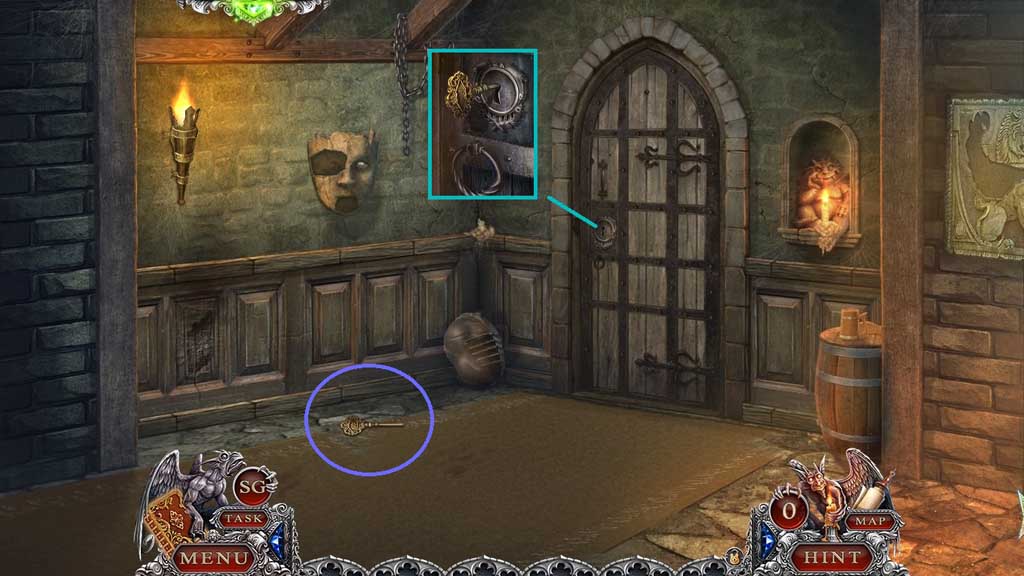
- Collect the key and insert it into the lock.
- Move upstairs.
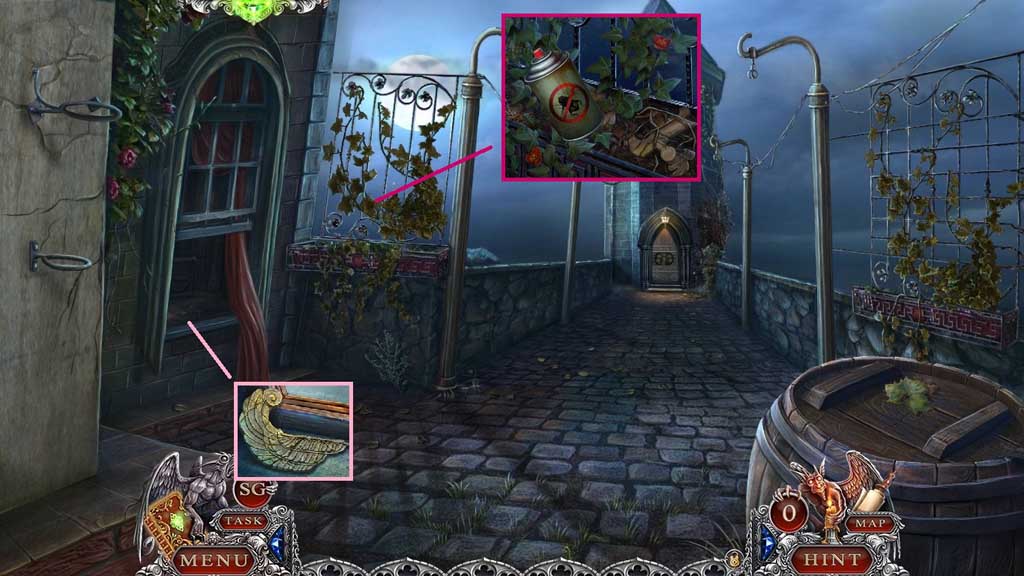
- Collect the wing.
- Select the insect repellent to remove the flies; collect 1 /2 mask parts.
- Move down once and go to the right.
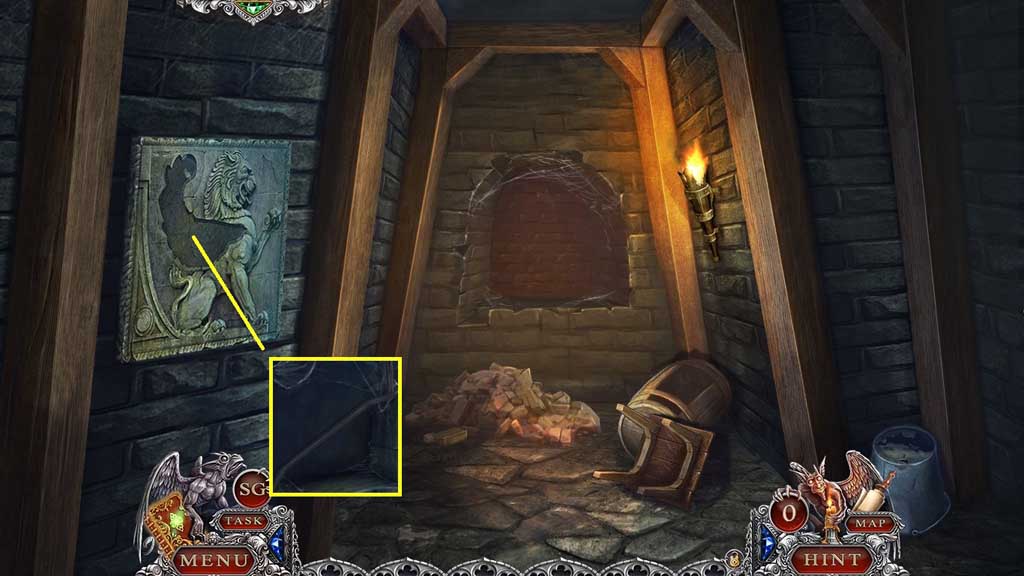
- Insert the wing.
- Collect the crowbar.
- Move to the Tower Bridge.
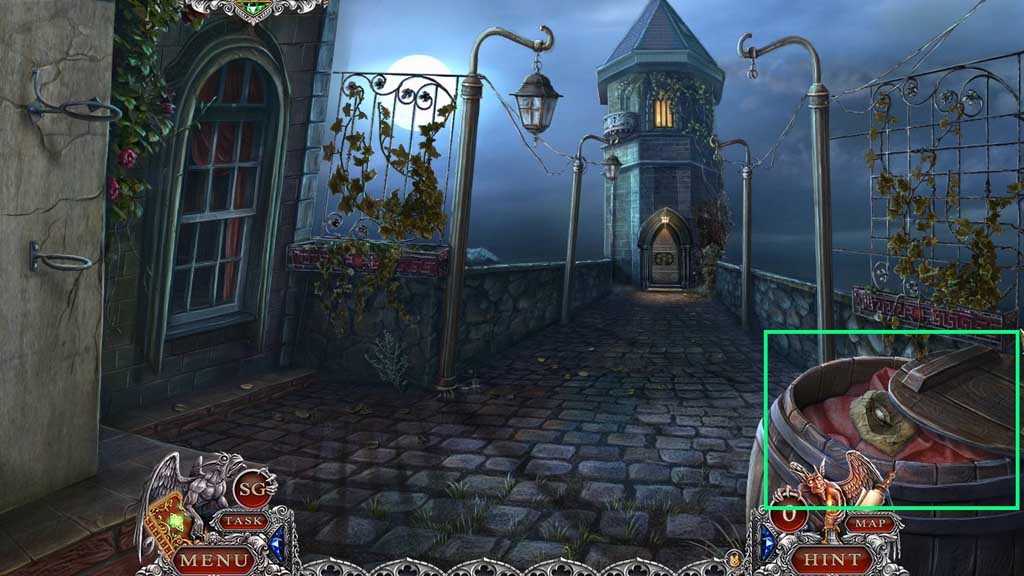
- Select the crowbar to remove the lid.
- Collect 2 /2 mask parts.
- Move down once.
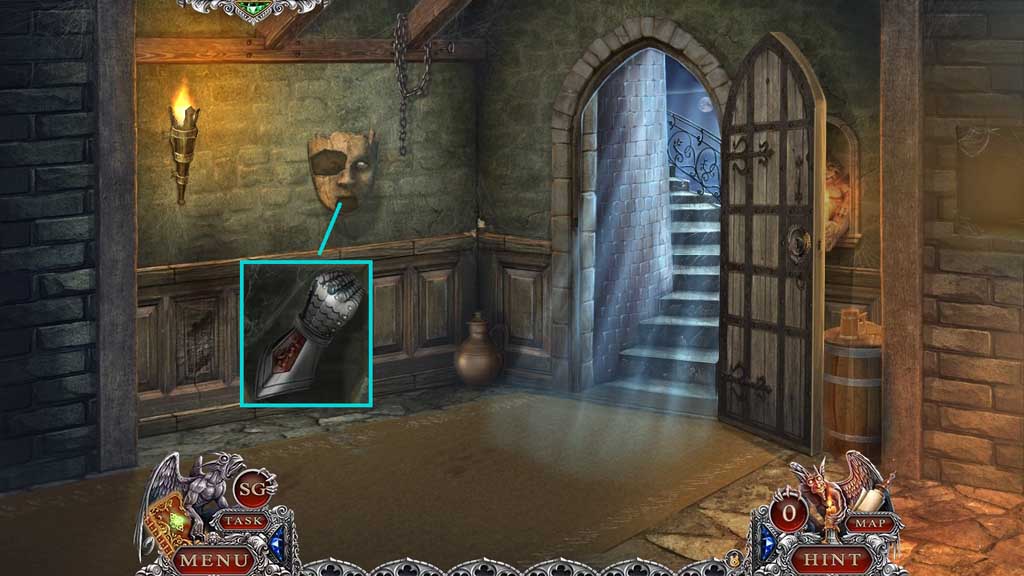
- Attach the mask parts; collect the gauntlet.
- Move forward.
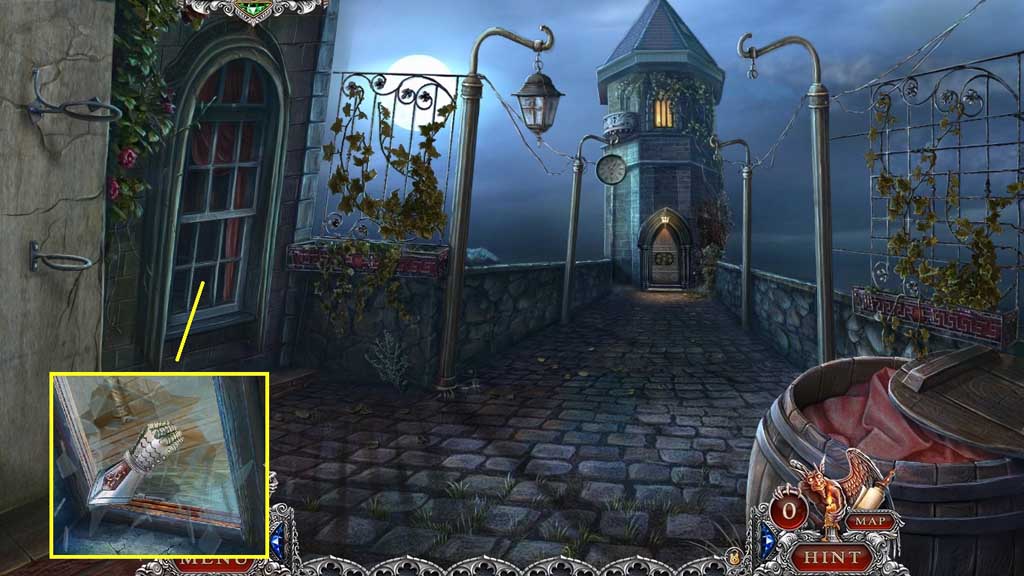
- Select the gauntlet to smash the window; click the window lock.
- Enter the window.
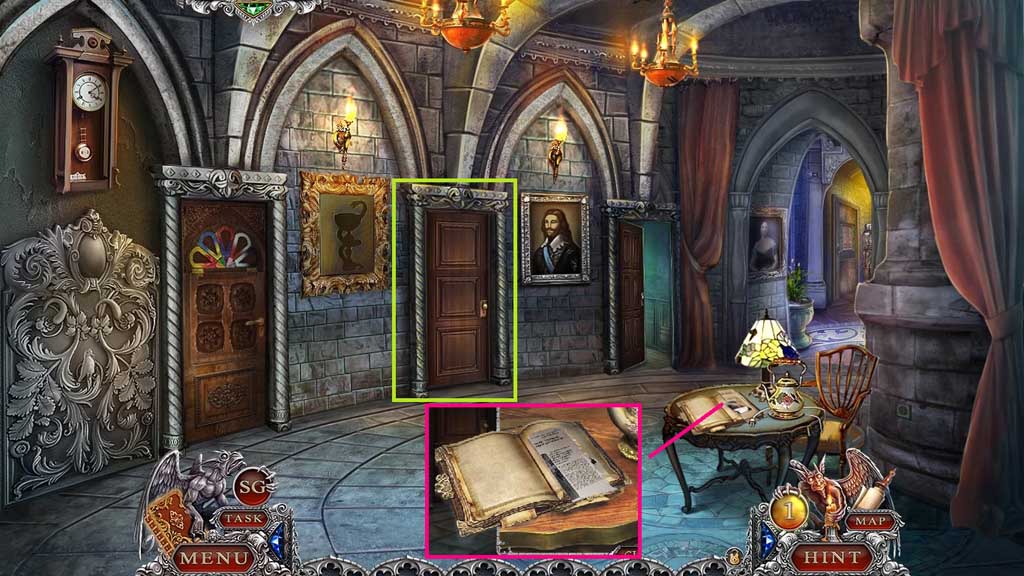
- Collect the article and 1 /5 photo parts beneath it.
- Enter the doorway.
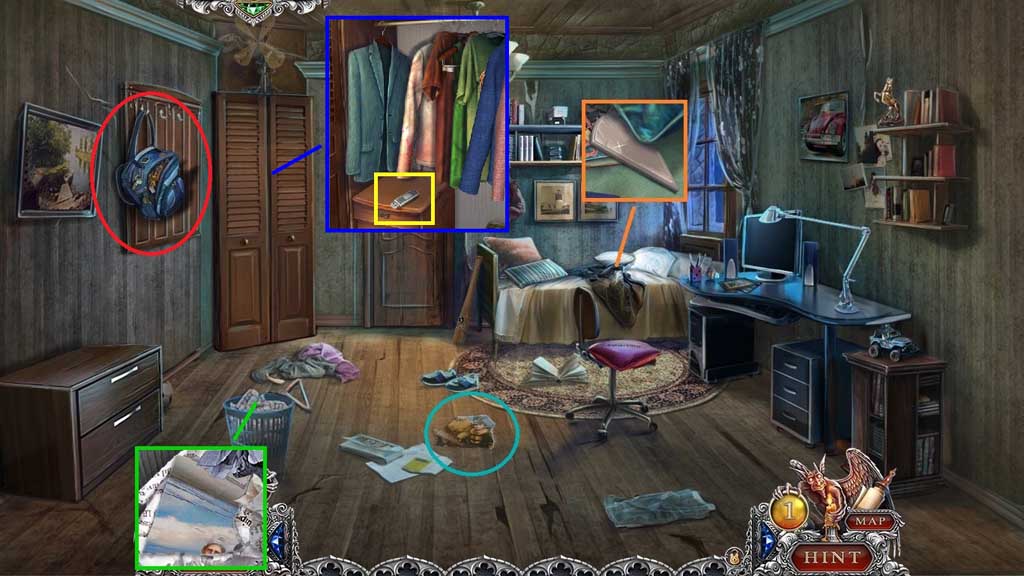
- Collect 2 /5 photo parts and 1 /3 colored tiles.
- Zoom into the garbage can; click the papers 5x’s.
- Collect 3 /5 photo parts.
- Zoom into the closet; click the shirts 4x’s.
- Collect the memory stick.
- Click the backpack to trigger a hidden objects area.
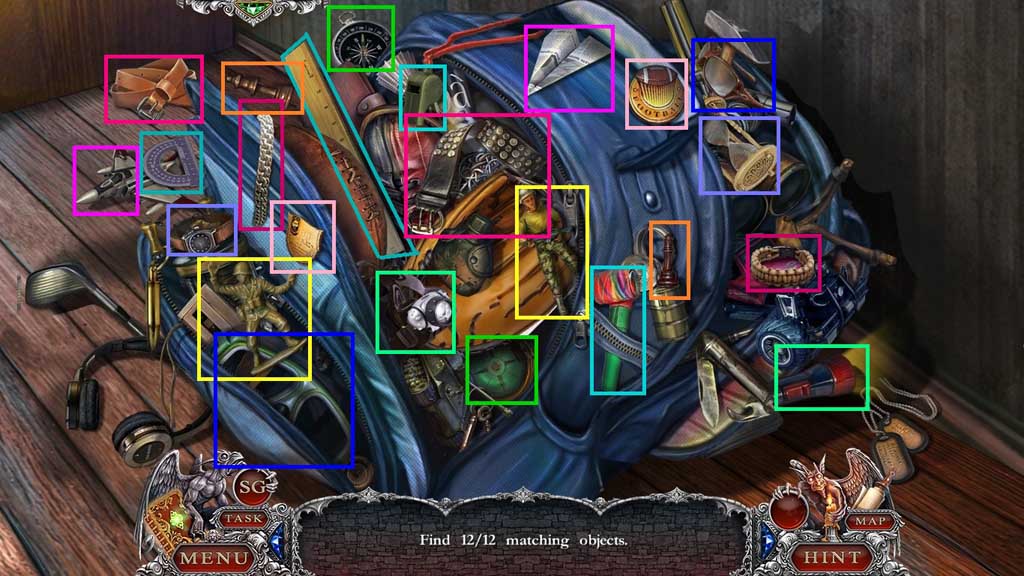
- Find the matching items.
- Collect 1 /2 woodwork elements.
- Move down once.
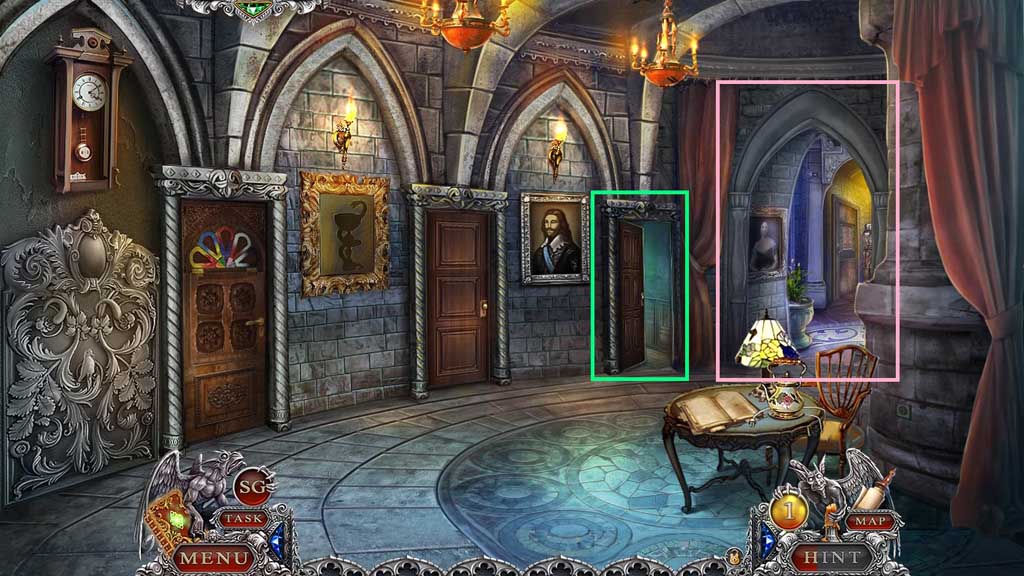
- Click the door.
- Move into the hallway.
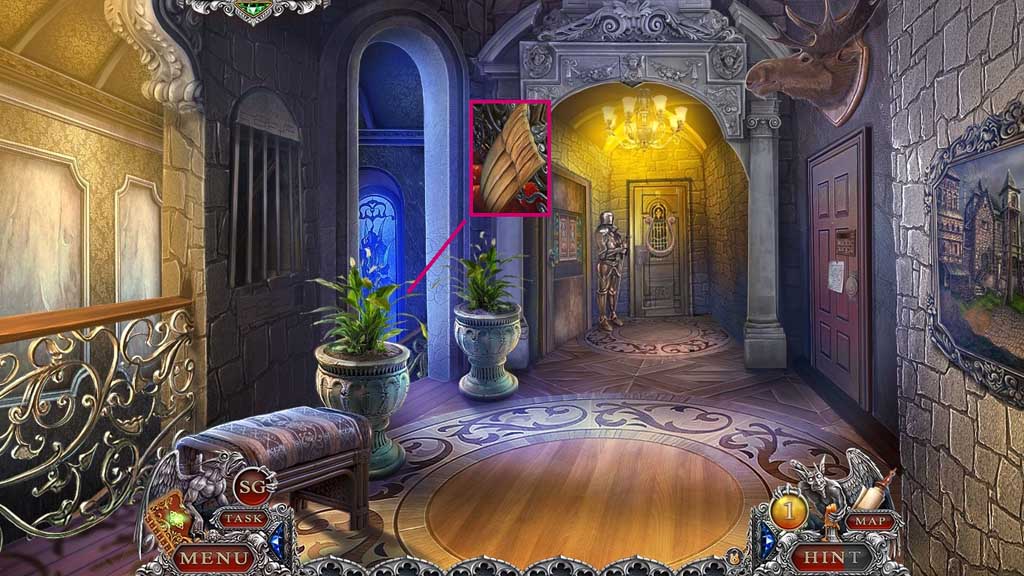
- Collect the griffin’s wing.
- Move to James’s Room and enter the door with the Wanted poster.
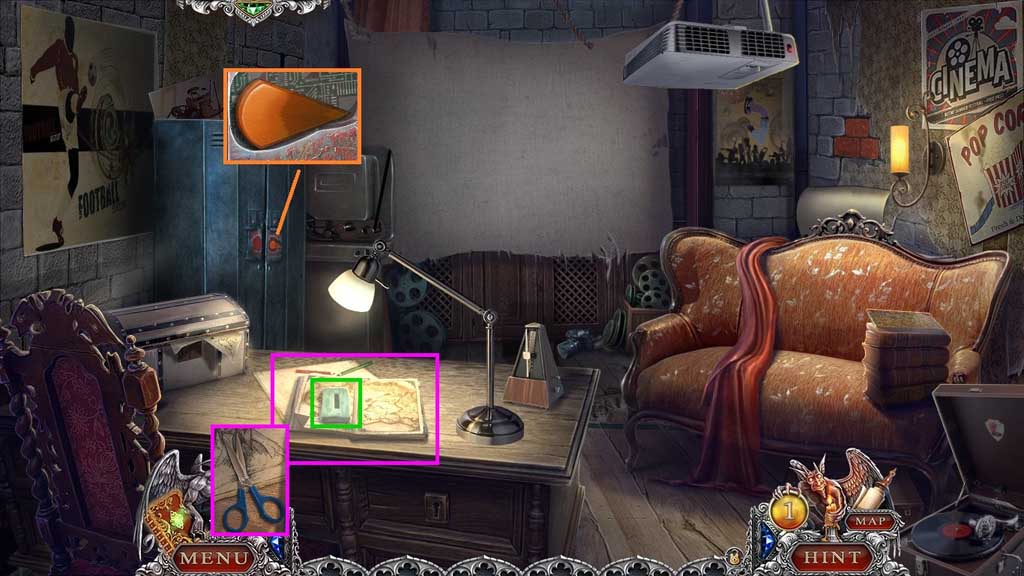
- Collect 2 /3 colored tiles.
- Collect the storage battery; click the book closed and collect the scissors.
- Move down once.
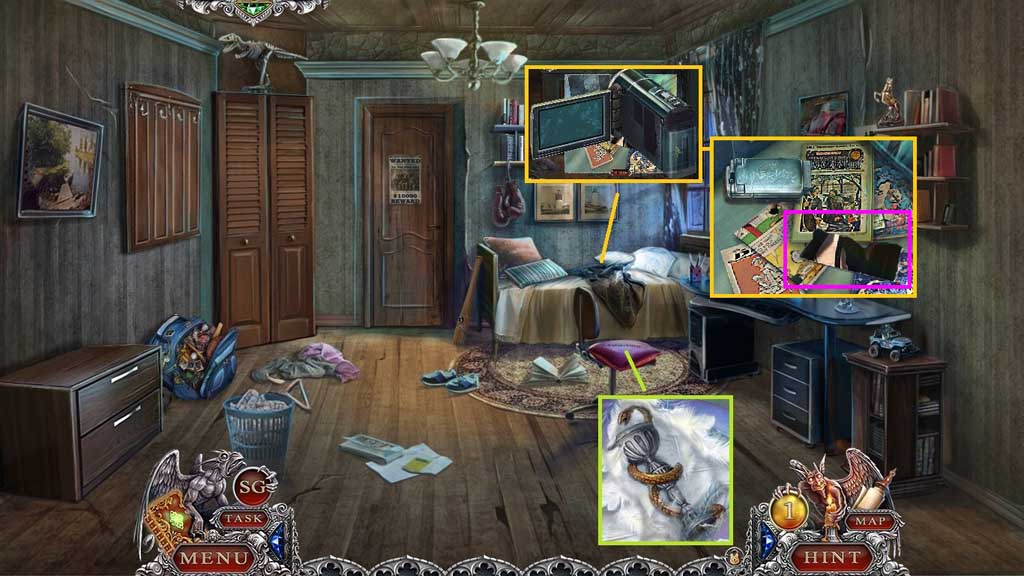
- Select the scissors to cut the seam; collect the bowl of Hygeia.
- Zoom into the camera; attach the storage battery
- Click the camera; collect 4 /5 photo parts.
- Move down once.
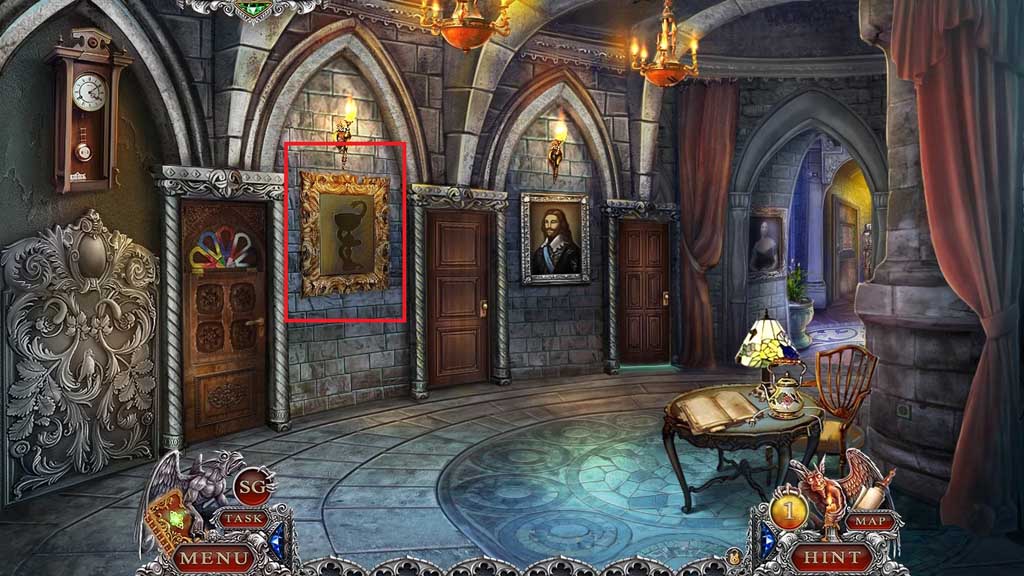
- Insert the bowl of Hygeia to trigger a hidden objects area.
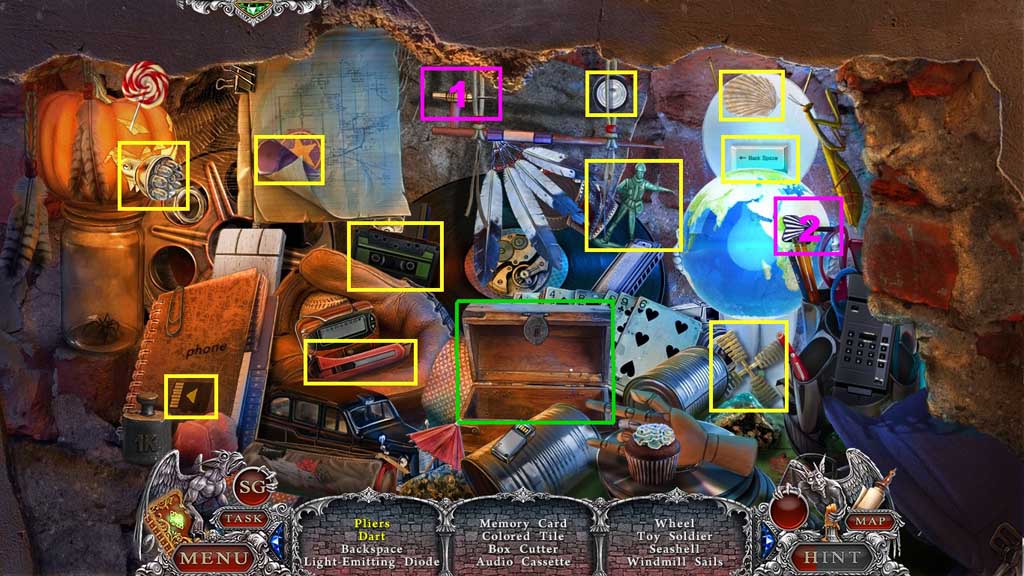
- Find the items.
- Zoom into the box; collect the pliers.
- Select the shaft and attach it to the fletching; collect the arrow.
- Collect 3 /3 colored tiles.
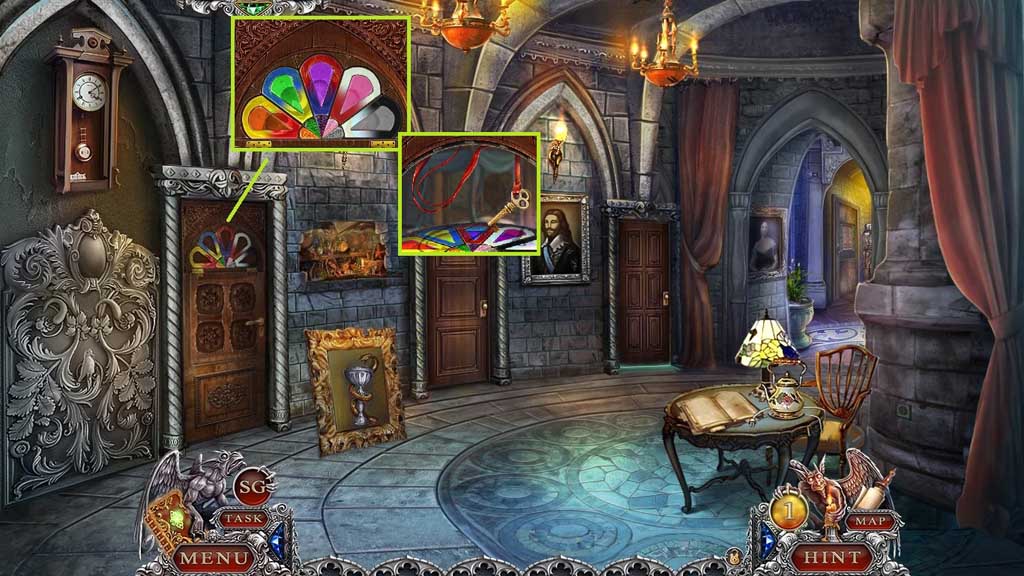
- Insert the colored tile to trigger a mini game.
- Solve the game by arranging the tiles according to the inner semi-circle.
- Click the pane; collect the bedroom key and use it to unlock the door.
- Enter the doorway.
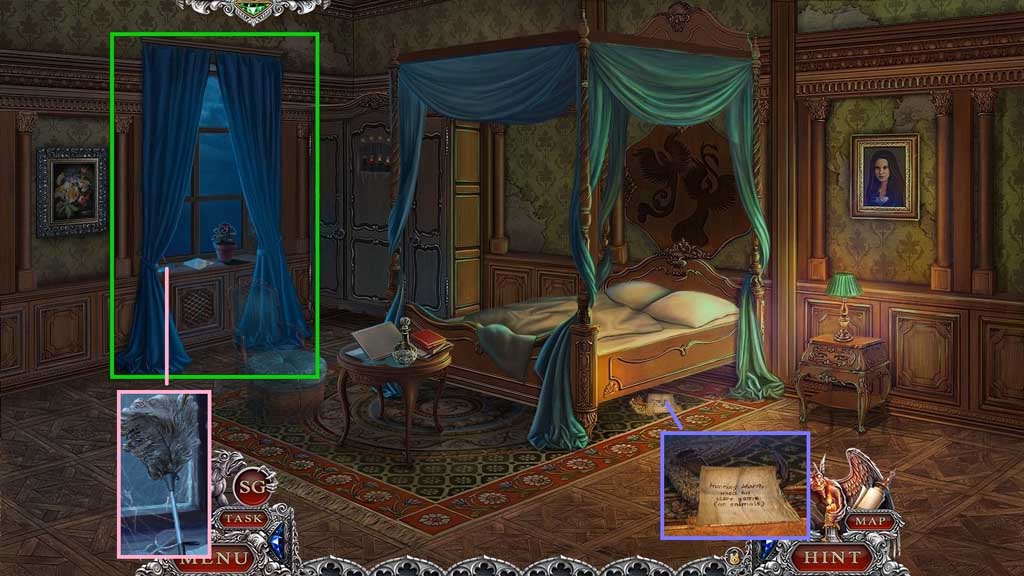
- Collect the journal page and the hunting horn.
- Click the curtains; collect the feather duster token.
- Move down once.
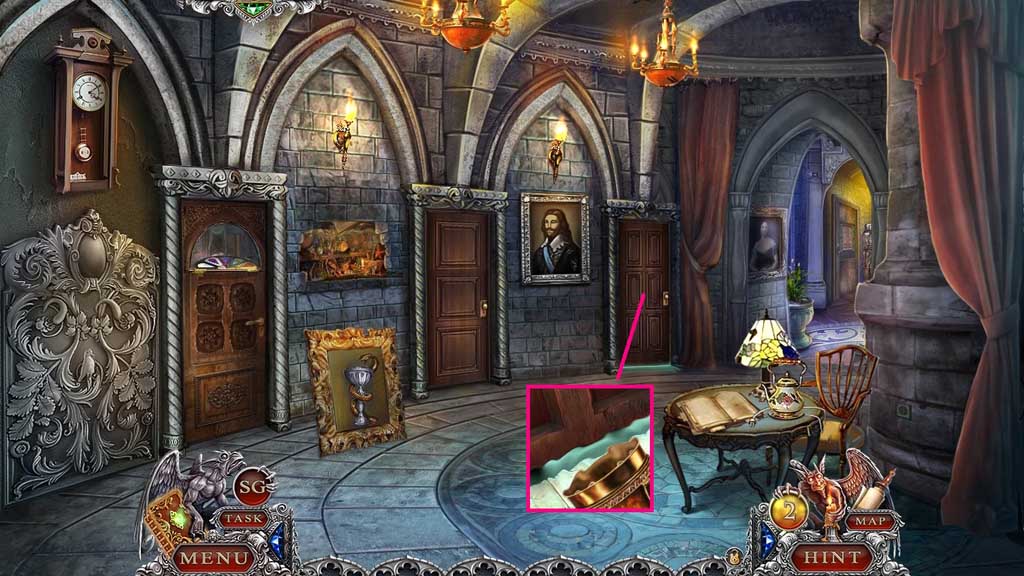
- Select the hunting horn to blow into the doorway.
- Enter the doorway.
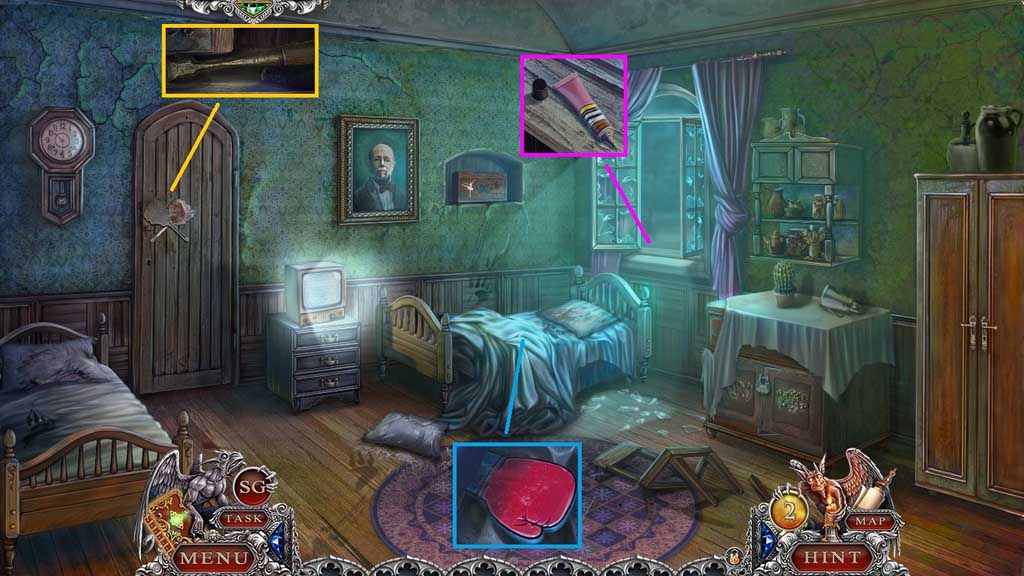
- Collect the glue.
- Click the blanket; collect the boxing glove token.
- Insert the feather duster token; collect the chisel.
- Move to James’s Movie Room.
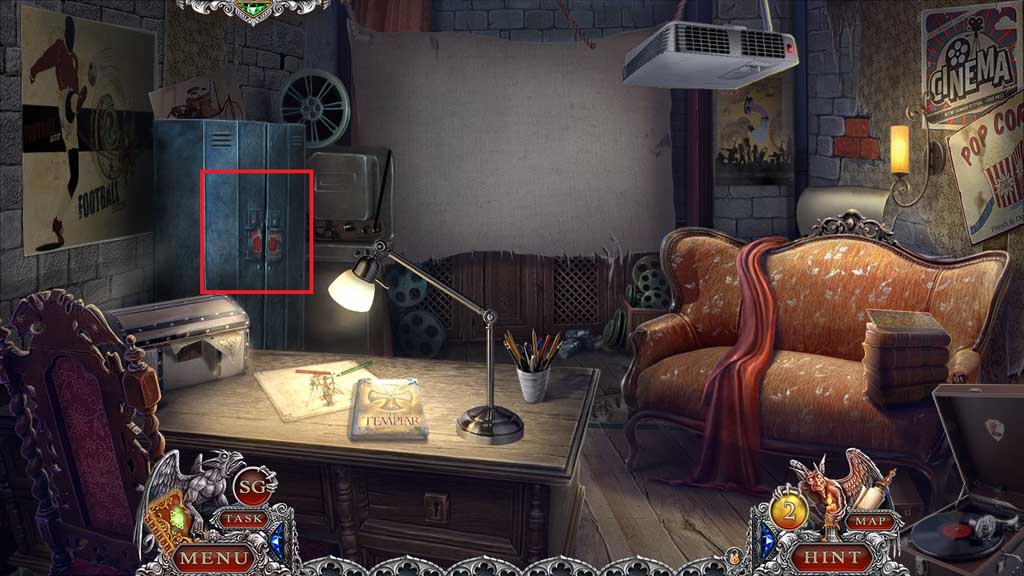
- Insert the boxing glove token to trigger a hidden objects area.
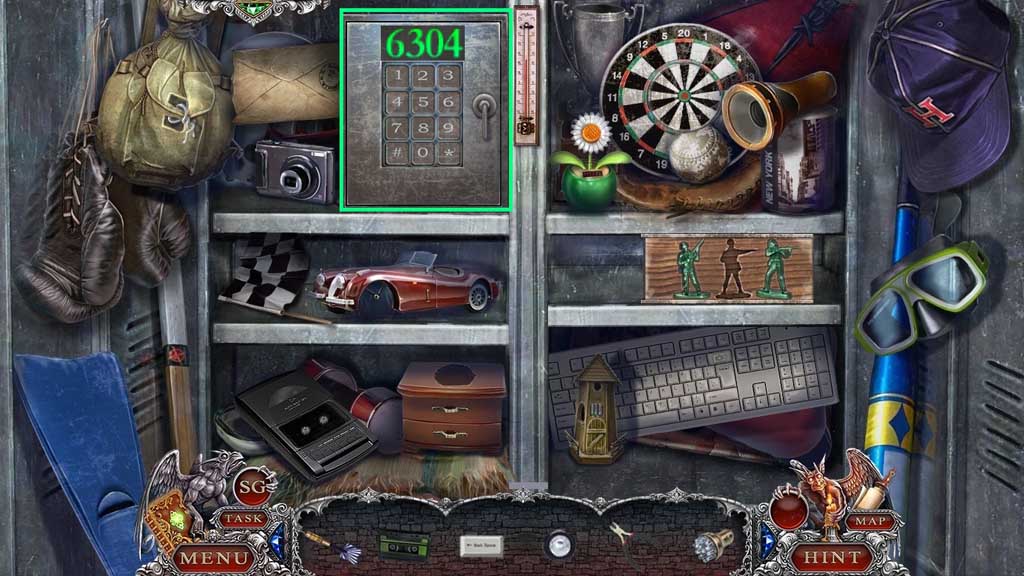
- Place the items correctly.
- Select the cassette and insert it into the cassette player; collect the # 3 and place it onto the keypad.
- Select the wheel and place it onto the car; collect the # 8 and place it onto the keypad.
- Select the light emitting diode and place it into the flashlight; collect the #1 and place it into the keypad.
- Select the backspace button and place it onto the keyboard; collect the #9 and place it onto the keypad.
- Select the box cutter and use it to slice the envelope; collect the # 6 and place it onto the keypad.
- Select the windmill sails and place it onto the windmill; collect the # 5 and place it onto the keypad.
- Select the soldier and place it with the others; collect the # 4 and place it onto the keypad.
- Select the seashell and insert it into the box; collect the # 2 and place it onto the keypad.
- Select the dart and place it onto the dartboard; collect the # 7 and place it onto the keypad.
- Select the pliers and use them to snap the wire; collect the # 0 and place it onto the keypad.
- Select the memory stick and insert it into the camera; collect the code: 6304.
- Use the code to open the safe.
- Collect the ballet dancer.
- Move to the Servants Quarters.
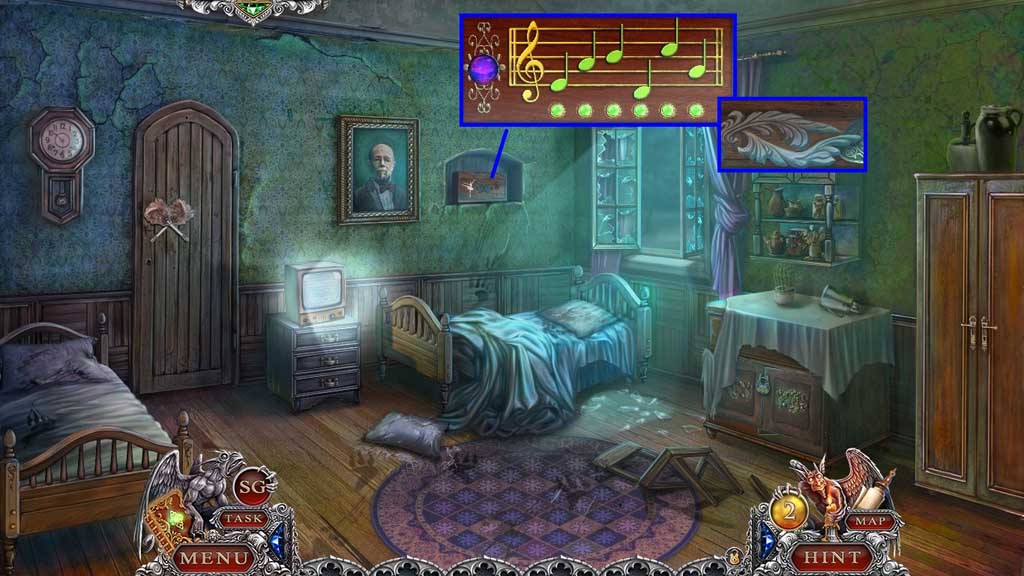
- Insert the ballet dancer to trigger a mini game.
- Solve the game by arranging the music notes in the correct order; click the purple button.
- Collect 2 /2 woodwork elements.
- Move to the Lord’s Room.
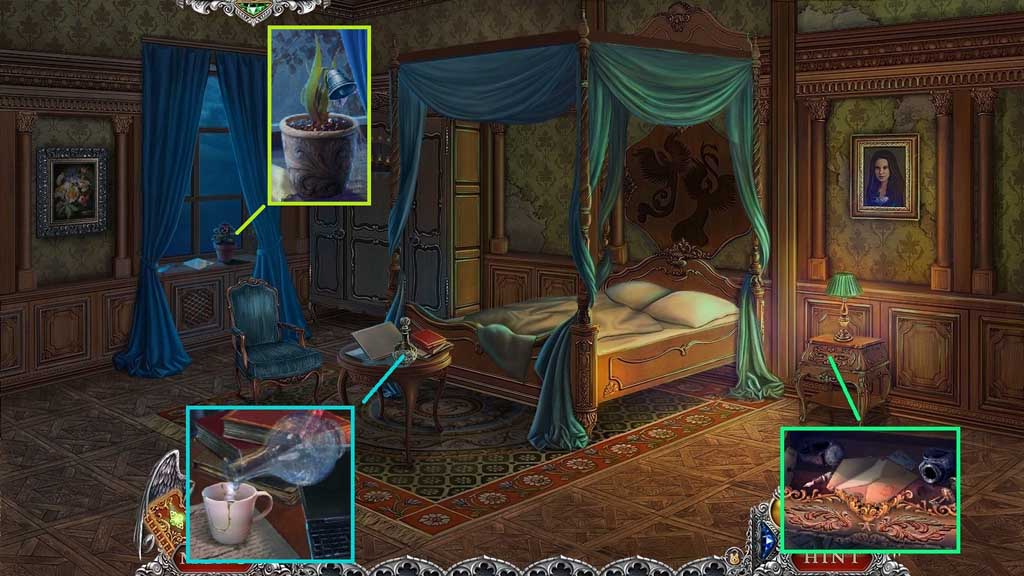
- Insert the woodworking elements.
- Read the letter and collect the remote control.
- Select the glue to repair the cup and click the pitcher; collect the cup of water and pour it into the flowerpot.
- Collect the blue bell.
- Move to James’s Movie Room.
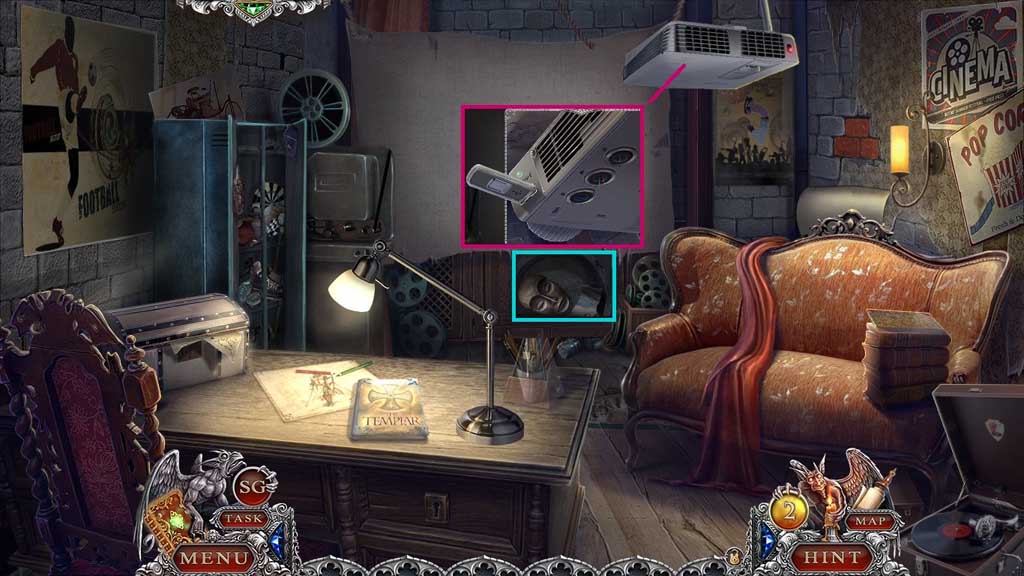
- Select the memory stick and the remote control to use on the projector.
- Collect 5 /5 photo parts.
- Move down once.
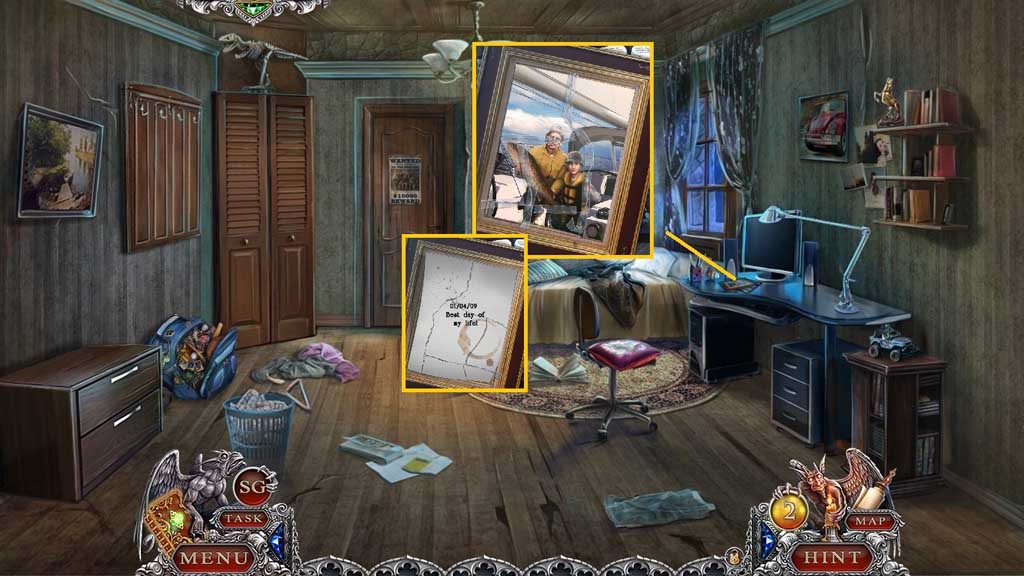
- Zoom into the desk and insert the photo parts to trigger a mini game.
- Solve the game by assembling the photo correctly.
- Click the photo.
- Move to the Servants Quarters.
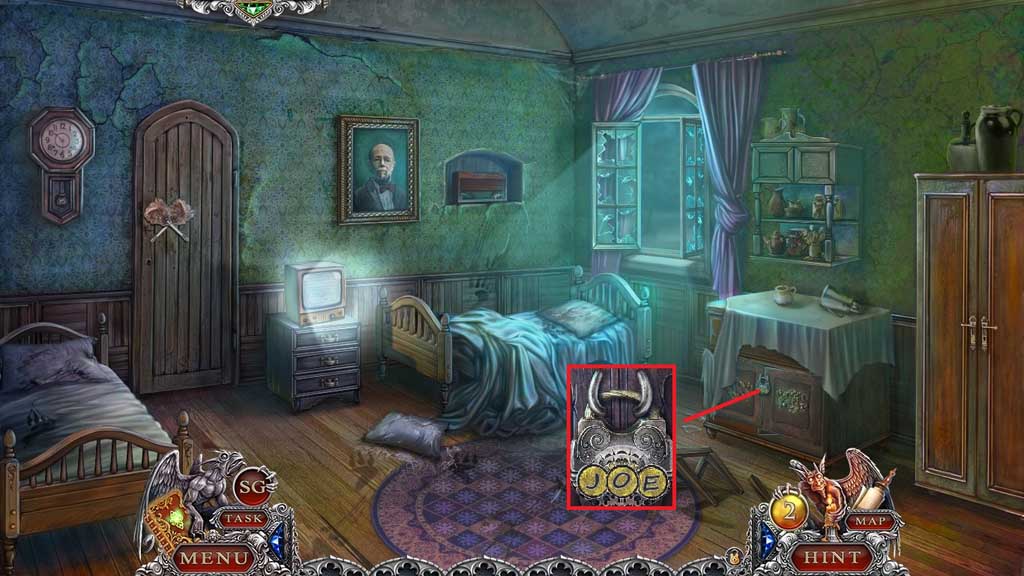
- Use the code J – O – E to trigger a hidden objects area.
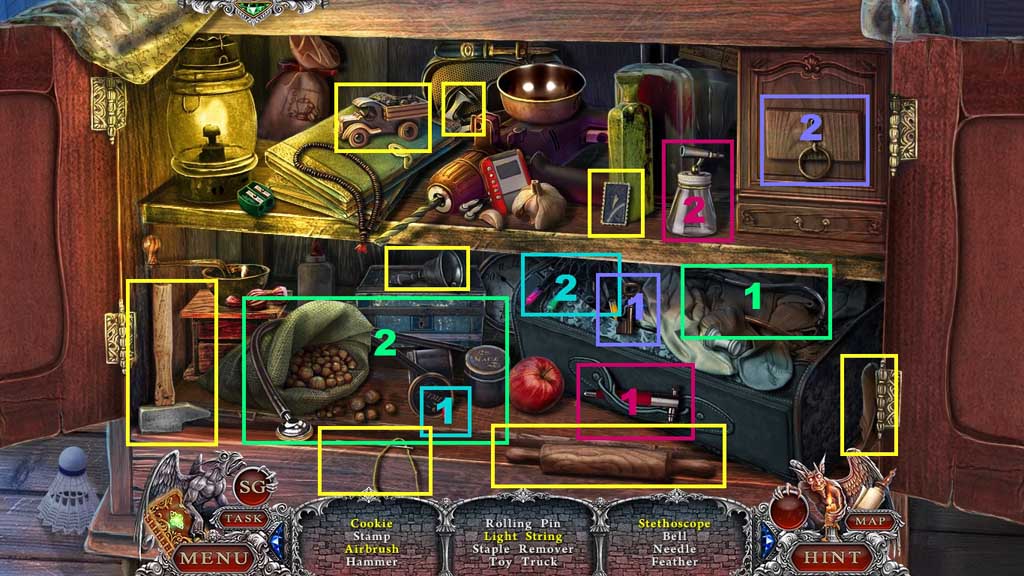
- Find the items.
- Select the key and place it into the lock; collect the cookie.
- Select the airbrush mister and attach it onto the bowl; collect the airbrush.
- Select the bulb and insert it into the light string; collect the light string.
- Select the earpiece and attach it to the stethoscope part; collect the stethoscope.
- Collect the hammer.
- Move to the Second Floor Corridor North.
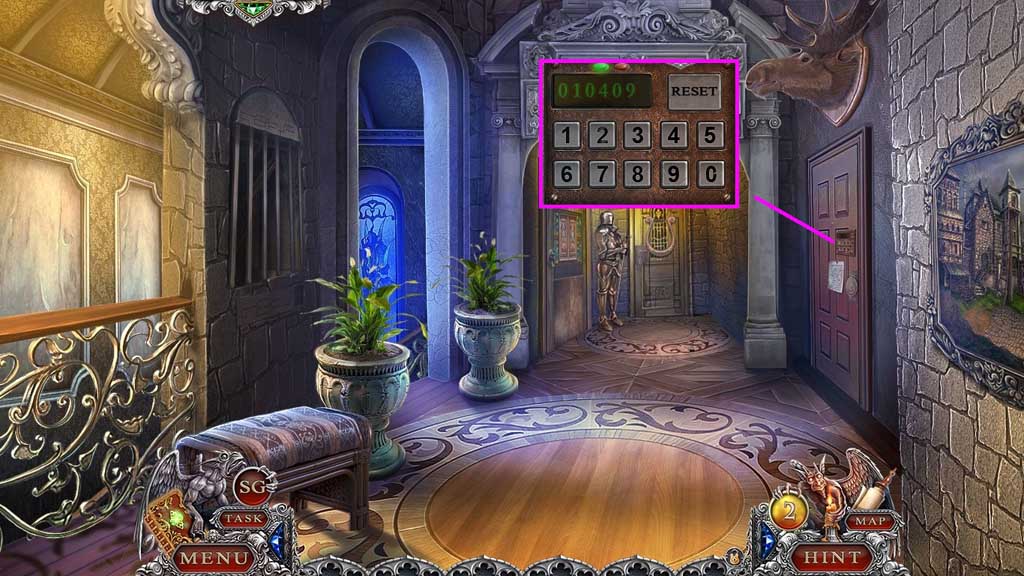
- Use the code 0 – 1 – 0 – 4 – 0 – 9 to unlock the door.
- Enter the doorway.
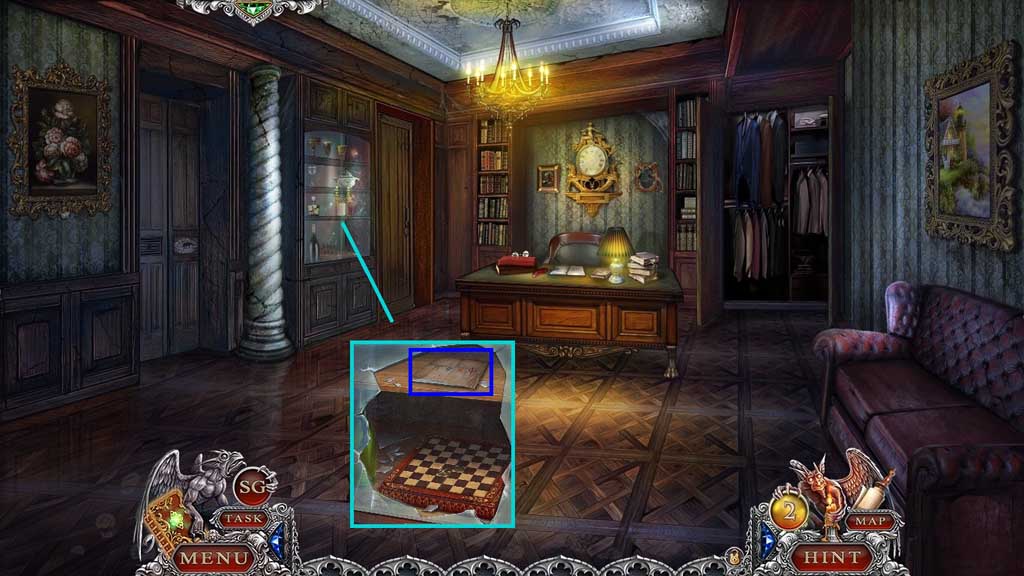
- Select the hammer to smash the glass.
- Click the code 2x’s.
- Move to James’s Movie Room.
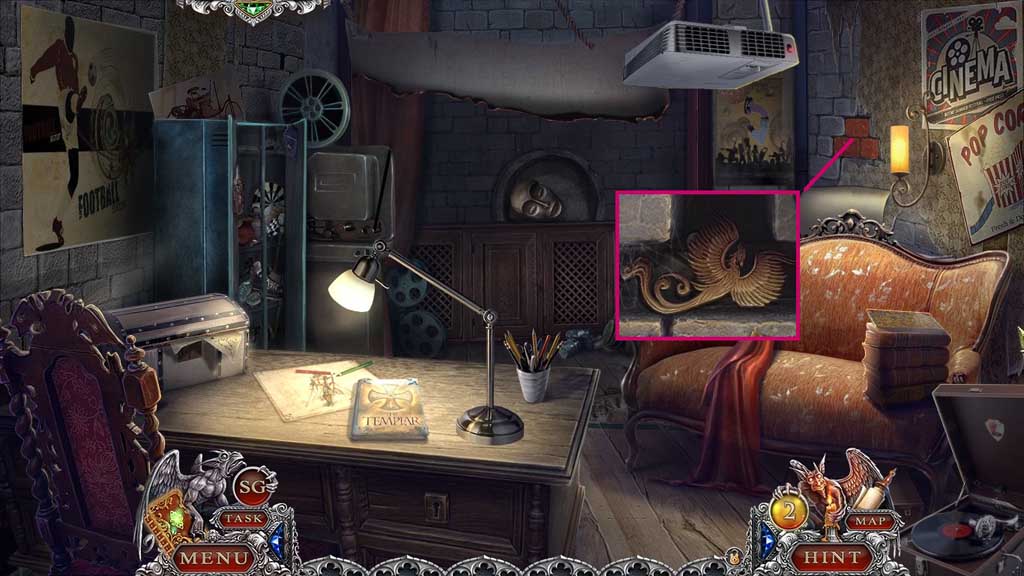
- Select the chisel and the hammer to break the wall; collect 1 /2 Phoenix’s.
- Move to the Lord’s Room.
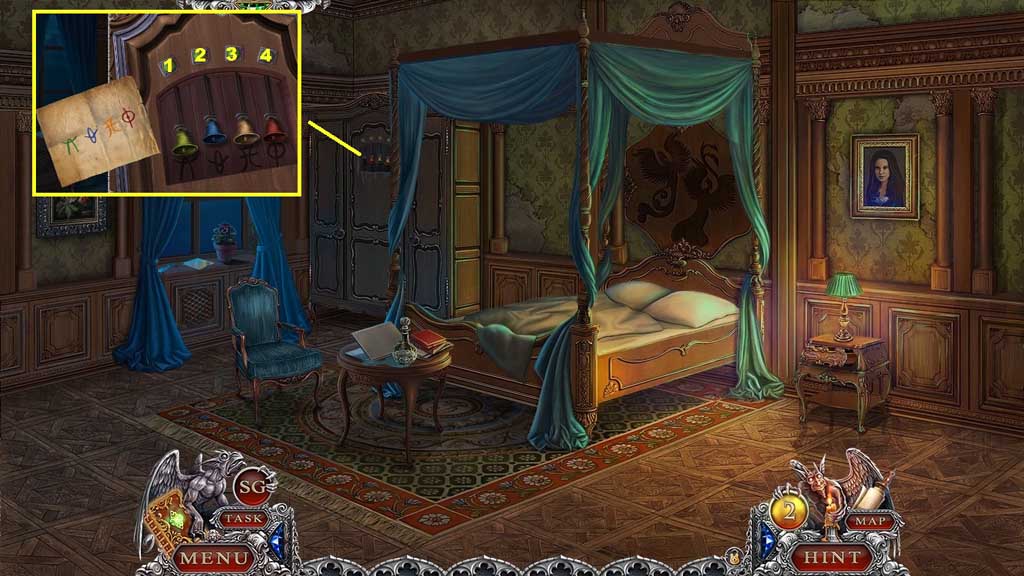
- Insert the blue bell to trigger a mini game.
- Place the bells correctly to solve the game.
- Switch the bells as follows to solve: 1 – 2, 2 – 4, 3 -4
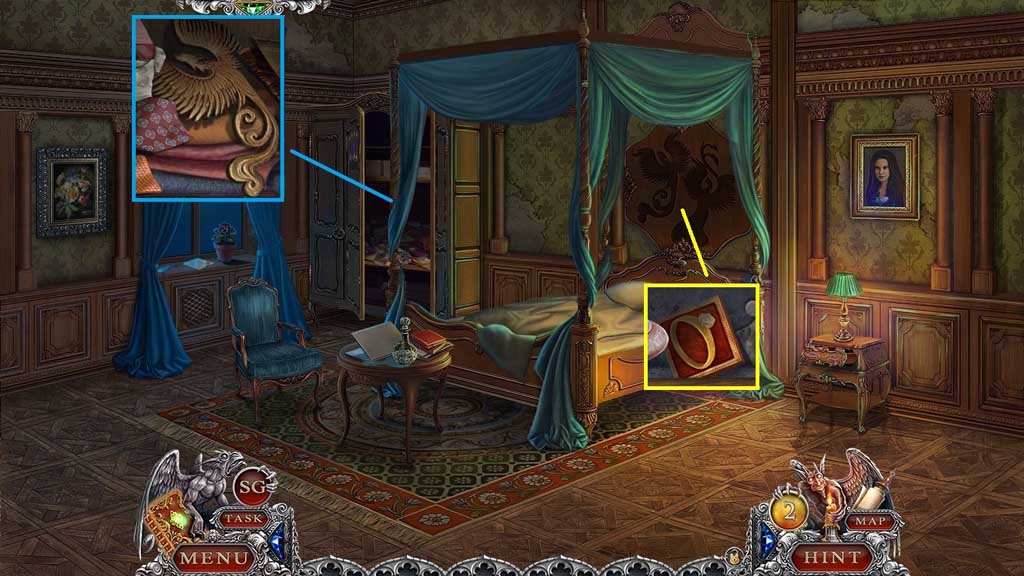
- Click the clothing and collect 2 /2 Phoenix’s and insert it into the groove.
- Collect the ring emblem.
- Move to the Tower Door.
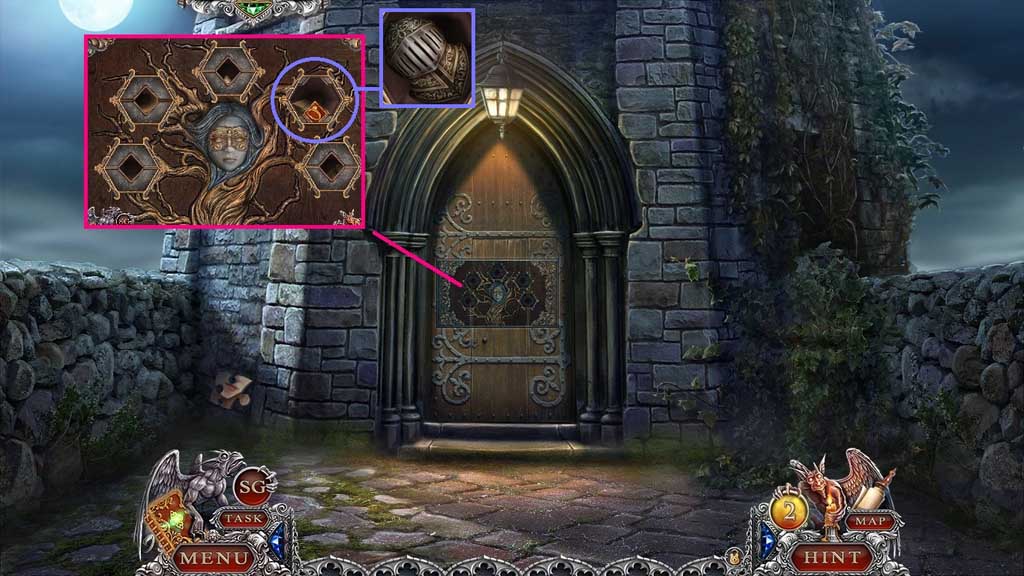
- Insert the ring emblem.
- Click the paper; collect the helmet.
- Move to the Second Floor Corridor North.
Comments will load when you reach this part of the walkthrough.