

Chapter One: The Gardens
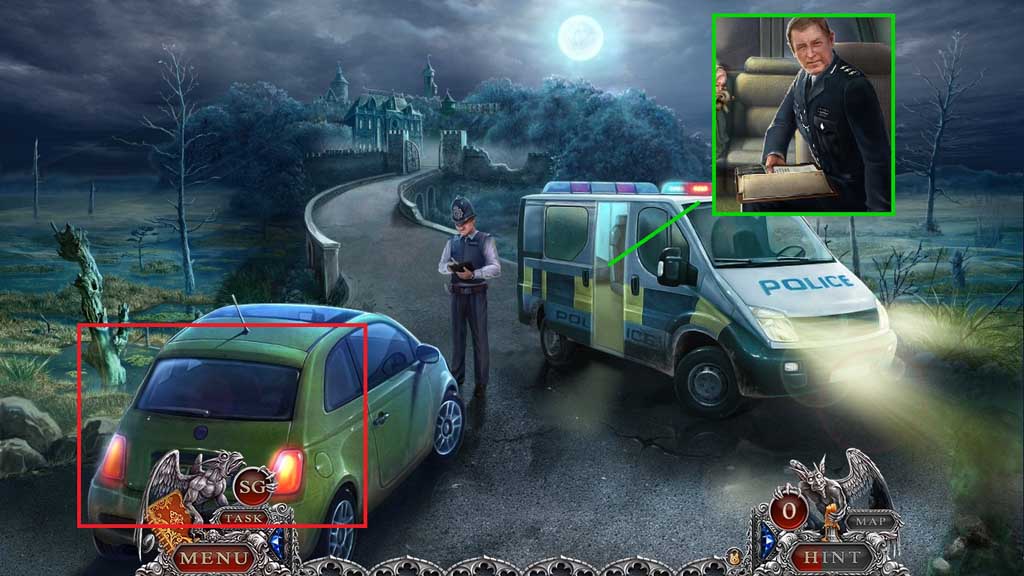
- Zoom into the police van.
- Collect the map and the case report.
- Exit the van and click the trunk to trigger a hidden objects area.
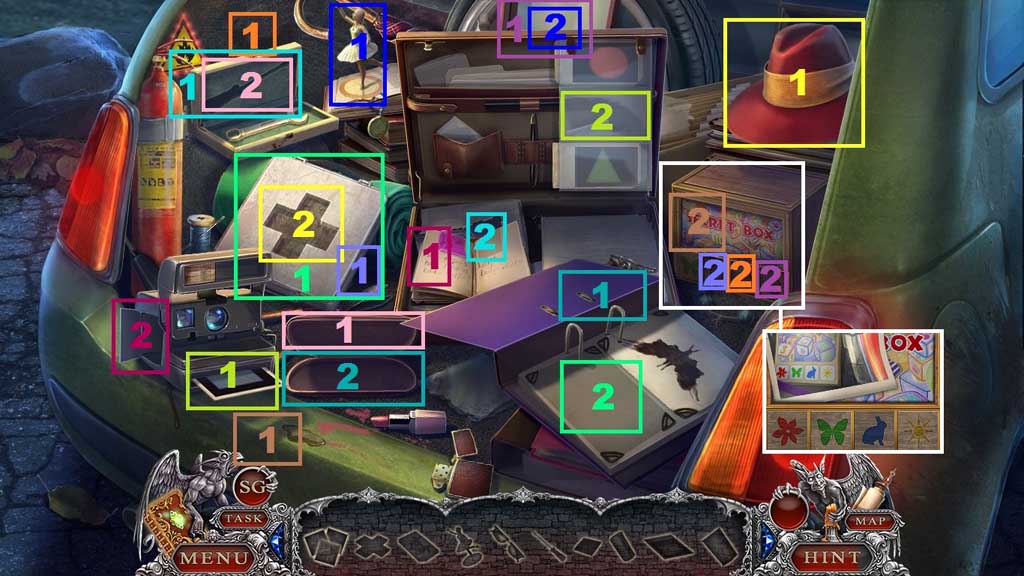
- Find the items.
- Click the hat; collect the cross.
- Insert the cross into the box; collect the ink blot and the flower square.
- Place the ink blot into the binder; collect the glasses behind the binder cover.
- Insert the glasses into the case; collect the screwdriver.
- Place the screwdriver into the tool box; collect the sun square and the post it note on the tool box.
- Place the post it note into the book; collect the battery.
- Insert the battery into the camera; collect the photos.
- Place the 1st photo into the photo holder and the 2nd onto the secret box.
- Select the ballerina and place her onto the music box behind the briefcase; collect the bunny square.
- Select the 3 squares and insert them into the secret box and arrange them according to the photo.
- Collect the cocoa powder.
- Move into the police van.
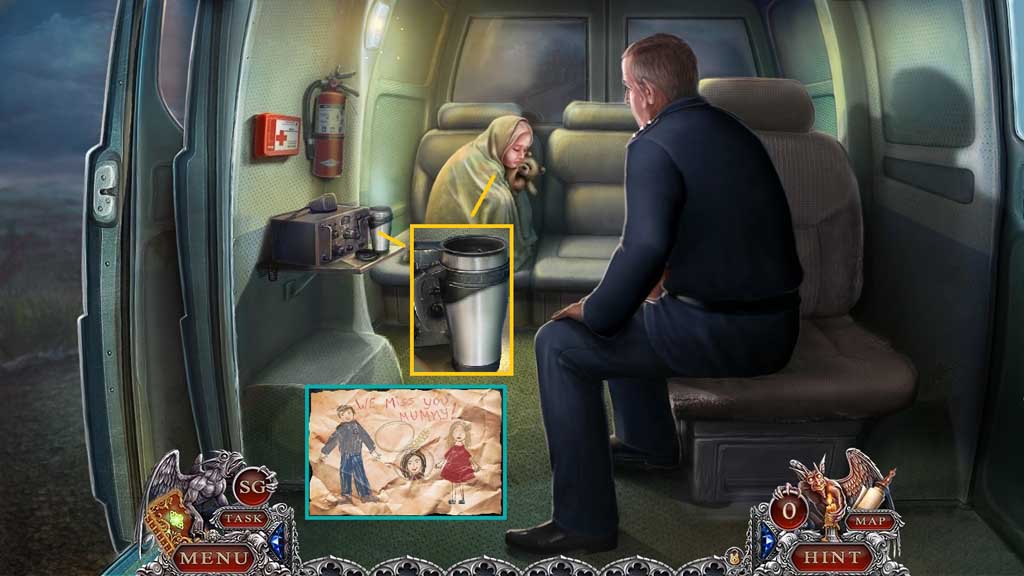
- Pour the cocoa powder into the mug and click the lid.
- Collect the mug of coca and give it to the child.
- Collect 1 /5 of Jessie’s drawings.
- Move down once.
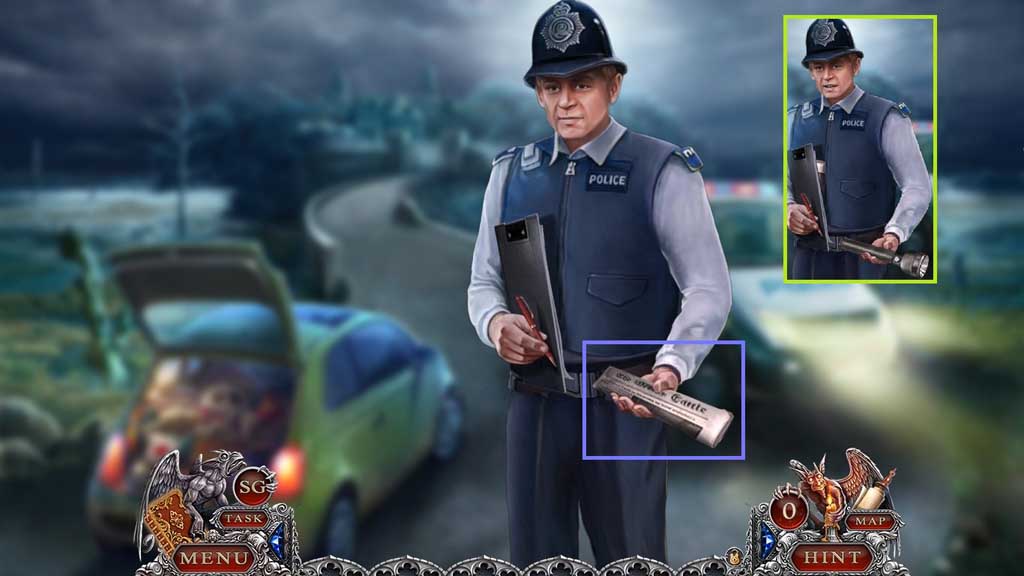
- Click the newspaper 2x’s; receive the flashlight.
- Move ahead.
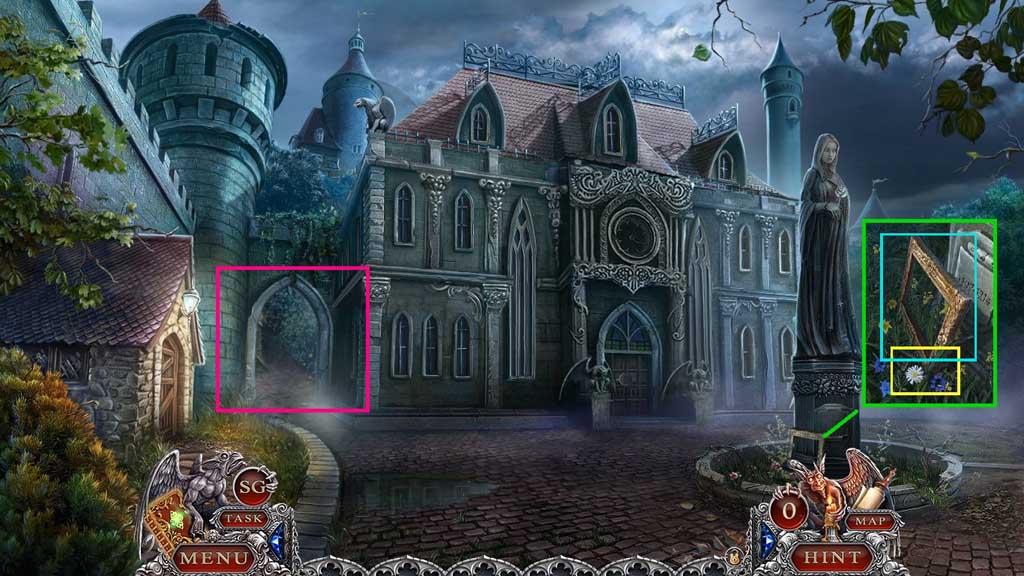
- Collect the frame and the storeroom key.
- Enter the archway.
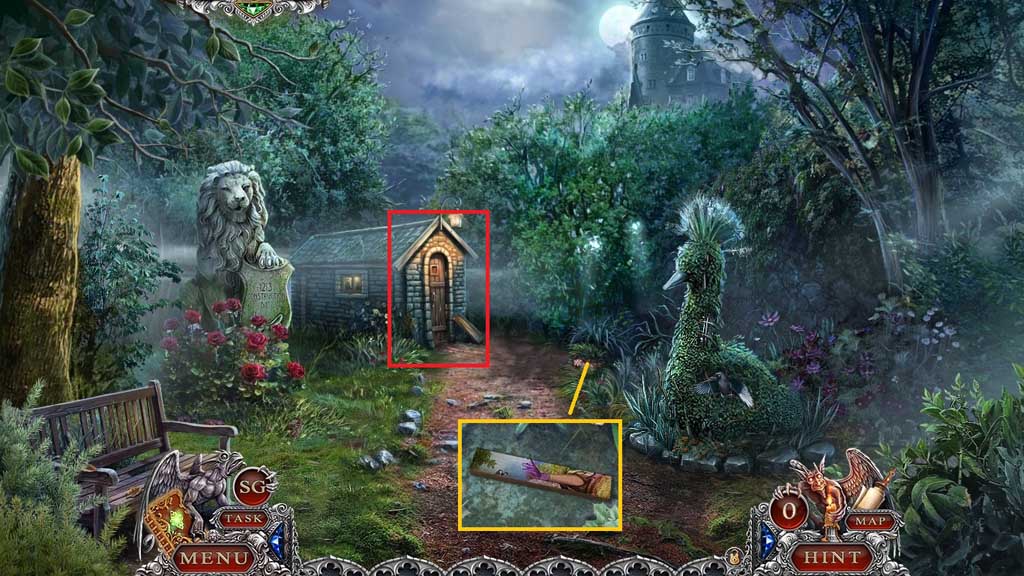
- Click the leaves; collect 1 /2 colored tiles.
- Insert the storeroom key to trigger a hidden objects area.
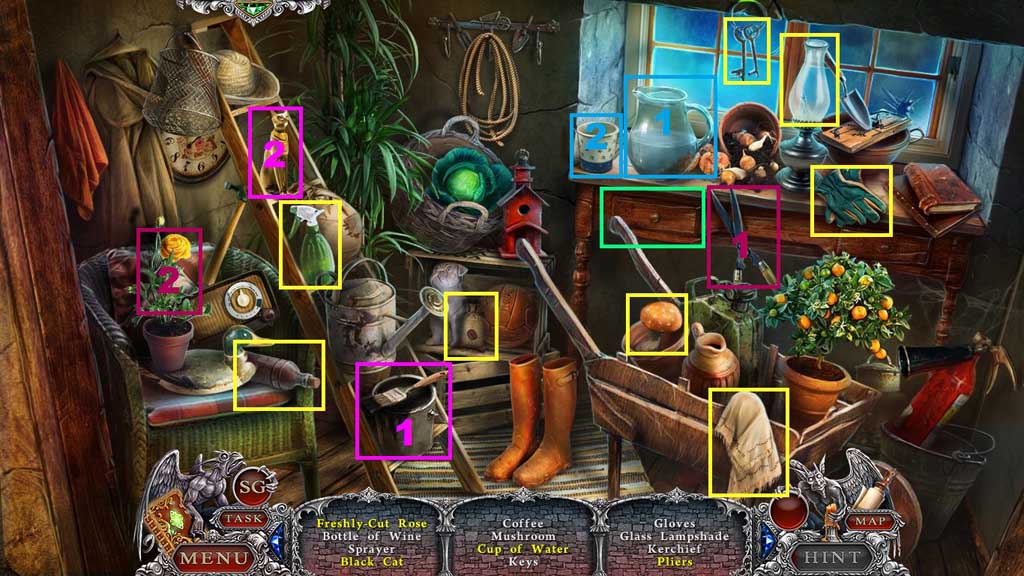
- Find the items.
- Select the garden shears to cut the rose; collect the freshly cut rose.
- Select the paint brush and use it to paint the cat; collect the black cat.
- Select the jug of water and pour it into the cup; collect the cup of water.
- Click the drawer open; collect the pliers.
- Collect the pliers.
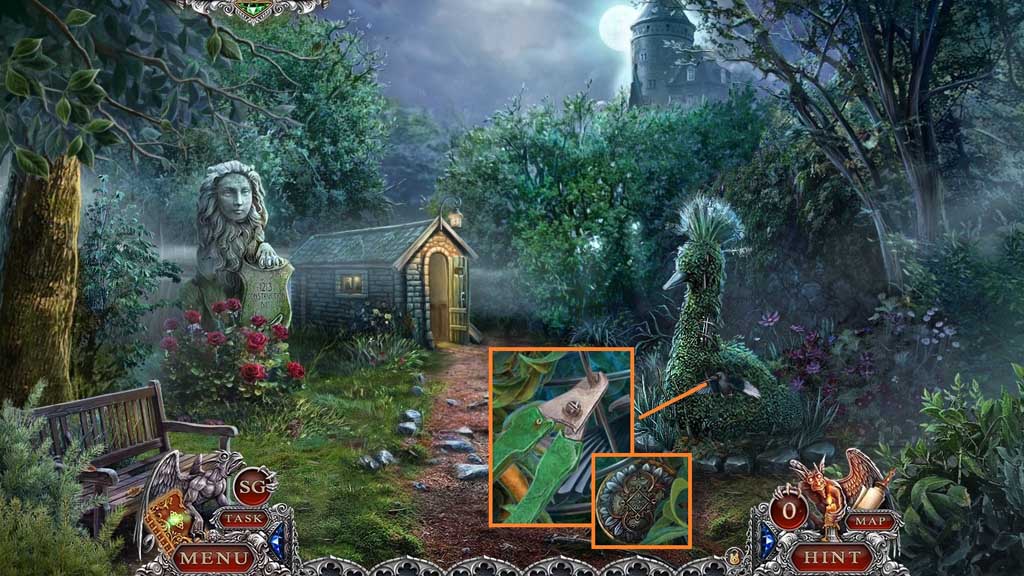
- Select the pliers to cut and collect the wire and the stone flower.
- Move down once.
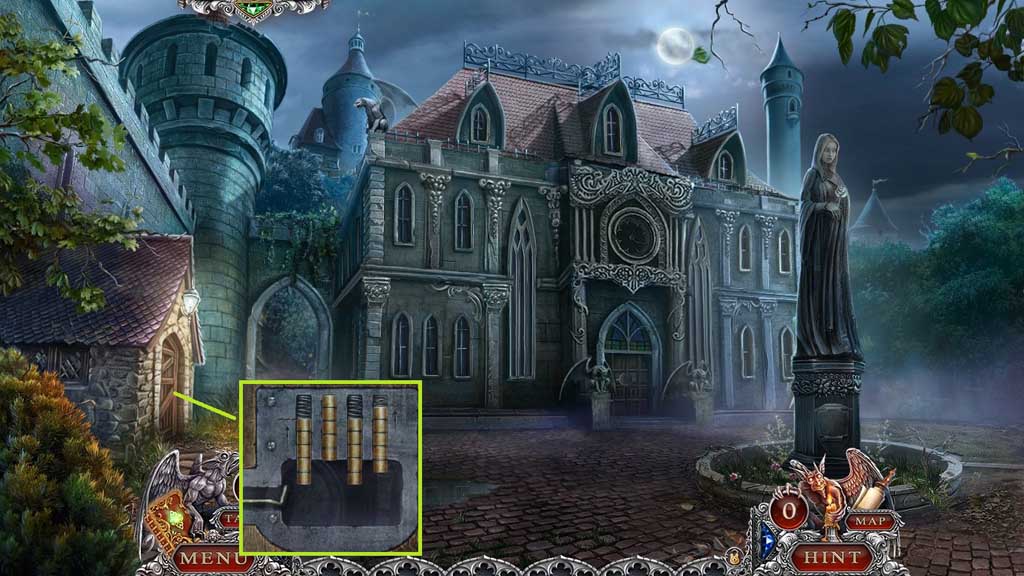
- Zoom into the key hole and use the wire to trigger a mini game.
- Solve the game by using the wire to position the tumblers correctly.
- Enter the doorway.
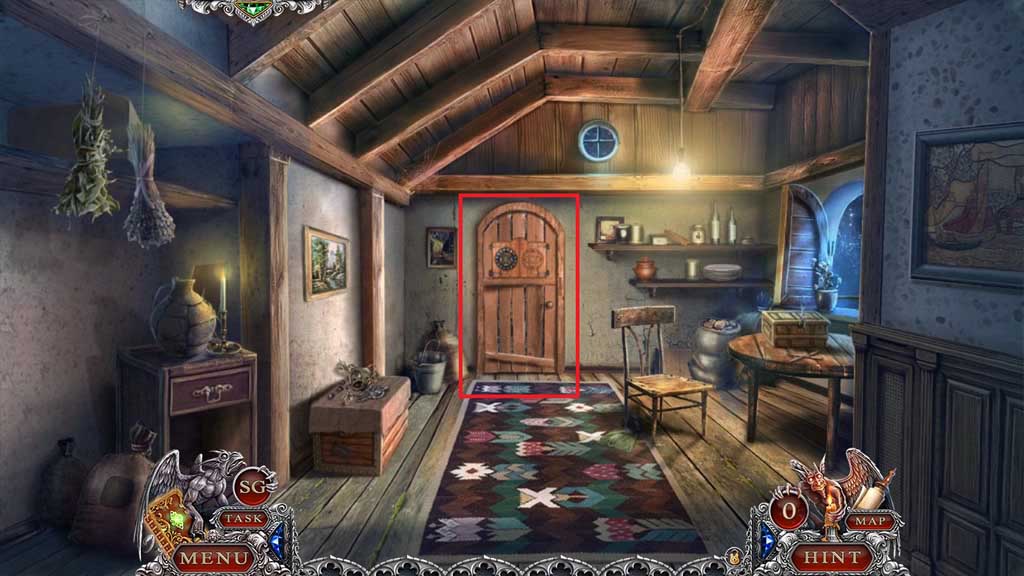
- Insert the stone flower to trigger a hidden objects area.
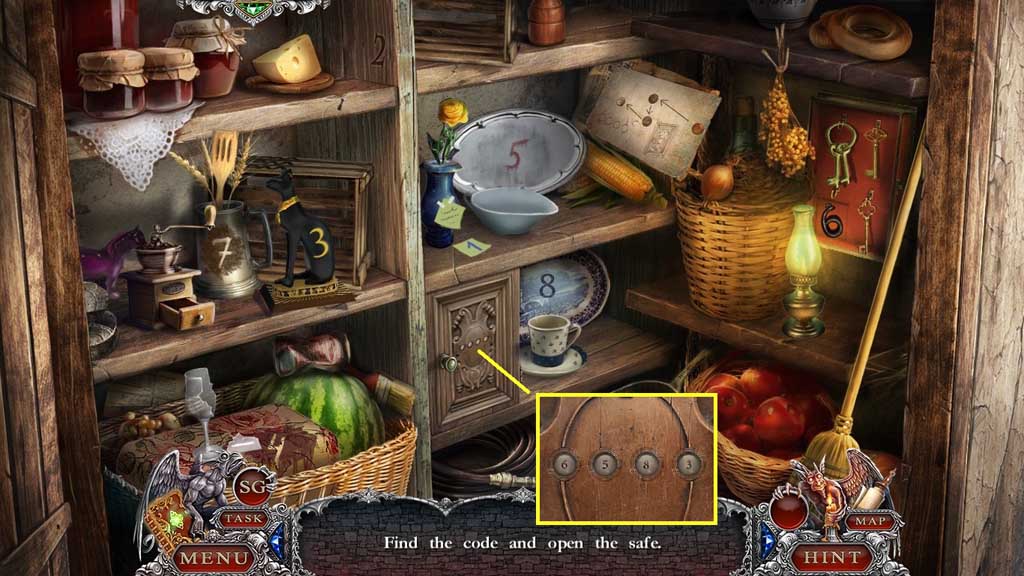
- Place the items correctly.
- Select the glove to remove the dead rose from the vase and replace it using the freshly cut rose.
- Select the bottle of wine and pour it into the wine glass.
- Select the mushroom and hang it alongside the others.
- Select the sprayer to use on the dirty tray and then wipe it using the kerchief.
- Select the coffee beans and place them into the grinder.
- Select the cat and place it onto the base.
- Select the glass lampshade and place it onto the oil lamp base.
- Place the key along with the others.
- Place the cup onto the saucer.
- Use the numbers revealed to uncover the code to open the cabinet safe.
- 6 – 5 – 8 – 3.
- Collect the sun token.
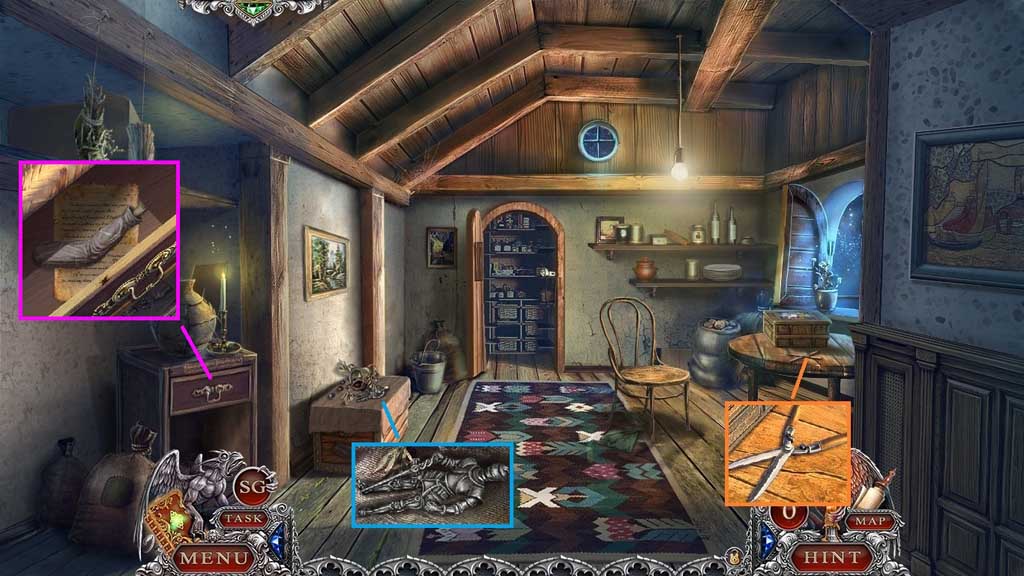
- Collect the garden shears and the knight.
- Click the drawer open and click the papers aside.
- Collect the puppet’s arm and the journal page.
- Move to the Garden.
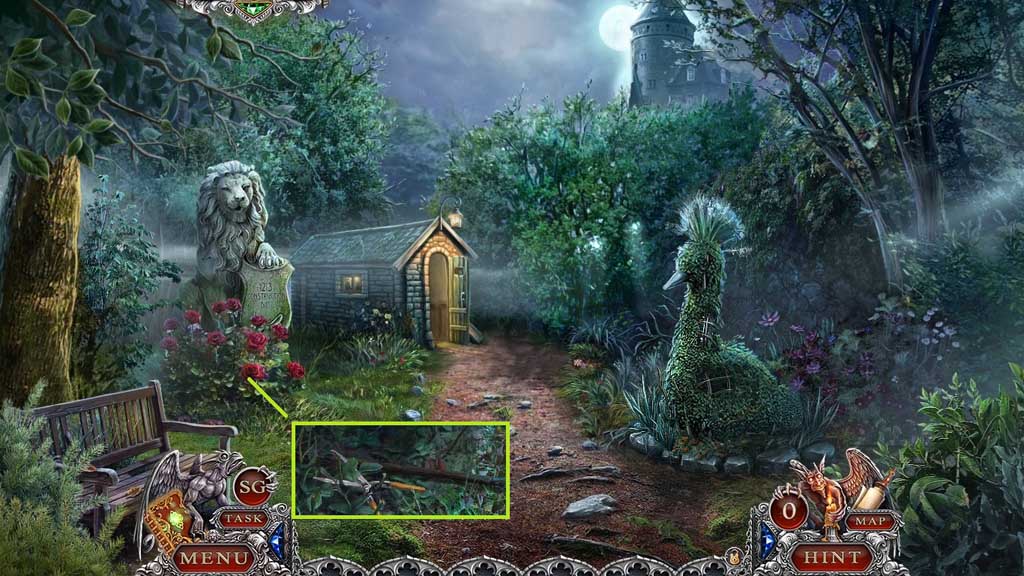
- Select the garden shears to collect the hooked pole.
- Move down once.
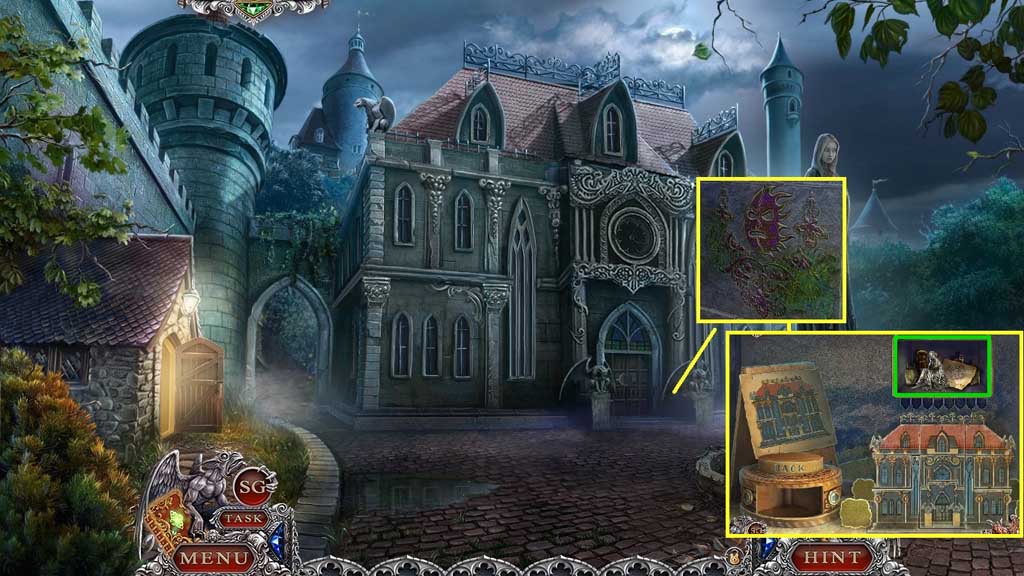
- Move toward the door; insert the sun token.
- Click the easel to trigger a mini game.
- Solve the game by recreating the castle shown.
- Collect the tin figurine and the journal page.
- Chapter-1-15-Flashlight-Game
- Zoom into the door and select the flashlight to trigger a mini game.
- Solve the game by aligning the symbols correctly as shown in the code above the lock.
- Use the following sequence to solve: A. Clockwise 2x’s – B. Counterclockwise 2x’s- C. Counterclockwise 5x’s – D. Counterclockwise 4x’s – E. Counterclockwise 2x’s
- Enter the doorway.
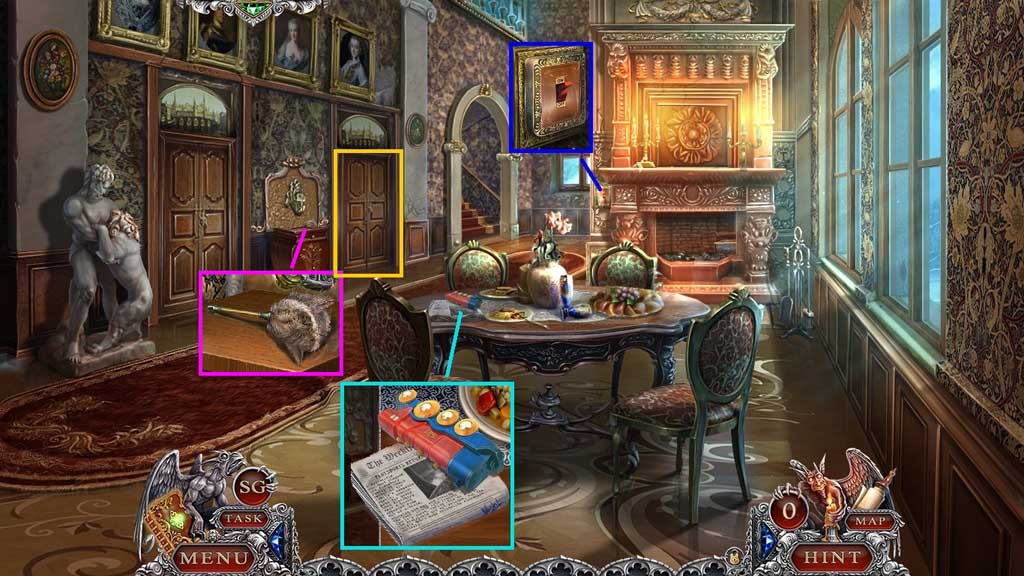
- Click the switch.
- Collect the locomotive, examine the newspaper and collect the feather duster.
- Enter the doorway and click the hidden objects area.
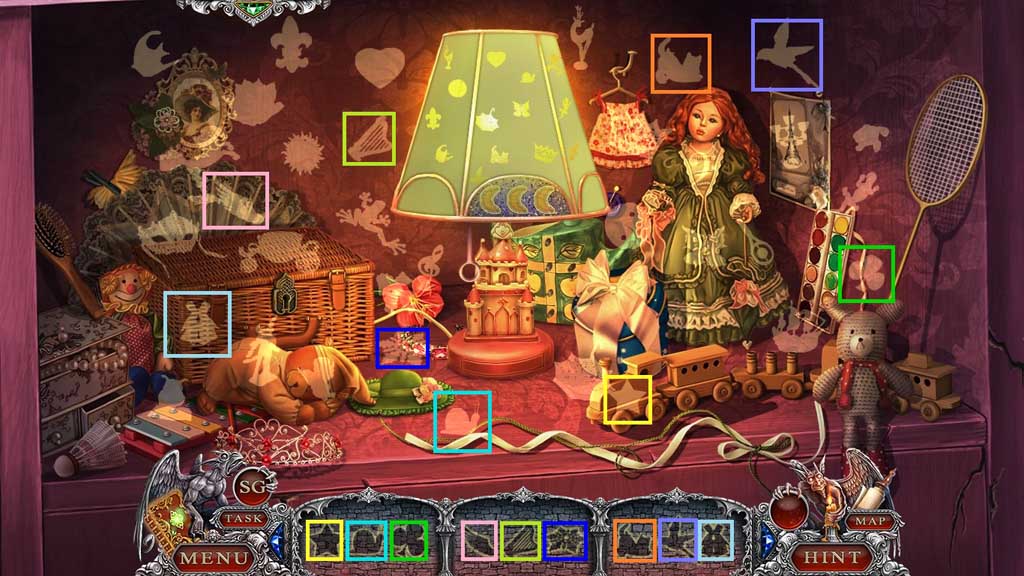
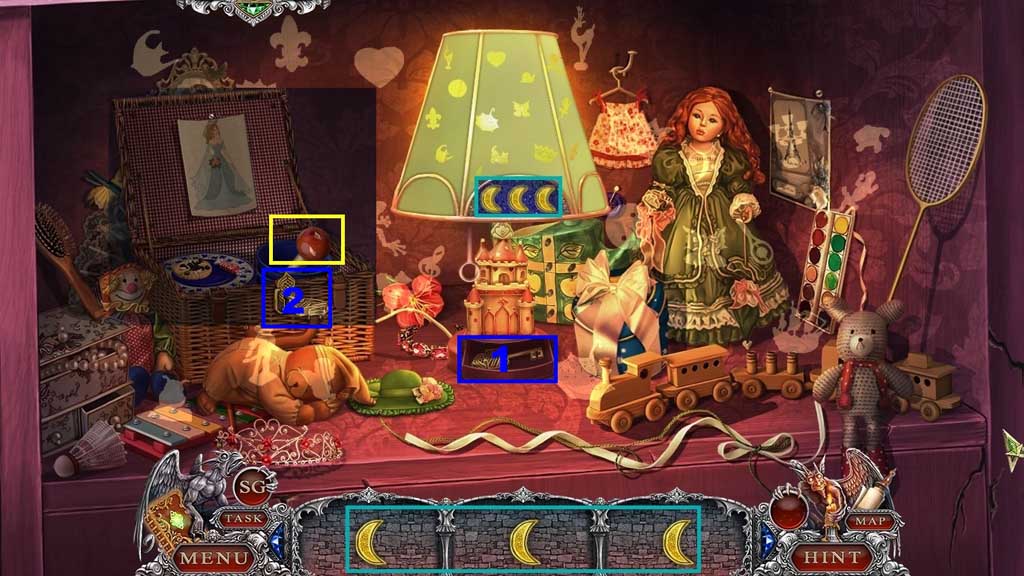
- Assemble the lamp and turn it on.
- Find the items.
- Select the key to open the chest.
- Collect the lever.
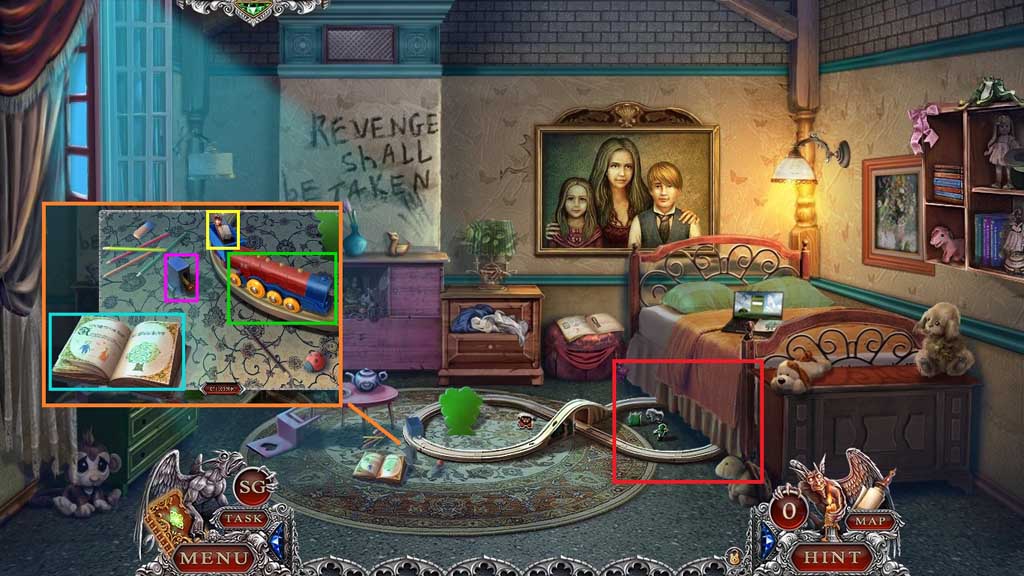
- Read the book.
- Place down the locomotive and attach and click the lever.
- Collect 2 /2 colored tiles.
- Click the hidden objects area.
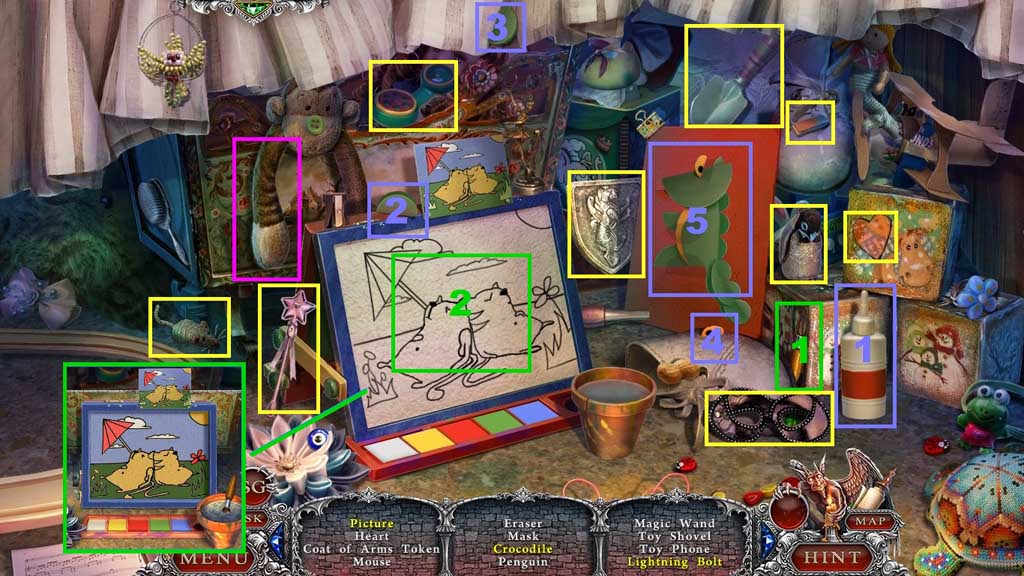
- Find the items.
- Select the glue and use it on the crocodile picture; select and attach the missing pieces; collect the crocodile.
- Select the paintbrush and dip it into the watercolors to complete the image as shown; collect the picture.
- Click the monkey’s arm; collect the lightning bolt.
- Collect the coat of arms token.
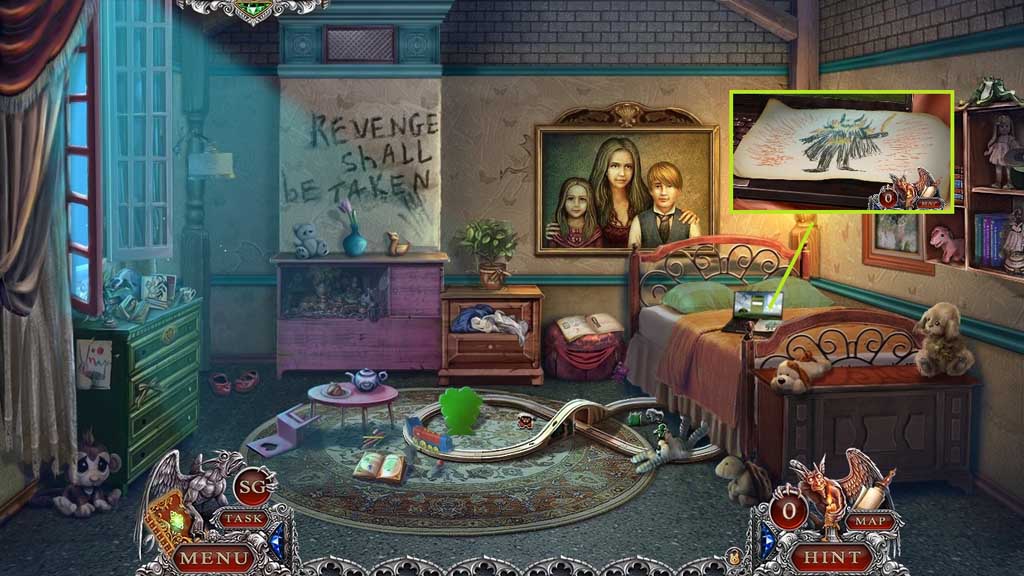
- Zoom into the laptop.
- Collect 2 /5 of Jessie’s drawings.
- Move to the Gardener’s House.
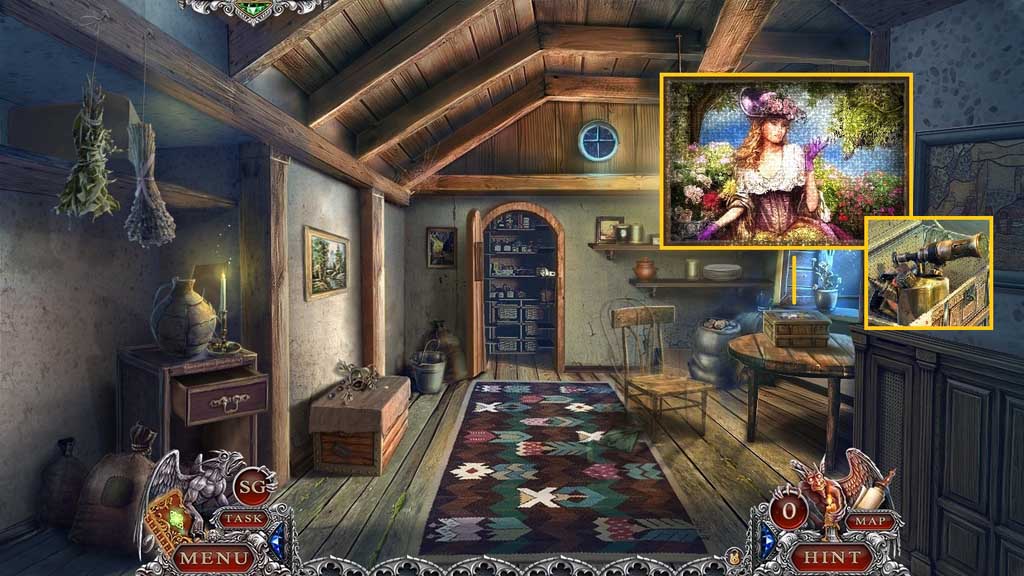
- Insert the colored tile to trigger a mini game.
- Solve the game by aligning the tiles correctly to complete the image.
- Collect the blowtorch.
- Move to the Living Room and go upstairs.
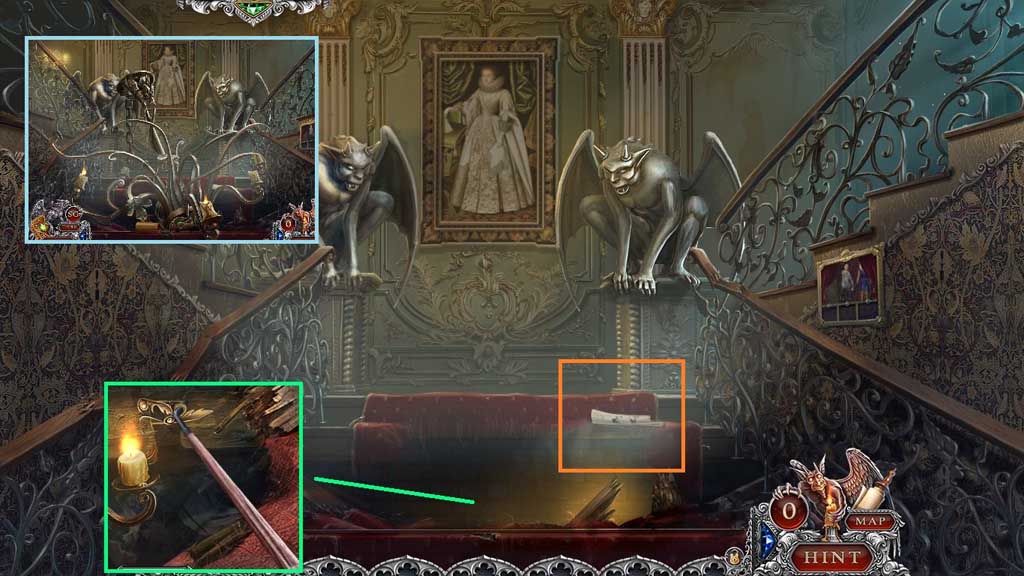
- Click the fallen chandelier.
- Select the hooked pole to retrieve 1 /2 frame pieces.
- Collect 3/ 5 of Jessie’s drawings.
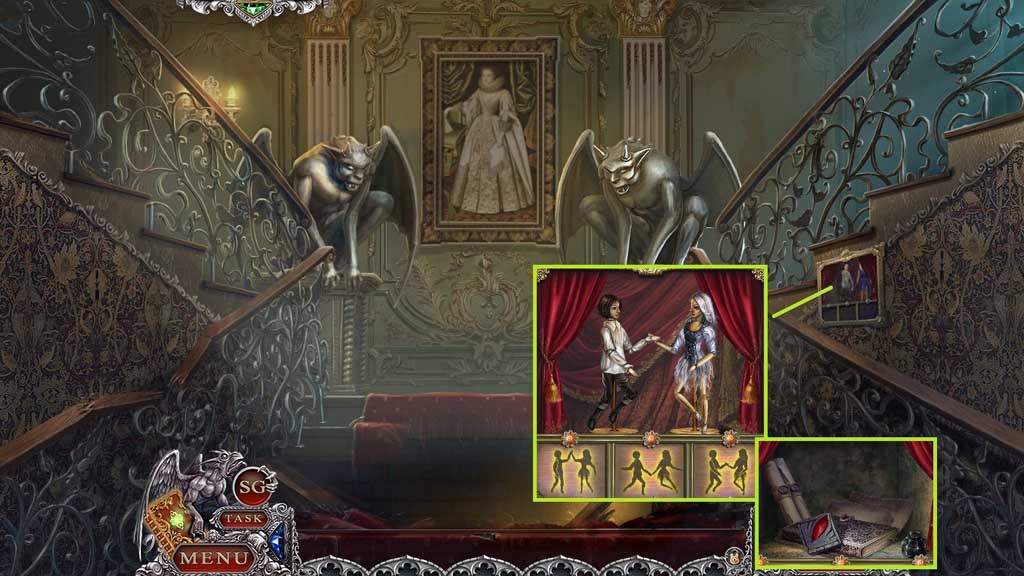
- Attach the puppet arm to trigger a mini game.
- Solve the game by recreating the puppet positions 3 times.
- Collect the gargoyle’s ruby and the journal entry.
- Move to the Castle Entrance.
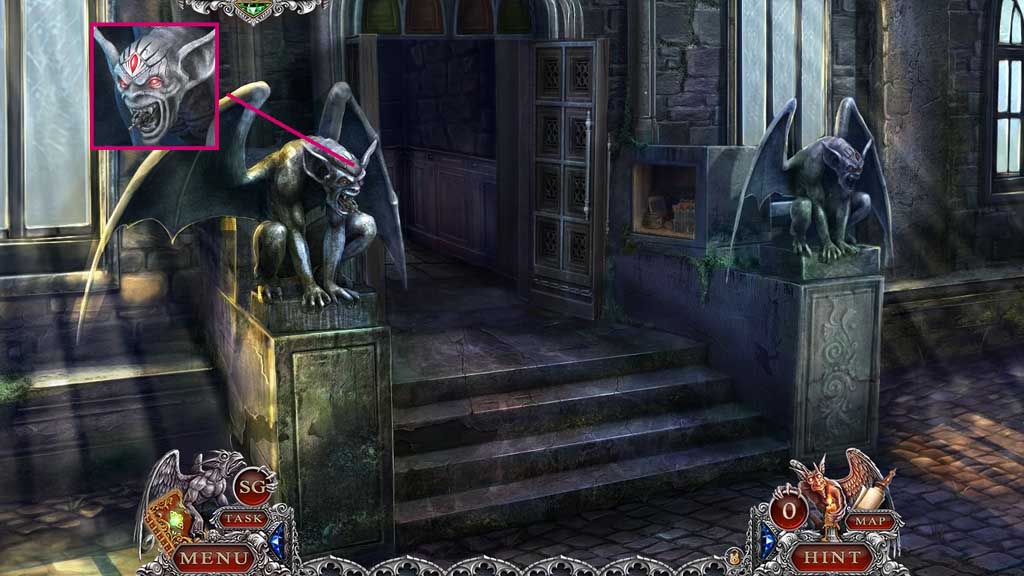
- Insert the gargoyle’s ruby; collect 2 /4 knights.
- Move to Jessie’s Room.
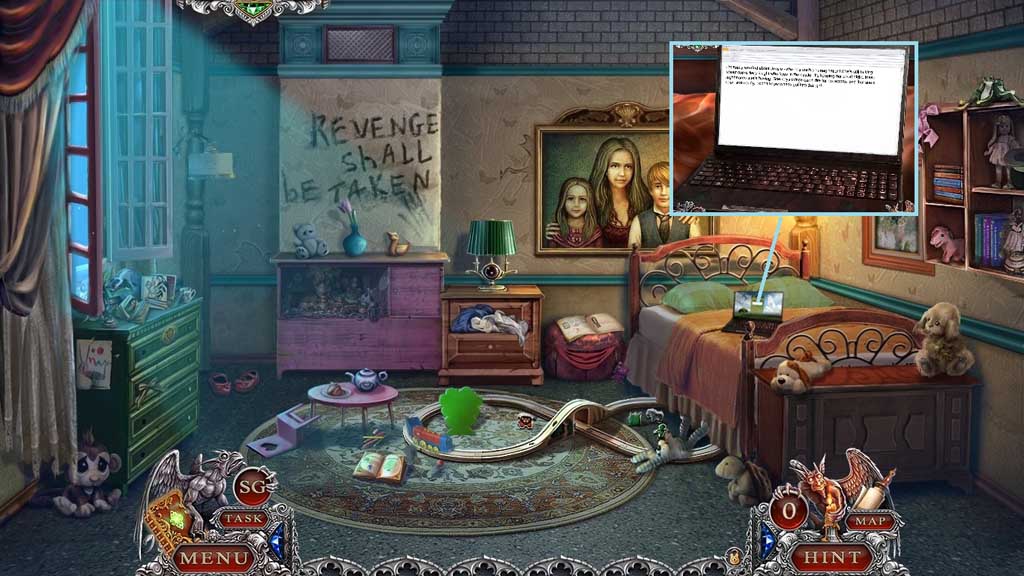
- Click the laptop.
- Enter the password 1 – 1 – 6 – 0 – 9 enter.
- Click the screen.
- Move to the Living Room.
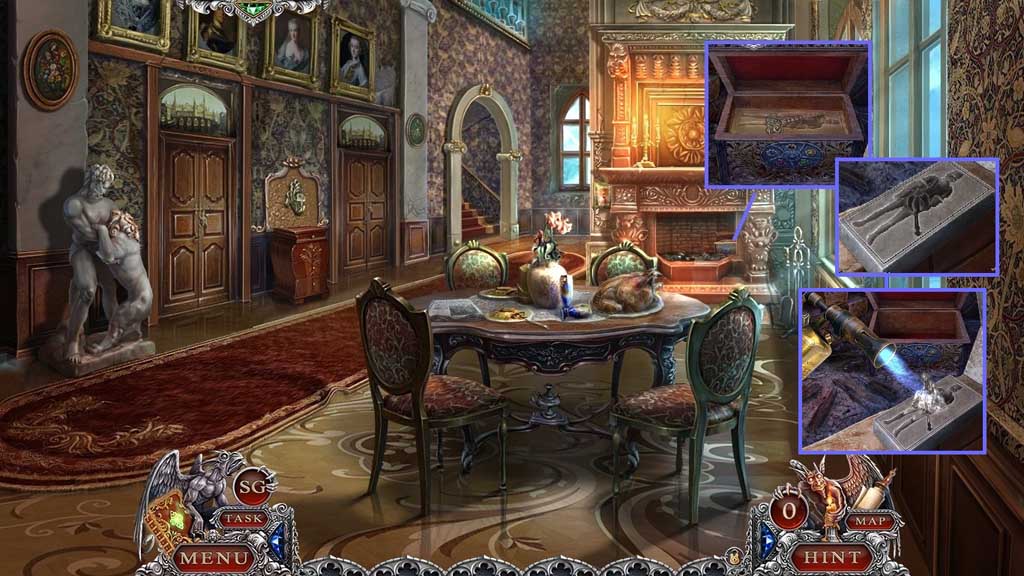
- Click the box to trigger a mini game.
- Solve the game by clicking the gemstones in the correct sequence.
- Use the following sequence to solve the game: pink – yellow – blue- red- green
- Collect the cabinet key; click the mold.
- Select the tin figurine and the blow torch to create and collect 3/ 4 knights.
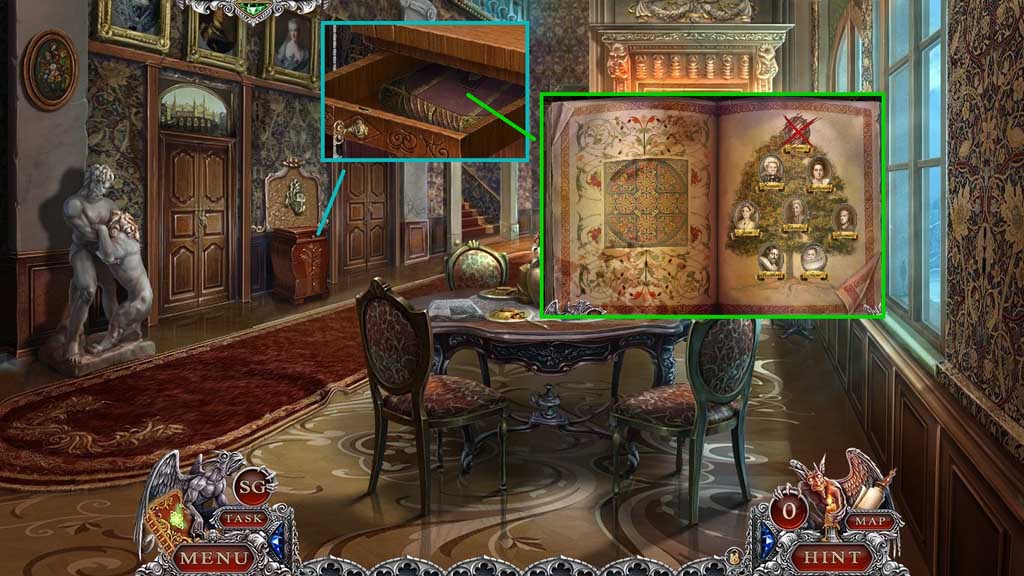
- Insert the cabinet key and click the book to trigger a mini game.
- Solve the game by arranging the family tree correctly.
- Use the following solution to solve the game: Top Row: Agnes – Second Row: Francis and Catherine – Third Row: Jane, Charles and Thomas – Bottom Row: Matthew and Anne.
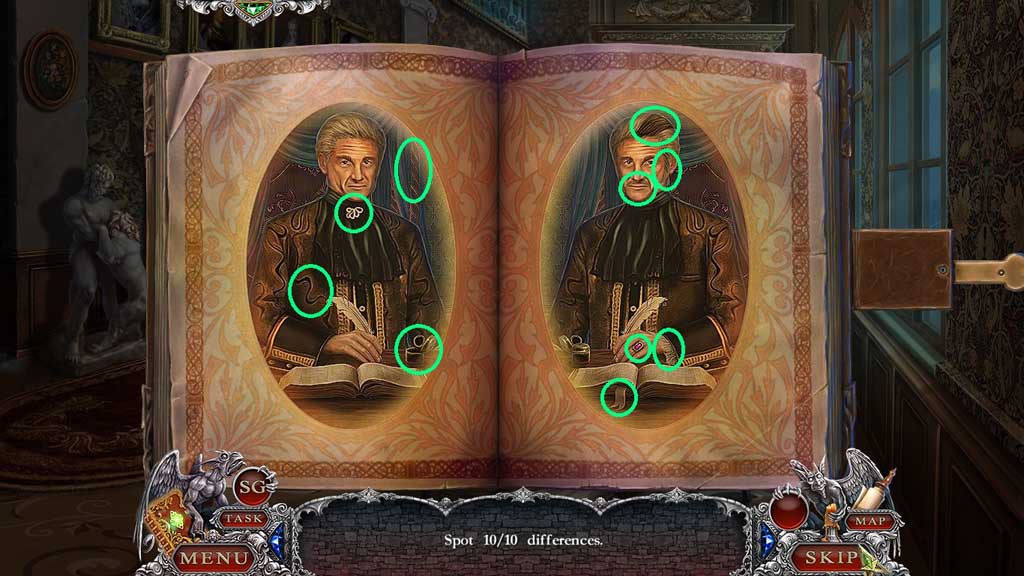
- Click the page to trigger a mini game.
- Solve the game by spotting the differences in the images.
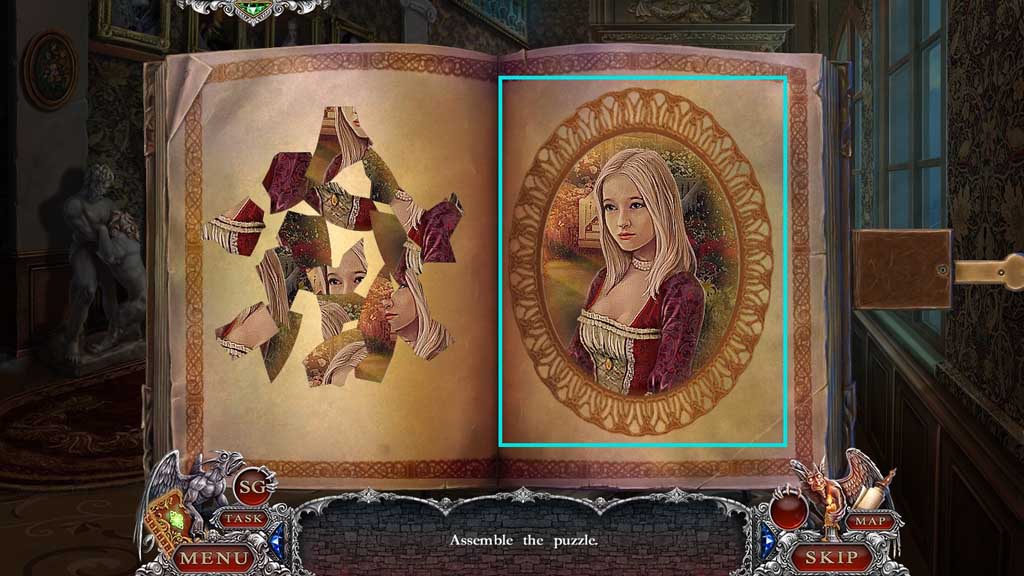
- Click the page again to trigger a mini game.
- Solve the game by assembling the image correctly.
- Click the page.
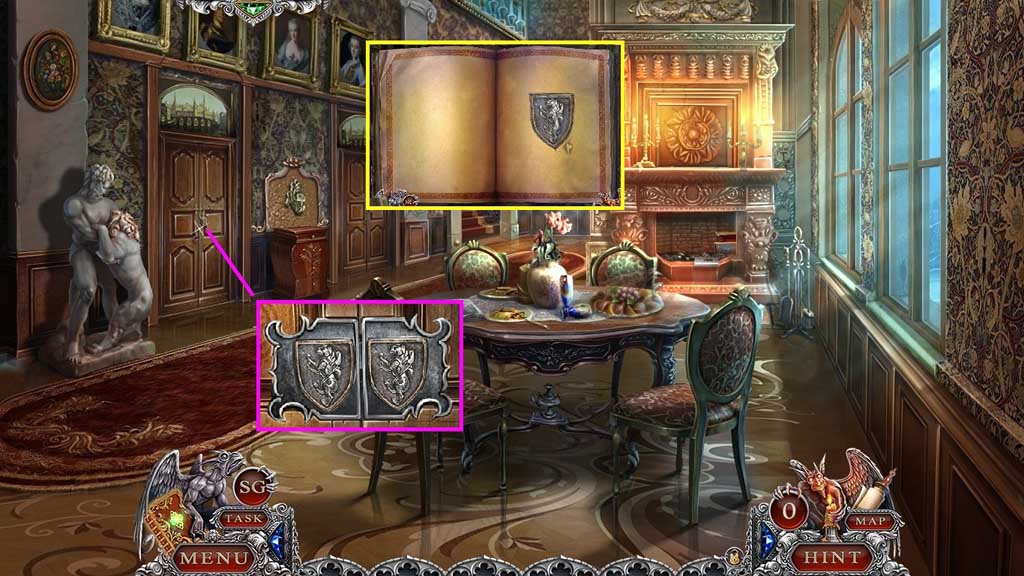
- Collect 2 /2 coat of arms.
- Insert the coat of arms token and enter the doorway.
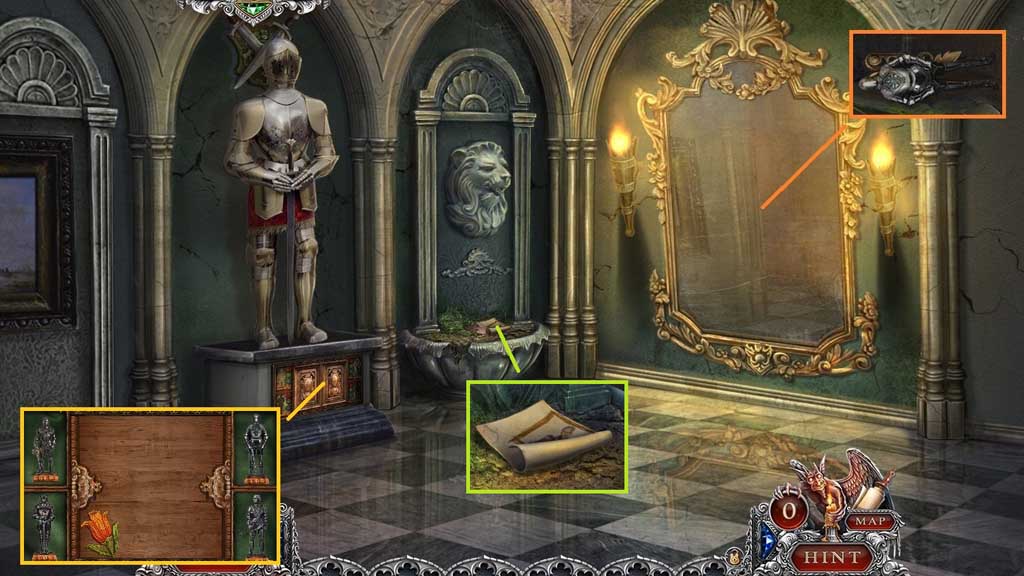
- Collect Jessie’s drawing.
- Select the feather duster to dust the mirror; collect 4 /4 knights and 2 /2 frame pieces.
- Click the base and insert the knights; collect the flower key.
- Move to Jessie’s Room.
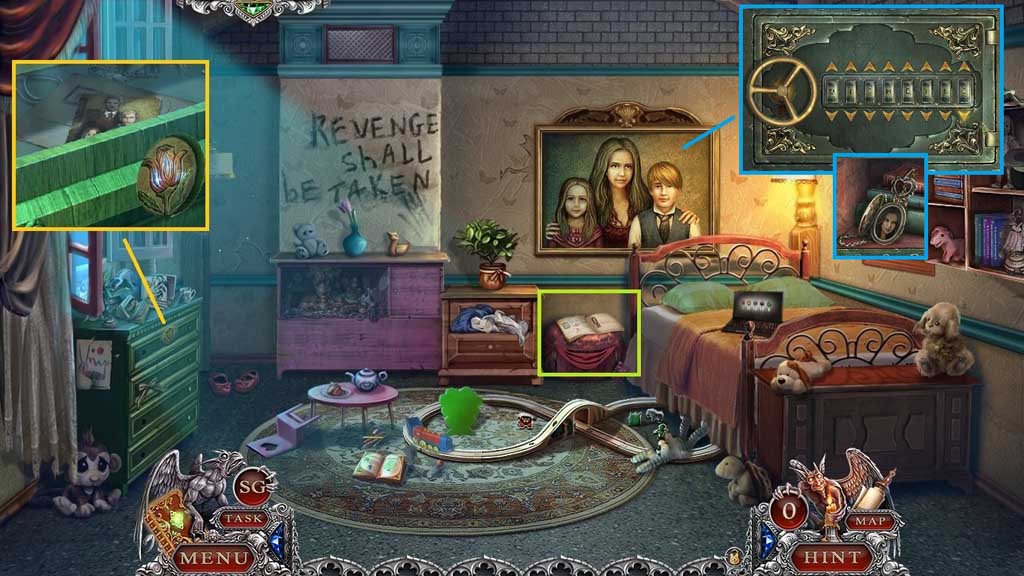
- Insert the flower key and click
- Click the picture; collect 5 /5 of Jessie’s drawings.
- Insert Jessie’s drawing and click the pages.
- Insert the frame pieces and click the safe to trigger a mini game.
- Solve the game by inputting the password correctly.
- Use the following solution: M – I – C – H – E – L – L – E
- Collect mother’s locket.
- Move to the police van.
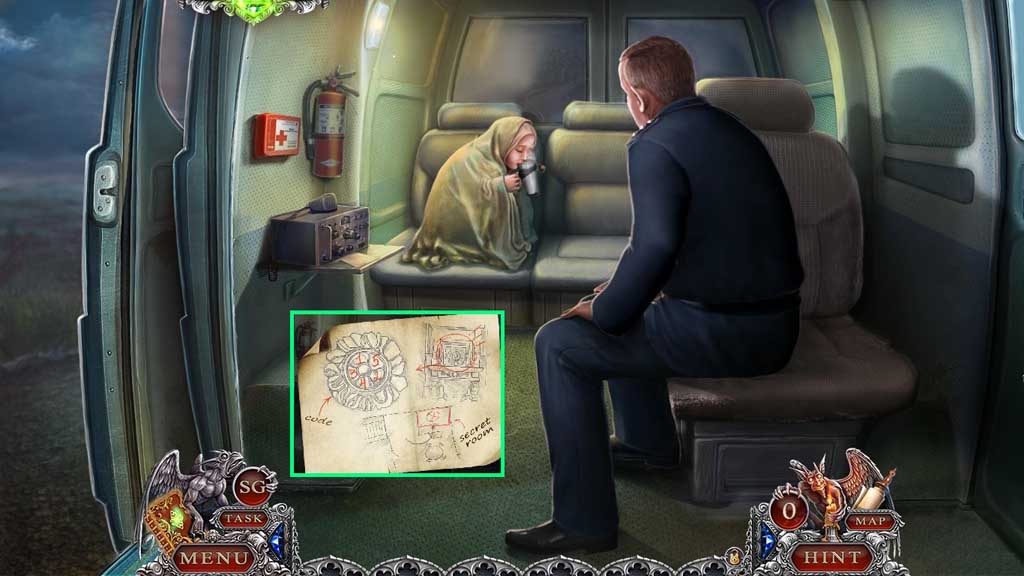
- Give Jessie mother’s locket.
- Collect the journal page.
- Move to the Living Room.
Comments will load when you reach this part of the walkthrough.