
Chapter Four: Sofia’s House
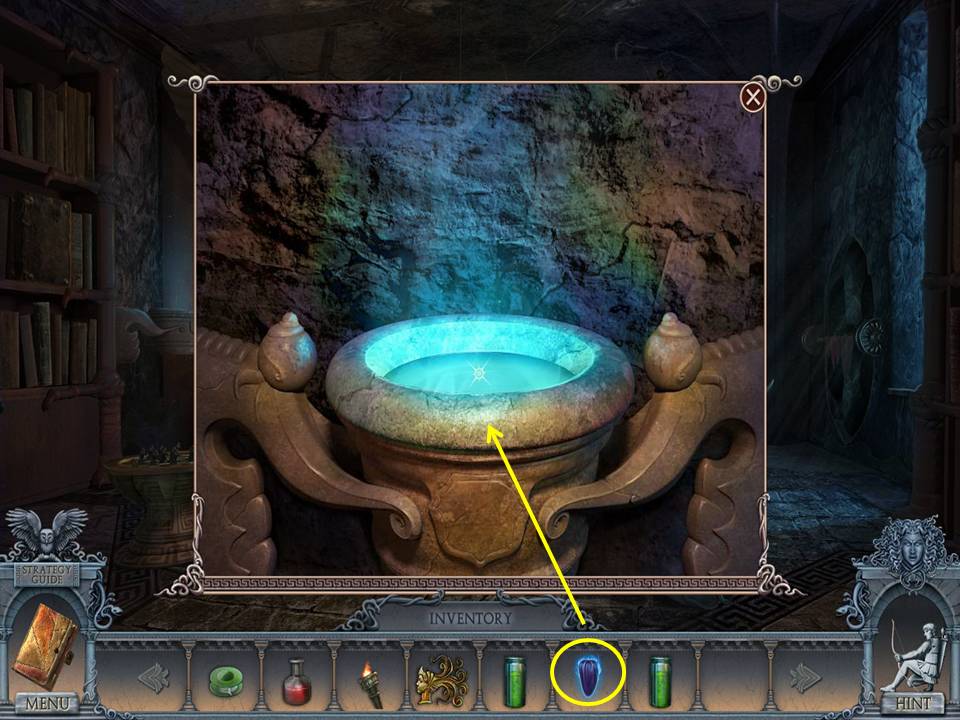
- Zoom into the magic pot.
- Plant the SEED.
- Take the FIRE FLOWER.
- Use the raft to go to the ship.
- Use the FIRE FLOWER on the Harpy.
- Take the SLEDGEHAMMER.
- Click down.
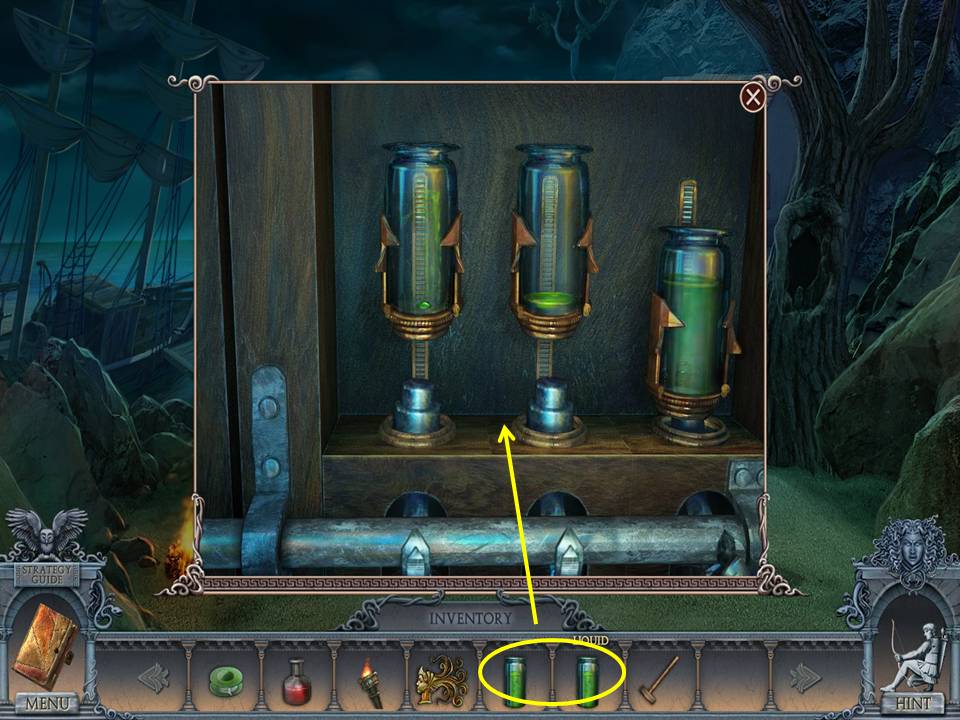
- Zoom into the door.
- Place the two LIQUIDS on the lock.
- Enter Sofia’s house.
- Take the SPEAR.
- SLEDGEHAMMER the wheel.
- Take the STEERING WHEEL.
- Click down and use the raft to go forward.
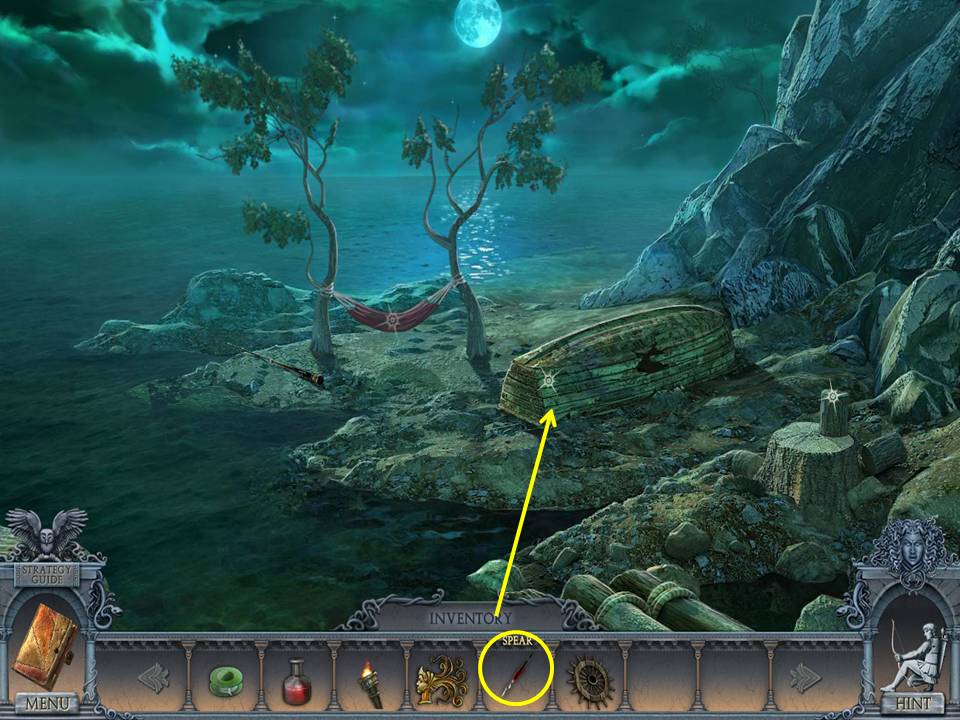
- Use the SPEAR on the boat.
- Take the DIVING MASK.
- Click down.
- Enter the ship.
- Put the STEERING WHEEL on the stern.
- Click to turn it
- Take the BUCKET.
- Return to the hold.
- Use the DIVING MASK on the opening.
- Go right.
- Zoom into the sunken ship to play an HOA.
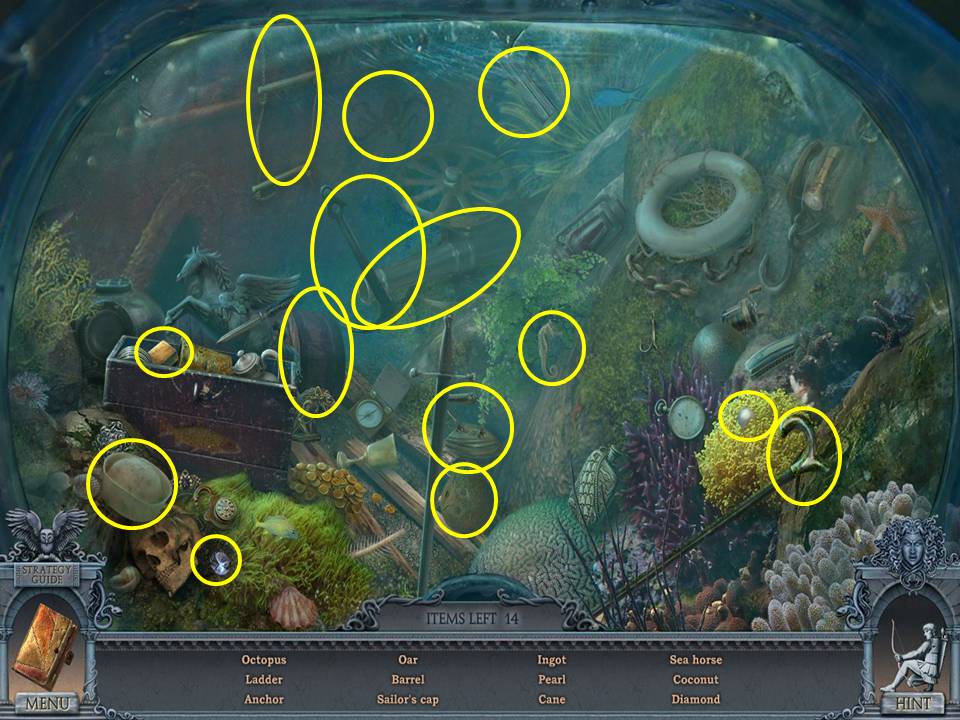
- Find the items listed.
- Receive the FISHING LINE.
- Leave the ship and go forward on the raft.
- String the FISHING LINE on the pole.
- Take the FISHING ROD.
- Click down.
- Enter the ship.
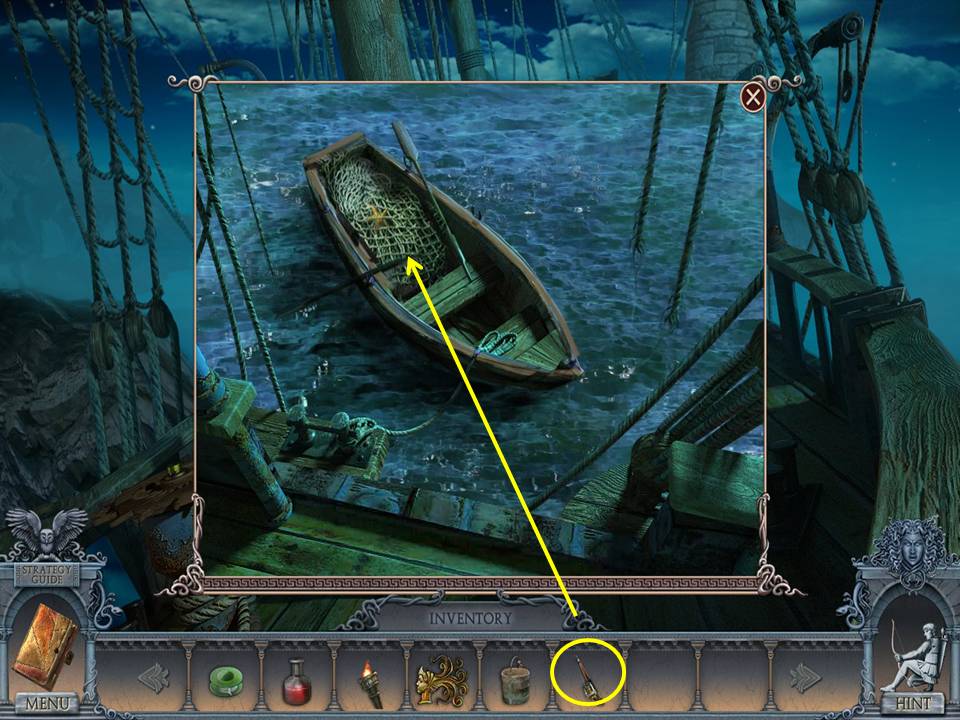
- Zoom into the side of the ship and fish out the net with the FISHING ROD.
- Take the STAR.
- Descend into the hold and move right through the opening.
- Zoom into the chest on the left.
- Place the STAR in the space to initiate a puzzle.
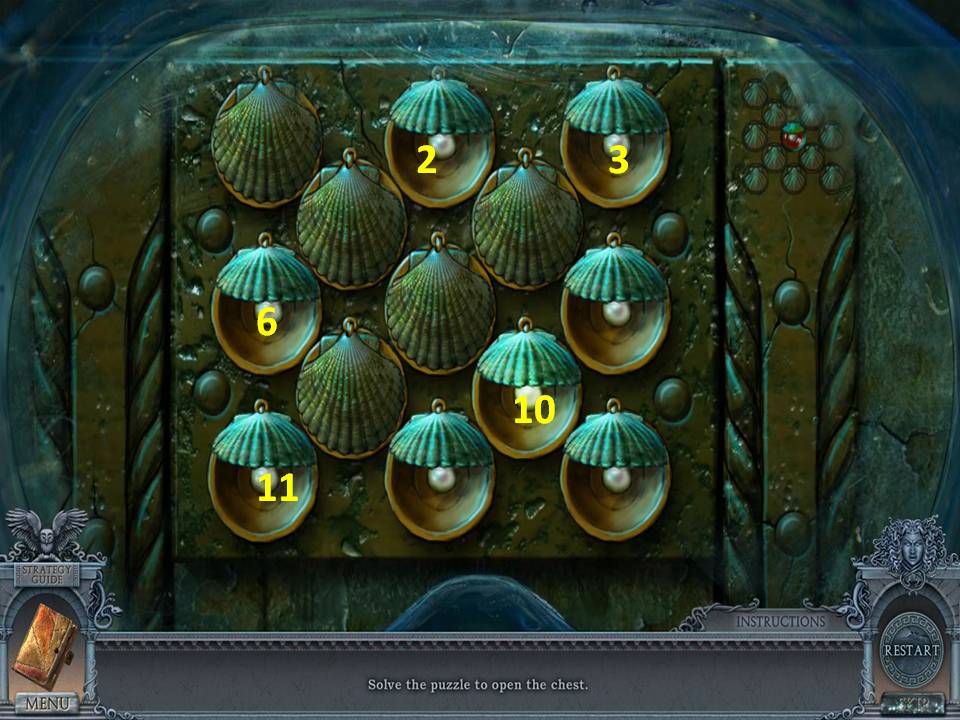
- The object of the puzzle is to close all of the shells except for the center one.
- Assuming the shells are numbered one through 13 from left to right and top to bottom.
- Click the shells in this order: 3, 2, 6, 11, 10.
- When finished, take the LAMP RING from the center shell.
- Leave the ship and enter Sofia’s house.
- Zoom into the lamp.
- Place the LAMP RING on it.
- Click the ring to change the lighting.
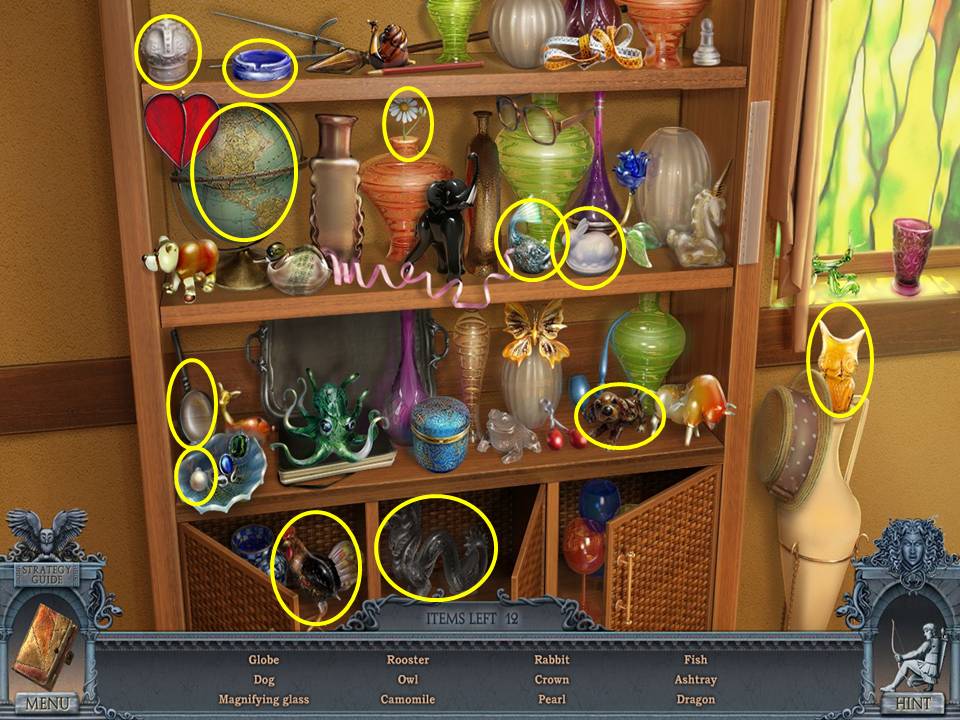
- Zoom into the shelves to play an HOA.
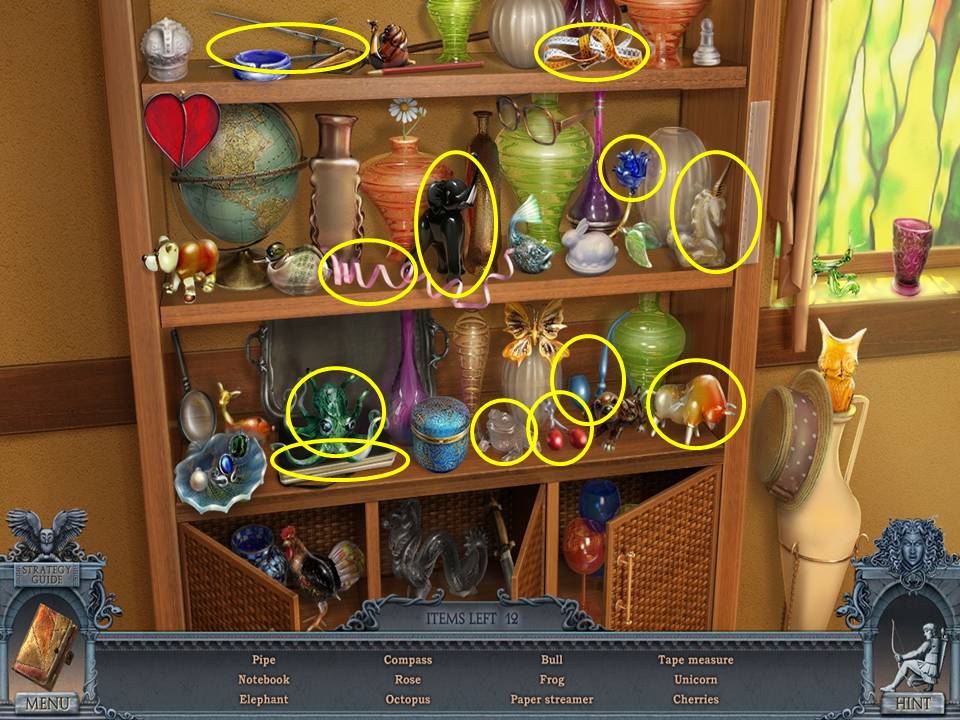
- Find the items listed.
- Receive the KNIFE.
- Click down and go forward on the raft.
- Cut the hammock with the KNIFE.
- Take the RED FABRIC.
- Click down and go to the library.
- Drape the RED FABRIC on the rack.
- Take the GATE KEY.
- Depart the mansion.
- Go left through the arch.
- Unlock the gate with the GATE KEY.
- Go right through the gate.
- Zoom into the iron gate.
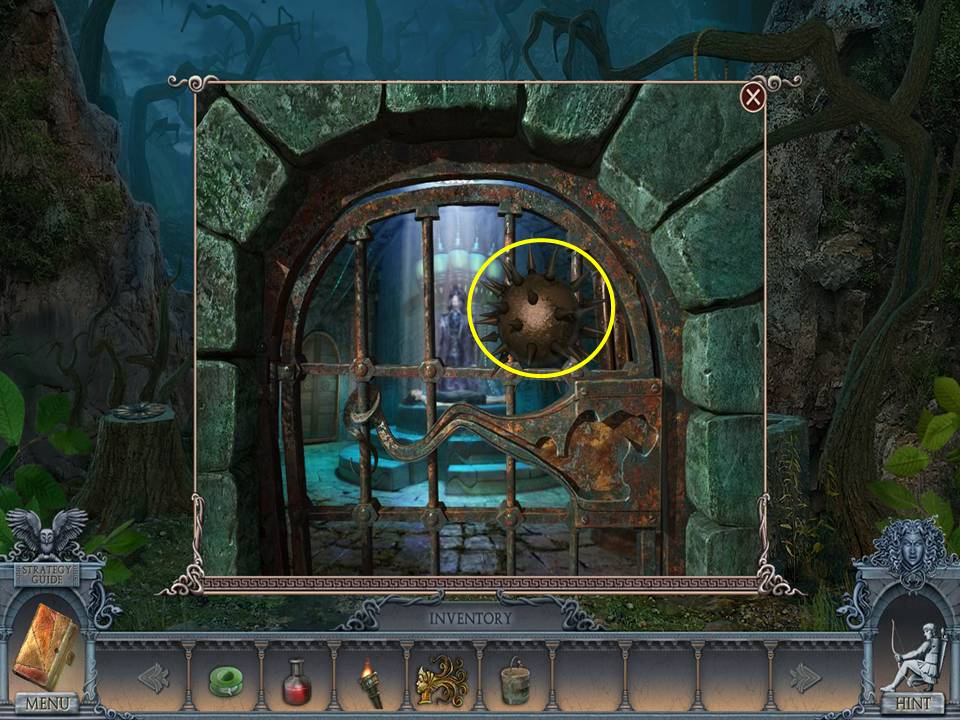
- Take the MACE HEAD.
- Go to the ship and enter Sofia’s house.
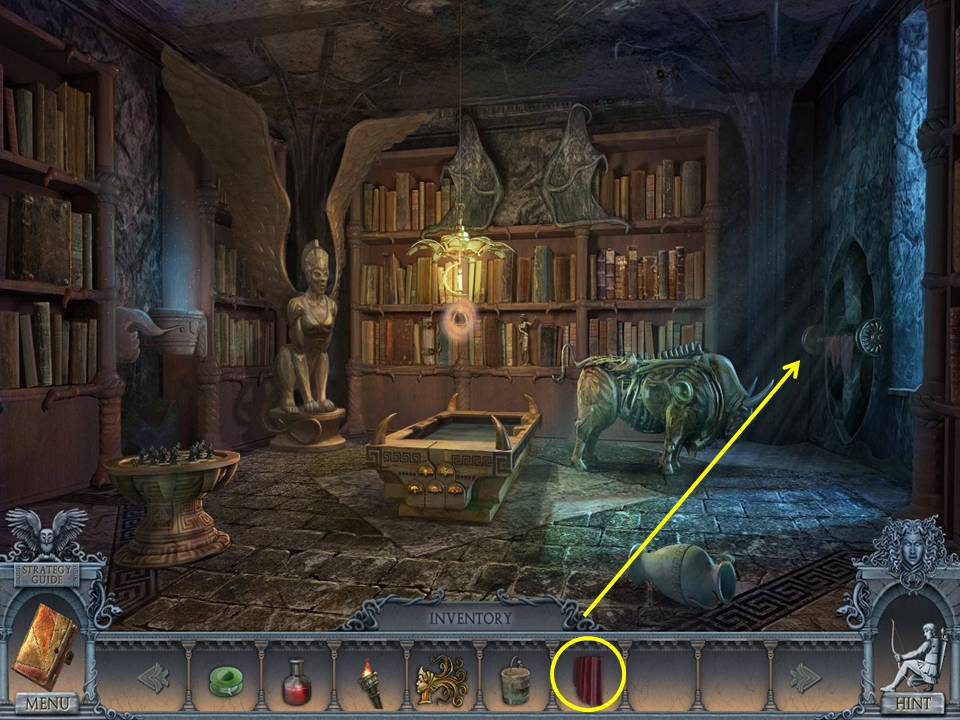
- Change the lighting in the room.
- Insert the MACE HEAD on the weapon at right by the skeleton.
- Click the handle.
- Take the OCTOPUS.
- Go to the ship’s hold and head right through the opening.
- Zoom into the chest on right and put the OCTOPUS in the appropriate space to initiate a puzzle.
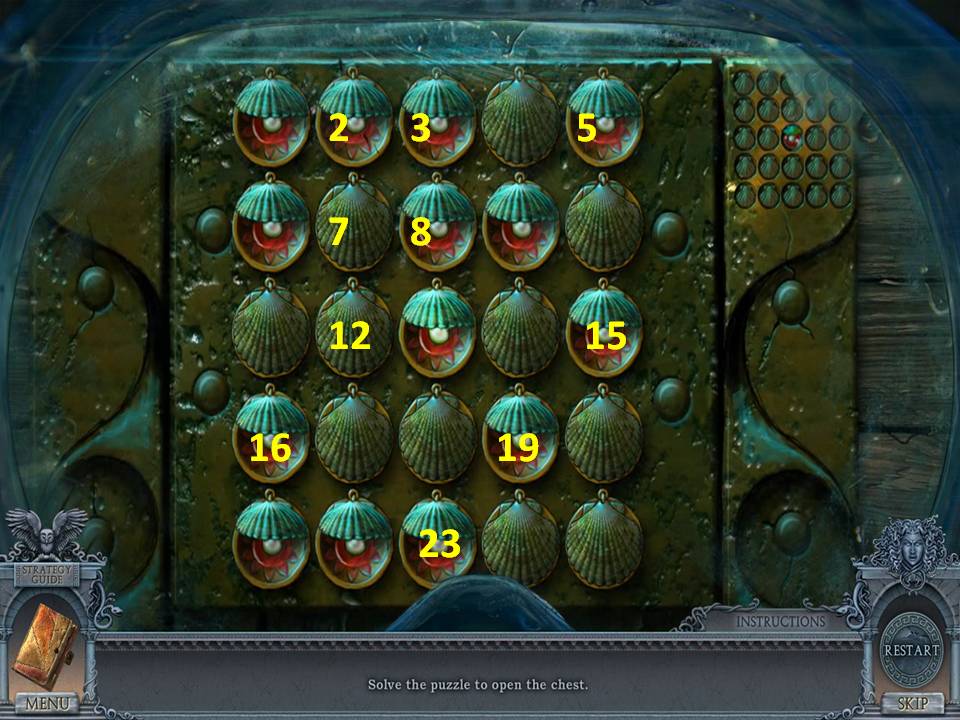
- The object of this puzzle is to close all of the shells except the center one.
- Assuming the shells are numbered one through 25 from left to right and top to bottom.
- Click the shells in this order: 12, 16, 23, 15, 19, 8, 2, 7, 5, 3.
- When finished, take the second REAGENT from the center shell.
- Zoom into the sunken ship to play an HOA.
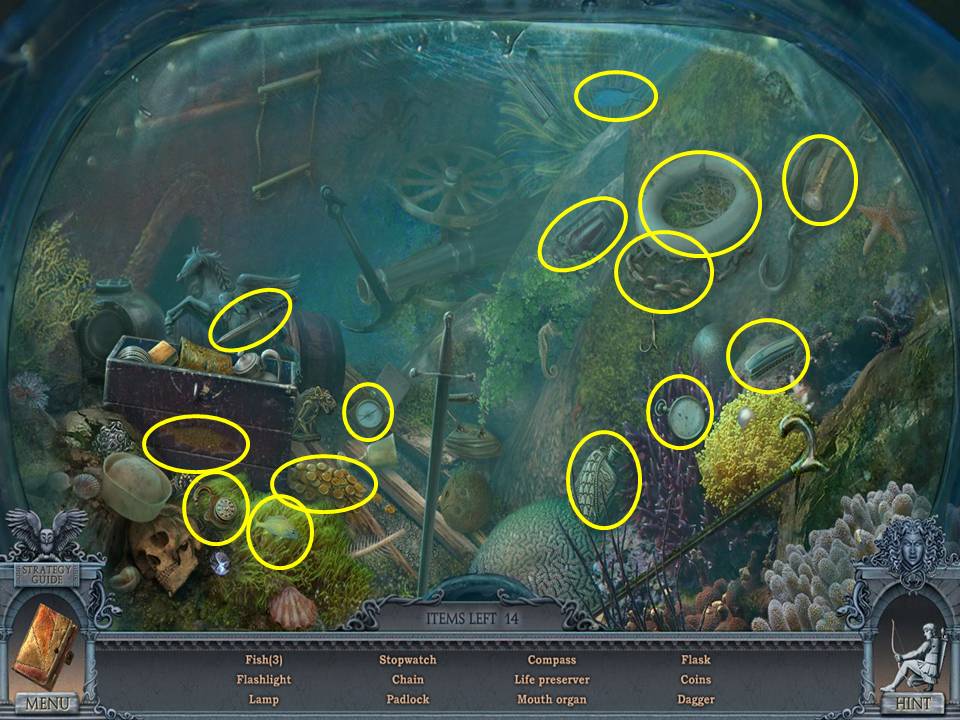
- Find the items listed.
- Receive the GATE KEY.
- Click down five times.
- Go right.
- Zoom into and unlock the iron gate with the GATE KEY.
- Take the HANDLE.
- Go to the cable car.
- Move forward.
- Place the HANDLE on the box.
- Take the SAW and AXE.
- Return to Sofia’s house.
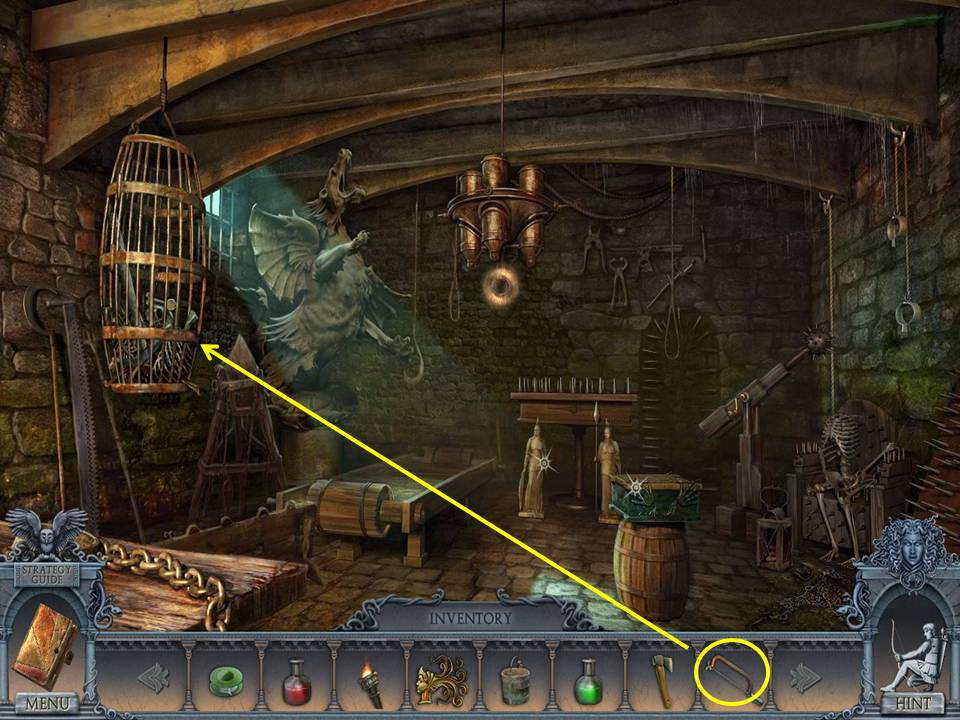
- SAW the cage.
- Take the PICKAXE and COFFER KEY.
- Click down and go forward on the raft.
- AXE the log.
- Take the FIREWOOD.
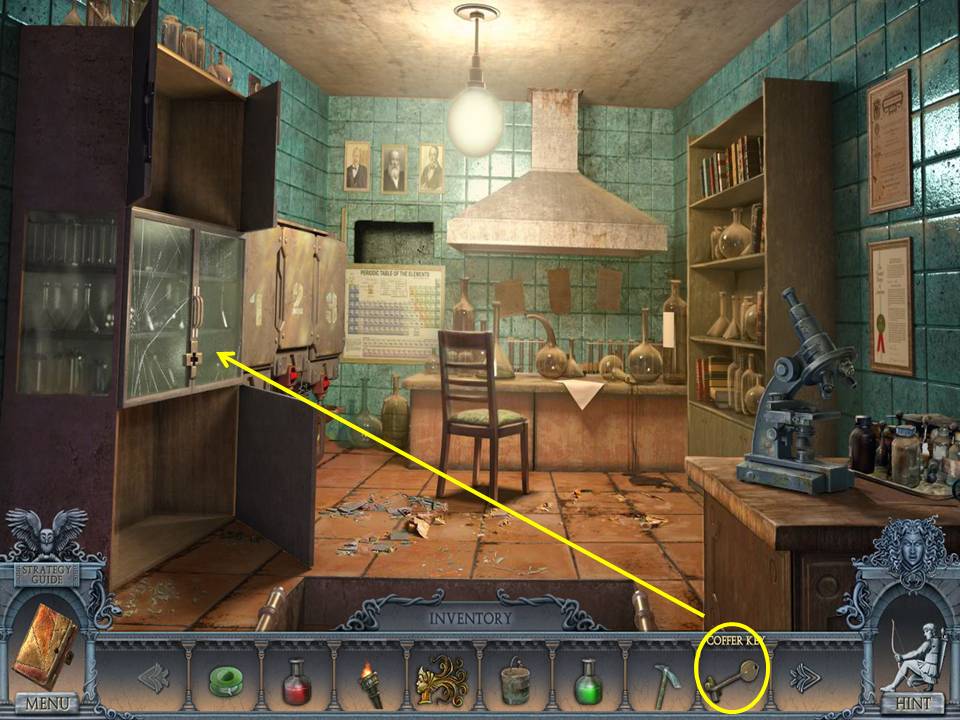
- Go to the lab in the House of Kleitos.
- Unlock the cabinet with the COFFER KEY.
- Take the FISH FOOD.
- Go to Sofia’s house.
- Change the lighting in the room.
- Feed the aquarium fish with the FISH FOOD.
- Go through the doorway.
- Take the SHEARS and BROOM.
- Click down.
- Zoom into the shelves to play an HOA.
- Find the items listed.
- Receive the STEMWARE.
- Click down.
- SHEAR the sheep.
- Take the FLEECE.
- Return to Sofia’s house.
- Spin the FLEECE on the spinning wheel.
- Take the THREAD.
- Move forward.
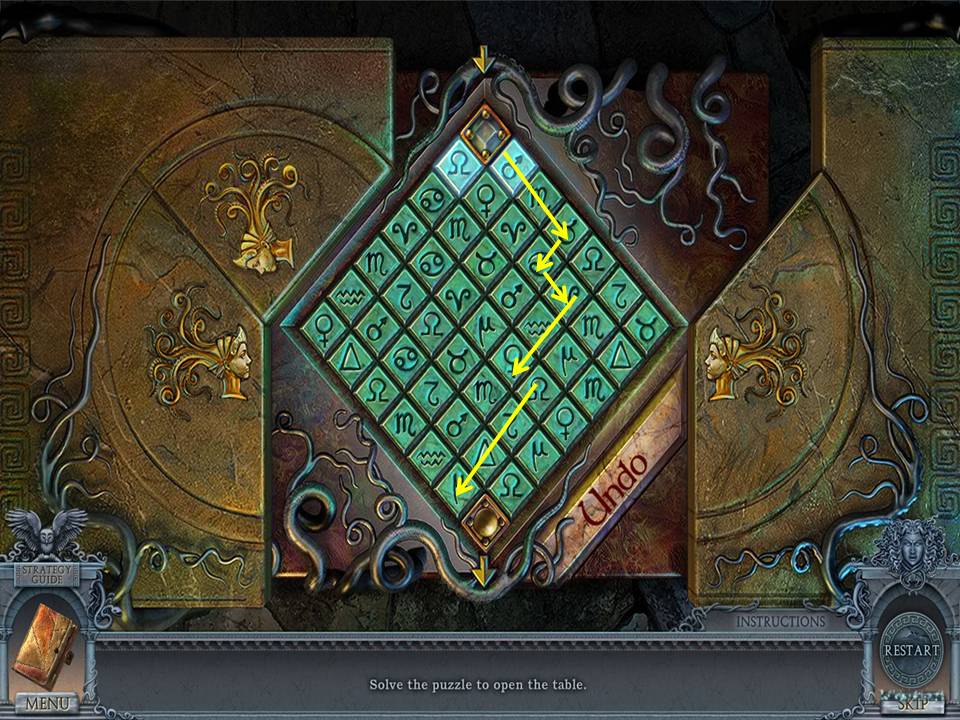
- Zoom into the table and place the STEMWARE in the scene to initiate a puzzle.
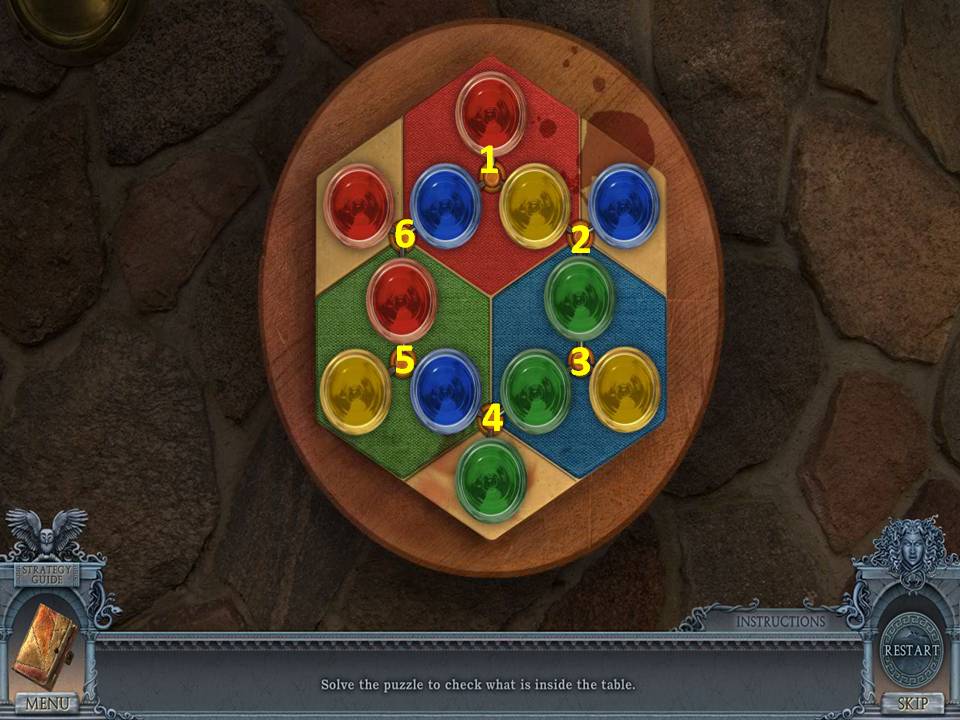
- The object of the puzzle is to move all the colored glasses to their matching spaces.
- Assuming that the buttons are numbered one through six beginning at the top and moving clockwise, click the buttons in this order: 6, 2, 1, 4, 5, 6, 3, 4.
- When finished, take the MAGIC BALL.
- Click down and put the MAGIC BALL on the statue.
- Zoom into the statue.
- Take the third REAGENT and the note.
- Click down and go forward on the raft.
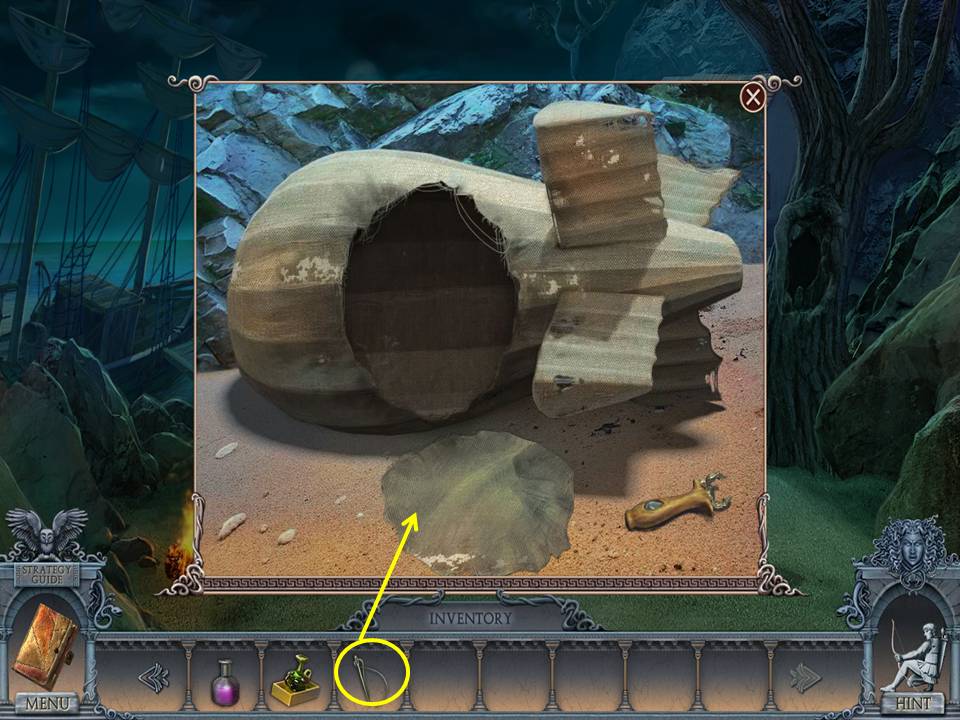
- Zoom into the rocky shore.
- Sweep the sand with the BROOM to initiate a puzzle.
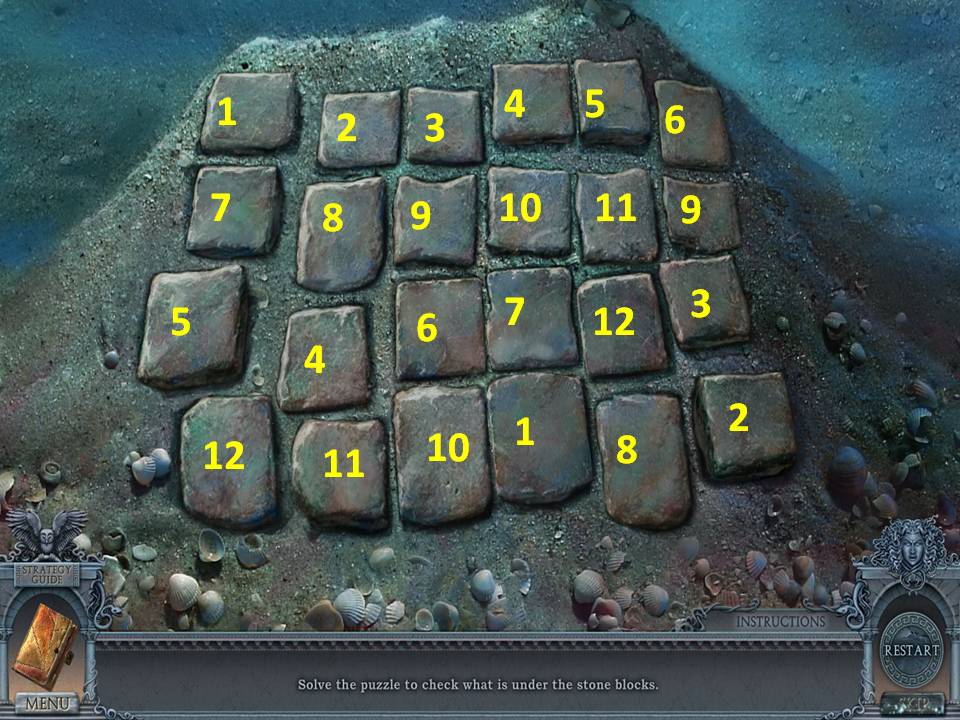
- The object of the puzzle is to find the matching pairs.
- See screenshot for solution.
- Zoom into the glass castle.
- Take the MECHANISM PART.
- Ride the cable car forward.
- Zoom into the shelves.
- THREAD the needle.
- Take the THREADED NEEDLE.
- Return on the cable car and go right.
- Zoom into the blimp.
- Use the THREADED NEEDLE on the cloth.
- Take the BAG.
- Click down.
- Enter the building.
- Go upstairs.
- Use the BAG on the flower.
- Take the SEEDS.
- Click down four times.
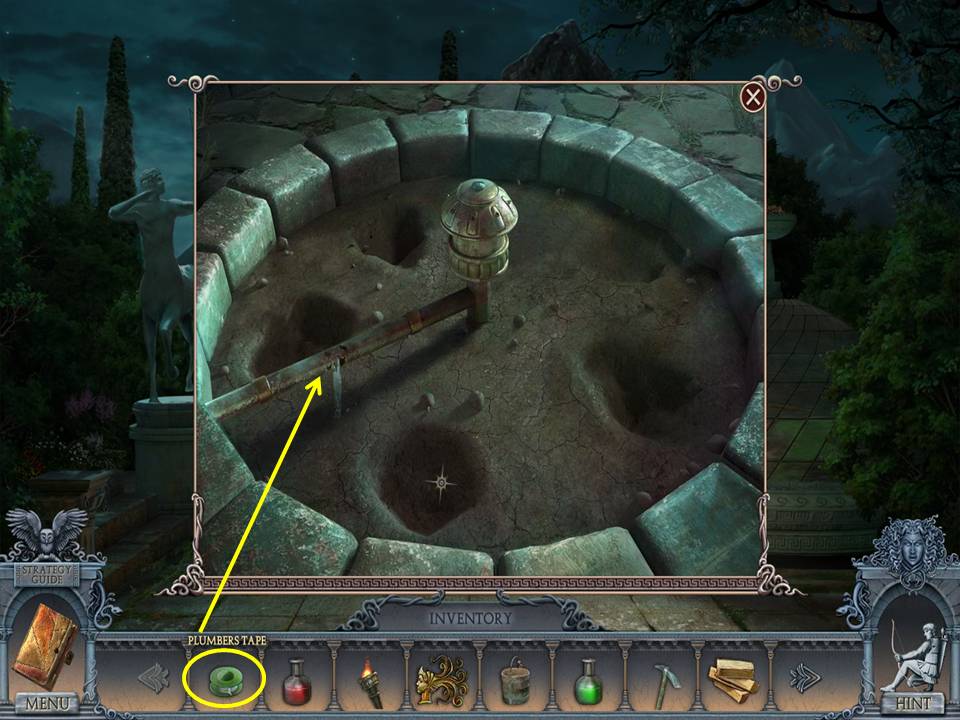
- Zoom into the fountain.
- Tape the pipe with PLUMBERS TAPE.
- Scatter the SEEDS on the dirt.
- Pick five flowers.
- Go through the arch.
- Give the flowers to the topiary shaped like a lady.
- Take the BRUSH.
- Go to the art room in Sofia’s house.
- Place the MECHANISM PART on the mechanism.
- Dial the parts to match the code in the journal.
- Take the FACE.
- Click down four times.
- Go right.
- Put the FACE on the well.
- Take the METAL HEAD and BOARD PART.
- Ride the cable car to Kleitos’ house.
- Scale the ladder.
- Zoom into the table.
- Put the BOARD PART in the scene to initiate a puzzle.
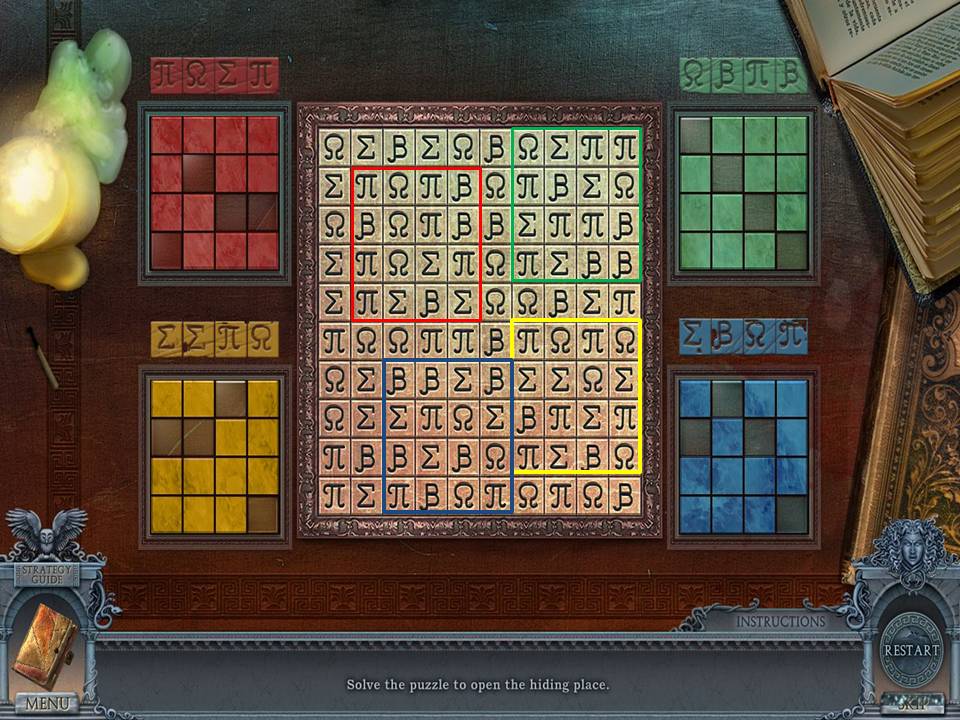
- The object of the puzzle is to place the colored templates on the board to match the symbols.
- See screenshot for solution.
- Take the fourth REAGENT.
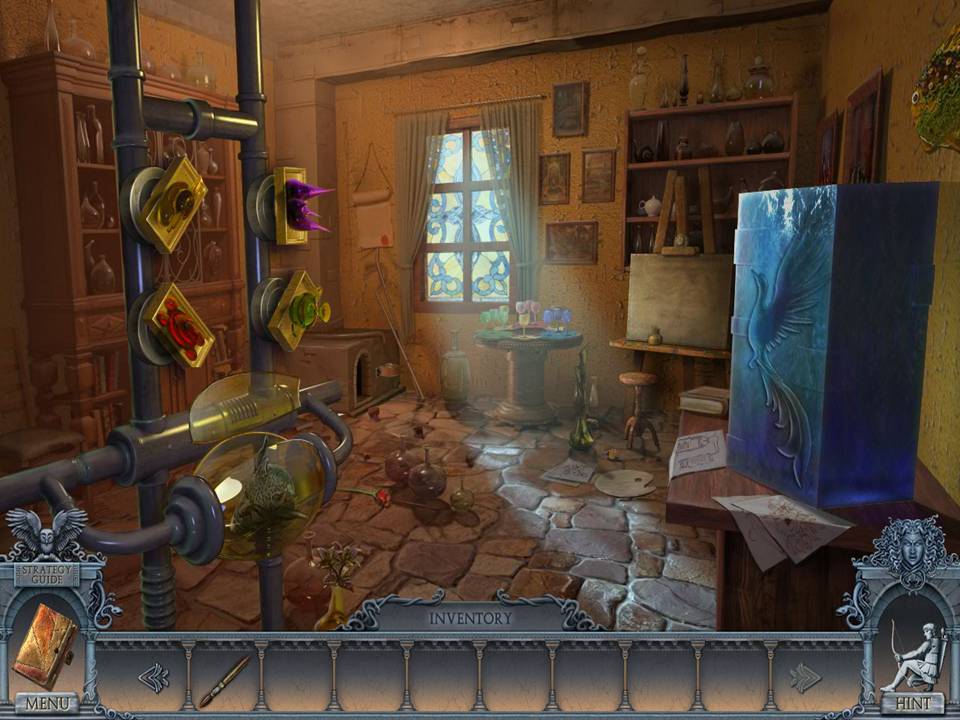
- Go to Sofia’s art room.
- Zoom into the easel.
- Place the four REAGENTS and the BRUSH in the scene.
- Take the ARROWS.
- Click down.
- Zoom into the shelves to play an HOA.
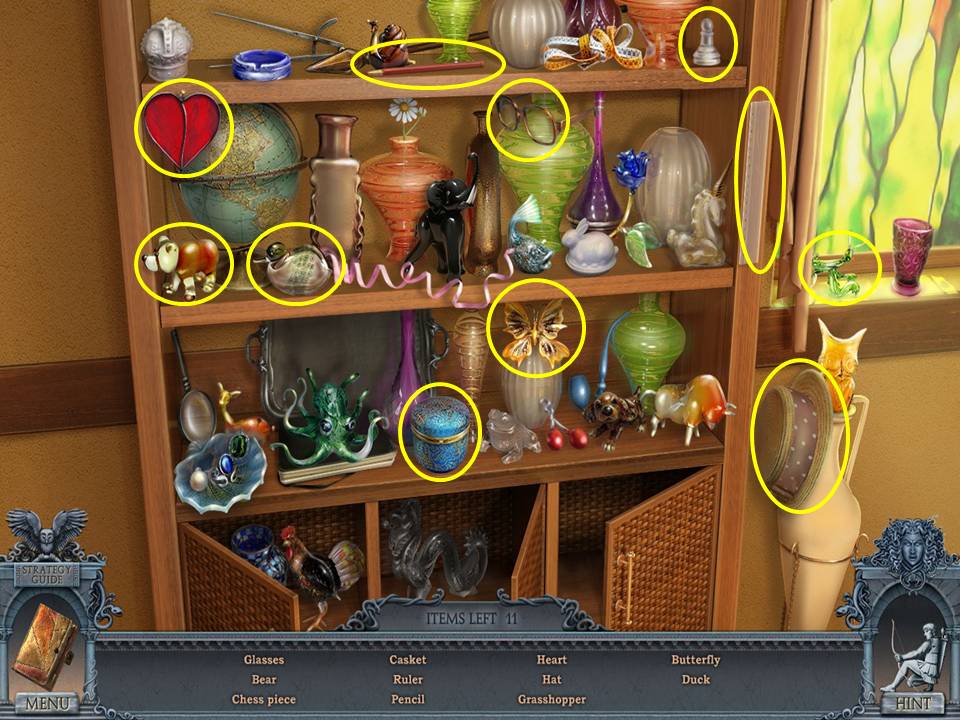
- Find the items listed.
- Receive the LANCE.
- Change the lighting in the room.
- Give the soldier statue the LANCE.
- Change the lighting in the room.
- Zoom into the table.
- Take the second PUZZLE PIECE.
- Change the lighting in the room.
- Zoom into the puzzle box and insert the two PUZZLE PIECES in the slots to initiate a puzzle.
- The object of the puzzle is to guide the square to the bottom slot.
- See screenshot for solution.
- Take the STONE FLOWER.
- Change the lighting in the room.
- Zoom into the angel statue.
- Give her the STONE FLOWER.
- Take the BULB.
- Click down five times.
- Go to the crypt.
- Zoom into the lamp.
- Insert the BULB in the slot.
- Click anywhere in the scene to receive a CRYSTAL.
- Go to the shore.
Comments will load when you reach this part of the walkthrough.