
Chapter Three: House of Kleitos
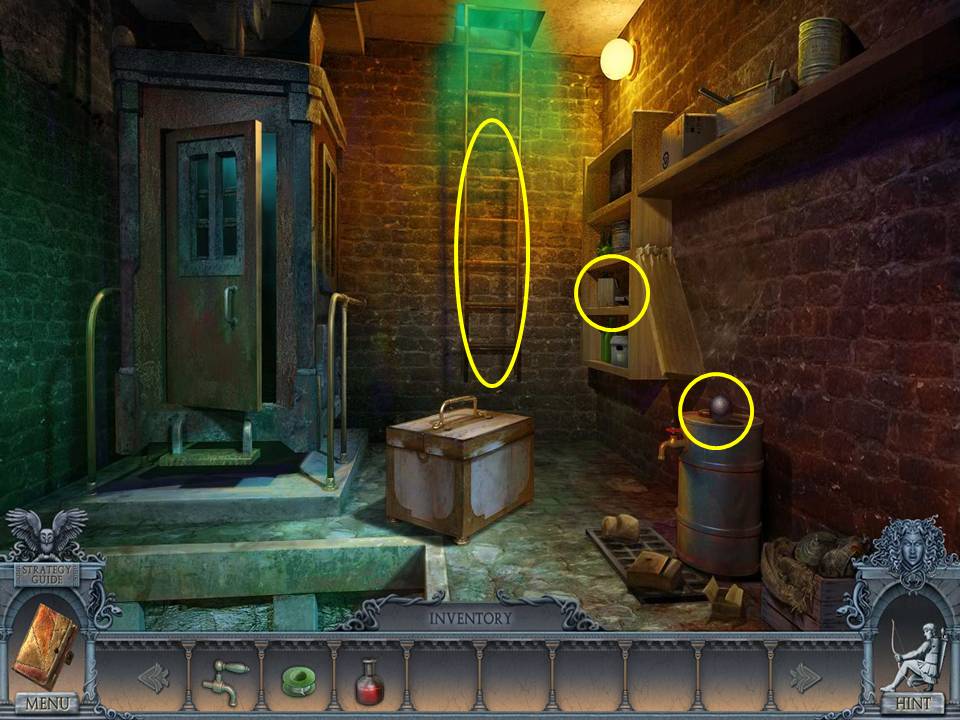
- Zoom into the control panel.
- Put the TRANSISTOR and RESISTOR on it.
- Insert the SECRET KEY into the keyhole.
- Click the panel to close.
- Click the lever.
- Zoom into the shelf.
- Take the HAND.
- Take the CANNONBALL.
- Try to scale the ladder.
- Move forward on the left into the cable car.
- Click the lever.
- Zoom into the Trojan horse to play a HOA.
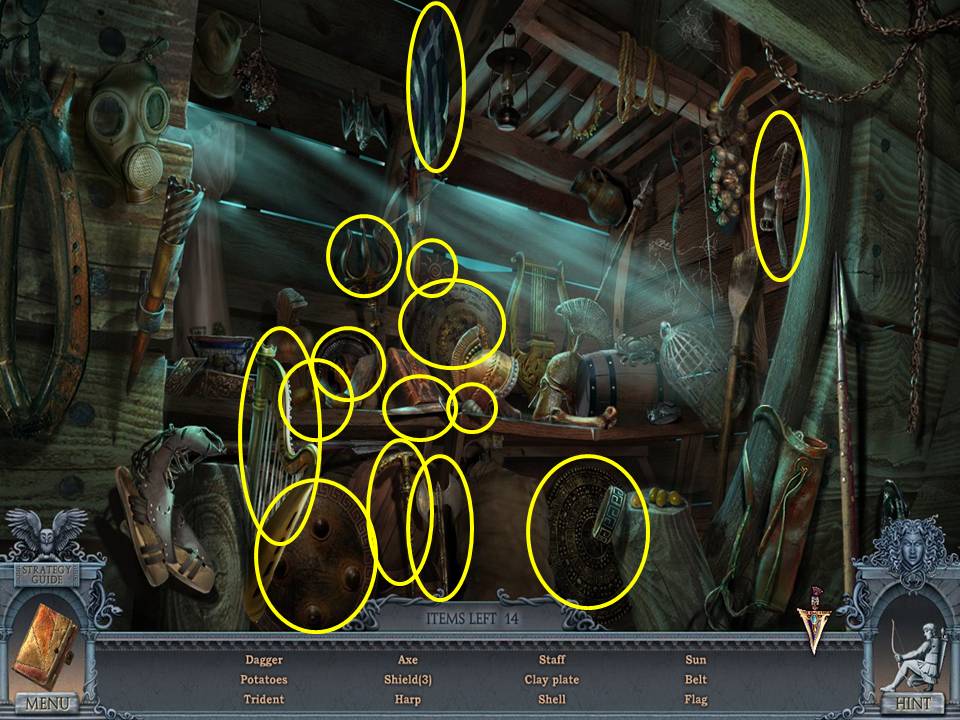
- Find the items listed.
- Receive the GAS MASK.
- Enter the cable car and click to push the lever forward.
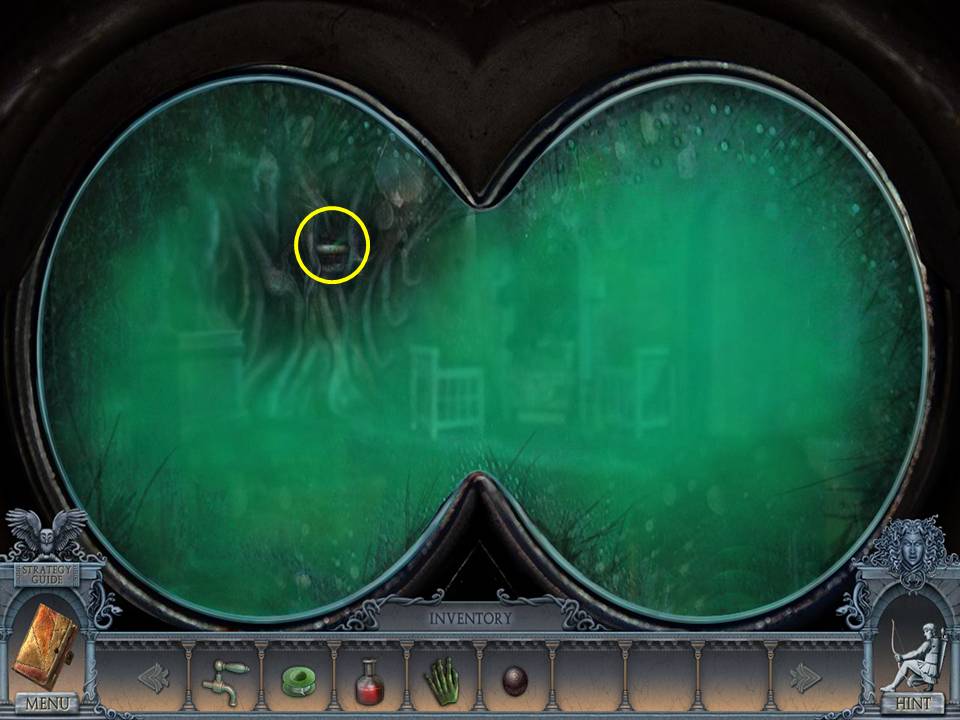
- Use the GAS MASK on the ladder.
- Scale the ladder.
- Zoom into the roots.
- Take the WINCH HANDLE.
- Click down.
- Re-enter the cable car.
- Click the lever.
- Go to the second floor of the tavern building on the right.
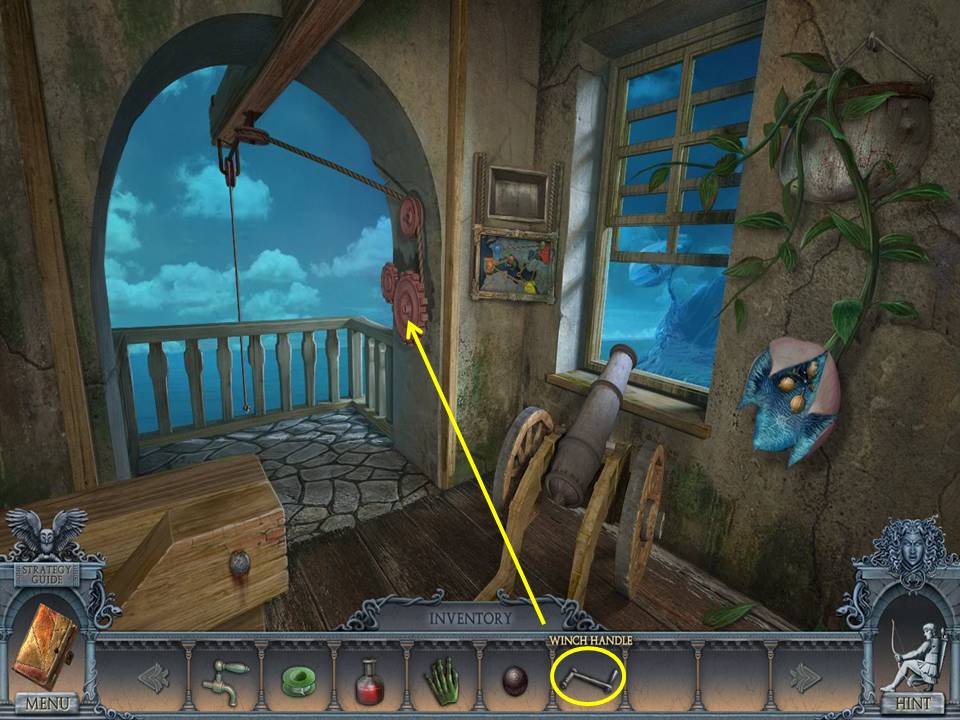
- Put the WINCH HANDLE on the gears.
- Click the handle twice.
- Take the GUN POWDER and CLAMP.
- Go back to the cable car.
- Click the lever and scale the ladder.
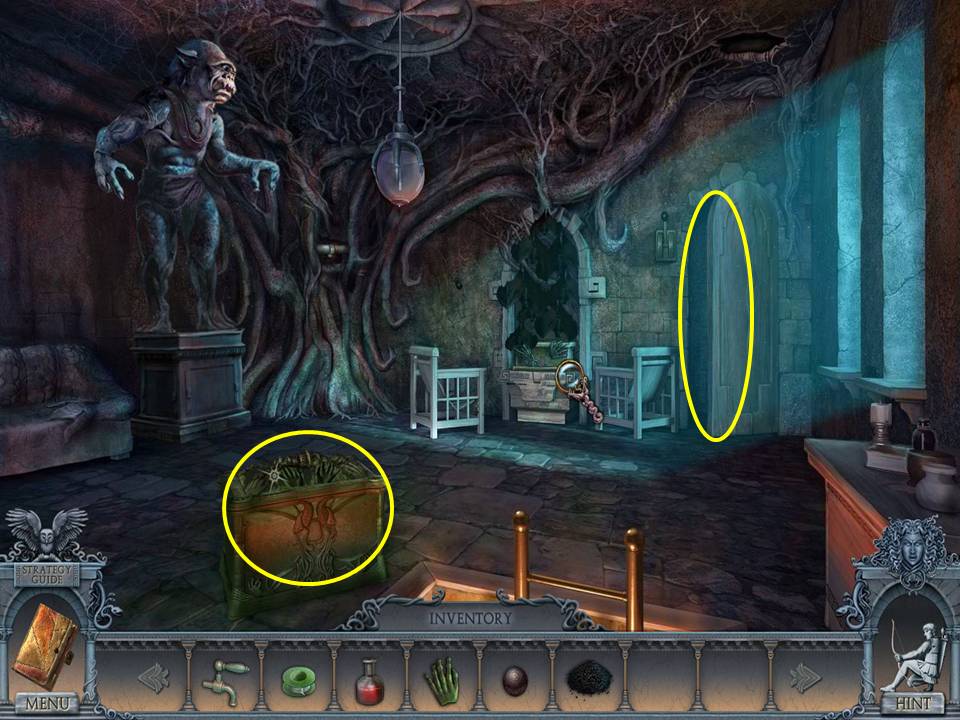
- Zoom into the roots.
- CLAMP the pipe.
- Zoom into the opened door.
- Take the BOARDS.
- Zoom into PANDORA’S BOX and place the HAND on the left handprint.
- Take the UNLIT TORCH.
- Return using the cable car and go right over the bridge.
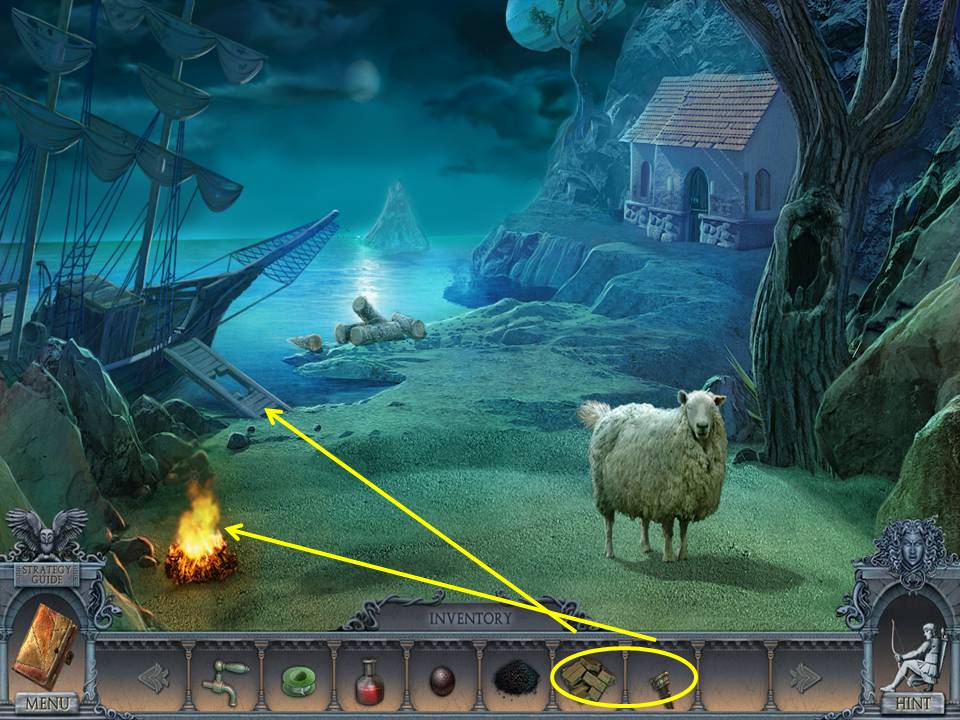
- Light the UNLIT TORCH in the fire to get the LIT TORCH.
- Zoom into the ship’s ramp.
- Place the BOARDS on it to initiate a puzzle.
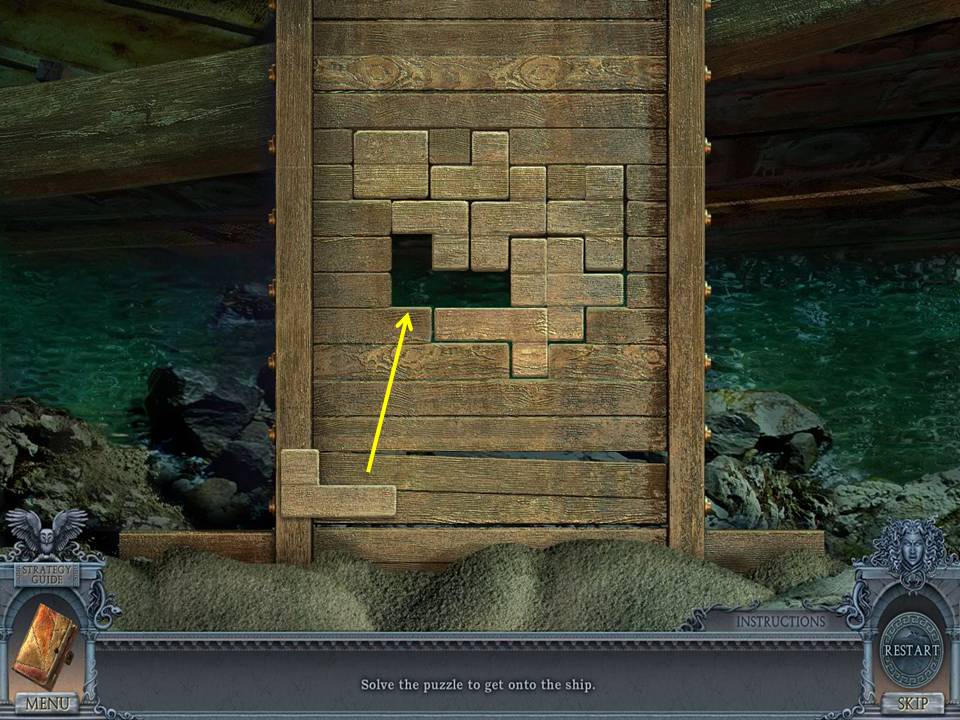
- The object of the puzzle is to arrange the boards to fill the space.
- See screenshot for final move.
- Go up the ramp to the ship.
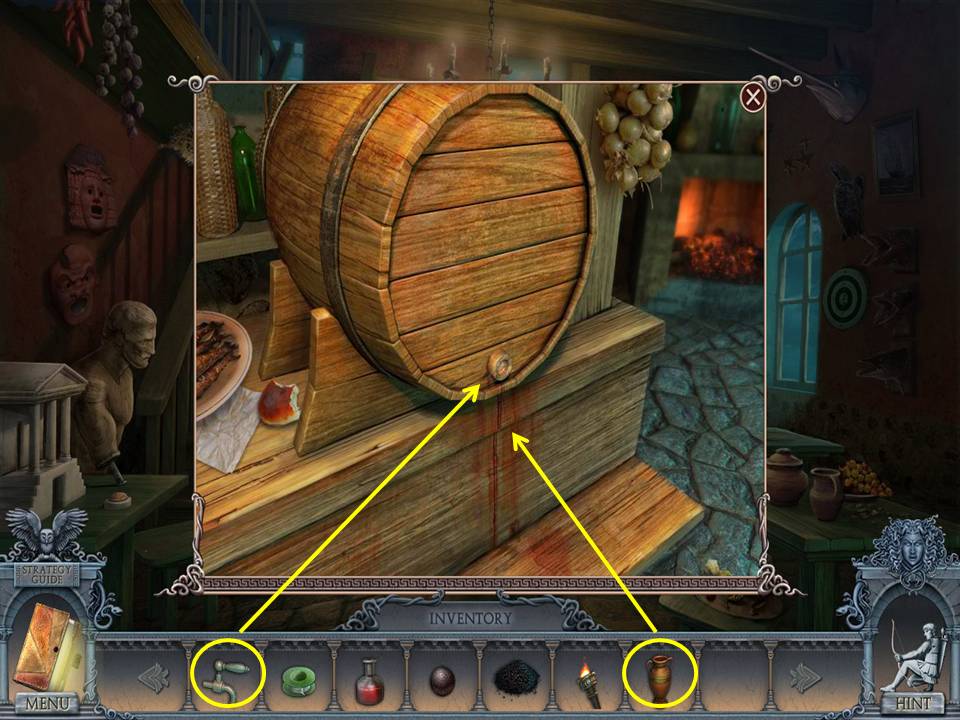
- Take the JUG.
- Click down twice.
- Enter the tavern.
- Zoom into the barrel and place the TAP on it.
- Slide the JUG under the tap.
- Click the tap to fill the jug.
- Take the RUM.
- Go upstairs.
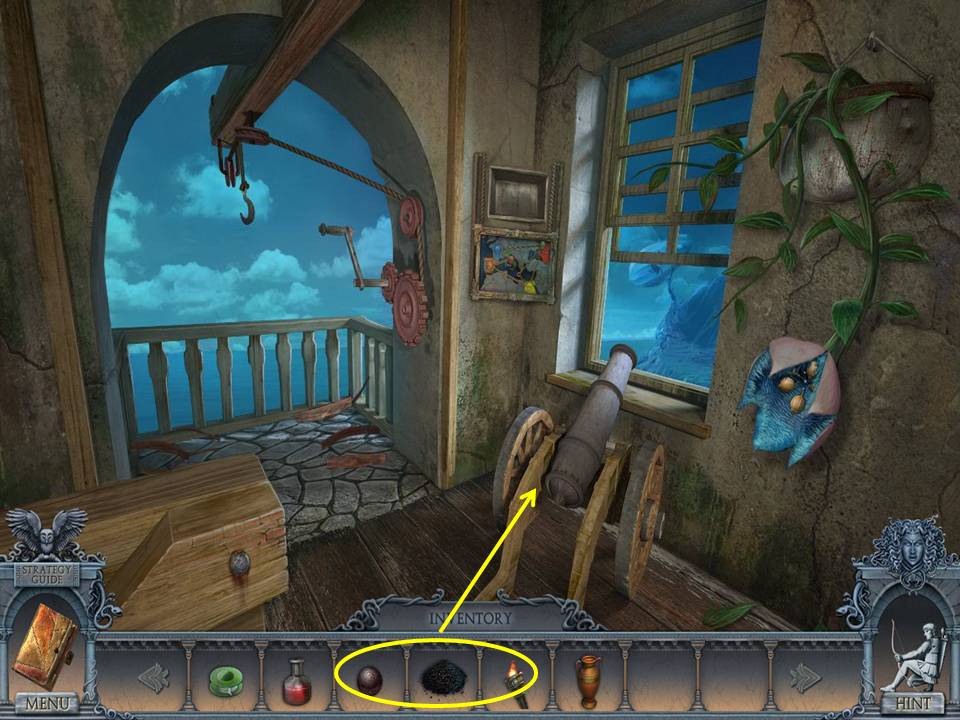
- Place the GUN POWDER, CANNON BALL and LIT TORCH on the cannon.
- Click down twice.
- Cross the bridge.
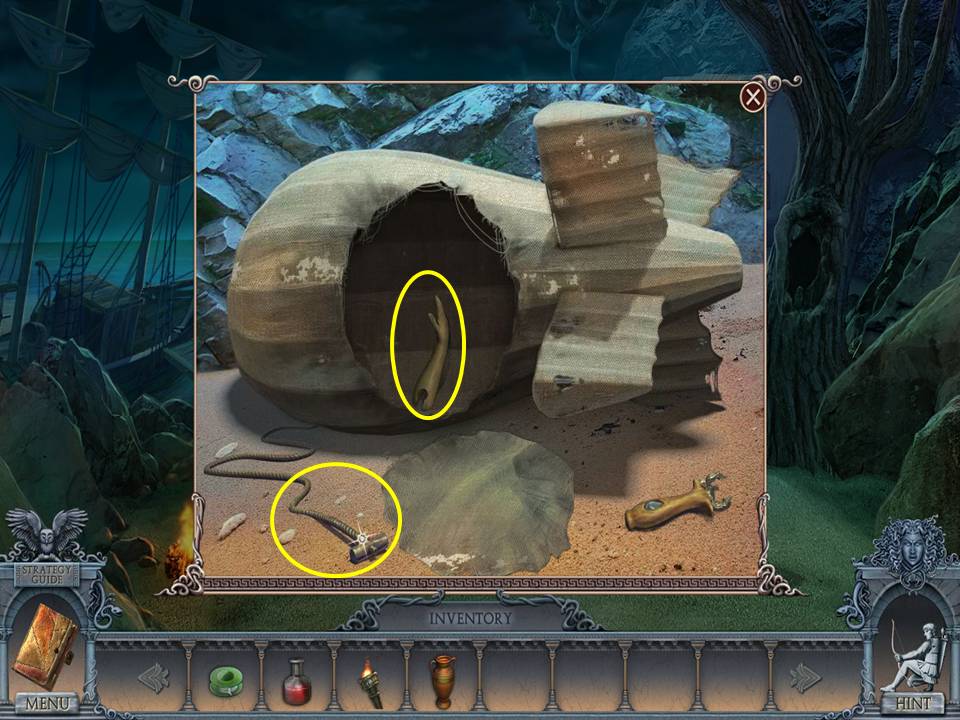
- Zoom into the blimp.
- Take the ARM and CORD.
- Click down and enter the building.
- Place the ARM on the wrestler.
- Take the LOCK PIECE.
- Go to the cable car.
- Click the lever.
- Scale the ladder.
- Zoom into the generator room.
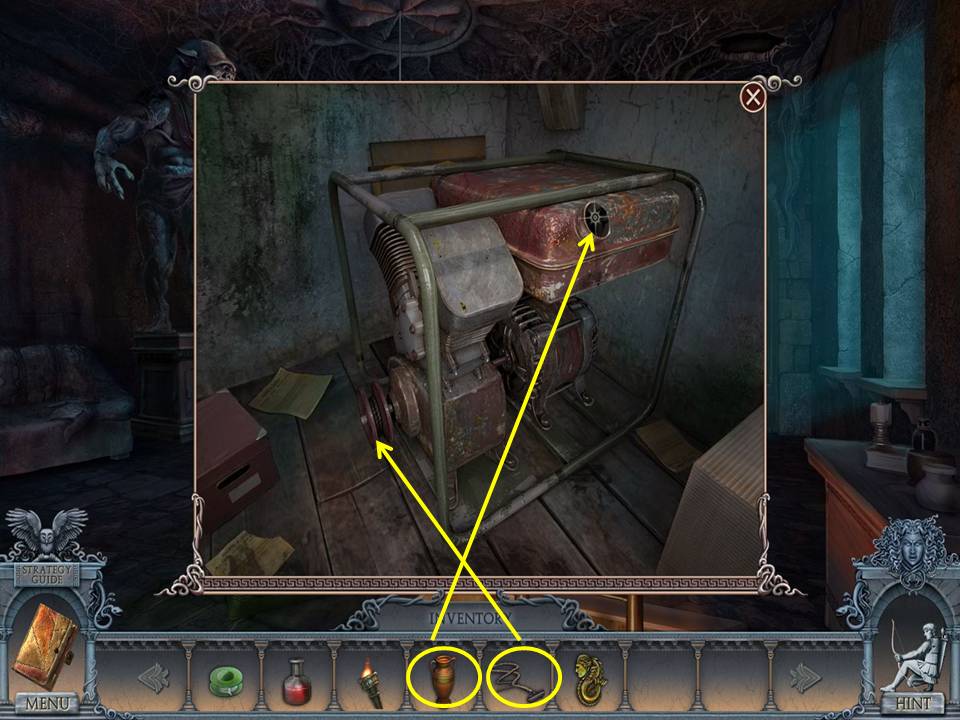
- Put the CORD on the wheel and the RUM in the tank. Click the CORD.
- Change the lighting in the room.
- Zoom into the shelves to play a HOA.
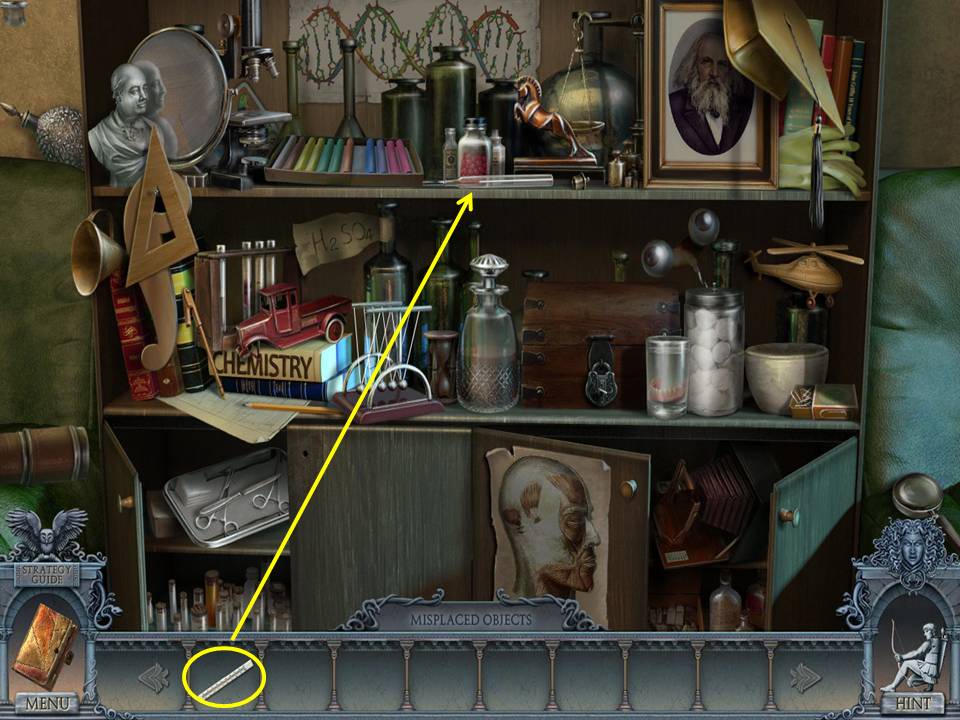
- In this HOA, you place the items in their appropriate spots in the scene.
- See screenshot for placements and final move.
- When finished, receive the second LOCK PIECE.
- Change the lighting in the room.
- Click the alcove to shoo the bats.
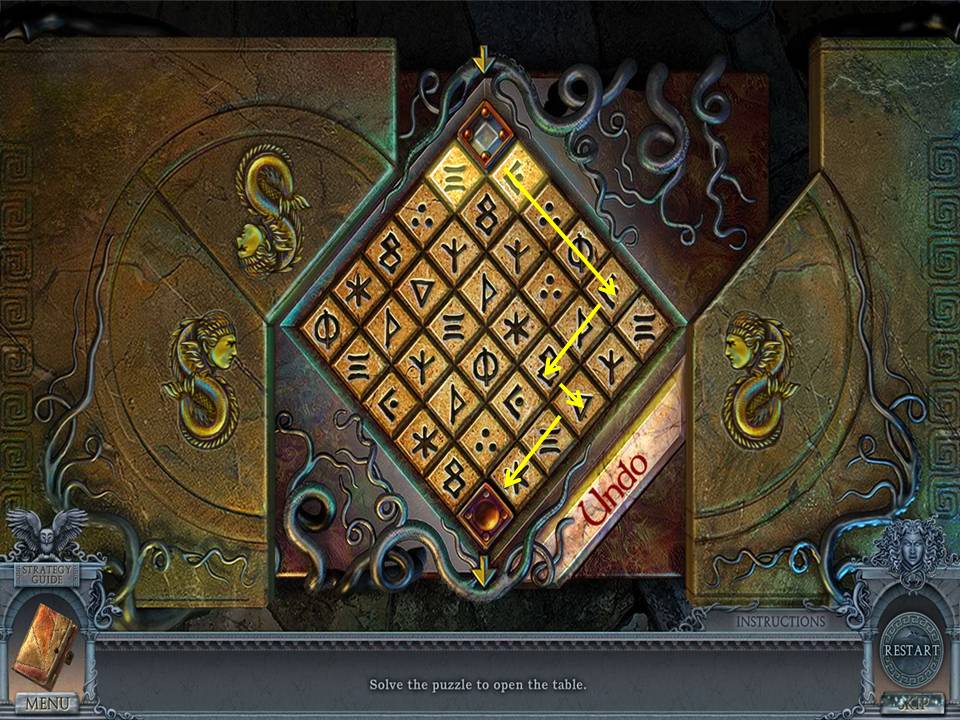
- Zoom into the table and place the two LOCK PIECES on the lid to initiate a puzzle.
- The object of the puzzle is to guide the square to the bottom slot.
- See screenshot for solution.
- When finished, take the COLUMN PART.
- Change the lighting in the room.
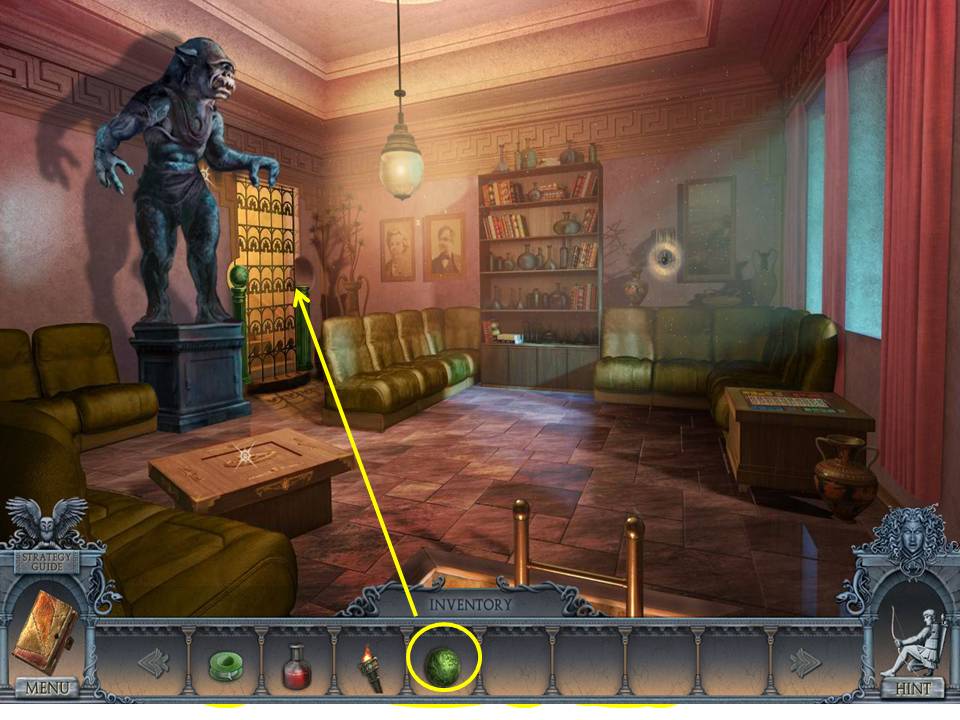
- Place the COLUMN PART on the column.
- Ascend the staircase.
- Take the MUG and DARTS.
- Click down twice.
- Ride the cable car.
- Enter the tavern.
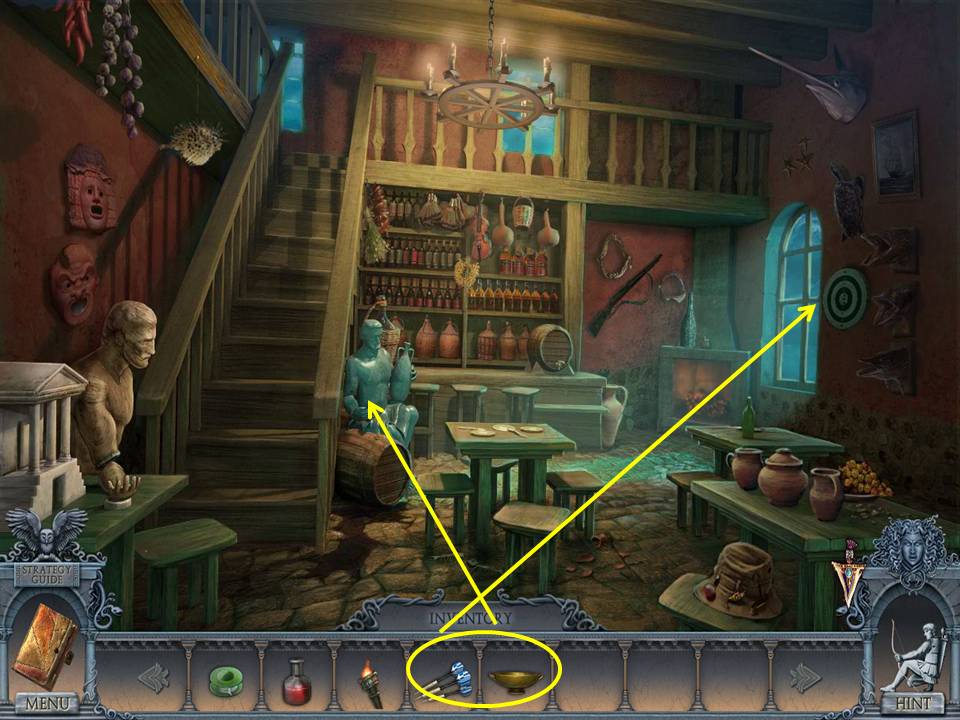
- Zoom into the statue.
- Put the MUG in its hand.
- Take the WEIGHT.
- Zoom into the dartboard.
- Throw the DARTS at it.
- Take the HAND.
- Click down.
- Ride the cable car.
- Scale the ladder.
- Change the lighting in the room.
- Zoom into Pandora’s Box.
- Put the hand in the appropriate space.
- Change the lighting in the room.
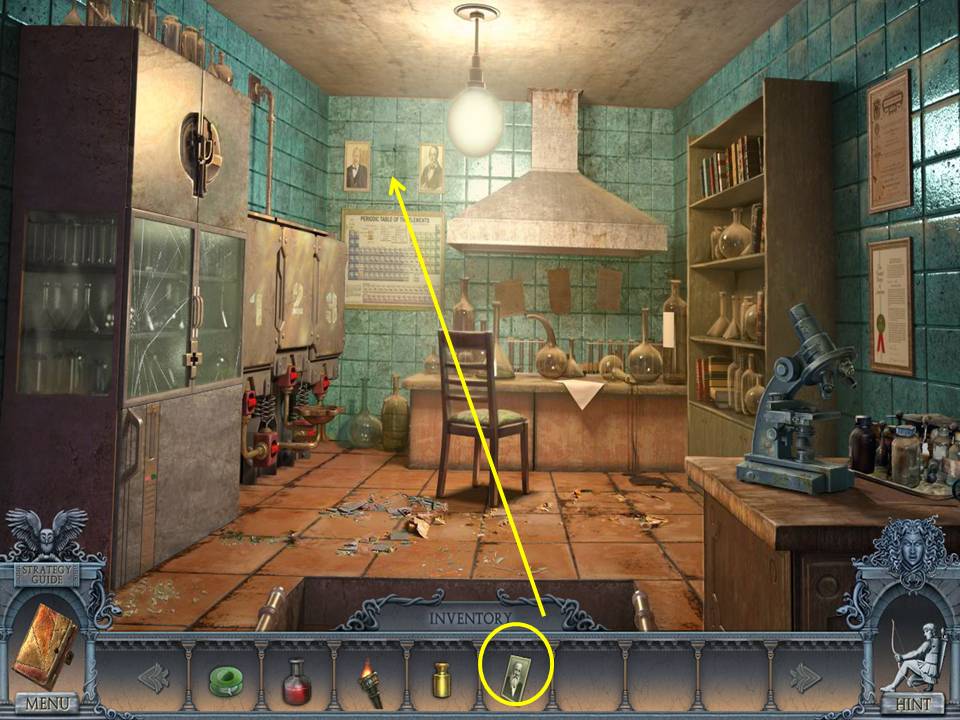
- Take the SCIENTIST.
- Go upstairs to the lab.
- Place the SCIENTIST on the wall.
- Take the MAGIC BALL.
- Click down.
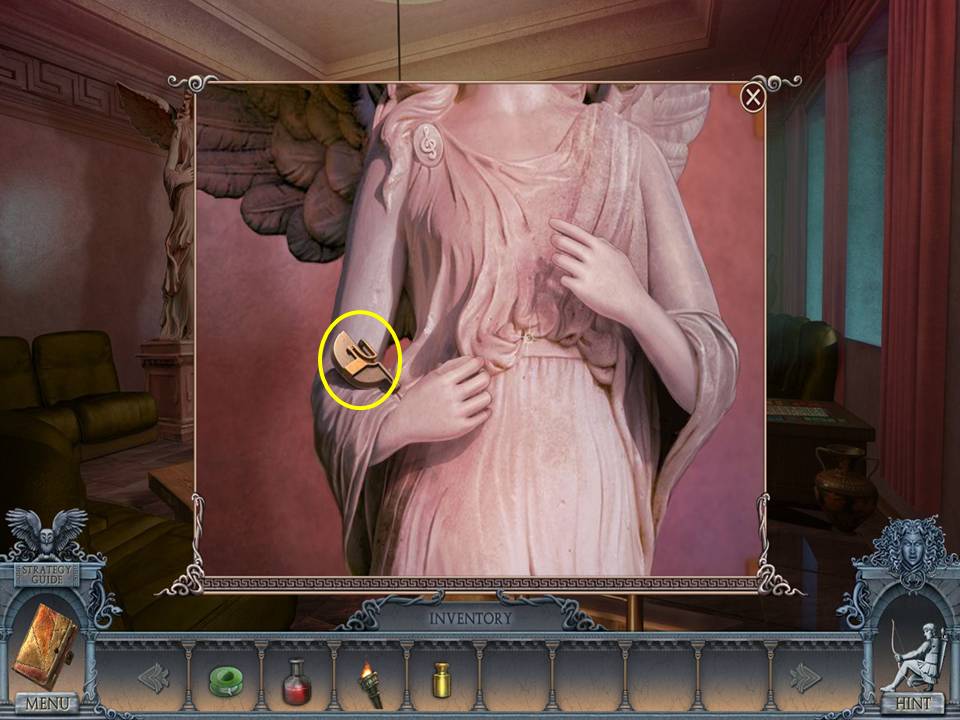
- Put the MAGIC BALL on the statue.
- Zoom into the angel statue.
- Take the BAS RELIEF.
- Go to the library.
- Go left into the elevator.
- Click the down button.
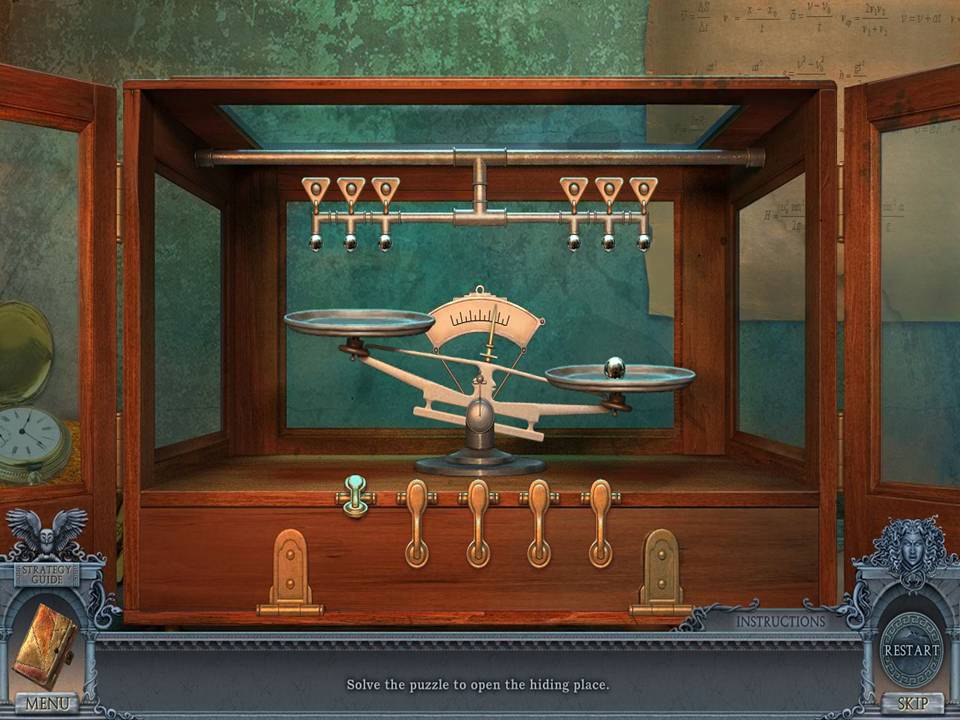
- Zoom into the cabinet.
- Place the WEIGHT in the lock to initiate a puzzle.
- The object of the puzzle is to balance the scales five times.
- Do this by choosing tabs and dropping the balls on the scales to balance them.
- Click and hold the tab to increase the size of the ball.
- When finished, take the SEED.
- Click down and ride the elevator back up.
- Change the lighting in the room.
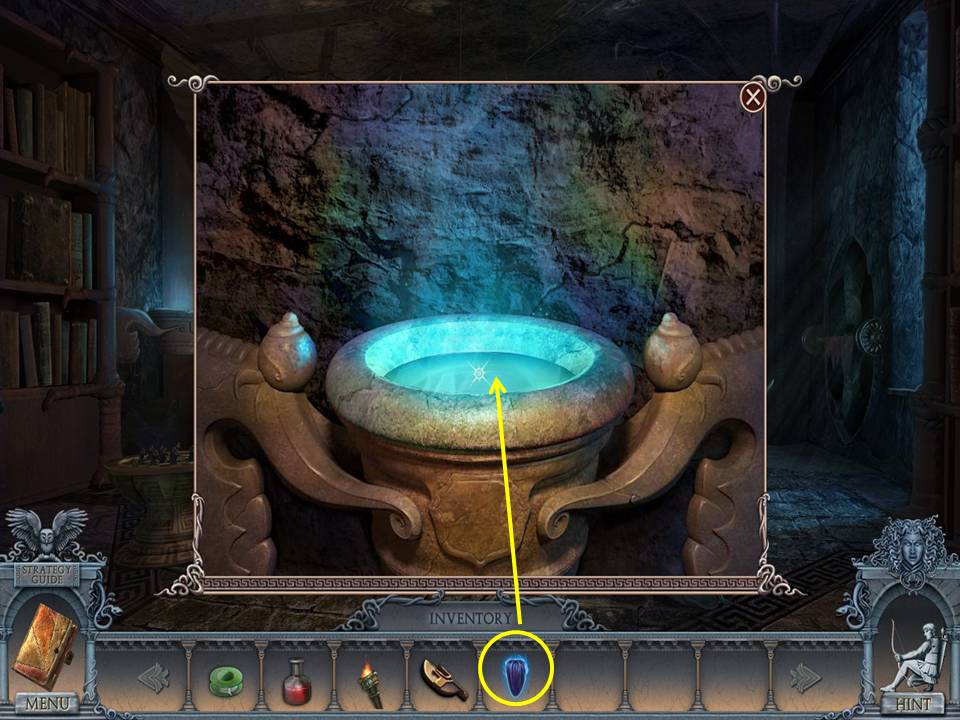
- Zoom into the magic pot.
- Plant the SEED in it.
- Take the FIRE FLOWER.
- Return to the cable car.
- Click the lever to push it forward.
- Scale the ladder.
- Go left to the lab.
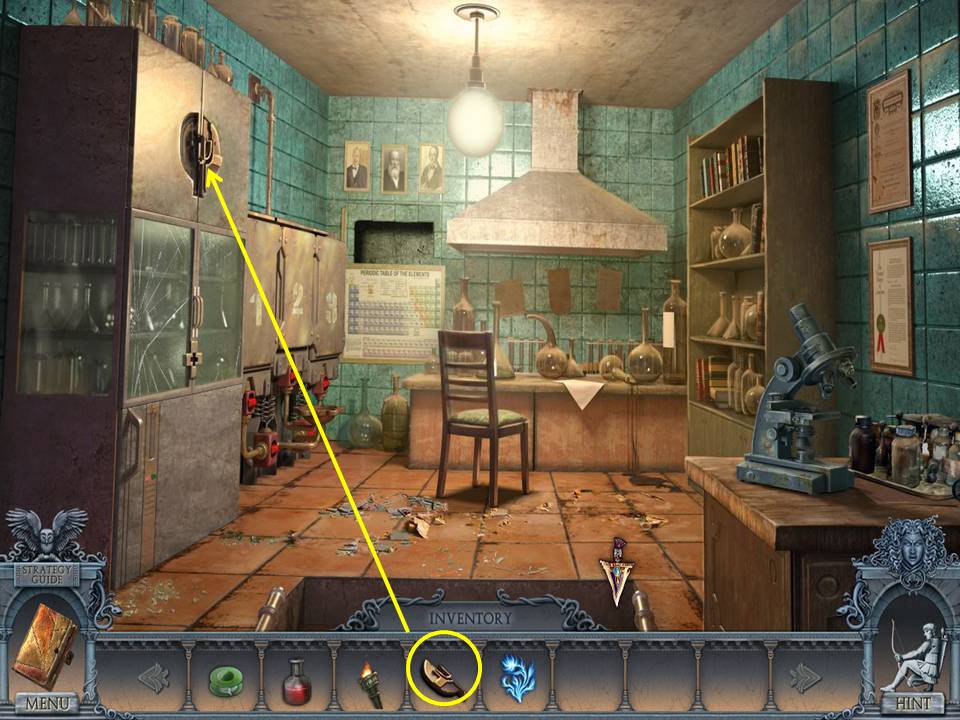
- Put the BAS RELIEF on the cabinet.
- Take the KEY.
- Go back and ride the cable car.
- Head right over the bridge.
- Enter the ship.
- Use the FIRE FLOWER on the Harpy.
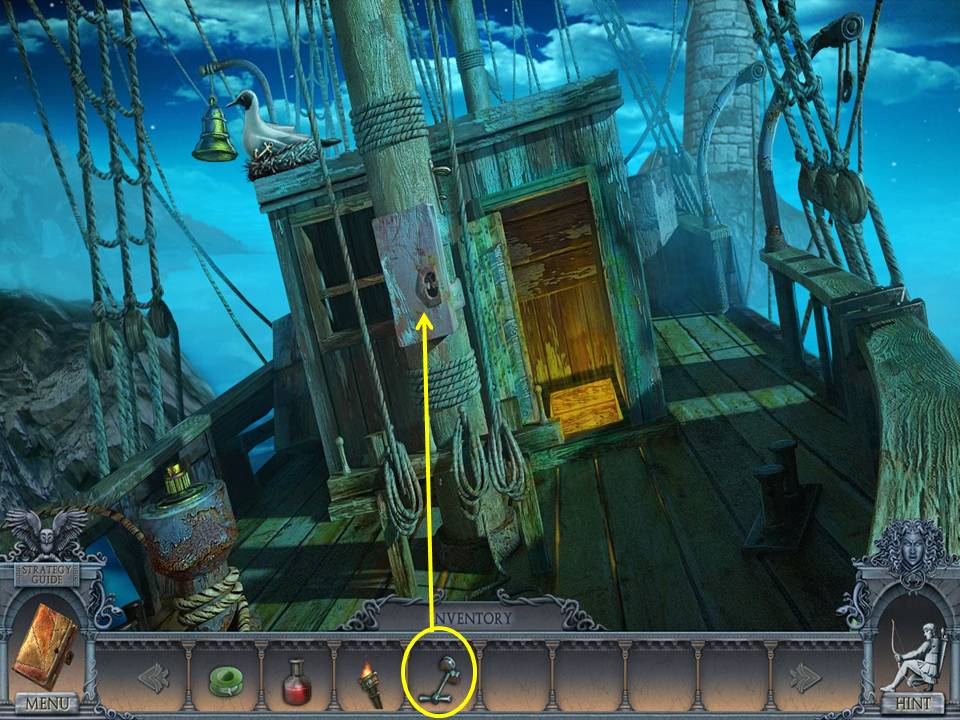
- Unlock the cabinet with the KEY.
- Take the TREBLE CLEF.
- Descend into the hold through the door the Harpy blocked.
- Put the TREBLE CLEF on the case.
- Take the EYEPIECE.
- Zoom into the chest.
- Take the ROPE.
- Click down twice.
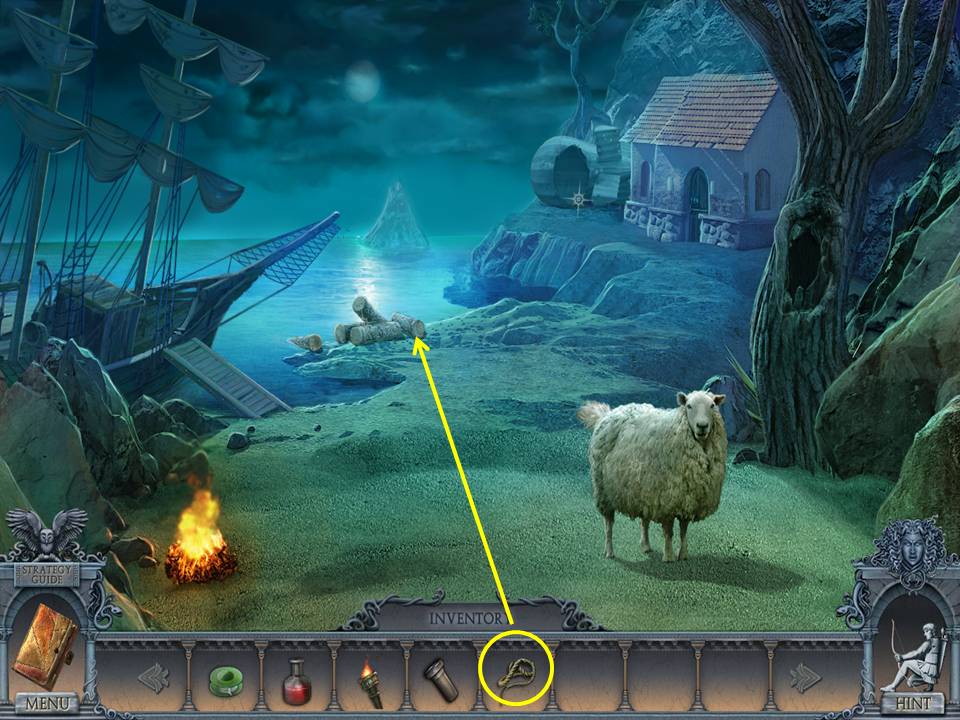
- ROPE the logs to make a raft.
- Move ahead on the raft.
- Take the TONGS and HOSE.
- Go back to the ship’s hold.
- Put the HOSE on the pump.
- Click the handle.
- Take the PUZZLE PIECE.
- Return to the cable car.
- Click the lever.
- Scale the ladder.
- Zoom into the shelves to play a HOA.
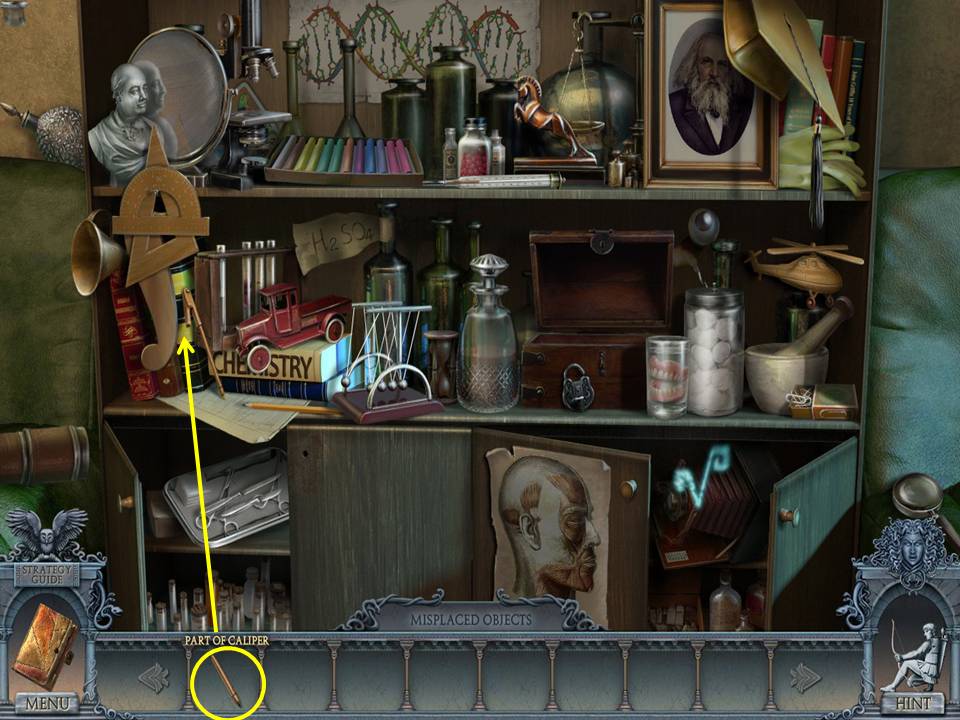
- Return the items to the places in the scene where they belong.
- See screenshot for placement and final move.
- Receive a CARD.
- Go left to the lab.
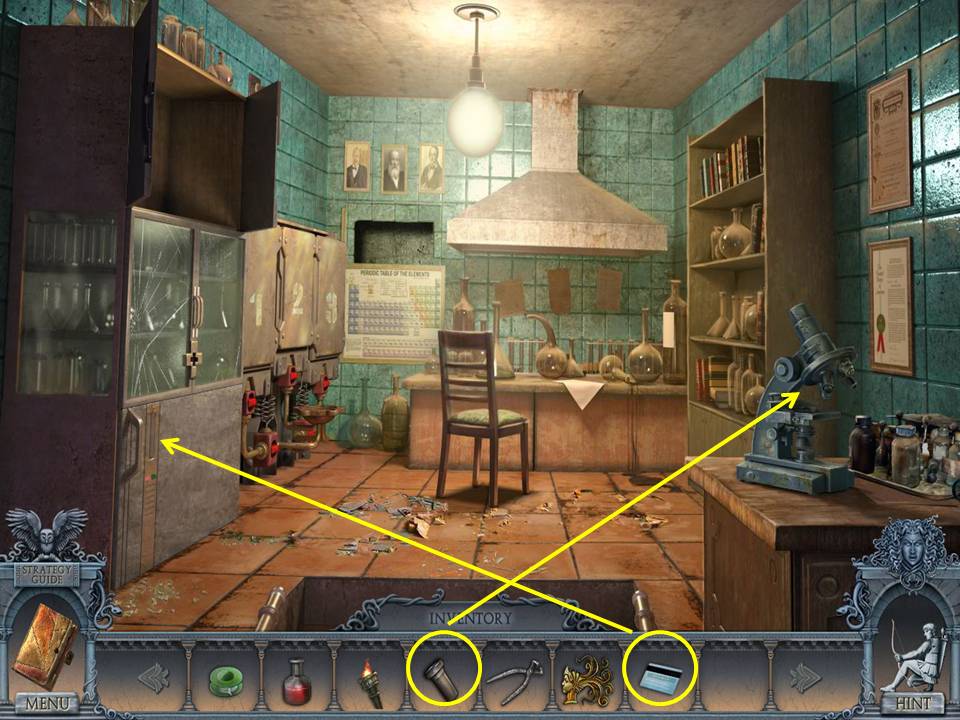
- Use the CARD on the cabinet.
- Take the LIQUID. Insert the EYEPIECE in the microscope.
- Zoom in.
- Click the center of the seed to obtain the pieces to create the seed.
- Take the SEED.
- Click down.
- Change the lighting in the room.
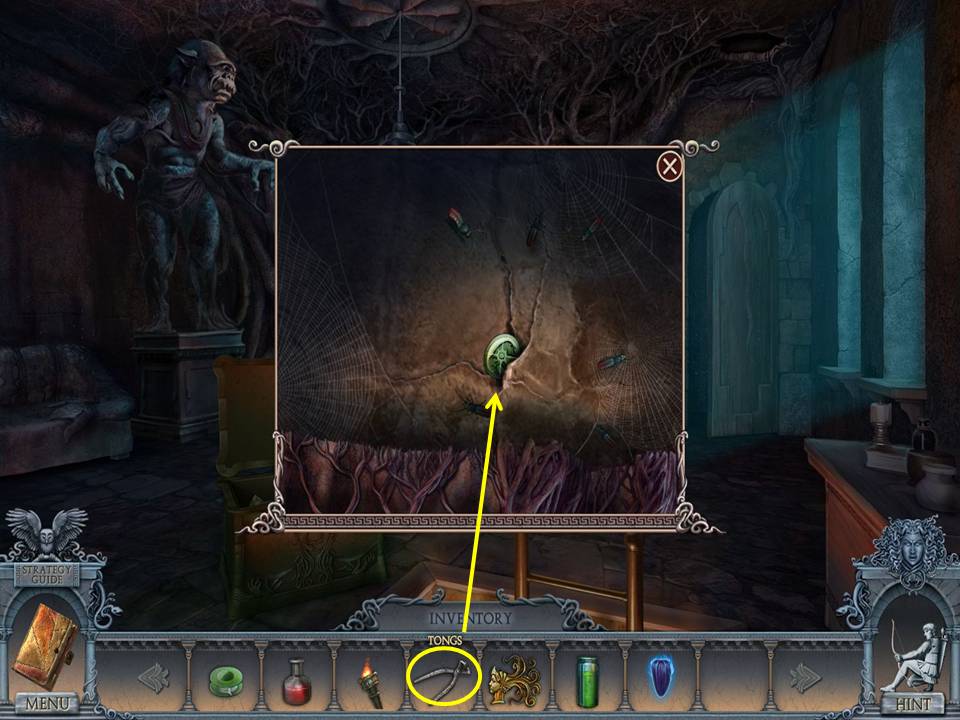
- Zoom into the hole in the ceiling.
- Pluck the MAP PART with the TONGS.
- Return to the ship’s hold.
- Zoom into the map.
- Put the MAP PART in place to initiate a puzzle.
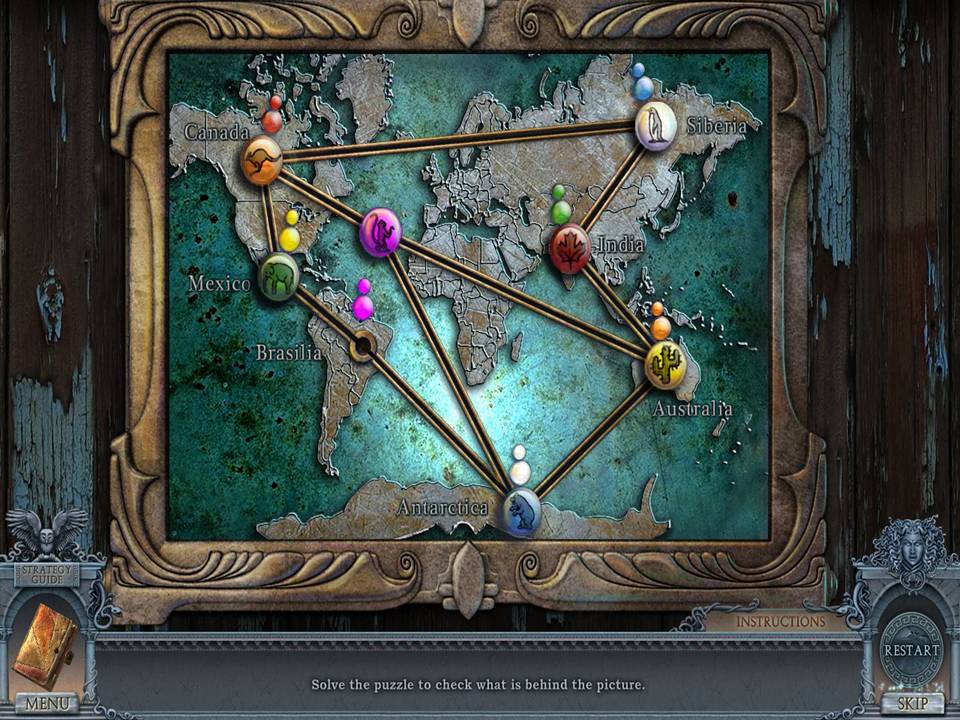
- The object of the puzzle is to move the chips to their matching locations.
- Click locations in this order: Antarctica, Atlantic Ocean, Australia, Antarctica, Atlantic Ocean, Canada, Mexico, Brasilia, Antarctica, Australia, India, Siberia, Canada, Mexico, Brasilia, Antarctica, Atlantic Ocean, Australia, India, Siberia, Canada, Atlantic Ocean, Antarctica, Australia, Atlantic Ocean.
- When finished, take the (musical) NOTE.
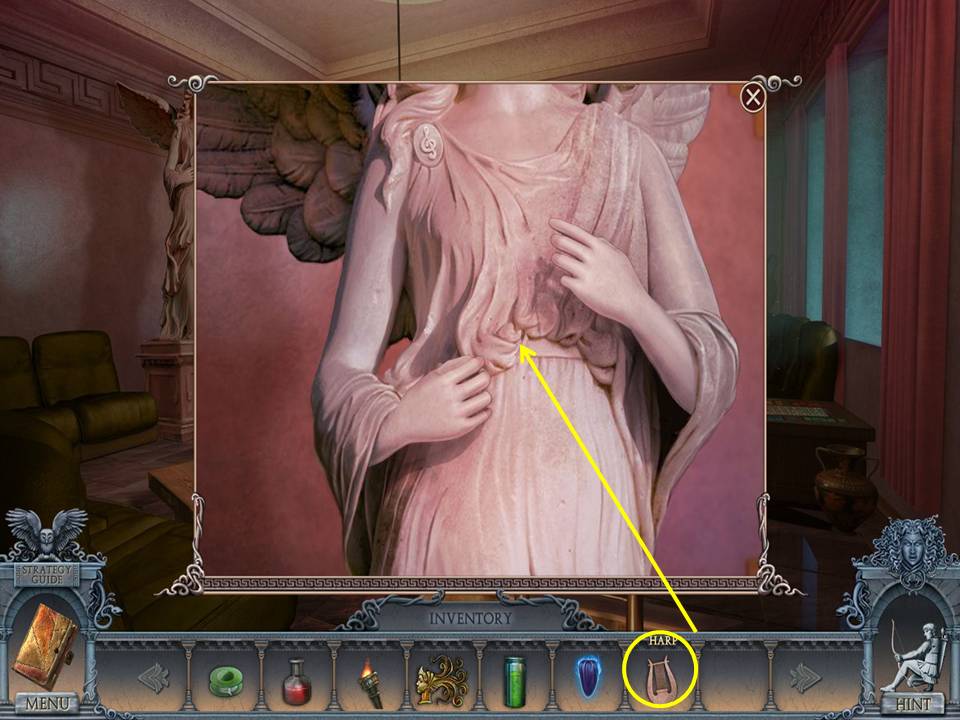
- Place the NOTE on the case.
- Take the HARP. Ride the cable car to the House of Kleitos.
- Scale the ladder.
- Change the lighting in the room.
- Zoom into the angel statue.
- Give her the HARP.
- Take the BULB.
- Return to the crypt.
- Zoom into the lamp.
- Insert the bulb in the lamp.
- Click anywhere on the screen to receive a second LIQUID.
- Click down and go to the library.
Comments will load when you reach this part of the walkthrough.