
Chapter One: Arriving at the Estate
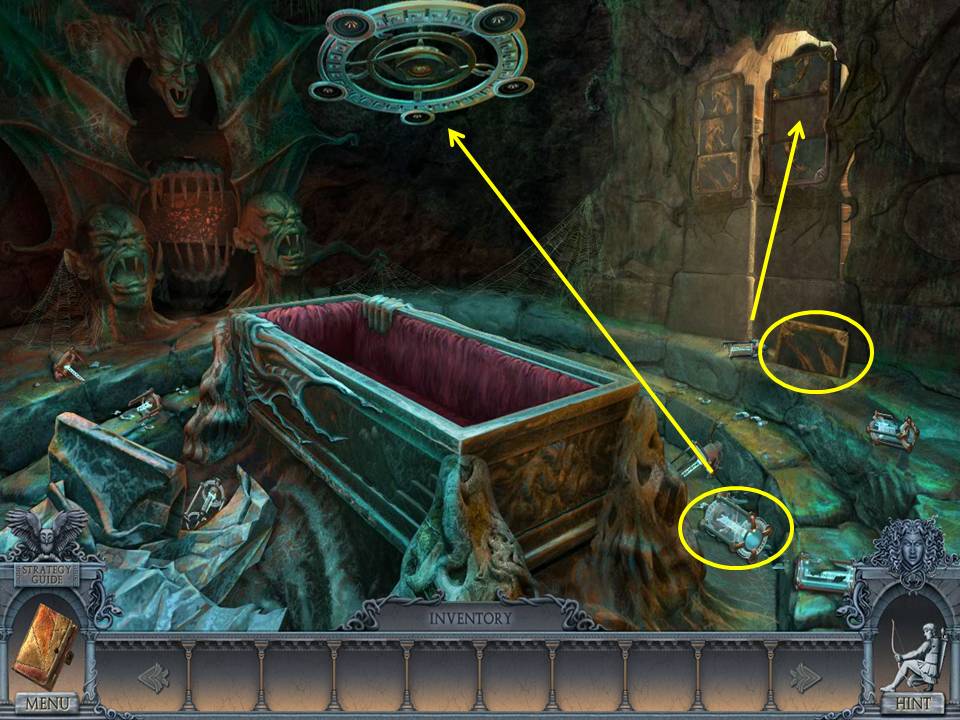
- Click the coffin lid.
- Take the BULB and TILE.
- Zoom into the lamp.
- Insert the BULB.
- Zoom into the door.
- Place the TILE on it to initiate a puzzle.
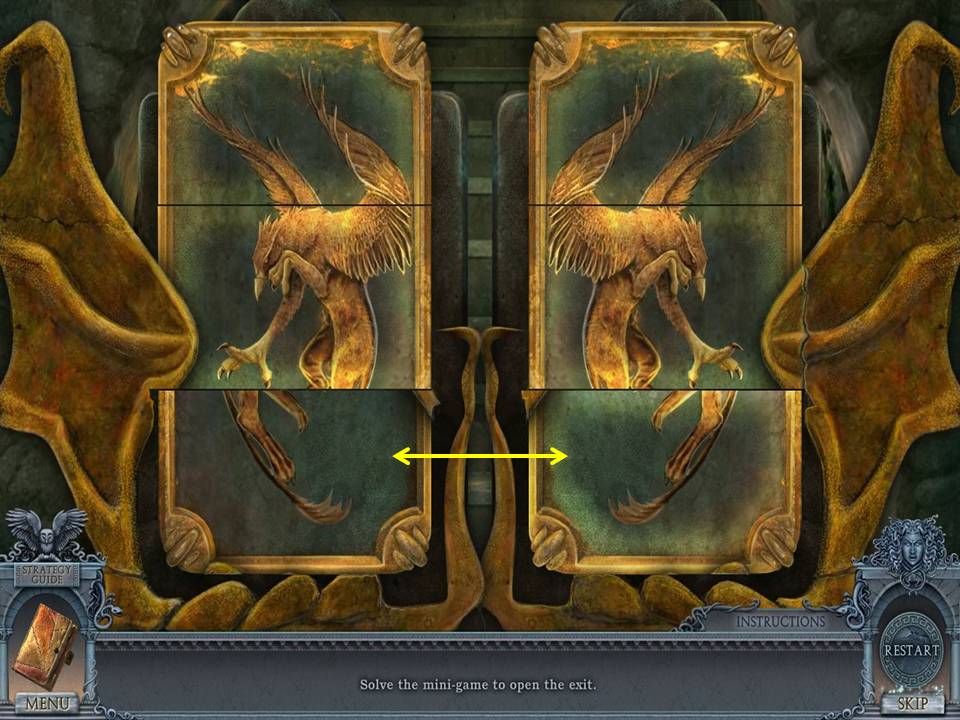
- The object of the puzzle is to assemble an image.
- To accomplish this, click two tiles to swap them.
- See screenshot for the appropriate image and final move.
- When finished, go through the door.
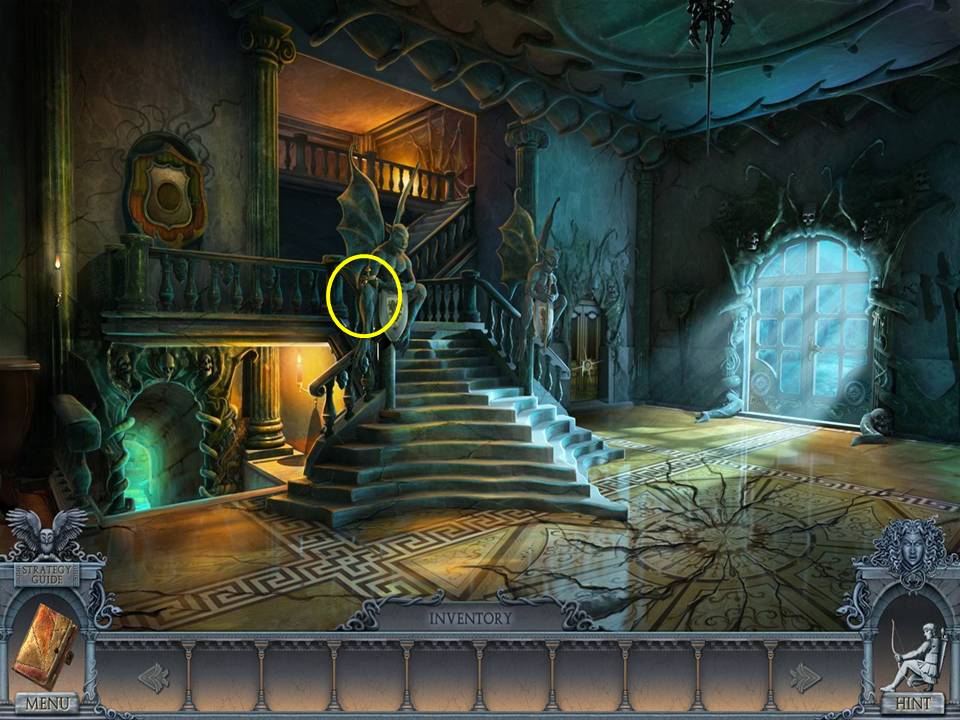
- Zoom into the statue on the left side of the stairs.
- Take the FIREPLACE HANDLE.
- Go up the stairs.
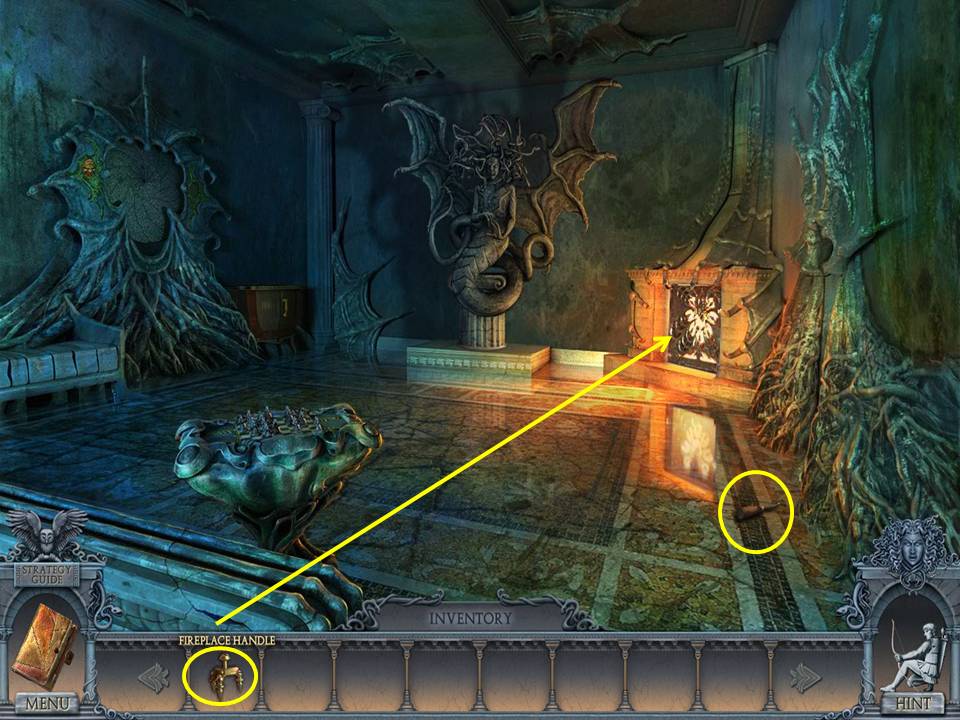
- Take the SCREWDRIVER.
- Zoom into the fireplace.
- Put the FIREPLACE HANDLE on the grate.
- Click the illuminator to change the room lighting.
- Zoom into the cabinet.
- Take the SWORD.
- Change the lighting again.
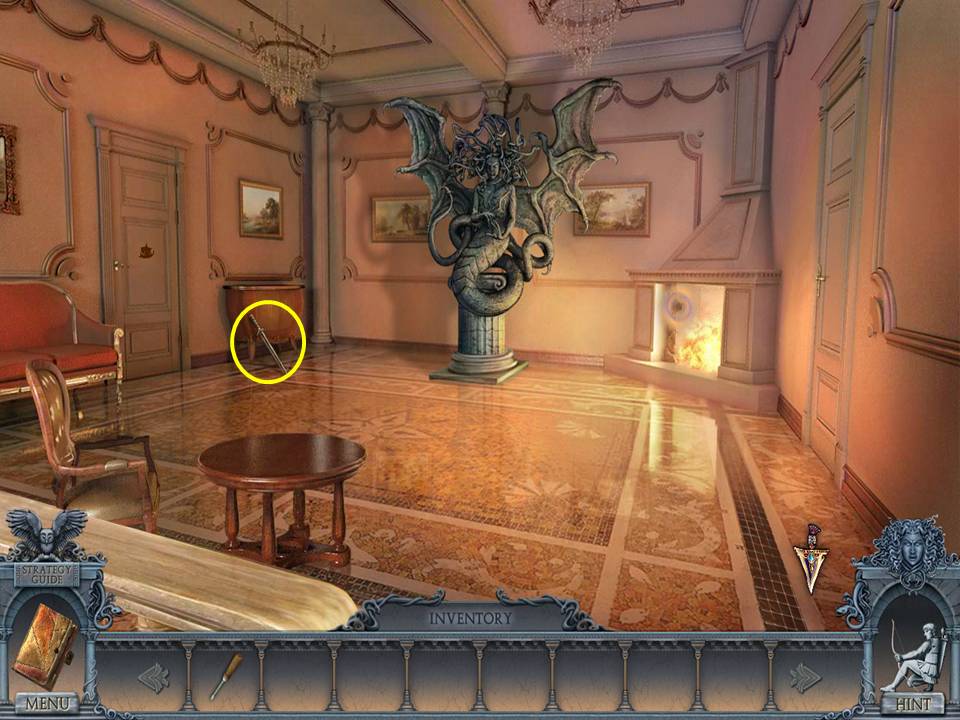
- Click down once.
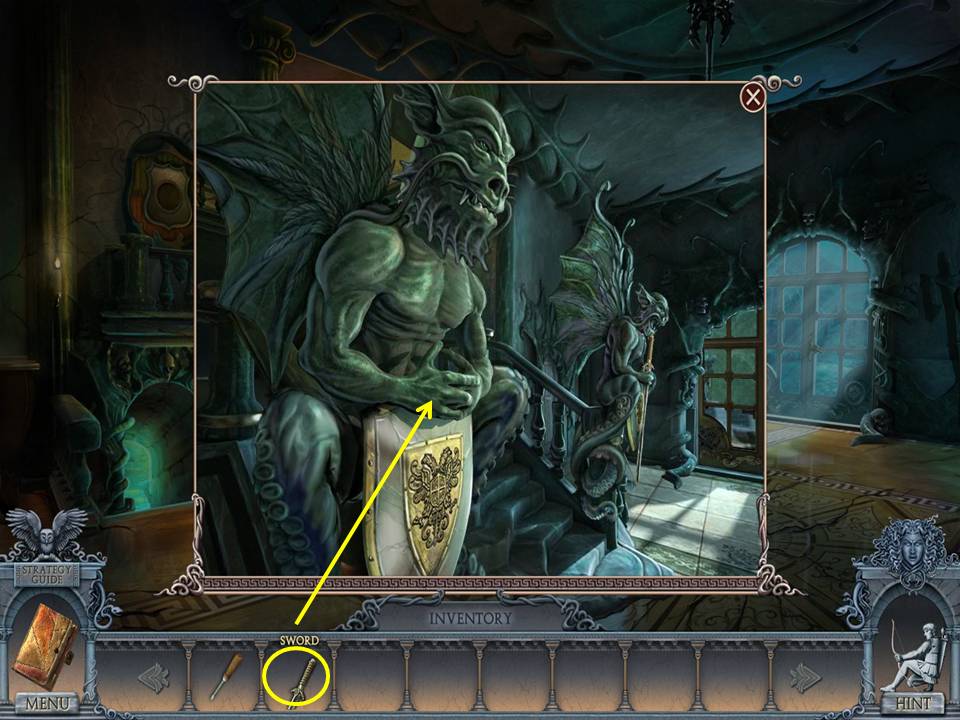
- Zoom into the statue.
- Put the SWORD in its hands.
- Take the MASK from the statue’s mouth.
- Go upstairs.
- Zoom into the mechanism on the left wall.
- Put the MASK in the slot at right.
- Zoom into the opening to trigger an HOA.
- In this HOA game, you place the items along the bottom into the scene where they belong.
- The screenshot shows the placements plus the final move.
- When finished, change the lighting in the scene.
- Zoom into the door.
- Place the SHIP on it to initiate a puzzle.
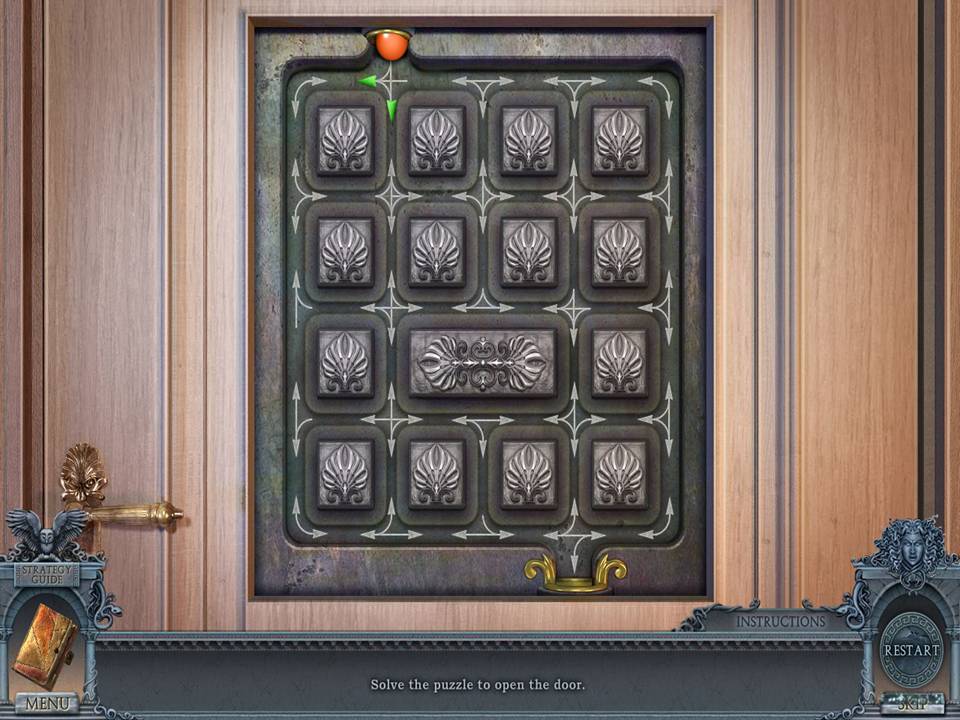
- The object of the puzzle is to move the ball from the top entry point to the bottom slot.
- To solve the puzzle, click the following arrows: down, right, right, left, left, right, up, right, down, down.
- Go through the door at left.
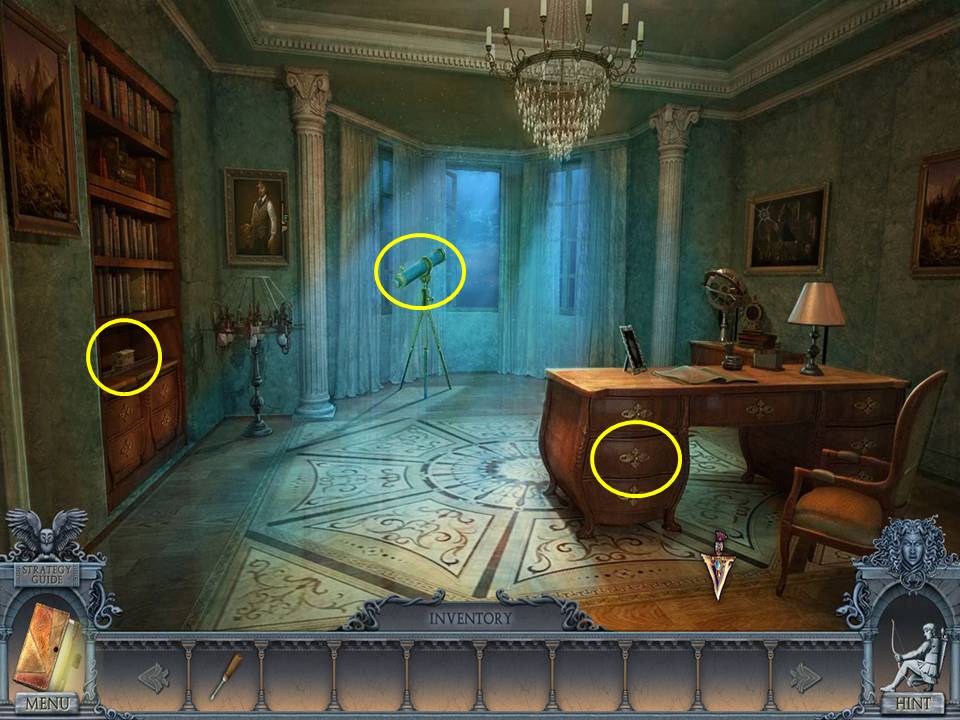
- Zoom into the bottom shelf.
- Take the HANDLE.
- Zoom into the telescope.
- Unscrew the screw with the SCREWDRIVER.
- Take the GORGON.
- Zoom into the desk drawer.
- Click the drawer to open.
- Read the note.
- Take the GEAR.
- Click down twice.
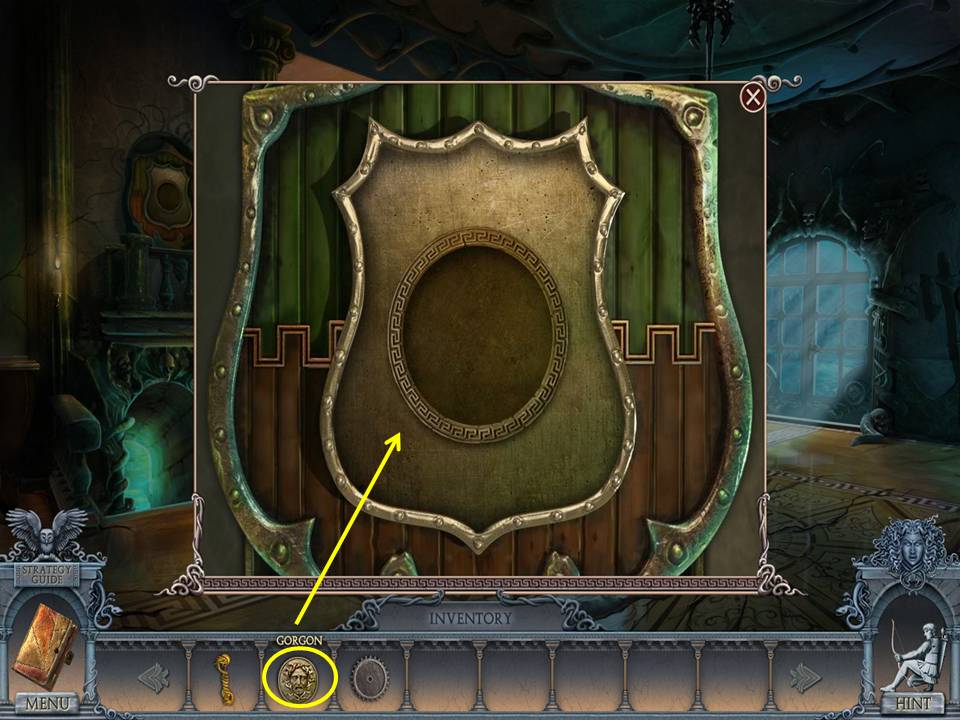
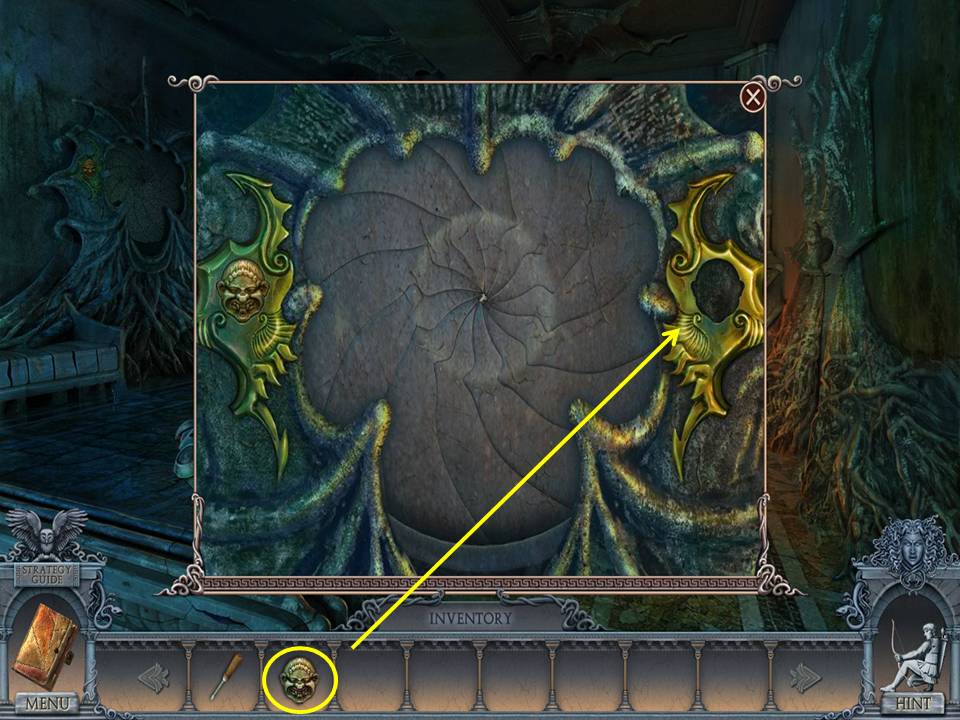
- Zoom into the shield.
- Insert the GORGON in the center.
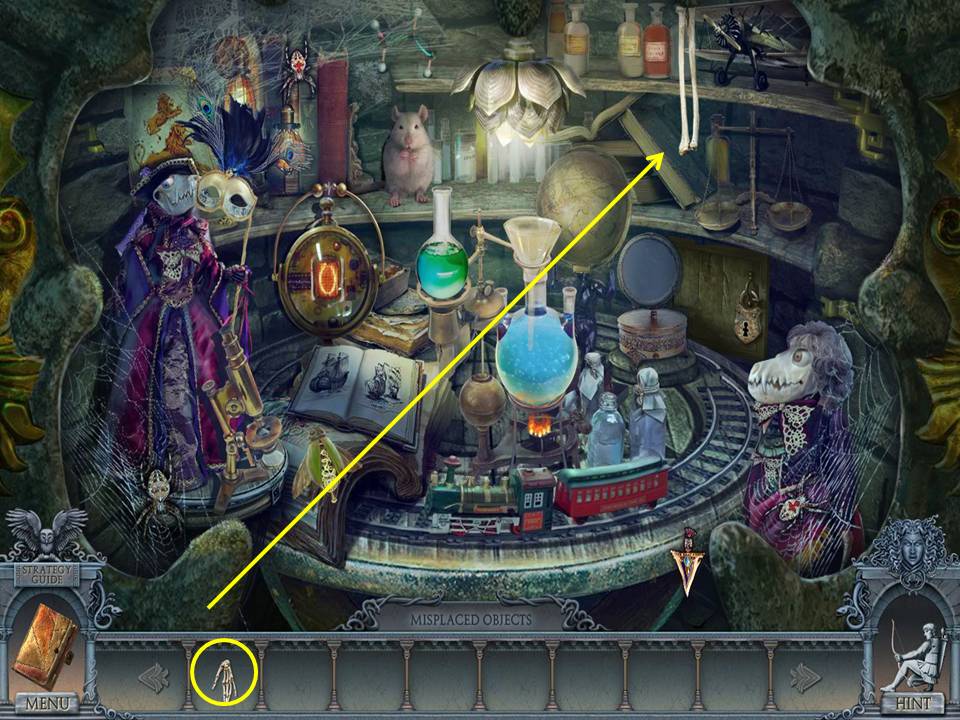
- Zoom into the alcove to play an HOA.
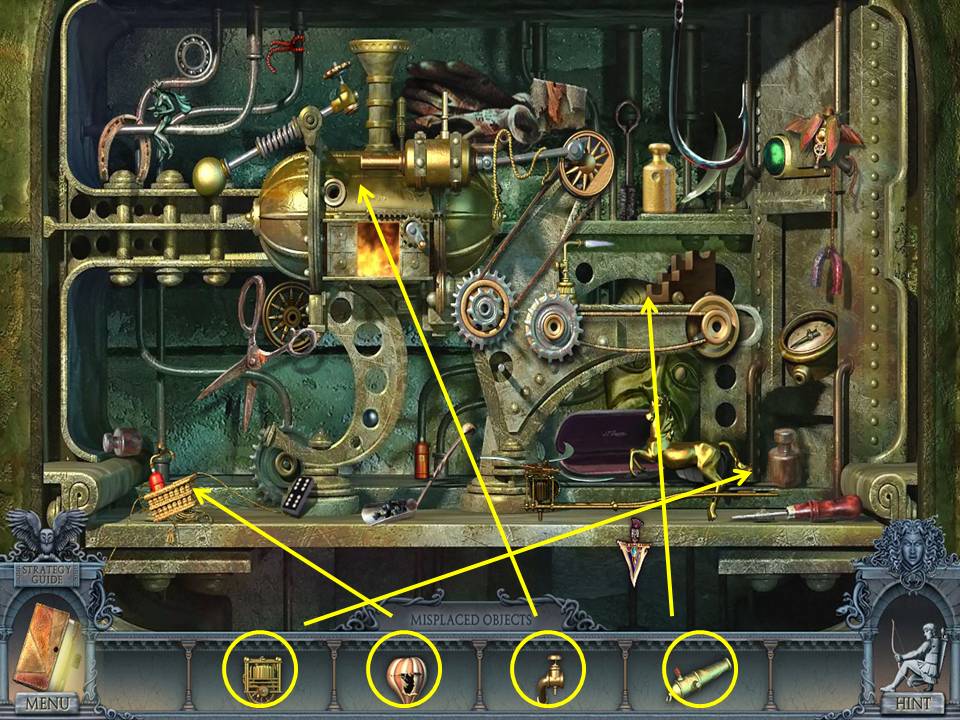
- In this HOA game, you place the items along the bottom into the scene where they below.
- Then find the items listed.
- Receive the DOOR KEY.
- Go upstairs.
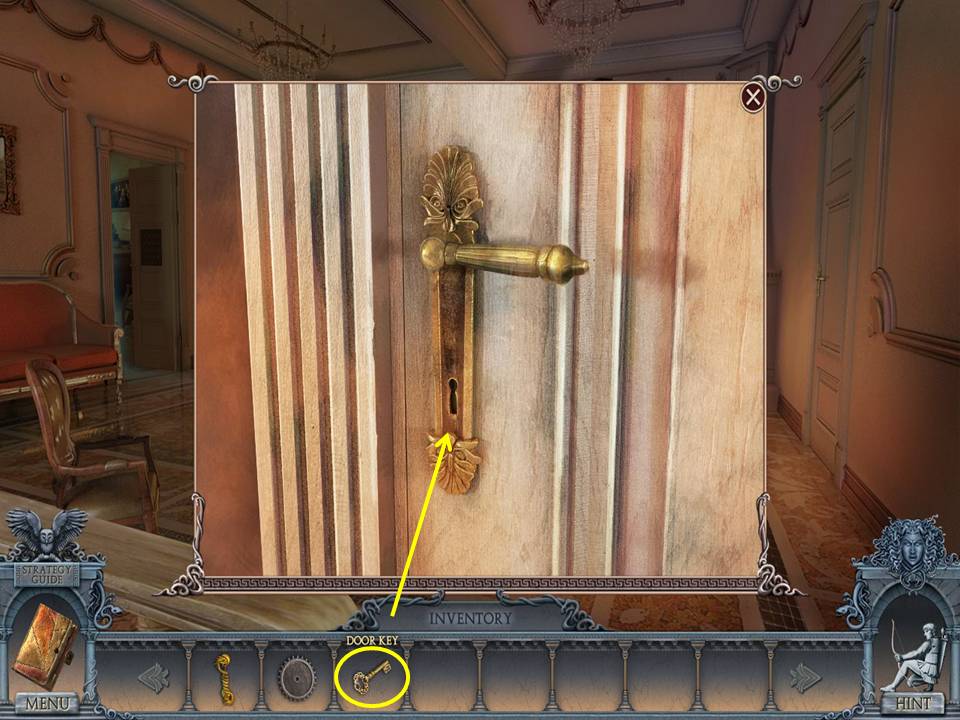
- Zoom into the door.
- Unlock it with the DOOR KEY.
- Go through the door.
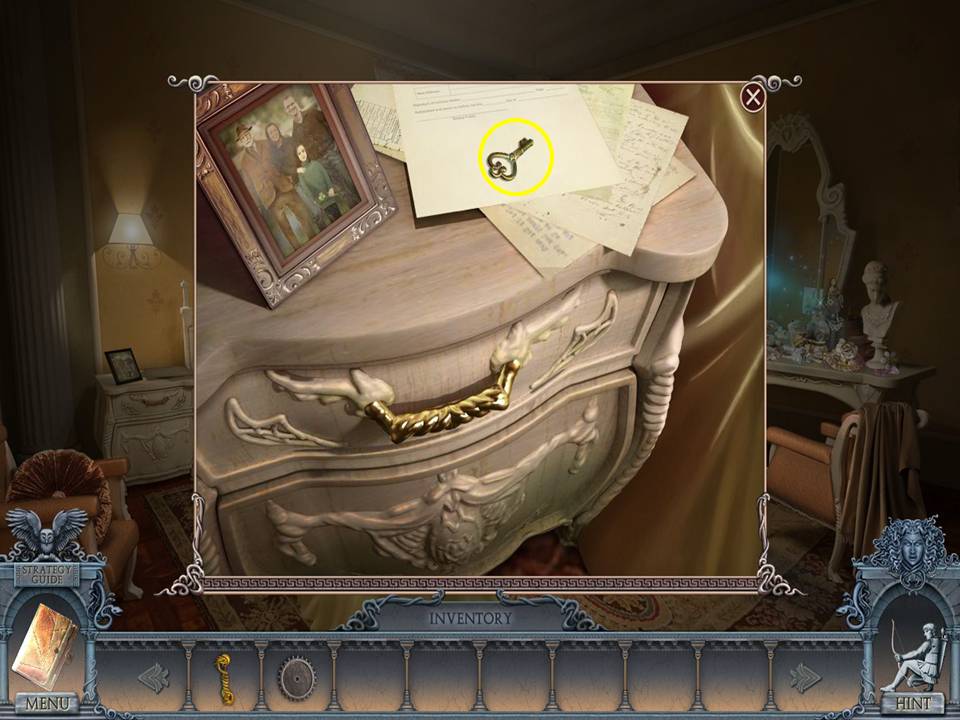
- Zoom into the nightstand.
- Read the note.
- Take the DRAWER KEY.
- Open the drawer.
- Take the PORTRAIT PART.
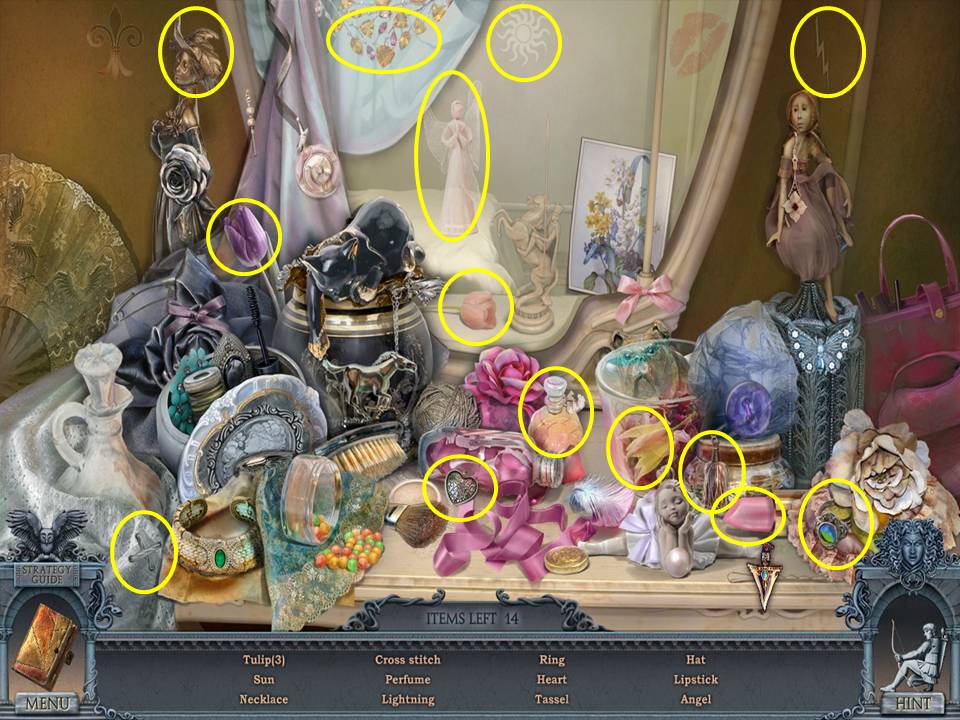
- Zoom into the dresser to play a HOA.
- Find the items listed.
- Receive a KNIGHT.
- Click down and go left to the office.
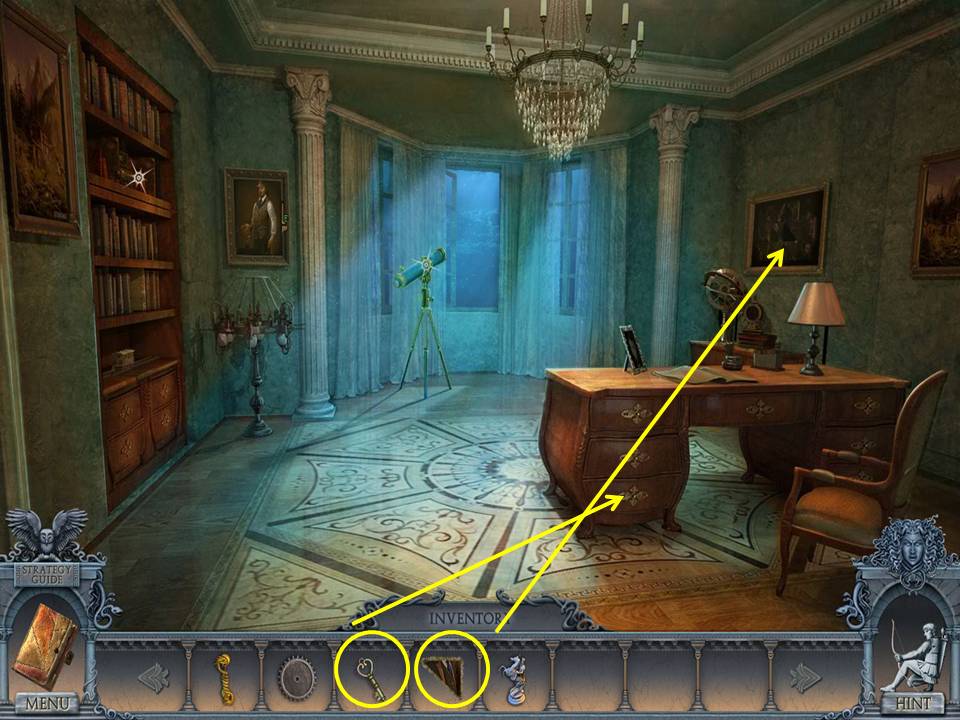
- Zoom into the desk drawers.
- Unlock the bottom drawer with the DRAWER KEY.
- Read the note.
- Take the CONNECTING ROD.
- Zoom into the portrait.
- Place the PORTRAIT PART in the scene to initiate a puzzle.
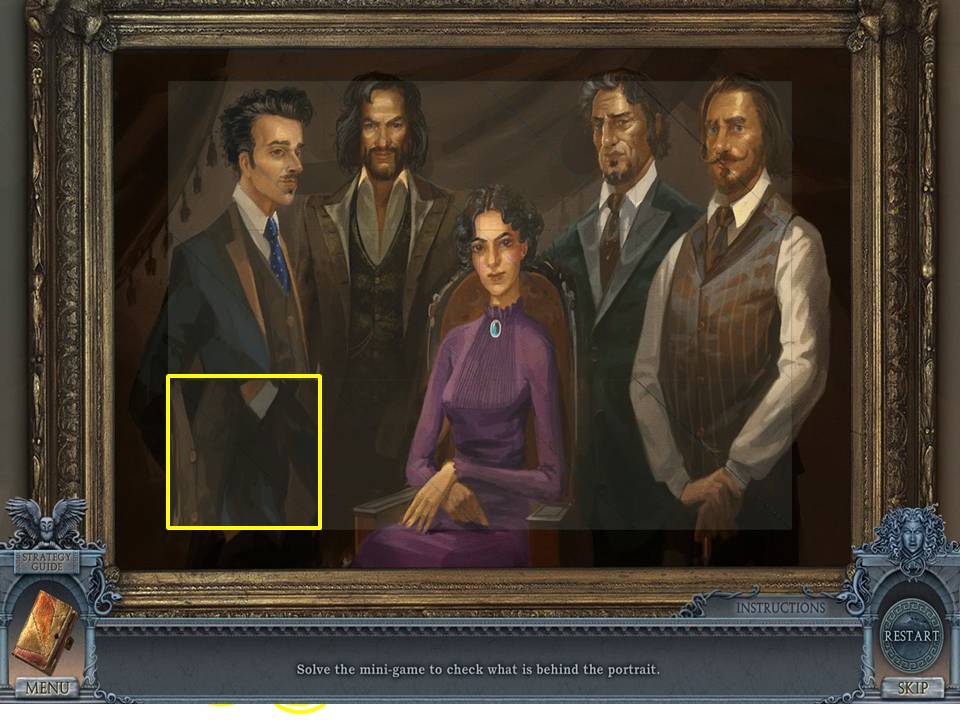
- The object of the puzzle is to arrange the pieces to show the proper portrait image.
- See screenshot for final move.
- When finished, take the MAGIC BALL.
- Click down.
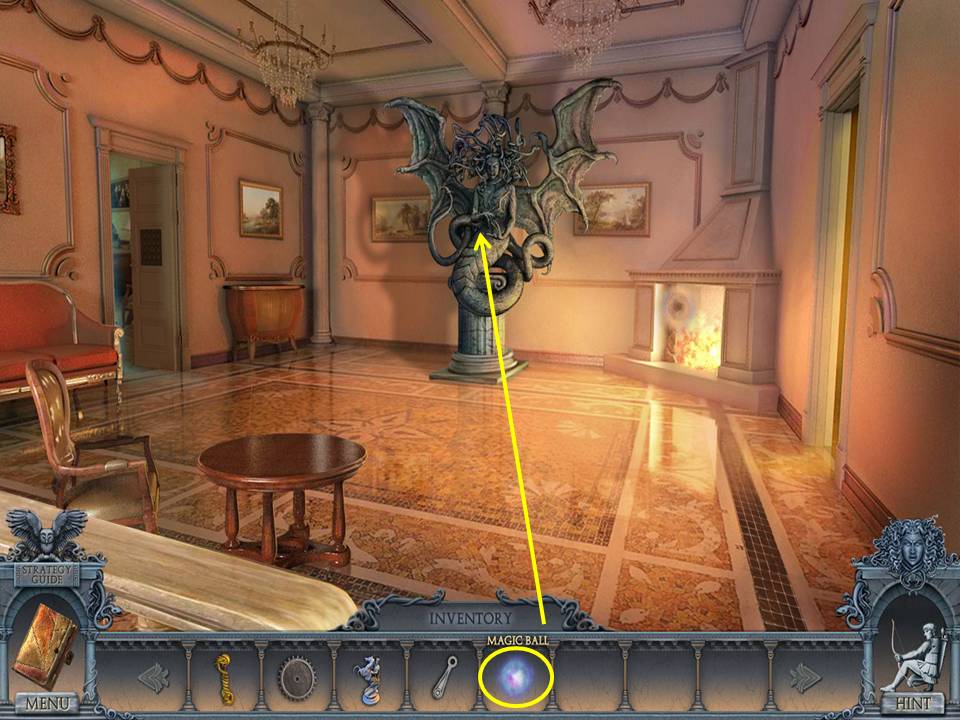
- Place the MAGIC BALL on the statue.
- Zoom into the statue.
- Take the second GEAR.
- Change the lighting in the scene.
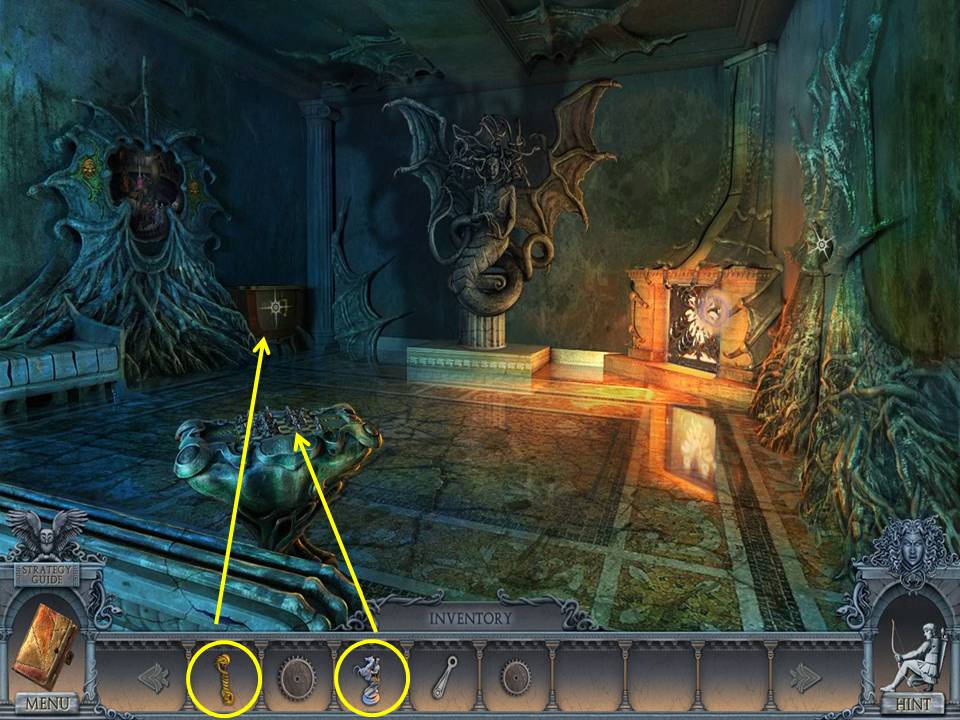
- Zoom into the cabinet.
- Place the HANDLE on the cabinet.
- Zoom into the chessboard.
- Place the KNIGHT in the scene to initiate a puzzle.
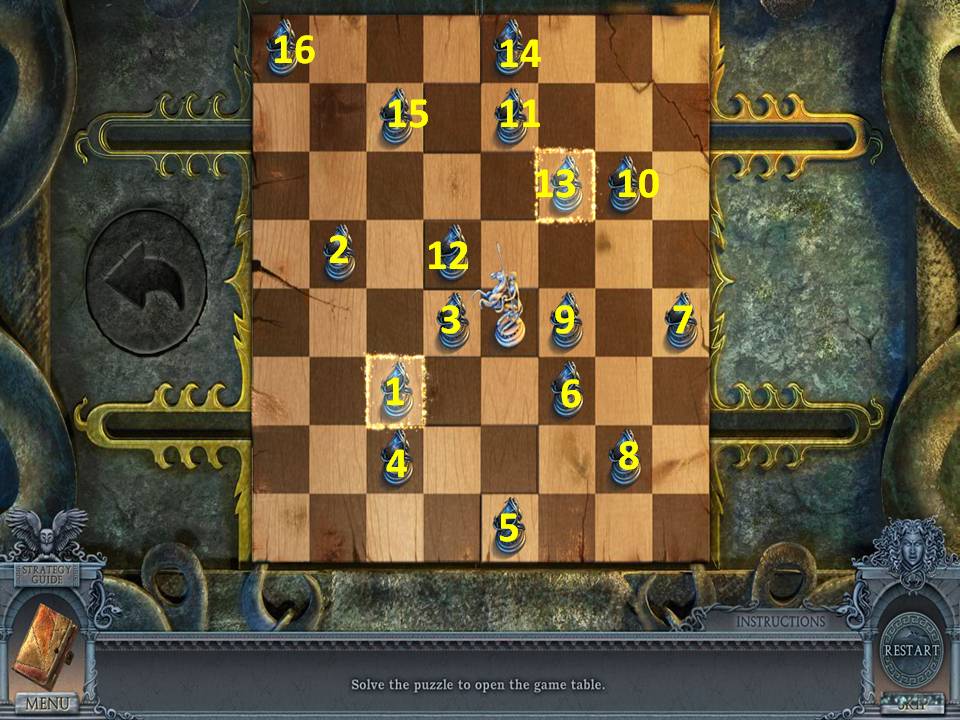
- The object of the puzzle is to move the knight to remove all the pawns.
- The board will show you, your different options.
- Follow these moves to solve the puzzle.
- When finished, take the second CONNECTING ROD.
- Change the lighting in the room.
- Zoom into the cabinet.
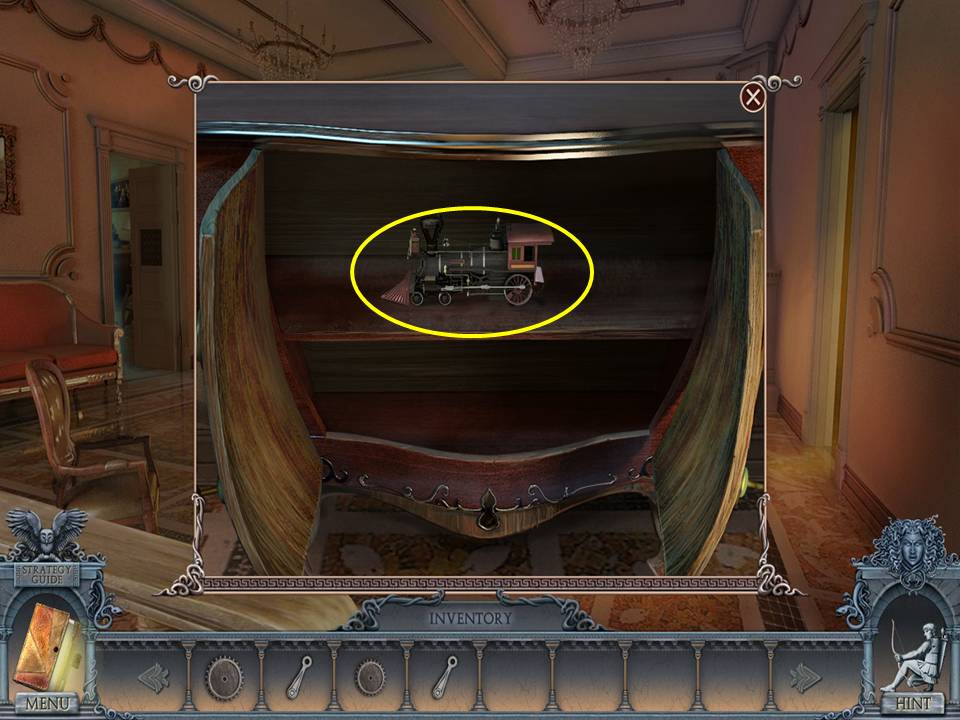
- Take the LOCOMOTIVE.
- Go right to the bedroom.
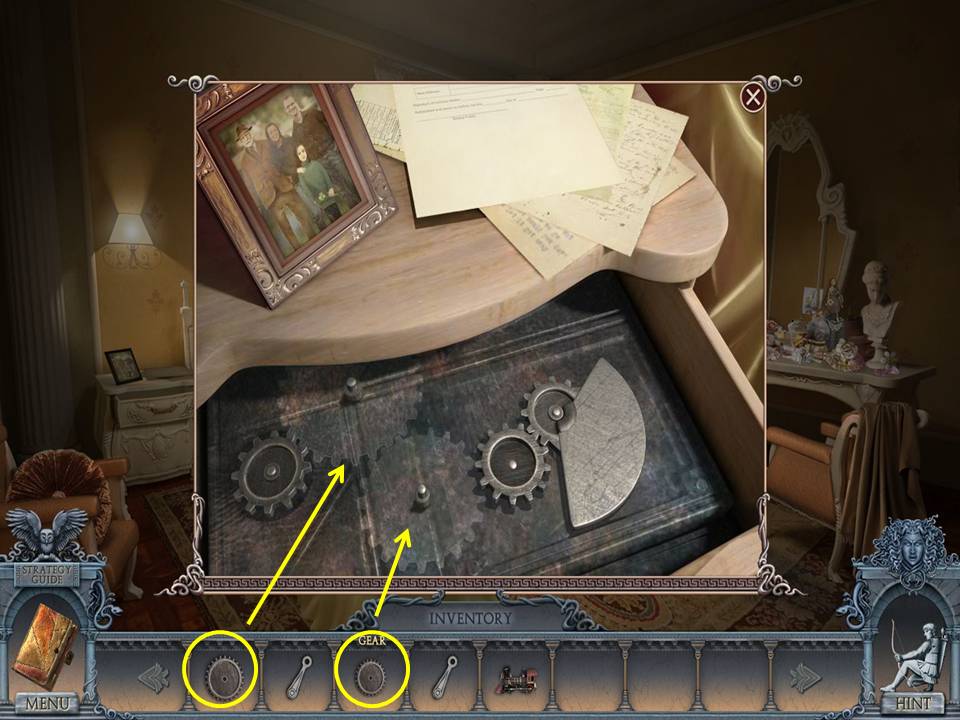
- Zoom into the nightstand and place the GEARS on the machinery.
- Take the third CONNECTING ROD.
- Click down and go left to the office.
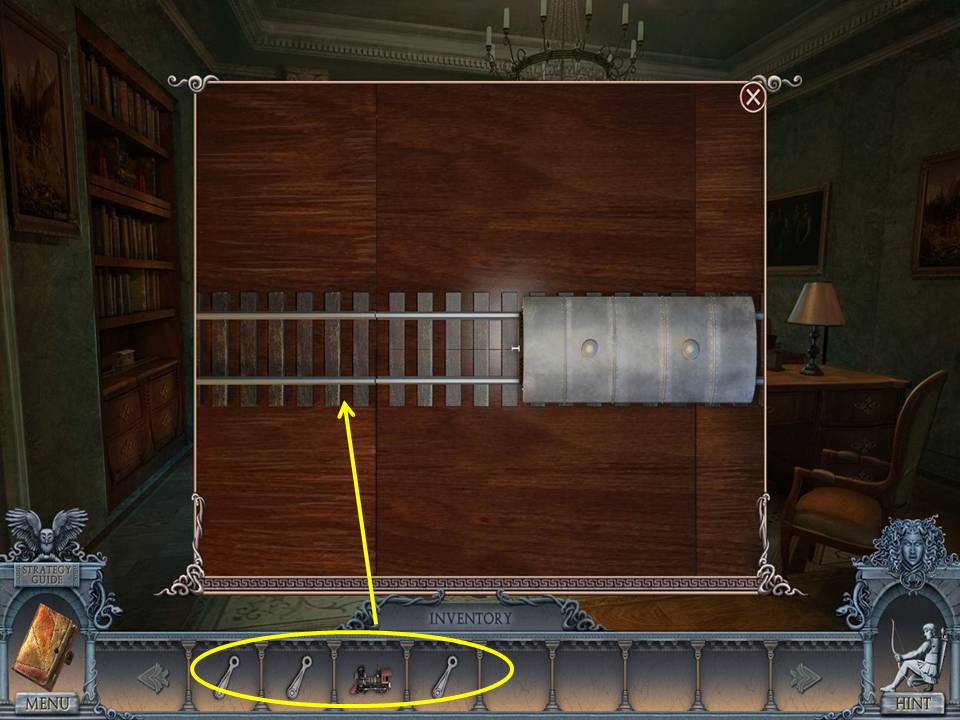
- Zoom into the bottom shelf.
- Put the LOCOMOTIVE on the track.
- Place the three CONNECTING RODS on the machinery.
- Take the ANGEL HEART.
- Click down.
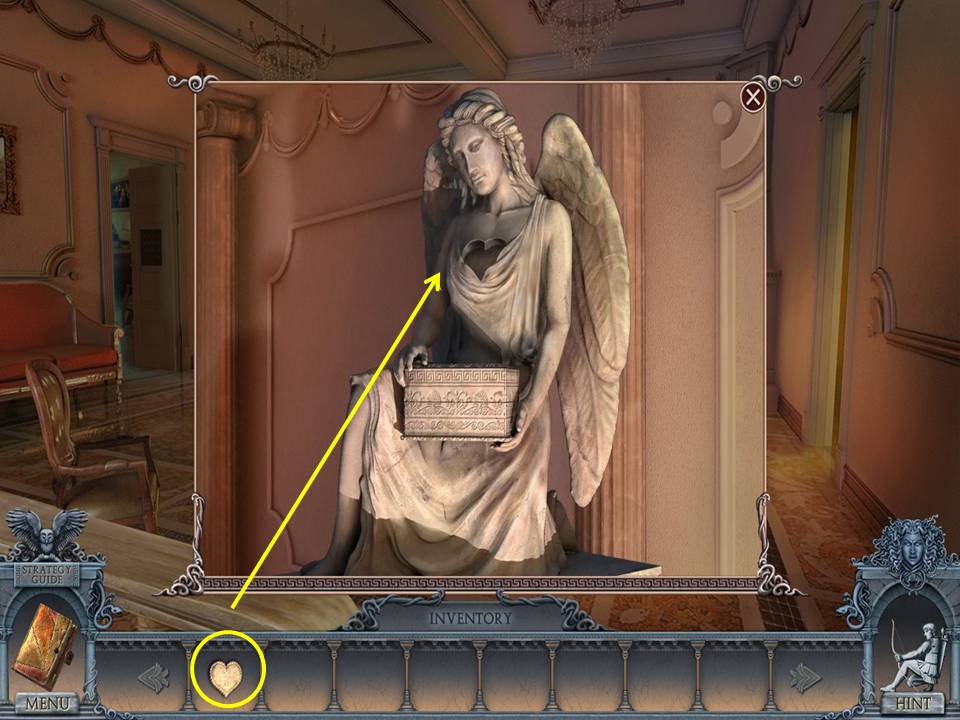
- Zoom into the statue.
- Put the ANGEL HEART on it.
- Take the BULB.
- Click down and go to the crypt.
- Zoom into the lamp.
- Put the BULB on it.
- Click down.
Comments will load when you reach this part of the walkthrough.