Chapter 7: The Tiger Temple
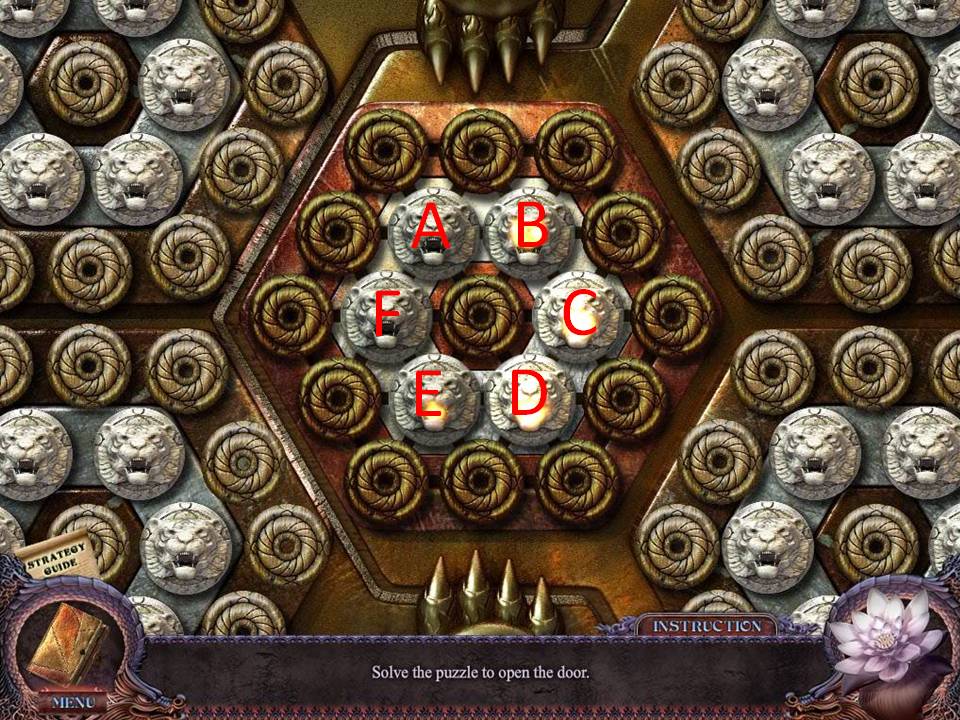
- Zoom into the door of the middle temple for a closer view.
- Place the TIGER PLATES on the empty pegs to initiate a puzzle.
- The object of the puzzle is to arrange the lion head pegs in a circle around the middle post on the board.
- Click on one of the lion heads. All tiles around it will move forward one position.
- See screenshot below for solution.
- Assuming that the middle post is position “F” and the other letters ring around as show, the solution is: Click A, A, F, F, F, E, E, E, E, E, C, C, F, G, F.
- Upon completing the puzzle, enter the Tiger Temple.
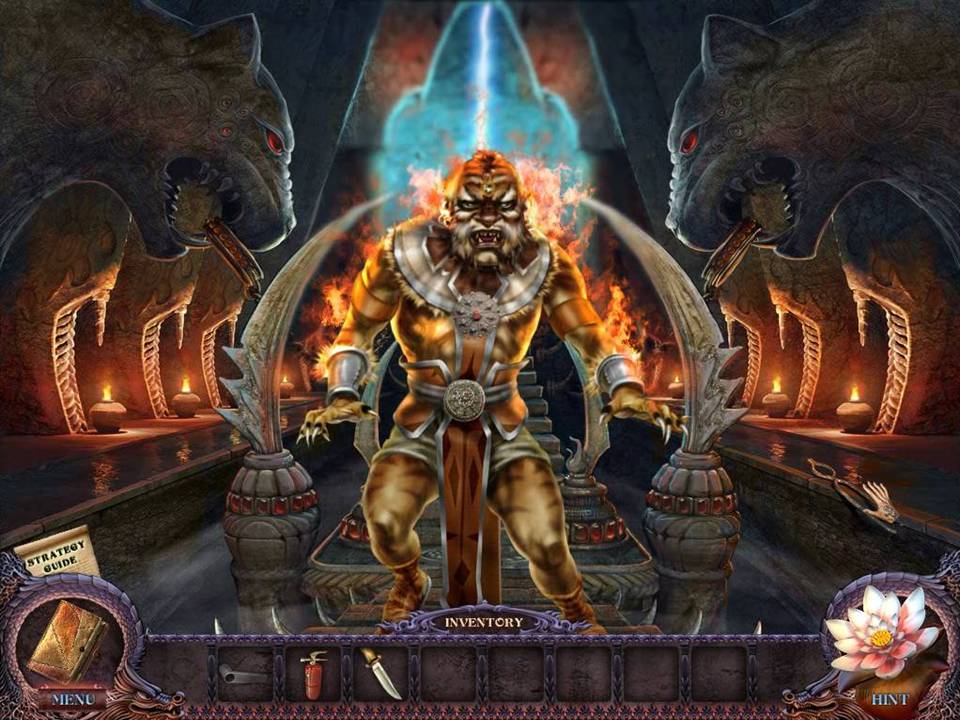
- Take the TONGS.
- Return to the Work Room in the Museum.
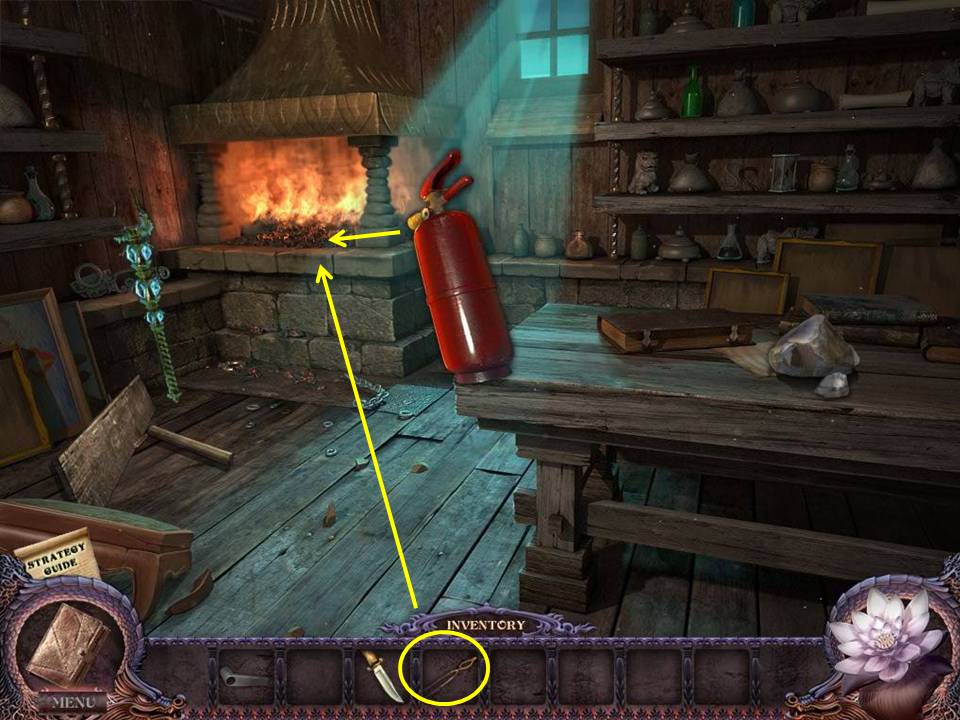
- Zoom into the fire.
- Extinguish it with the EXTINGUISHER.
- Use the TONGS to pluck the SAFE KEY from the ashes.
- Take the SAFE KEY.
- Turn on the lights and return to the Museum Office.
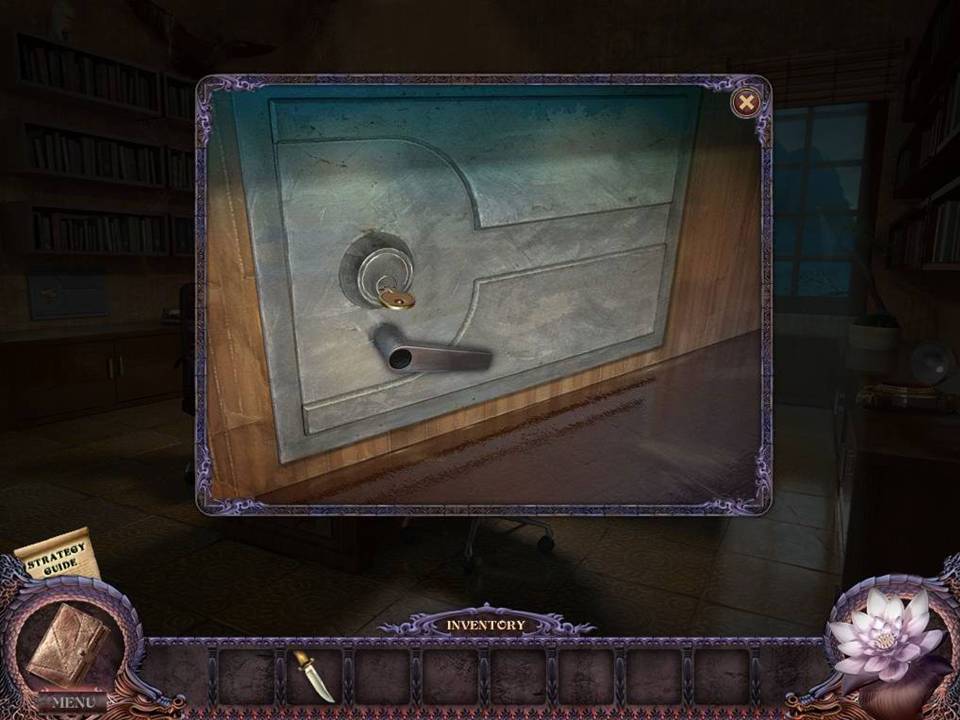
- Zoom into the wall safe on the left.
- Unlock it with the SAFE KEY.
- Place the HANDLE on the spot below.
- Open the safe.
- Take the PLANT POISON.
- Return to the Closet on the second level of the Souvenir Shop.
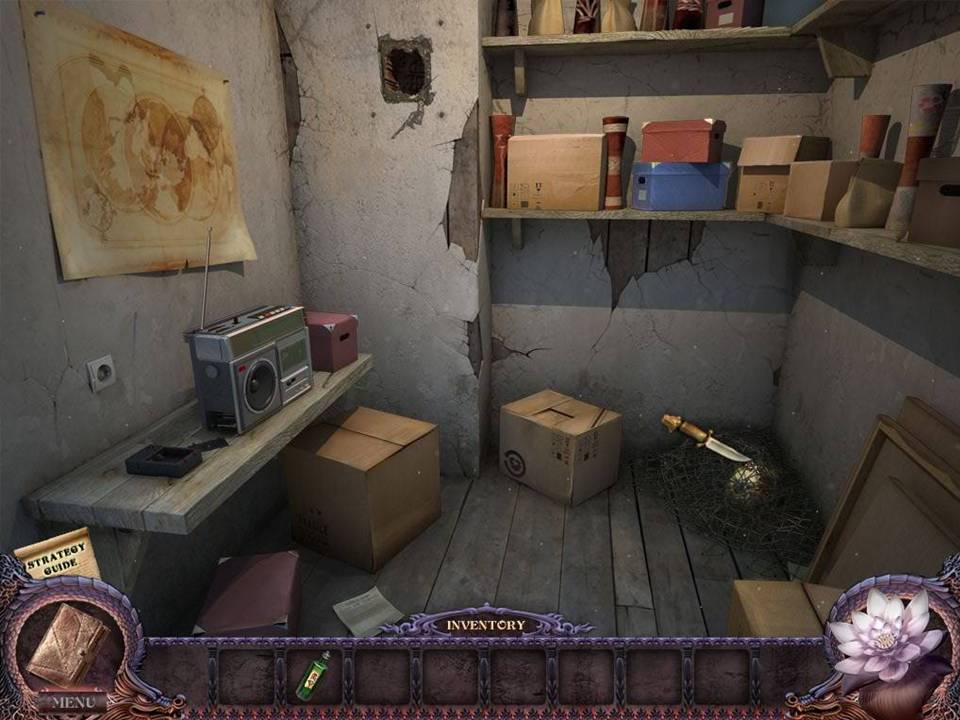
- Cut the netting in the lower corner with the KNIFE.
- Take the SPECIAL ITEM inside.
- Return to the Garden.
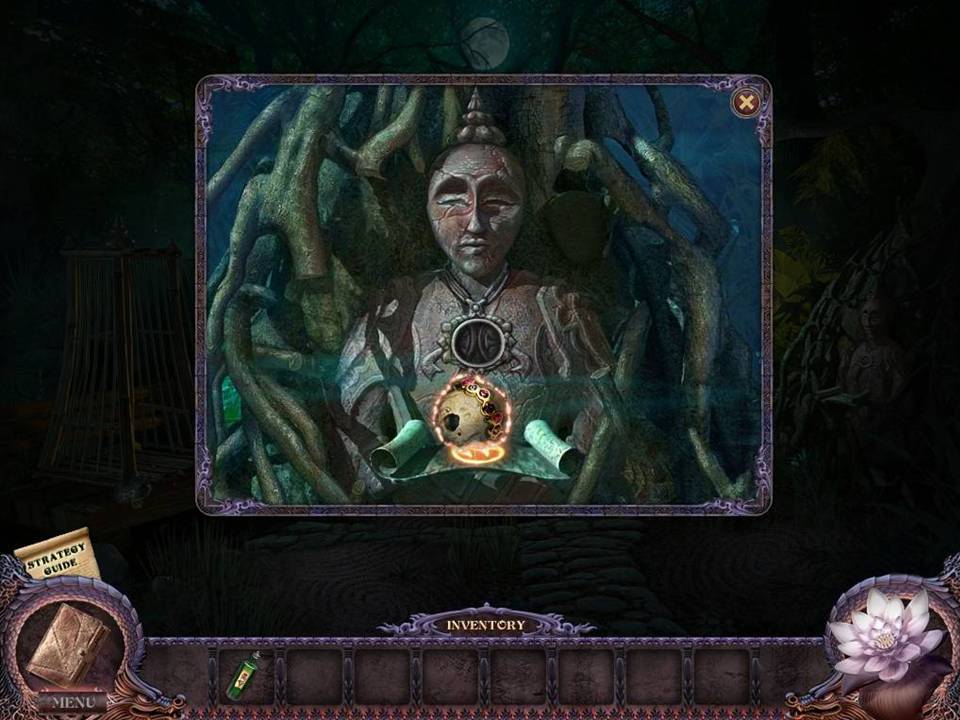
- Zoom into the statue on the right.
- Place the SPECIAL ITEM on the statue to transform it into a MIRROR PART.
- Take the MIRROR PART.
- Return to the Bull Temple.
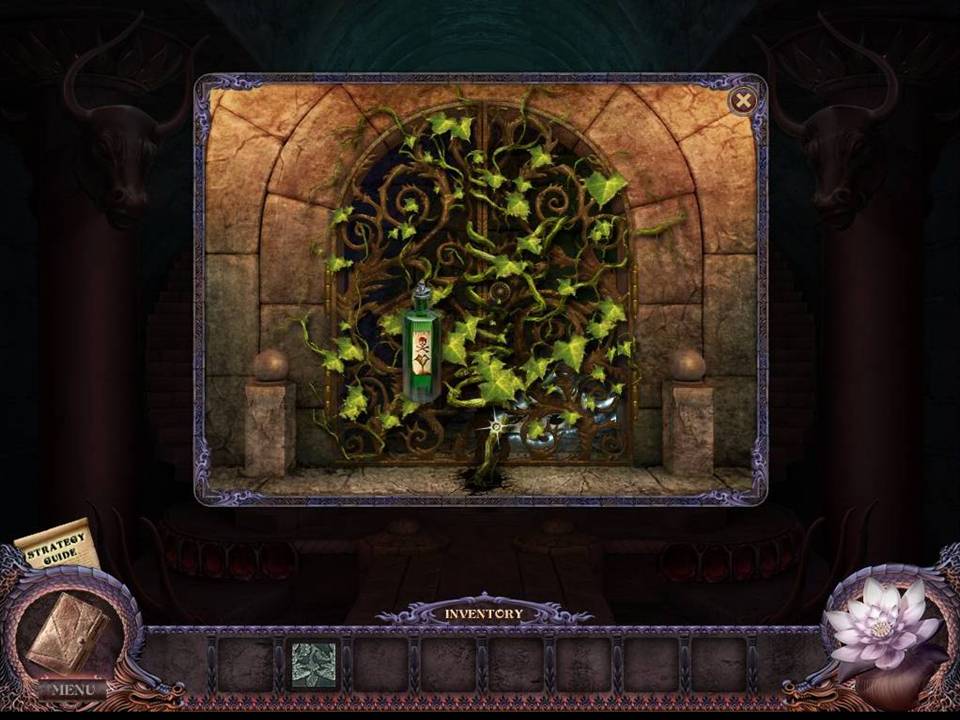
- Zoom into the vines ahead.
- Kill the vines with the PLANT POISON.
- Open the gate.
- Take the SPECIAL ITEM inside.
- Return to the Museum Entrance.
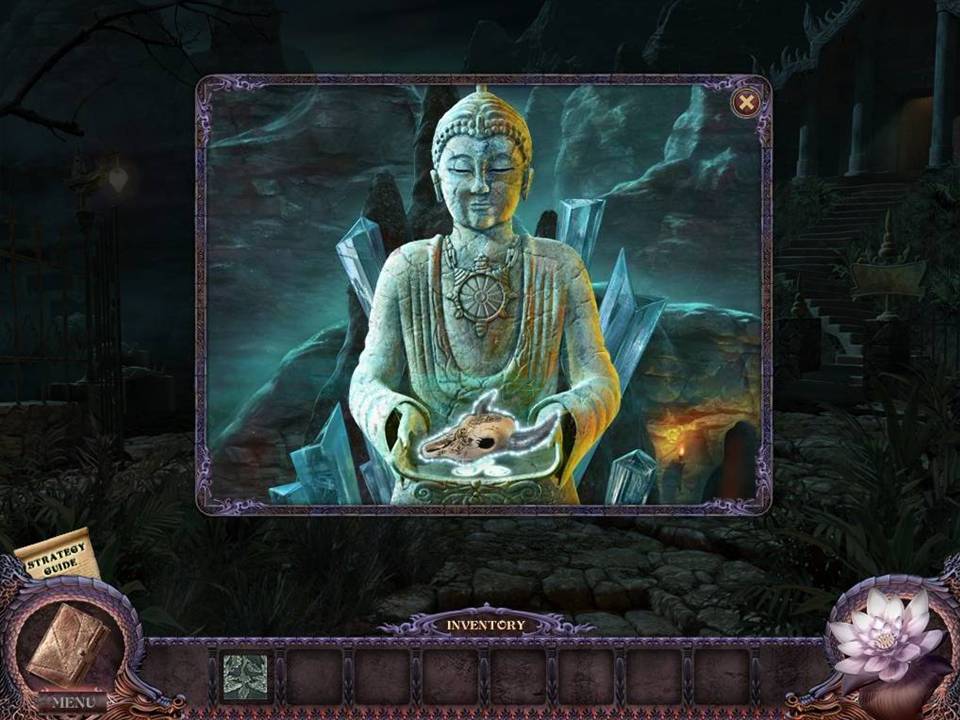
- Zoom into the stone statue.
- Place the SPECIAL ITEM on the statue to transform it into the UNCHARGED BLUE CRYSTAL.
- Take the UNCHARGED BLUE CRYSTAL.
- Return to the Basement.
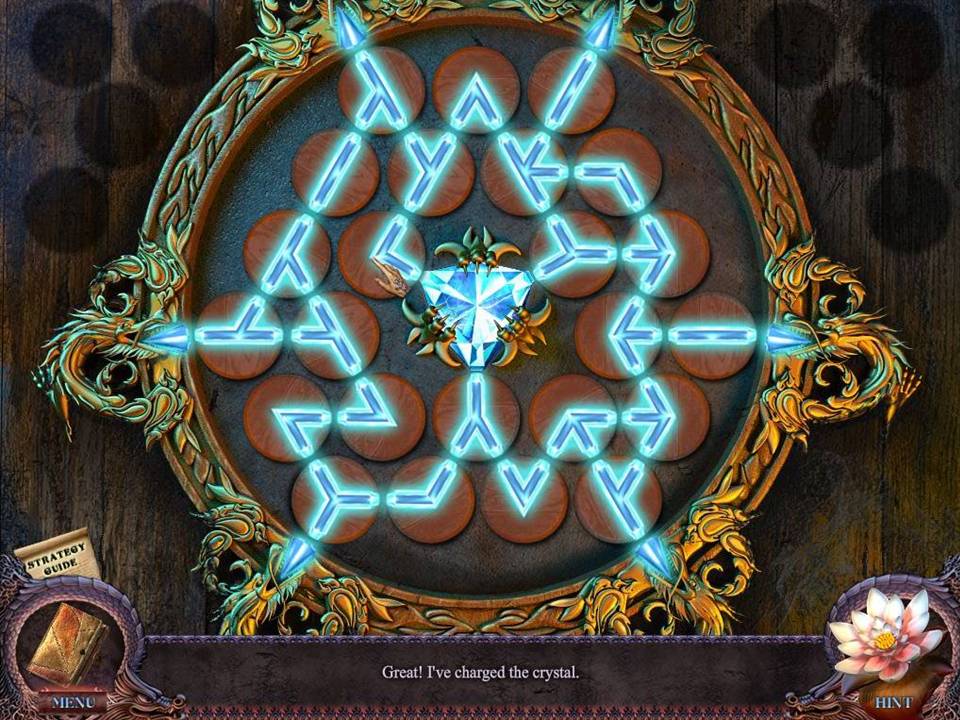
- Zoom into the blue pedestal on the right.
- Place the UNCHARGED BLUE CRYSTAL on it to initiate a puzzle.
- The object of the puzzle is to connect the small crystals to the central crystal.
- Do this by dragging the tiles on the periphery into the center and then clicking on tiles to rotate them.
- See screenshot for solution. Upon completing the puzzle, take the CHARGED BLUE CRYSTAL.
- Return to the Work Room in the Museum.
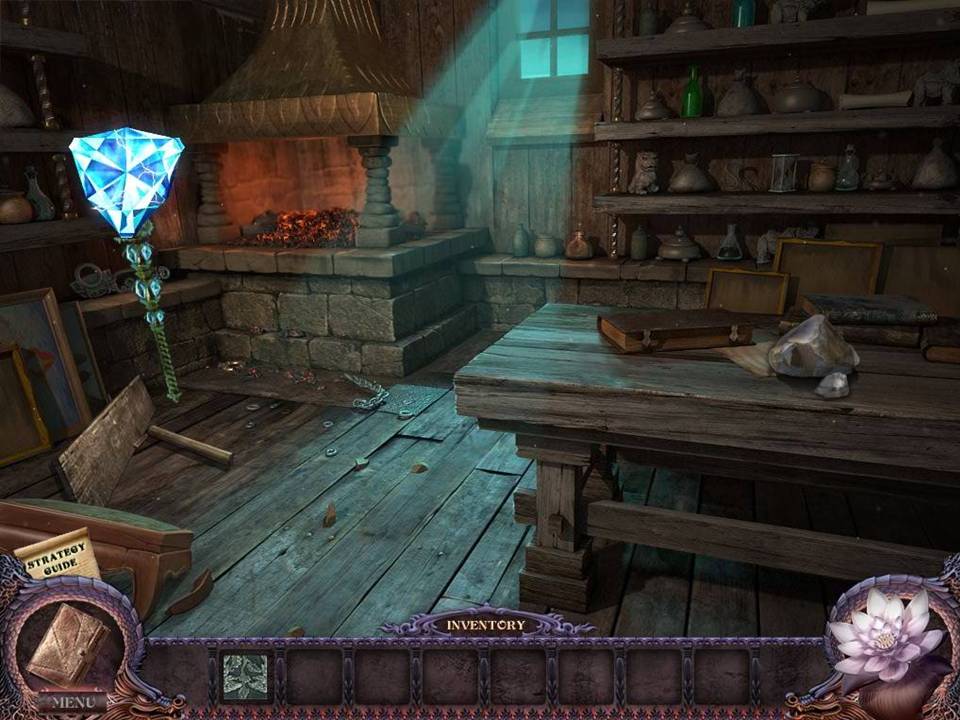
- Place the CHARGED BLUE CRYSTAL on the staff on the left.
- Take the BLUE STAFF.
- Return to the Demon Statue, which is through the gate on the left by the museum entrance.
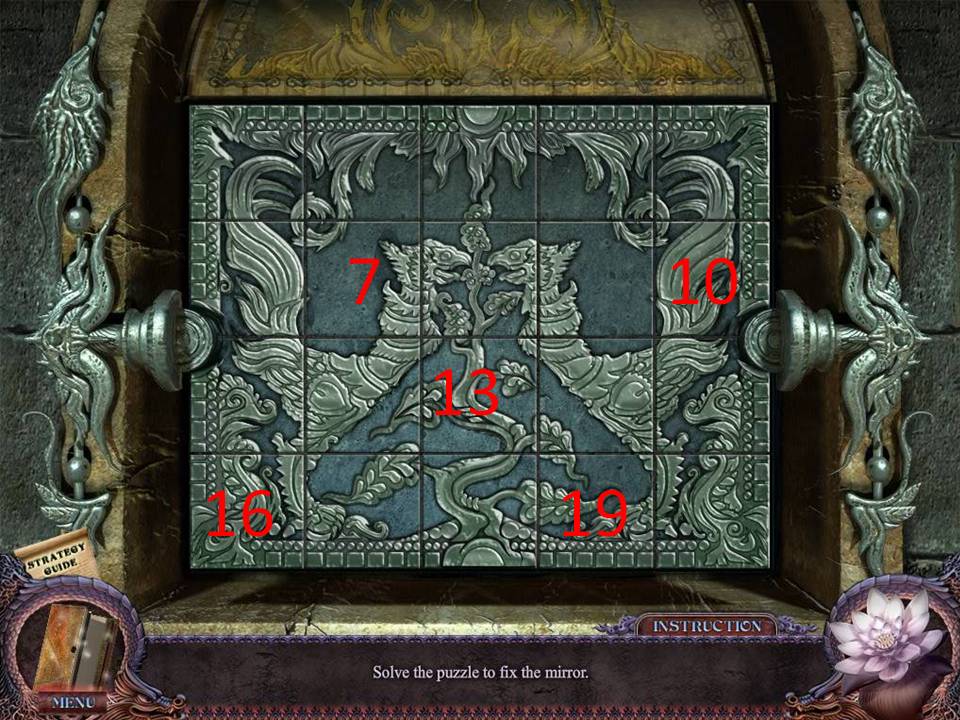
- Zoom into the unlit mirror frame where the beam of light ends on the upper right.
- Place the MIRROR PART in the space to initiate a puzzle.
- The object of the puzzle is to create a picture.
- You do this by clicking on a tile.
- That tile and the adjacent tiles will rotate 90 degrees.
- Rotate tiles until the picture appears.
- See screenshot for solution.
- Assuming that the tiles in the four rows are numbered, from left to right, 1 to 5, 6 to 10, 11 to 15, and 16 to 20, click on the following tiles to solve: 7, 10, 13, 16, 19.
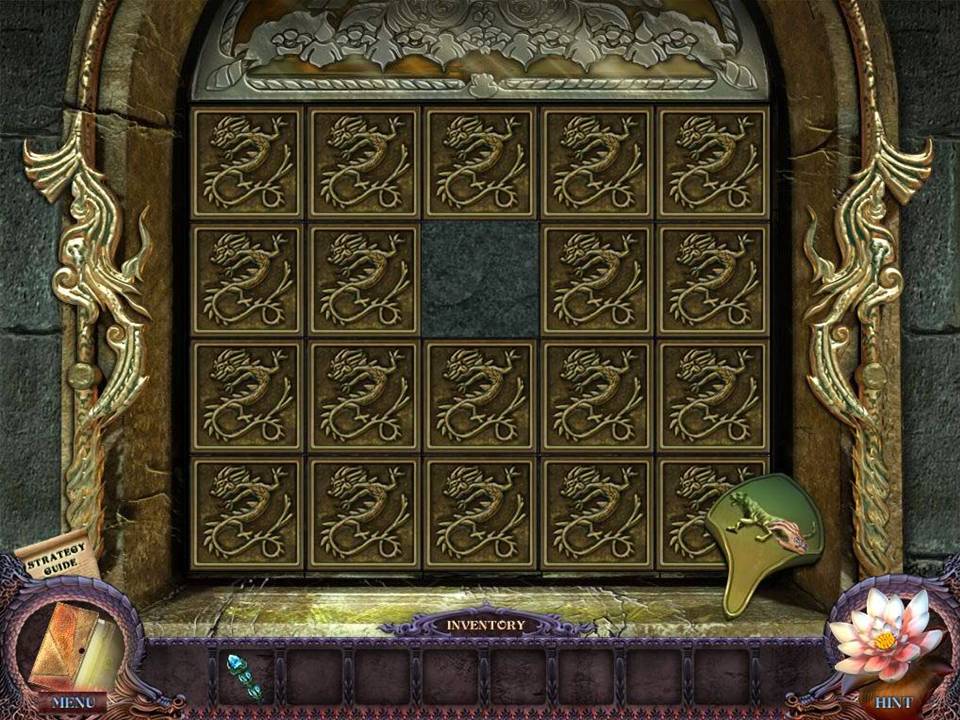
- Upon completion of the puzzle, zoom into the unlit mirror frame on the upper left where the beam of light ends.
- Take the TIGER PUSH BUTTON.
- Return to the Tiger Temple.
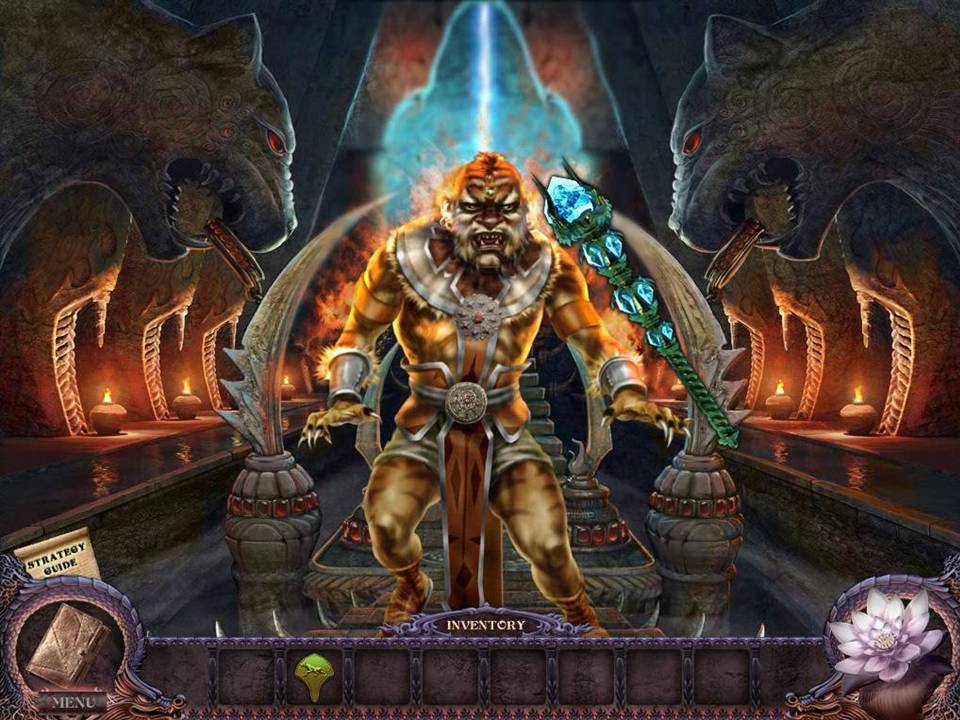
- Use the BLUE STAFF on the tiger.
- Zoom into the dome at the top of the steps.
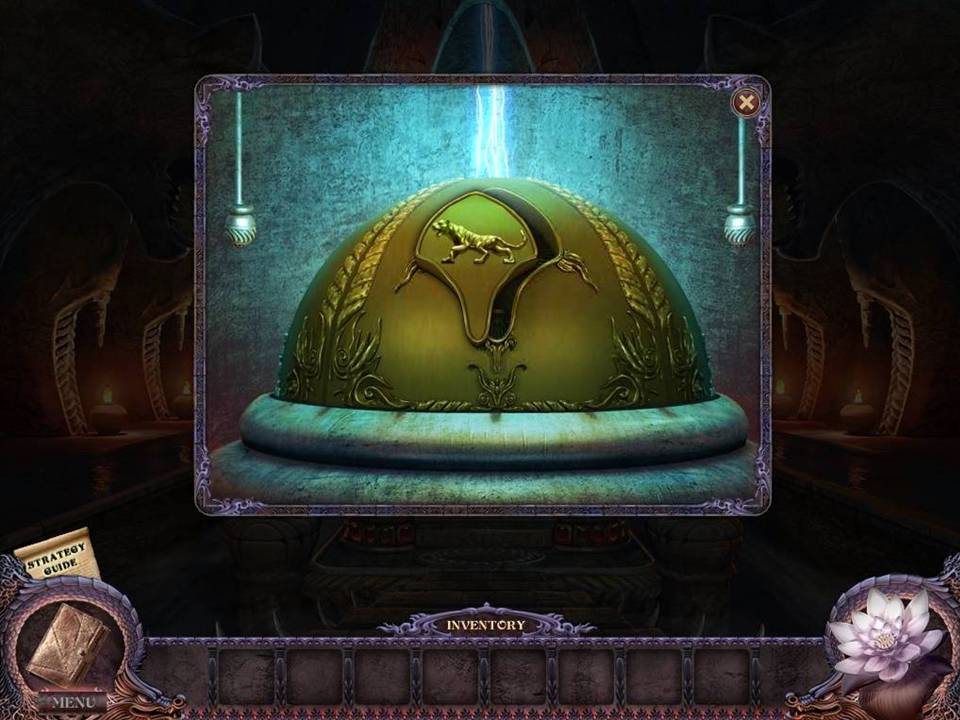
- Place the TIGER PUSH BUTTON in the space then click the button to open the dome.
- Zoom into the ray of light to initiate a puzzle.
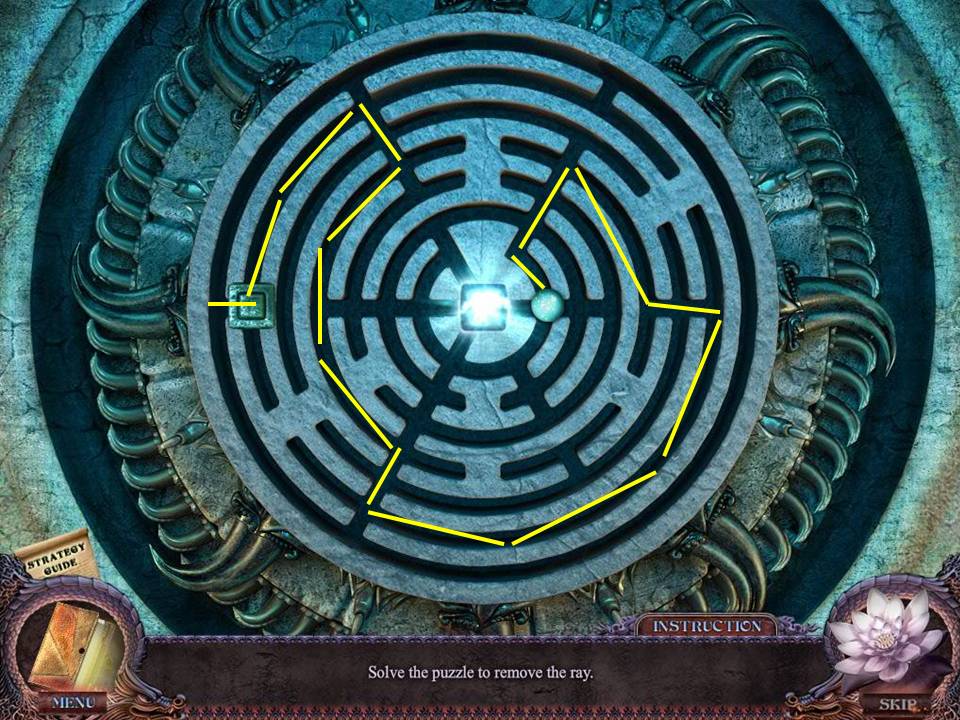
- The object of the puzzle is to move the lid through the maze to cover up the hole in the center and block the ray.
- See screenshot for solution.
- Upon completion of the puzzle, the last ray of light disappears.
- Return to the Plaza.
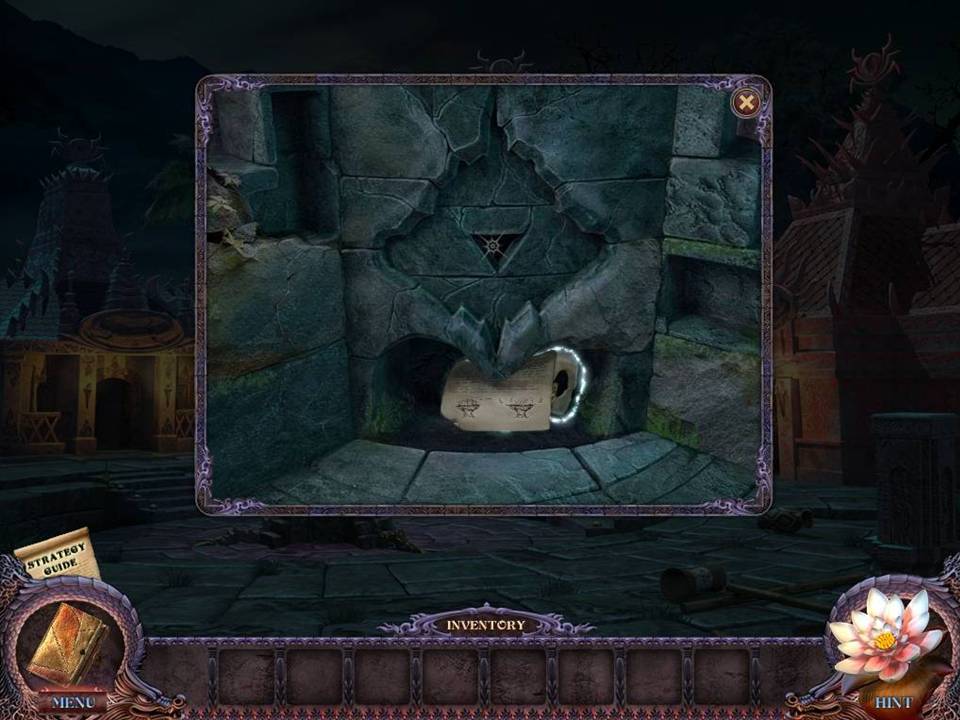
- Zoom into the base of the pedestal.
- Click on the note to add it to your journal.
- Take the SPECIAL ITEM.
- Return to the Museum Entrance.
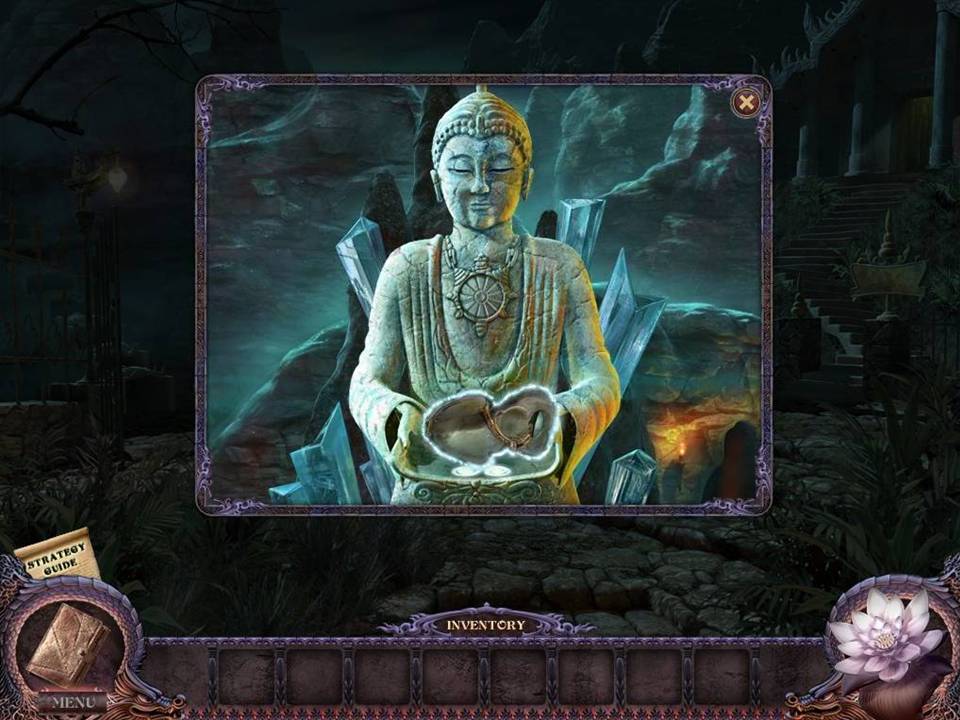
- Zoom into the stone statue.
- Place the SPECIAL ITEM on the state to transform it into a MIRROR PART.
- Take the MIRROR PART.
- Go to the Demon Statue.
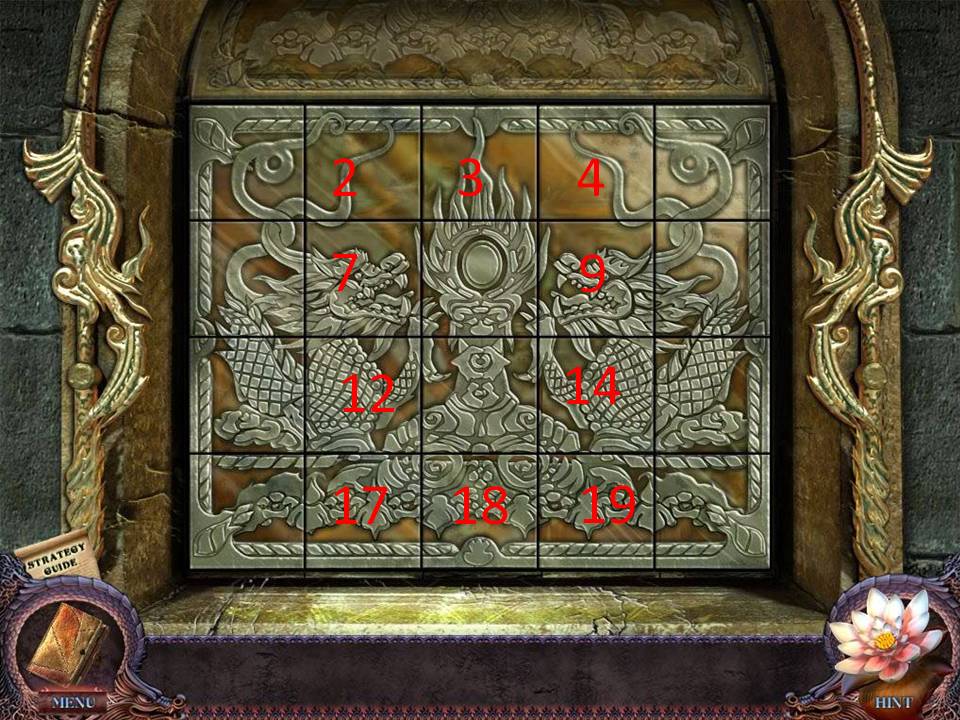
- Zoom into the unlit mirror frame where the beam of light ends on the upper left.
- Place the MIRROR PART in the space to initiate a puzzle.
- The object of this puzzle is to click tiles to create a picture.
- When you click on a tile, the image on it and the neighboring tiles will change.
- See screenshot for solution.
- Assuming that the tiles in the four rows are numbered, from left to right, 1 to 5, 6 to 10, 11 to 15, and 16 to 20, click on the following tiles to solve: 2, 3, 4, 7, 9, 12, 14, 17, 19, 18.
- Upon completing the puzzle, the basin located at the base of the Demon Statue will open.
- Click on it to initiate another puzzle.
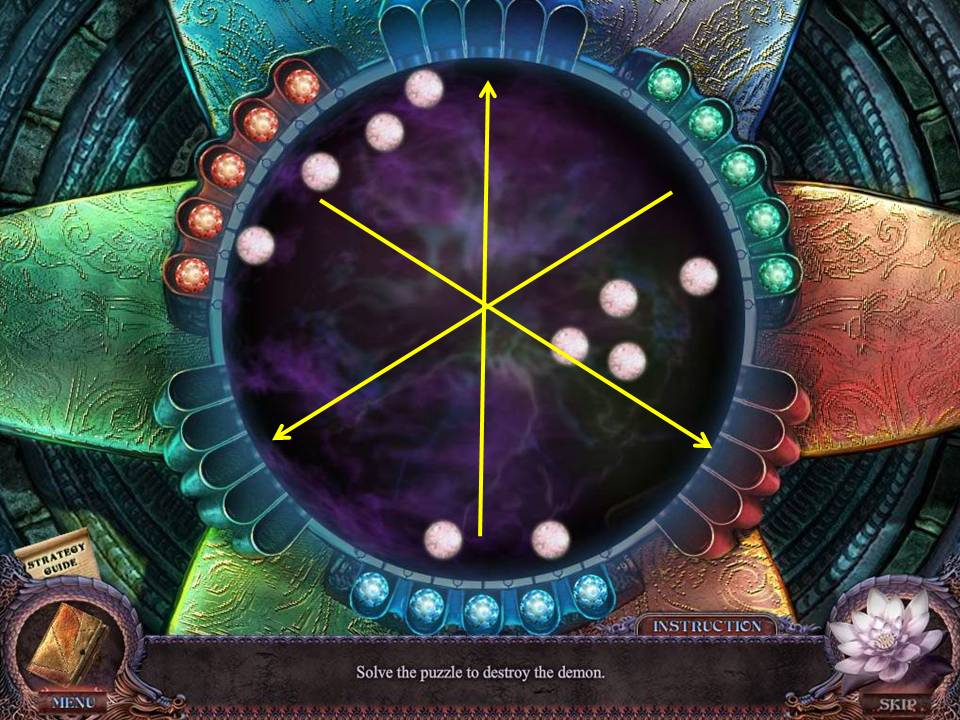
- The object of this puzzle is to take the colored balls on the periphery and move them through the sphere to the opposite spaces in the corresponding color.
- Click on one of the balls and drag it through the circle.
- Avoid touching any of the light circles in the center of the sphere.
- Because this is a constantly moving puzzle, it is impossible to capture a solution in a screenshot.
- This will require trial and error on your part.
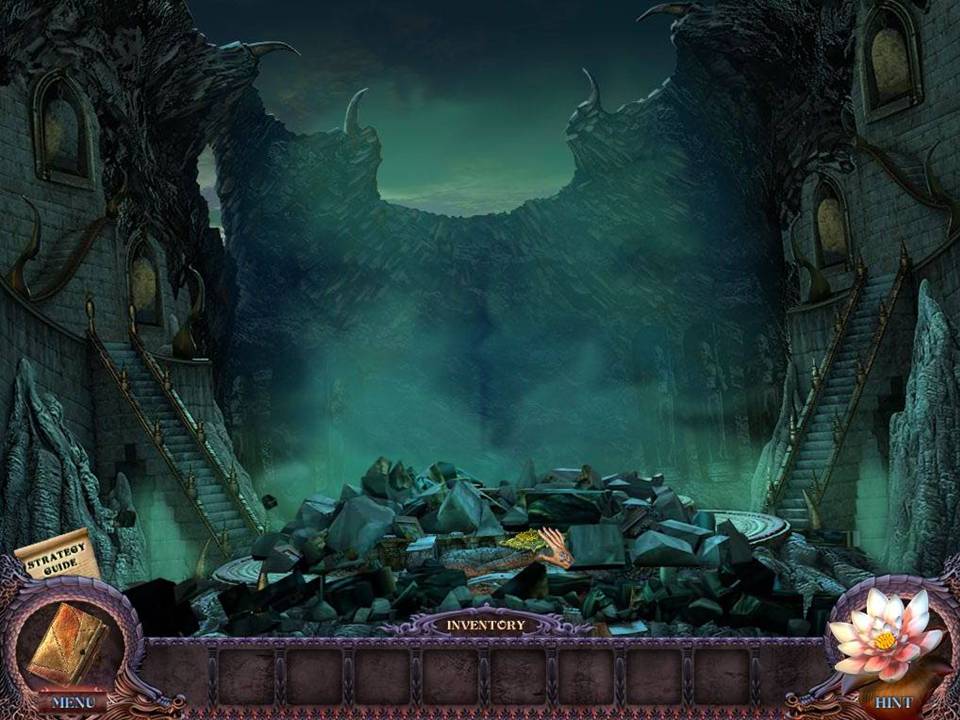
- Upon completion of this puzzle, the Demon Statue collapses.
- Take the DEMONIC HEART from the debris.
- Return to the Plaza.
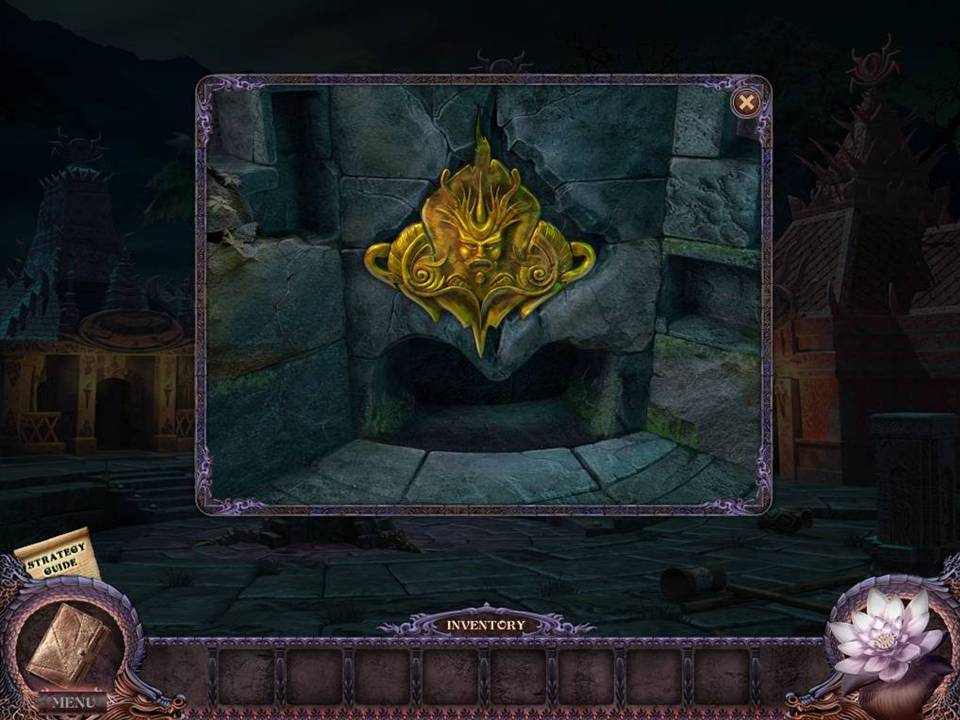
- Zoom into the pedestal base.
- Place the DEMONIC HEART in the space.
- Congratulations! You have completed Secrets of the Dark: Eclipse Mountain.
