Chapter 2: The Village
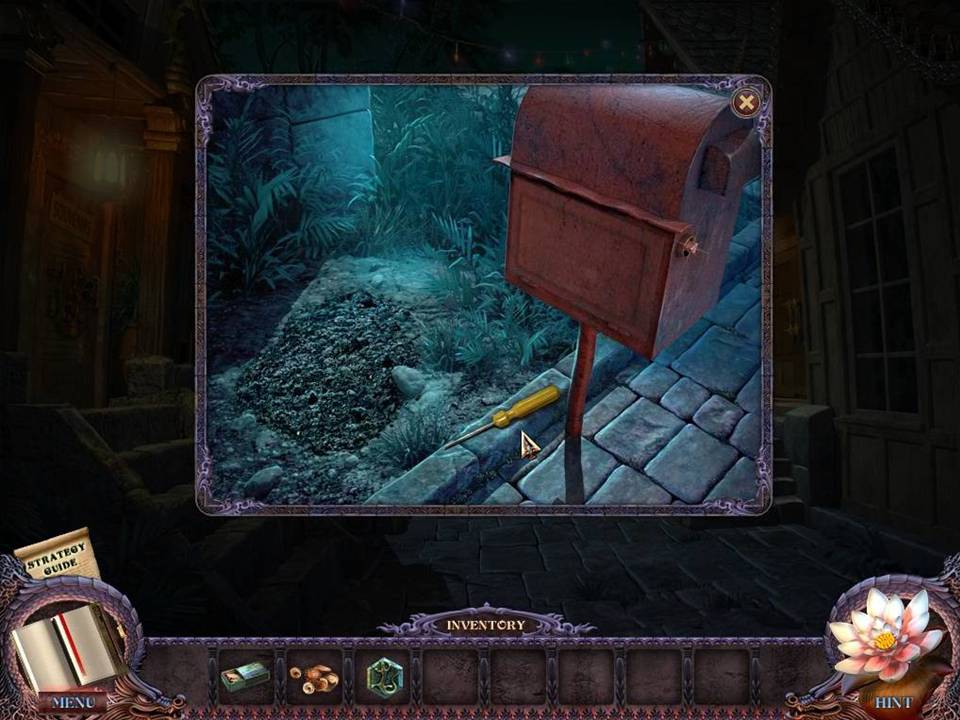
- Zoom into the red mailbox.
- Take the SCREWDRIVER.
- Return to the Hut exterior.
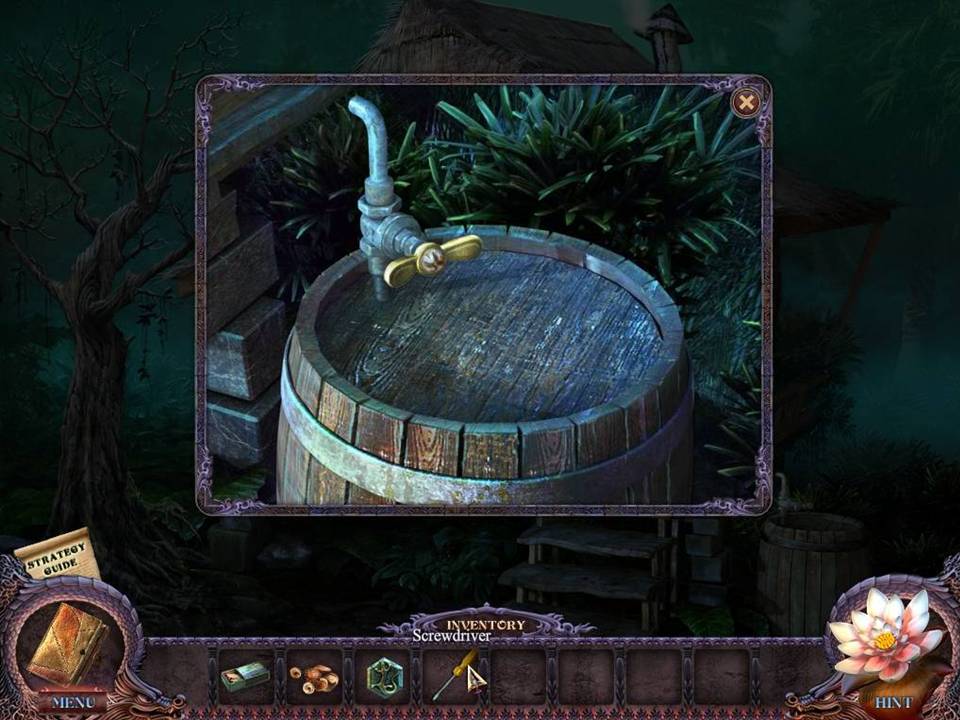
- Zoom into the barrel on the right.
- Use the SCREWDRIVER on the yellow VALVE.
- Take the VALVE.
- Return to the village.
- Move up the steps to the fountain area.
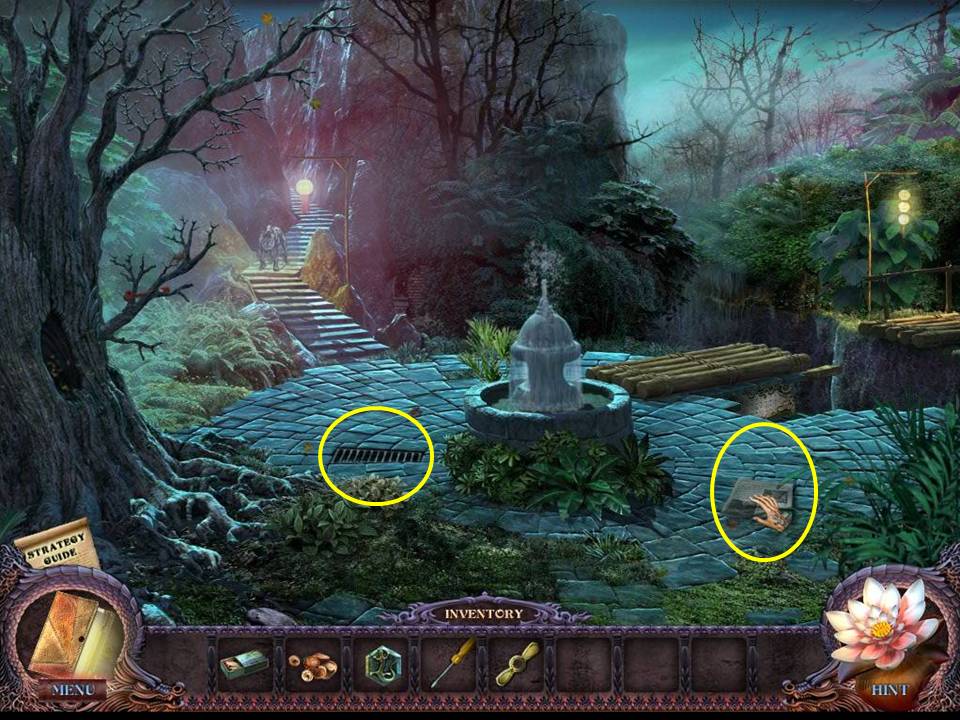
- Click on the newspaper on the ground to add it to your journal.
- To the left of the fountain is a grate.
- Click to remove it.
- Zoom inside.
- Use the VALVE in the upper left corner to trigger a puzzle.
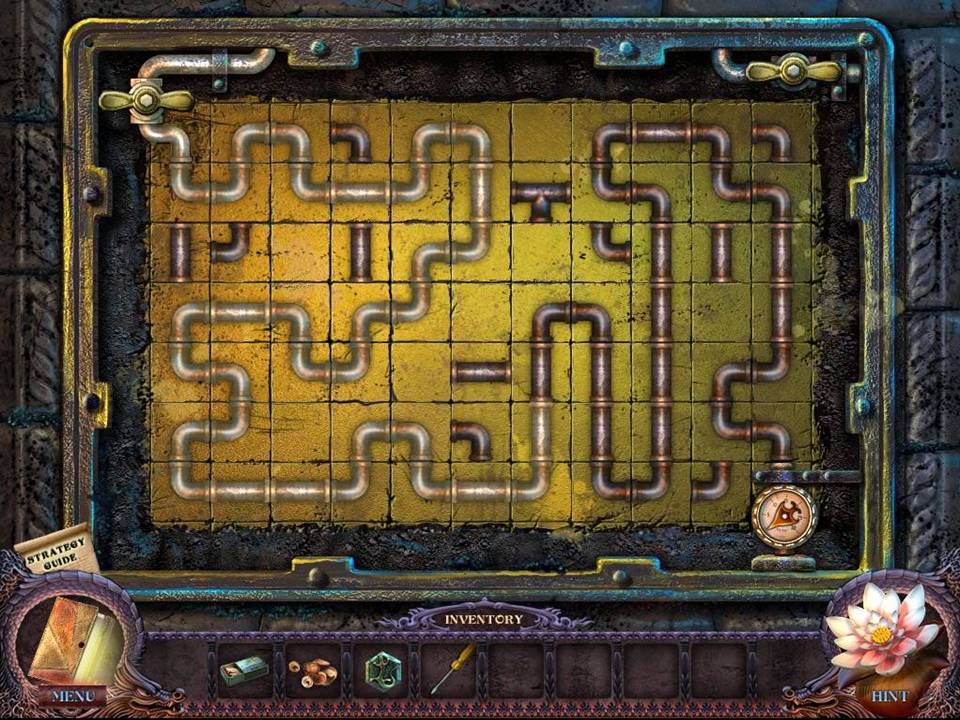
- The object of the puzzle is to connect the pipeline using all necessary pipes.
- Click on individual pipe segments to rotate them.
- See the screenshot for solution.
- Upon successful completion of the puzzle, the fountain will drain.
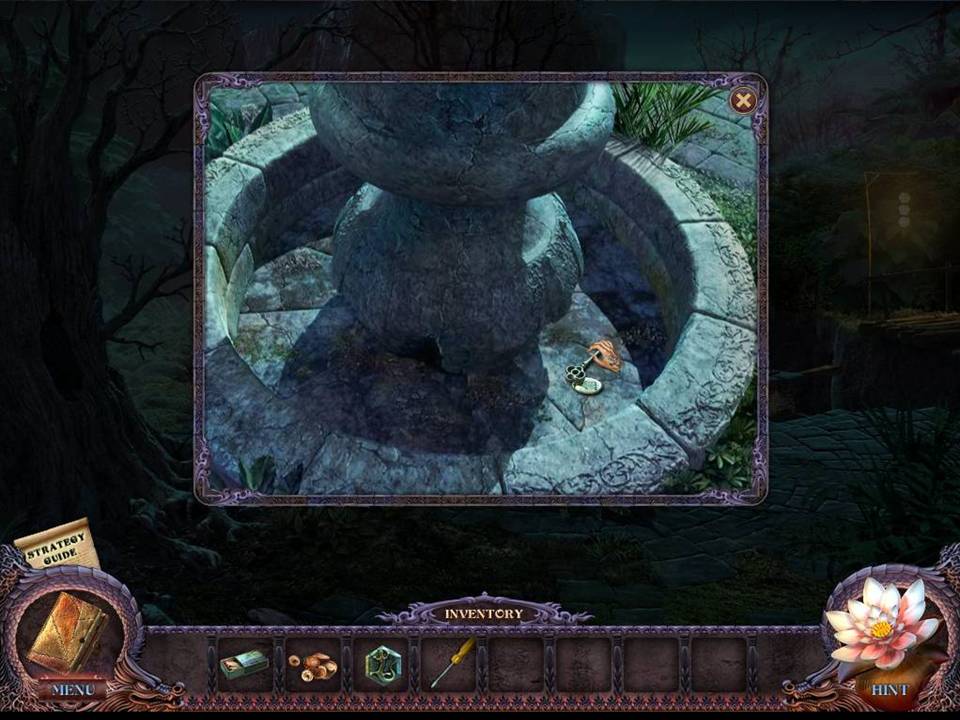
- Take the HOTEL KEY from the empty fountain.
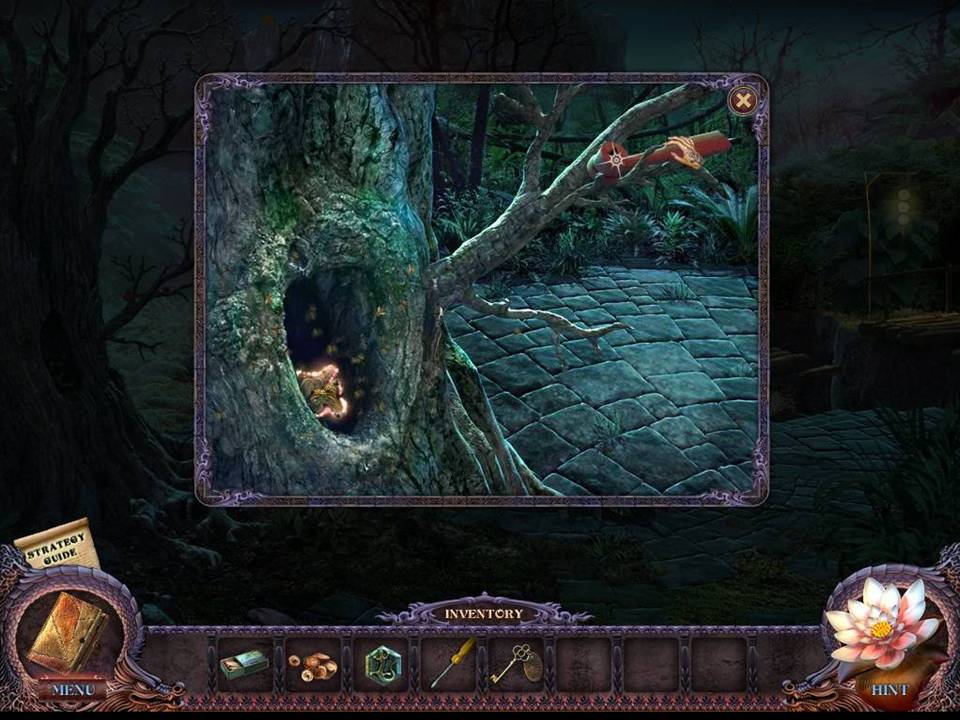
- Zoom into the tree on the left.
- Take the MAILBOX HANDLE.
- Return to the village.
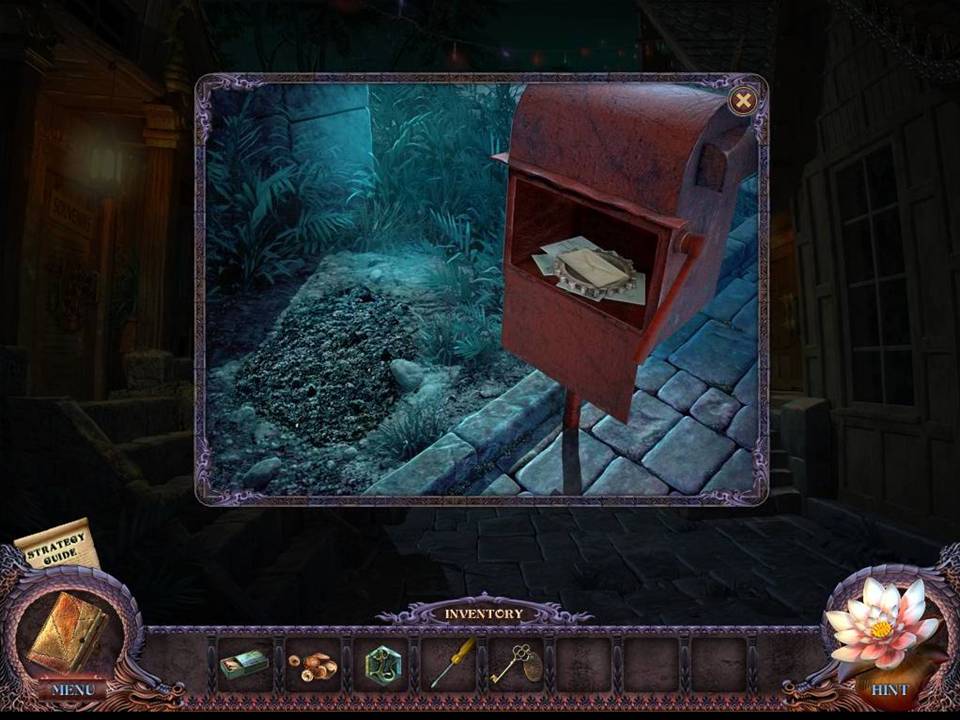
- Zoom into the mailbox.
- Place the MAILBOX HANDLE on the right side of the mailbox.
- Click to open the mailbox.
- Take the letter and the GEAR inside.
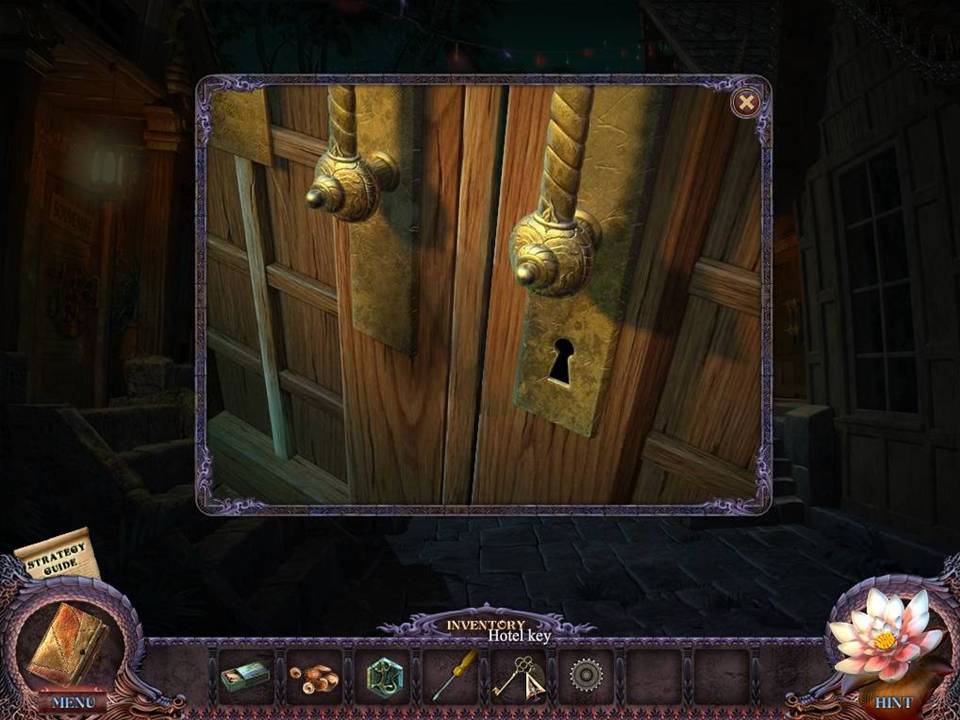
- Zoom into the hotel door on the right.
- Open the door with the HOTEL KEY.
- Go inside.
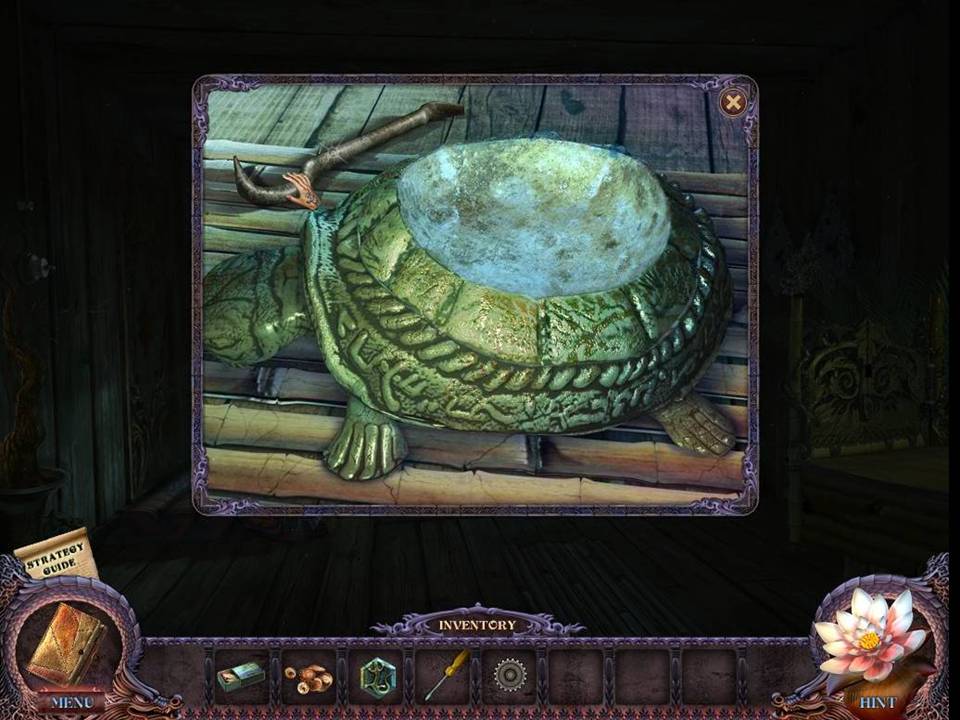
- Zoom into the stone turtle in the middle of the floor.
- Take the CROWBAR.
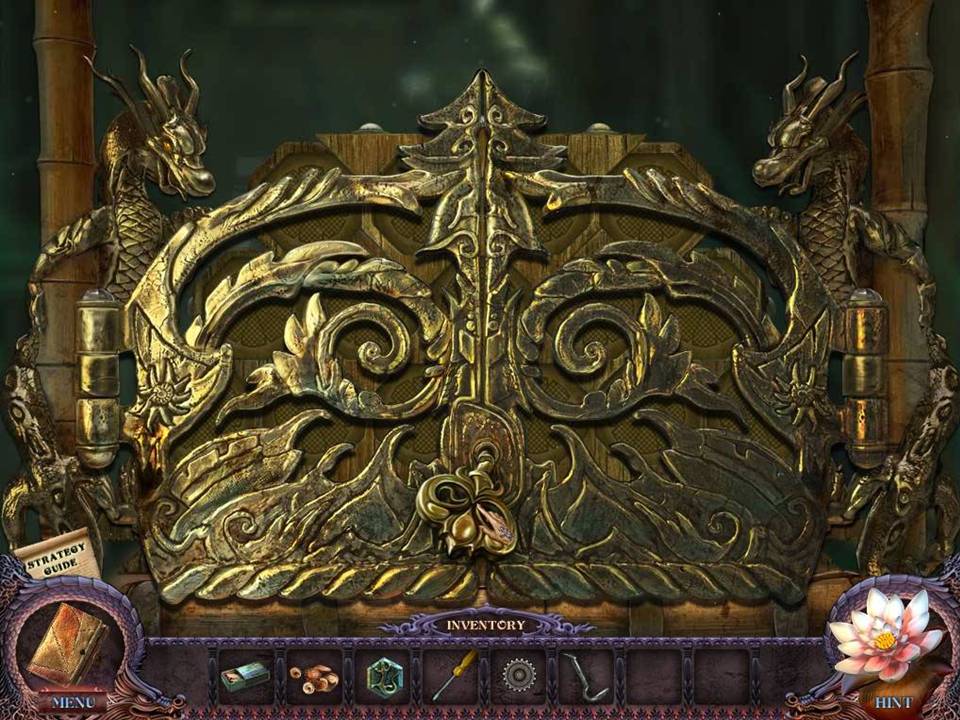
- Zoom into the desk on the right.
- Click on the key causing it to break off in the lock.
- Return to the pool.
- Play the hidden object area on the right over the bushes.
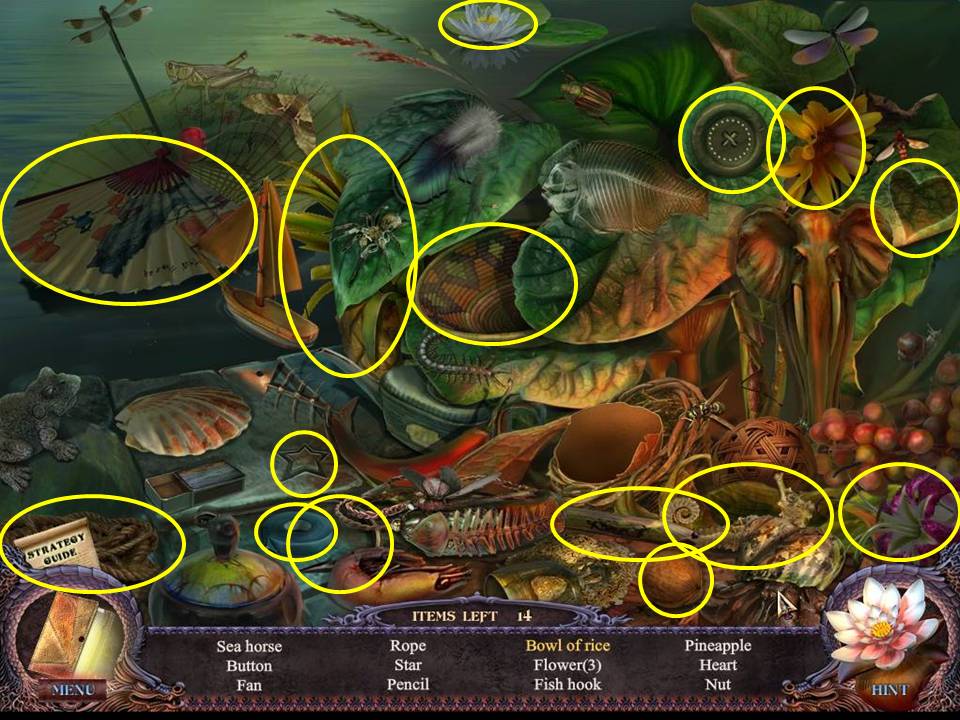
- Find the items listed.
- Pick up some rice in foreground by the hermit crab and put in the reed bowl to get the rice bowl.
- Receive the INSULATING TAPE.
- Move forward to the Dock.
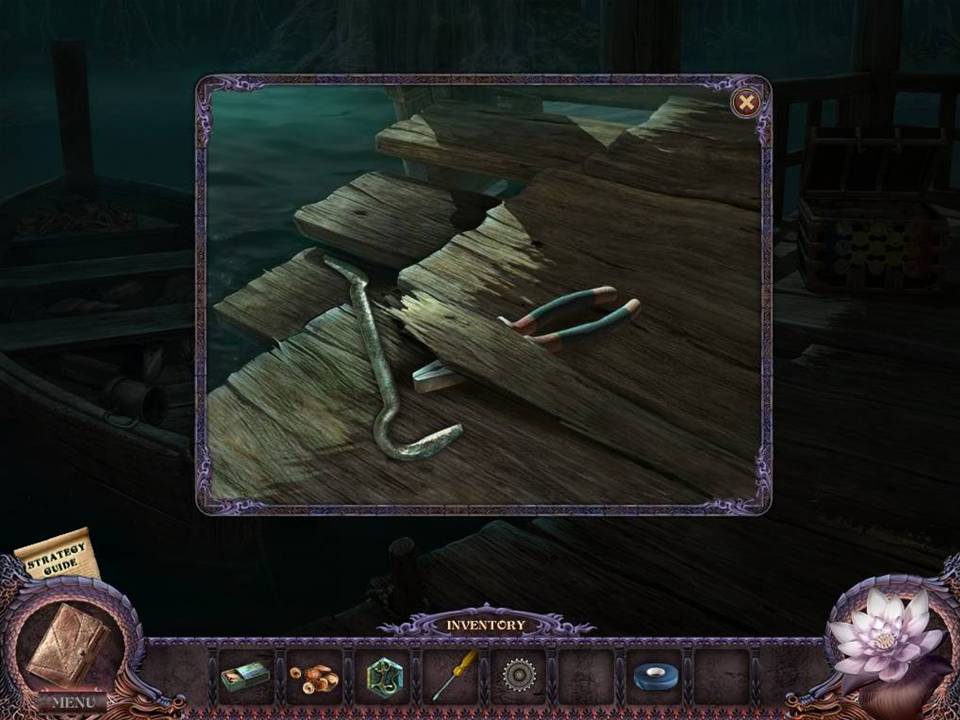
- Zoom into the tool stuck beneath the board.
- Lift the wood with the CROWBAR.
- Take the pliers.
- Return to the Hotel Lobby.
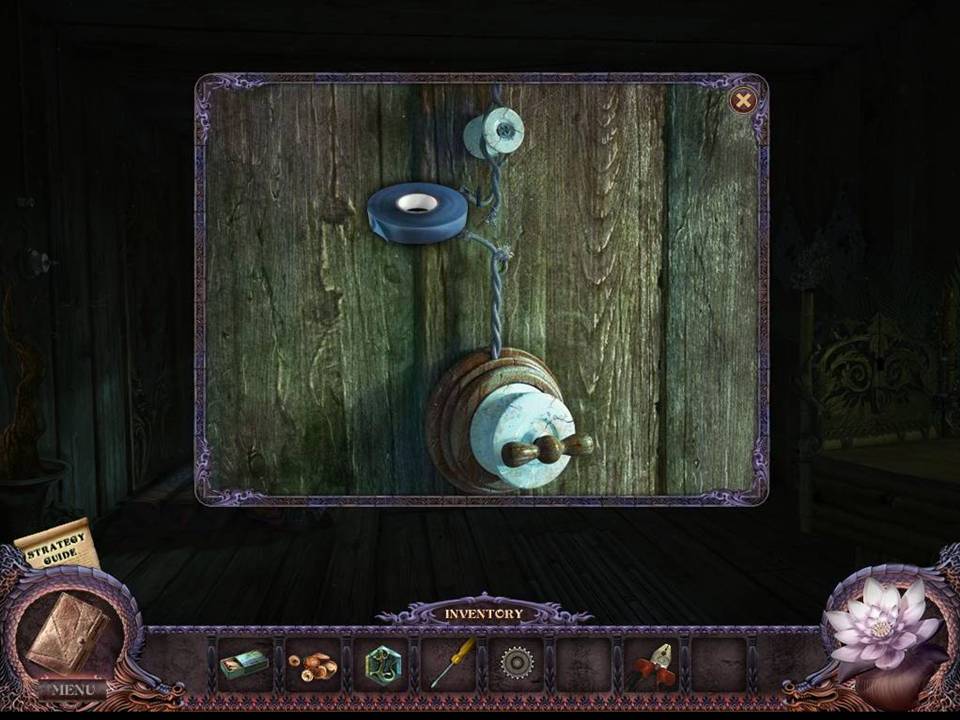
- Zoom into the light switch on the left wall.
- Repair the wire with the INSULATING TAPE.
- Turn on the light.
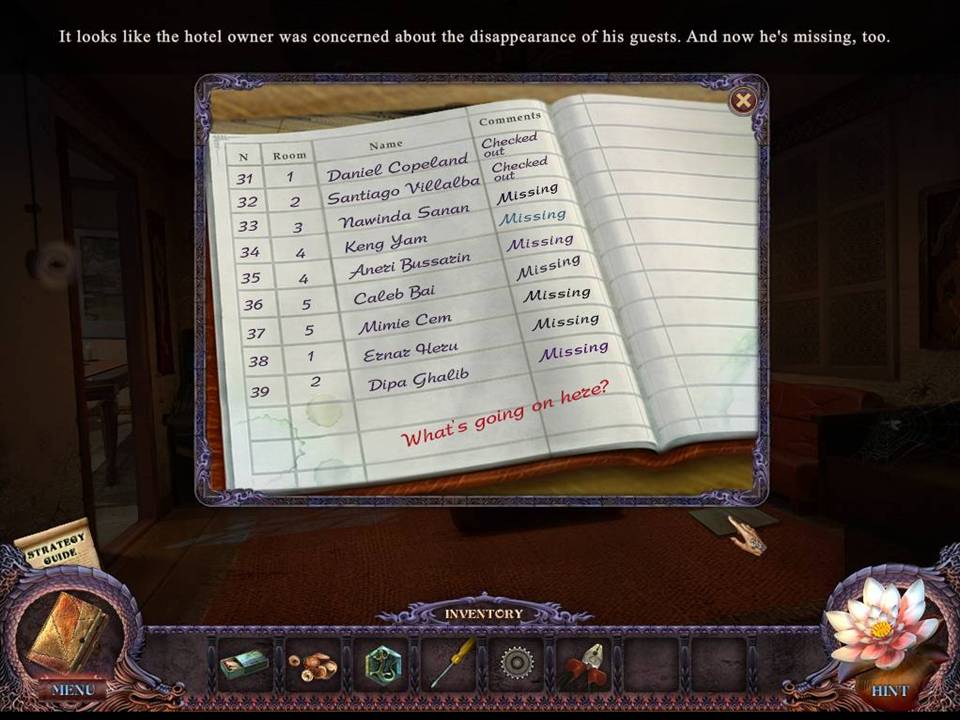
- Examine the book lying on the floor to the right.
- Click on the Guest Register to add it to your journal.
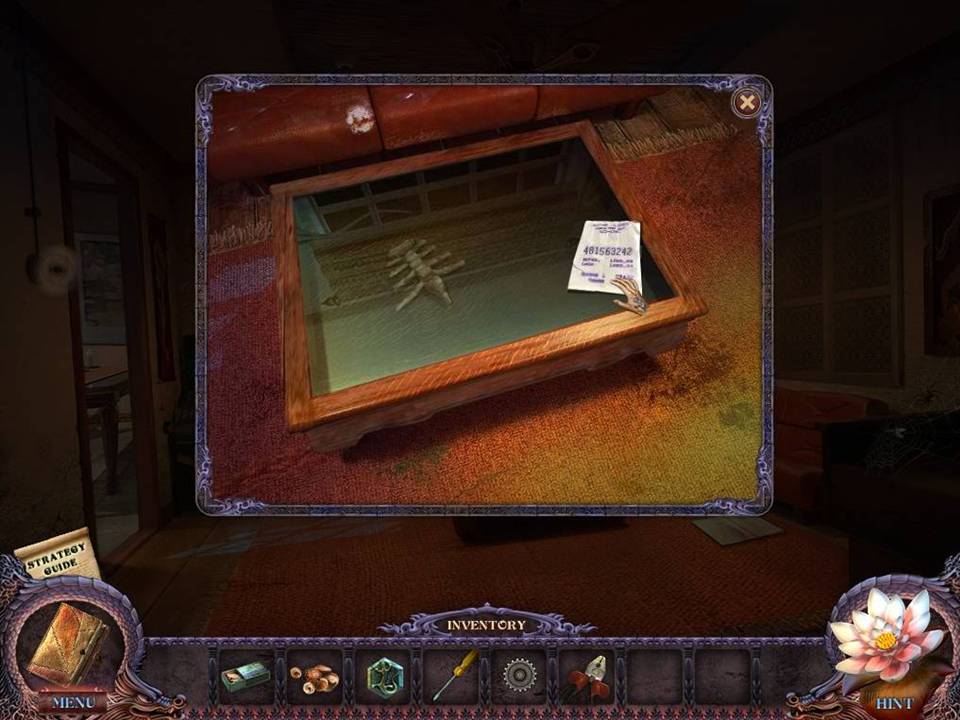
- Zoom into the coffee table.
- See the receipt on the edge.
- Click to add it to your journal.
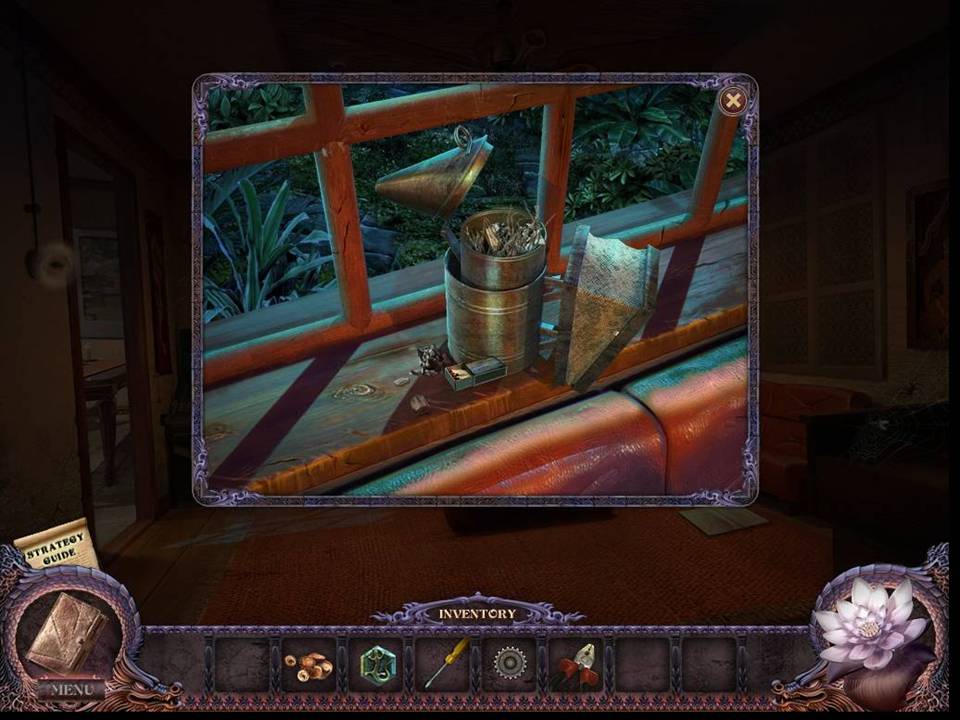
- Zoom into the window directly at the back of the room.
- Use the MATCHES on the BEE SMOKER.
- Take the BEE SMOKER.
- Proceed through the doorway on the left.
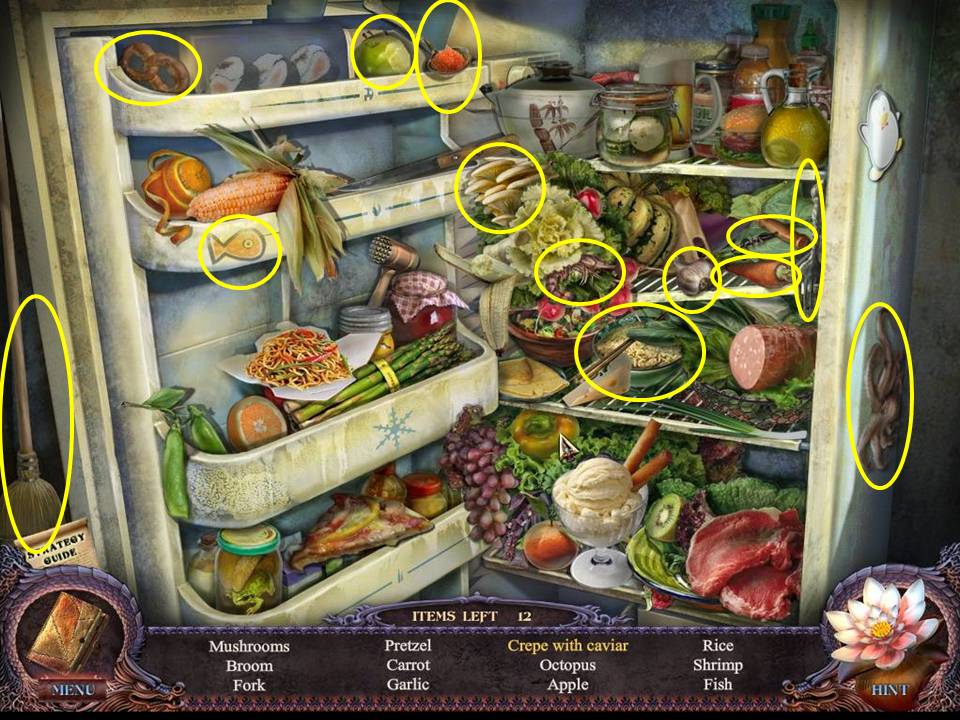
- You are now in the kitchen.
- Click to open the refrigerator door and to reveal a hidden object area.
- Find the items listed.
- Receive the CORKSCREW.
- Return to the Hotel Lobby.
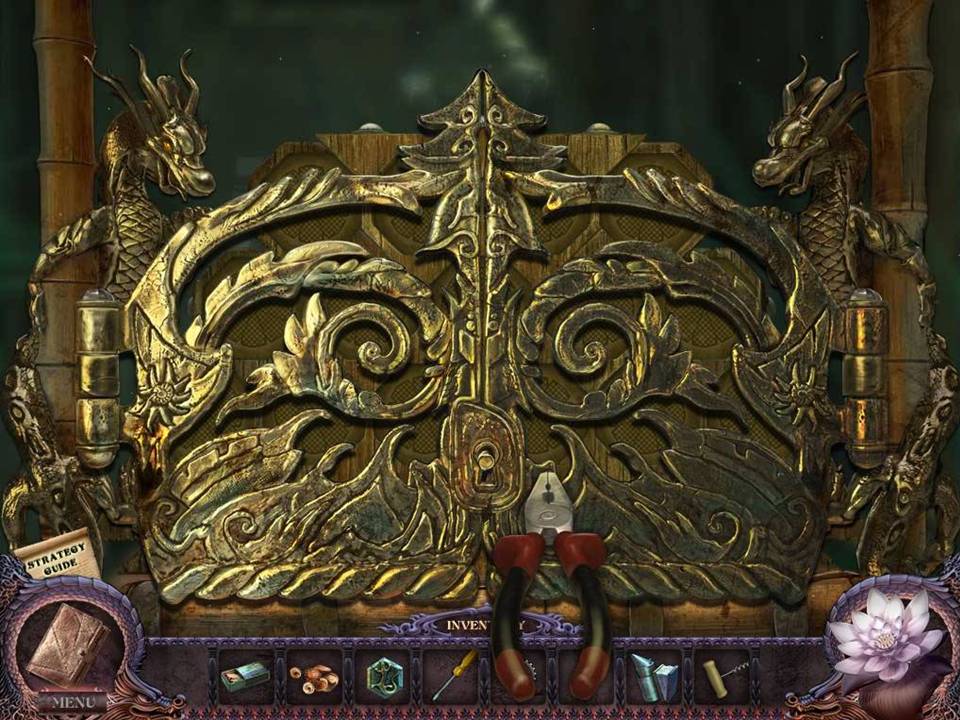
- Darken the room by hitting the light switch on the left.
- Zoom into the desk on the right.
- Remove the broken portion of the key in the lock with the PLIERS.
- This action initiates a new puzzle.
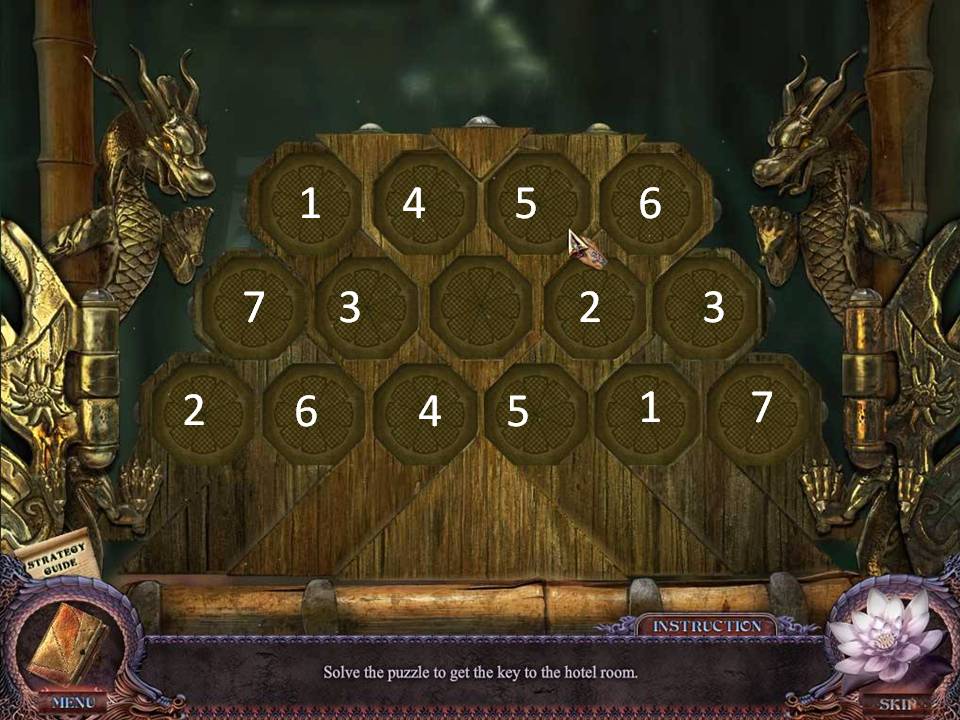
- The object of this game is to match keys.
- Click on any cover to reveal the key hidden underneath.
- Match all identical keys. (Note: The direction keys are facing matters in this game. See screenshot for solution.
- When completed, one key will remain.
- Take the HOTEL ROOM KEY.
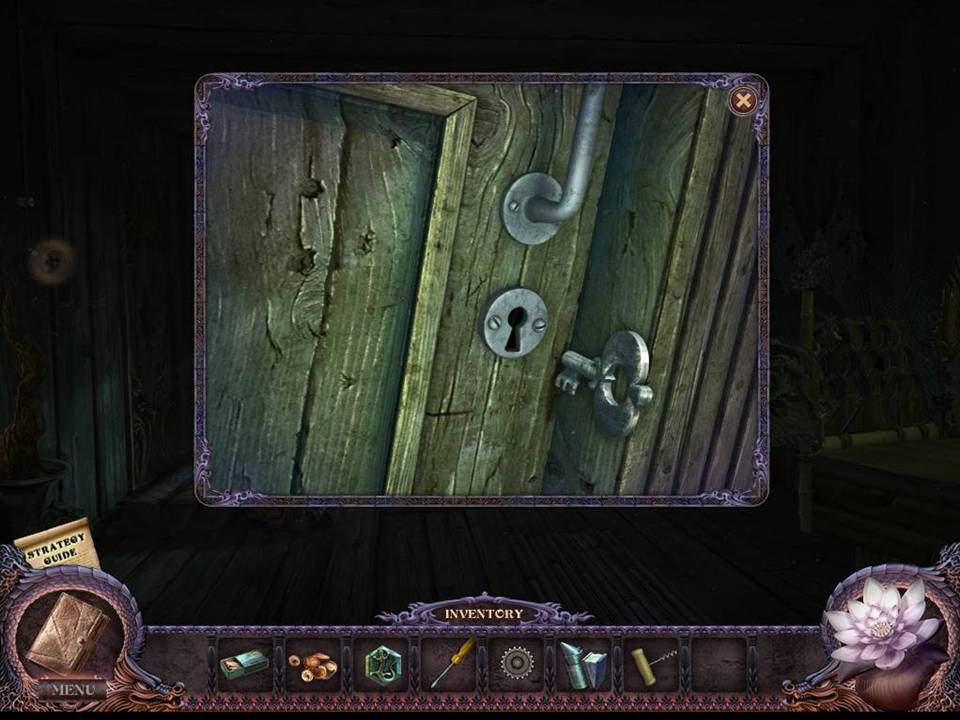
- Zoom into the door in the corner on the right.
- Open the lock with the HOTEL ROOM KEY.
- Go inside.
- Play the hidden object area over the window on the left.
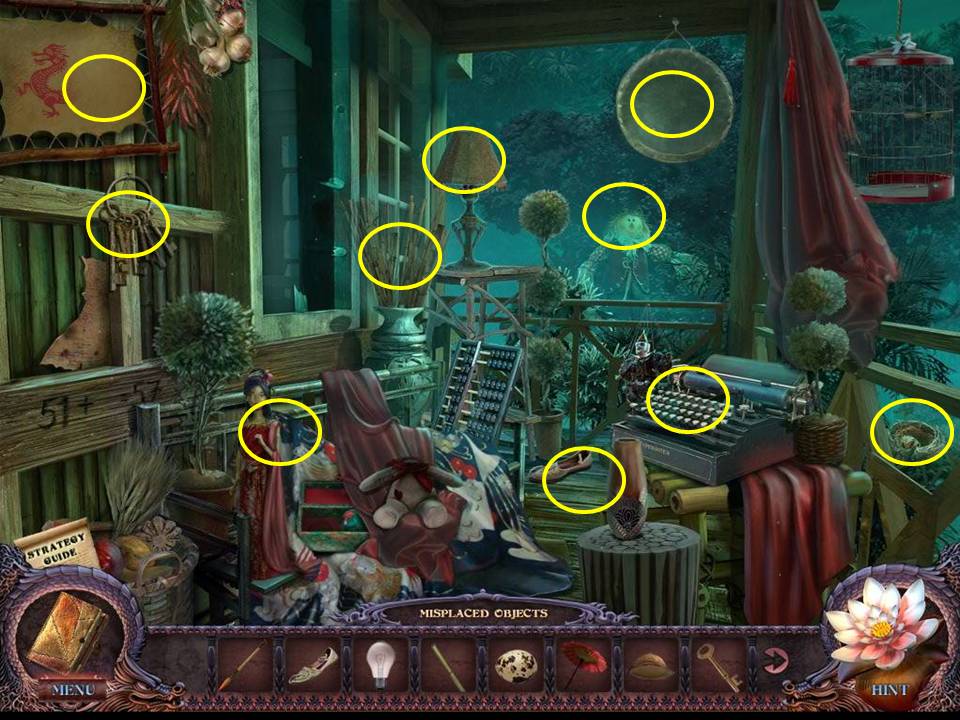
- Return the items shown at the bottom of the screen to their correct places.
- Receive the TROWEL.
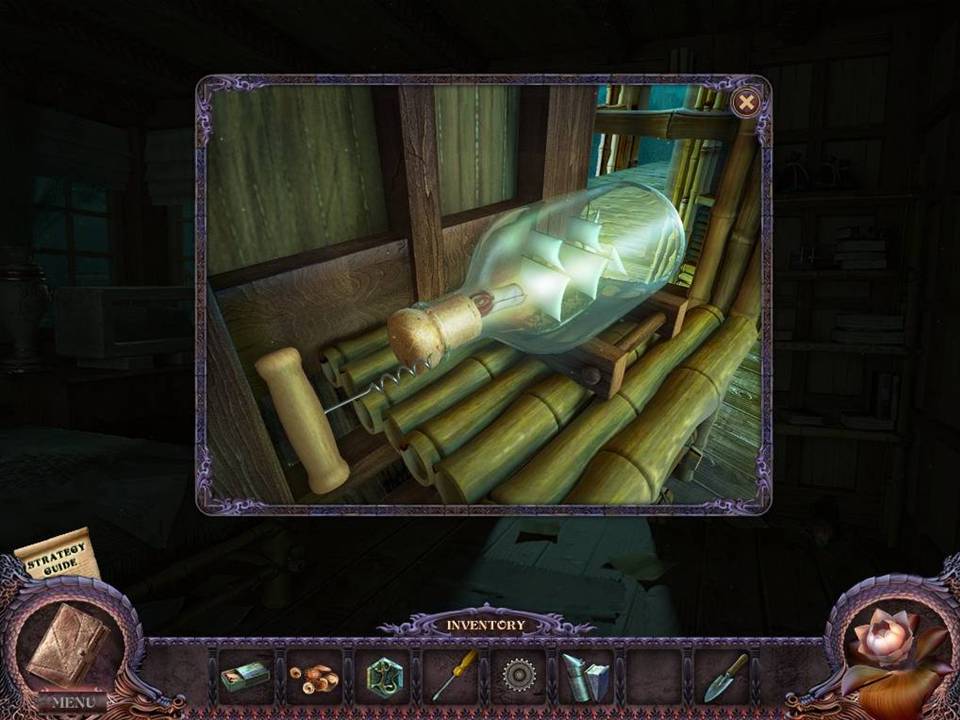
- Zoom into the bottle on the small table to the left of the doorway.
- Remove the bottle’s cork with the CORKSCREW.
- Take the RECIPE HALF that pops out.
- Move through the doorway to the garden.
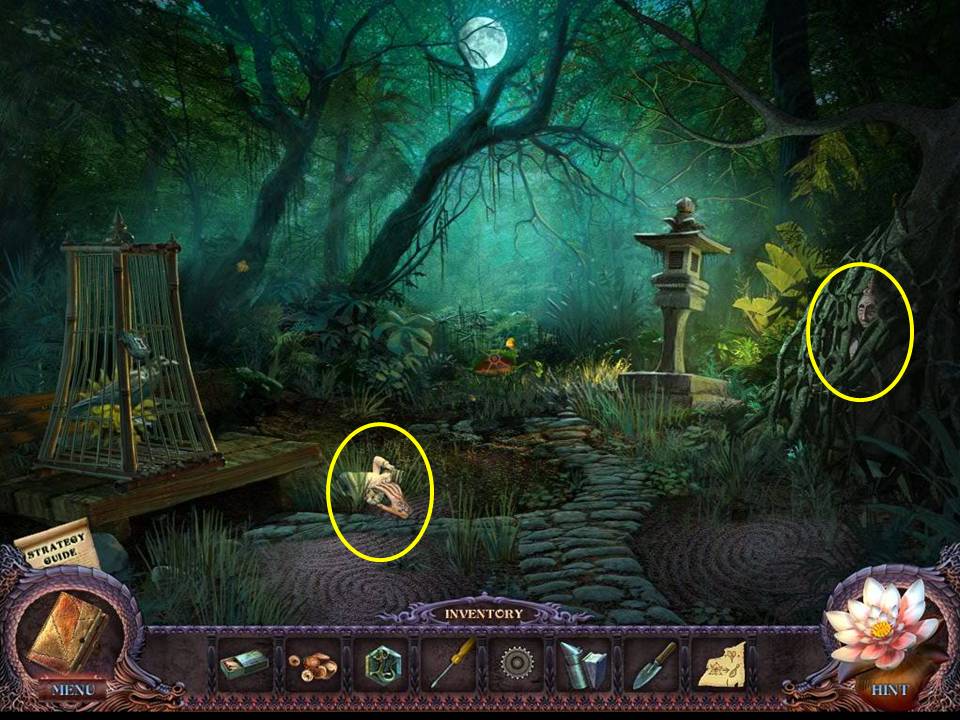
- Take the STATUETTE lying on the ground.
- Zoom into the tree roots on the right.
- Note the statue within the tangled roots.
- Return to the hotel lobby and switch on the light to illuminate the room again.
- Proceed to the village.
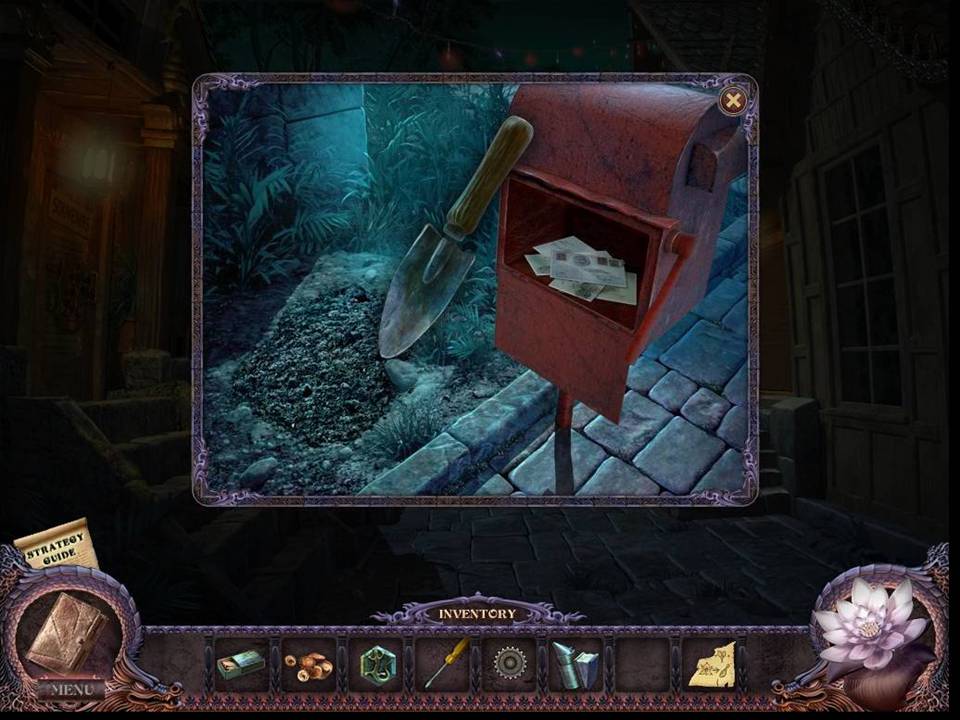
- Zoom into the mailbox.
- Dig the patch of dirt next to the mailbox with the TROWEL.
- Take the SPECIAL ITEM that is uncovered.
- Go up the steps to the fountain.
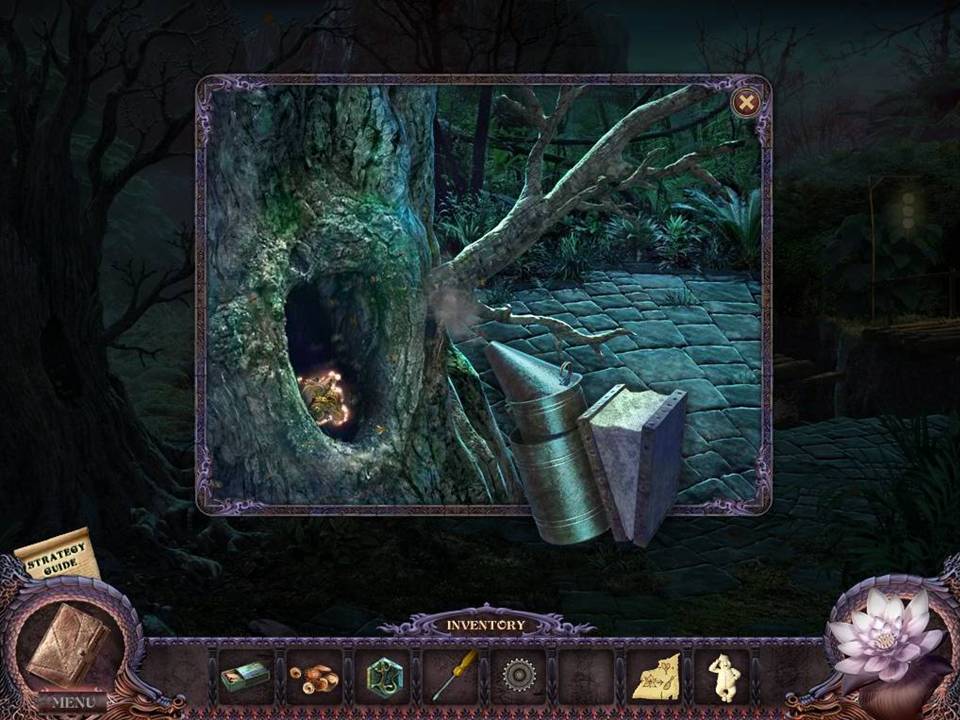
- Zoom into the tree on the left.
- Disperse the bees with the BEE SMOKER.
- Take the SPECIAL ITEM.
- Return to the crossroads.
- Click on the suitcase to play the hidden object area.
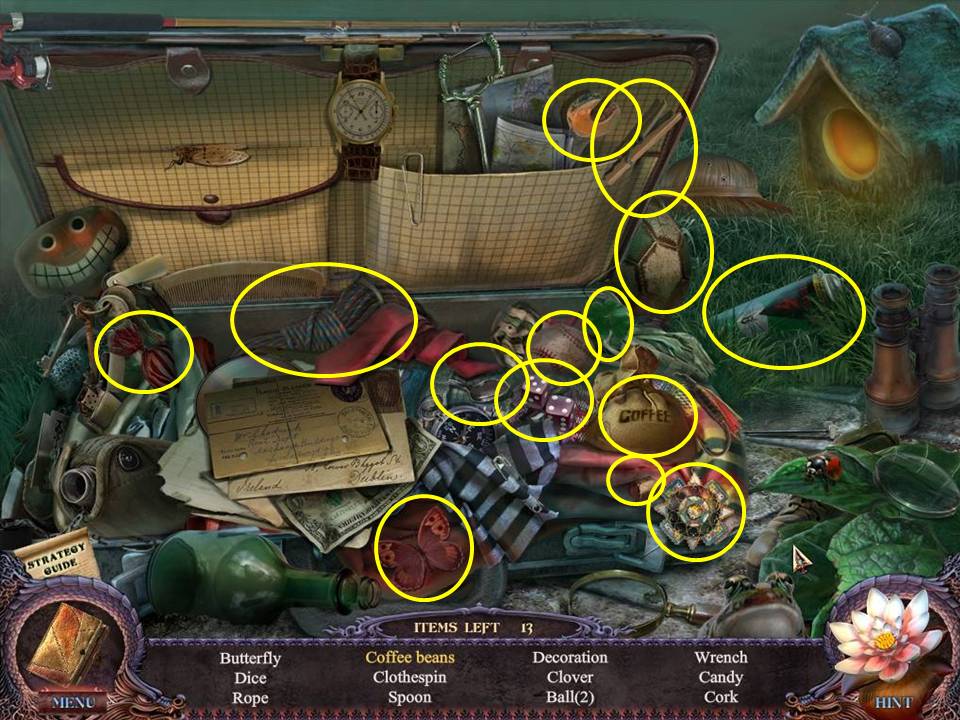
- Find the items listed.
- Cut the bag of coffee beans open to get the coffee beans.
- Receive the INSECTICIDE.
- Return to the Pool.
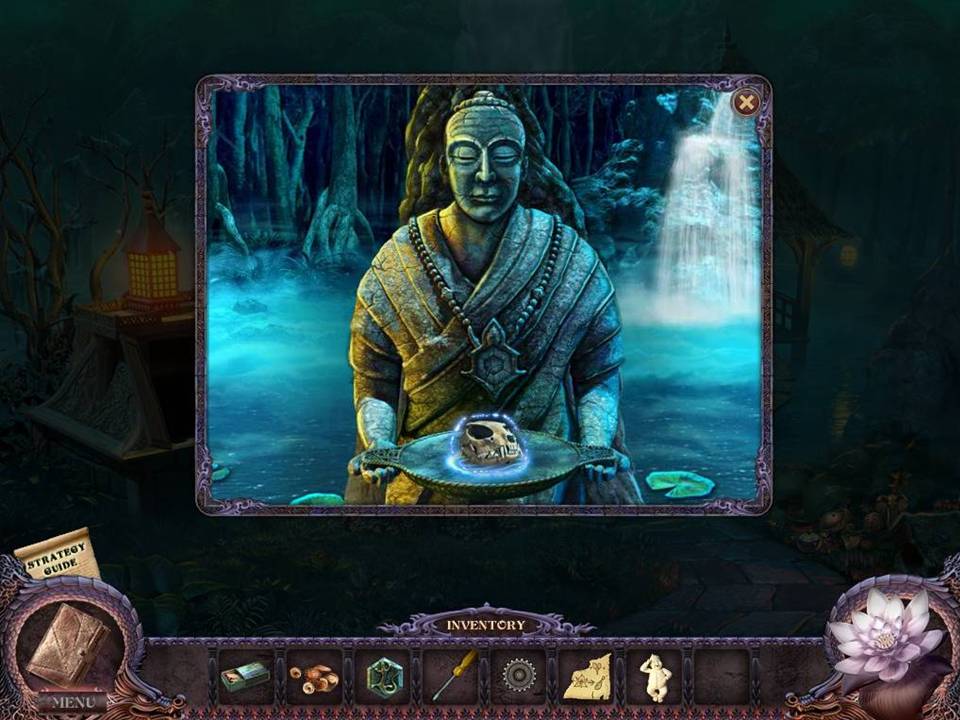
- Zoom into the stone statue.
- Place the SPECIAL ITEM on the plate to transform it into the UNCHARGED WHITE CRYSTAL.
- Take the UNCHARGED WHITE CRYSTAL.
- Return to the hotel lobby.
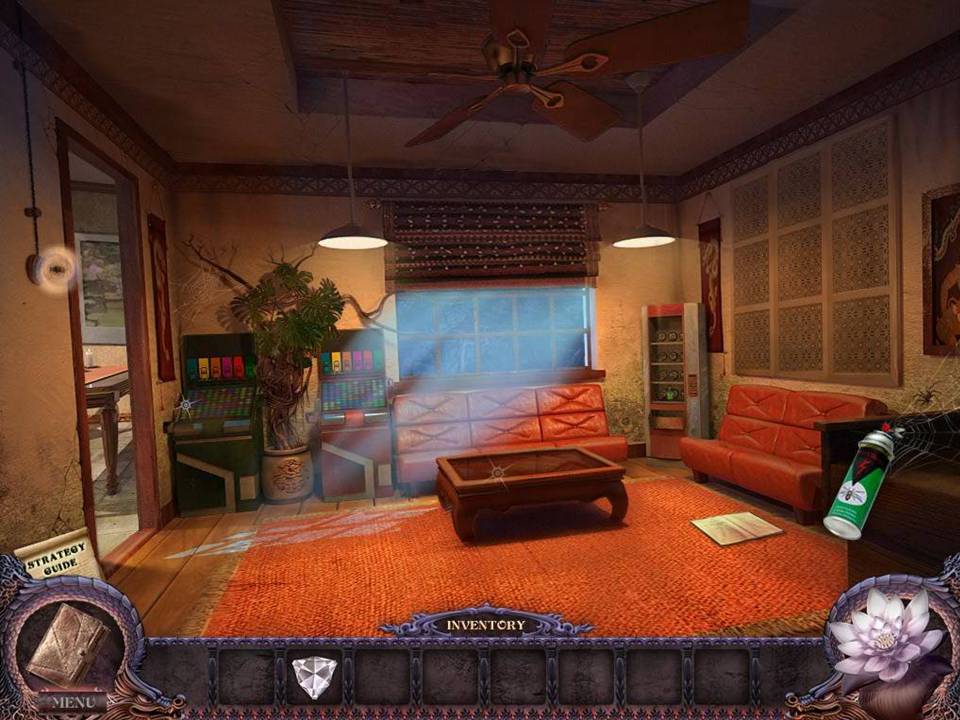
- Spray the spider on the right with INSECTICIDE.
- Take the FLY in the web.
- Turn the light off and proceed to the garden.
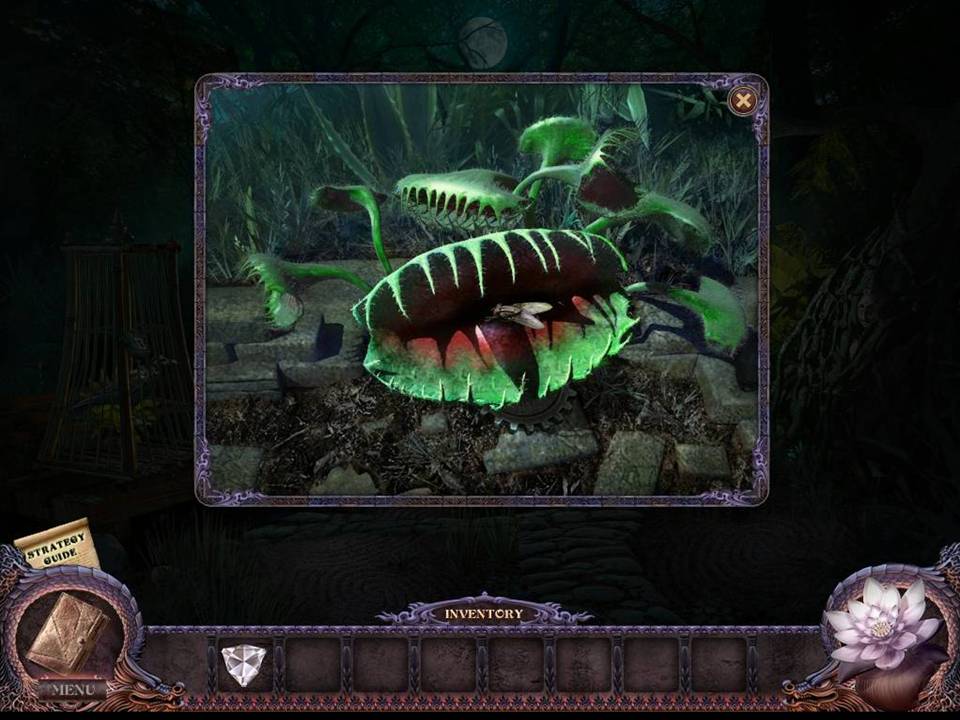
- Zoom into the plants ahead of you and at the end of the path.
- Feed the FLY to the Venus Flytrap.
- Take the GEAR.
- Return to the hotel room.
- Play the hidden object area over the left side window.
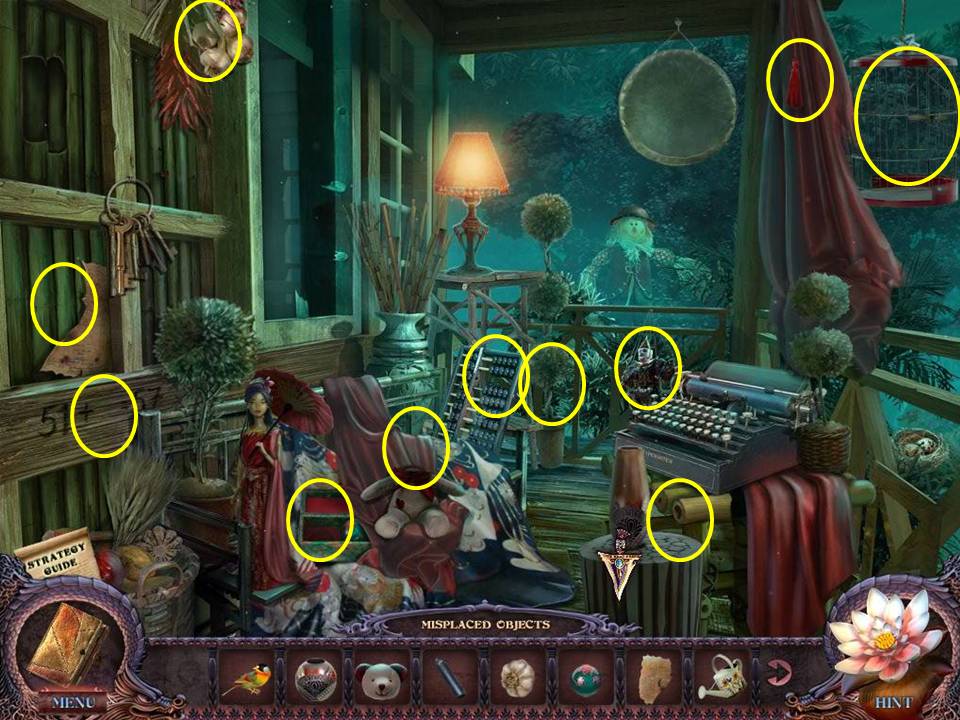
- Return the items shown at the bottom of the screen to their correct places.
- Receive the MACHETE.
- Return to the Garden.
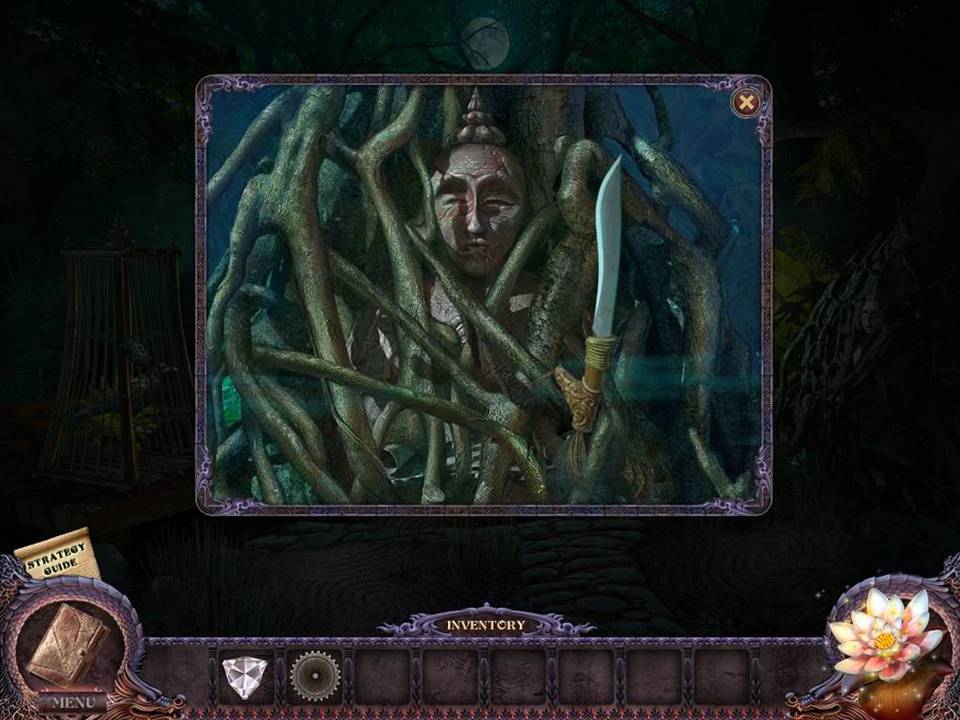
- Zoom into the tangled statue.
- Cut it free with the MACHETE.
- Take the BULL PLATE.
- Use the SPECIAL ITEM on the plate to turn it into the GEAR.
- Take the GEAR.
- Return to the fountain.
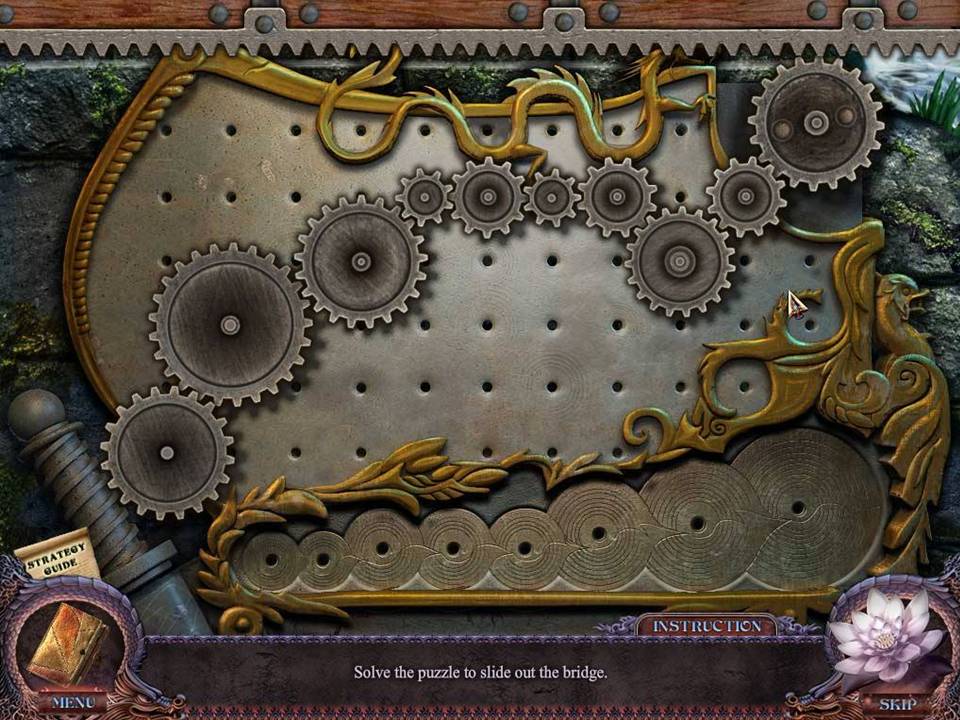
- Zoom underneath the bridge on the right.
- Place the three GEARS on the close-up to initiate a puzzle.
- The object of the puzzle is to get all the gears moving.
- Click to select a gear.
- Place it on the grid.
- Ideally, the gear in the upper right will begin rotating and move the other gears in turn.
- See screenshot for solution.
- Once completed, move across the bridge to the plaza.
