Chapter 5: The Lizard Temple
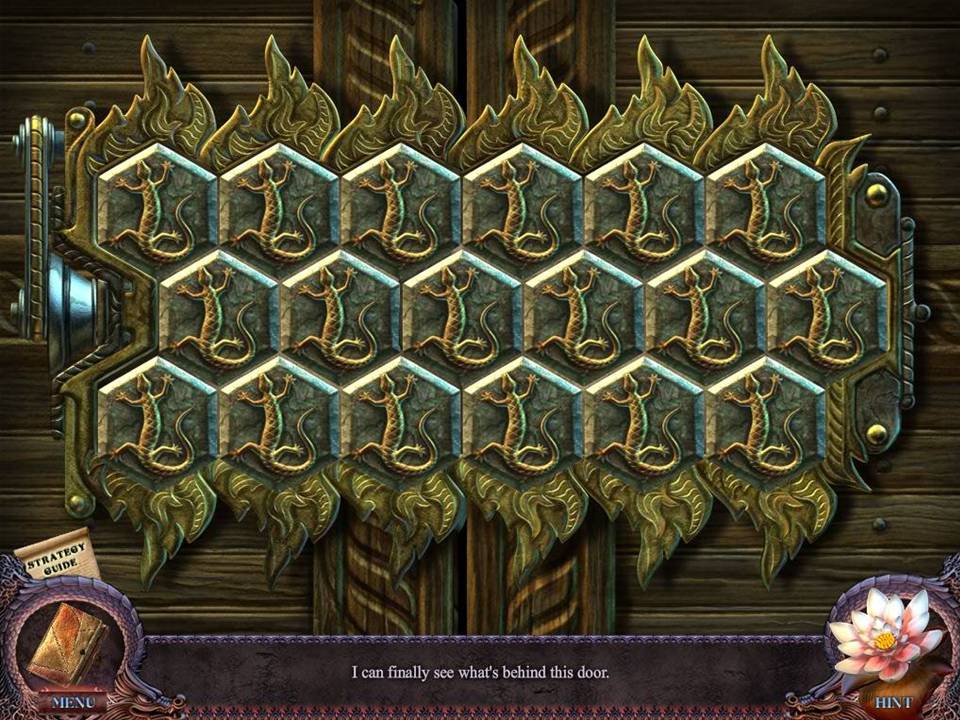
- Zoom into the door of the temple on the left.
- Use the LIZARD PLATES on the door to initiate a puzzle.
- The object of the puzzle is to turn all of the tiles so the bronze side faces up.
- Assuming that the rows are numbered, from left to right, 1 to 6, 7 to 12, and 13 to 18, use the following sequence to solve the puzzle: 8, 11, 3, 15, 2, and 14. Upon completing the puzzle, you may enter the Lizard Temple.
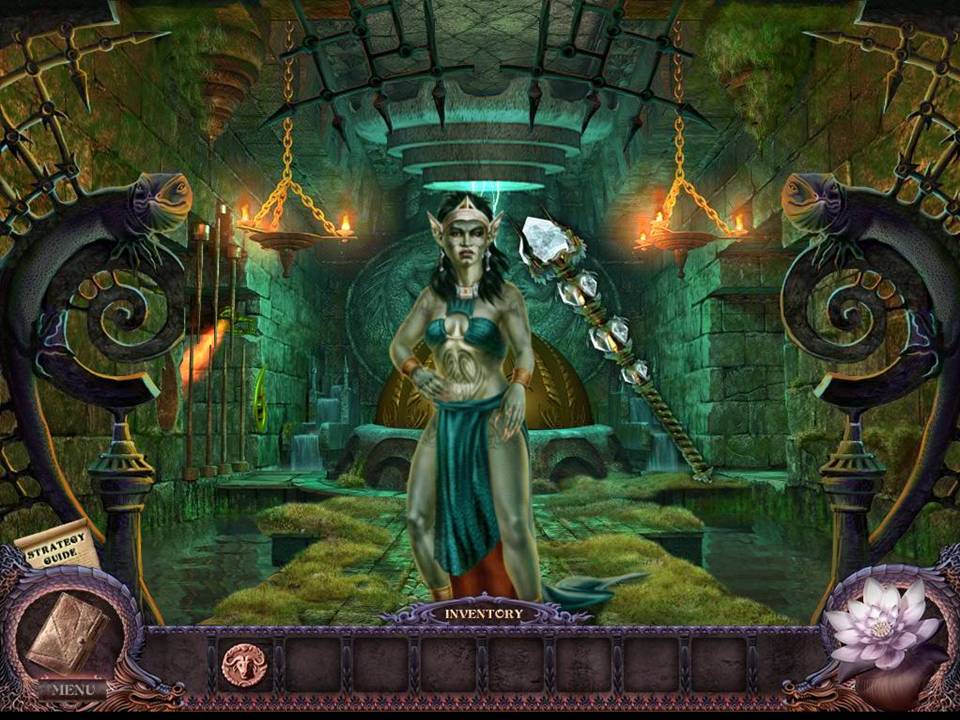
- Hit the werecreature with the WHITE STAFF.
- Zoom into the altar ahead.
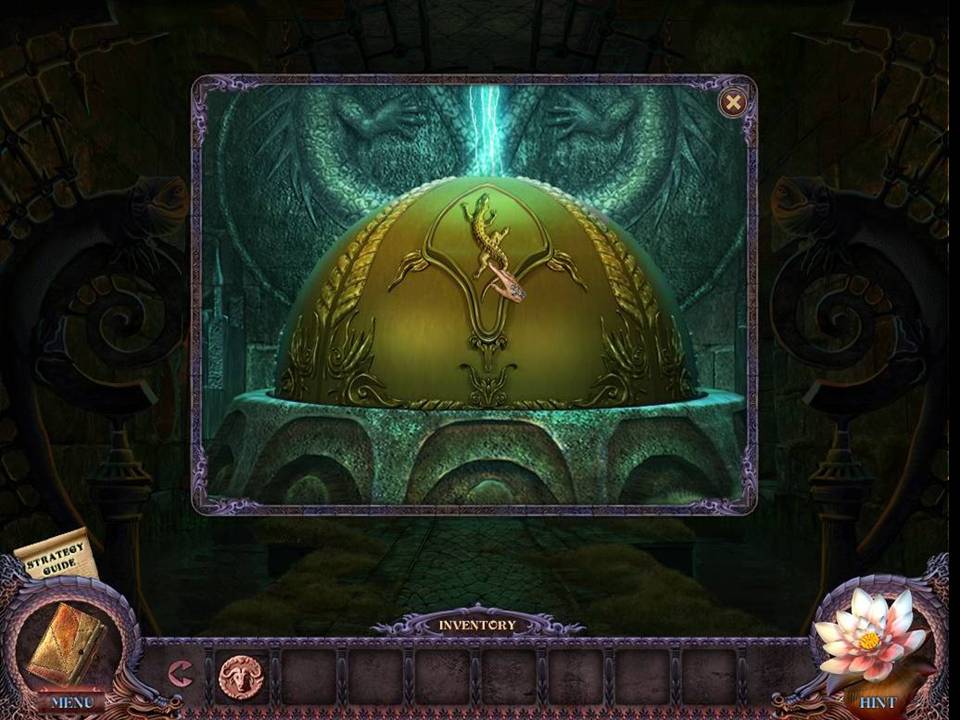
- Click on the lizard symbol to open it.
- Zoom into a puzzle.
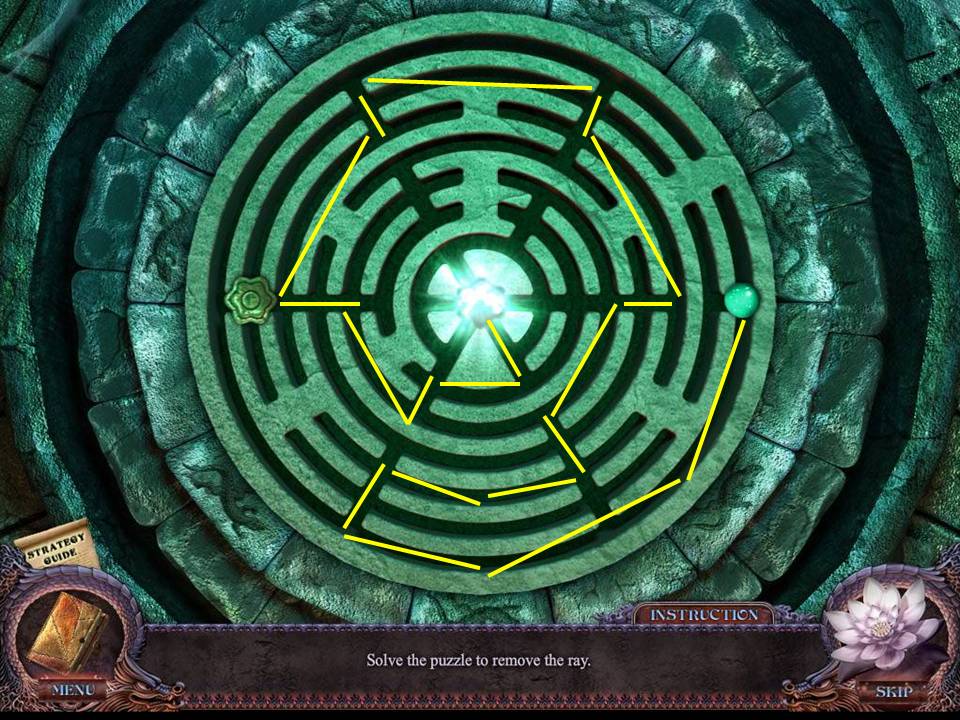
- The object of the puzzle is to move the lid through the maze to the center to block the light ray.
- See screenshot for solution.
- Upon completion of the puzzle, one of the rays outside will disappear.
- Return to the plaza.
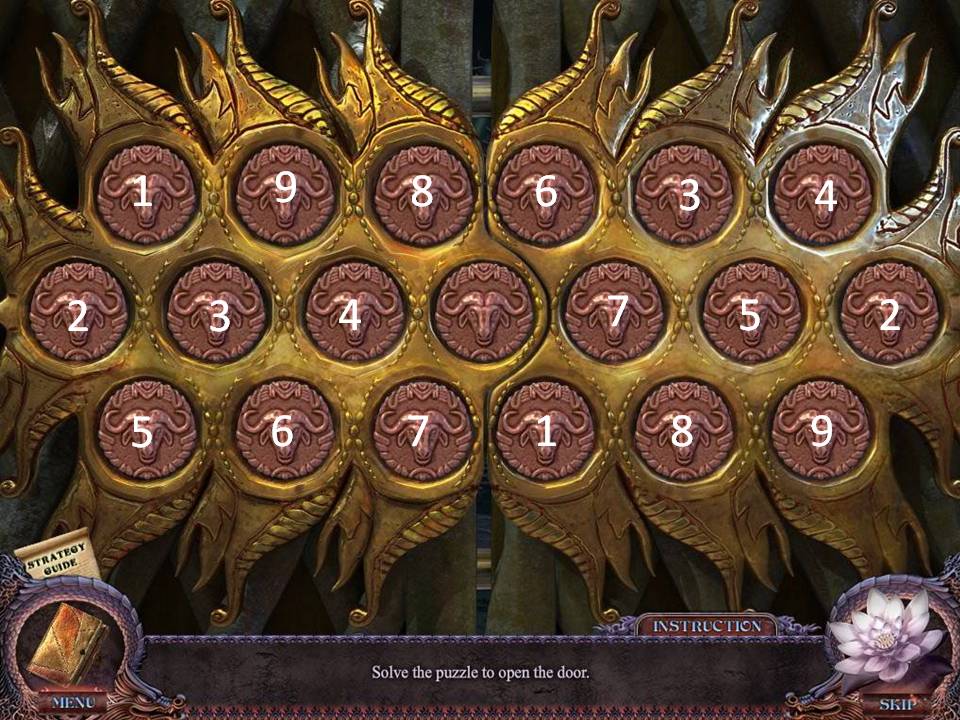
- Zoom into the door of the red temple on the far right.
- Place the BULL PLATES on the door to initiate a puzzle.
- The object of the puzzle is to match the symbols.
- Click on a circle to see the hidden symbol.
- Match identical pairs.
- See screenshot for solution.
- Upon completion of the puzzle, you may enter the Bull Temple.
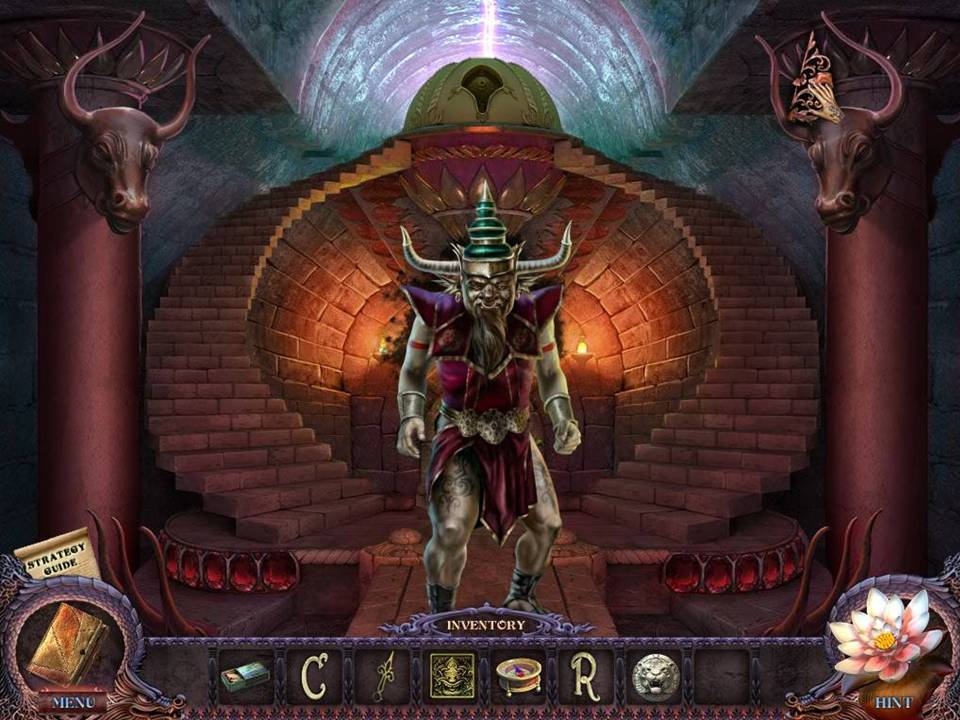
- Take the DÉCOR HALF at the top of the righthand pillar.
- Return to the plaza.
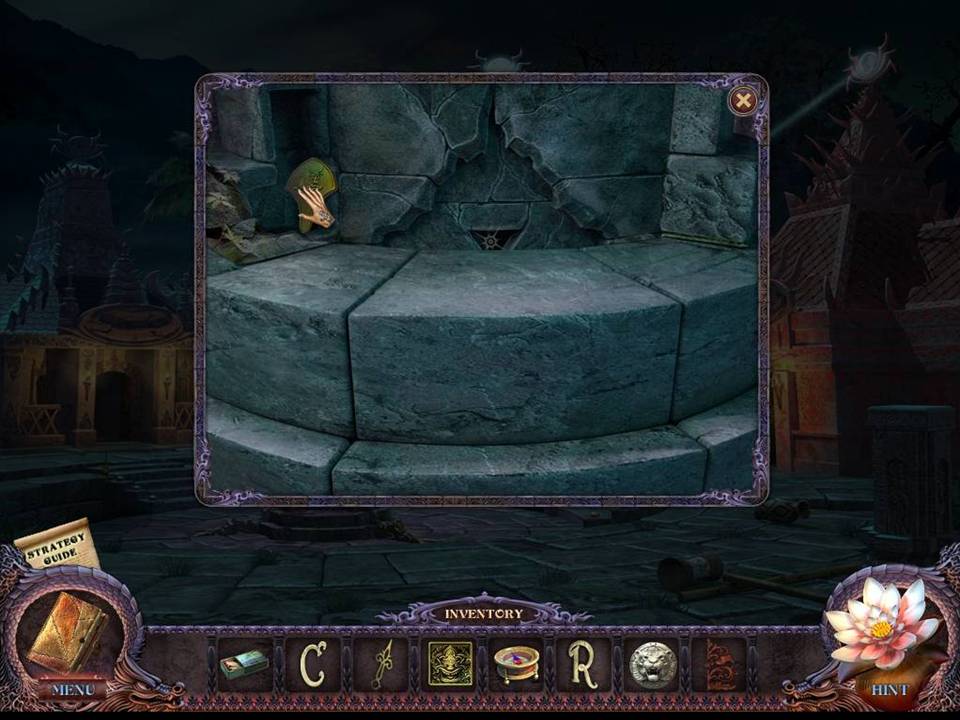
- Zoom into the pedestal base.
- Take the BUFFALO PUSH BUTTON.
- Return to hotel lobby.
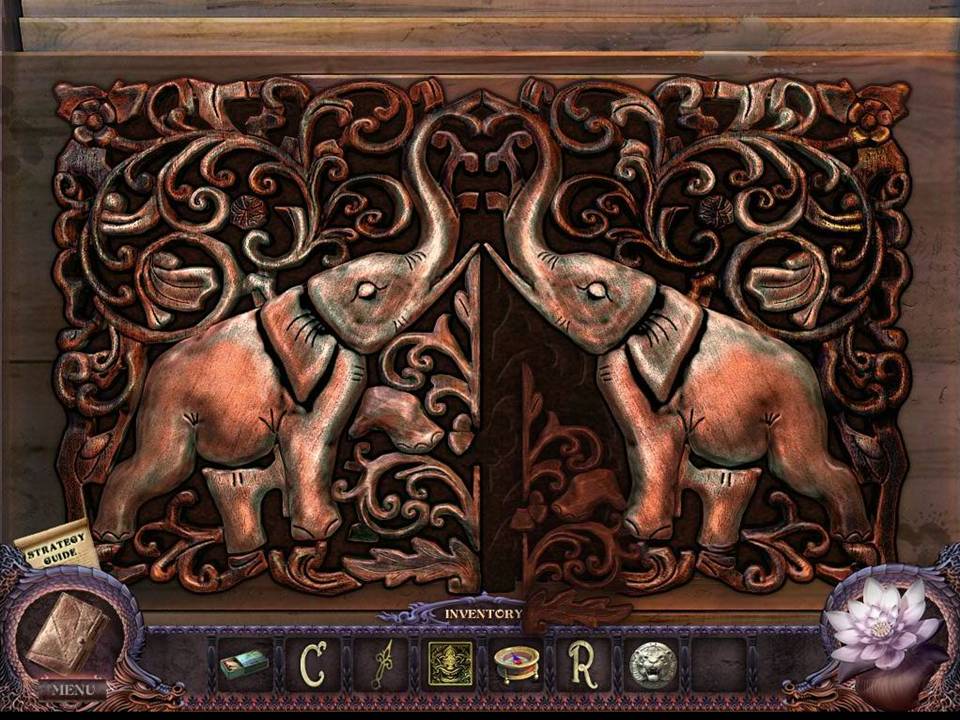
- Turn on the lights and head into the kitchen.
- Zoom into the cupboard on the upper left.
- Place the DÉCOR HALF in the open space of the design to initiate a puzzle.
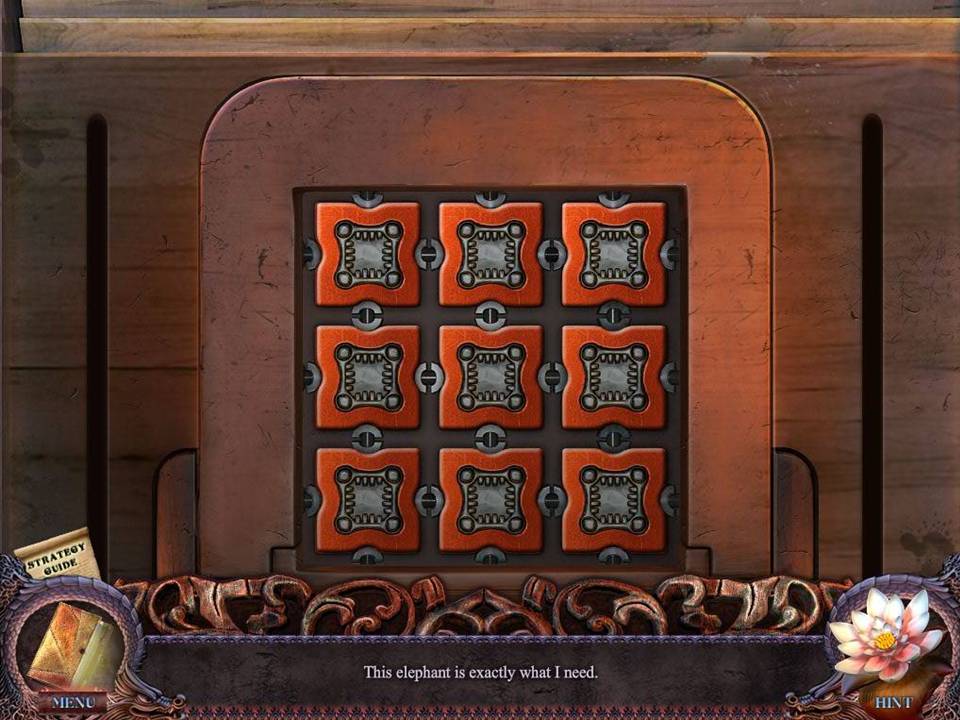
- The object of the puzzle is to turn all the tiles so that the red side faces up.
- Assuming that the tiles are numbered from left to right and top to bottom, 1 to 3, 4 to 6, and 7 to 9, click the following tiles: 5, 2, 8, 6, and 4.
- Upon completion, take the ELEPHANT.
- Return to the Museum Entrance.
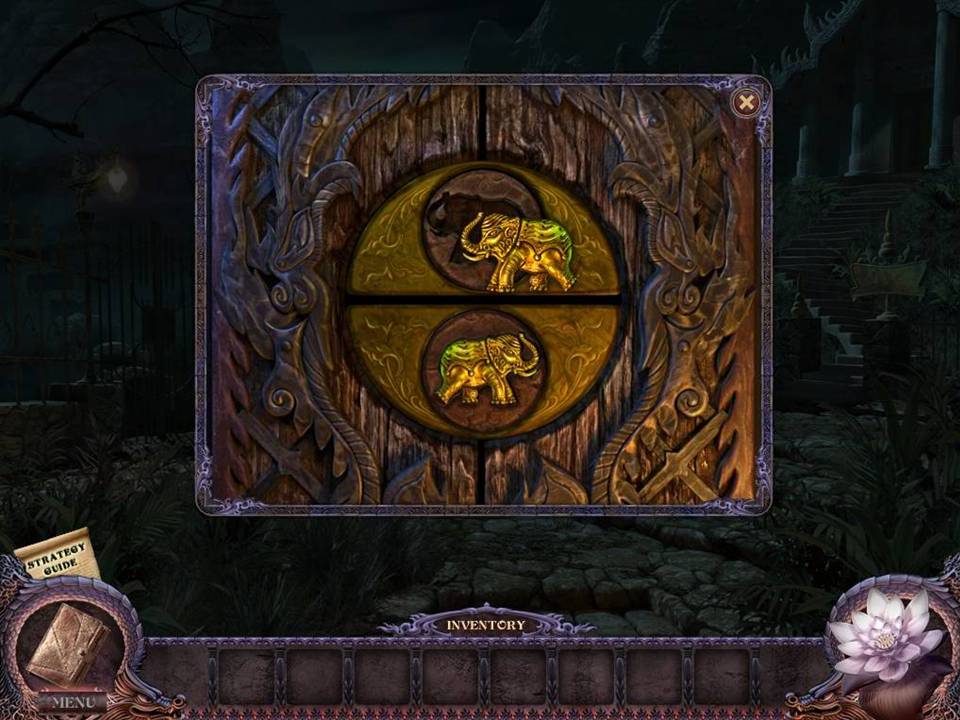
- Zoom into the upper right of the museum front door.
- Place the ELEPHANT in the space on the lock to open the door.
- Enter the Museum.
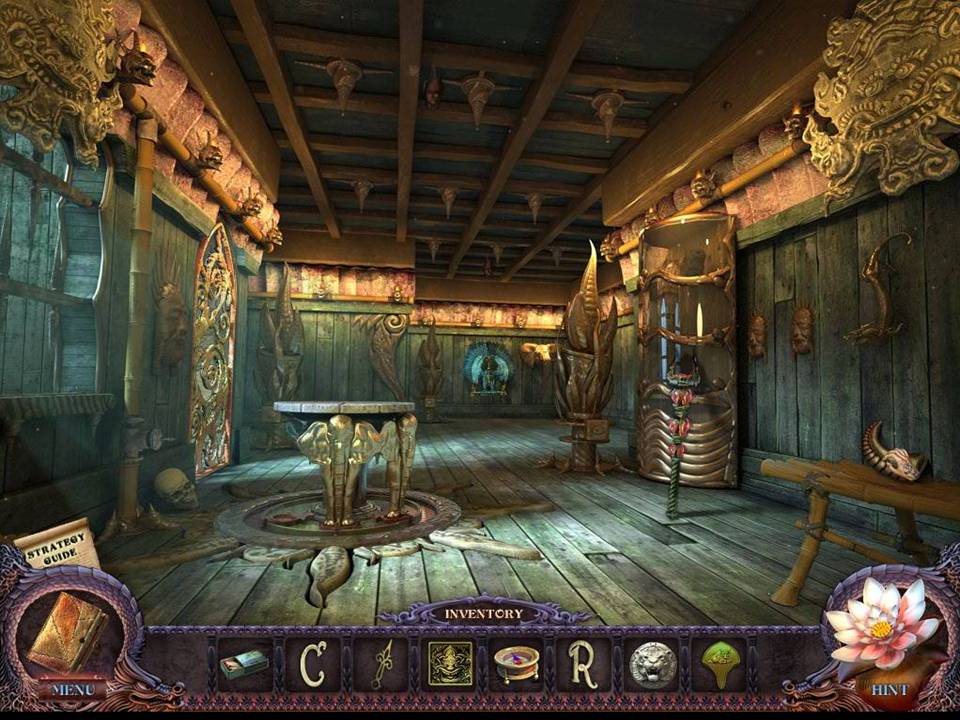
- Take the HORN on the bench at the front right.
- Return to the Souvenir Shop.
- Turn off the lights and then enter the Office.
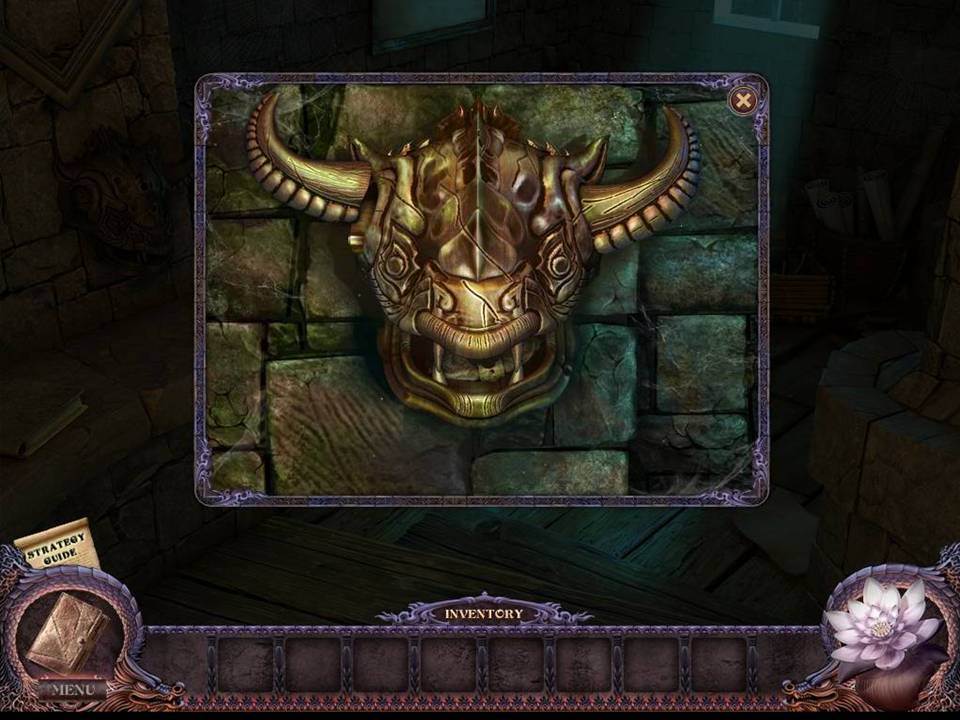
- Zoom into the sculpture head on the left wall.
- Place the HORN in the missing slot.
- Take the SPECIAL ITEM in the creature’s mouth.
- Return to the Pool.
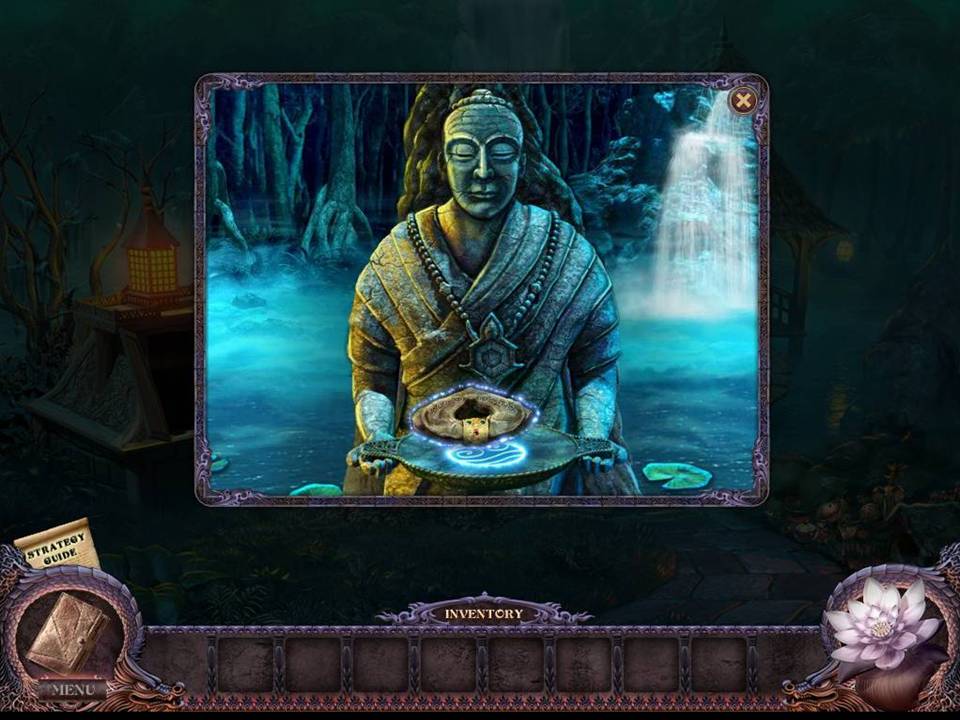
- Zoom into the stone statue.
- Place the SPECIAL ITEM on the statue to turn it into the GAS VALVE.
- Take the GAS VALVE.
- Return to the Museum.
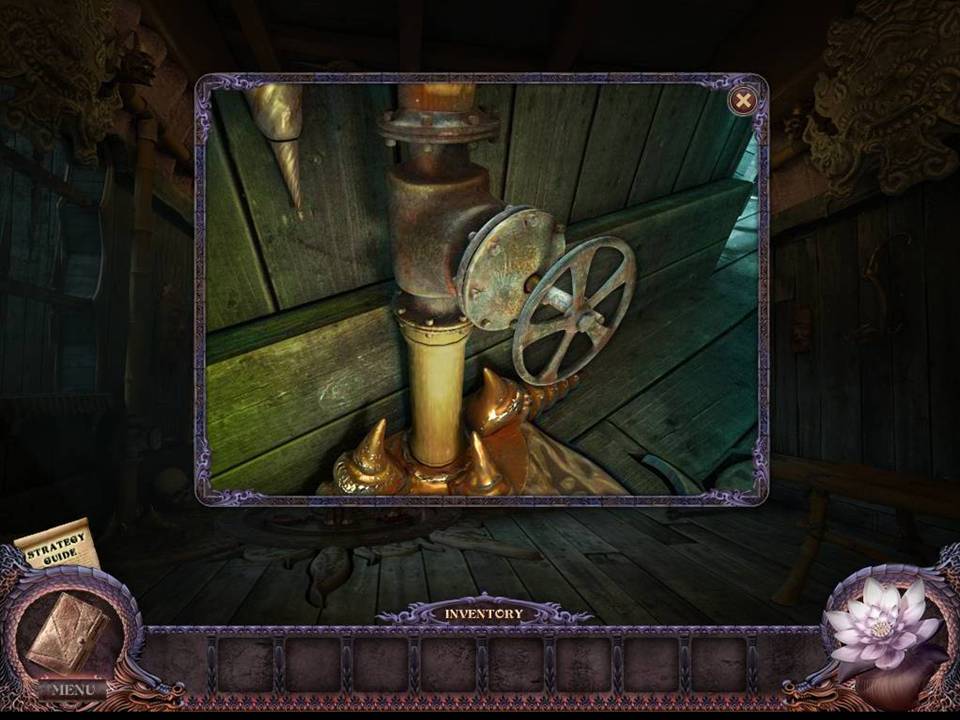
- Zoom into the pipe on the left wall.
- Place the GAS VALVE on the pipe.
- Then click to change the lighting in the room.
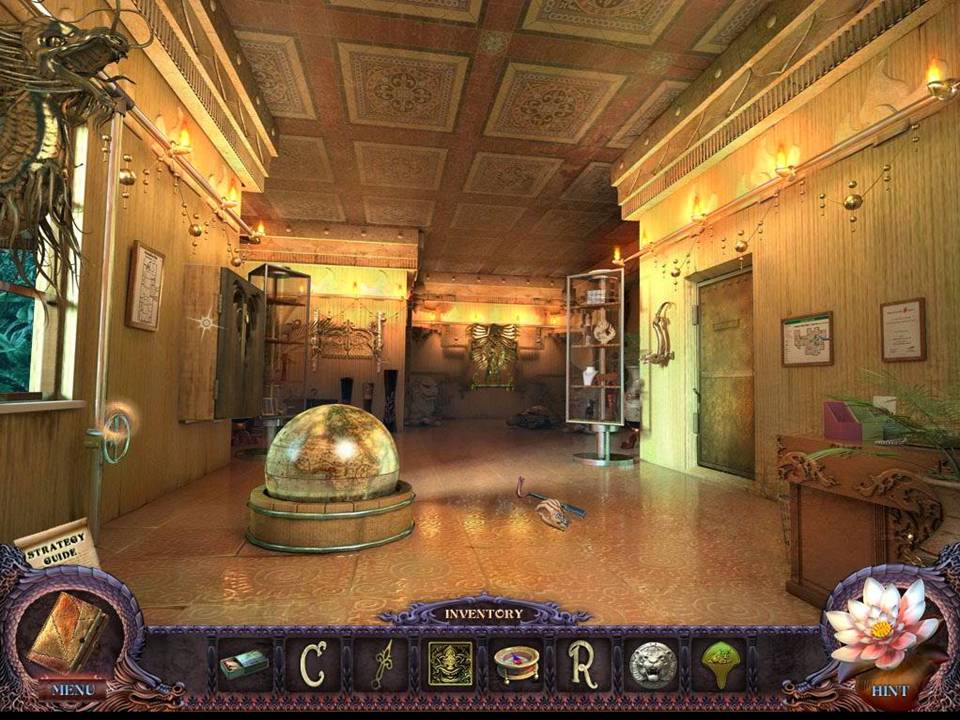
- Take the CROWBAR from the floor.
- Return to the Souvenir Shop Office.
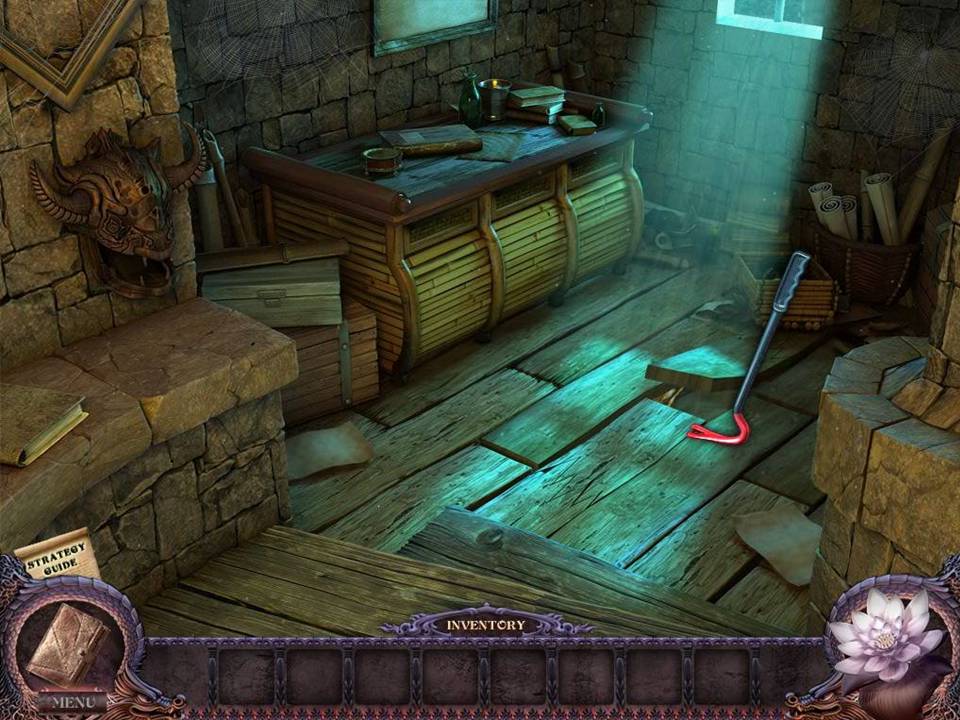
- Pry up the half-raised floorboard with the CROWBAR.
- Take the ELEPHANT.
- Return to the Back Room and play the hidden object area by the cabinet at the back of the room.
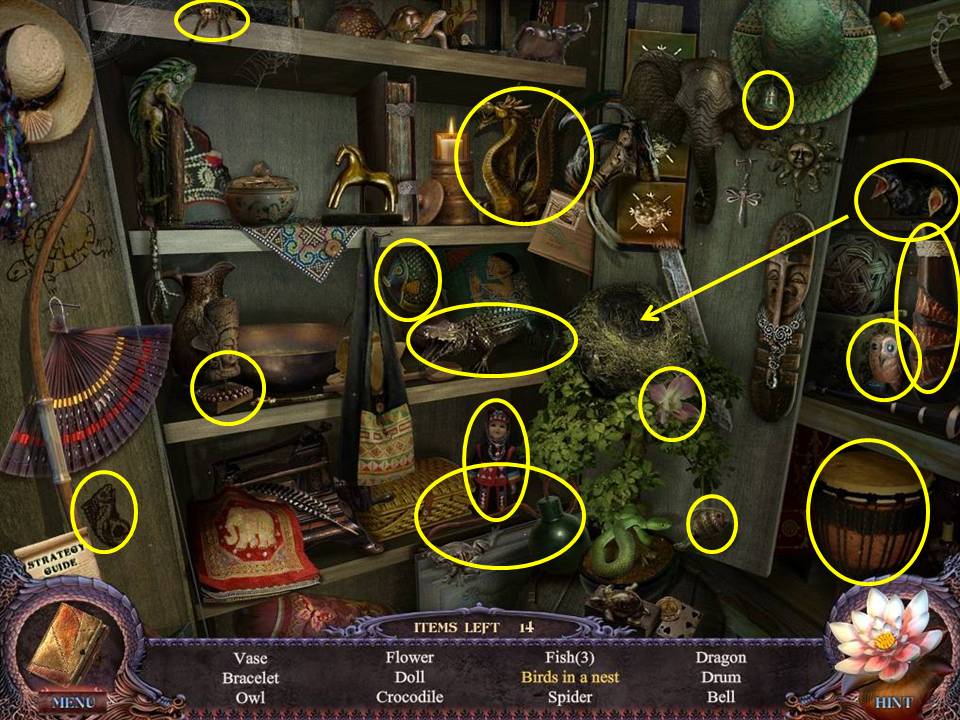
- Find the items listed.
- Place the birds in the nest to get birds in nest.
- Receive the SAFETY FUSE.
- Return to the Hotel Kitchen and play the hidden object area inside the refrigerator.
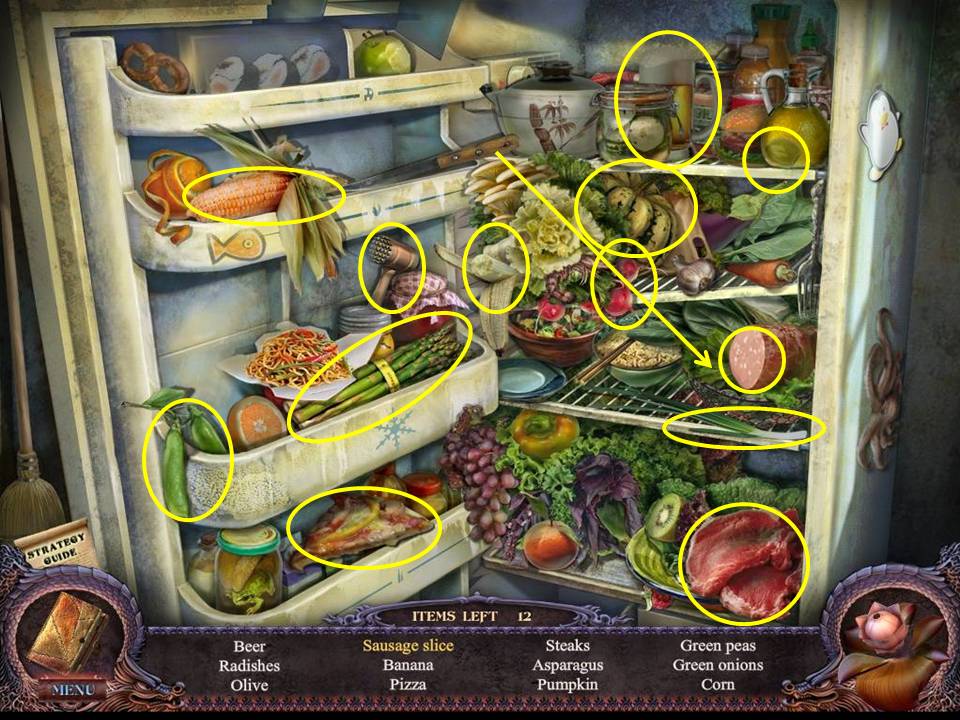
- Find the items listed.
- Use the knife to slice the sausage and get the sausage slice.
- Receive the MALLET.
- Return to the Museum.
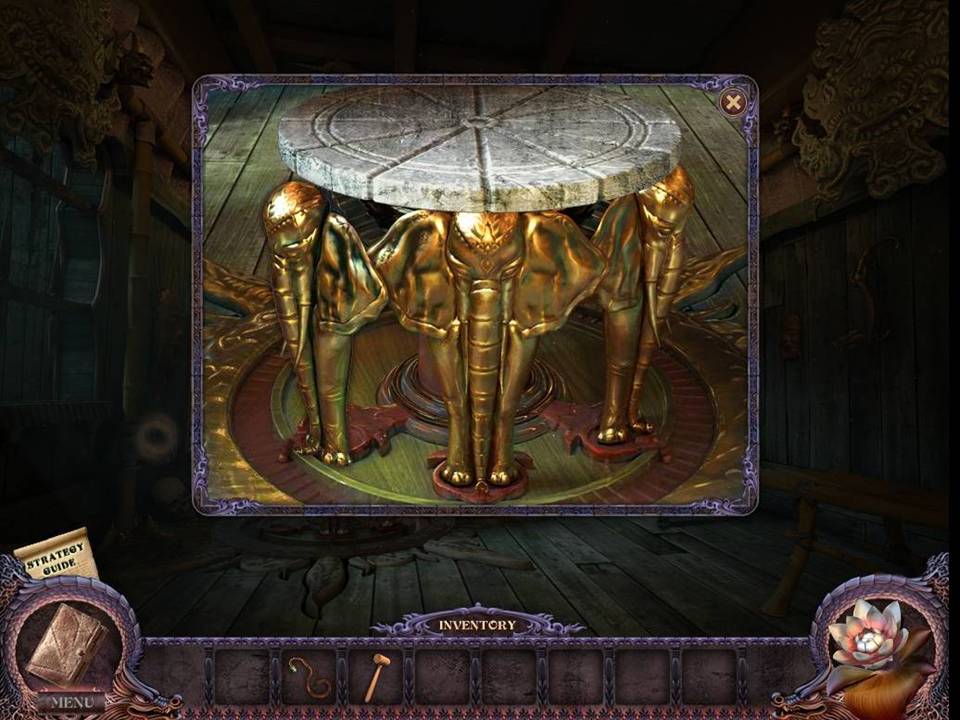
- Turn off the gas valve to darken the room.
- Zoom into the table in the center of the room.
- Use the ELEPHANT on the missing section of the table on the left.
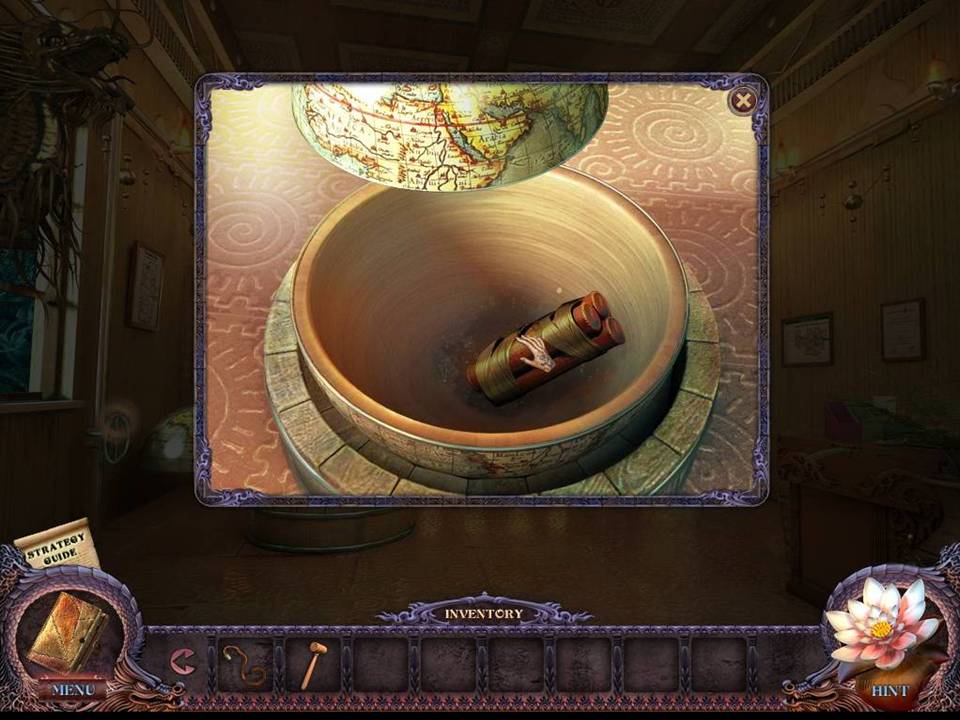
- Turn the gas valve again to light the room.
- Zoom into the large globe, which has opened.
- Take the DYNAMITE.
- Zoom into the door on the right.
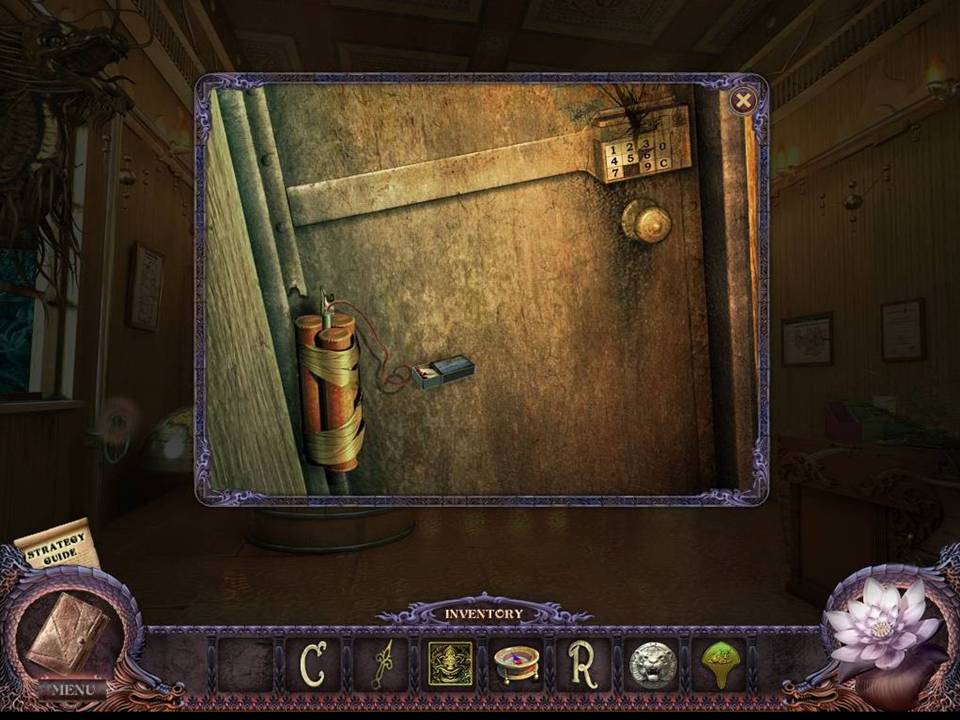
- Use the DYNAMITE on the torn door frame on the left, followed by the SAFETY FUSE and the MATCHES.
- Go inside.
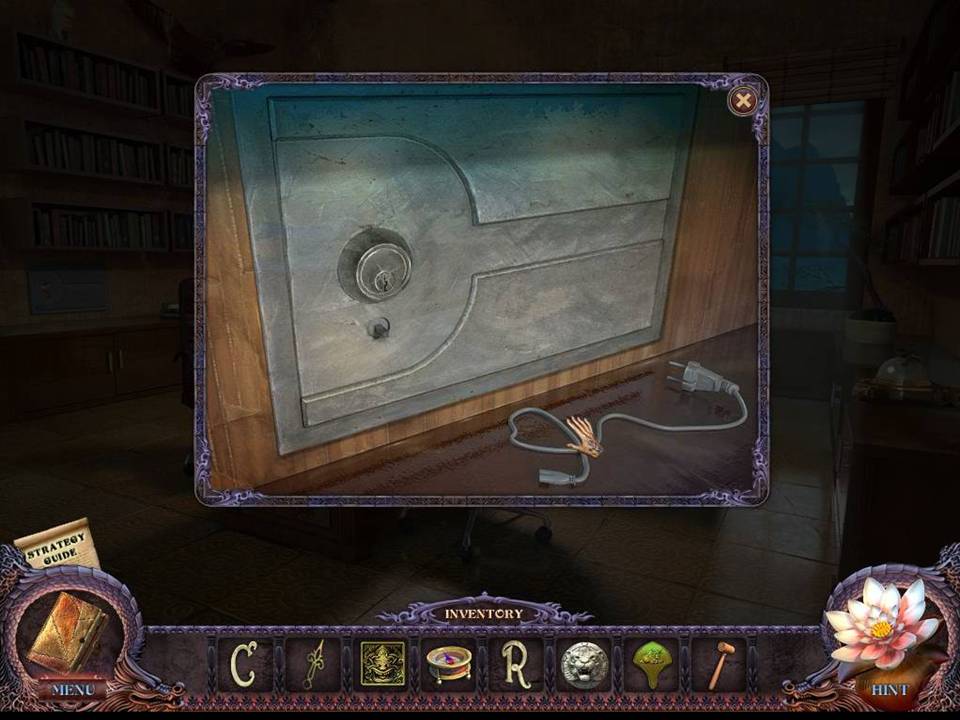
- Zoom into the wall safe on the left.
- Take the CHARGER CORD in front of the safe.
- Return to the closet in the Souvenir Shop.
- Remember to turn on the light.
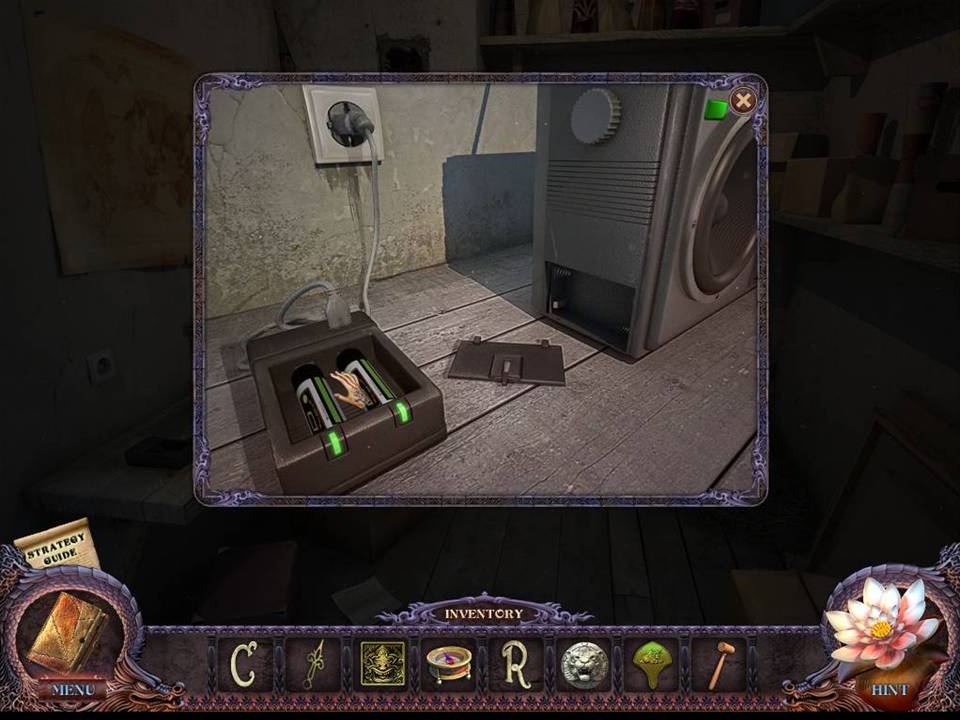
- Zoom into the shelf on the left.
- Plug the CHARGER CORD into the outlet.
- Take the charged BATTERIES.
- Proceed to the Hotel Attic via the Kitchen.
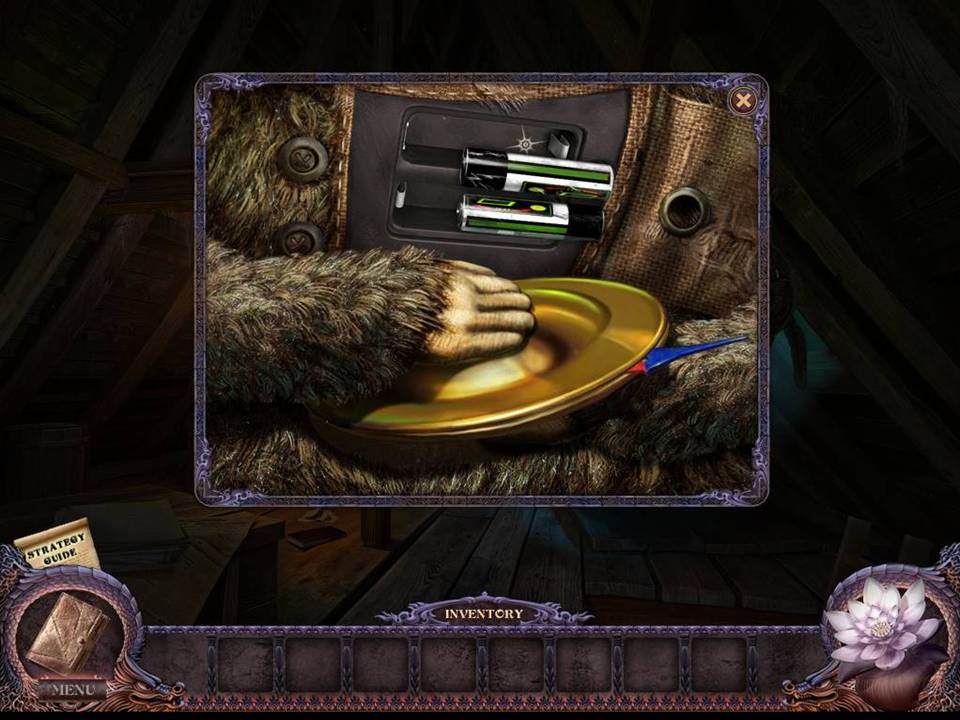
- Zoom into the hanging monkey on the right.
- Place the BATTERIES in the monkey’s chest and then click the green button on the right.
- When the monkey ceases clanging the cymbals, take the COMPASS NEEDLE.
- Return to the Souvenir Shop Office.
- Remember to turn off the lights.
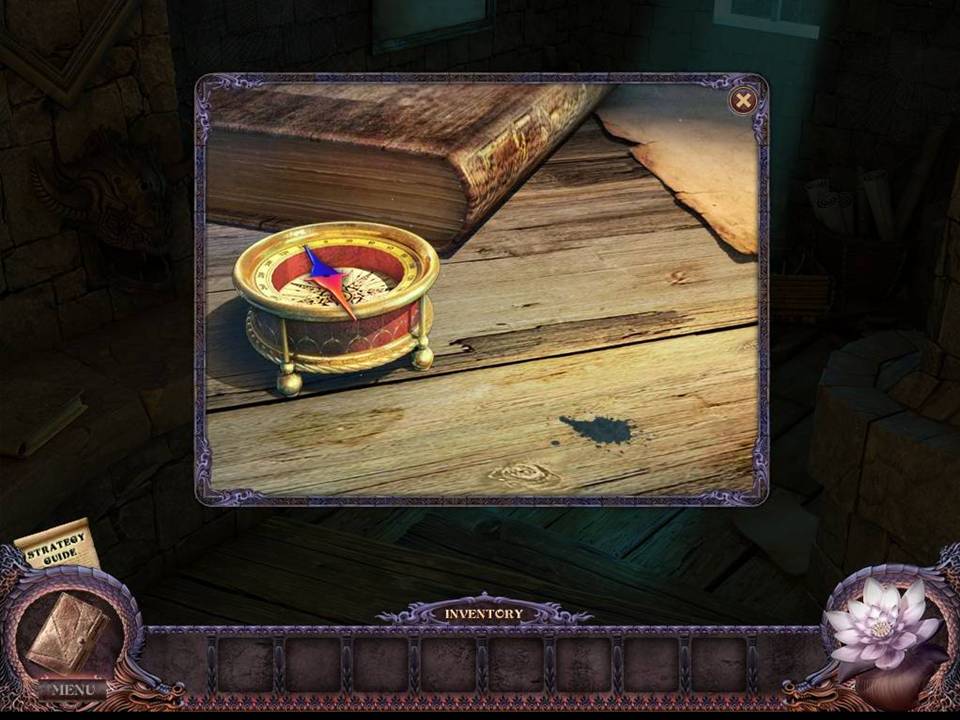
- Zoom into the desk.
- Fix the COMPASS with the COMPASS NEEDLE.
- Take the COMPASS. Return to the Museum Office.
