

Chapter 4: The Temple Lock Plates
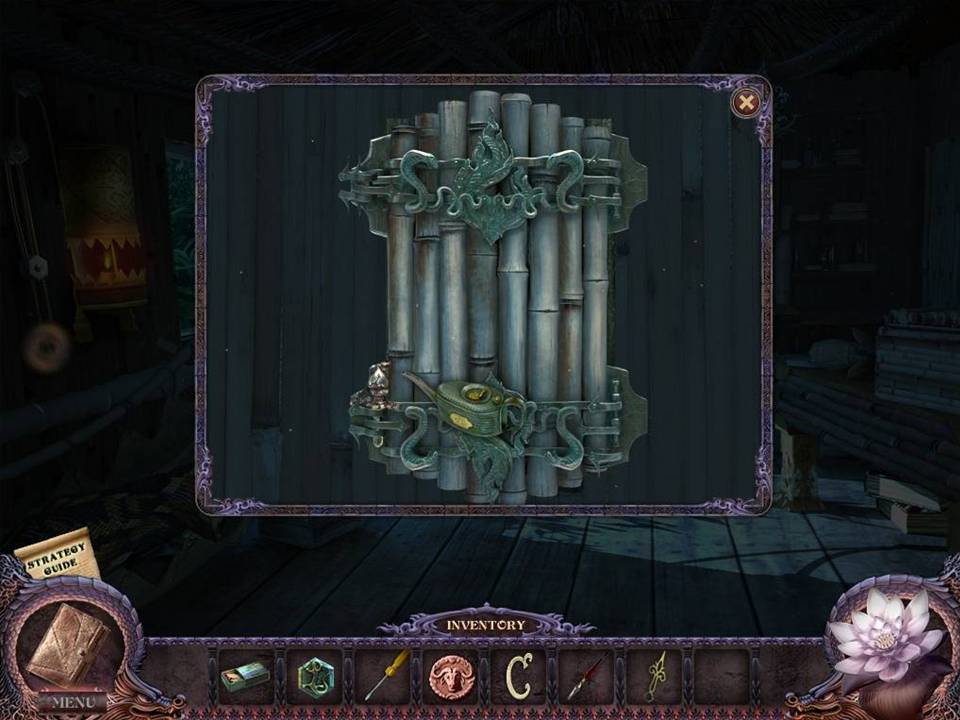
- Turn the lights off.
- Zoom into the cupboard on the back wall.
- Oil the rusted pin on the lower left with the OILCAN.
- Click to remove the pin.
- Zoom out of the cupboard area.
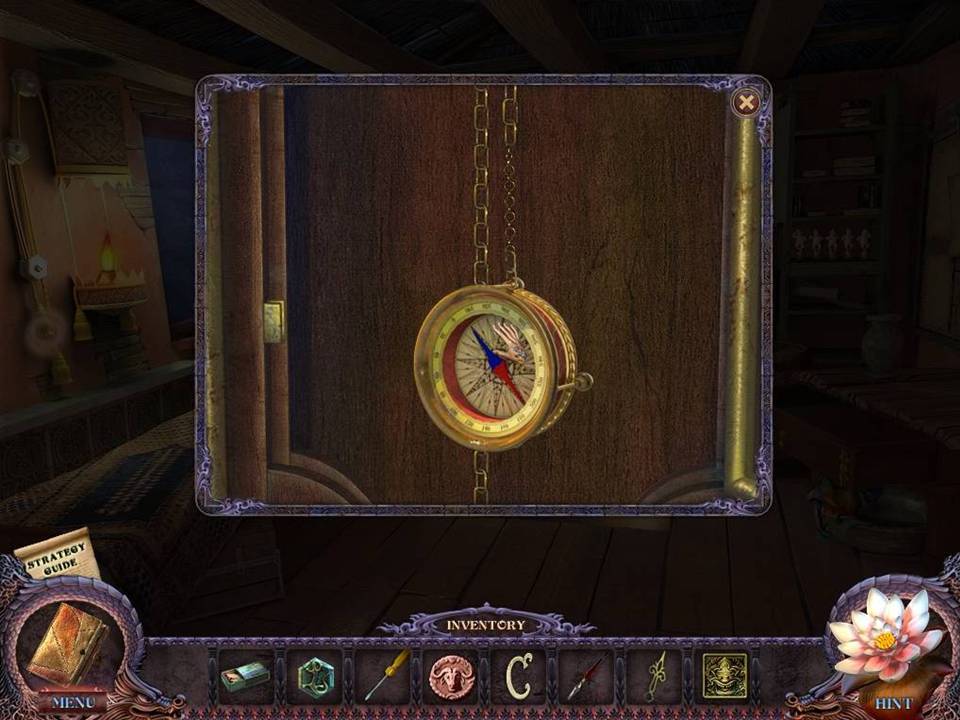
- Turn the lights on.
- Zoom into the clock on the back wall.
- Take the COMPASS.
- Return to the museum entrance.
- Play the hidden object area above the ticket booth.
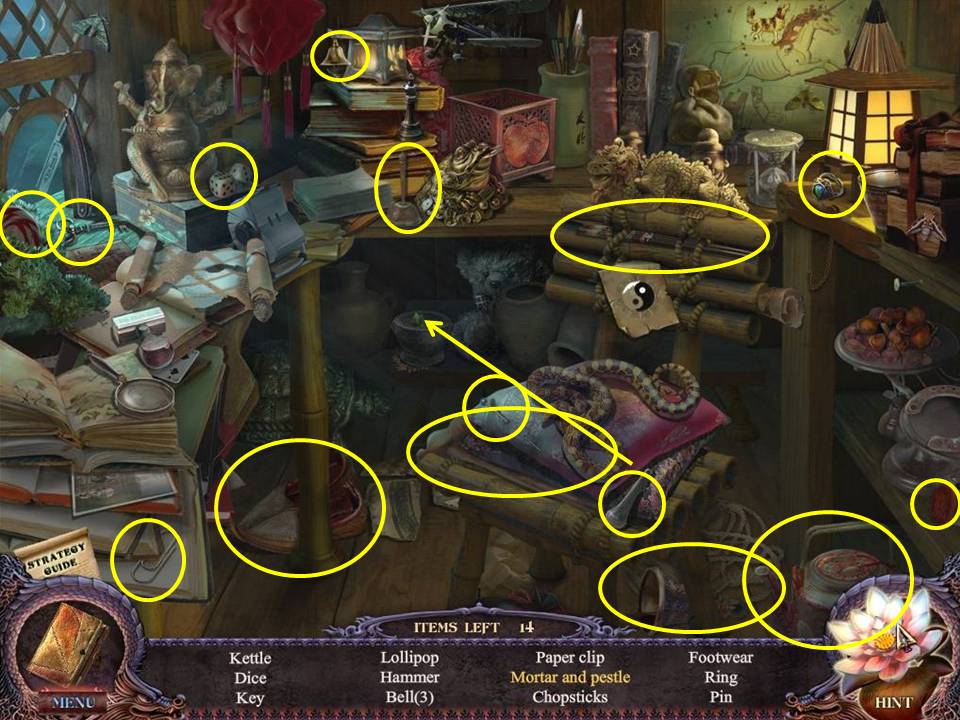
- Find the items listed.
- Receive the red PLAYING CHIP.
- Enter the cave.
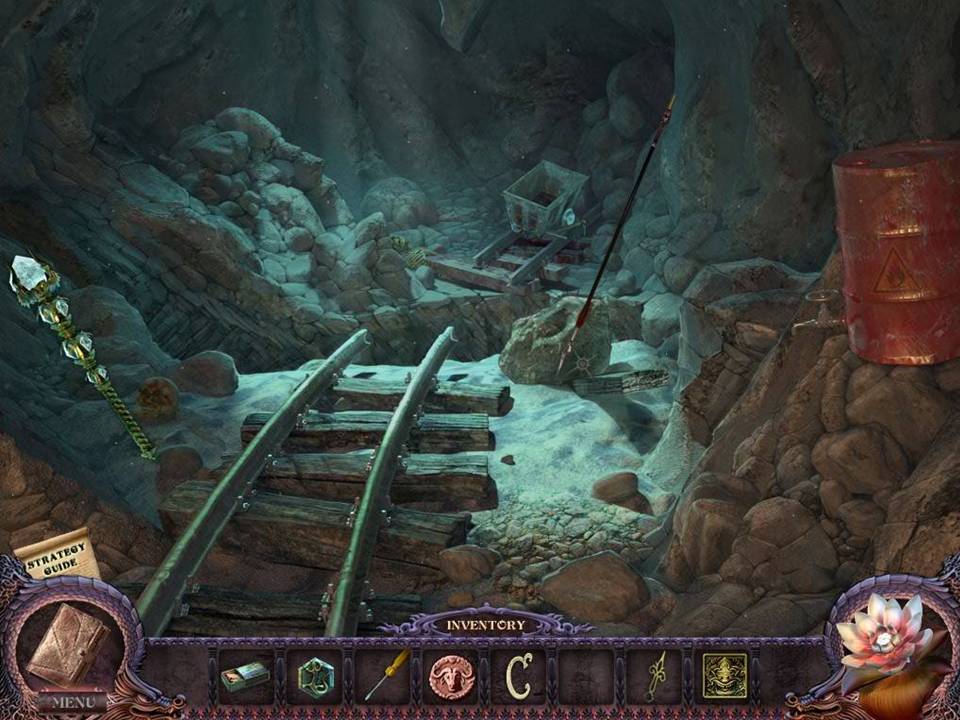
- Use the SPEAR on the rock to the right of the tracks.
- Take the BOARD underneath.
- Use it to cross the gap.
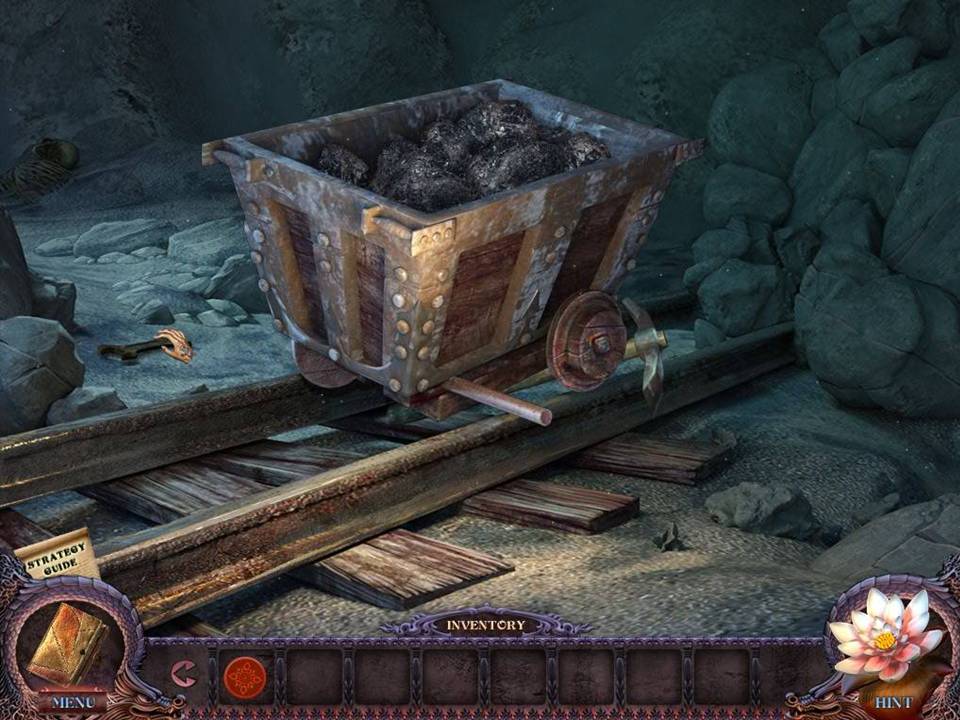
- Go to the mine cart.
- Take the WRENCH.
- Return to the back room of the souvenir shop.
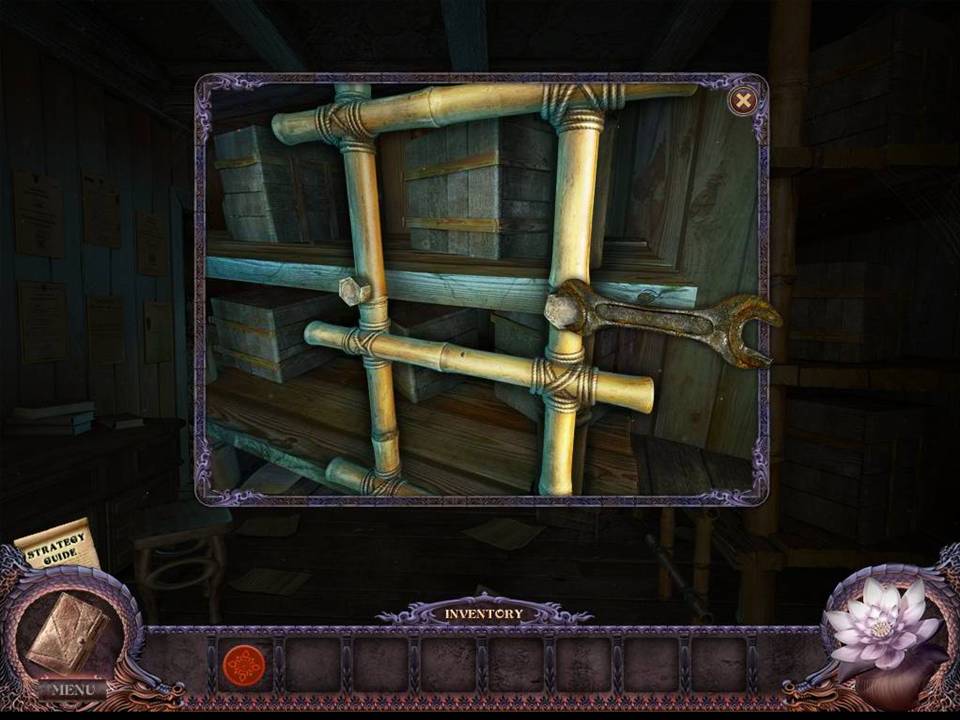
- Zoom into the ladder on the right.
- Remove the bolts with the WRENCH.
- Take the LADDER.
- Return to the hotel lobby.
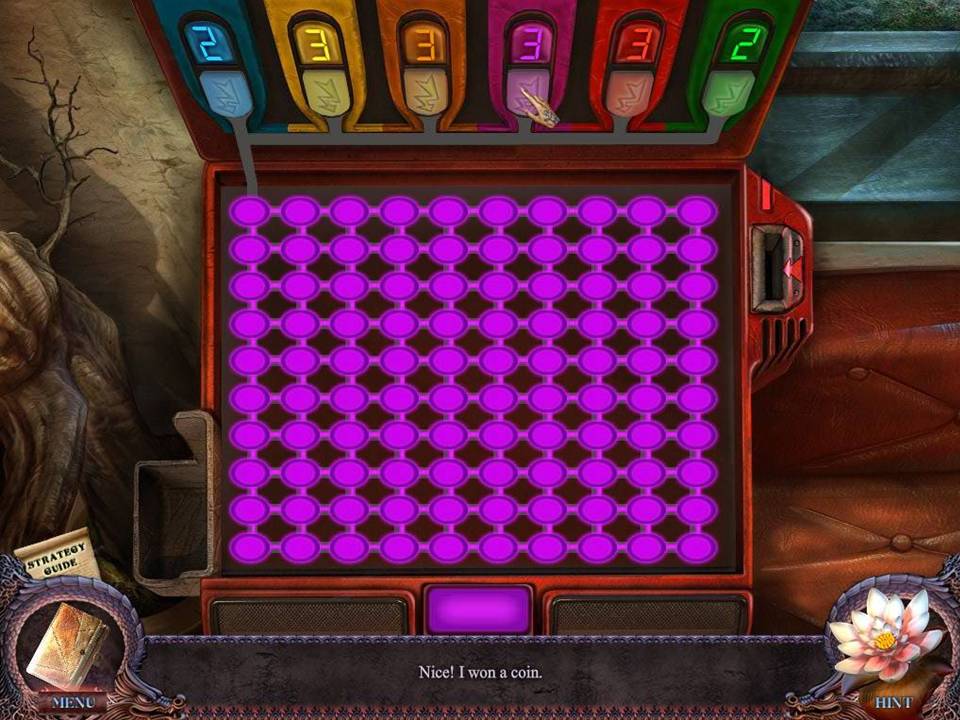
- Zoom into the red arcade machine on the left.
- Insert the red PLAYING CHIP into the slot on the right to initiate a puzzle.
- The object of the puzzle is to change the color of the bulbs until all are purple. Solutions vary.
- The following is one possible solution: Orange, Blue, Green, Yellow, Red, Orange, Green, Purple, Red, Blue, Yellow, Green, and Purple.
- When finished take the COIN from the slot on the left.
- Enter the Kitchen.
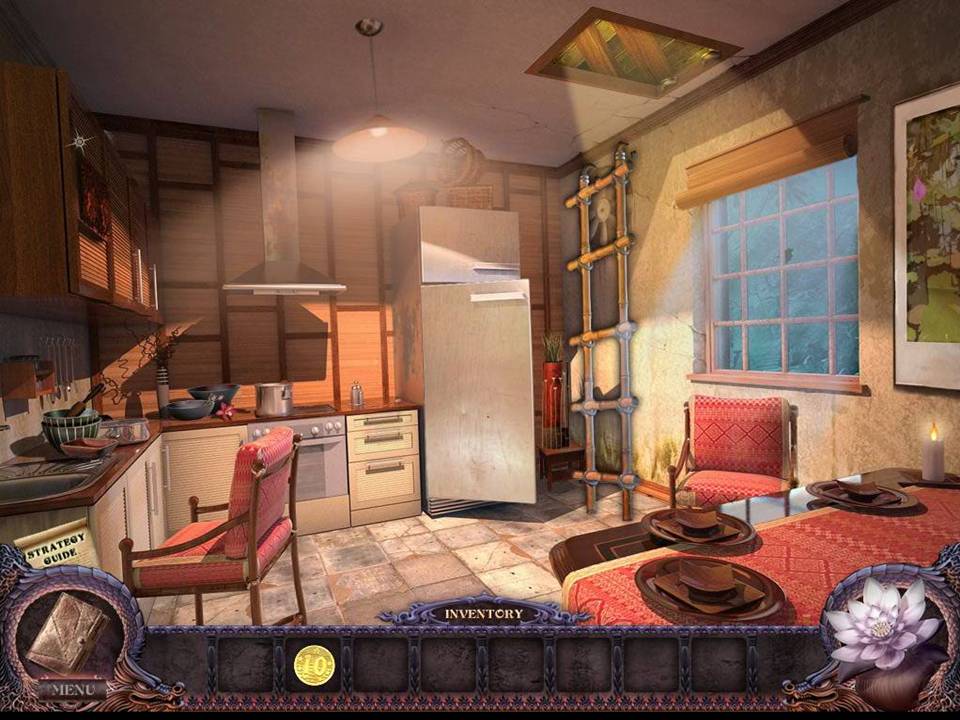
- Access the attic with the LADDER.
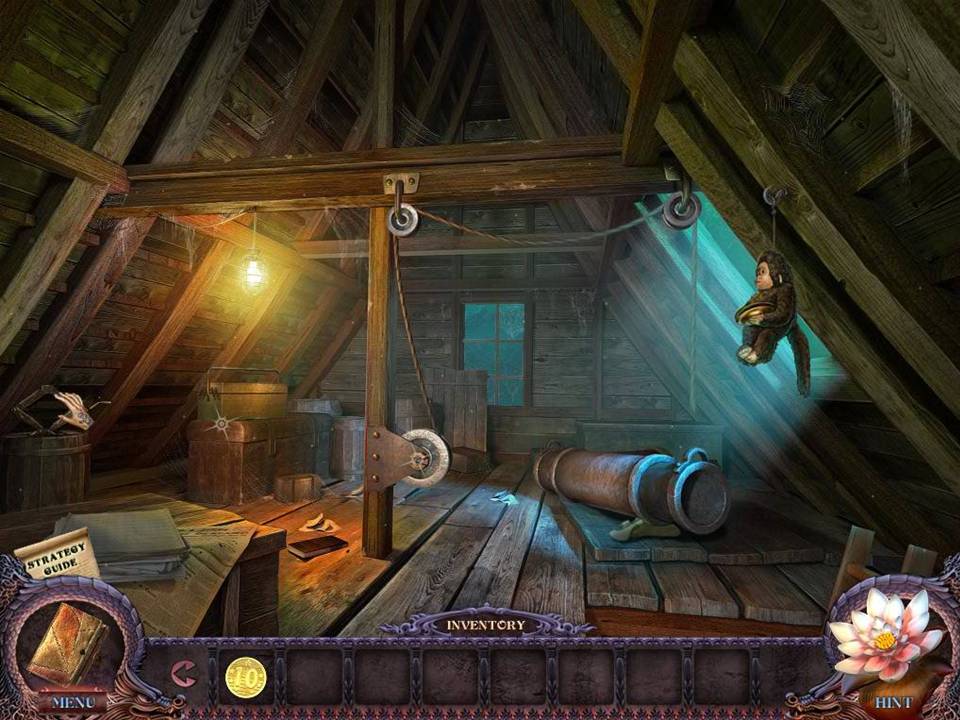
- Take the JACK on the left.
- Return to the kitchen.
- Play the hidden object area in the refrigerator.
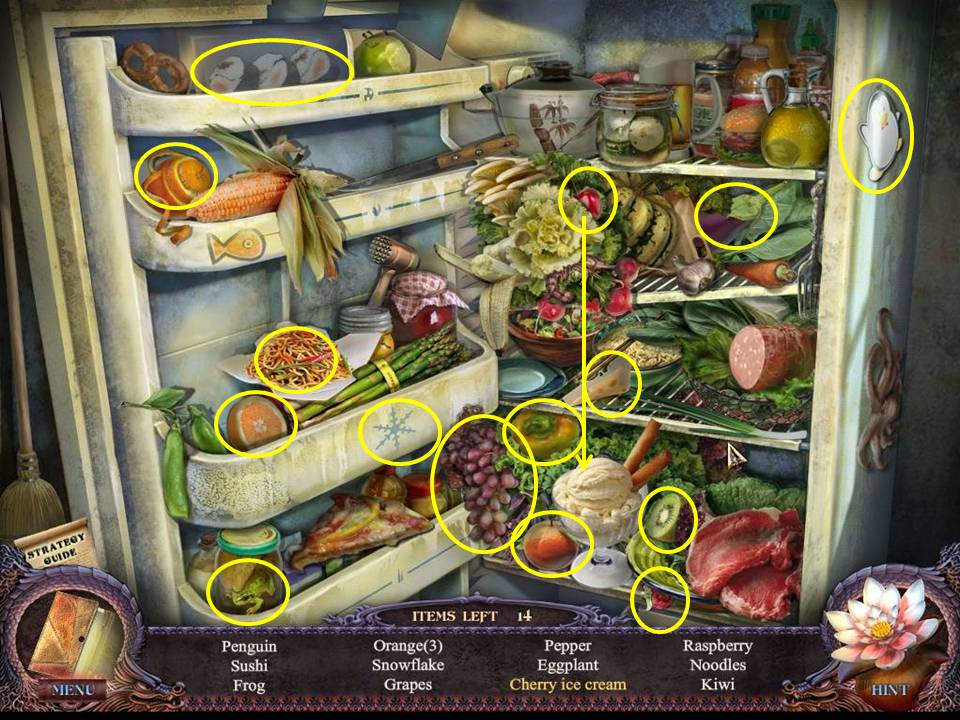
- Find the items listed.
- Place the cherry on the ice cream to get cherry ice cream.
- Receive the CHEESE.
- Return to the hotel room which is to the right of the lobby.
- The lobby should be dark.
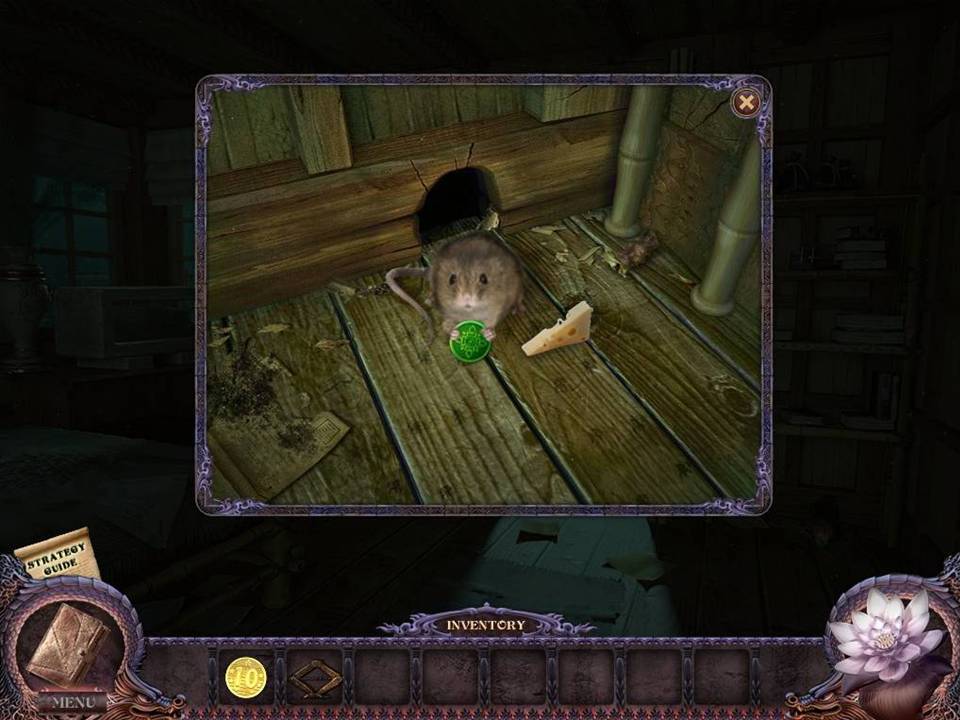
- Zoom into the bottom right corner beneath the shelf.
- Feed the mouse the CHEESE.
- Take the green PLAYING CHIP.
- Return to the hotel lobby.
- Turn on the lights.
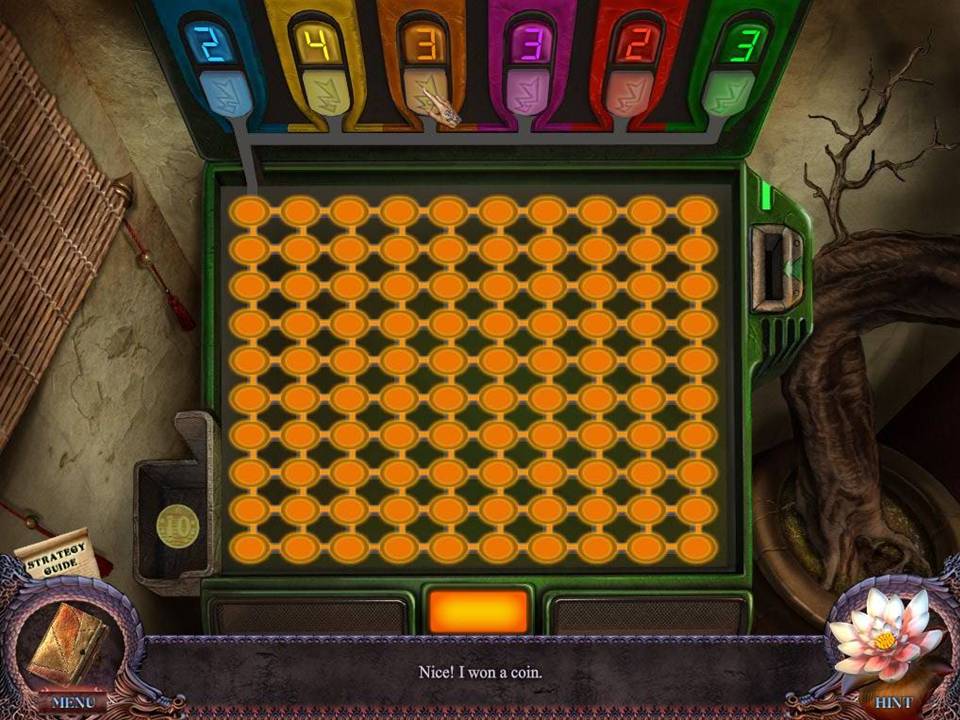
- Zoom into the green arcade machine in the left corner.
- Insert the green PLAYING CHIP into the slot on the right to initiate a puzzle.
- The object of the puzzle is to change the color of the bulbs until all are orange. Solutions vary.
- The following is one possible solution: Red, Purple, Blue, Green, Orange, Red, Blue, Purple, Yellow, Green, Red, Orange.
- When finished, take the COIN that appears in the slot to the left.
- Return to the Souvenir Shop.
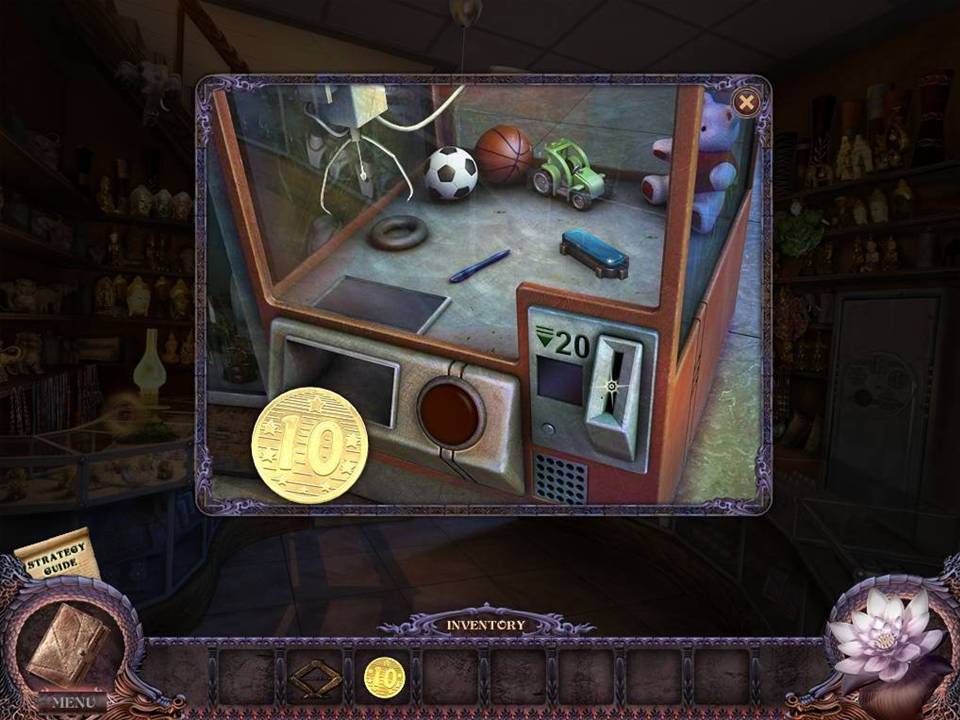
- Turn on the lamp on the left.
- Zoom into the claw machine near the bottom of the stairs.
- Insert two COINS into the slot.
- Click the large red button.
- The claw will retrieve the BUTTON.
- Take the BUTTON.
- Look for a hidden object area to appear in the corner of the room.
- Play the hidden object area.
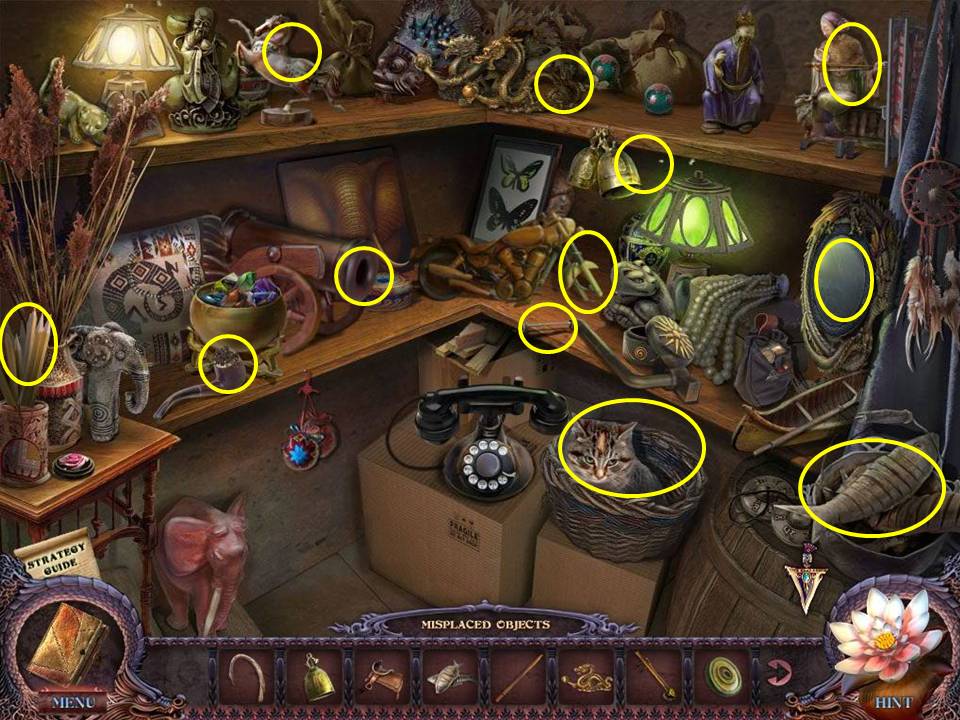
- Return the items shown at the bottom of the screen to their correct places.
- Receive the EMPTY HANDLE.
- Return to the ATTIC.
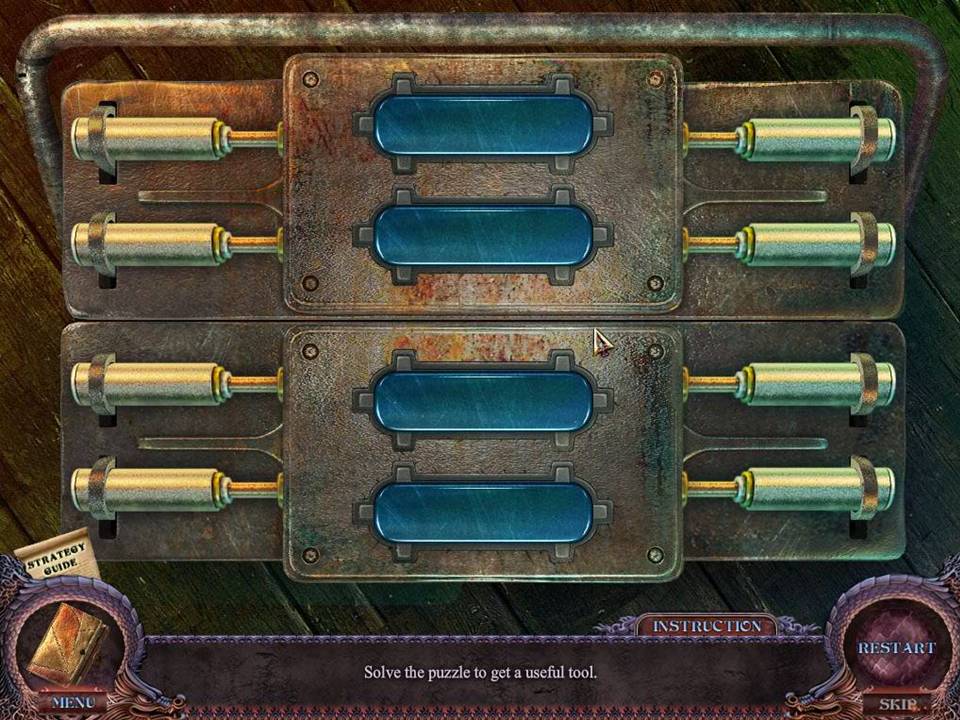
- Zoom into the toolbox beneath the light bulb on the left.
- Insert the BUTTON in the empty slot to initiate a puzzle.
- The object of the puzzle is to remove all of the bolts to open the toolbox.
- Assuming the bolts are numbered one to four from top to bottom.
- Click the following number pattern. 4, 3, 2, 1, and 2.
- Upon completion of the puzzle, take the WINDOW HANDLE from the toolbox.
- Return to the souvenir shop and go upstairs to the next area.
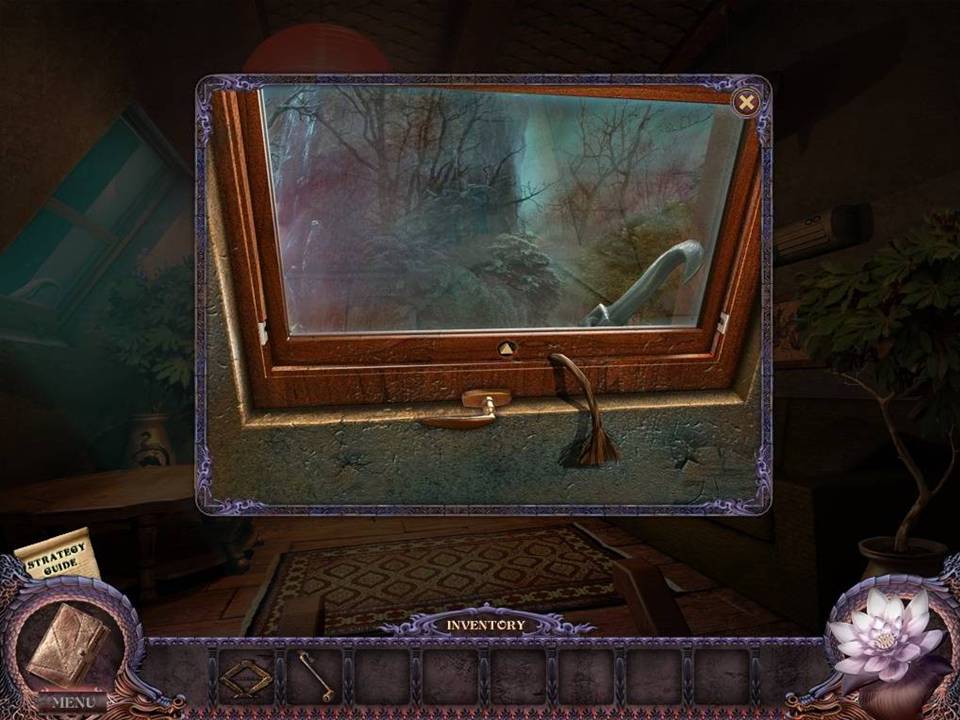
- Zoom into the window on the left.
- Open the window with the WINDOW HANDLE.
- Take the GRABHOOK.
- Return to the attic.
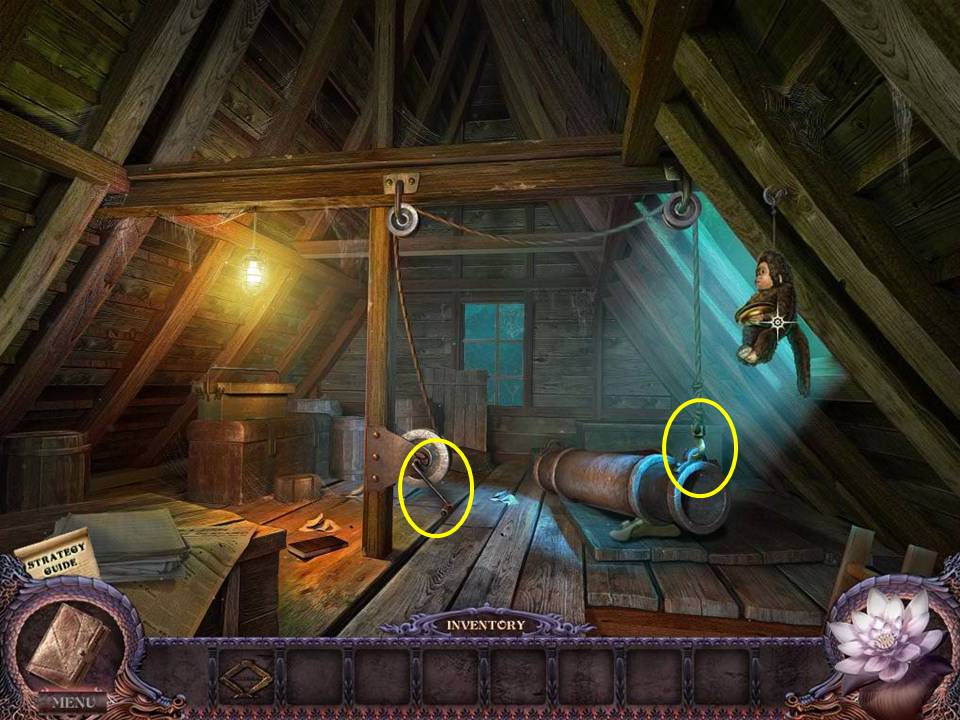
- Place the GRABHOOK on the rope at right.
- Place the HANDLE on the wheel at the base of the support post in the middle of the room.
- Take the revealed SPECIAL ITEM.
- Return to the pool.
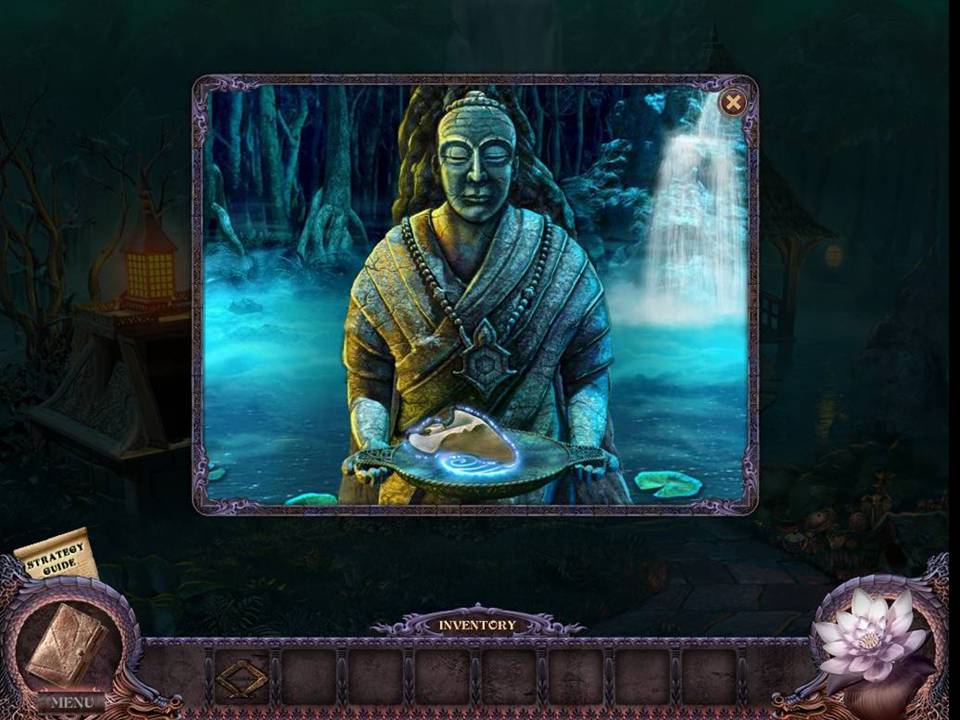
- Zoom into the stone statue.
- Place the SPECIAL ITEM on the statue to transform it to the LIZARD PLATE.
- Take the LIZARD PLATE.
- Return to the mine car.
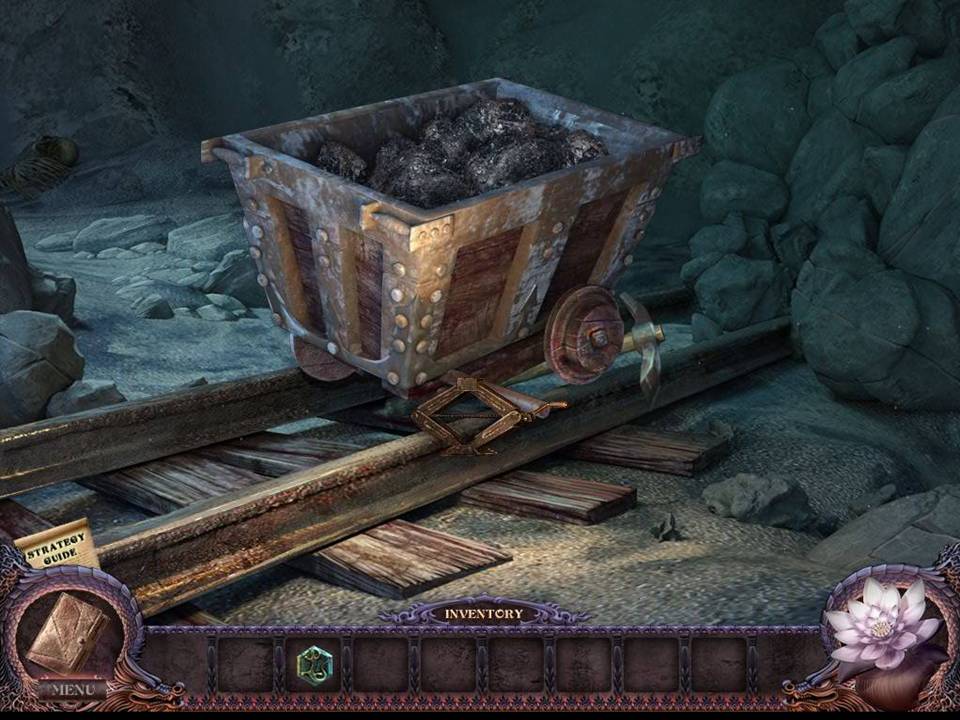
- JACK the mine car to lift it.
- Take the PICKAXE.
- Return to the souvenir shop’s back room.
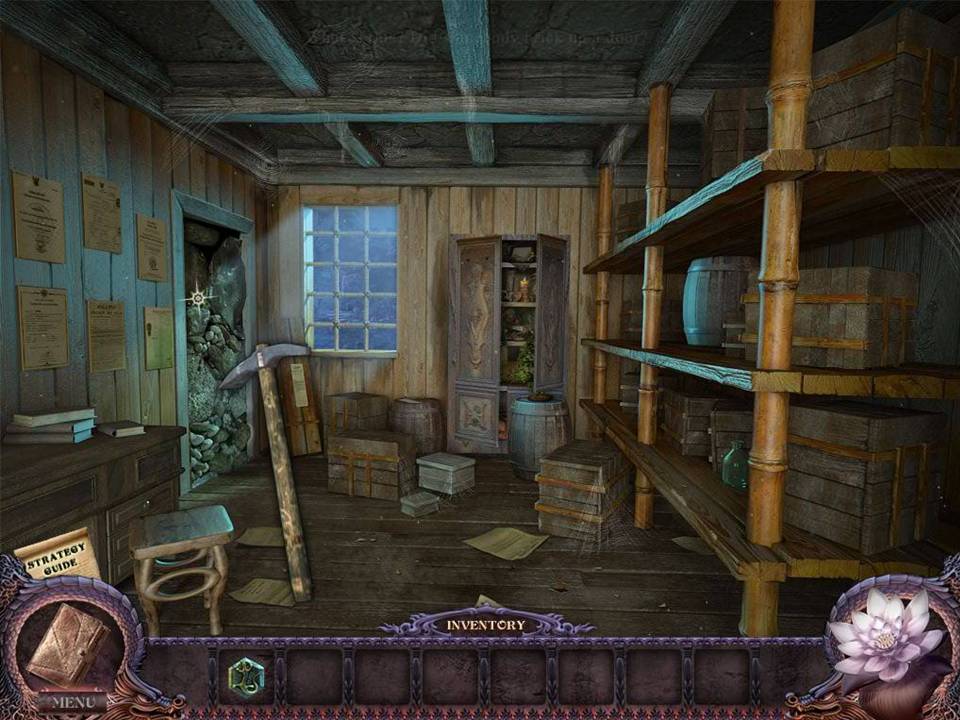
- Make sure the lights are off.
- PICKAXE the rocks blocking the doorway.
- Move inside to the office.
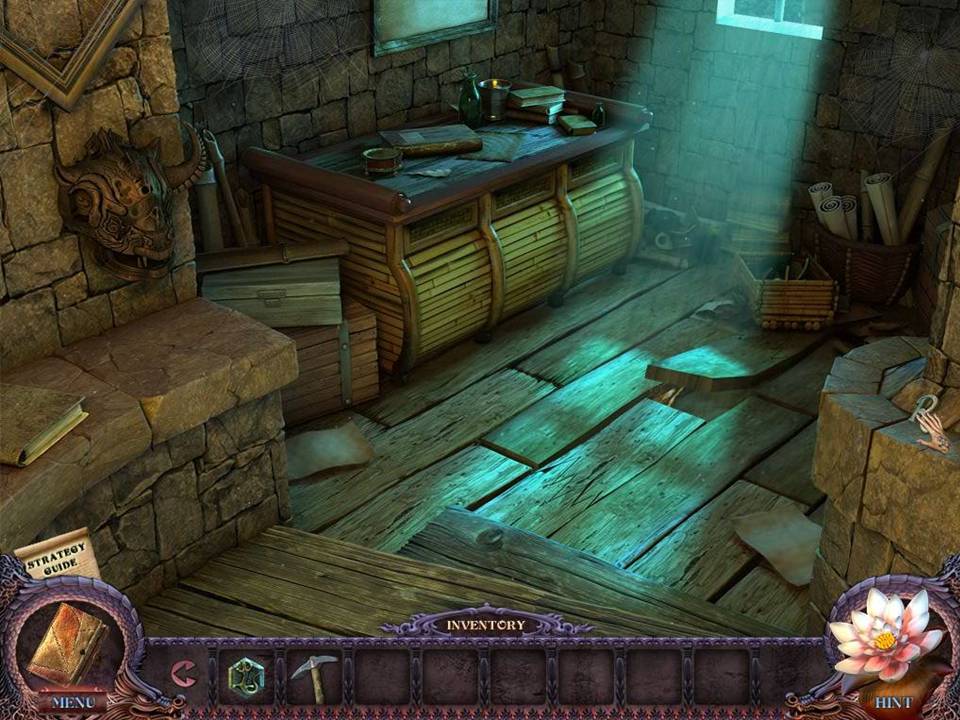
- Examine the office.
- Take the LETTER on the right.
- Return to the back room.
- Play the hidden object area over the cabinet at the back of the room.
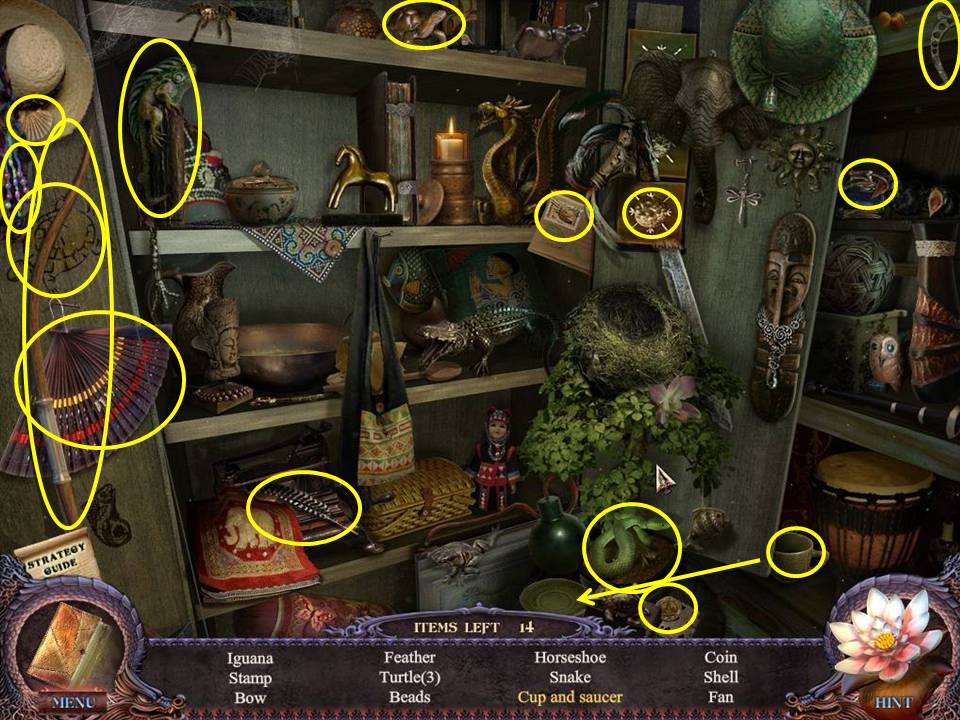
- Find the items listed.
- Reunite the cup with the saucer.
- Receive the INK.
- Return to the office.
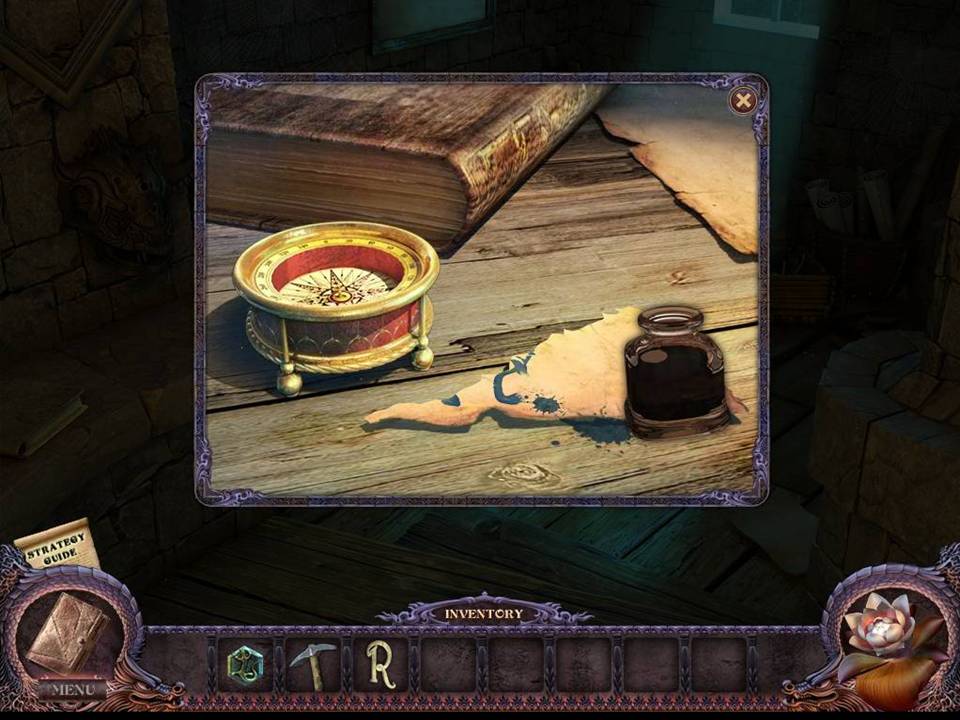
- Zoom into the desk.
- Place the INK on the scrap of paper to reveal a CODE.
- Take the CODE.
- Return to the museum entrance.
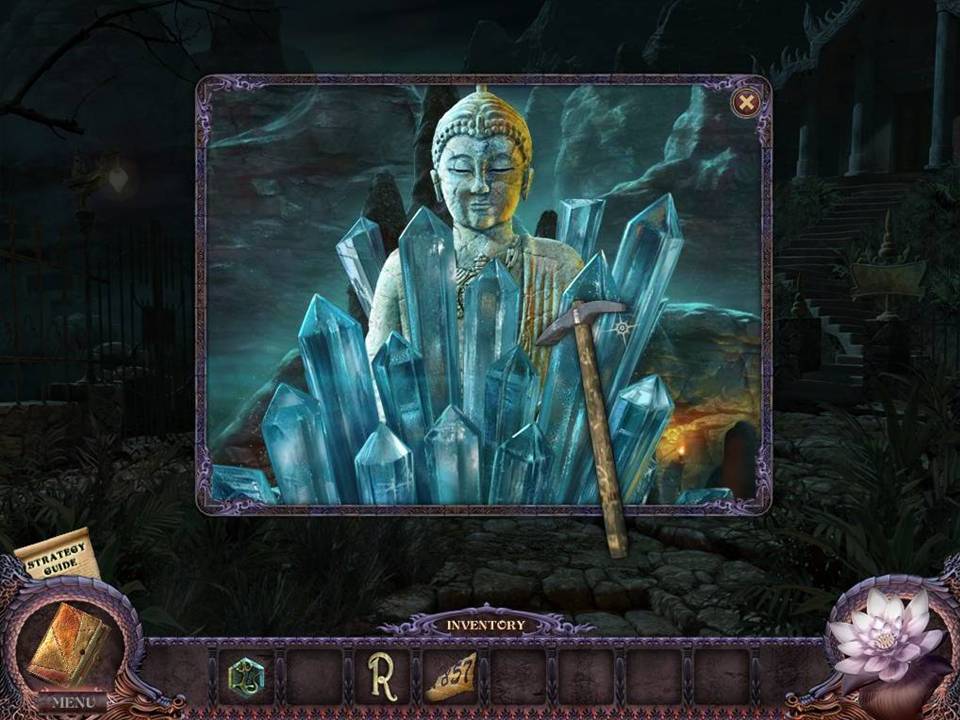
- Zoom into the statue surrounded by crystal.
- PICKAXE the crystal to release the statue.
- Take the TIGER PLATE. Return to the souvenir shop.
- Turn on the lamp at left and move up the stairs.
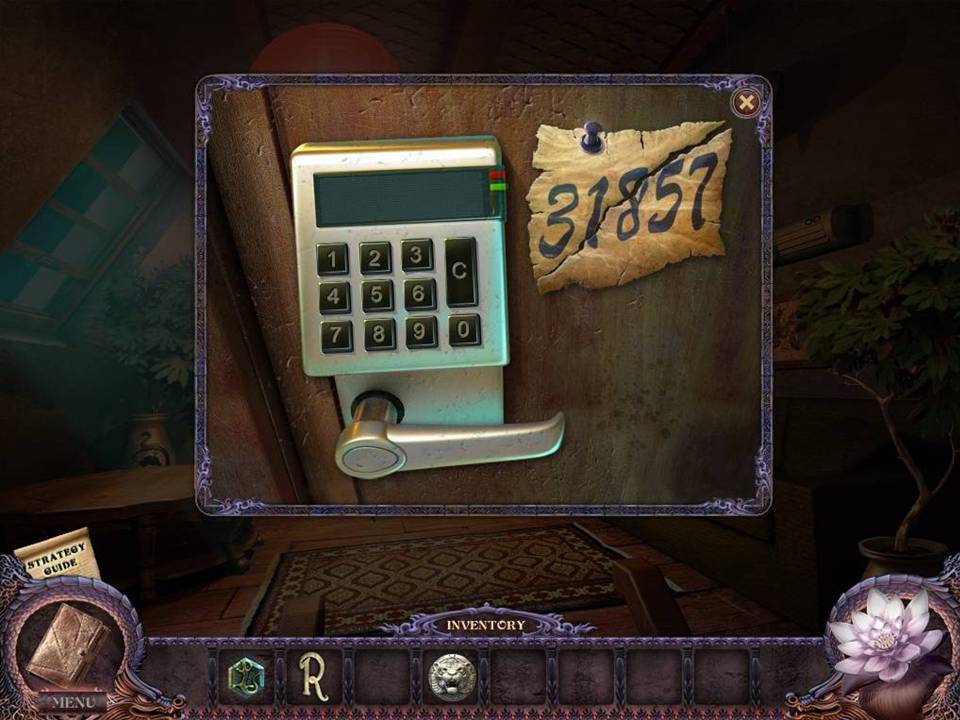
- Zoom into the door.
- Input the CODE on the scrap of paper pinned to the door to obtain the door code (31857).
- Input that code.
- Enter the closet.
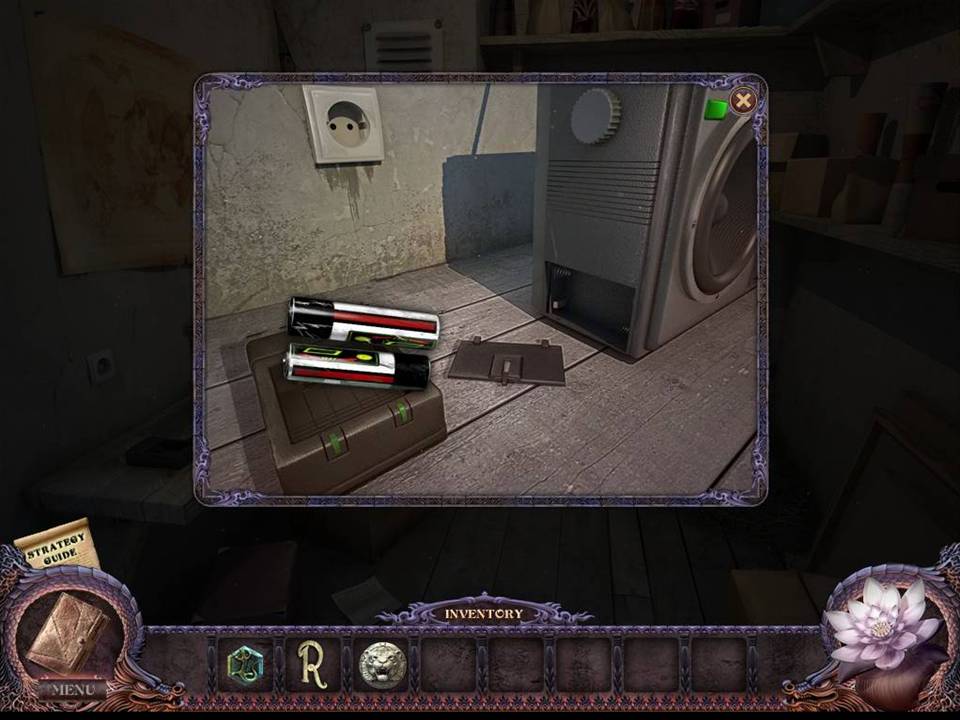
- Zoom into the shelf on the left.
- Click on the batteries inside the radio to place them in the charger.
- Leave the zoomed in view.
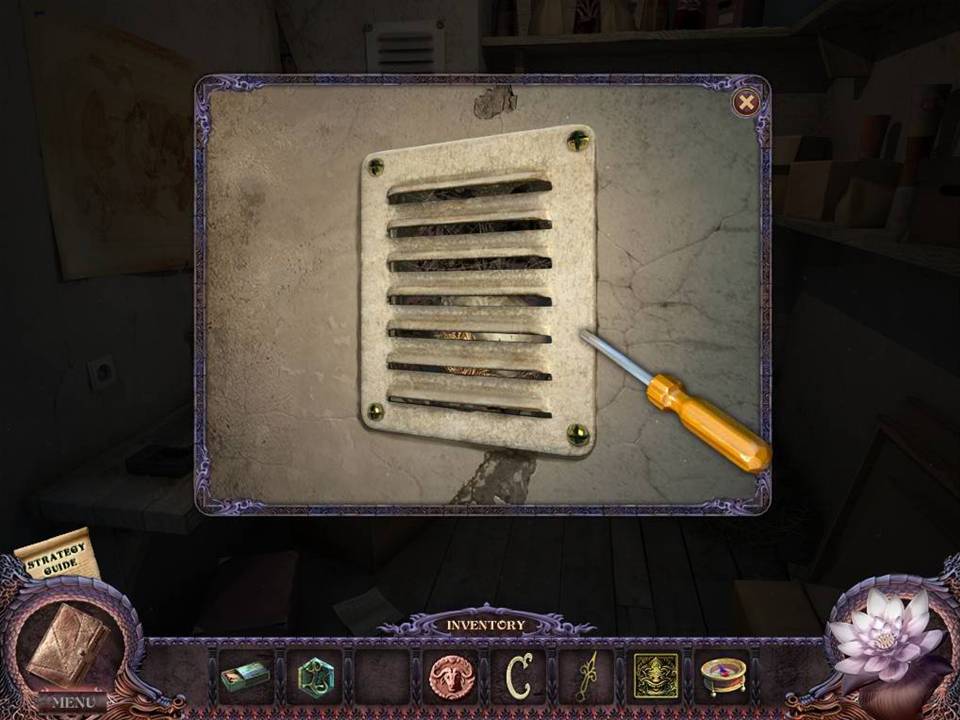
- While still in the closet, zoom into the vent on the upper wall.
- Remove the screws with the SCREWDRIVER.
- Remove the vent panel.
- Take the SPECIAL ITEM inside.
- Return to the garden which you reach through the hotel room.
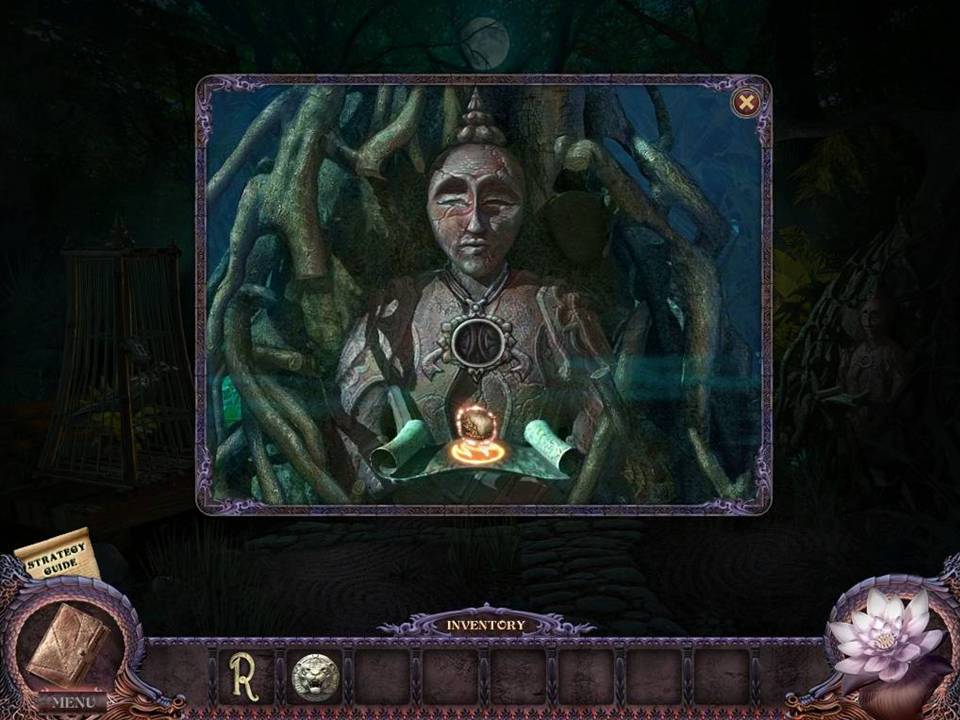
- Zoom into the statue on the right.
- Place the SPECIAL ITEM on the plate.
- Take the BULL PLATE that appears.
- Return to the plaza which is to the right of the fountain.
Comments will load when you reach this part of the walkthrough.