Chapter 6: The Bull Temple
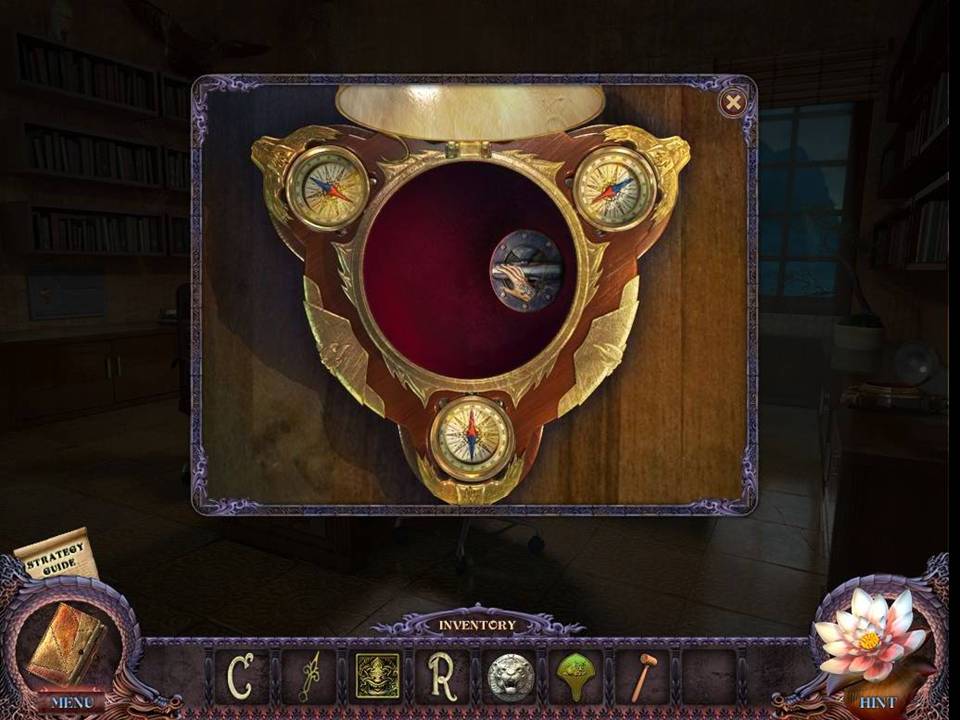
- Zoom into the dome on the desk at right.
- Place the two COMPASSES in the circular spaces.
- Take the SAFE HANDLE inside the opening.
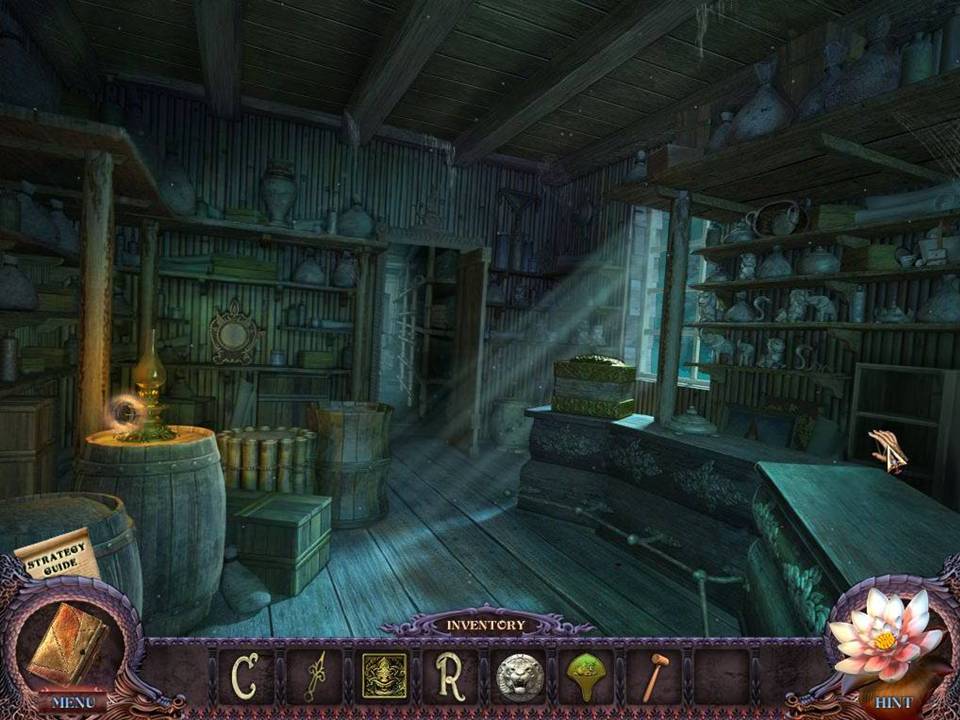
- Return to the Souvenir Shop.
- Turn on the lights.
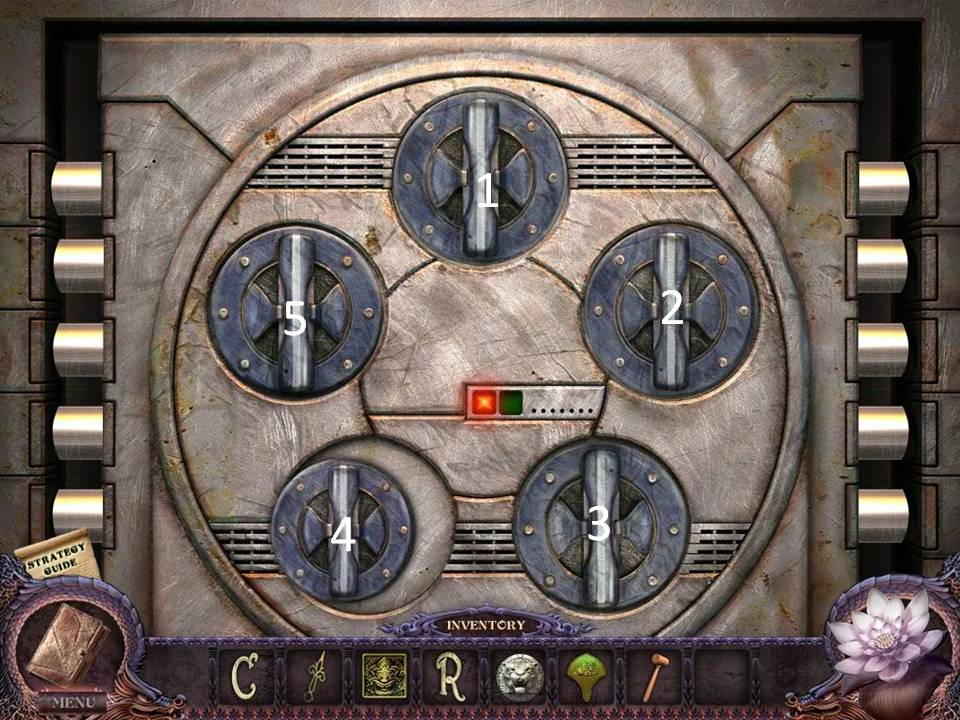
- Zoom into the safe on the right.
- Place the SAFE HANDLE in position to initiate a puzzle.
- The object of the puzzle is to remove all of the bolts to open the safe. This is accomplished by clicking safe handles.
- Assuming the handles are numbered 1 to 5 beginning at the top and moving clockwise, you need to click 2, 4, and 5.
- Upon completion of the puzzle, turn off the lamp on the barrel to the left.
- Take the LETTER “V” the appears in the open safe.
- Return to the Museum Office.
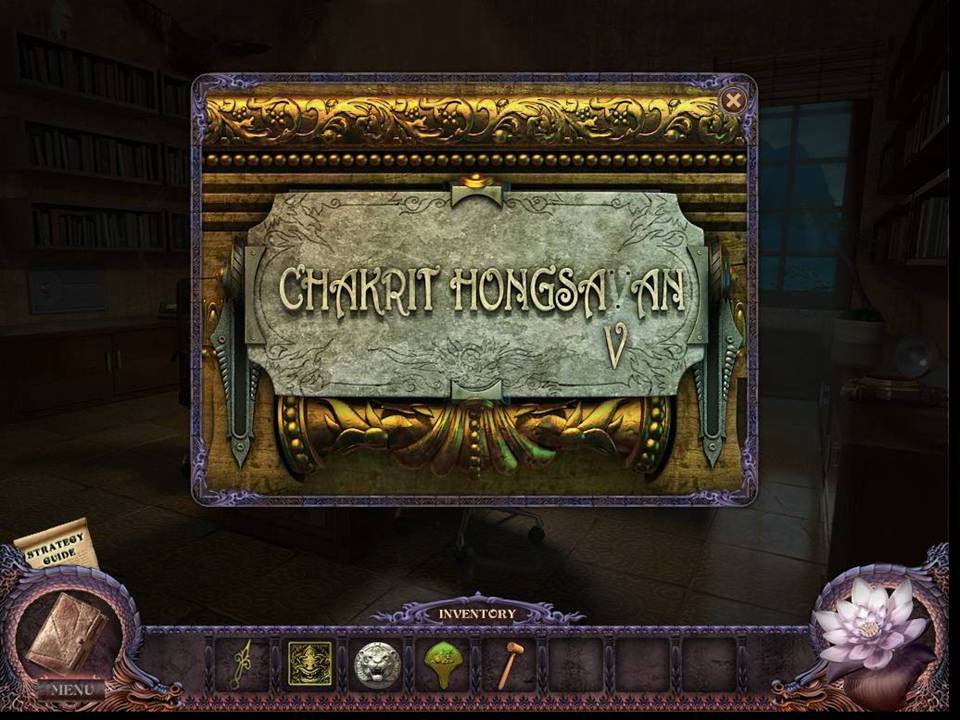
- Zoom into the portrait hanging on the wall near the window.
- Place the three LETTERS in their proper locations on the nameplate.
- Take the SPECIAL ITEM.
- Return to the Museum Entrance.
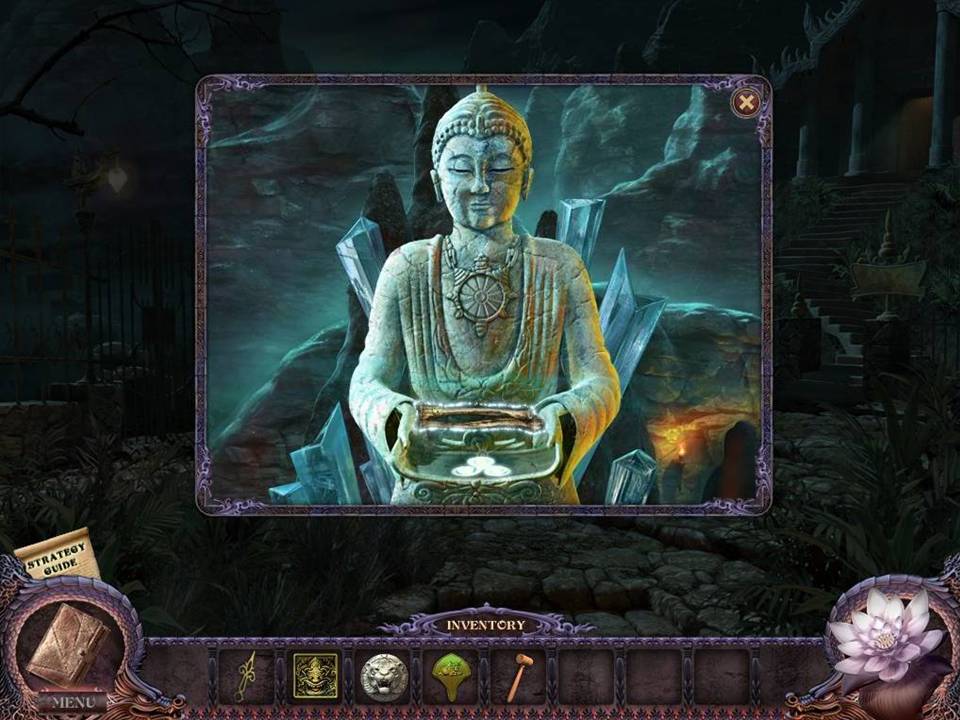
- Zoom into the stone statue.
- Place the SPECIAL ITEM on the statue to turn it into a BOLT CUTTER.
- Take the BOLT CUTTER.
- Return to the Pool.
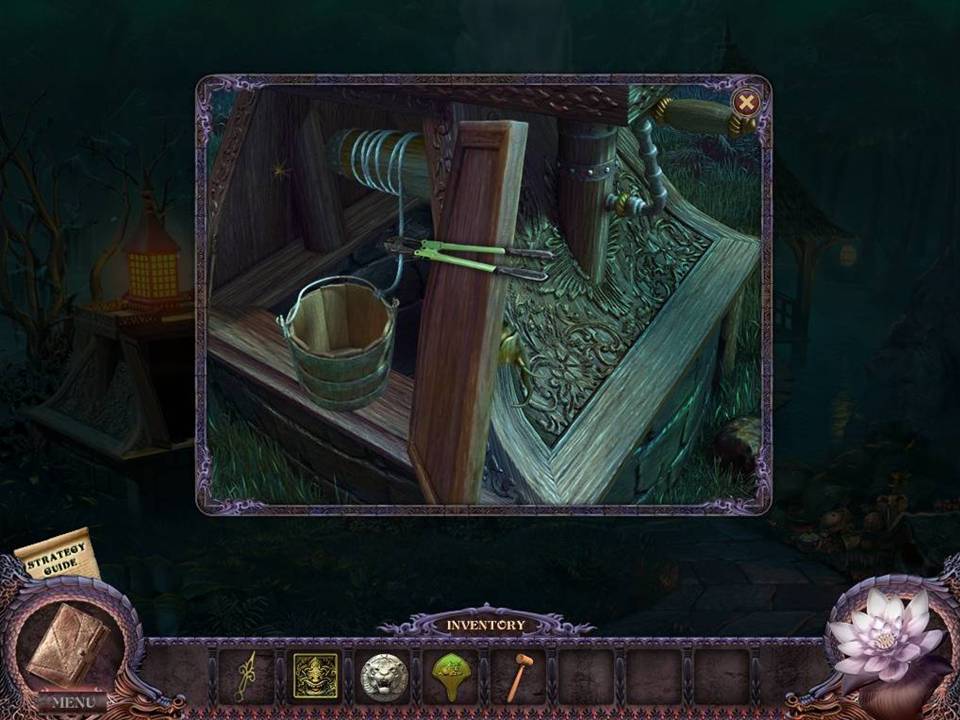
- Zoom into the well on the left.
- Cut the cable holding the BUCKET with the BOLT CUTTER.
- Take the BUCKET.
- Move forward to the Dock.
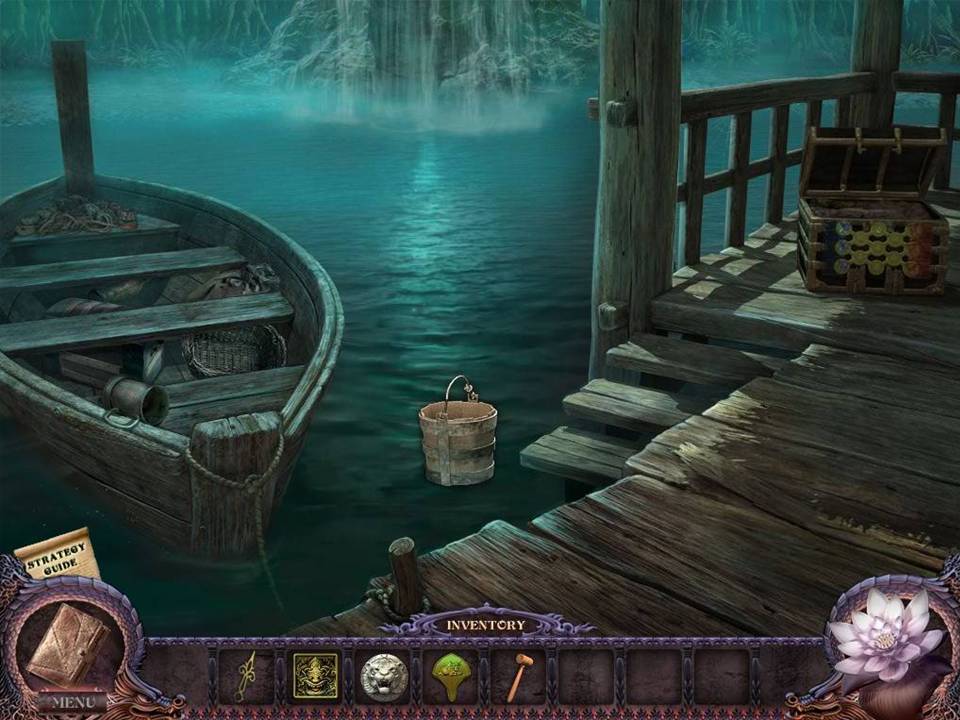
- Scoop water between the dock steps and the boat to obtain the FILLED BUCKET.
- Take the FILLED BUCKET.
- Return to the Crossroads.
- Play the hidden object area over the suitcase.
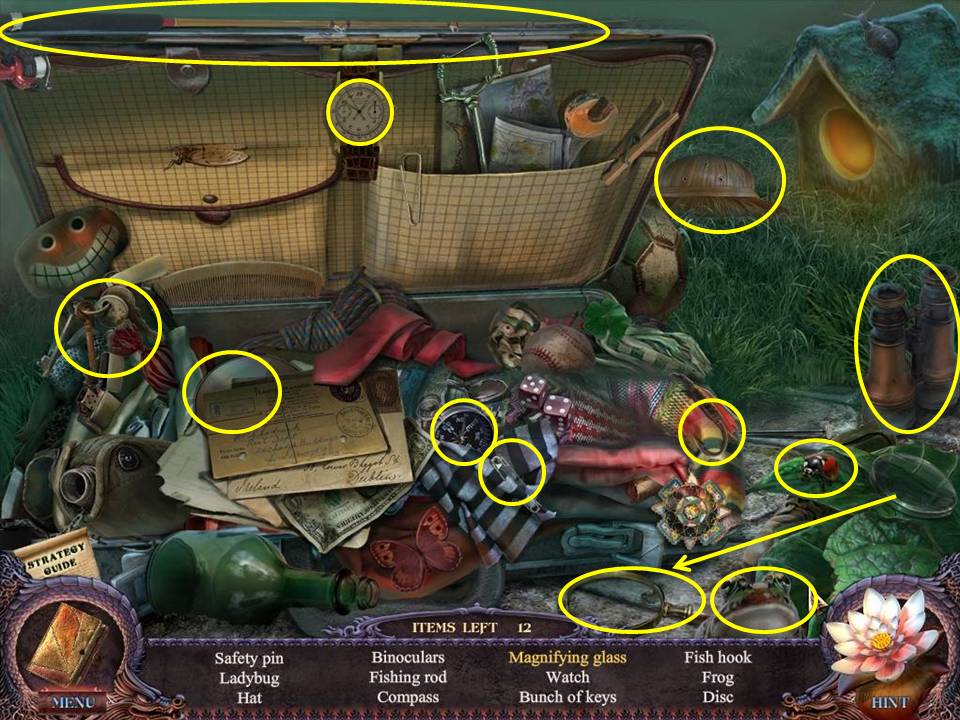
- Find the items listed.
- Place the lens inside the magnifying glass to get the magnifying glass.
- Receive the SCOOP NET.
- Return to the Hotel Room.
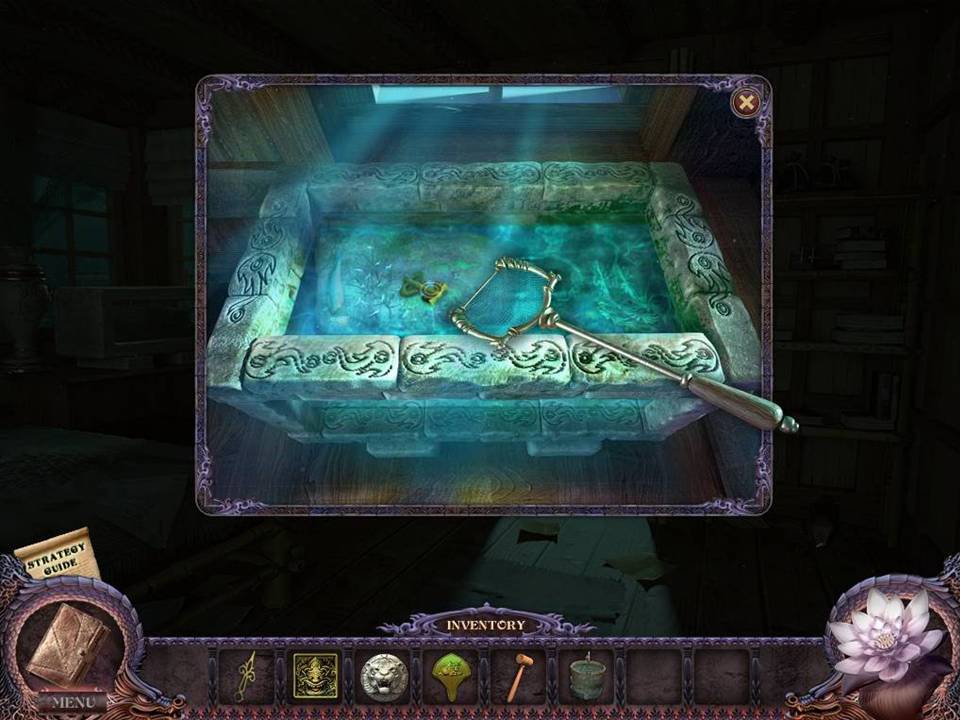
- Zoom into the stone tank on the table in the left corner.
- Scoop out the CAGE KEY with the SCOOP NET.
- Take the CAGE KEY.
- Return to the Garden.
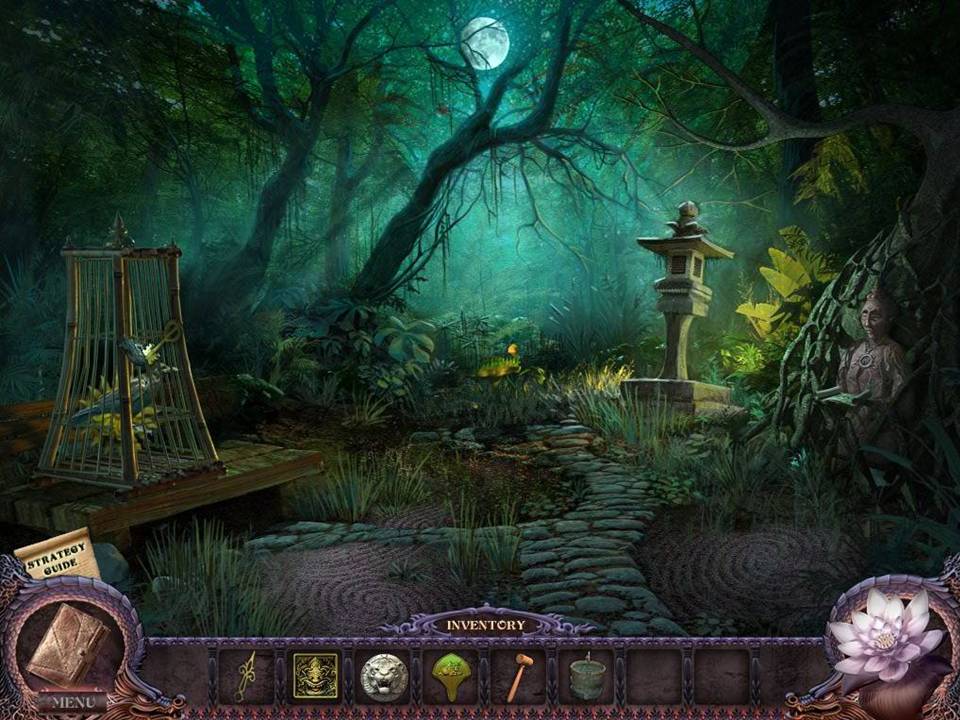
- Open the birdcage on the left with the CAGE KEY.
- Take the SUN.
- Return to the Museum.
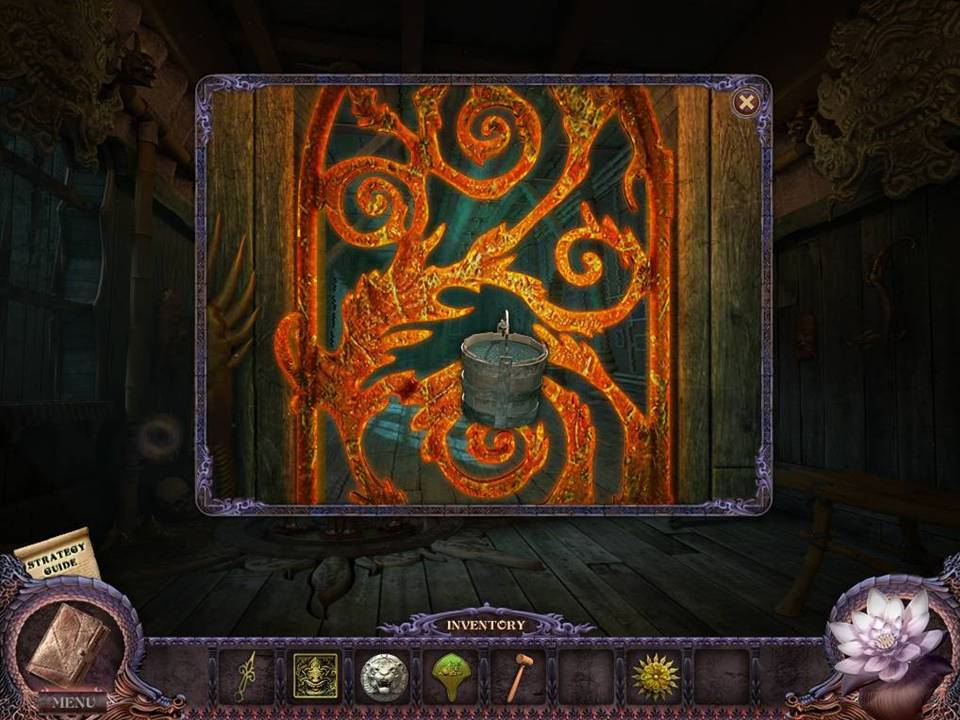
- Make sure the room is dark, then zoom into the doorway on the left.
- Cool the door with the FILLED BUCKET.
- Go through the door into the Hallway and play the hidden object area on the left wall.
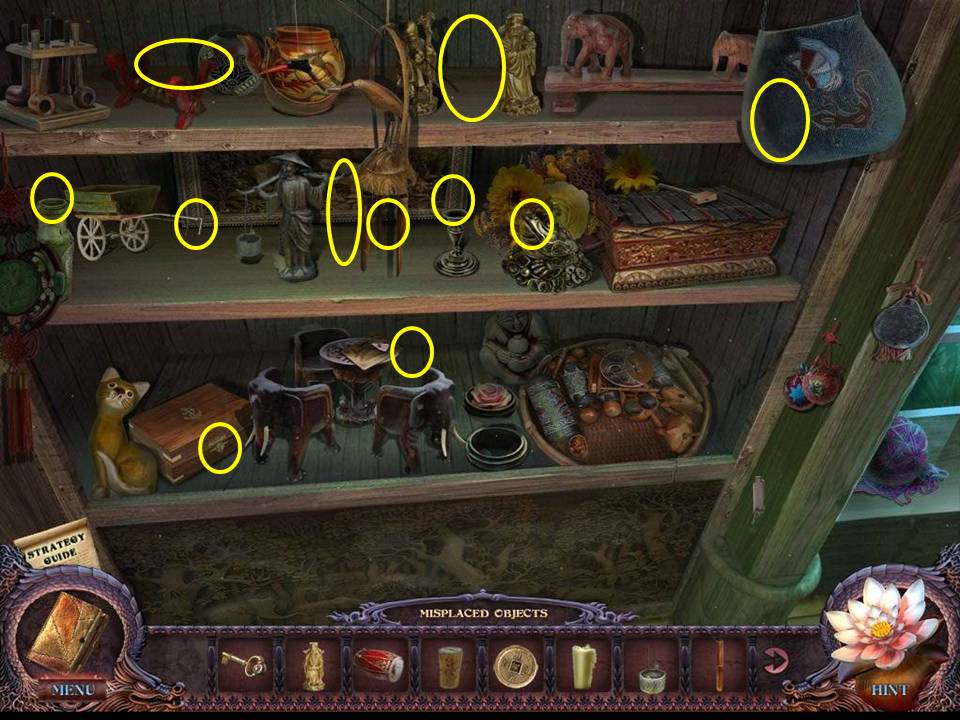
- Return the items shown at the bottom of the screen to their correct places.
- Receive the EAGLE HEAD.
- Zoom into the end of the hall.
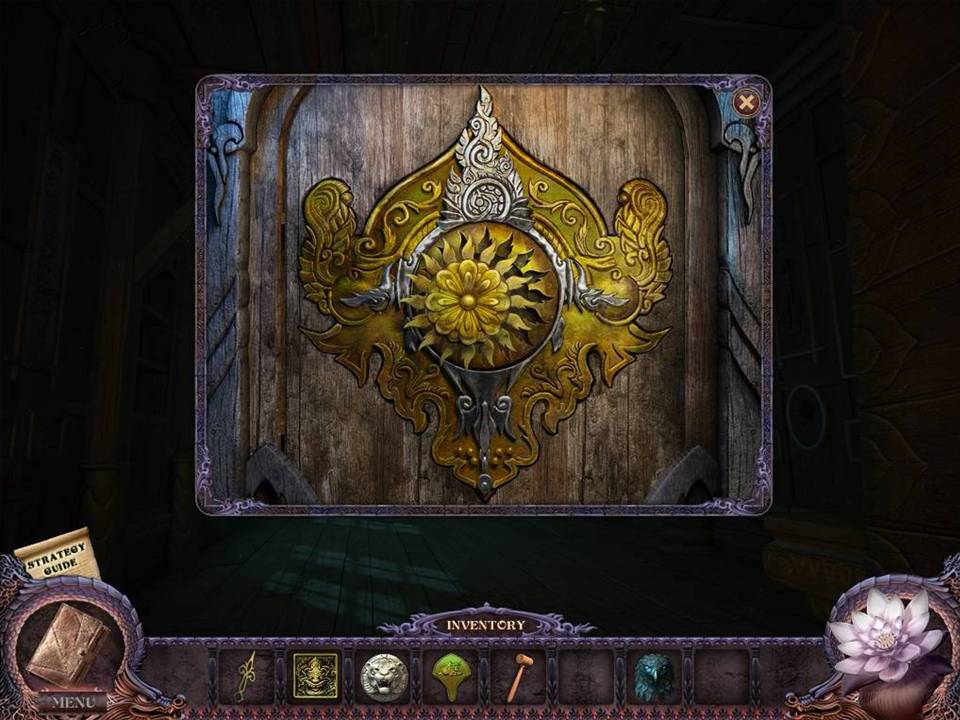
- Place the SUN in the groove.
- Take the METAL ELEMENT and the CLOCK HAND from inside the cabinet.
- Return to the Museum.
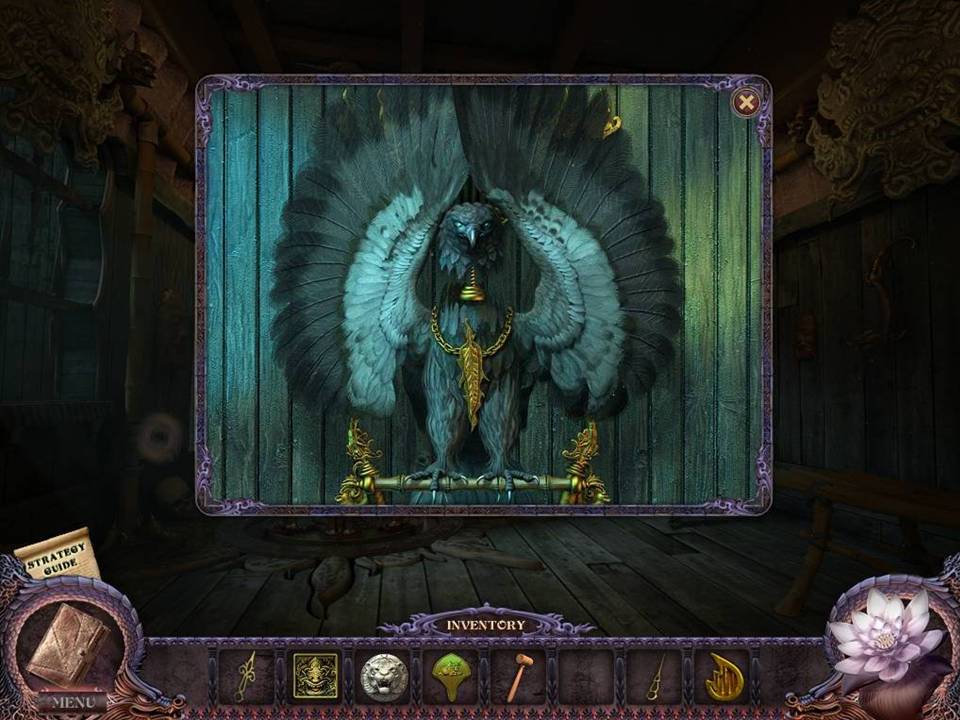
- Zoom into the eagle at the back of the room.
- Place the EAGLE HEAD on the eagle.
- Turn on the lights.
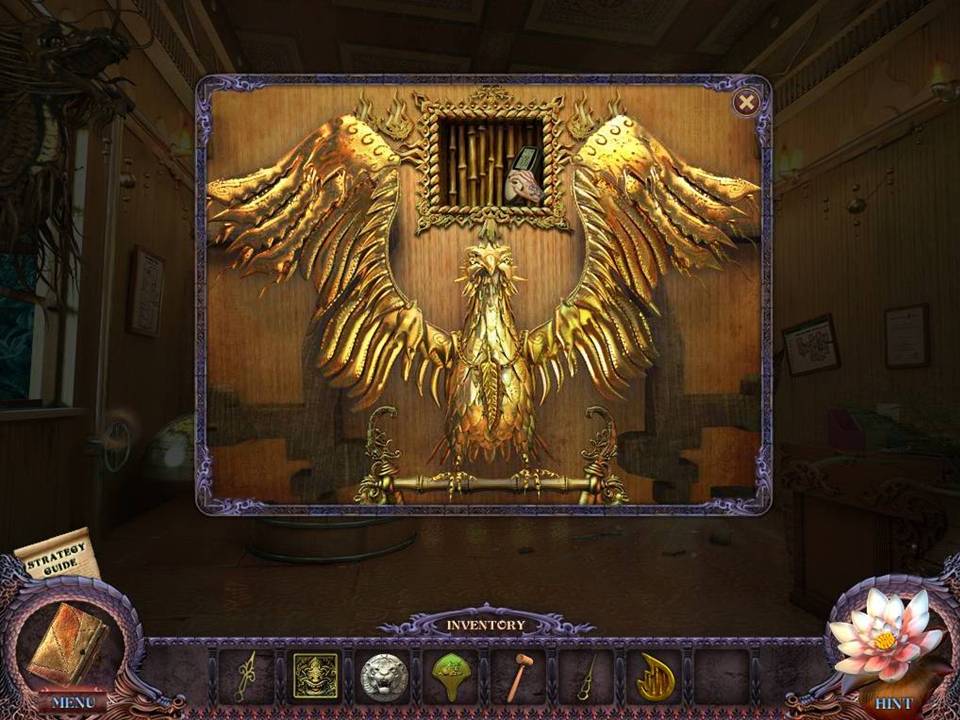
- Zoom into the now-gold eagle.
- Take the REMOTE CONTROL.
- Return to the Lizard Temple.
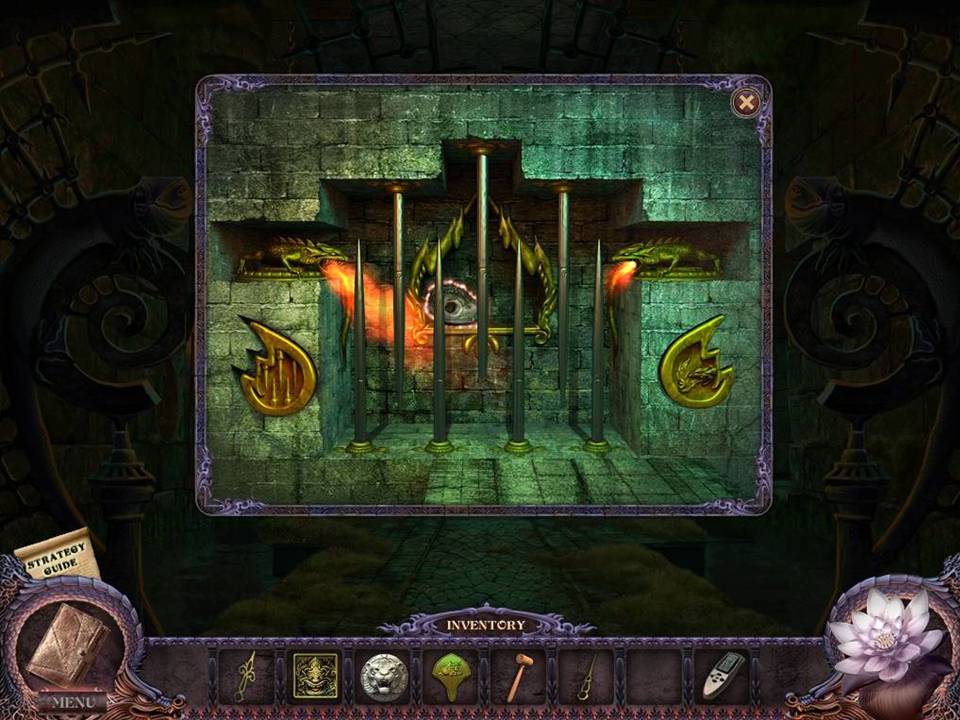
- Zoom into the bars on the left.
- Insert the METAL ELEMENT in the slot on the left.
- Click on both buttons to remove the bars.
- Take the SPECIAL ITEM.
- Return to the Garden.
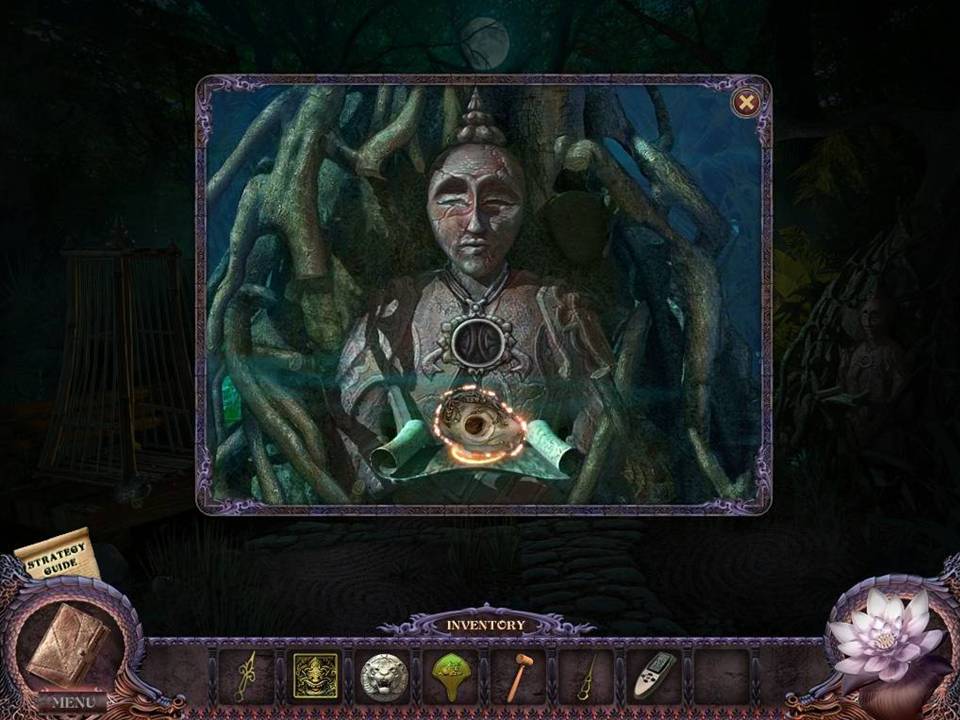
- Zoom into the stone statue on the right.
- Place the SPECIAL ITEM on the statue to transform it into the UNCHARGED RED CRYSTAL.
- Take the UNCHARGED RED CRYSTAL.
- Return to the Basement inside the hut.
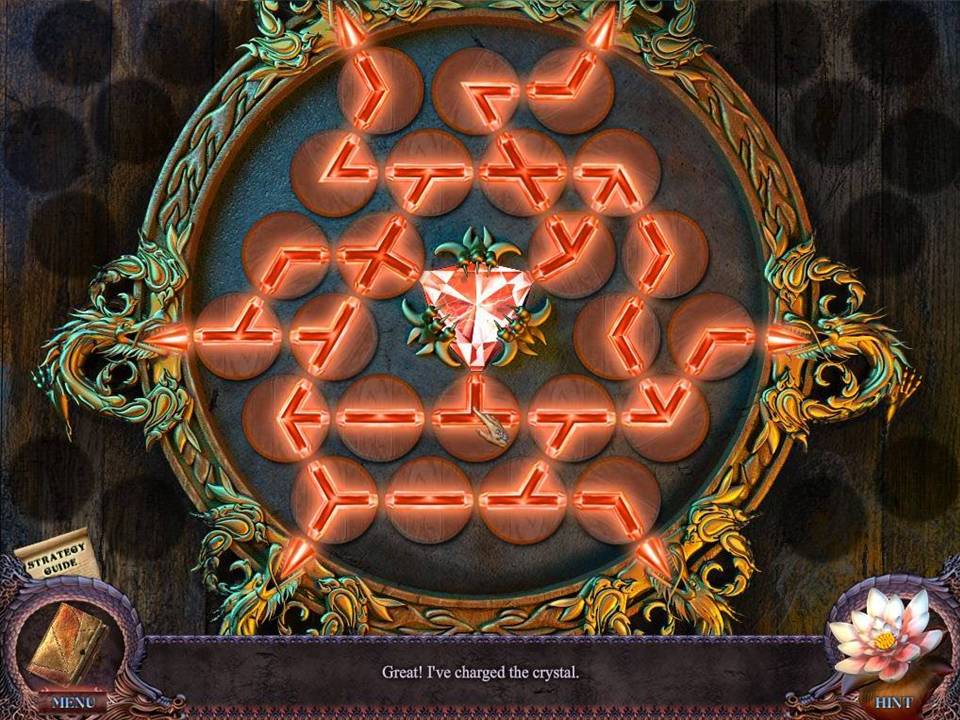
- Zoom into the red pedestal on the lower left.
- Place the UNCHARGED RED CRYSTAL on it to initiate a puzzle.
- The object of the puzzle is to create a connected path between the small crystals and the central crystal.
- See screenshot for solution.
- Upon completing the puzzle, take the CHARGED RED CRYSTAL.
- Return to the Museum.
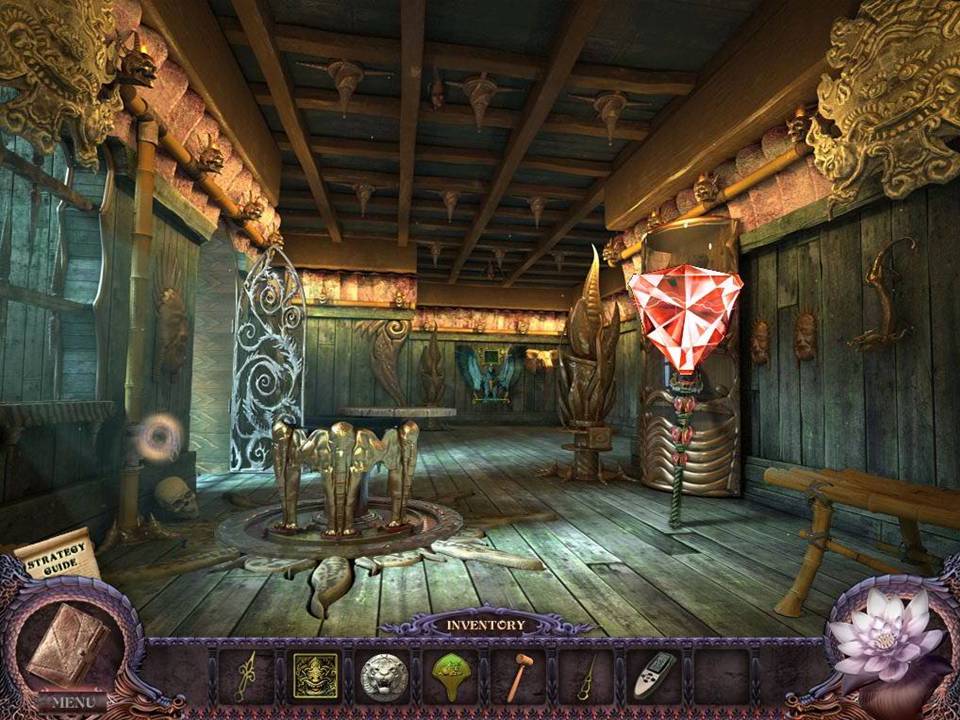
- Turn off the light valve.
- Place the CHARGED RED CRYSTAL on the right hand staff.
- Take the RED STAFF.
- Return to the Bull Temple.
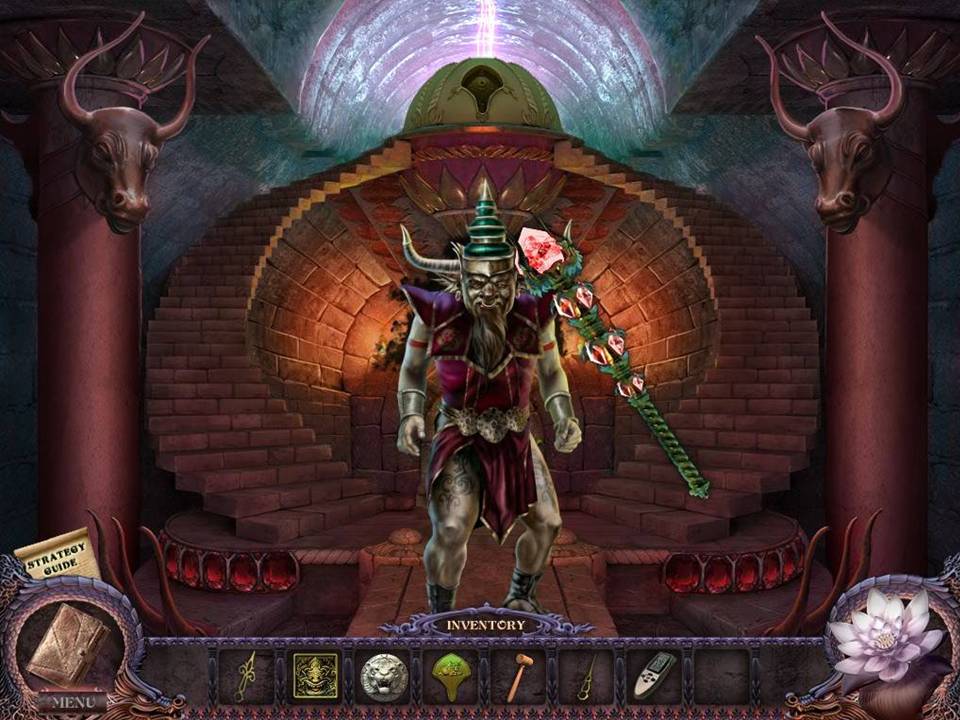
- Use the RED STAFF on the bull.

- Zoom into the dome at the top of the steps.
- Place the BUFFALO PUSH BUTTON on the empty space.
- Then click to open the dome.
- Zoom into the ray of light to initiate a puzzle.
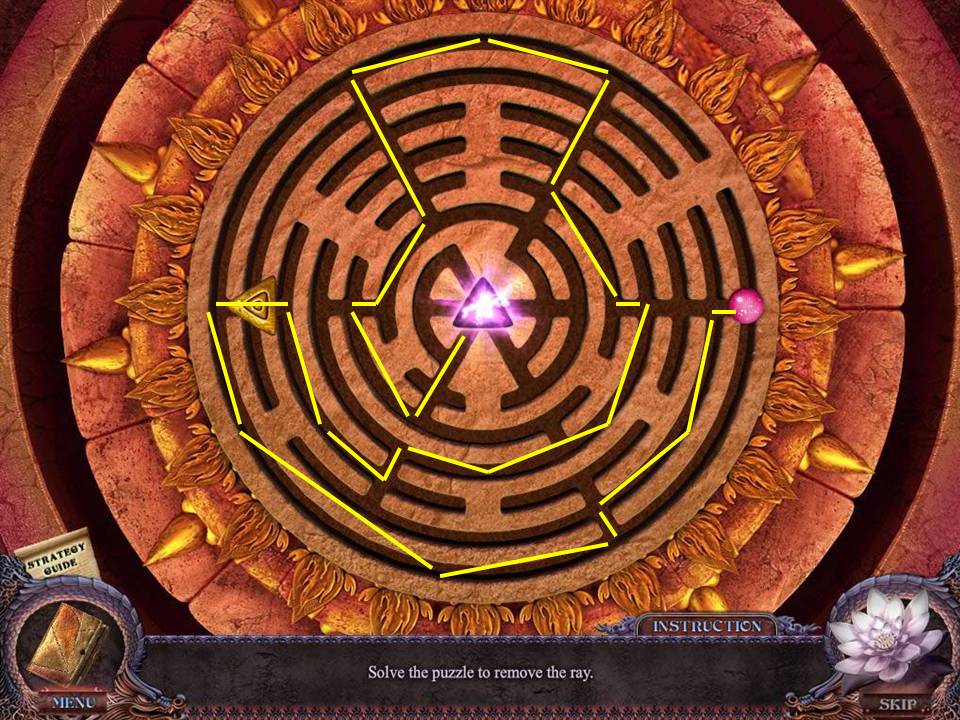
- The object of the puzzle is to move the lid through the maze and into the center to block the ray.
- See screenshot for solution.
- Upon completion, the ray of light will disappear.
- Return to the Plaza.
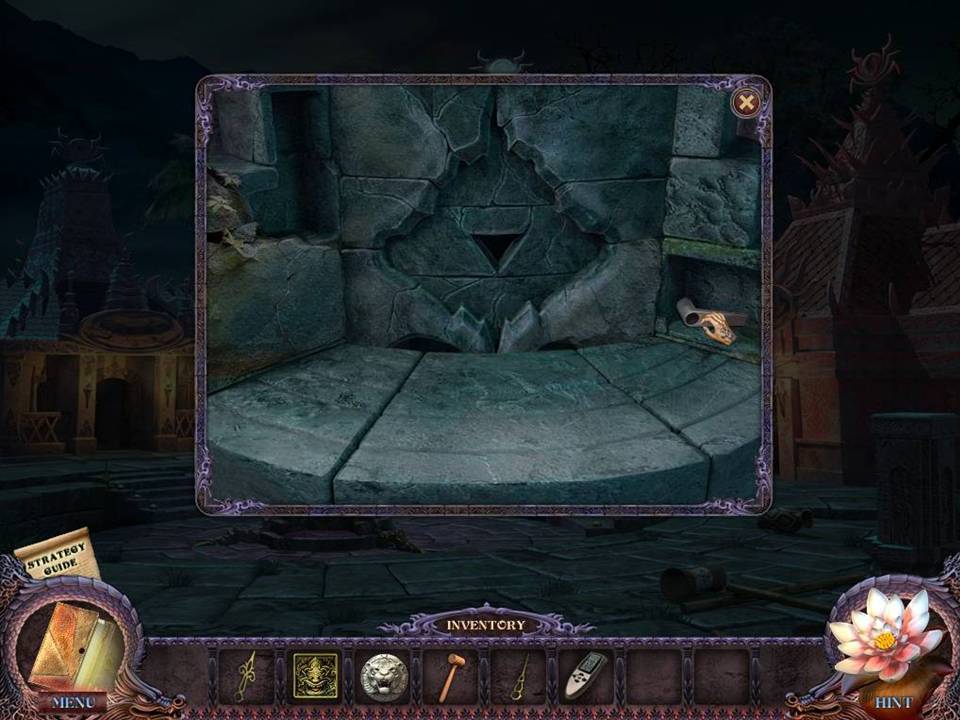
- Zoom into the base of the pedestal.
- Take the HANDLE.
- Return to the upstairs level of the Souvenir Shop.
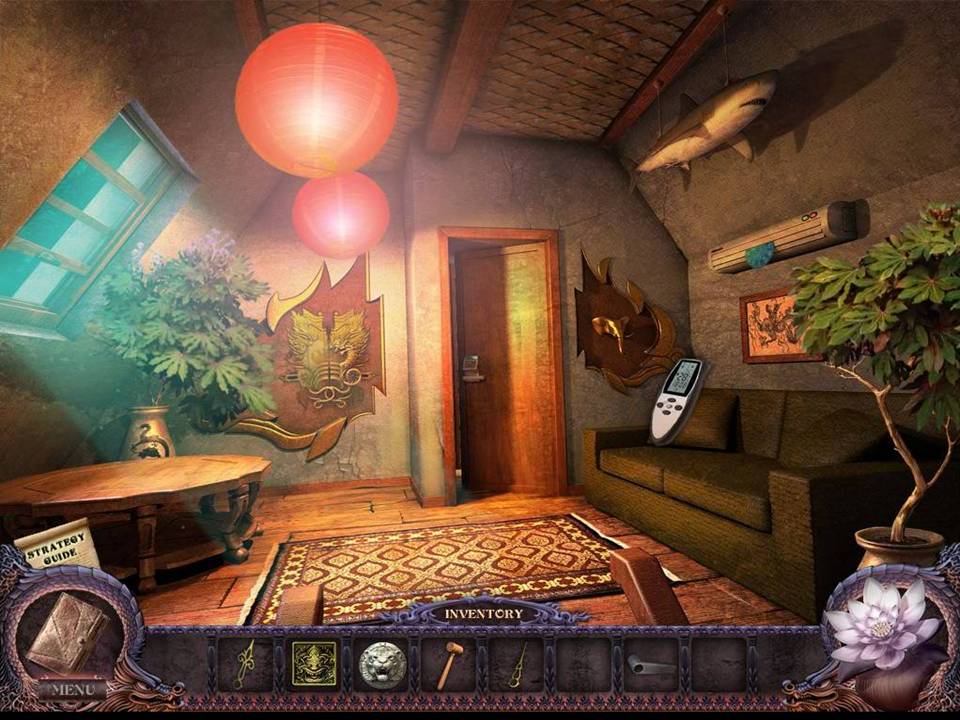
- Use the REMOTE CONTROL on the air conditioner above the couch.
- Take the CLOCK FACE that falls on the couch.
- Go downstairs.
- Turn off the lamp.
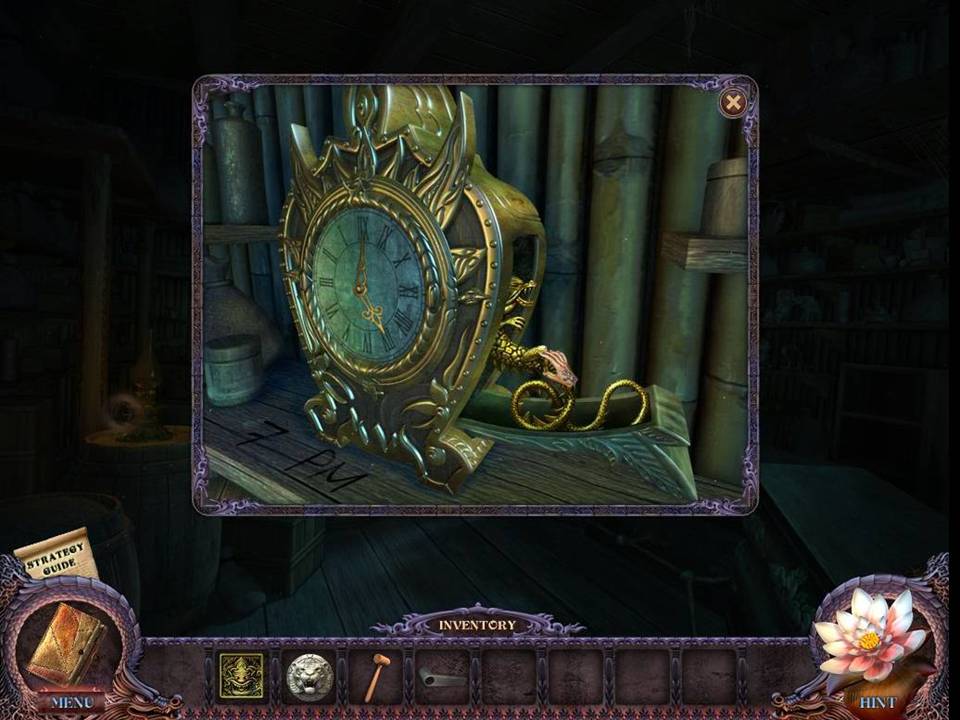
- Zoom into the clock on the back shelf to the left of the door.
- Place the CLOCK FACE and both CLOCK HANDS on the clock.
- Reset the clock to 7:00.
- Because the clock face is backward, you will need to put the hands in the 5:00 position.
- When finished, take the GOLDEN DRAGON.
- Turn the lamp on and go upstairs.
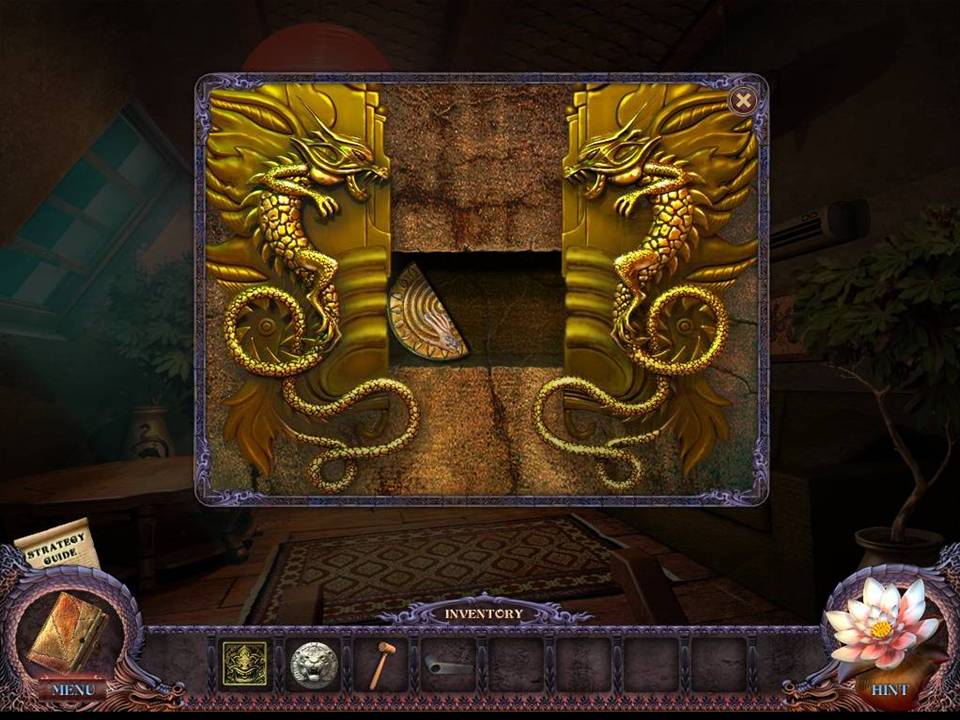
- Zoom into the design on the wall to the left of the door.
- Place the GOLDEN DRAGON in the open space on the left to reveal and hidden compartment.
- Take the MOON HALF inside.
- Return to the Museum Hallway.
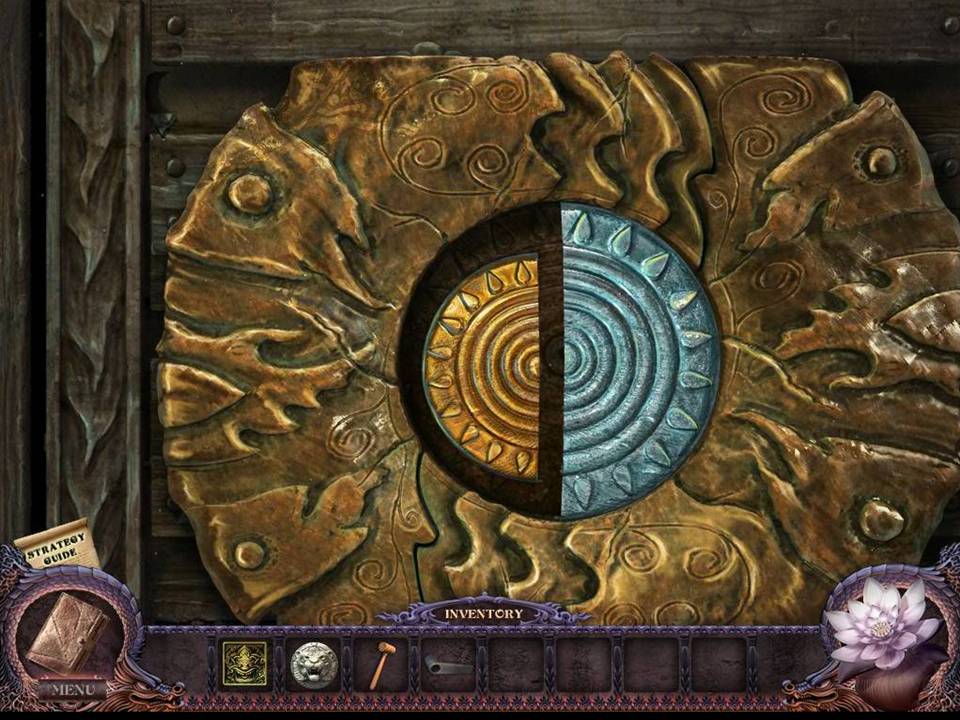
- Zoom into the door on the right.
- Place the MOON HALF in the empty space to initiate a puzzle.
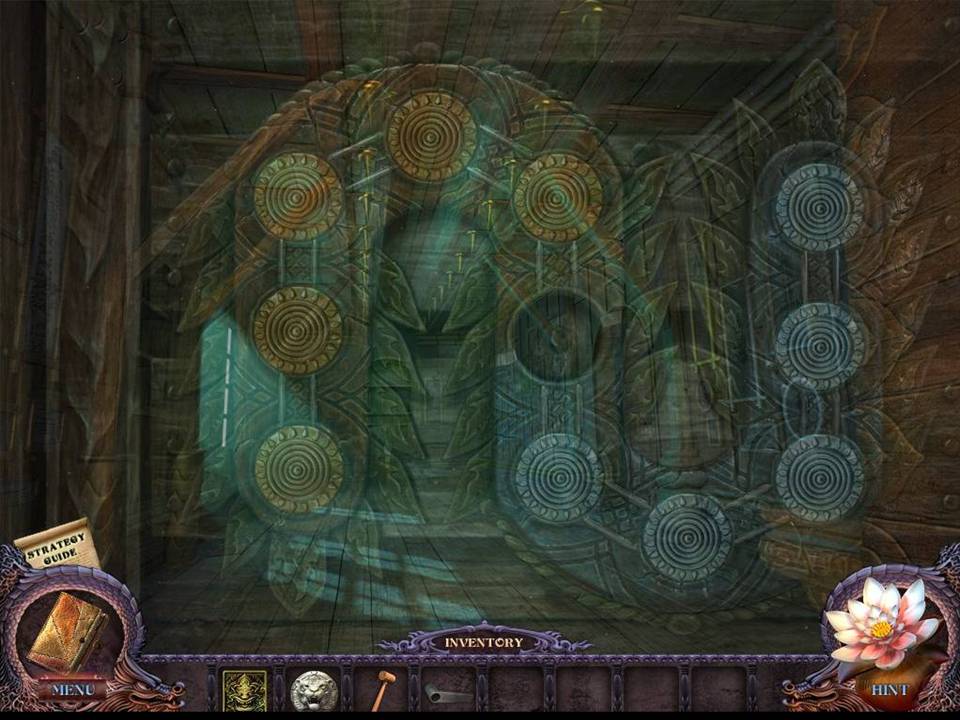
- The object of the puzzle is to move the blue tiles to the blue part of the board and the yellow tiles to the yellow part of the board.
- If you click on a tile, it will move one cell forward or jump over a tile of a different color.
- Assuming the tile spaces are numbered, from left to right, 1 to 11, make the following moves to solve this puzzle: 5, 7, 8, 6, 4, 3, 5, 7, 9, 10, 8, 6, 4, 2, 1, 3, 5, 7, 9, 11, 10, 8, 6, 4, 2, 3, 5, 7, 9, 8, 6, 4, 5, 7, 6.
- Upon completing the puzzle, move through the open door to the work room.
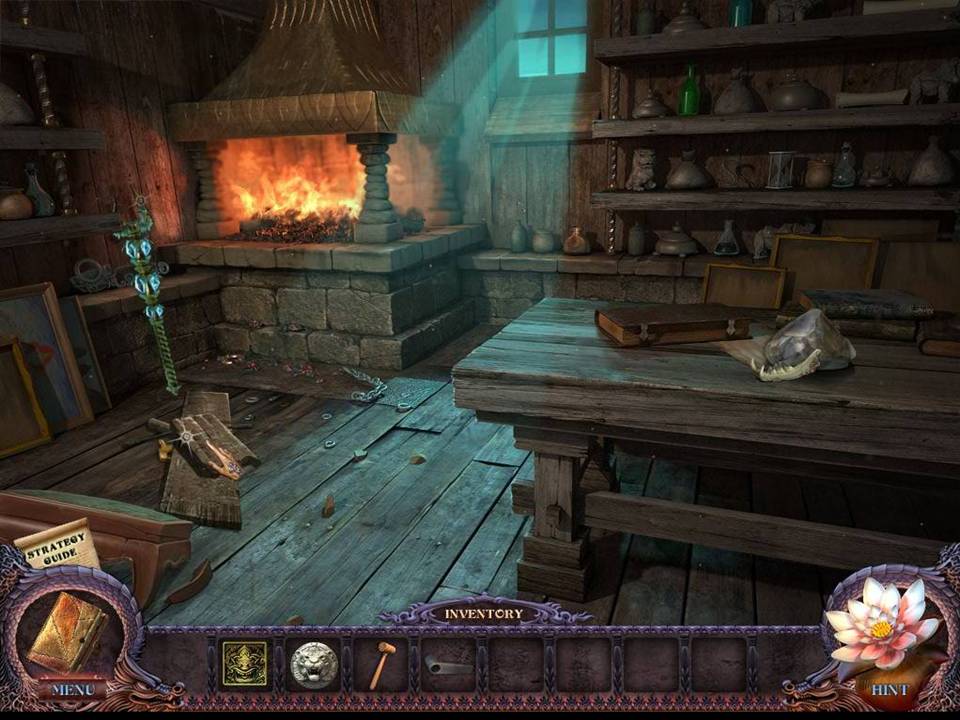
- Move the floor boards on the left by clicking three times.
- Take the LOCKER KEY.
- Return to the Museum.
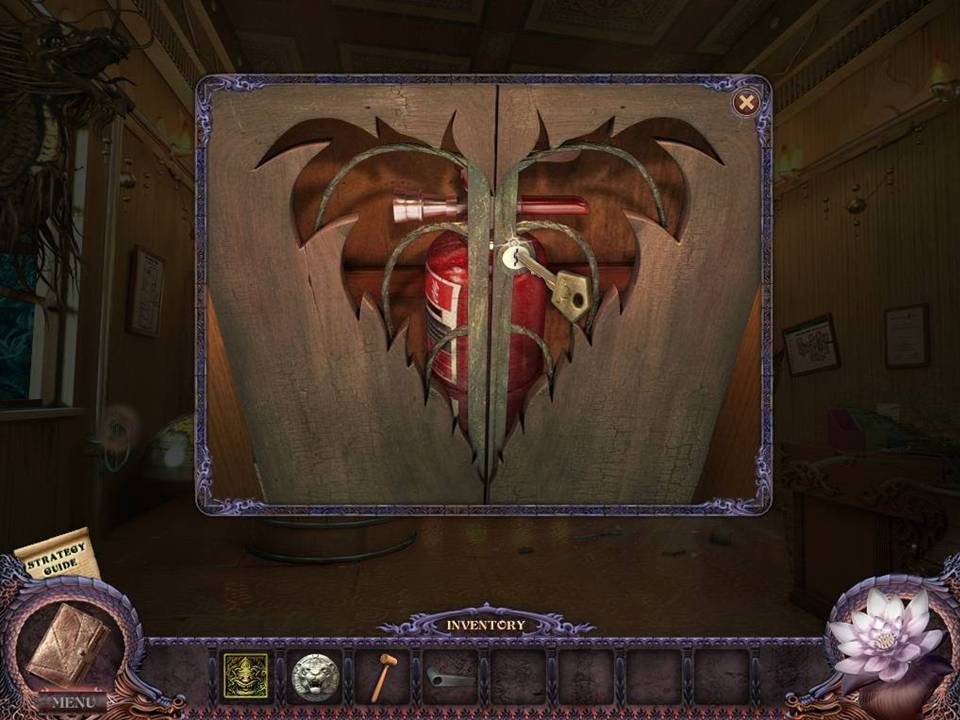
- Turn on the lights.
- Zoom into the cabinet on the left wall.
- Open the cabinet with the LOCKER KEY.
- Take the EXTINGUISHER inside. Return to the Hallway.
- Play the hidden object area on the wall to the left.
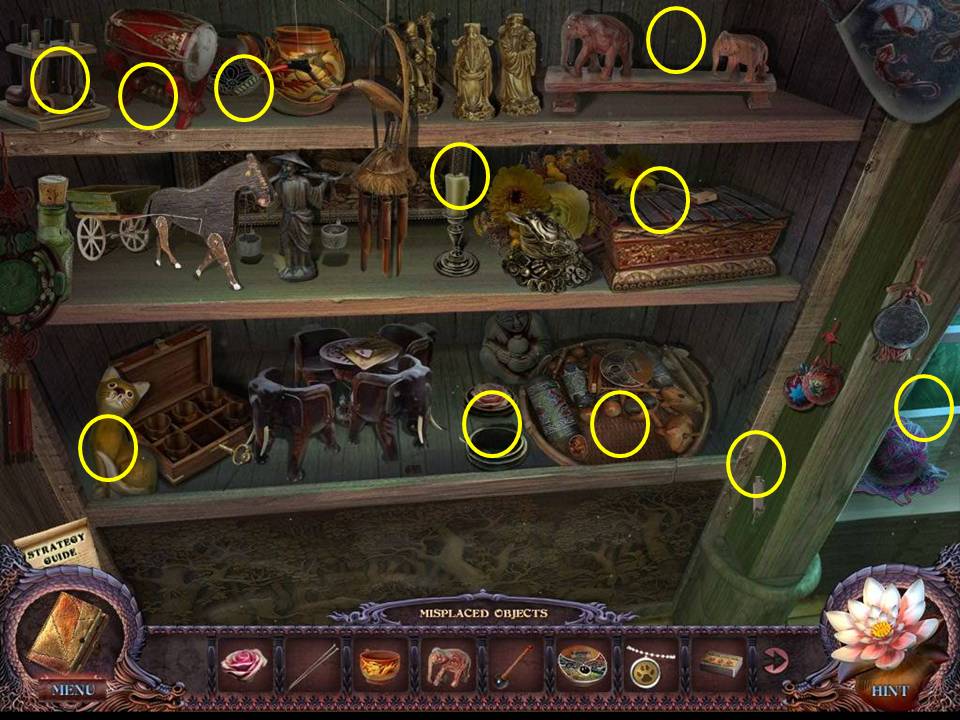
- Find the items listed.
- Place them in the proper locations along the bottom of the screen.
- Receive the CARVING CHISEL.
- Enter the Work Room.
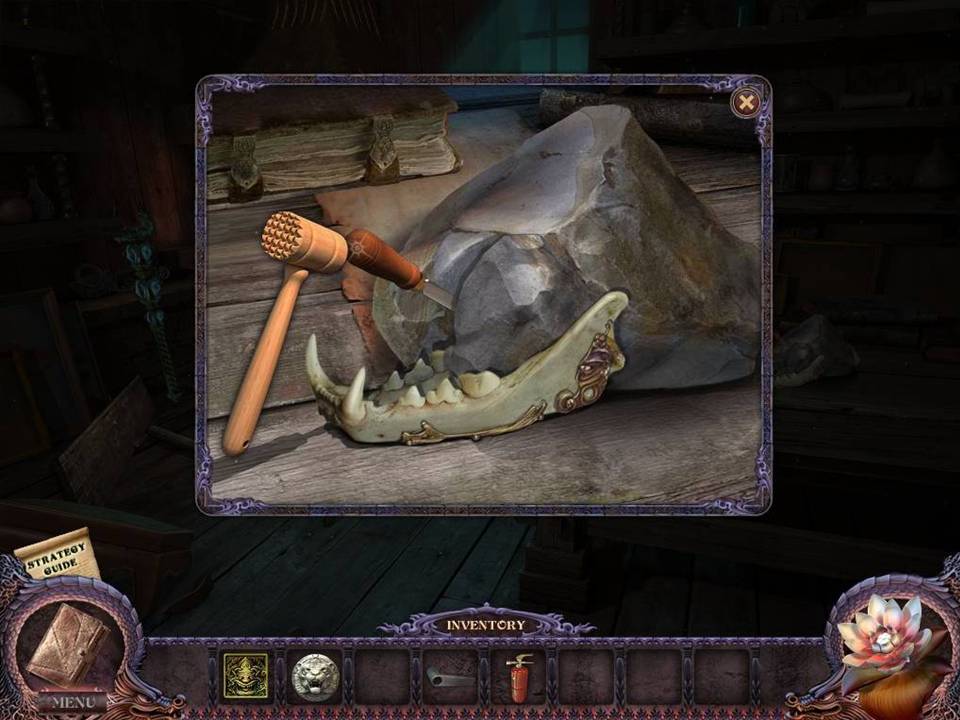
- Zoom into the rock and skull on the table.
- Use the CARVING CHISEL and MALLET to chip away the rock.
- Take the SPECIAL ITEM.
- Go to the Museum Entrance and play the hidden object area by the ticket booth.
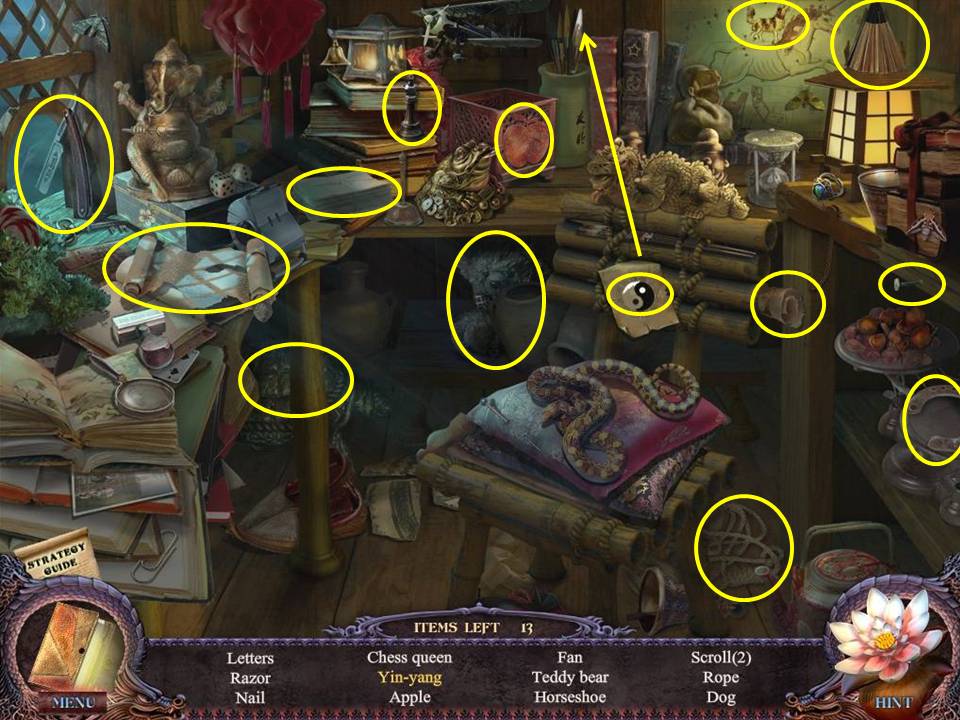
- Find the items listed.
- Use the paintbrush to finish the yin-yang.
- Receive the TURTLE PLATE.
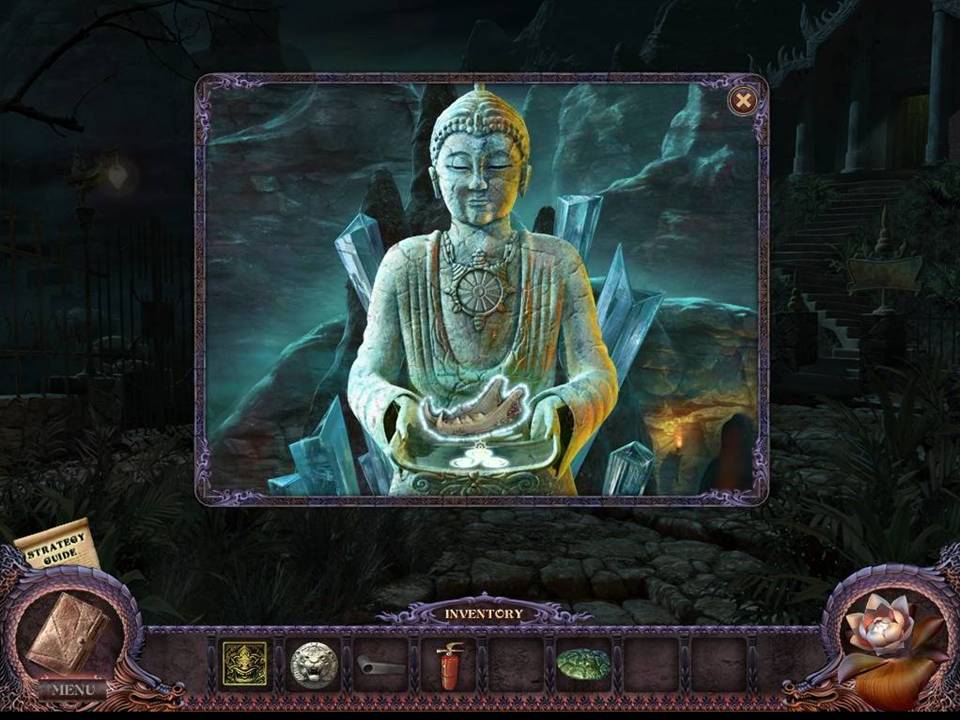
- Zoom into the stone statue.
- Place the SPECIAL ITEM on the statue to transform it into the TIGER PLATE.
- Take the TIGER PLATE.
- Return to the Hotel Lobby.
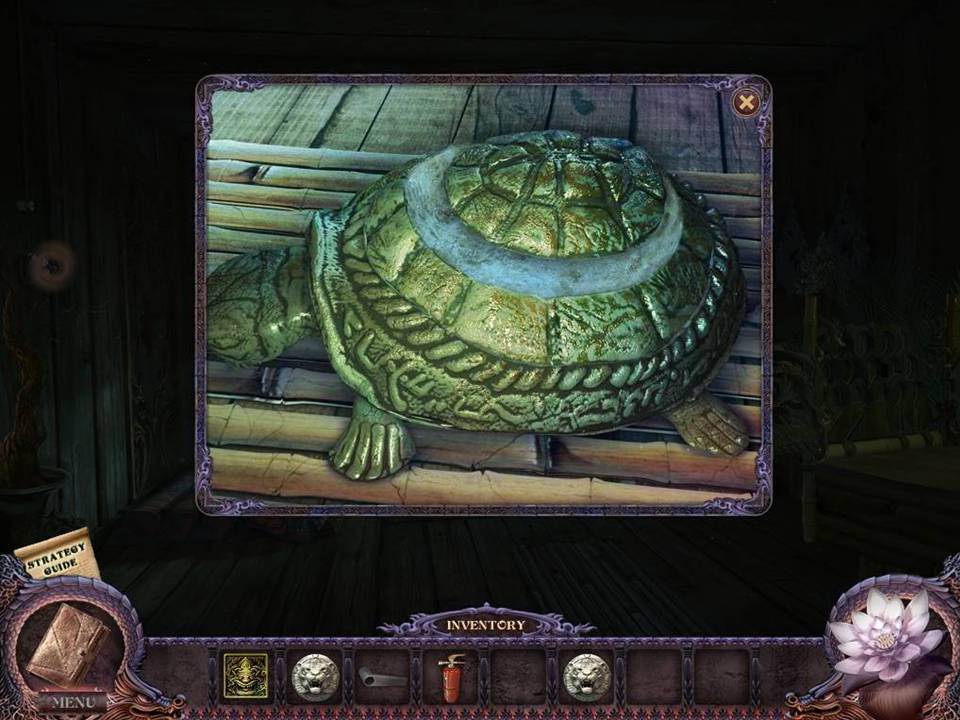
- Turn off the lights.
- Zoom into the turtle on the floor.
- Fill in the shell with the TURTLE PLATE.
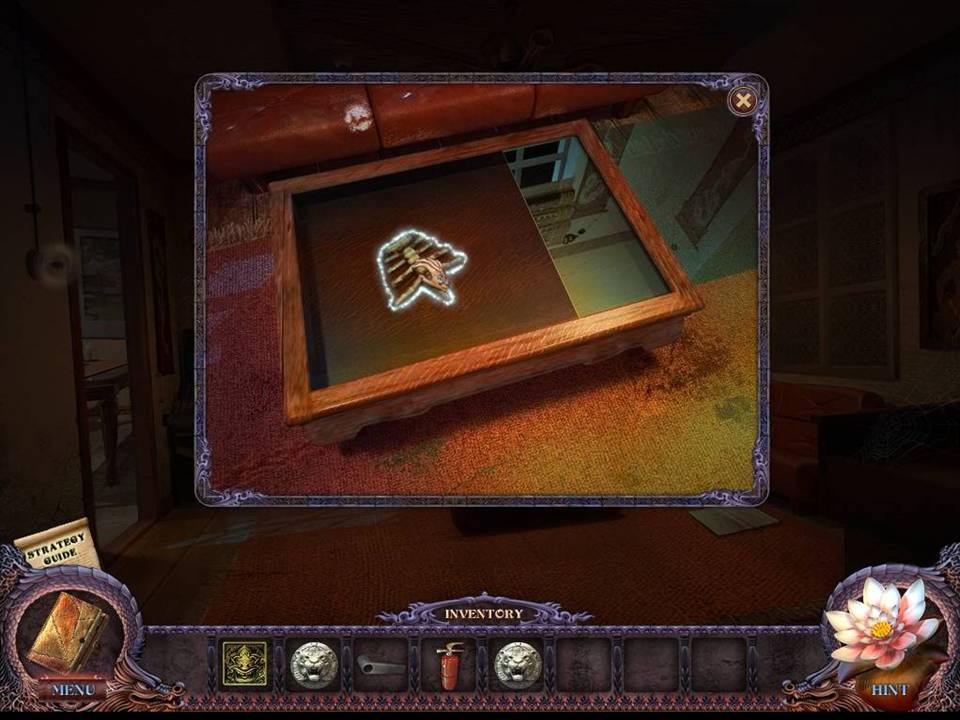
- Turn on the lights and zoom into the coffee table.
- Take the SPECIAL ITEM inside.
- Return to the Museum Entrance.
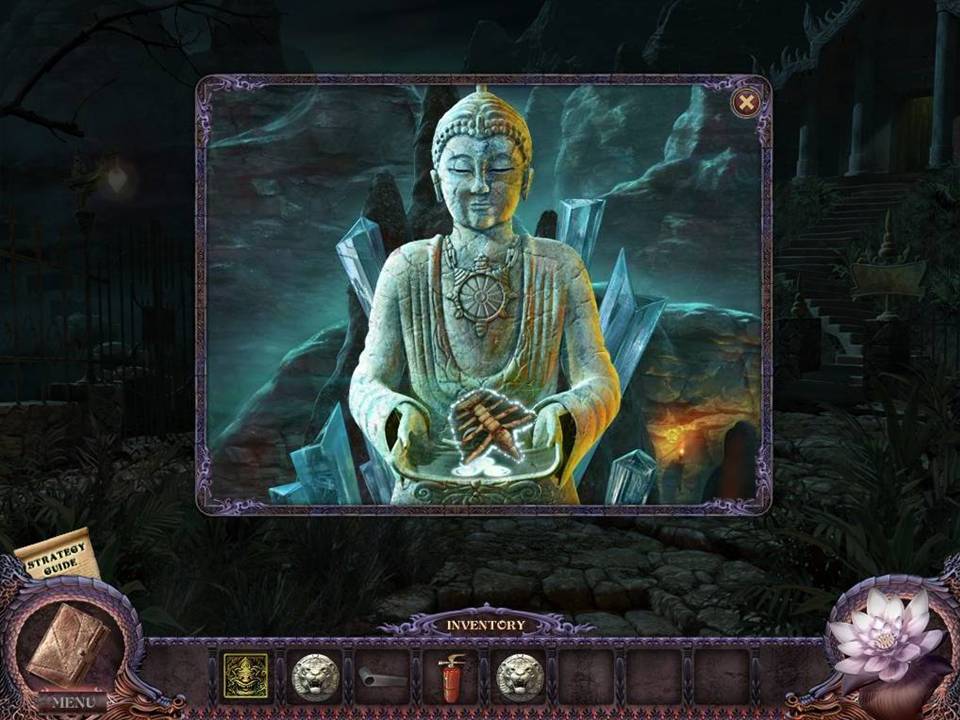
- Zoom into the stone statue.
- Place the SPECIAL ITEM on it to transform it into the GATE KEY.
- Take the GATE KEY.
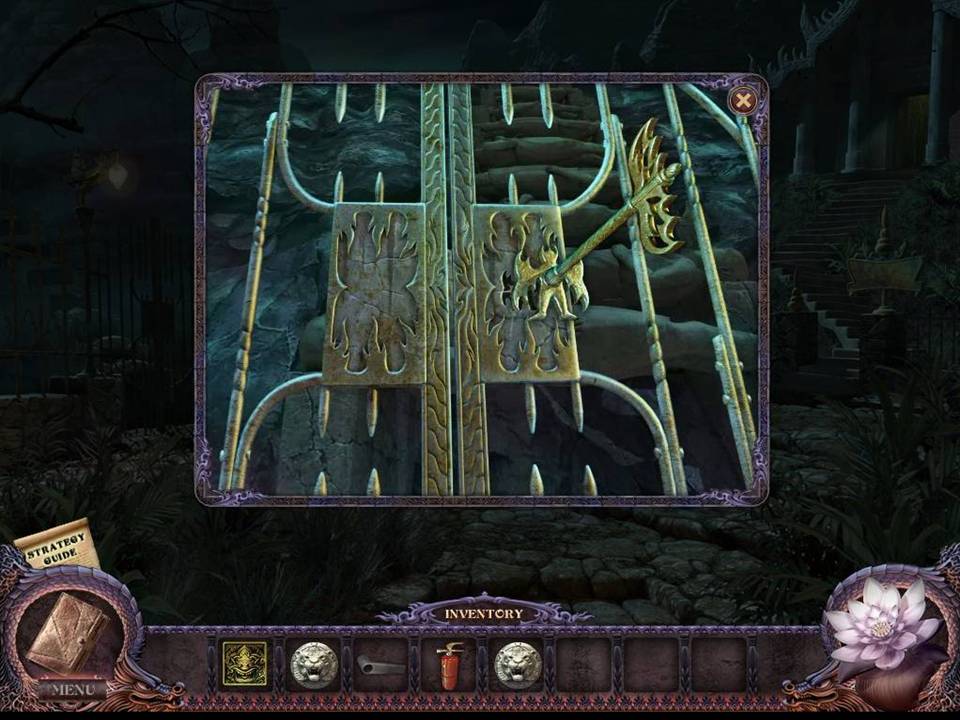
- Zoom into the gate on the left.
- Open the gate with the GATE KEY.
- Go inside.
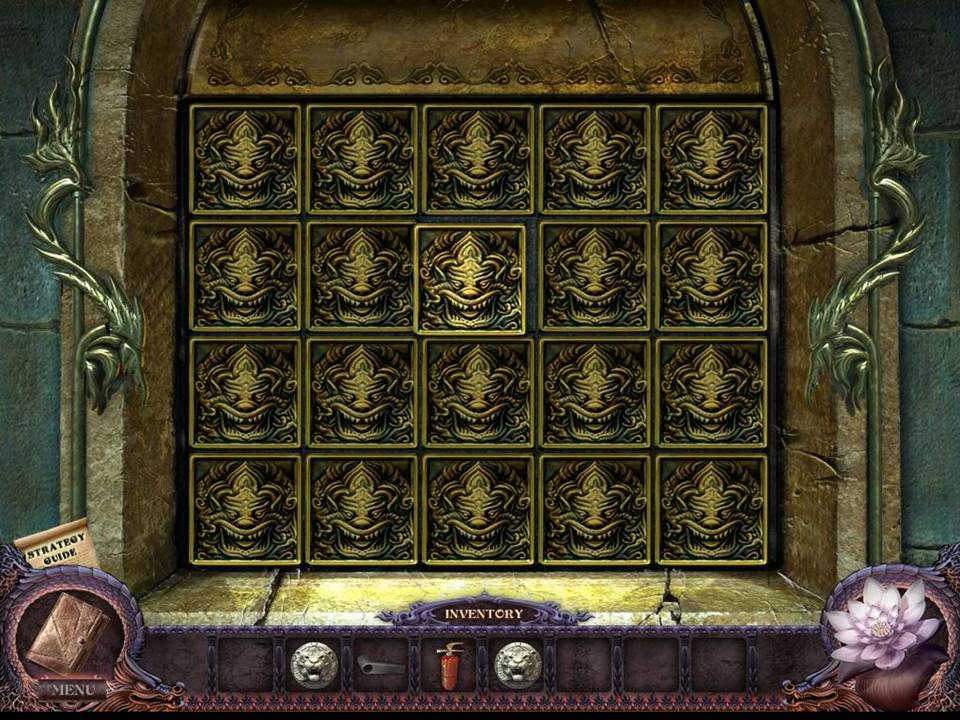
- Zoom into the mirror where the beam of light ends on the left.
- Place the MIRROR PART on the empty space to initiate a puzzle.
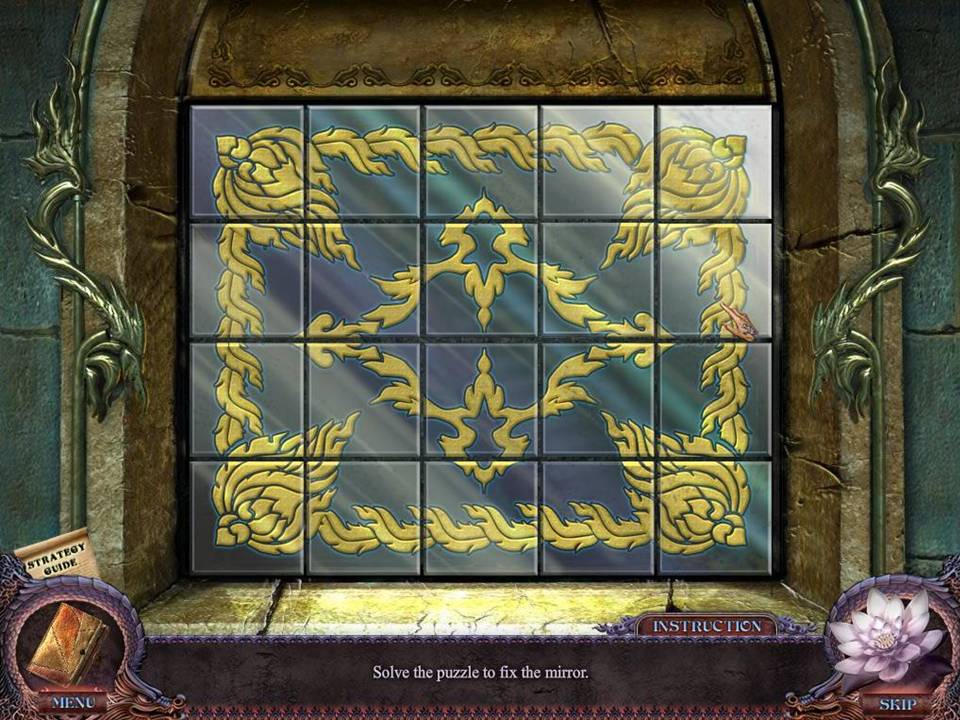
- The object of this puzzle is to switch tiles to create a picture.
- Click tiles to swap them.
- See screenshot for solution.
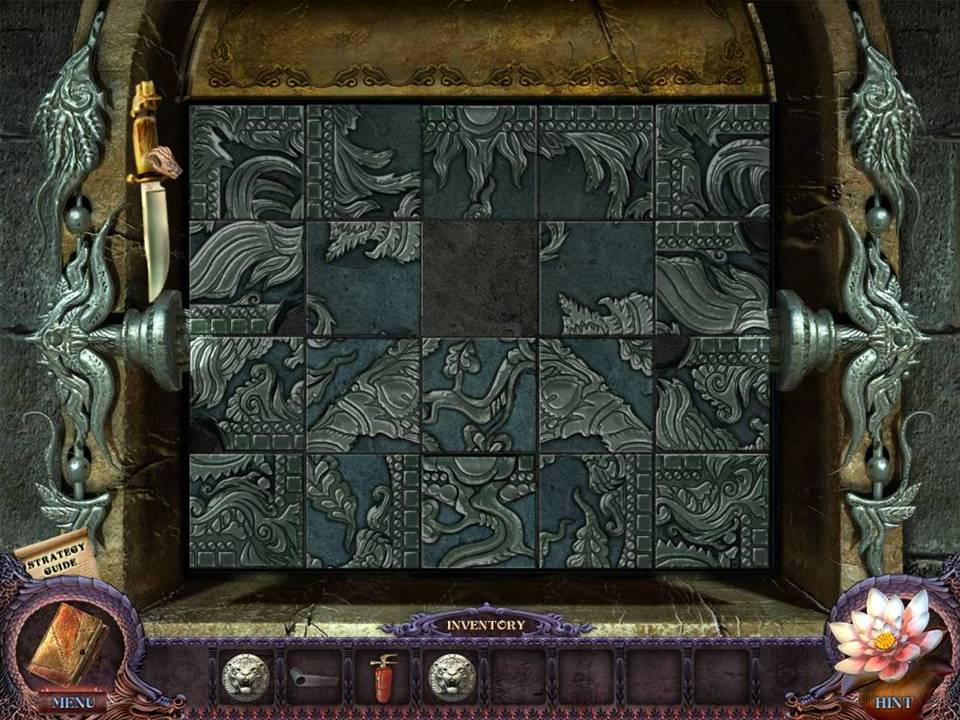
- Upon completion of the puzzle, zoom into the unlit frame on the upper right where the light beam ends.
- Take the KNIFE.
- Return to the Plaza.
