

Chapter Seven: A Look into Angelica’s Room
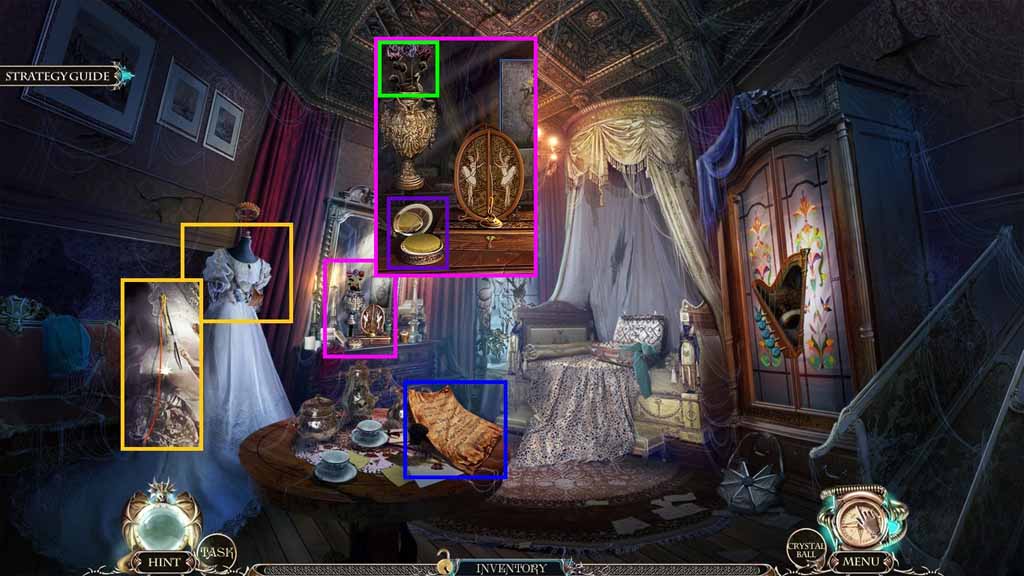
- Collect the golden thread.
- Read the note.
- Click the flowers.
- Click the box and collect the sponge.
- Move to the Palace Entrance.
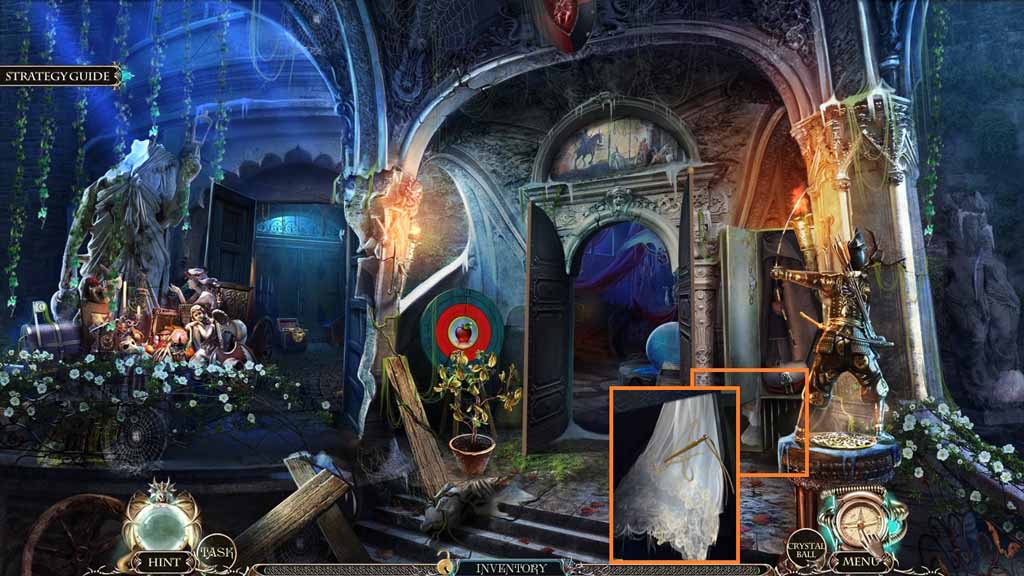
- Select the golden thread and use it to sew the veil; collect the veil.
- Move to Angelica’s Room.
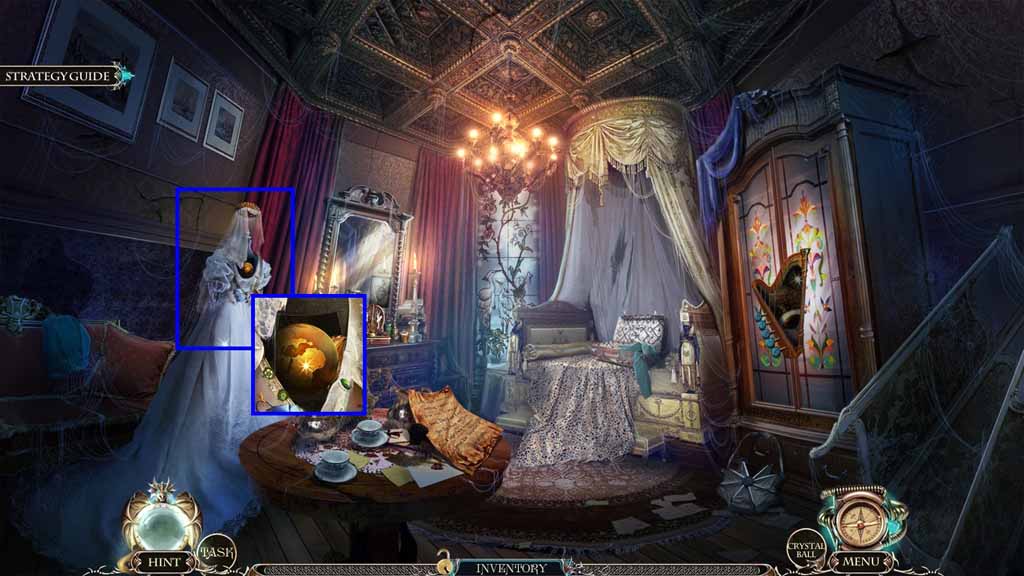
- Select the veil and attach it to the dress.
- Collect the brass globe and the 1 / 2 leafs’.
- Move down once.
- Chapter-7-04-Globe
- Select the brass globe and insert it into the hands.
- Click the hidden objects area.
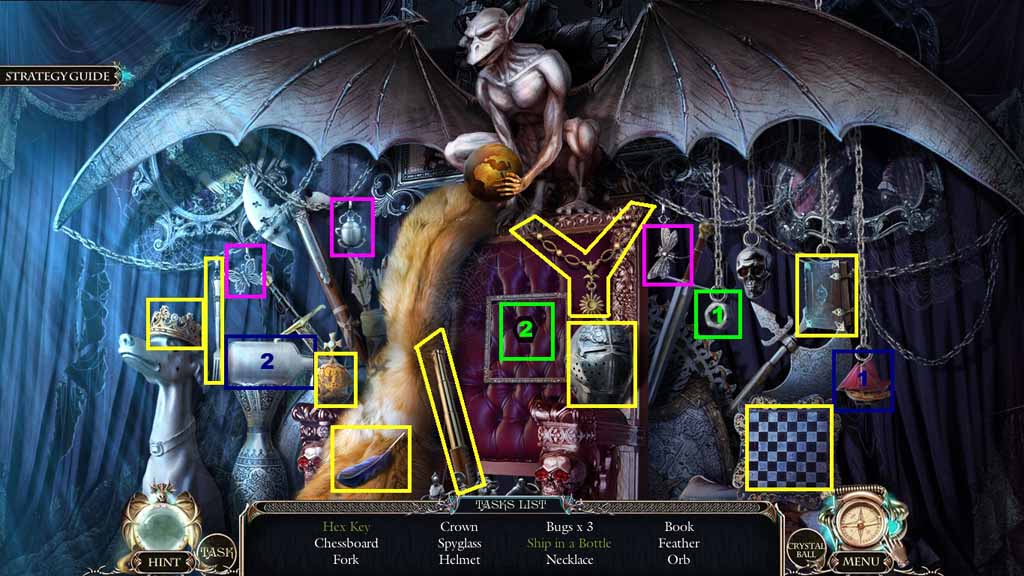
- Find the listed items.
- Select the bolt and insert it onto the groove; collect the hex key.
- Select the ship and insert it into the bottle; collect the ship in a bottle.
- Collect the hex key.
- Move down once.
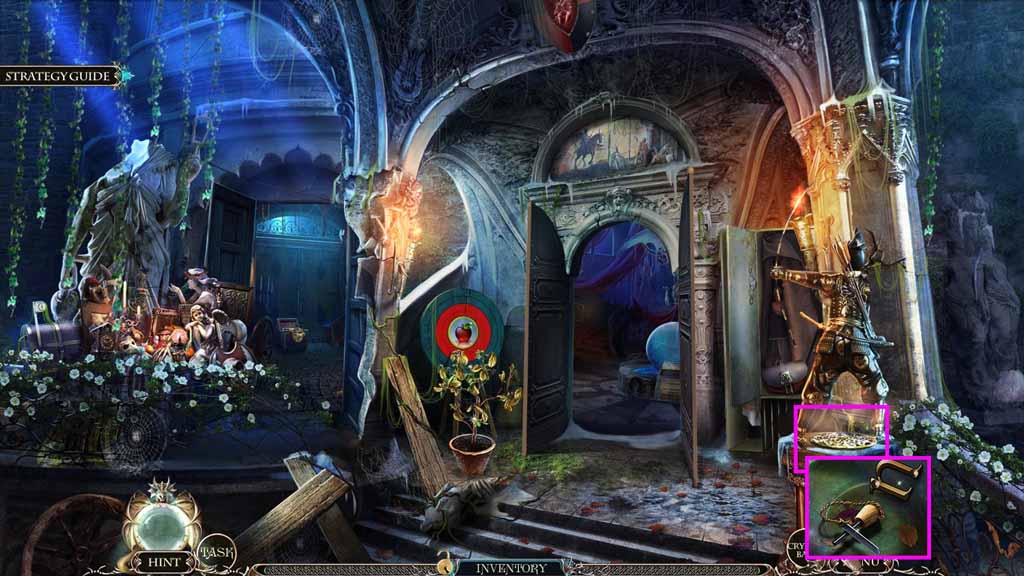
- Select the hex key and use it to remove the cover; collect the flint and the 1 / 2 Latin letters.
- Move to the Shop of Wonders.
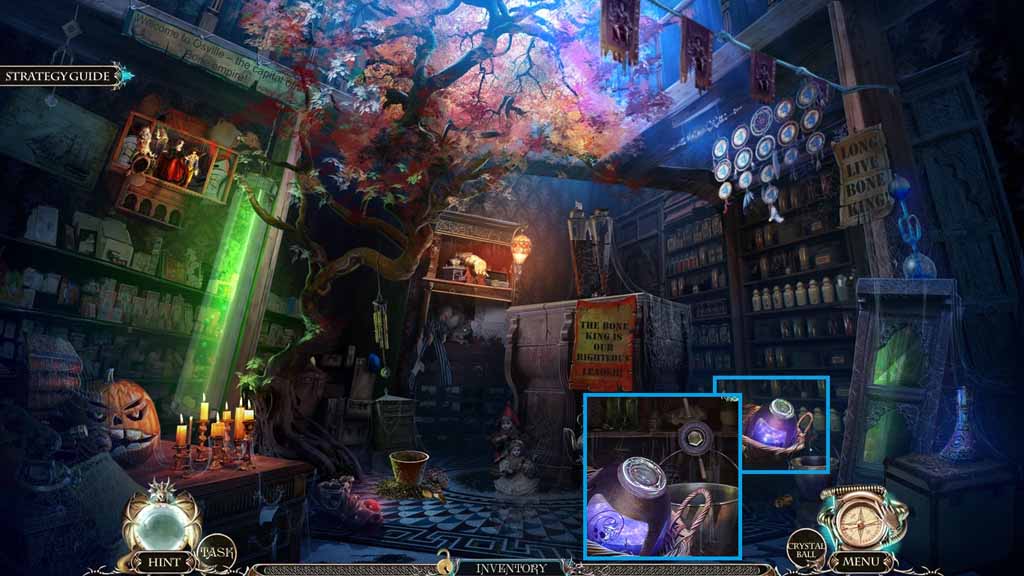
- Select the hex key and use it to remove the bolt; collect the bucket.
- Move to the Royal Stables.
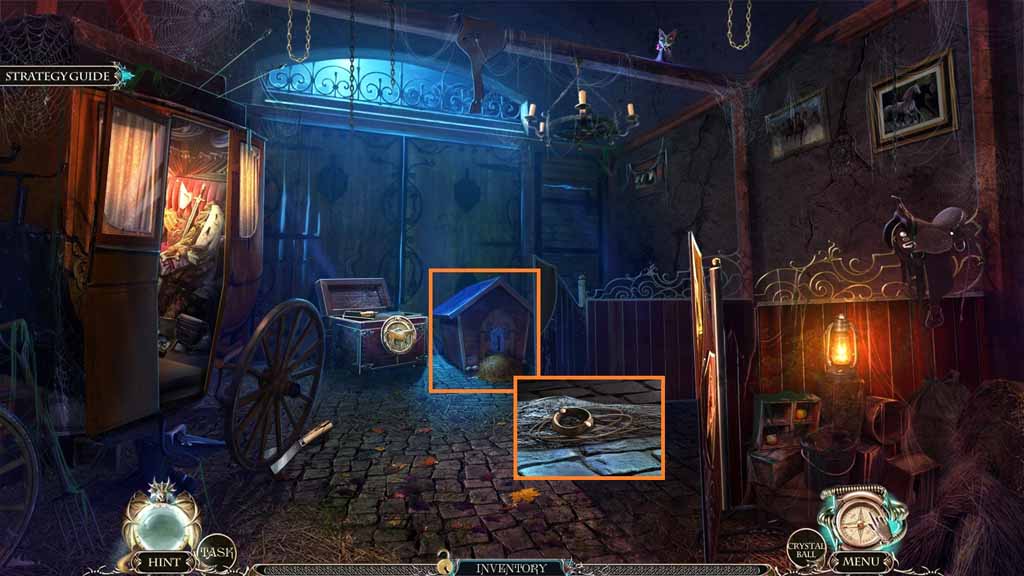
- Select the flint to ignite the hay.
- Collect the 2 / 4 strings and the 2 / 2 Latin letters.
- Move to the Throne Room.
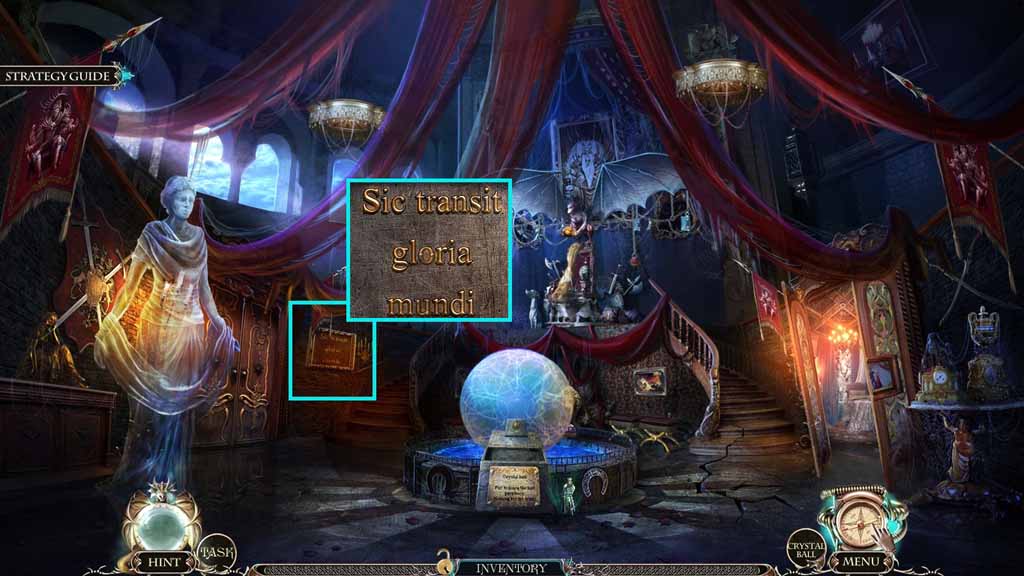
- Attach the 2 Latin letters to the board.
- Move into the King’s Parlor.
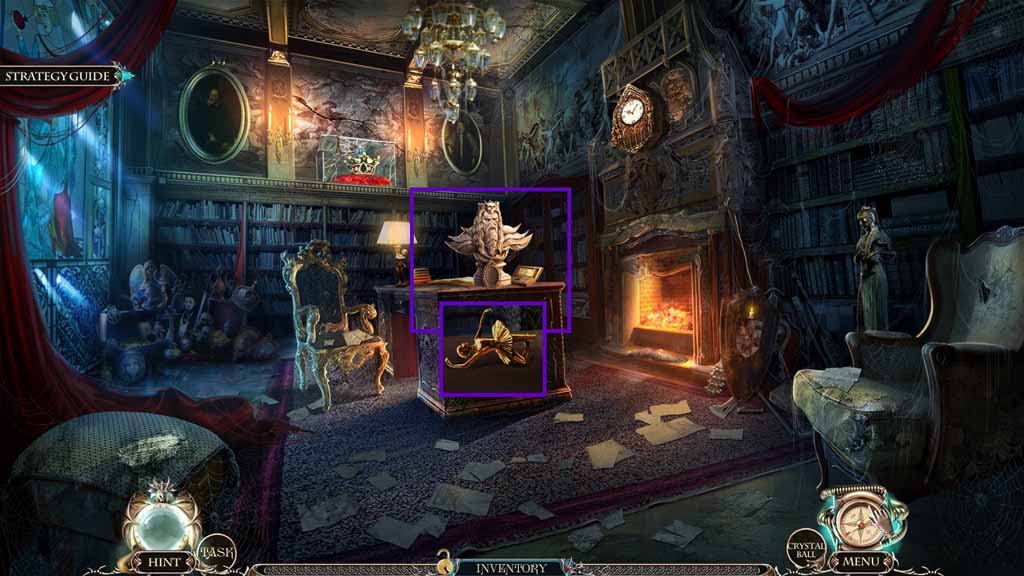
- Select the magical eyeglass and use it on the symbol; collect the ballet dancer.
- Move to Angelica’s Room.
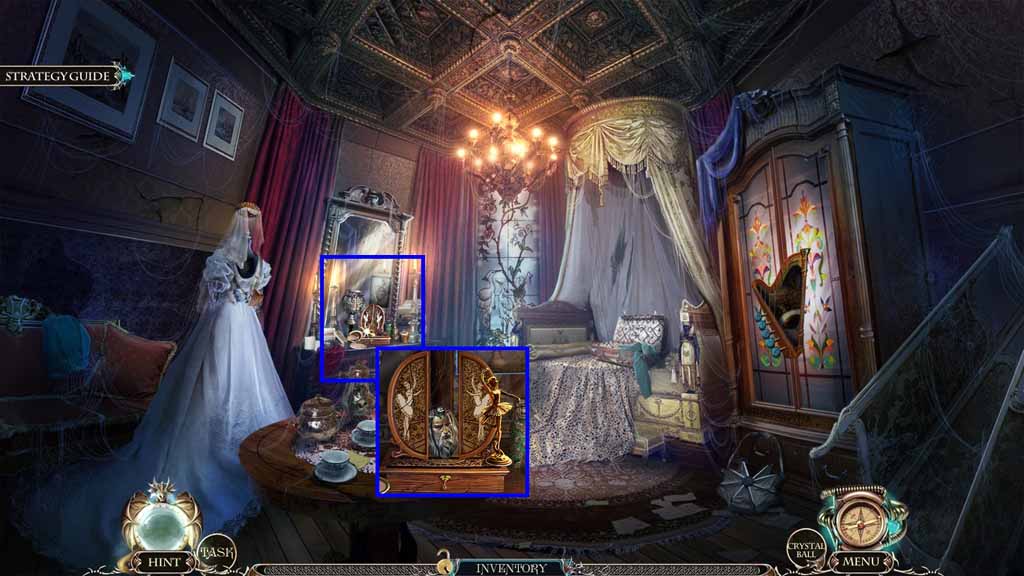
- Place the ballet dancer onto the box.
- Collect the King’s Portrait.
- Move to the Royal Stables.
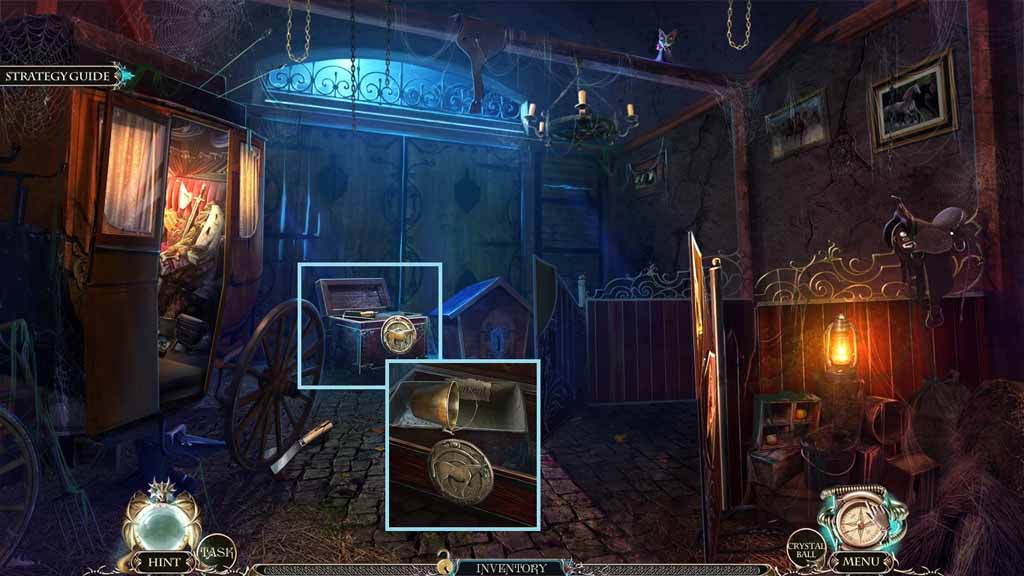
- Select the bucket and place it into the cement; collect the bucket with cement.
- Move to the King’s Parlor.
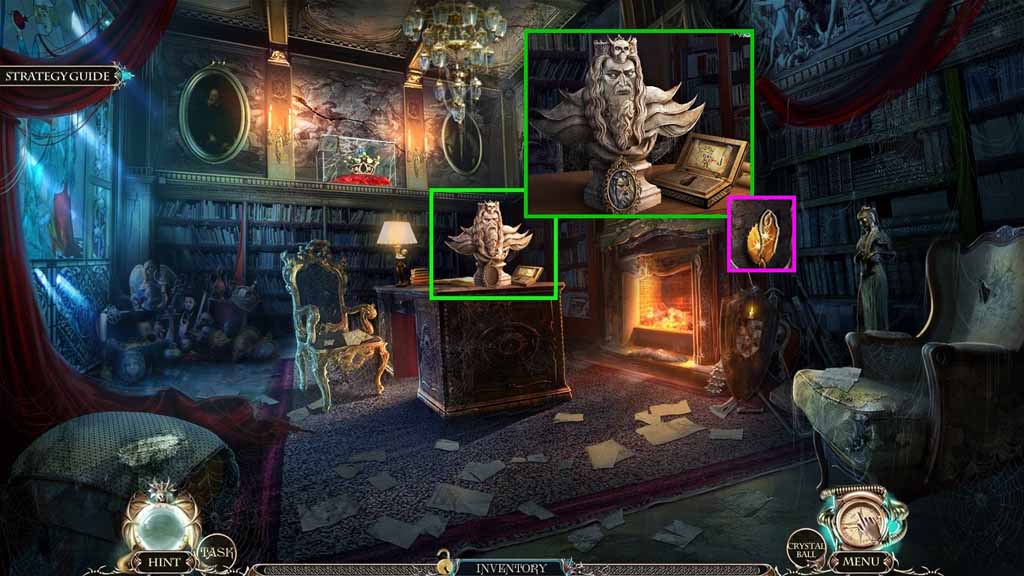
- Select the bucket of cement and pour it into the niche.
- Place the nose onto the bust.
- Place the King’s portrait into the niche.
- A mini-game will trigger.
- Solve the game by adjusting the bust as shown in the picture.
- Collect the 3 / 4 strings and the 2 / 2 leafs’.
- Move to the Sacred Grove.
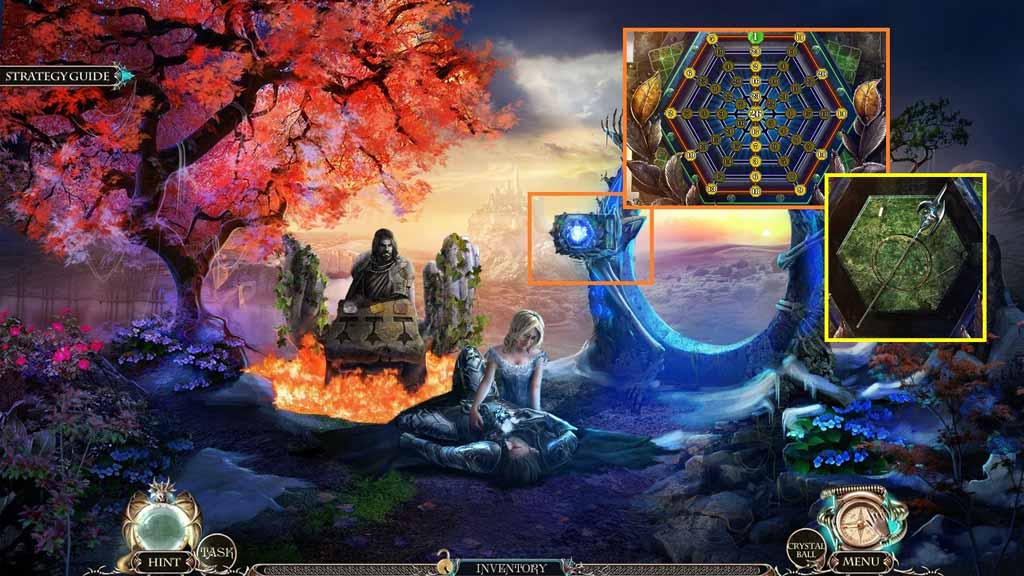
- Select the 2 leaves and insert them into the niche to trigger a mini-game.
- Solve the game by clicking the numbers 1 -26. Each upcoming number should occupy the same diagonal or the same hexagon as the one before it.
- Collect the 4 / 4 strings and the spear.
- Move to Angelica’s Room.
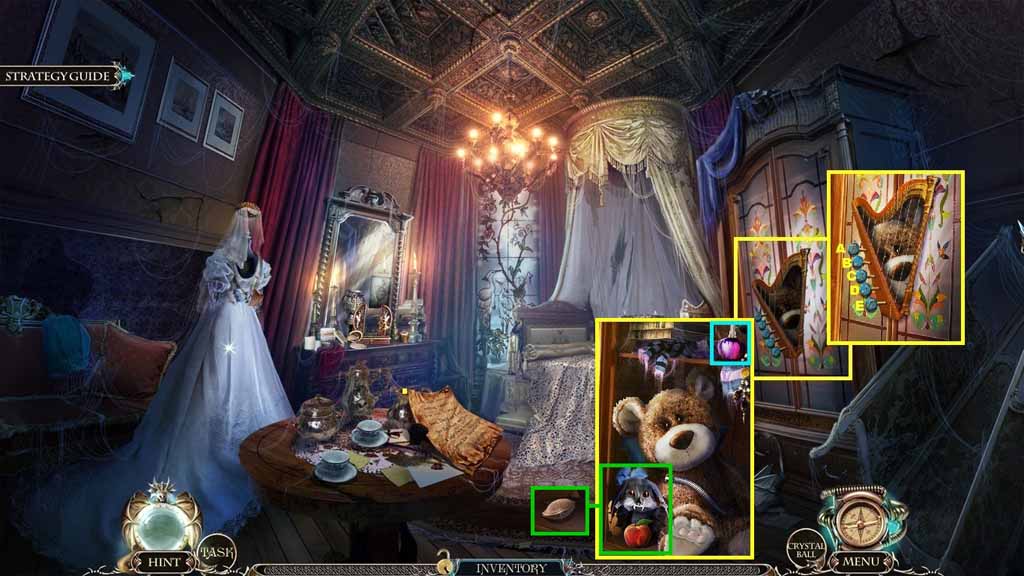
- Attach the 4 strings to the harp to trigger a mini-game.
- Click the strings as shown:
- E – B - D – A – D – E – A – D – E – B – C
- Collect the perfume.
- Select Louis to collect the peach.
- Collect the pit.
- Move to the King’s Parlor.
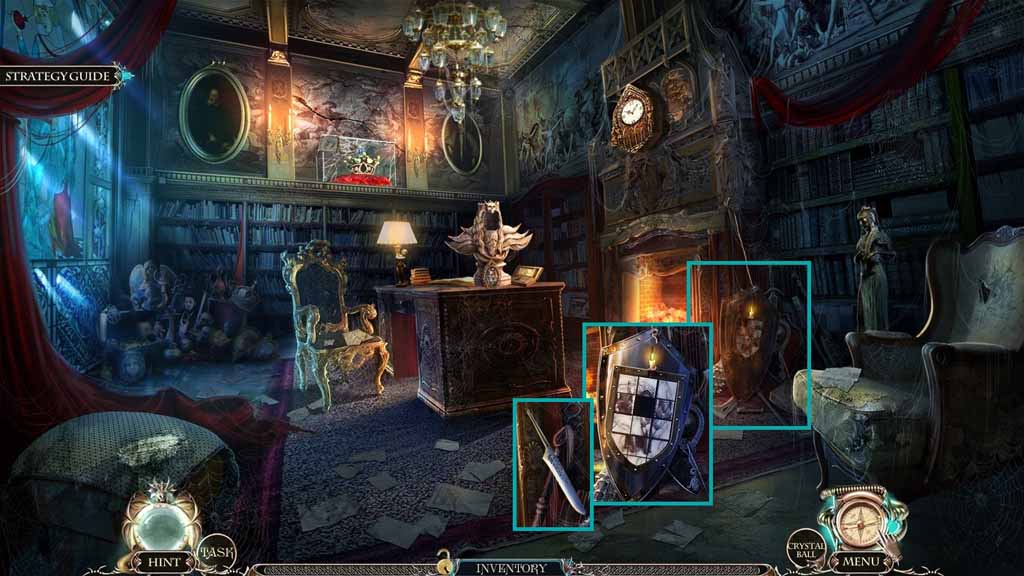
- Select the perfume and spray it onto the shield.
- Select the sponge to wipe the shield to trigger a mini-game.
- Solve the game by recreating the image.
- Collect the dagger splinter.
- Move to Angelica’s Room.
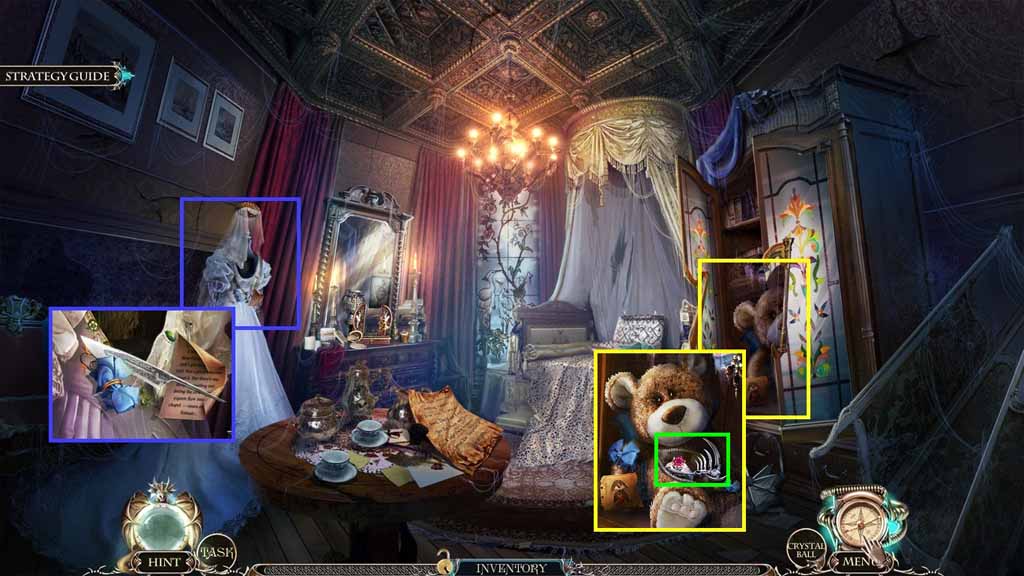
- Select the dagger splinter to collect the bow.
- Attach the bow onto the teddy bear; collect the diamond ring and the scythe.
- Move to the King’s Parlor.
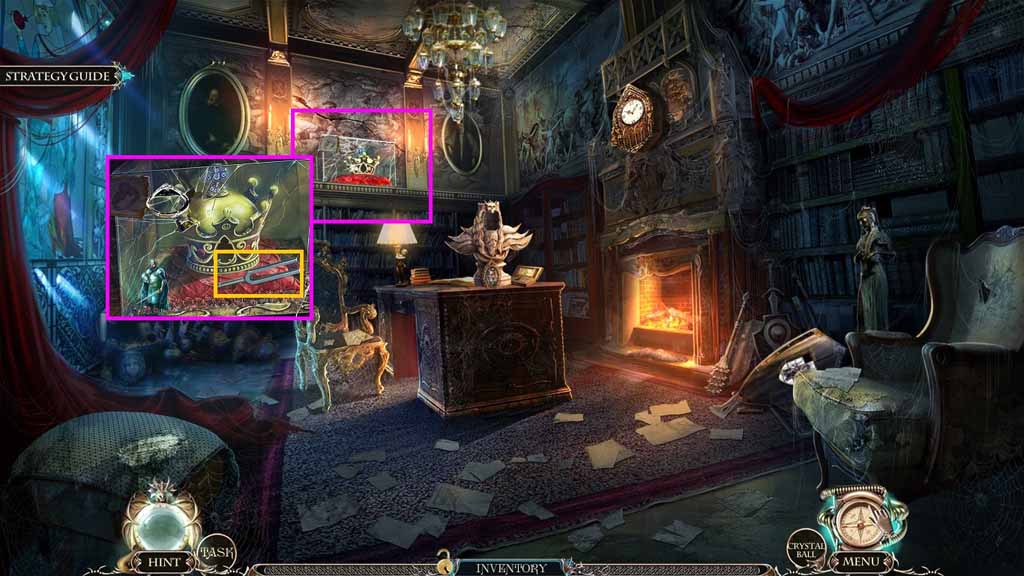
- Select the diamond ring to cut the glass; collect the tuning fork.
- Move to the Throne Room.
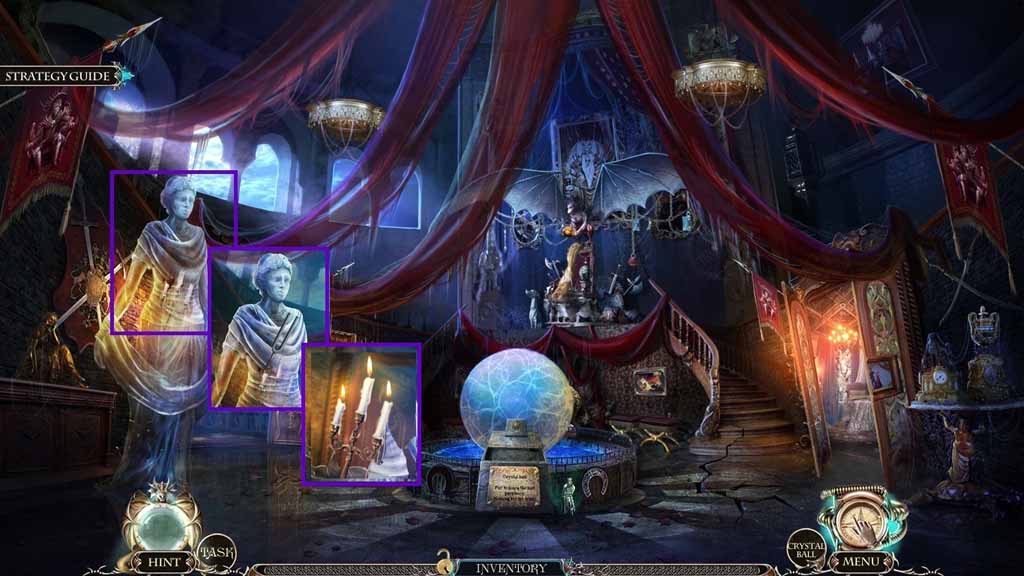
- Select the tuning fork to smash the statue.
- Select the flint to ignite the candles.
- Collect the lit candle holder.
- Move to the King’s Parlor.
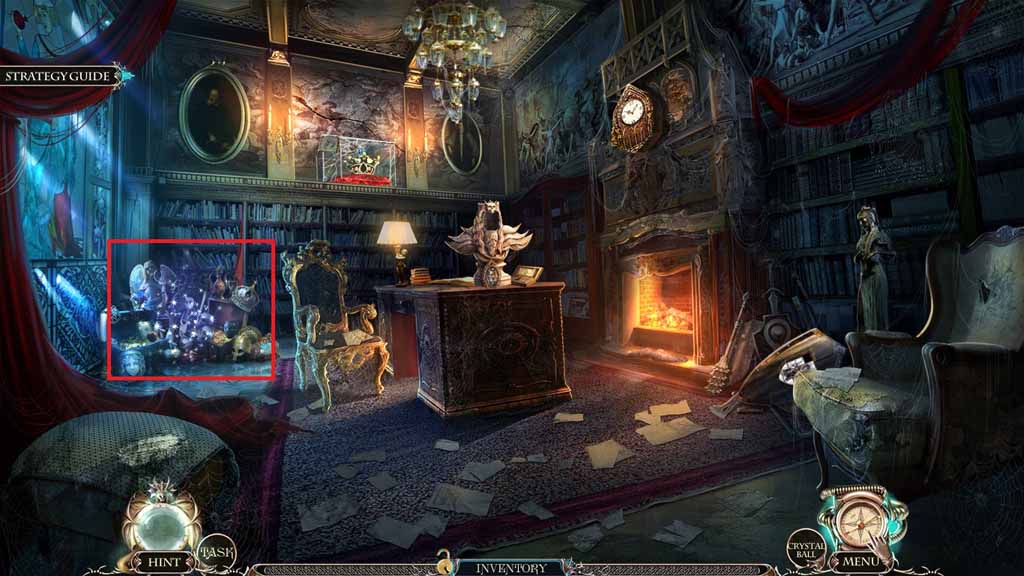
- Place the lit candle holder down.
- Click the hidden objects area.
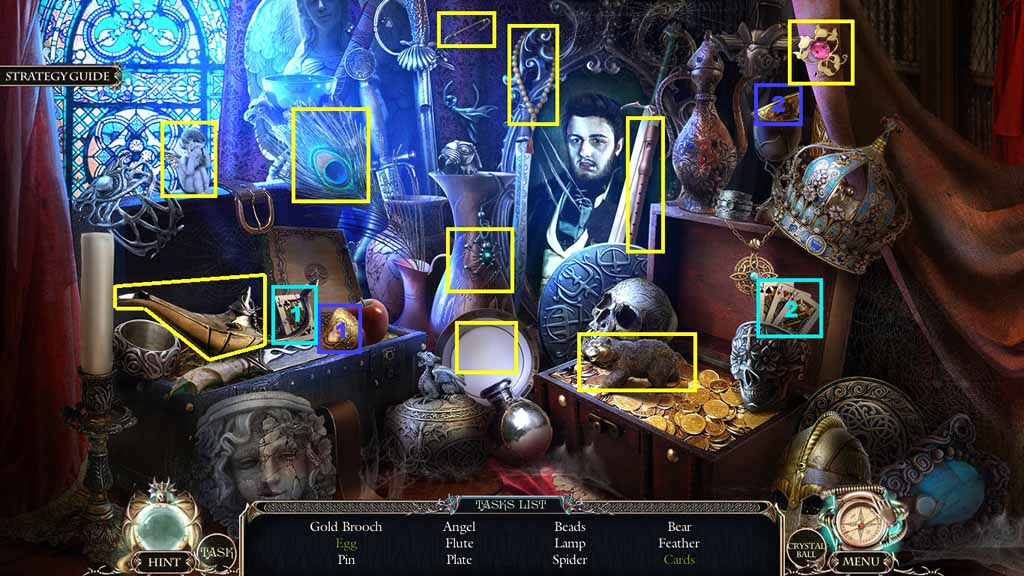
- Find the listed items.
- Select the egg half and place it with the other half; collect the egg.
- Select the card and place it along with the other cards; collect the cards.
- Collect the gold brooch.
- Move down 2 times.
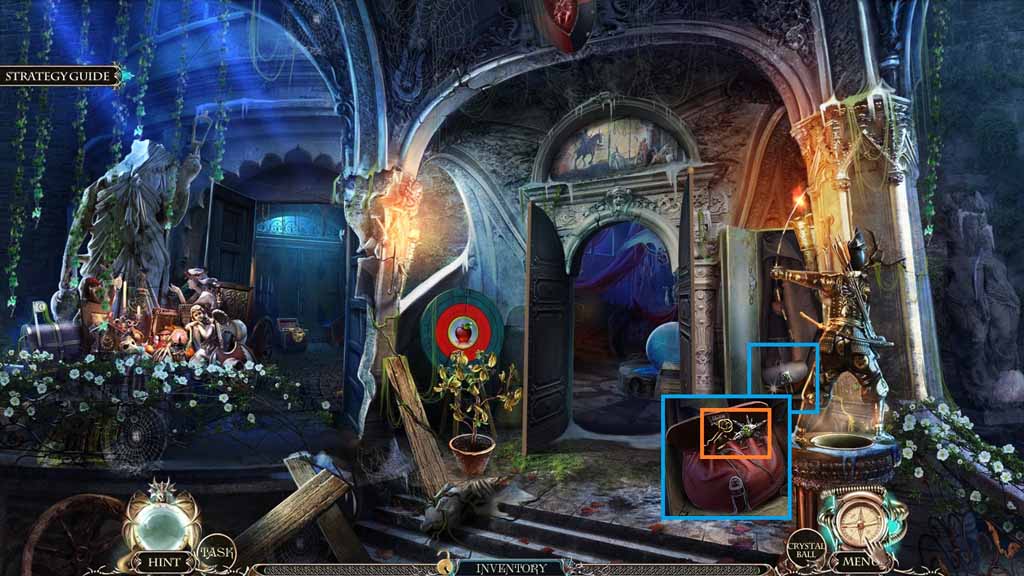
- Place the gold brooch into the slot; collect the pin and the mace.
- Move down once.
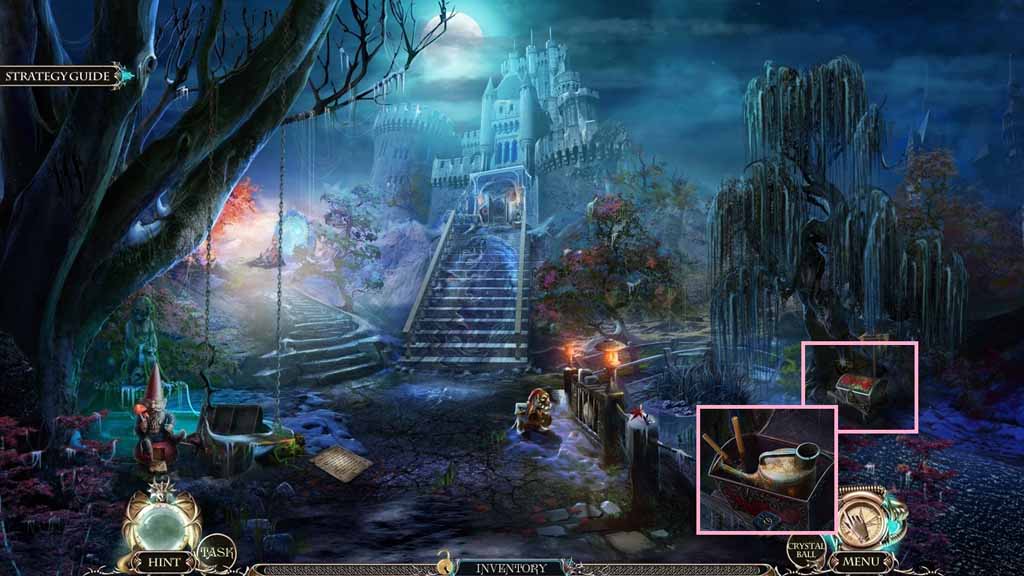
- Insert the pin into the lock; collect the gardening pruners and the watering can.
- Move into the Shop of Wonders.
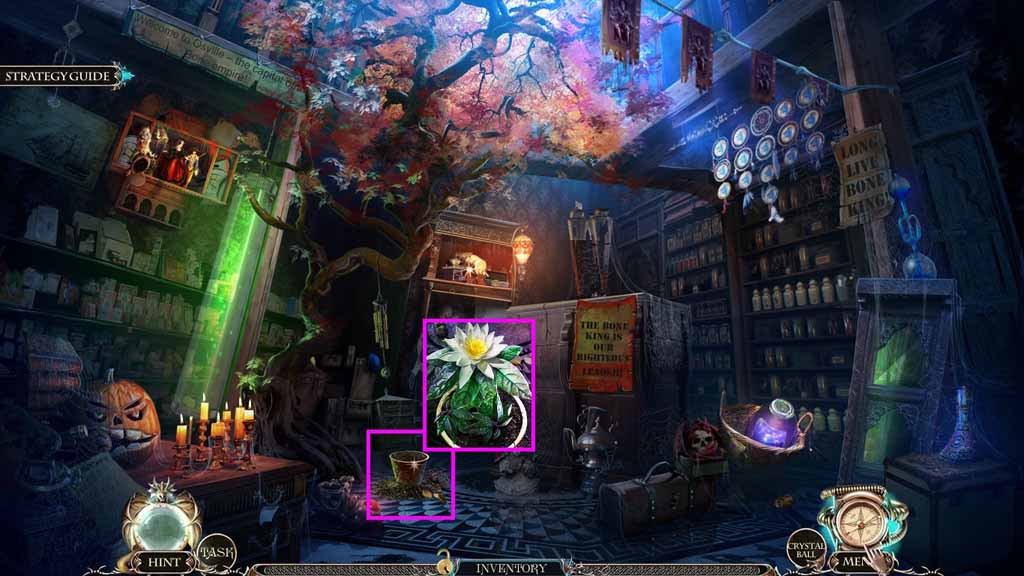
- Select the shovel to dig the soil.
- Place the pit into the pot; select the shovel to cover the pit with soil.
- Select the watering can to pour onto it; collect the peach flower using the gardening pruners.
- Move to the Palace Entrance.
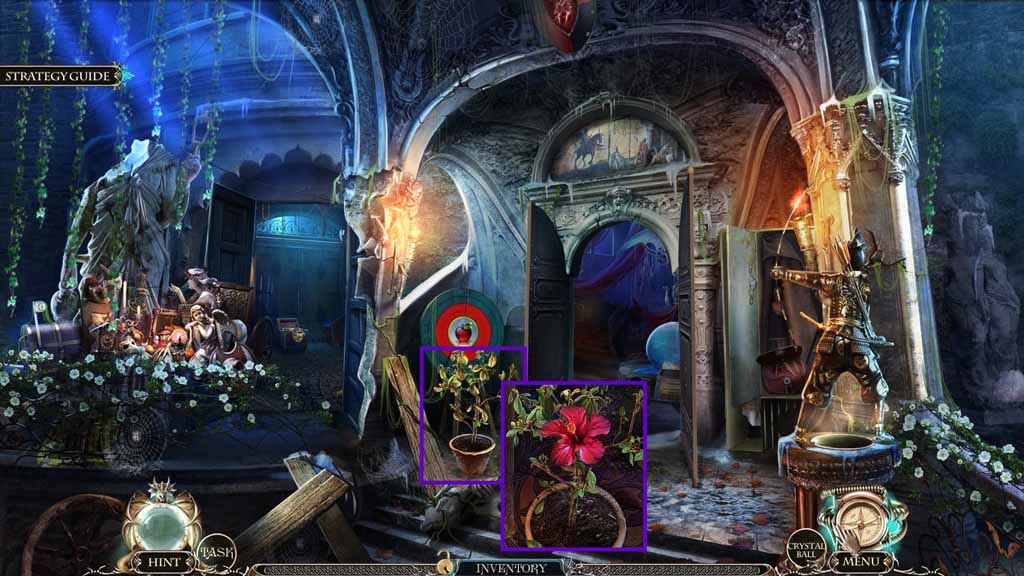
- Select the watering can to pour onto the flower; collect the lily using the gardening pruners.
- Move to Angelica’s Room.
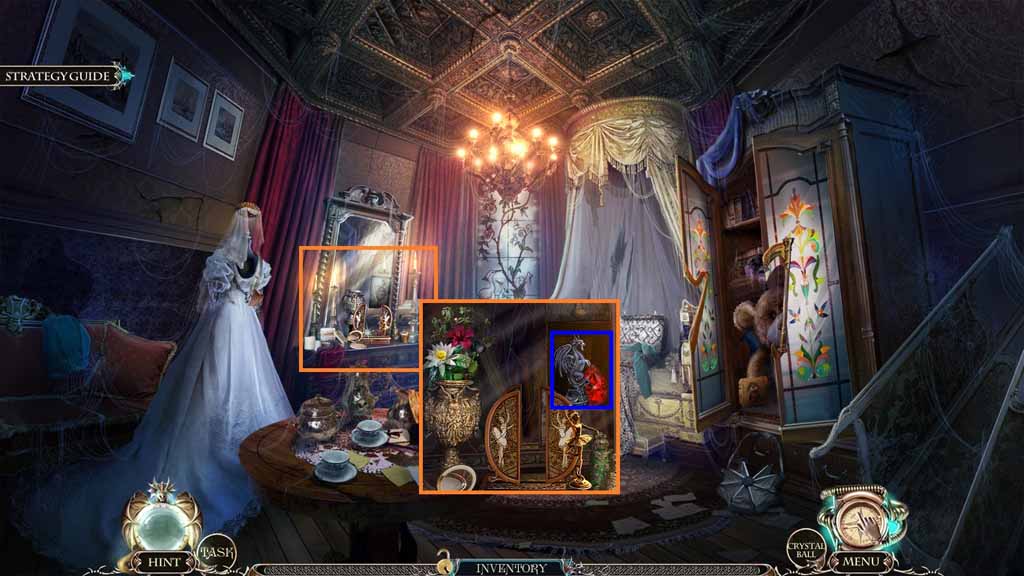
- Place the lily, peach flower and the black rose into the vase; collect the dragon.
- Select the magical eyeglass to use on the symbol; collect the blood red ruby.
- Move to the King’s Parlor.
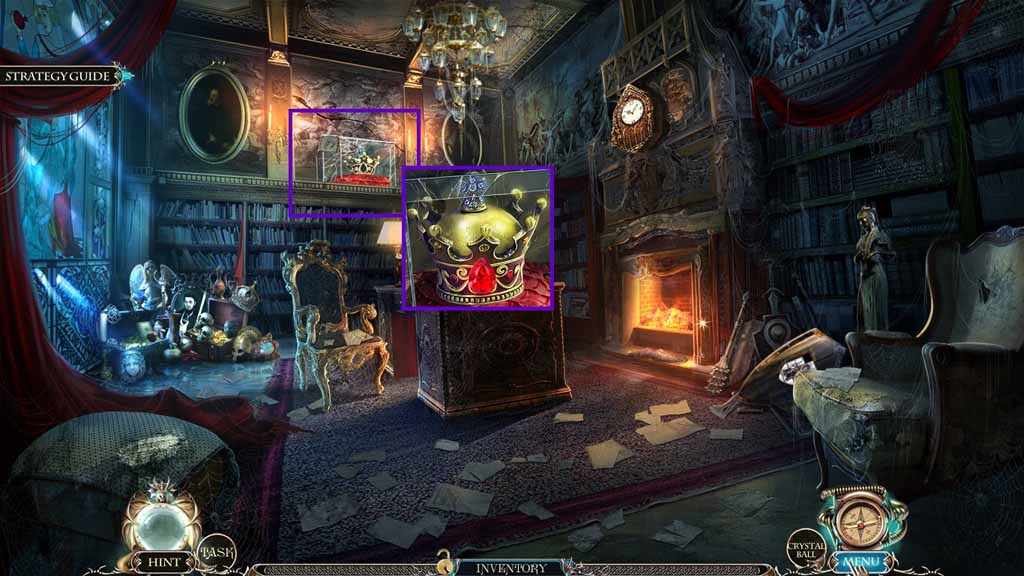
- Select the blood red ruby and place it into the niche; collect the crown.
- Move to the Sacred Grove.
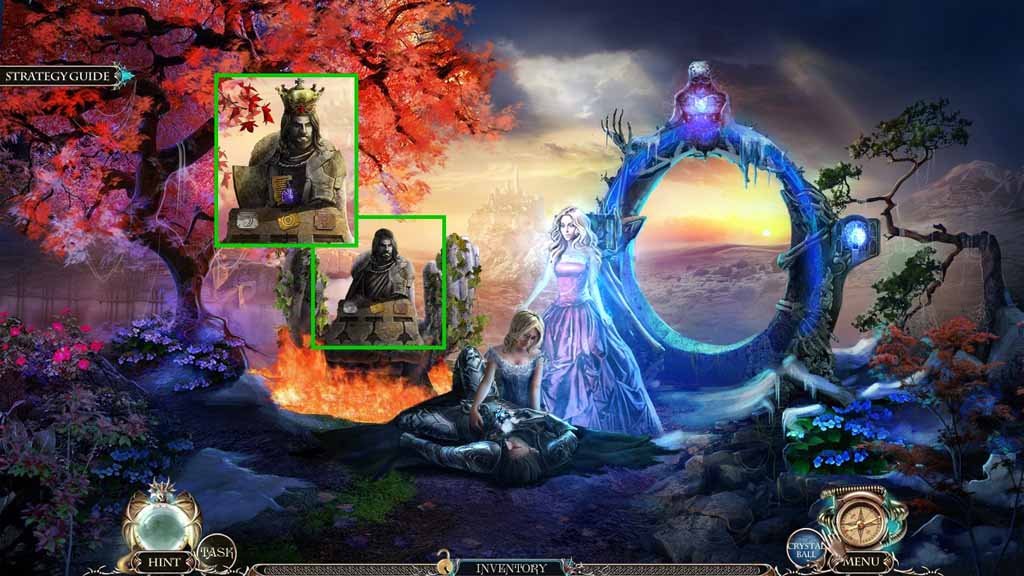
- Select the crown and place it onto the statue; collect the War’s Flask of Memories.
- Read the note.
- Move to the Shelter.
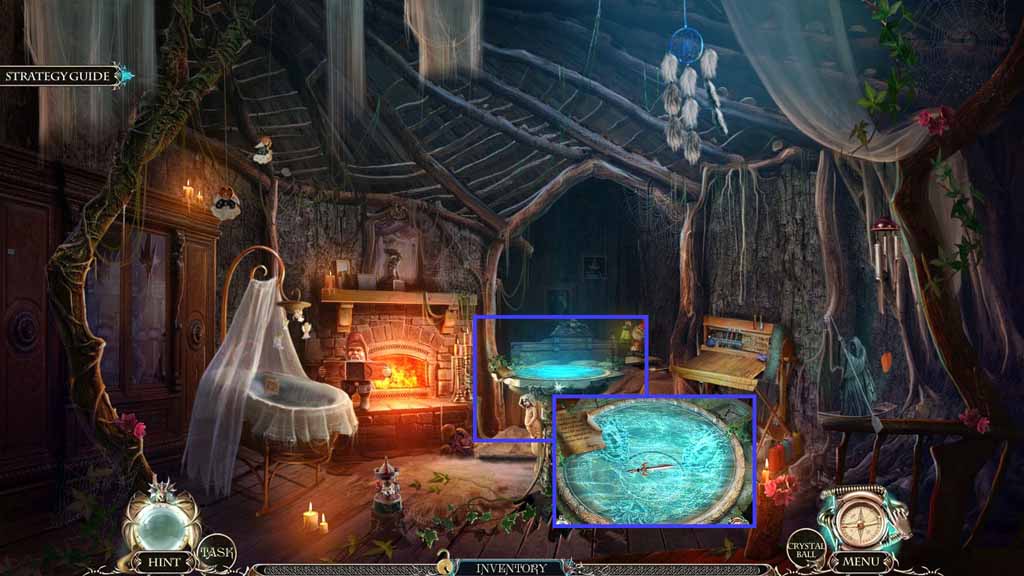
- Select the War’s Flask of Memories and pour it into the vortex; collect the sword.
- Move to the Sacred Grove.
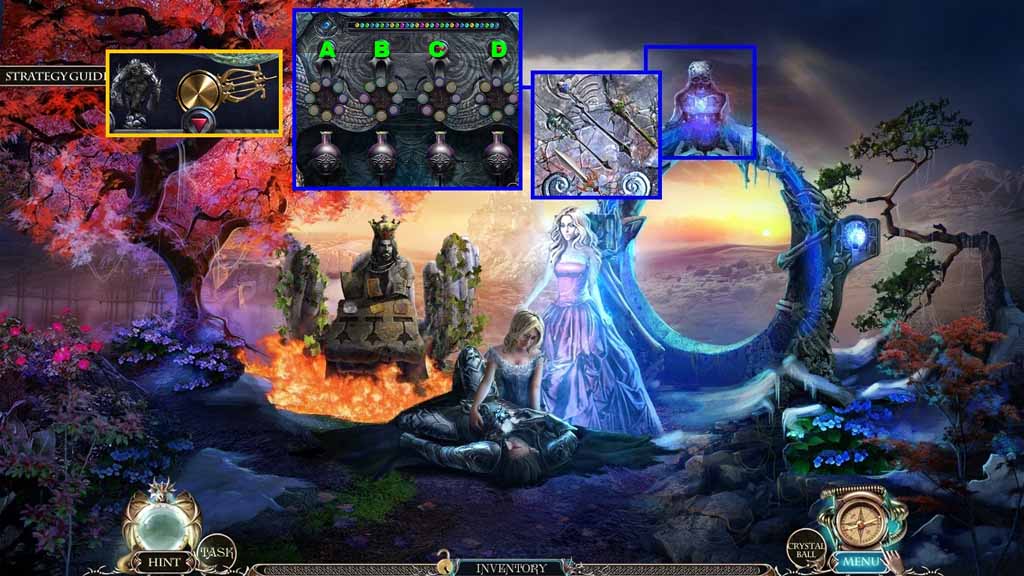
- Select the mace, the spear, the scythe and the sword and insert them into the correct niches to trigger a mini-game.
- Solve the mini-game by placing the beads correctly into the color coded slots.
- Use to following solution to solve the game:
- A – A – A - A – C – B – B – D – C – D –D –C – C –C – C – A – C – B – C – B – B – A – B – B – B –D – A – D – D – D –A –D
- Collect the goblin and the clock pendulum.
- Move to the King’s Parlor.
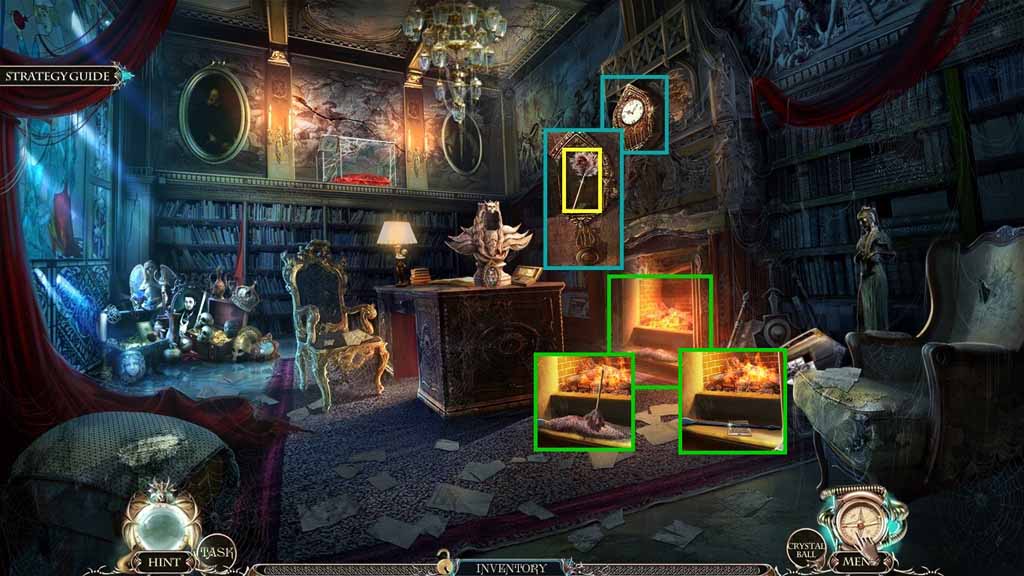
- Attach the clock pendulum onto the clock; collect the feather duster.
- Zoom into the fireplace.
- Select the feather duster to clear the dust; collect the lever.
- Read the note under the lever.
- Move to the Royal Stables.
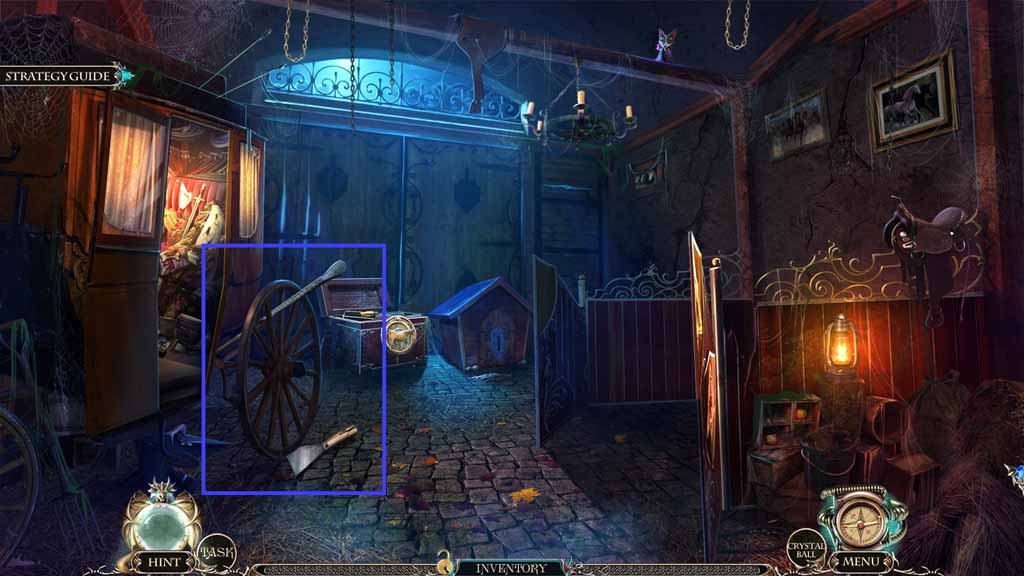
- Select the lever to lift the wheel; collect the palette knife.
- Move to the King’s Parlor.
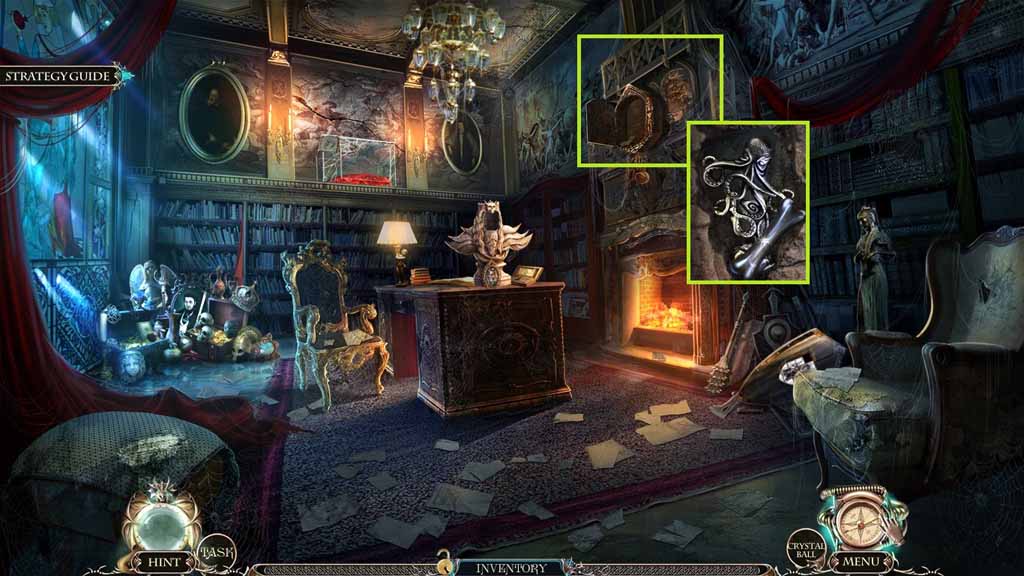
- Select the palette knife to remove the paint.
- Select the dagger splinter to remove the stones; collect the kraken and the bone.
- Move to the Royal Stables.
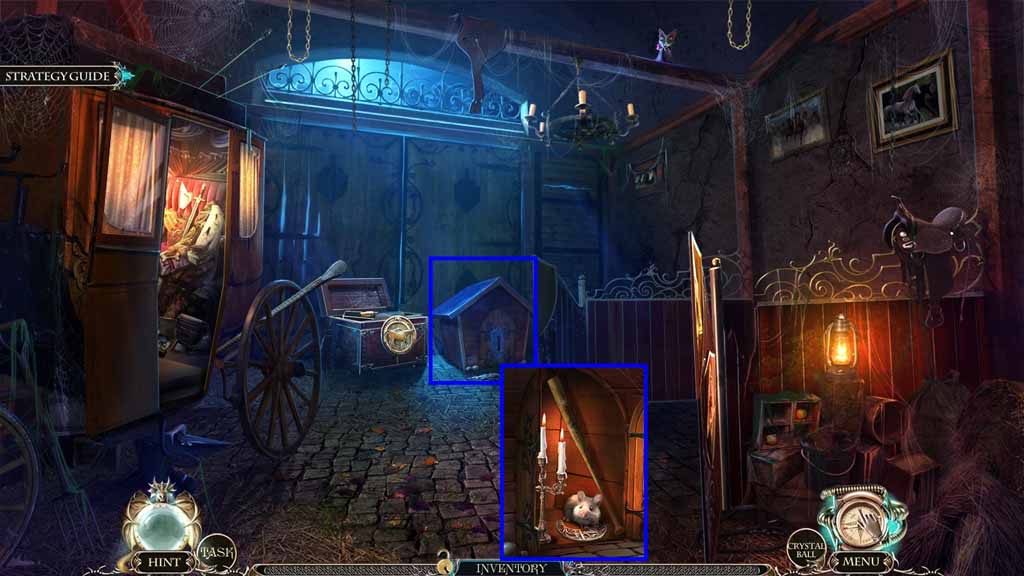
- Place the bone into the slot.
- Place the lit candle holder down; collect the bat.
- Move to the Fair Square.
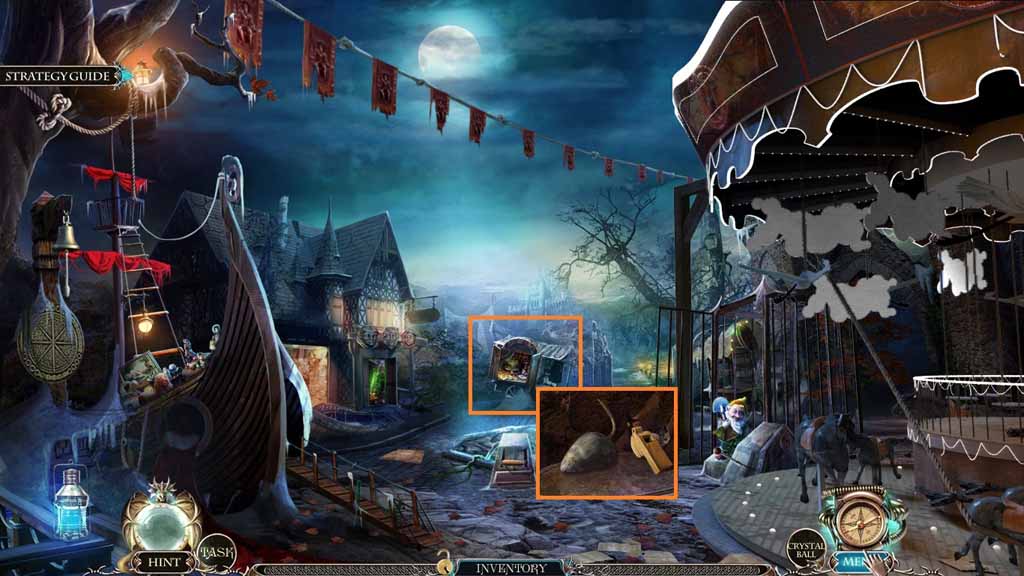
- Select the bat to break the bottles.
- Collect the wind-up mouse and the whistle.
- Move to the Shop of Wonders.
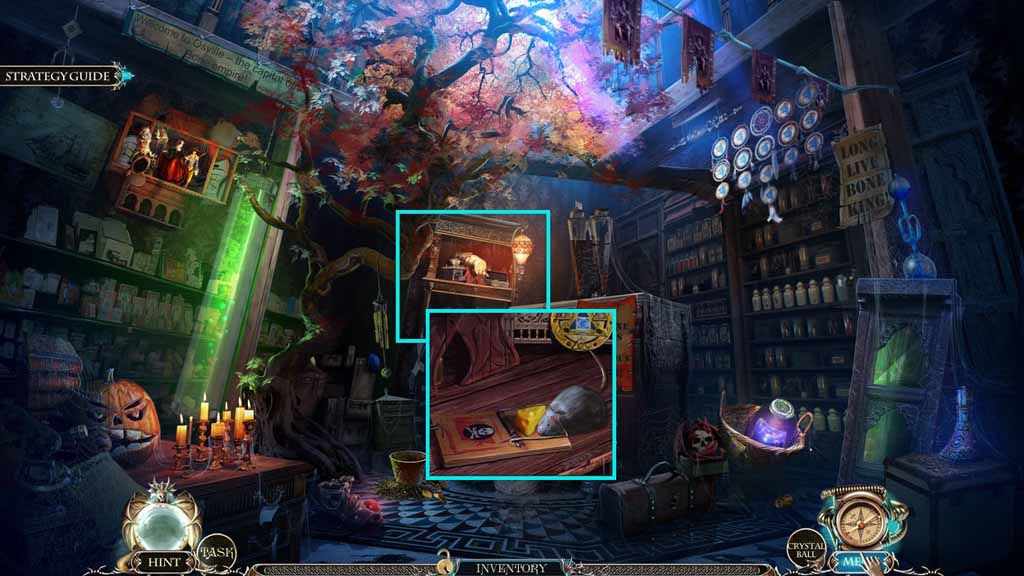
- Place the wind up mouse into the trap; collect the cheese.
- Move to the Royal Stables.
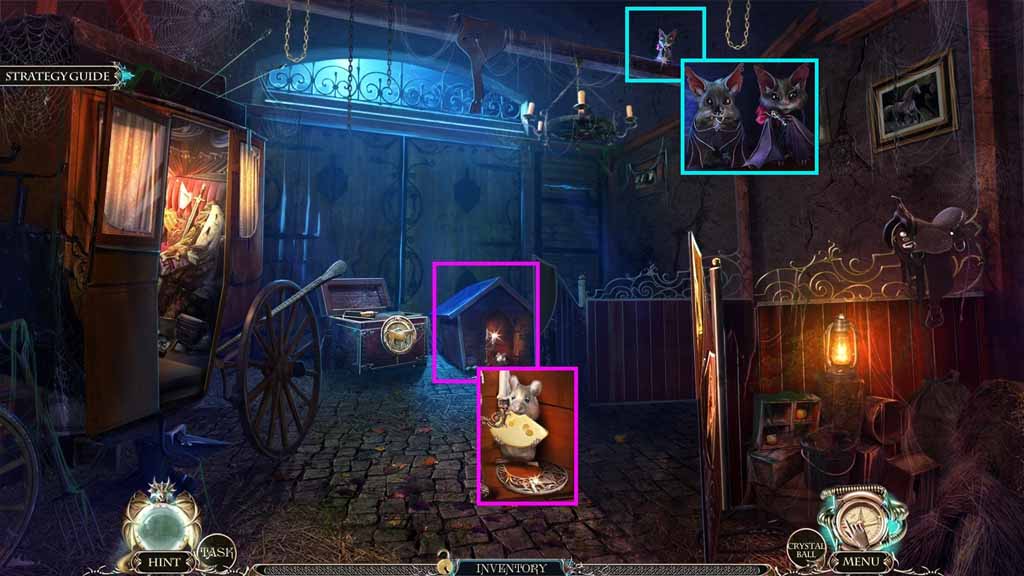
- Give the mouse the cheese; collect the horseshoe.
- Select the whistle to wake the bat.
- Select Louis to send to the bat; collect the witch.
- Move to the Throne Room.
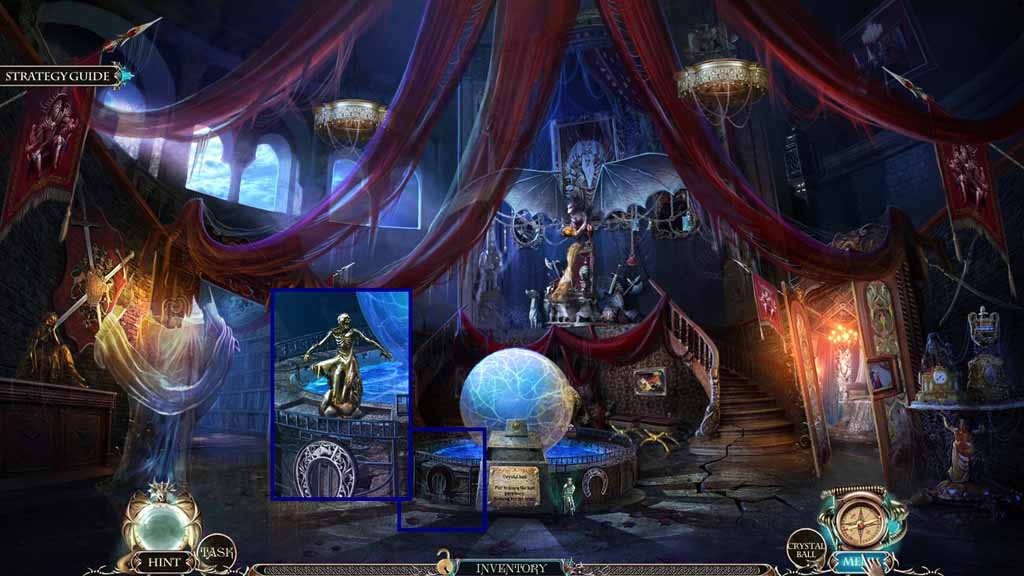
- Place the horseshoe into the niche; collect the undead.
- Move to the Sacred Grove.
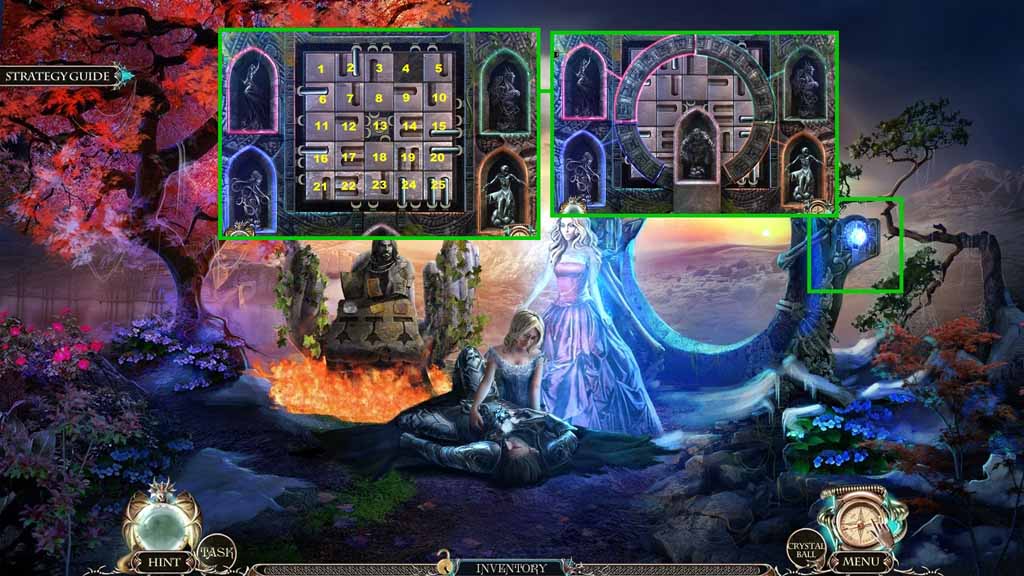
- Place the witch, the kraken, the goblin, the dragon, and the undead into the niche to trigger a mini-game.
- Solve the game by matching the tiles with the reeds.
- Click the tiles as follows to solve the game:
- 9 – 8 – 3 – 2 – 7 – 1 2 – 11 – 6 – 7 – 8 – 9 – 4 – 5 – 10 – 15 – 1 4 – 9 – 8 – 7 – 12 – 17 – 18 – 23 – 22 – 17 – 16 – 21 – 22 – 23 – 18 – 17 – 16 – 21 – 22 – 17 – 16 – 21 – 22 – 23 – 18 – 17 – 22 – 23 – 18 – 17 – 16 – 21 – 22 – 23 – 18 – 17 – 16 – 21 – 22 – 17 – 18 – 23 – 22 – 21 – 16 – 17 – 22 – 23 – 18 – 19 – 24 – 23 – 18 – 19 – 24 – 23 – 18 – 19
- Congratulations! You have successfully completed the main game of Riddles of Fate: Wild Hunt Collector’s Edition.
Comments will load when you reach this part of the walkthrough.