

Chapter Three: The Chapel
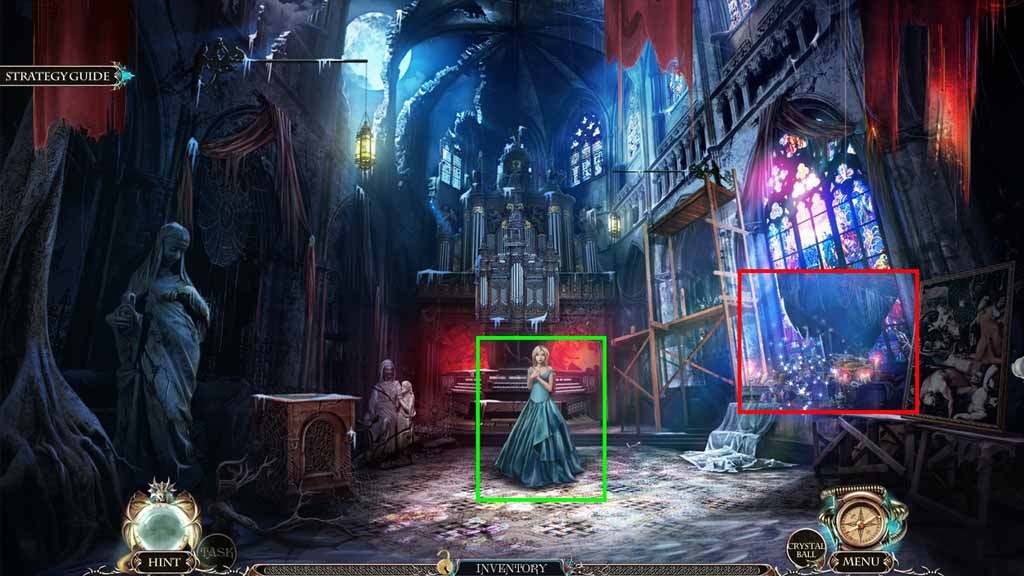
- Speak to the woman.
- Click the hidden objects area.
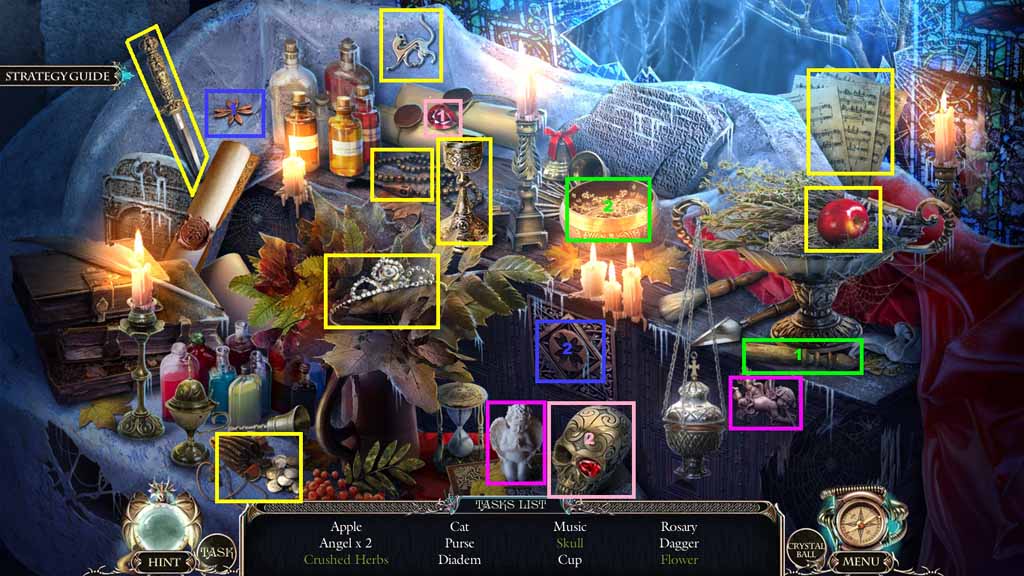
- Find the listed items.
- Select the pestle and place it into the mortar; collect the crushed herbs.
- Select the ruby and insert it into the eye of the skeleton; collect the skeleton.
- Select the flower and insert it into the niche; collect the flower.
- Collect the cup.
- Move down once.
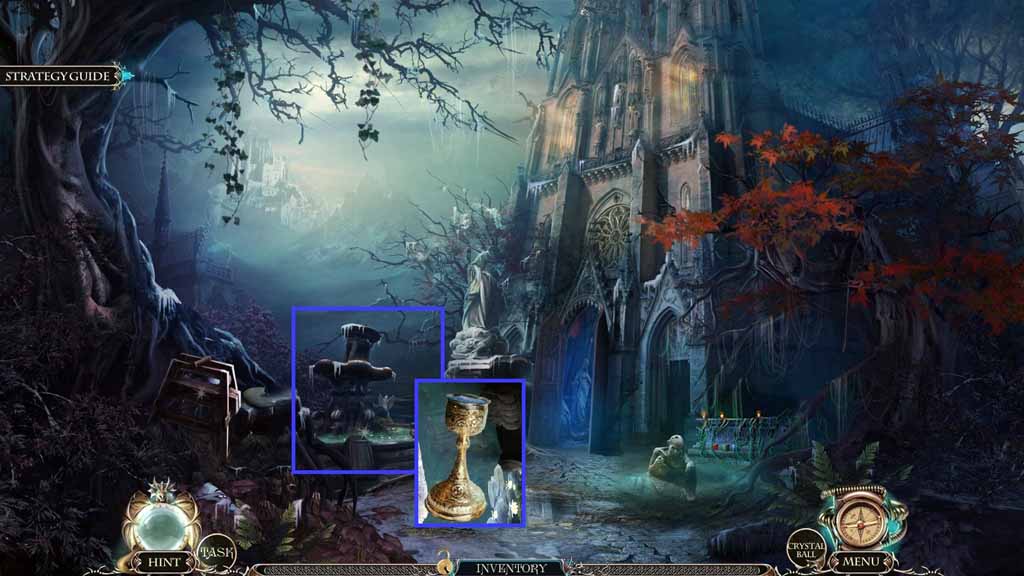
- Zoom into the fountain; dip the cup into the water.
- Collect the cup with water.
- Move into the Chapel.
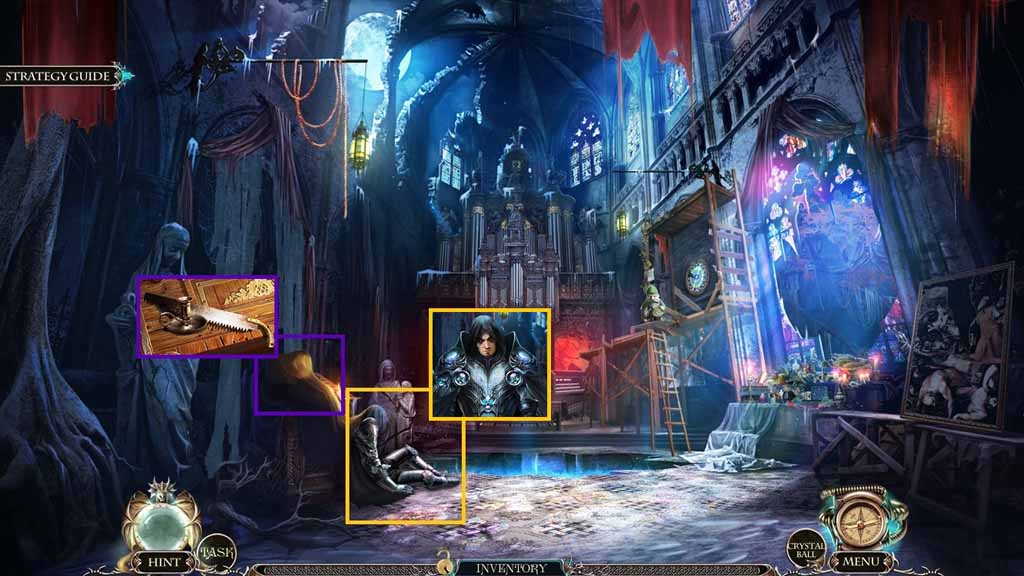
- Select the cup of water and pour it onto Death.
- Speak to Death.
- Zoom into the podium; collect the candlestick holder and the saw.
- Move to the House.
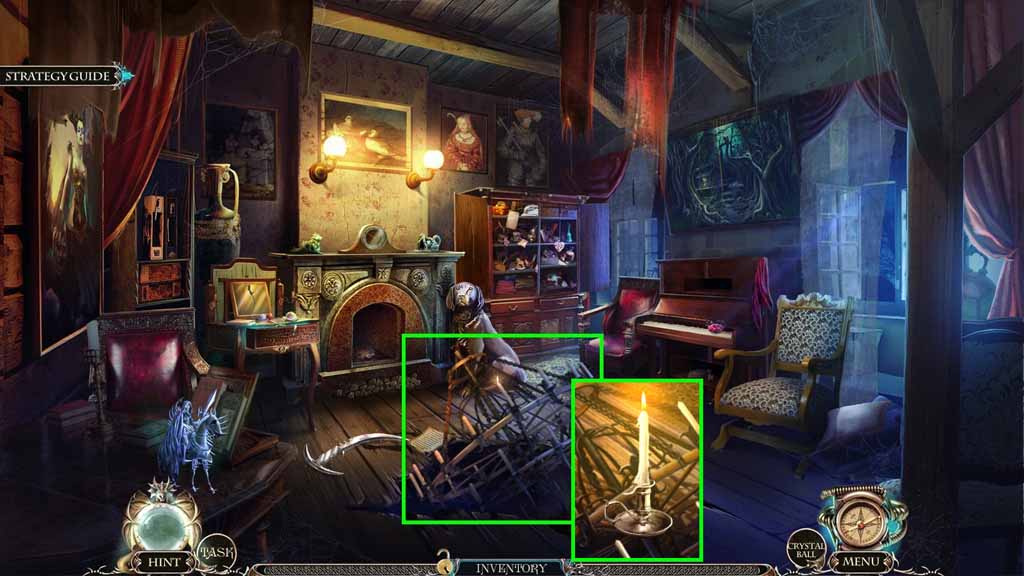
- Zoom into the chandelier.
- Select the candlestick holder to collect the candle.
- Move to the Chapel.
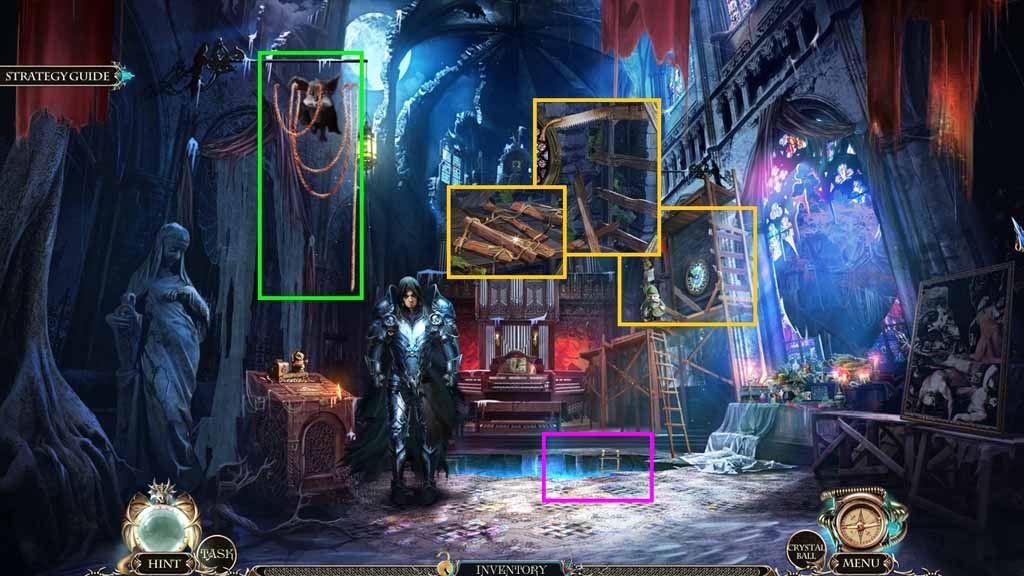
- Select Louis to collect the rope.
- Zoom into the scaffolding; select the saw to cut the boards.
- Attach the boards to the rope; collect the rope ladder.
- Place the rope ladder down into the hole.
- Move to the Underground Lake.
- Click anywhere.
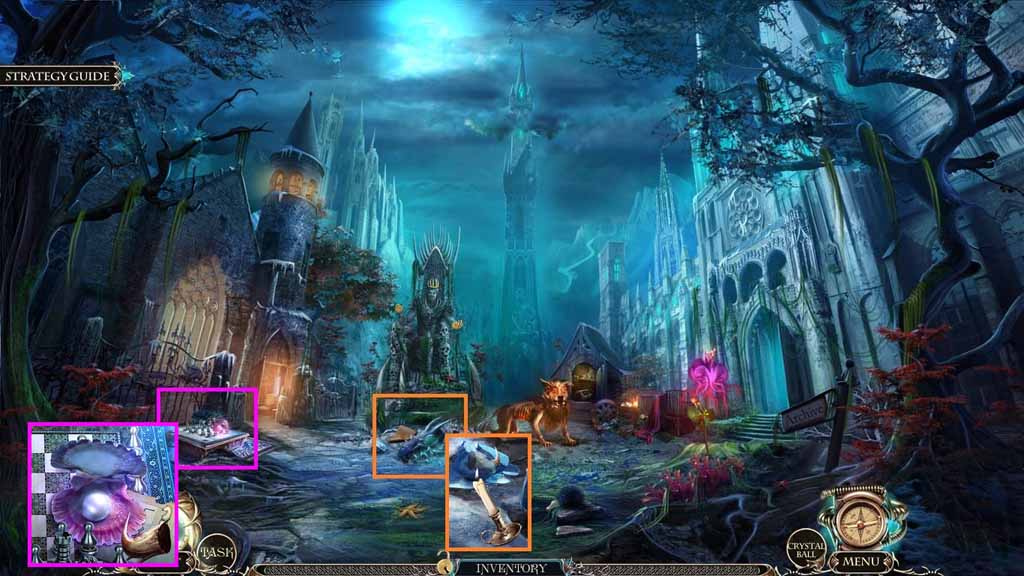
- Select the candle to melt the ice; collect the dragon’s claw.
- Select the dragon’s claw to open the shell; collect the pearl.
- Move to the Archive.
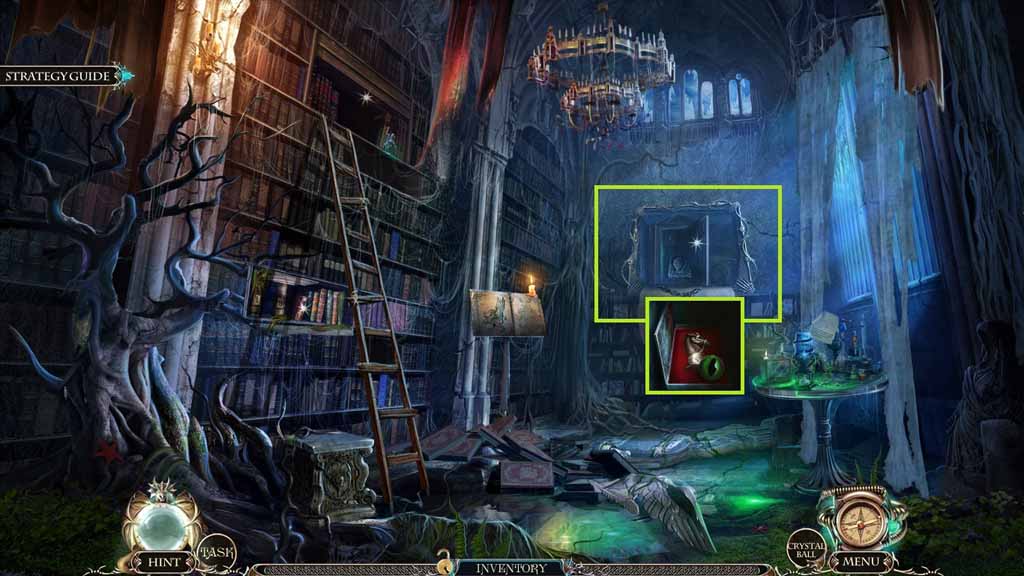
- Zoom into the painting area; insert the pearl.
- Collect the knight and the 1 / 2 eyes.
- Move down once.
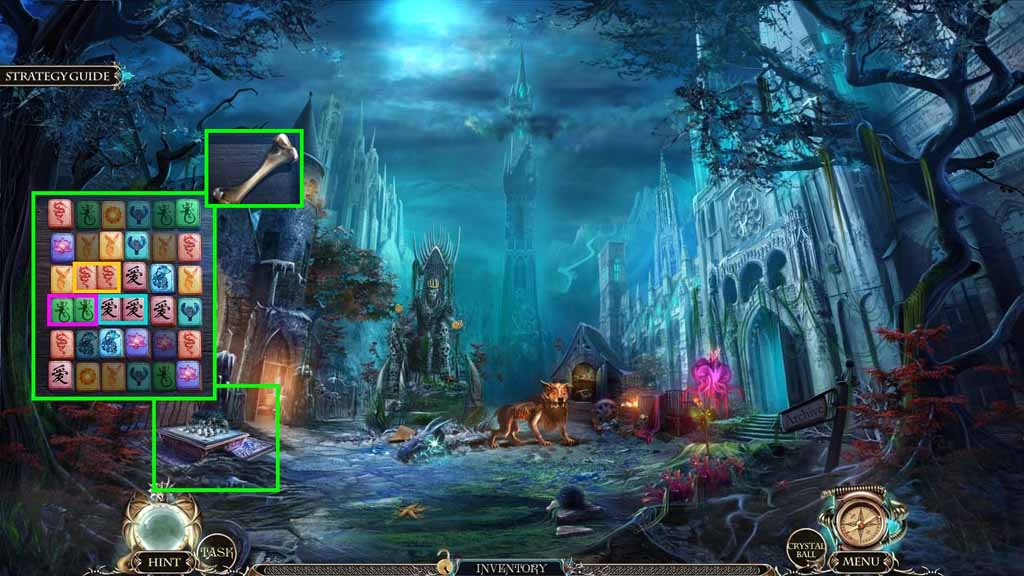
- Zoom into the chess board.
- Place the knight down to trigger a mini-game.
- Solve the game by removing the chips from the board by matching the pairs.
- Collect the bone.
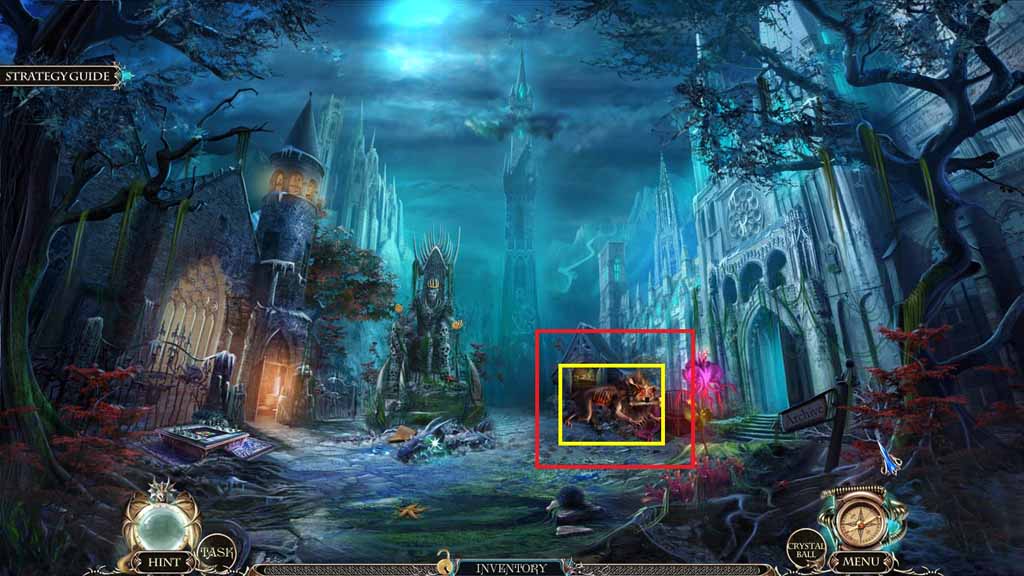
- Give the dog the bone.
- Click the hidden objects area.
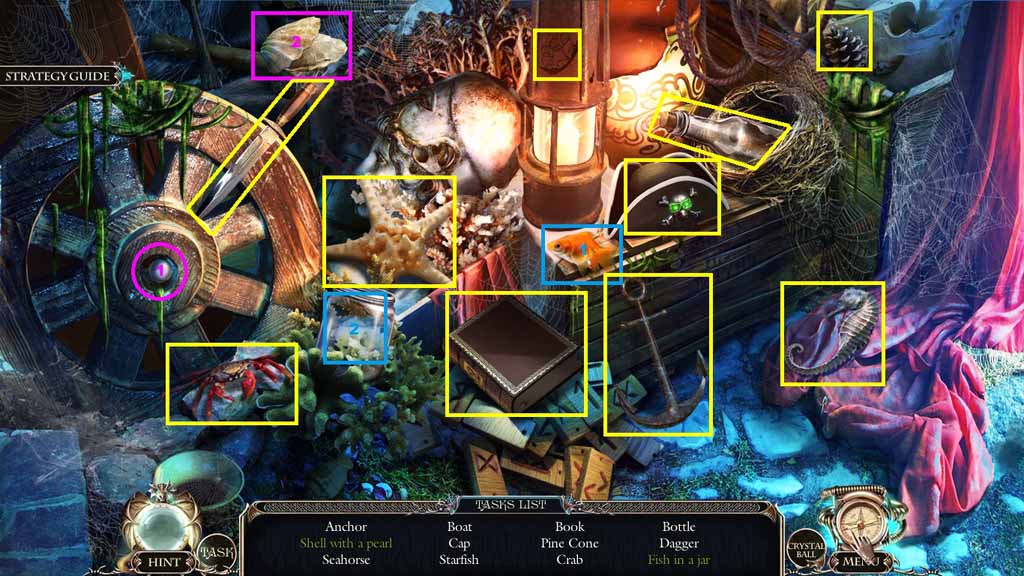
- Find the listed items.
- Select the pearl and insert it into the shell; collect the shell with a pearl.
- Select the fish and place it into the jar; collect the fish in a jar.
- Collect the book.
- Move to the Archive.
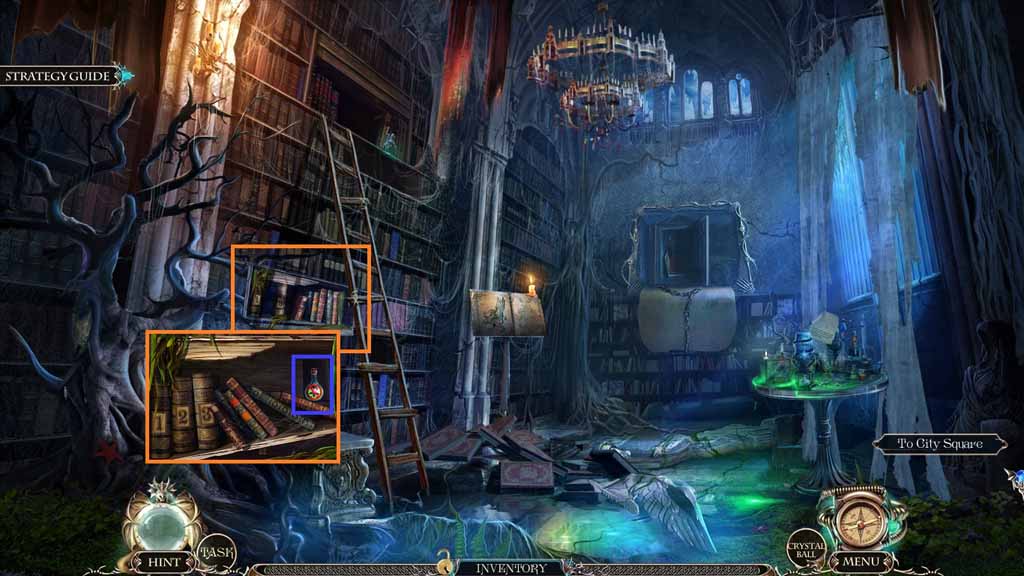
- Zoom into the bookcase and insert the book.
- Collect the acid.
- Move to the Tower.
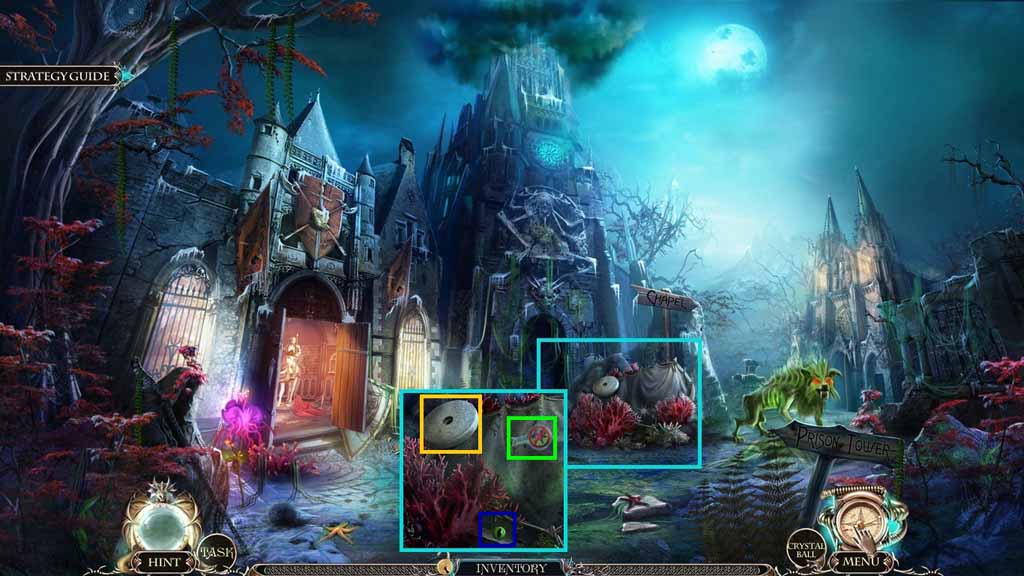
- Zoom into the grindstone and collect it.
- Select the acid to remove the corals.
- Collect the 2 / 2 eyes.
- Move to the House.
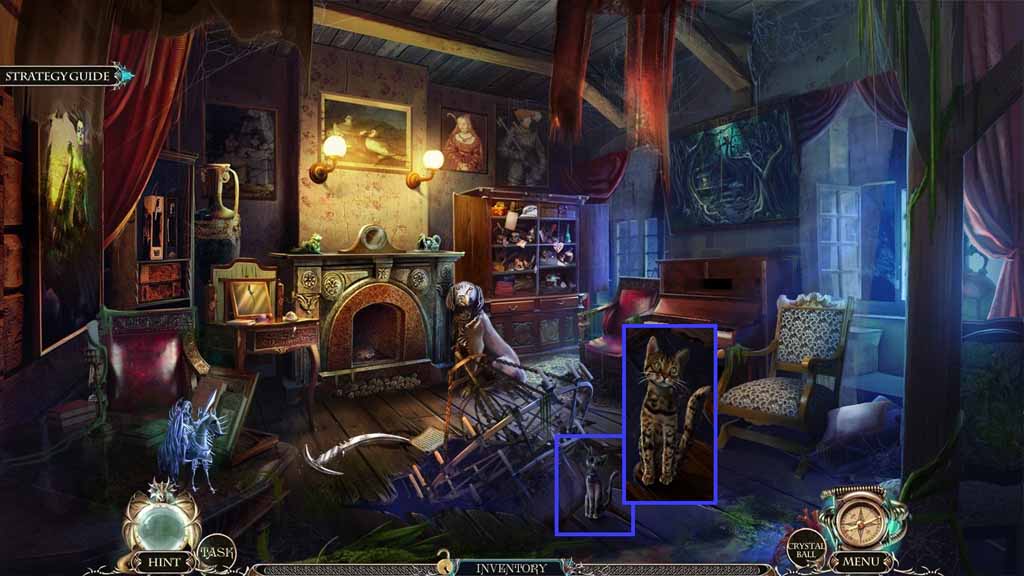
- Zoom into the cat and insert the 2 eyes.
- Select the book of the dead to use on the cat; collect the cat.
- Move to the Tower.
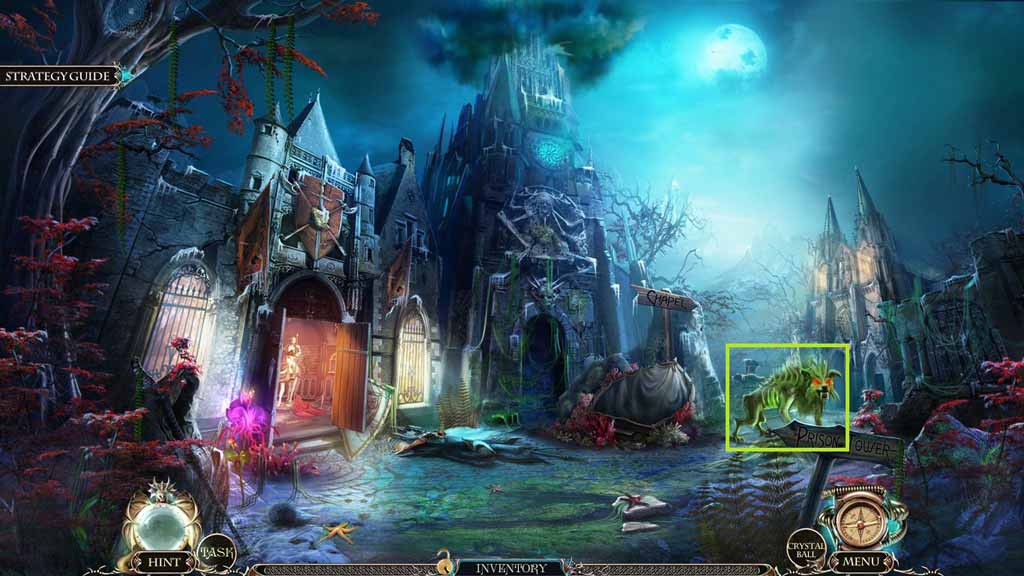
- Select the cat to chase the dog away.
- Move into the Armory.
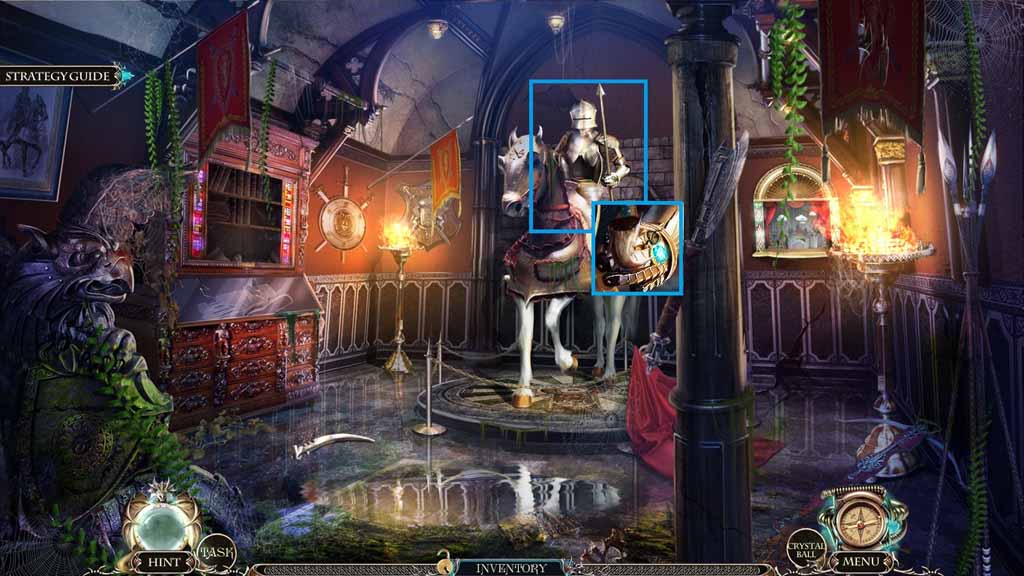
- Select the dragon’s claw to collect the opal.
- Move down once.
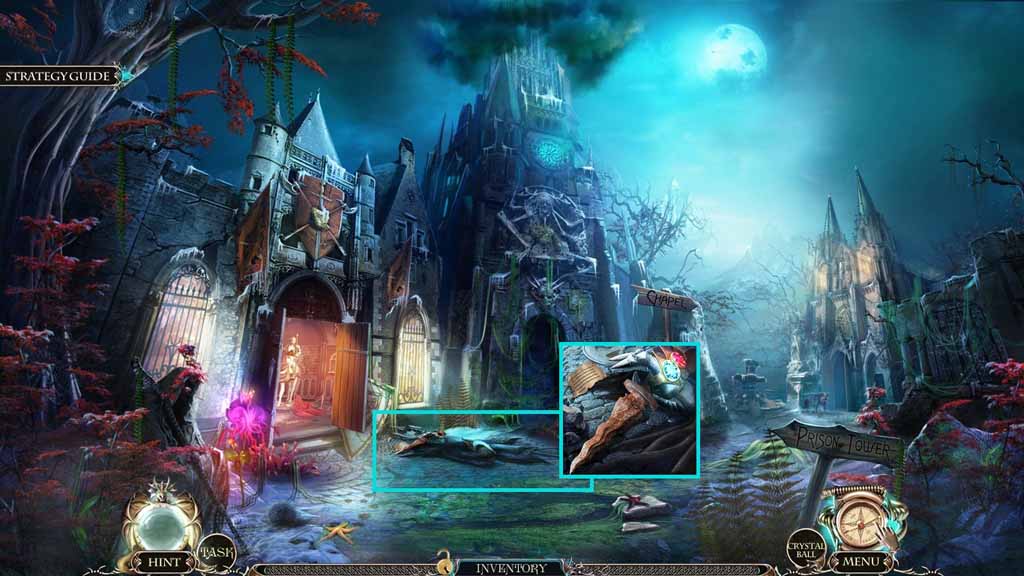
- Zoom into the guard; insert the opal.
- Collect the rusty knife.
- Move to the Outside of the Chapel.
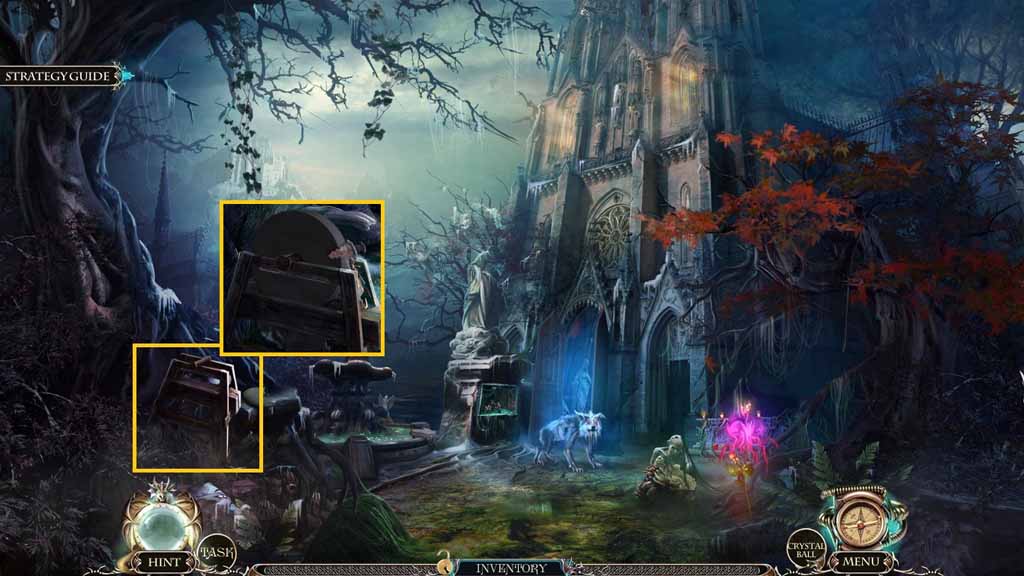
- Attach the grindstone to the device; sharpen the rusty knife.
- Collect the knife.
- Move down once.
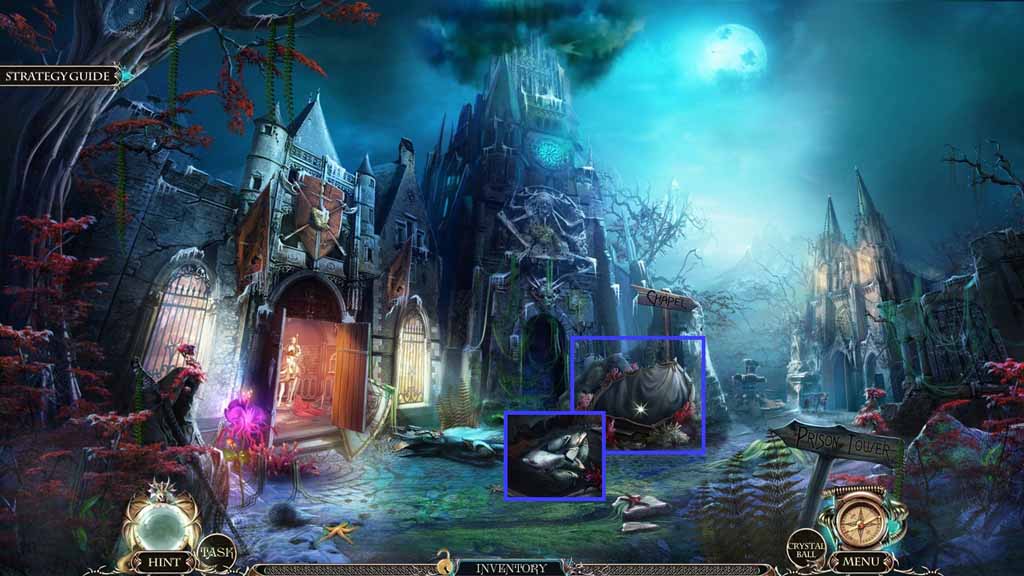
- Zoom into the tent.
- Select the knife and use it to slice the tent; collect the fish.
- Move to the Outside of the Chapel.
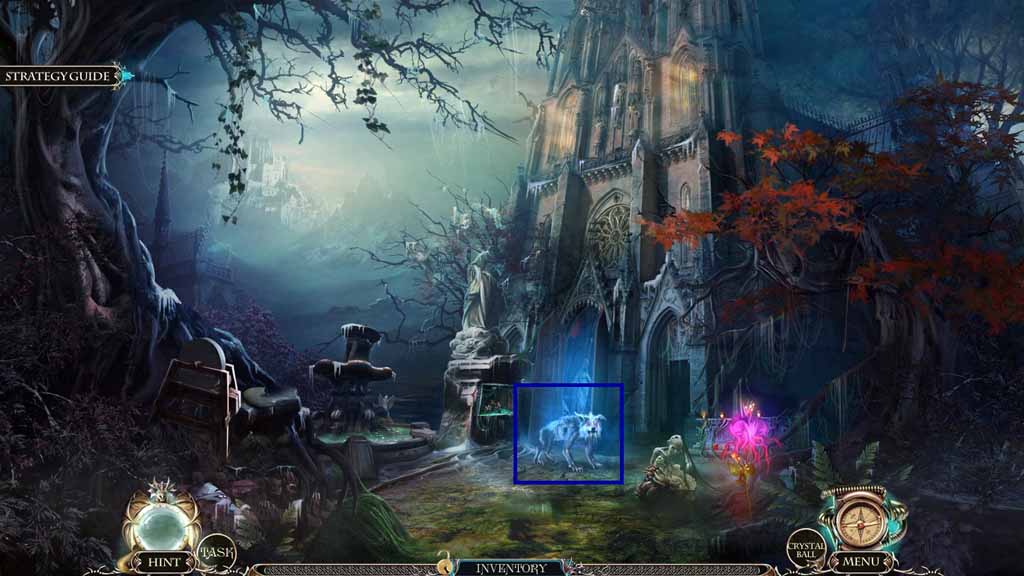
- Give the dog the fish.
- Move to the Underground Lake.
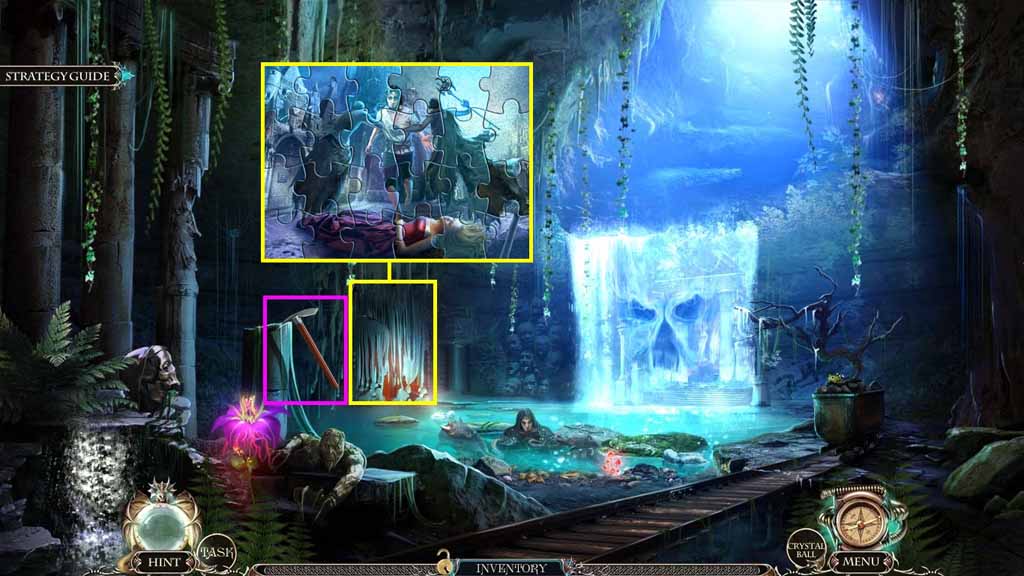
- Collect the pick hammer.
- Select the pick hammer to smash the stalagmites.
- Click the door behind them to trigger a mini-game.
- Solve the game by piecing the puzzle together to create a picture.
- Click the picture.
- Move to the Yard.
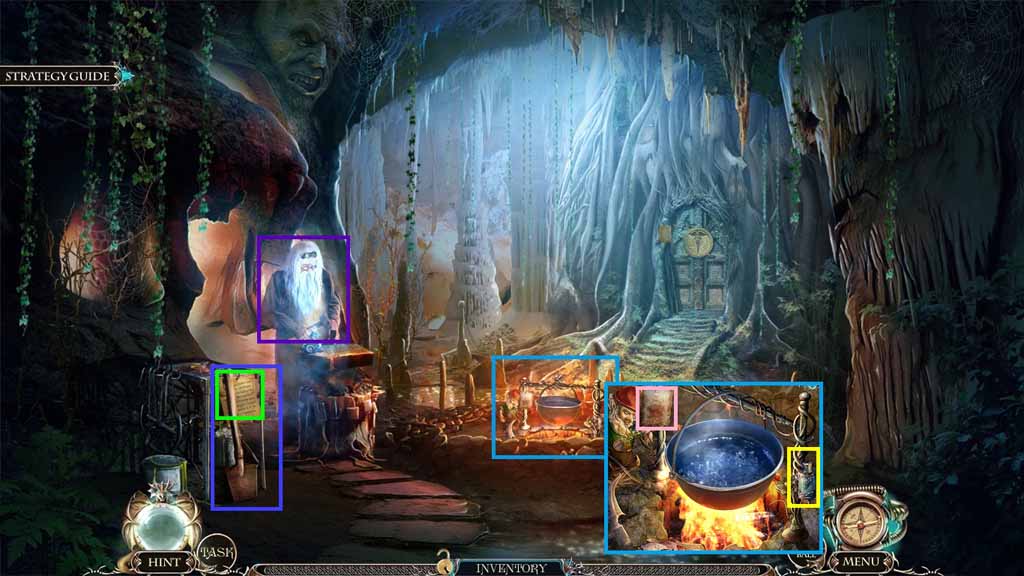
- Speak to the blacksmith.
- Collect the spade.
- Click the paper; collect the empty phial.
- Read the note.
- Move to the Outside of the Chapel.
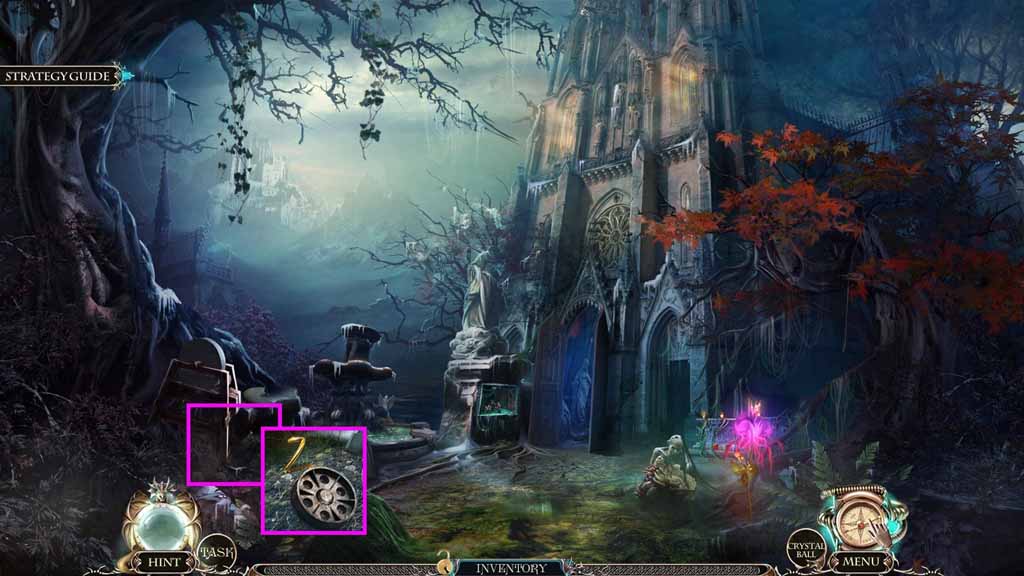
- Select the spade to dig the soil; collect the 1 / 3 caduceus amulets and the wheel.
- Move to the Underground Lake.
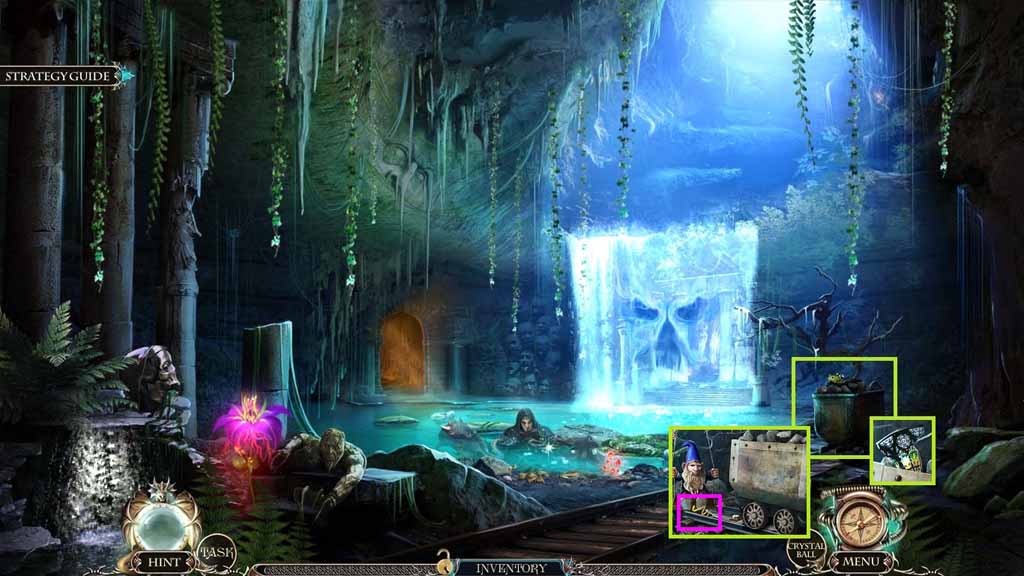
- Select Louis to clear the frog away; collect the stained glass splinter.
- Attach the wheel onto the trolley; collect the 2 / 3 caduceus amulets.
- Move to the Chapel.
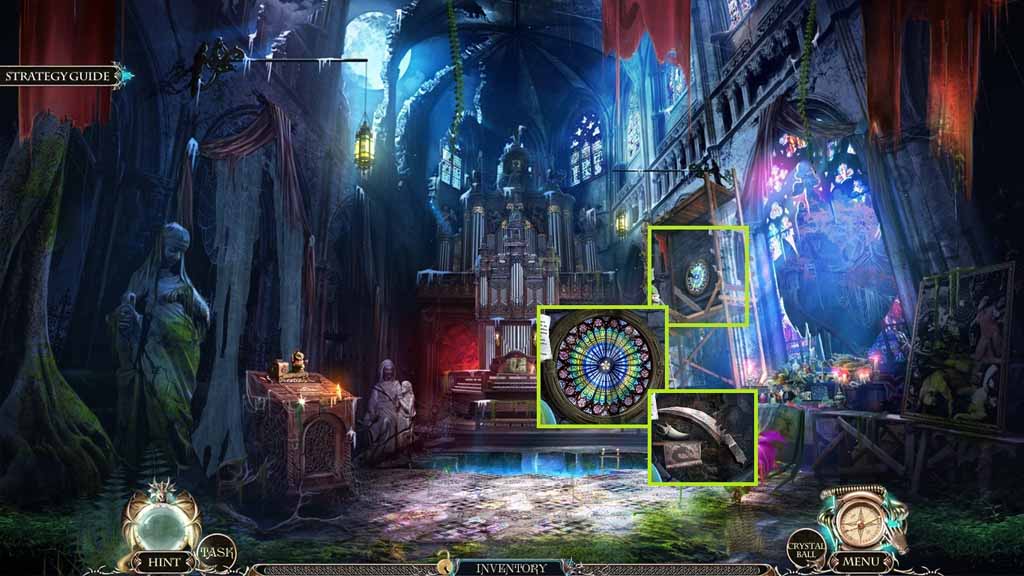
- Insert the stained glass splinter into the missing space; collect the dragon’s fang.
- Move to the City Square.
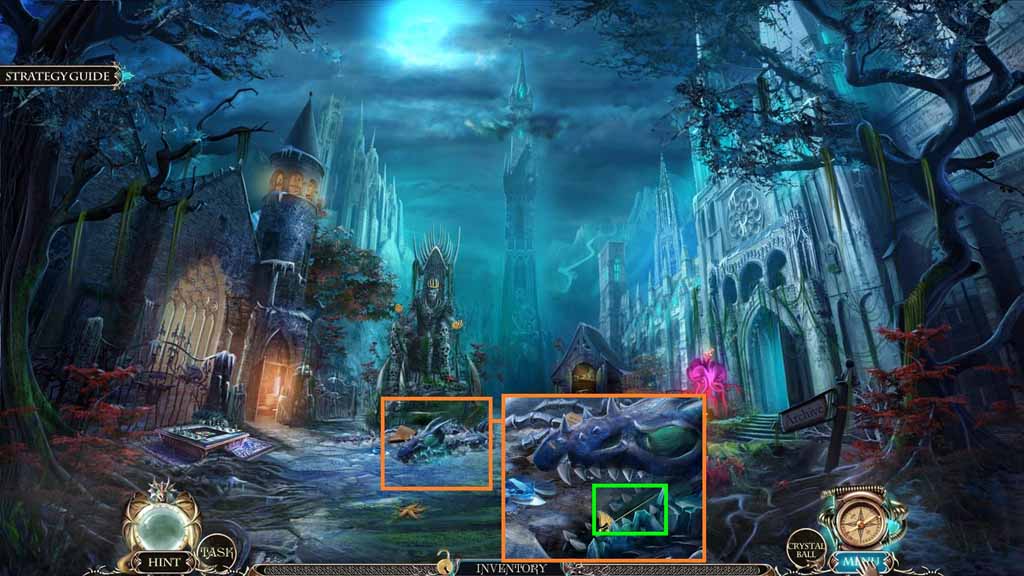
- Insert the dragon’s fang into the mouth; collect the 3 / 3 caduceus amulets.
- Move to the Yard.
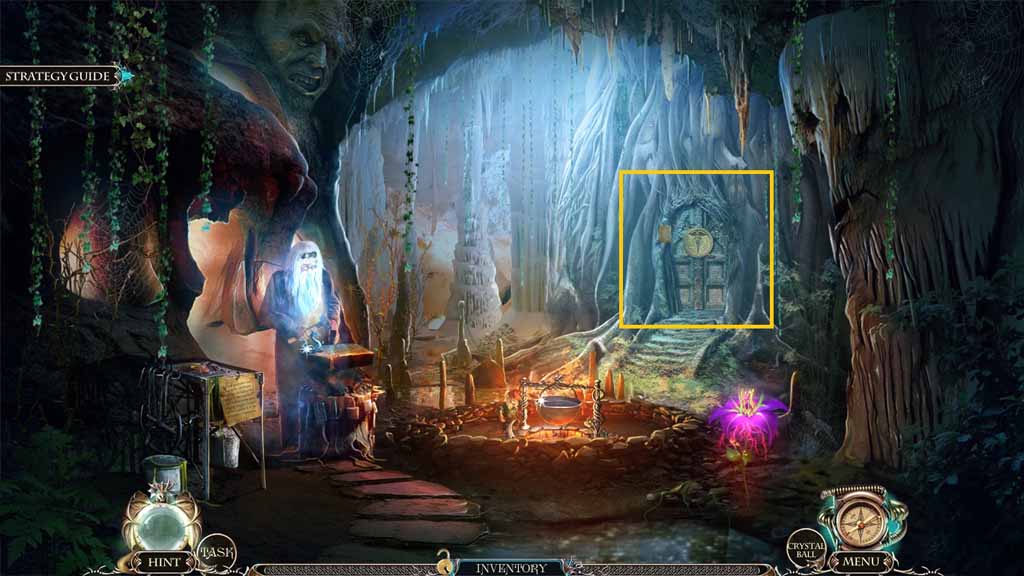
- Zoom into the door; insert the 3 caduceus amulets.
- Move into the Shelter.
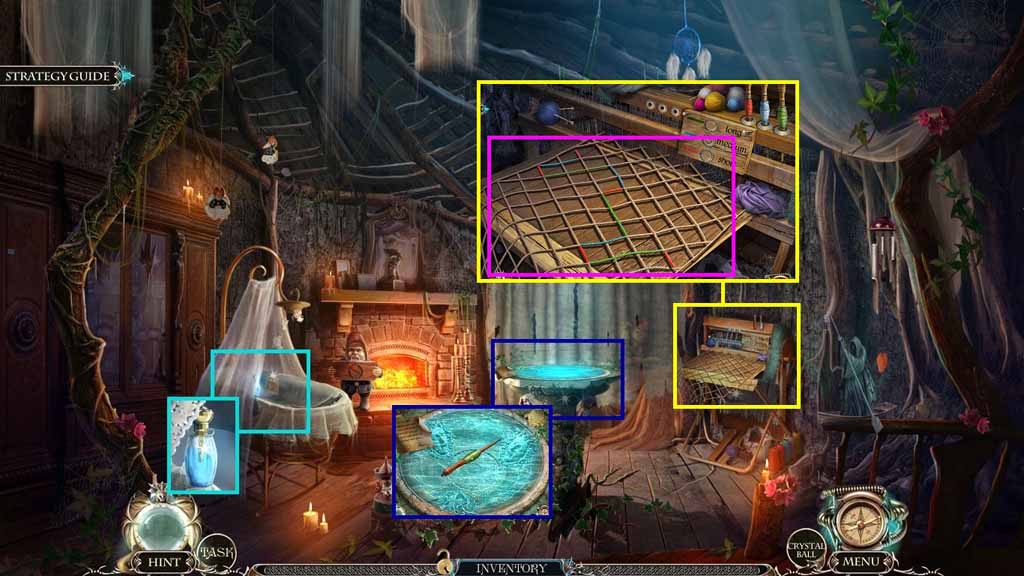
- Click the crib curtain; collect Angelica’s Vessel of Memories.
- Pour it into the vortex; collect the spindle.
- Attach the spindle to the spinning wheel to trigger a mini-game.
- Solve the game by completing the net using the right color thread.
- Collect the net.
- Move down 2 times.
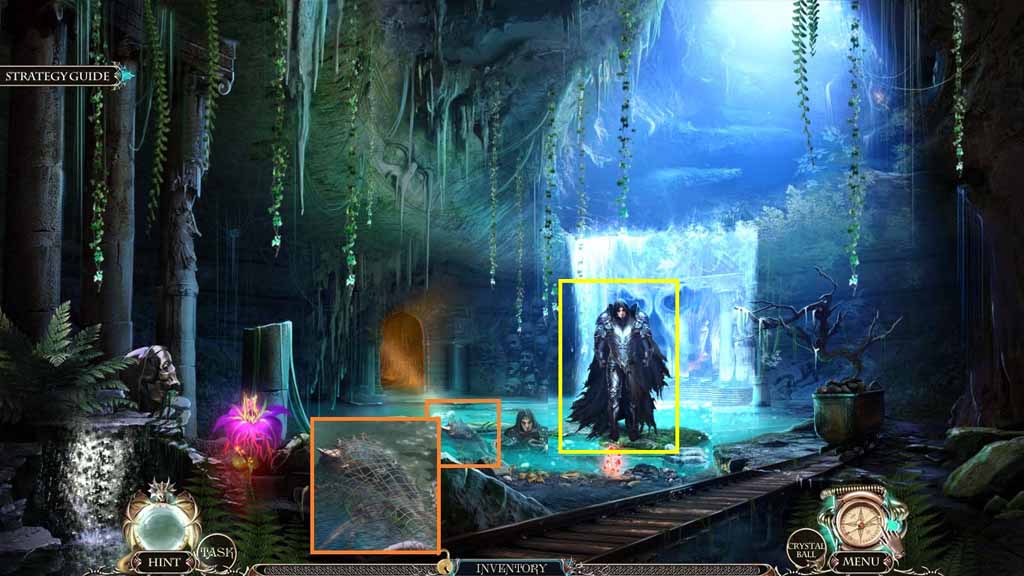
- Toss the net onto the monsters.
- Speak to Death; collect the Death’s Vessel of Memories.
- Move to the Shelter.
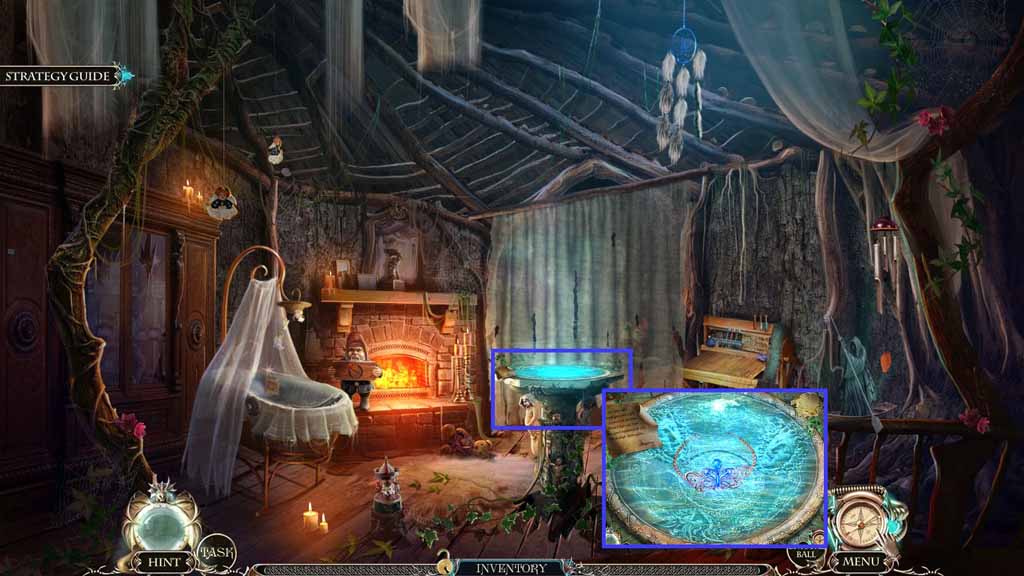
- Pour Death’s Vessel of Memories into the vortex; collect the diadem.
- Move down once.
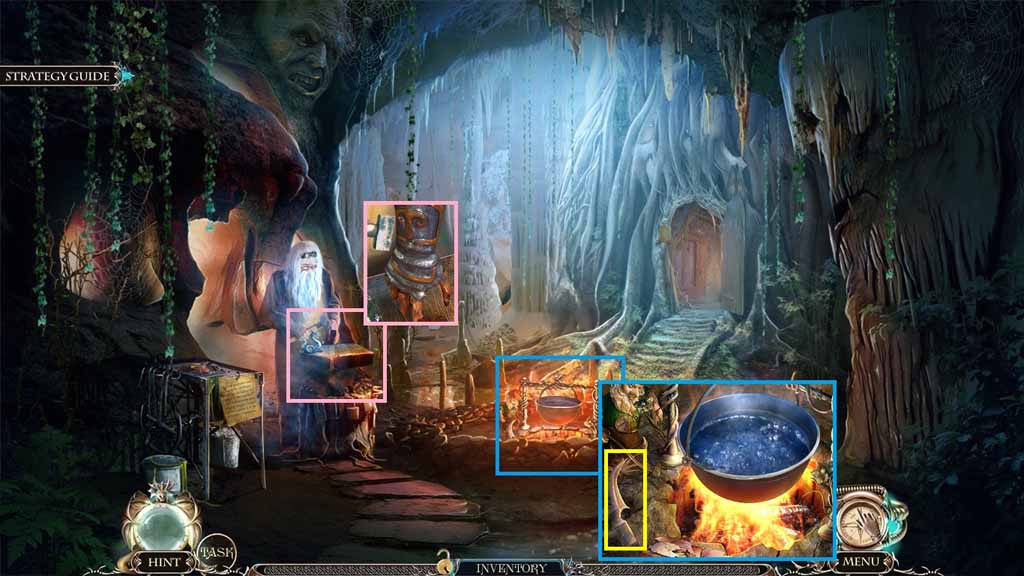
- Give the blacksmith the diadem.
- Select the Book of Dead to use on the gauntlet; collect the gauntlet.
- Zoom into the cauldron; collect the 1 /5 scythe blades using the gauntlet.
- Move ahead.
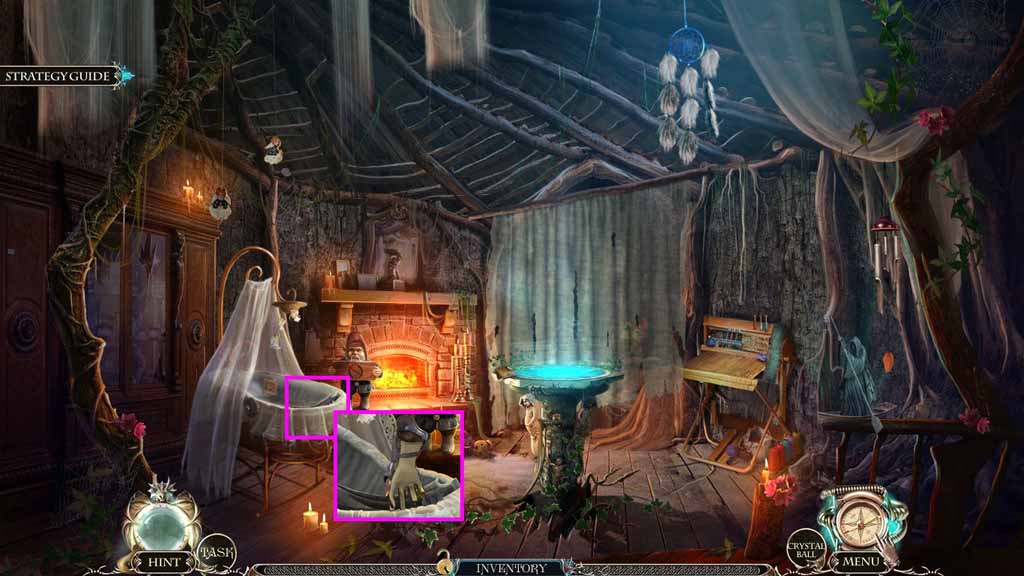
- Collect the 2 /5 scythe blades using the gauntlet.
- Move to the Armory.
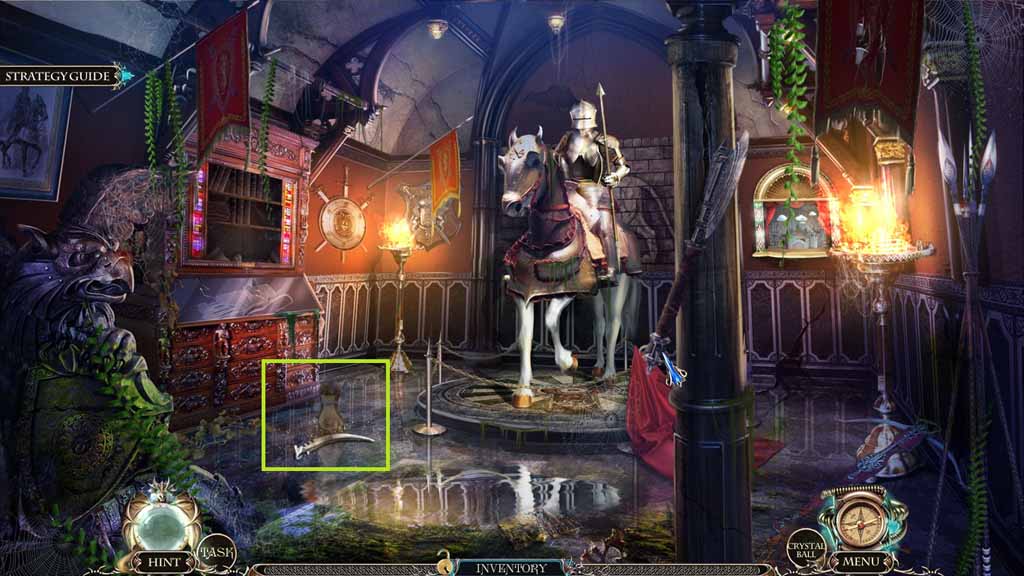
- Collect the 3 /5 scythe blades using the gauntlet.
- Move to the Chapel.
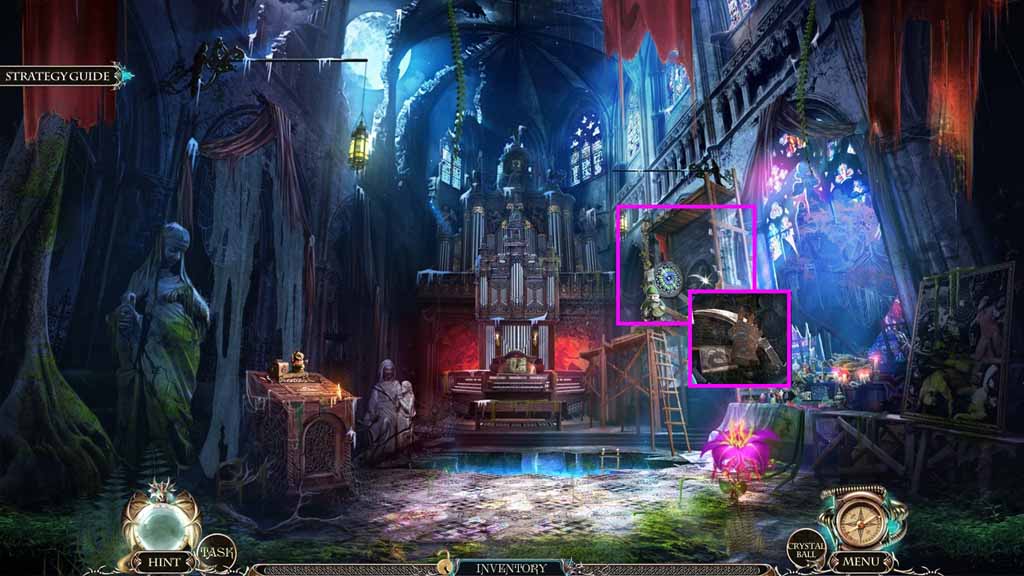
- Collect the 4 /5 scythe blades using the gauntlet.
- Move to the House.
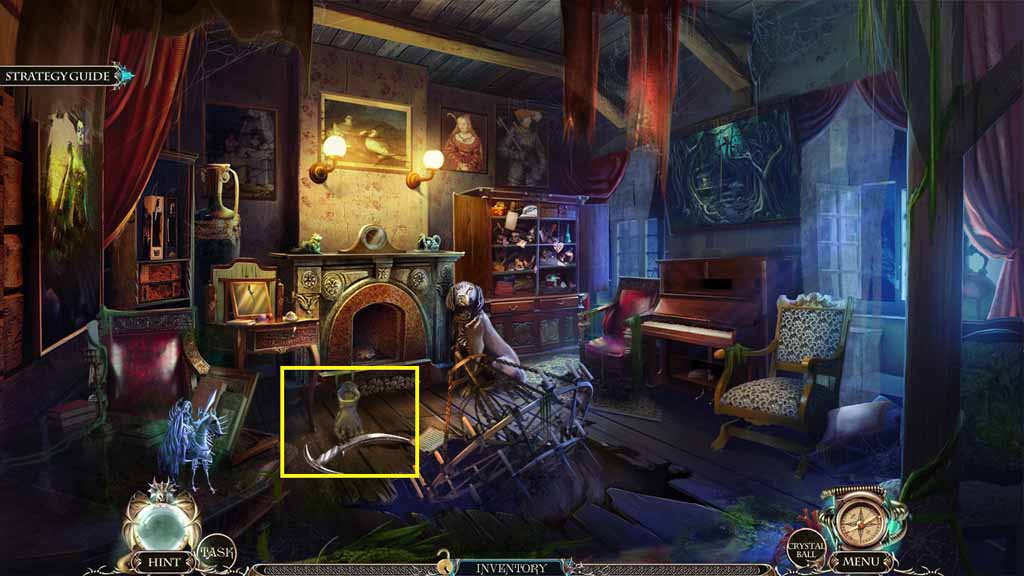
- Collect the 5 /5 scythe blades using the gauntlet.
- Move to the Yard.
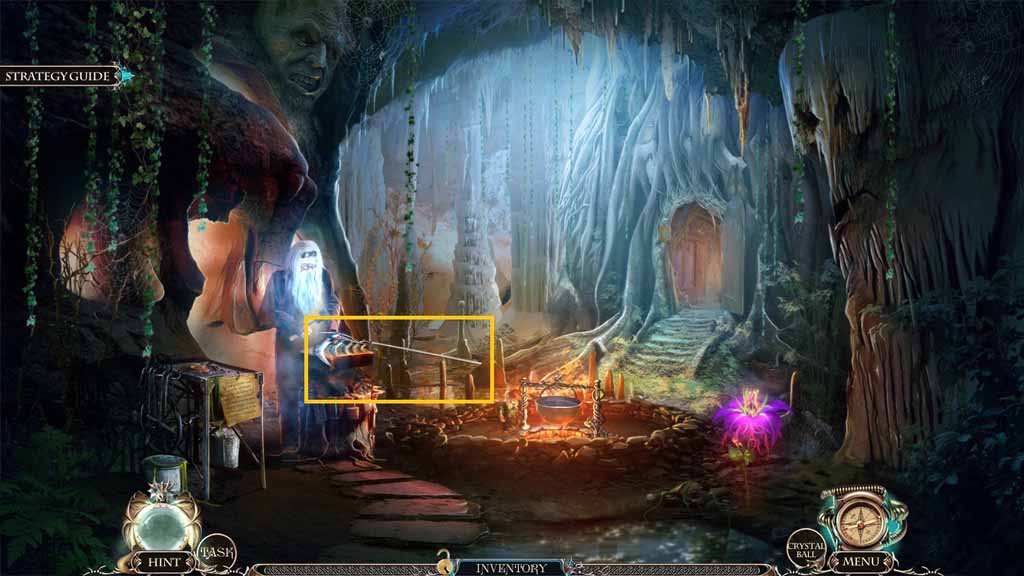
- Zoom into the blacksmith.
- Place the 5 scythe blades down; collect Death’s scythe.
- Move down once.
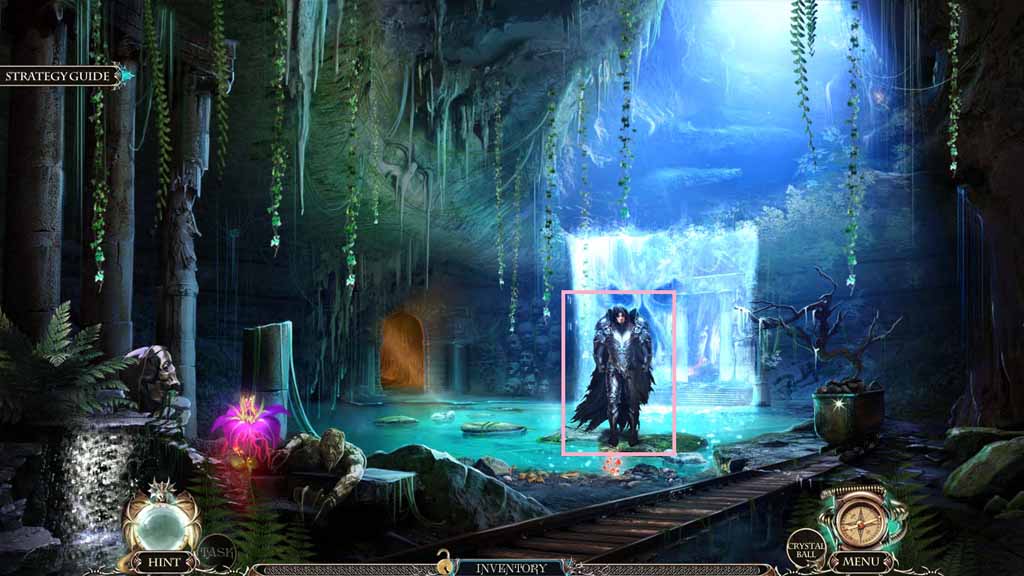
- Give the scythe to Death.
- Move into the Royal Shrine.
Comments will load when you reach this part of the walkthrough.