

Chapter Six: The Sacred Grove
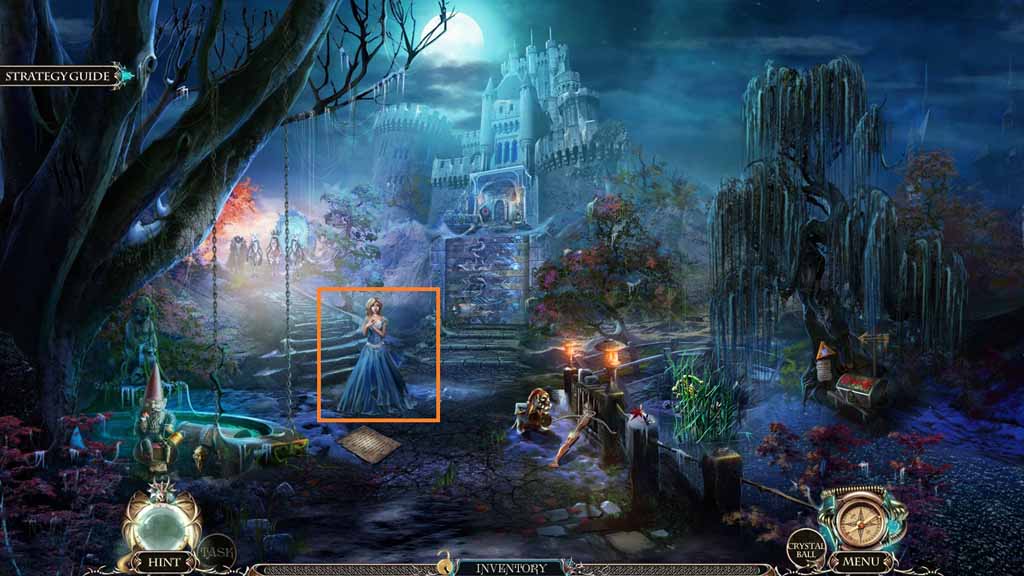
- Click anywhere.
- Speak to the woman; collect the broken King’s crown.
- Move to the Yard.
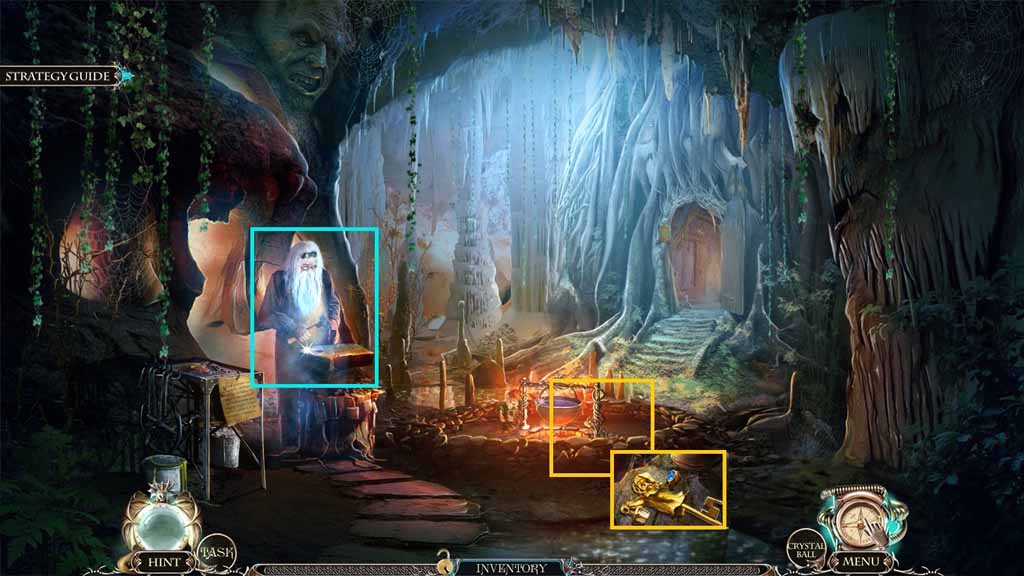
- Speak to the blacksmith.
- Collect the garden key.
- Move to the Alley.
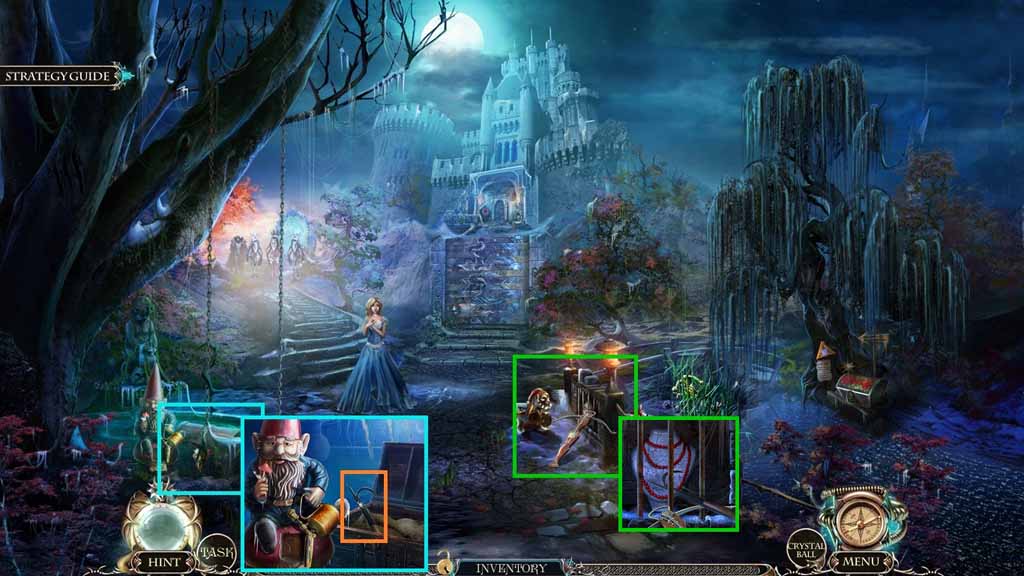
- Zoom into the lock; insert the garden key and click it once.
- Collect the boat hook.
- Zoom into the grate.
- Use the boat hook to collect the necklace.
- Move to the Shop of Wonders.
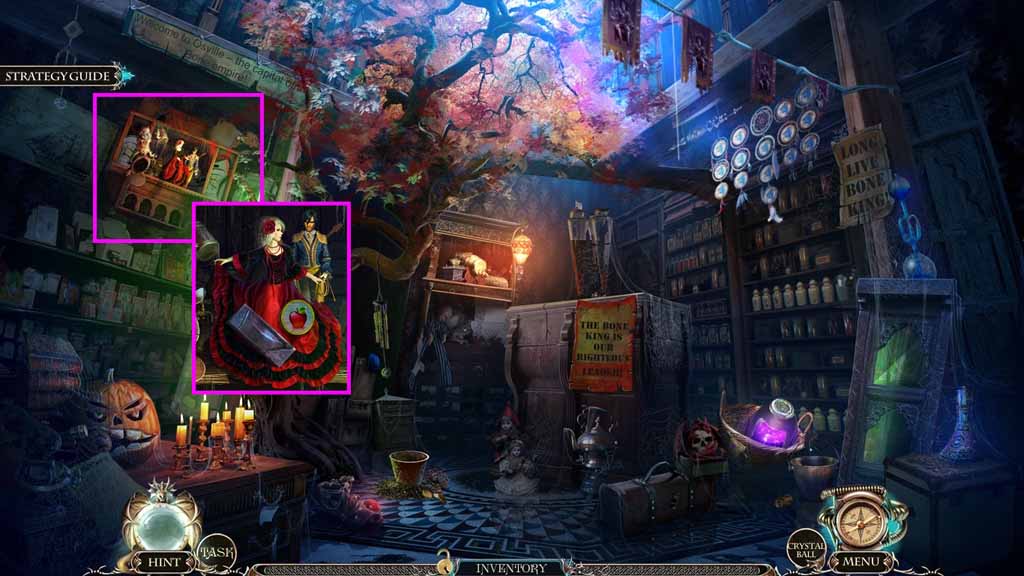
- Zoom into the dancer and place the necklace onto her; collect the 2 / 2 puzzles and the bull’s eye.
- Move to the Alley.
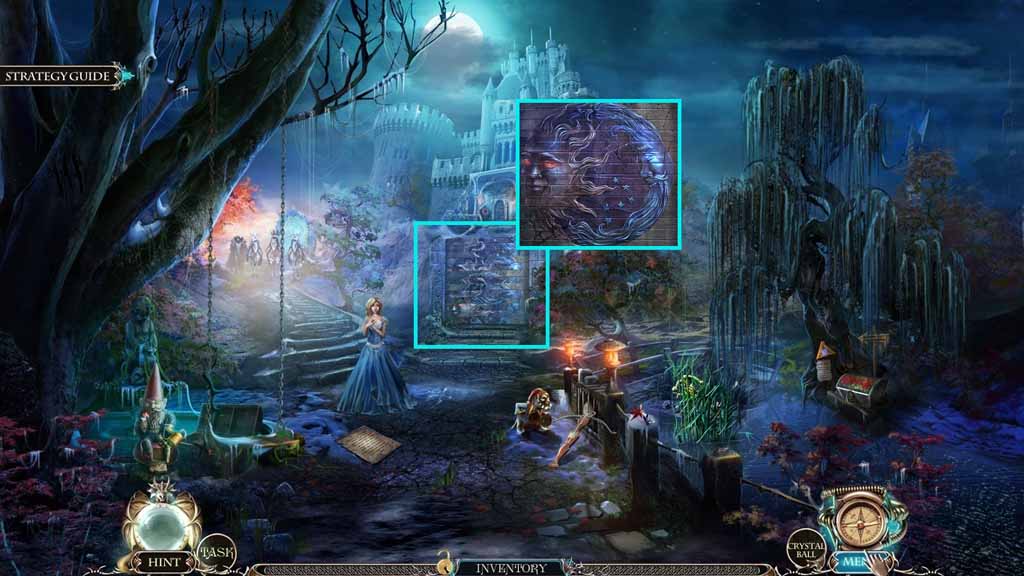
- Zoom into the gate and insert the 2 puzzles to trigger a mini-game.
- Solve the game by recreating the image.
- Move to the Palace Entrance.
- Click the hidden objects area.
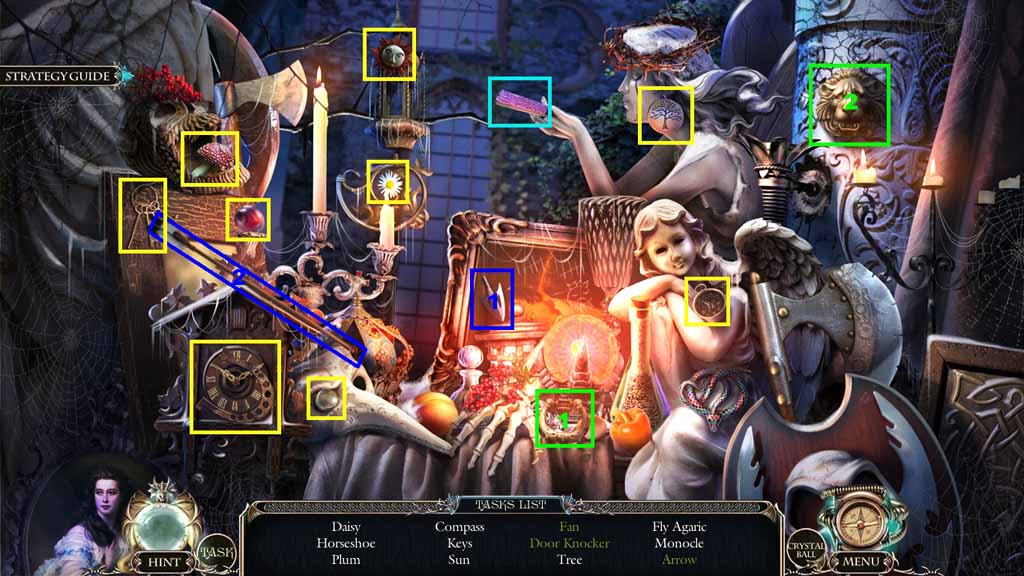
- Find the listed items.
- Click the closed fan to open it; collect the fan.
- Select the arrow head and place it onto the shaft; collect the arrow.
- Select the door knocker piece and attach it to the lion; collect the door knocker.Collect the fly agaric.
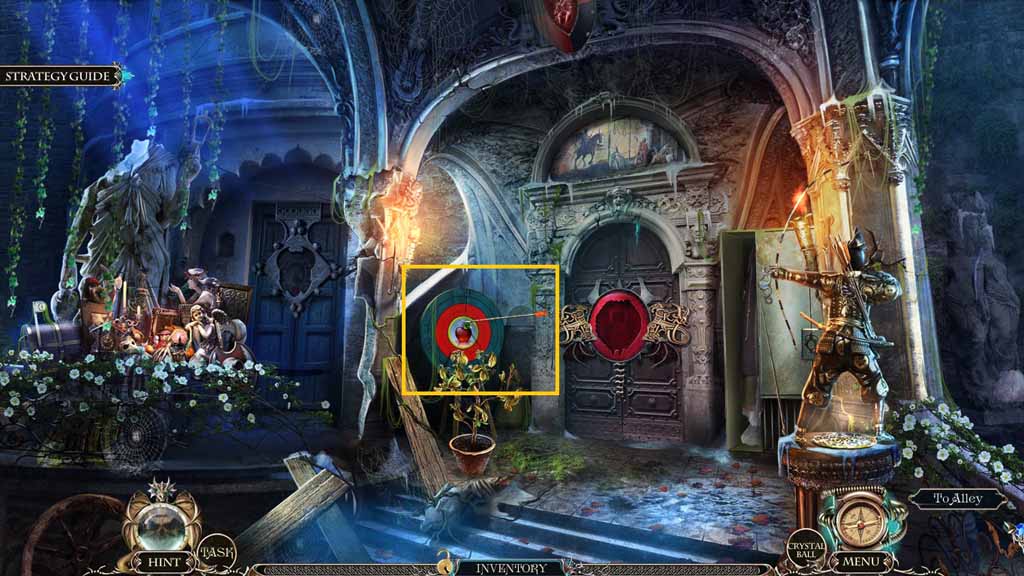
- Put the bull’s eye onto the target; collect the arrow.
- Move down once.
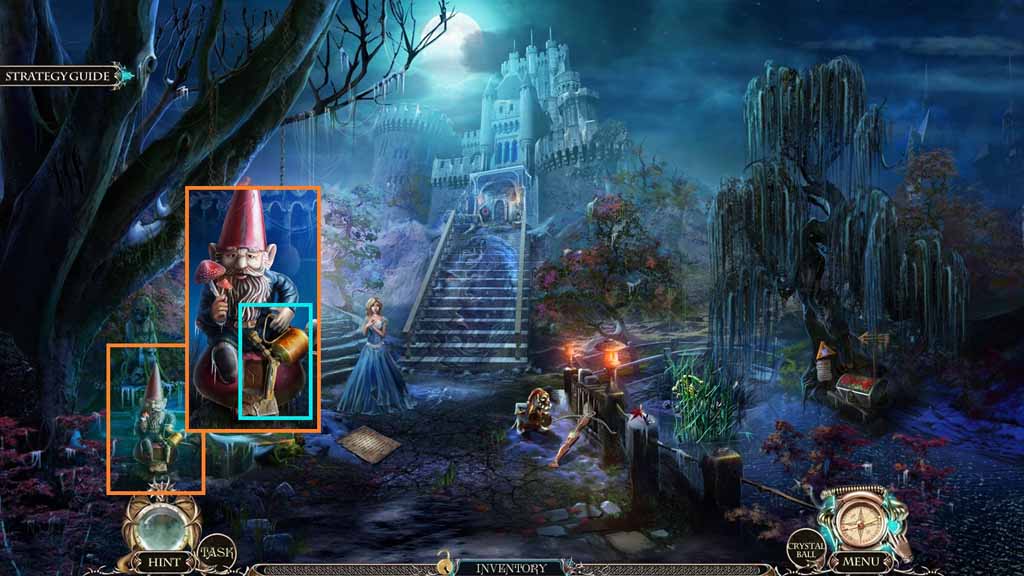
- Give the gnome the fly agaric; collect the blow lamp.
- Move to the Palace Entrance.
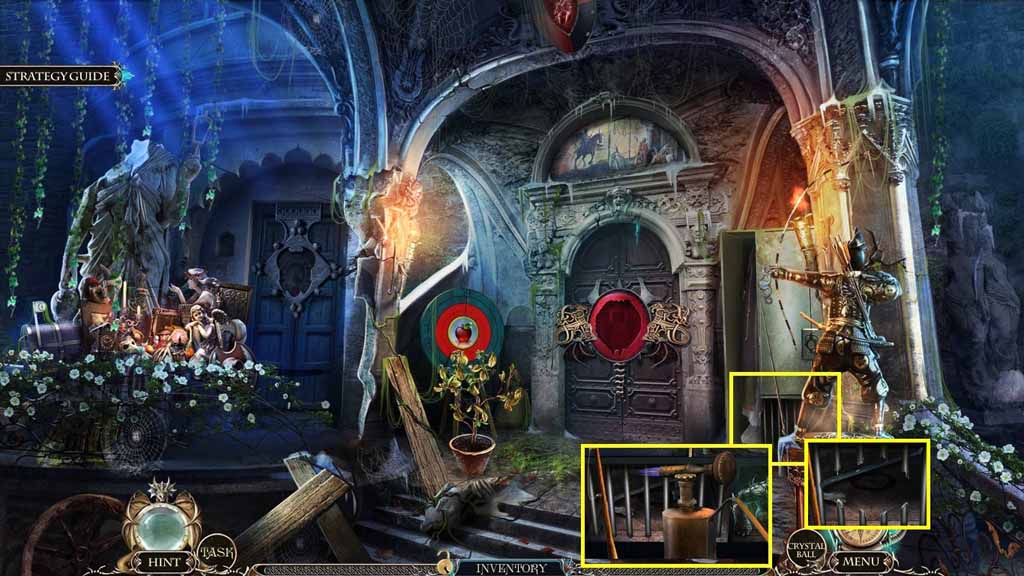
- Select the blow lamp to melt the metal bars.
- Click the old hook and collect the nail puller.
- Move down once.
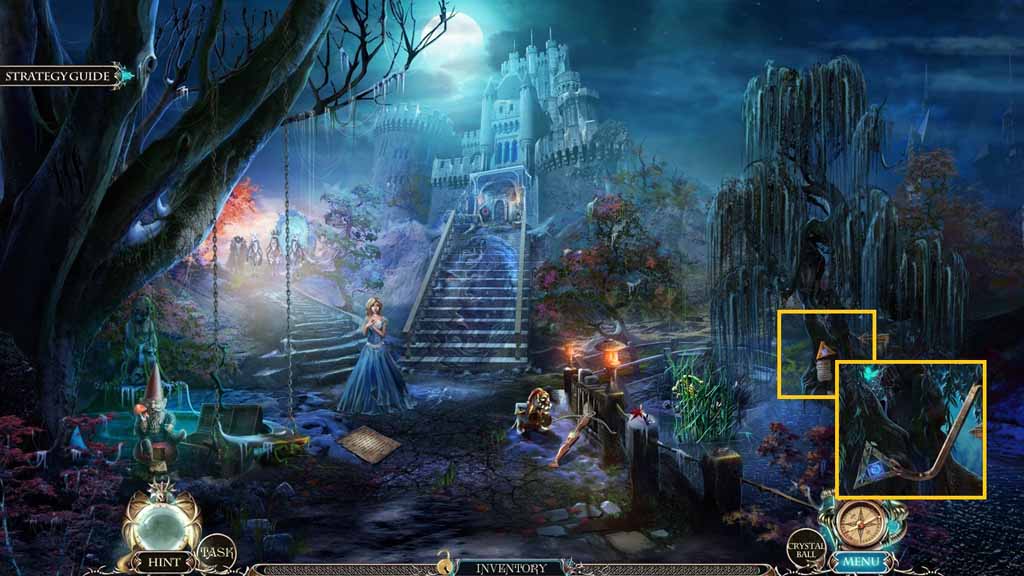
- Select the nail puller to remove and collect the triangle sign.
- Move to the Shop of Wonders.
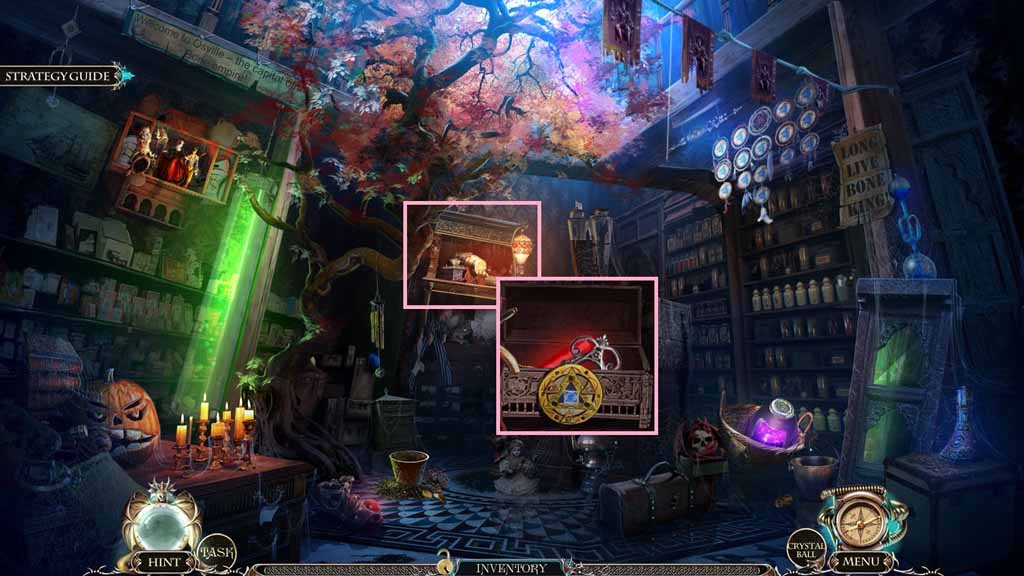
- Zoom into the shelf and insert the triangle sign into the box; collect the silver charm and the firework.
- Move to the Palace Entrance.
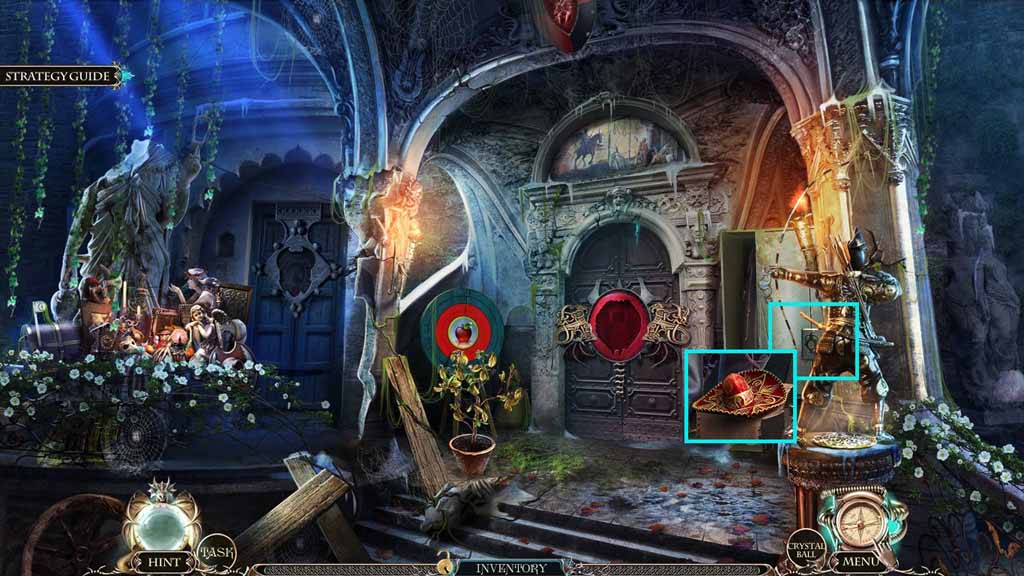
- Zoom into the niche; insert the silver charm.
- Collect the sombrero.
- Move to the Shop of Wonders.
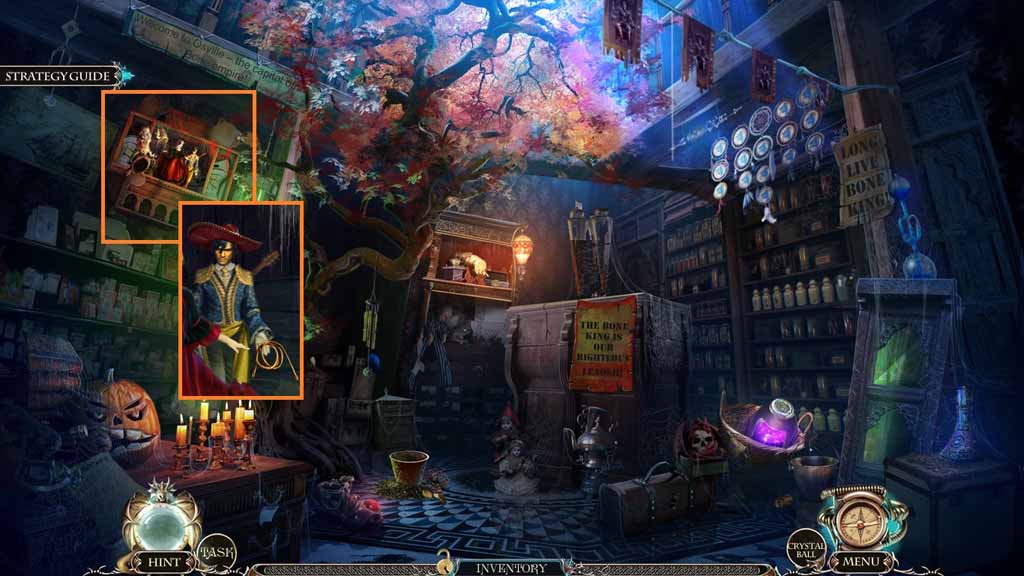
- Zoom into the dancer and place the sombrero onto him.
- Collect the bowstring.
- Move to the Alley.
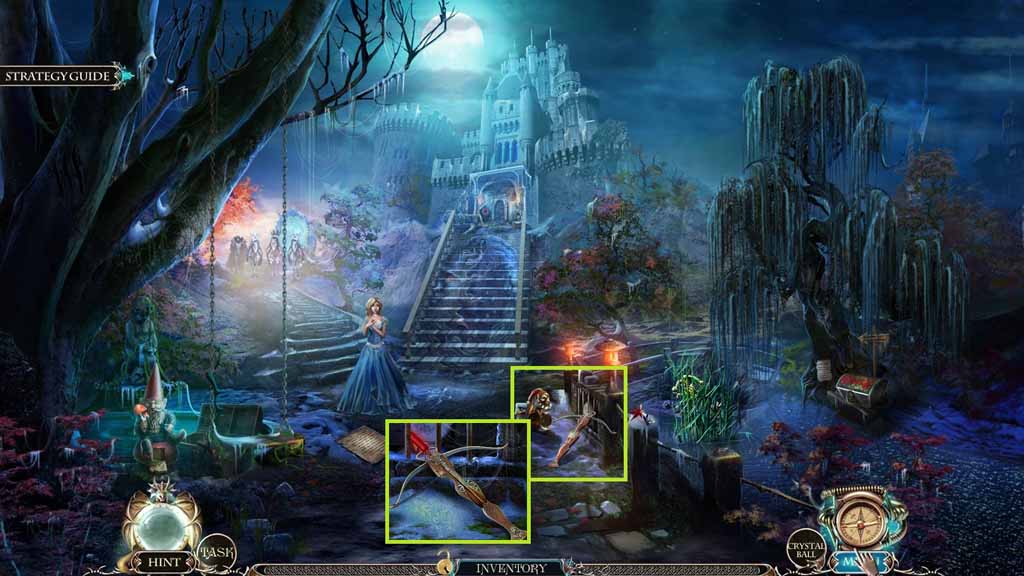
- Zoom into the grate.
- Attach the bow string, arrow and the firework onto the cross bow.
- Collect the fire crossbow.
- Move to the Yard.
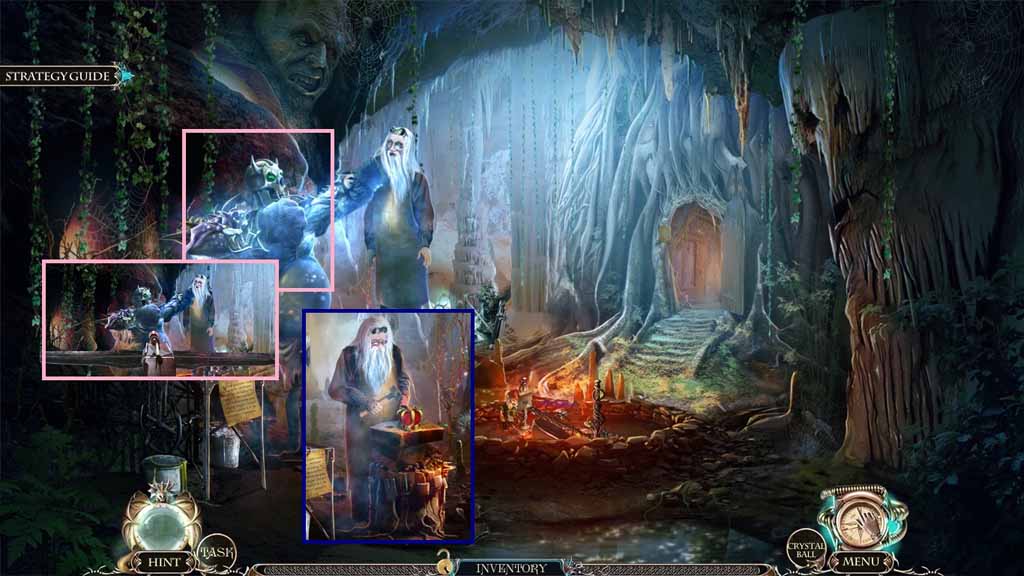
- Select the fire crossbow and shoot it towards the monster.
- Place down the broken King’s crown; collect the magical eyeglass.
- Click the hidden objects area.
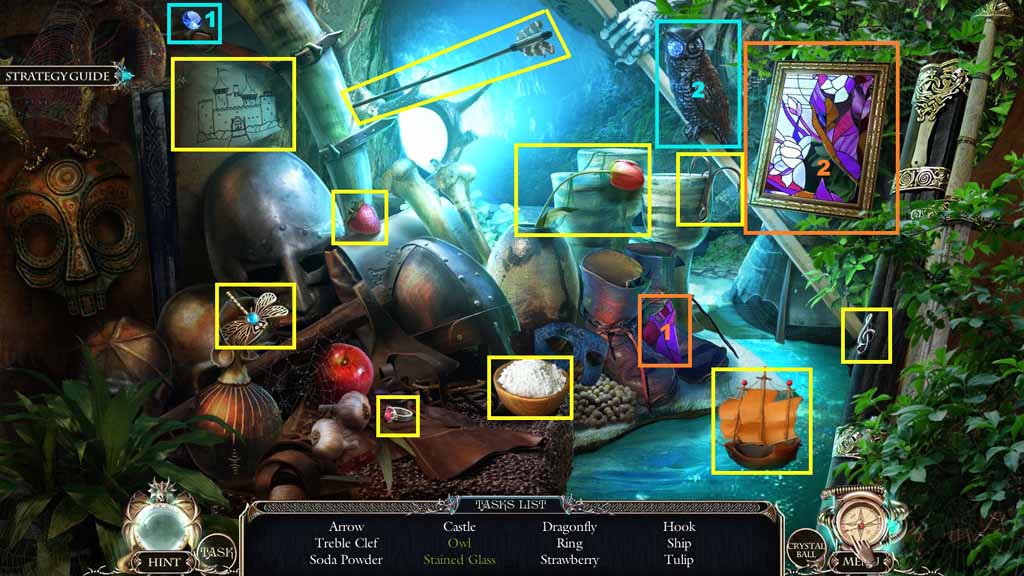
- Find the listed items.
- Select the jewel and insert it into the eye socket of the owl; collect the owl.
- Select the stained glass piece and insert it into the stained glass panel; collect the stained glass.
- Collect the soda powder.
- Move to the Shop of Wonders.
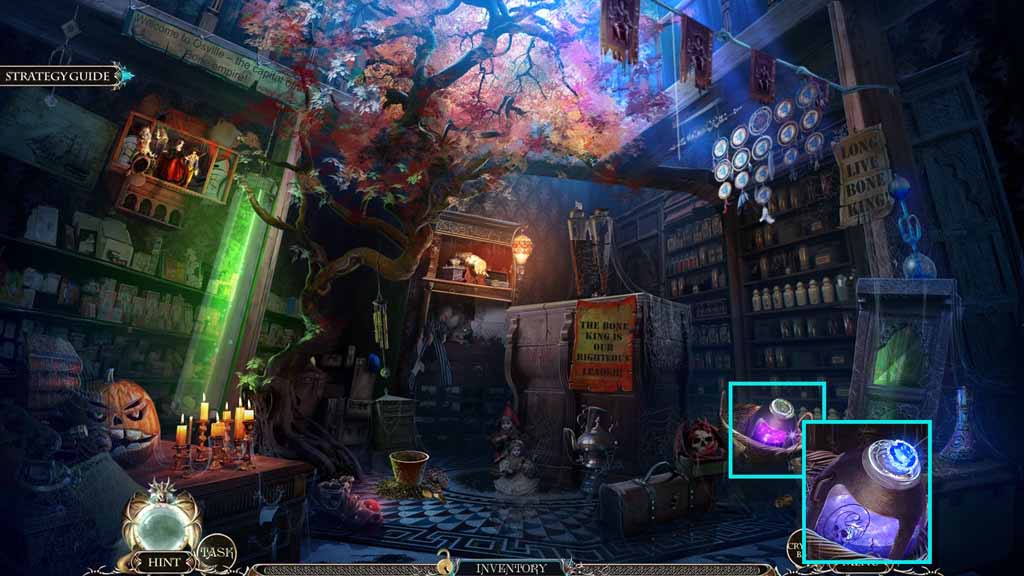
- Place the magical eyeglass onto the symbol.
- Select the soda to pour into the acid tank; collect the 1 / 3 magical crystals.
- Move to the Alley.
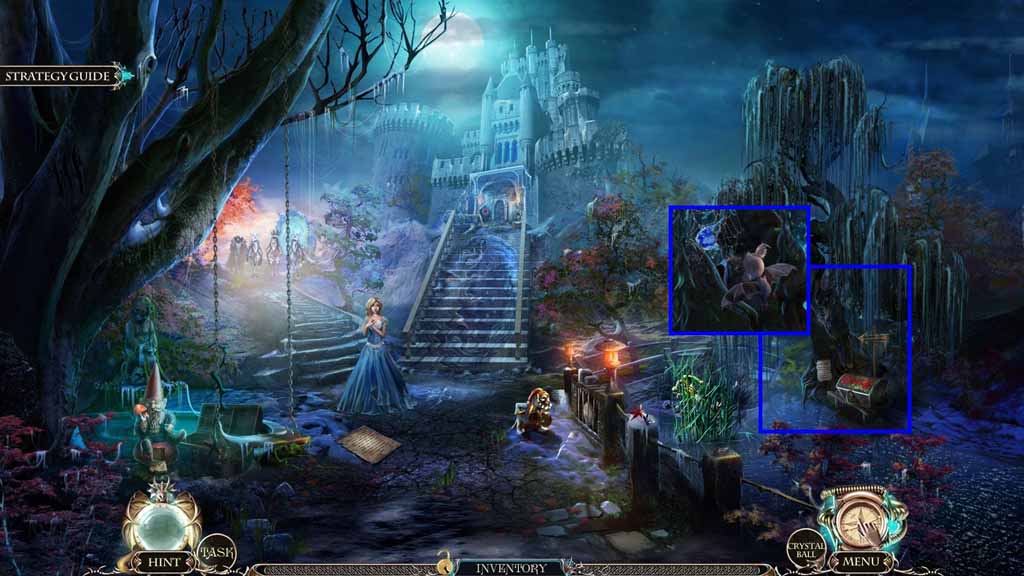
- Place the magical eyeglass onto the symbol.
- Select Louis to collect the 2 / 3 magical crystals.
- Move down once.
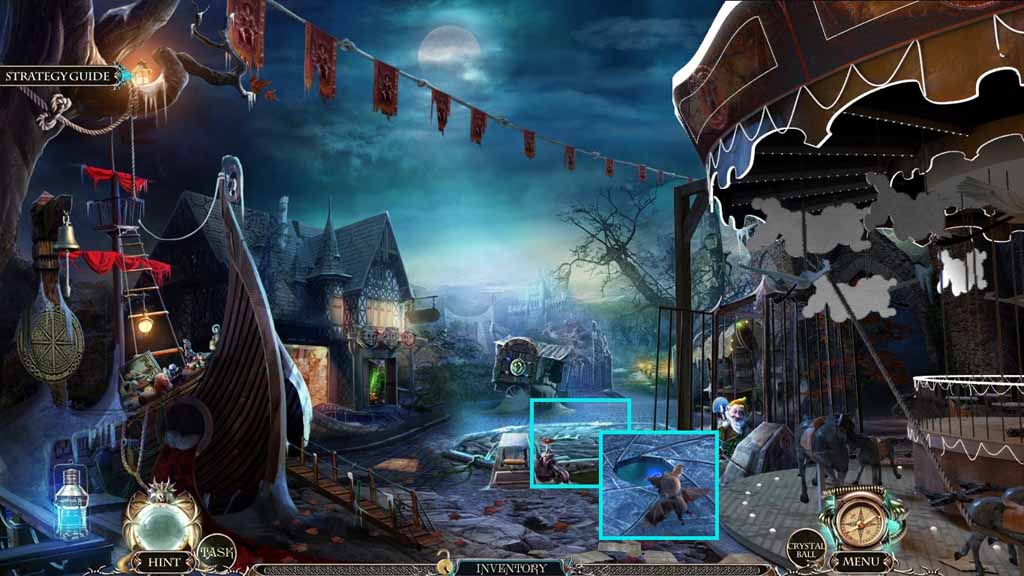
- Zoom into the ground.
- Place the magical eyeglass onto the symbol.
- Select Louis to collect the 3 / 3 magical crystals.
- Move to the Yard.
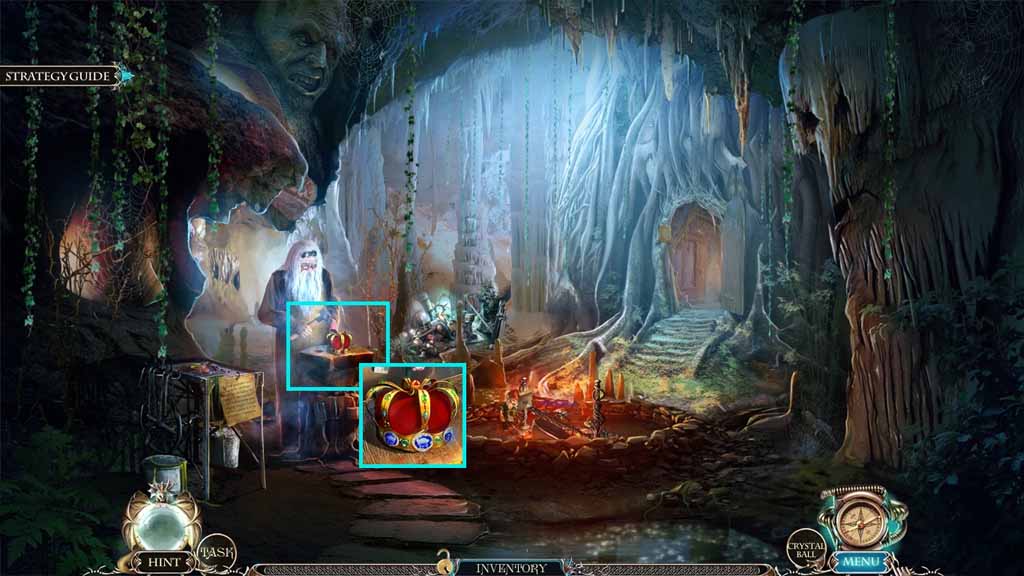
- Insert the 3 magical crystals into the crown; collect the Enchanted King’s Crown.
- Move to the Royal Shrine.
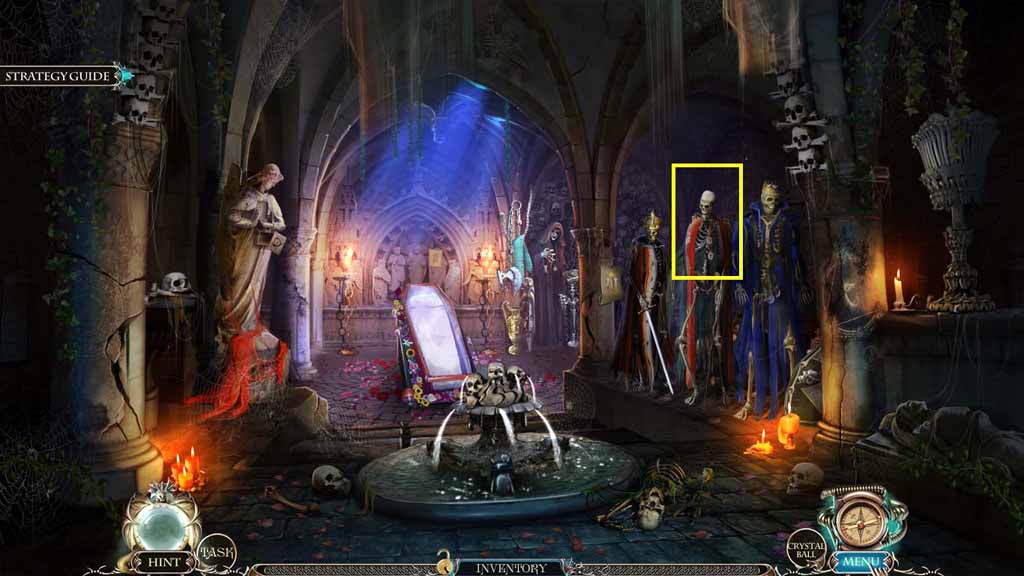
- Place the Enchanted King’s Crown onto the skeleton.
- Select the Book of Dead to use on the skeleton.
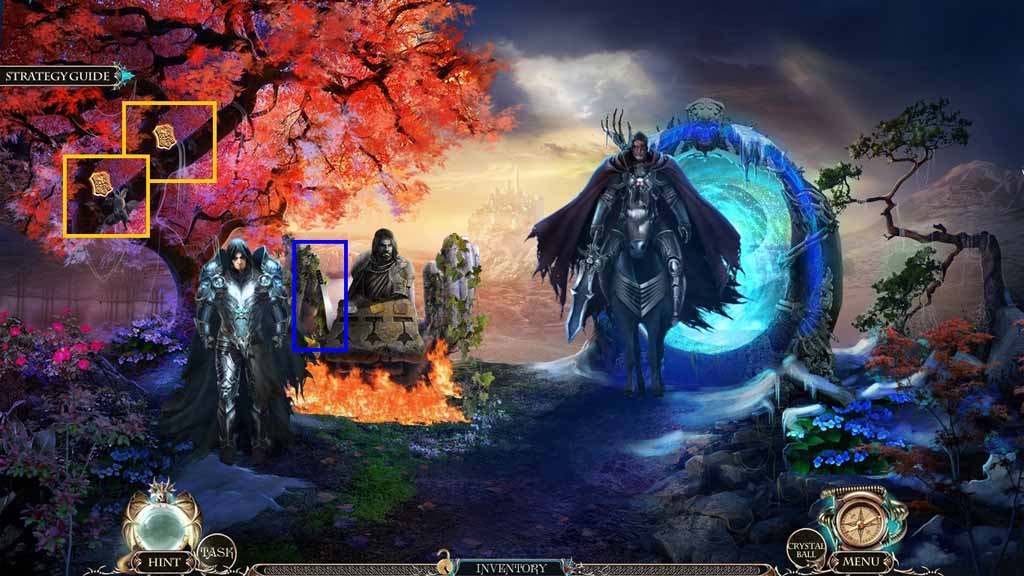
- Click anywhere 2 times.
- Collect the horse figurine.
- Select Louis to collect the carriage key.
- Collect the machete.
- Move to the Palace Entrance.
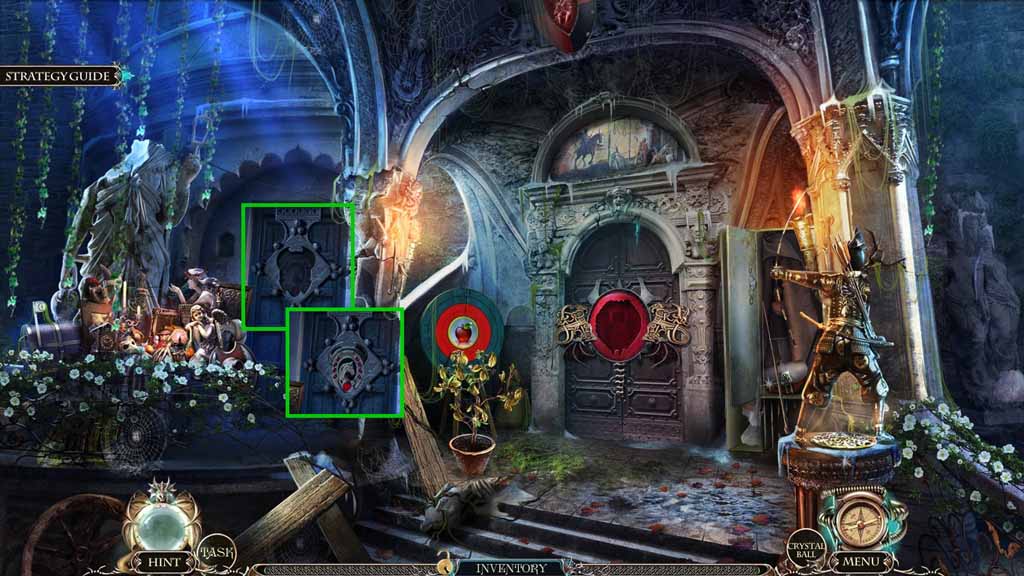
- Zoom into the niche; insert the horse figurine.
- Move into the Royal Stables.
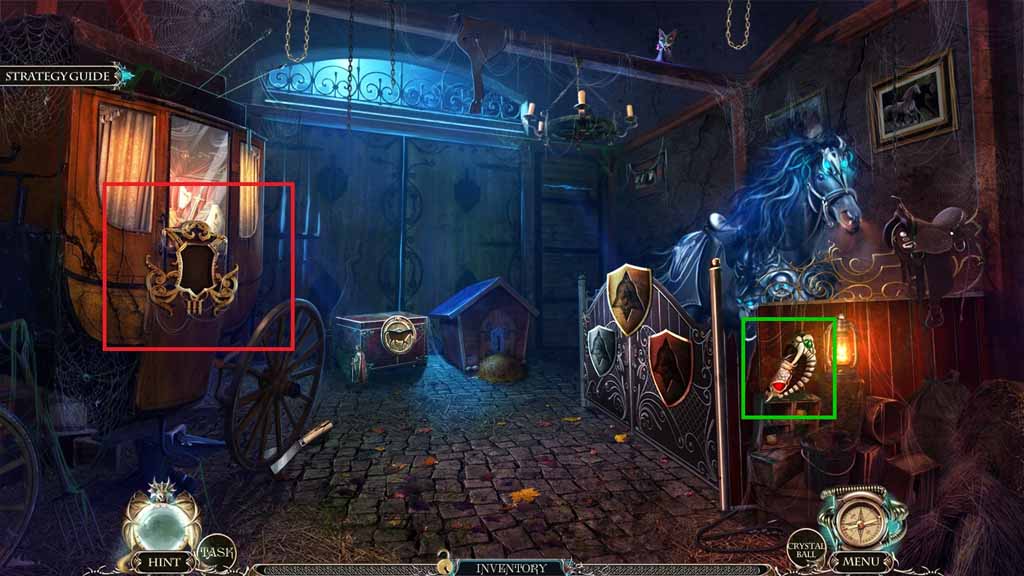
- Collect the 1 / 2 skulls.
- Select the carriage key and insert into the slot.
- Click the hidden objects areas.
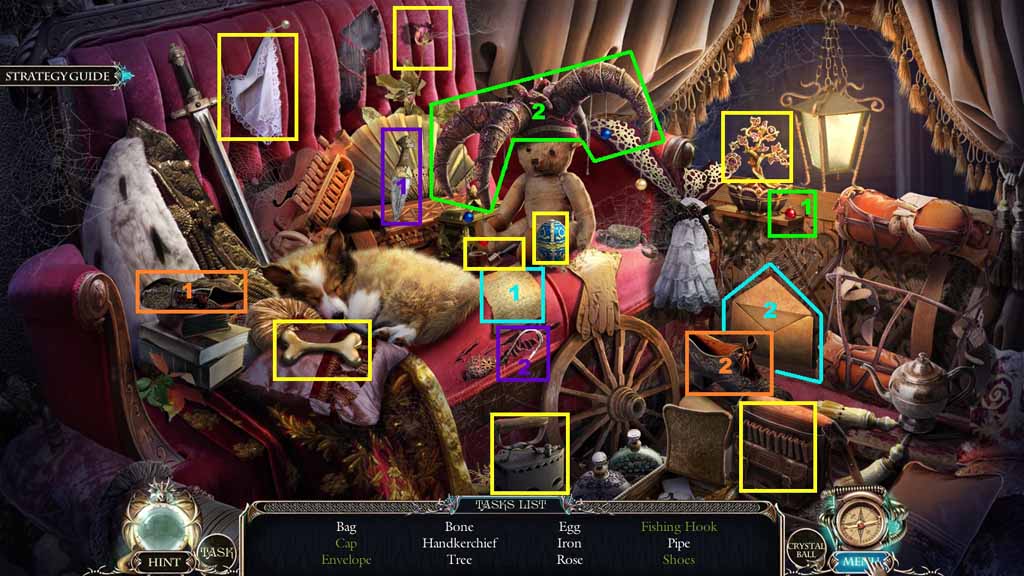
- Find the listed items.
- Select the bead and place it onto the cap; collect the cap.
- Select the letter and place it into the envelope; collect the envelope.
- Select the knife and use it to slice the seam; collect the hook.
- Select the shoe and place it along with the other; collect the shoe.
- Collect the fishing hook.
- Move down once.
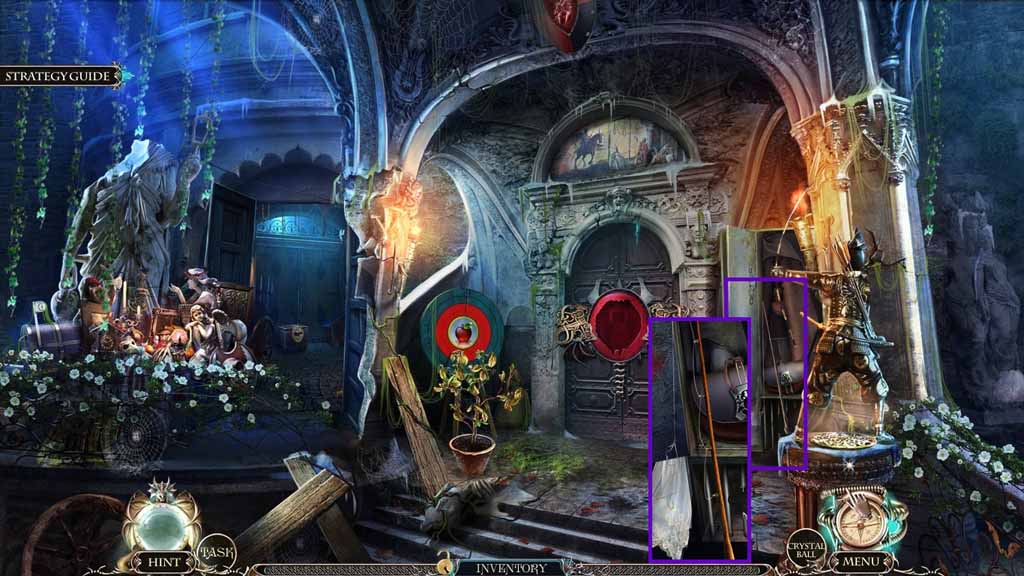
- Attach the fishing hook onto the fishing rod; collect the fishing rod.
- Move down once.
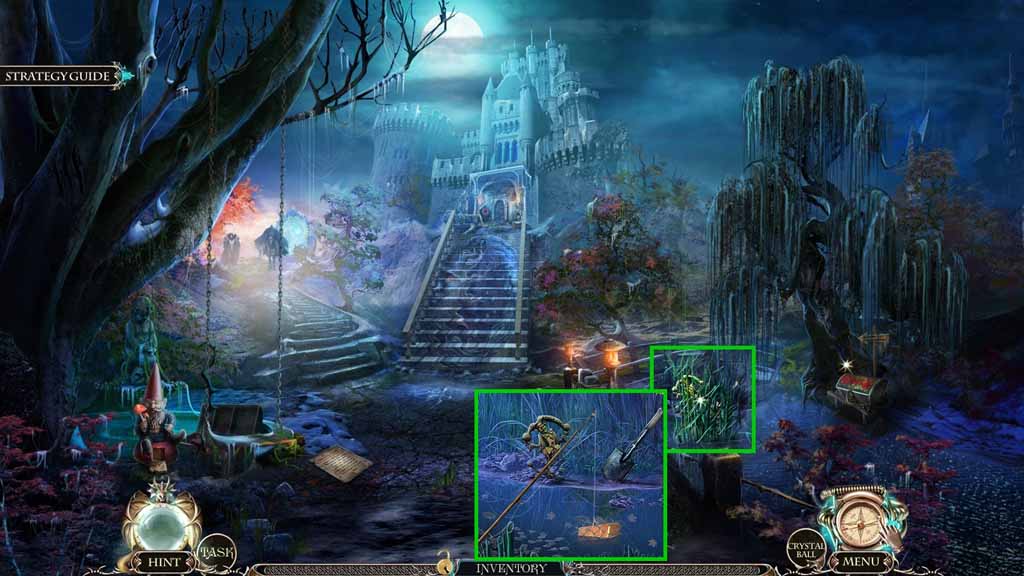
- Select the machete and use it to cut the reeds.
- Collect the clown and the shovel.
- Select the fishing rod and use it to collect the bronze.
- Move down once.
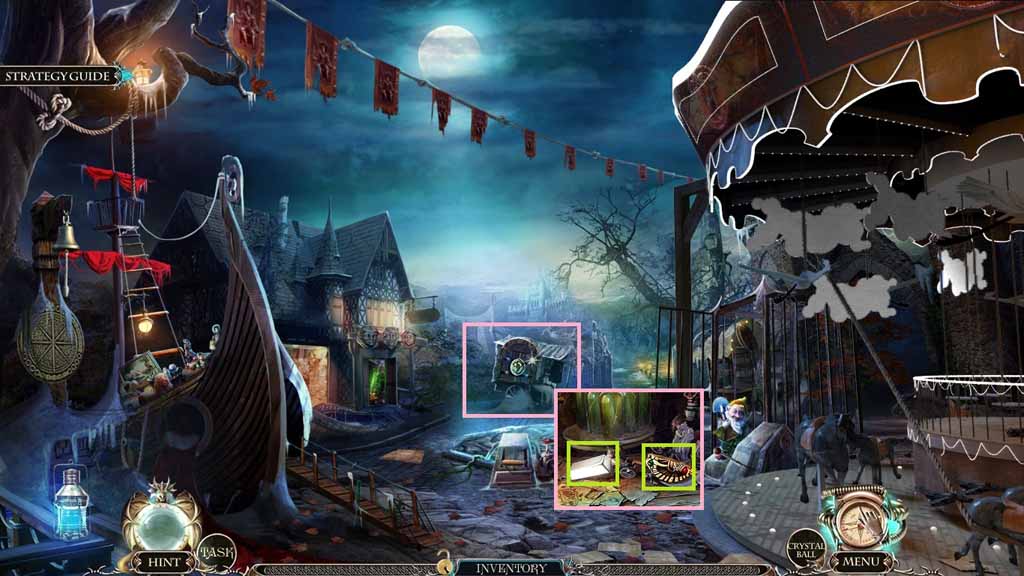
- Zoom into the niche and insert the clown.
- Collect the silver and the 2 / 2 skulls.
- Move to the Palace Entrance.
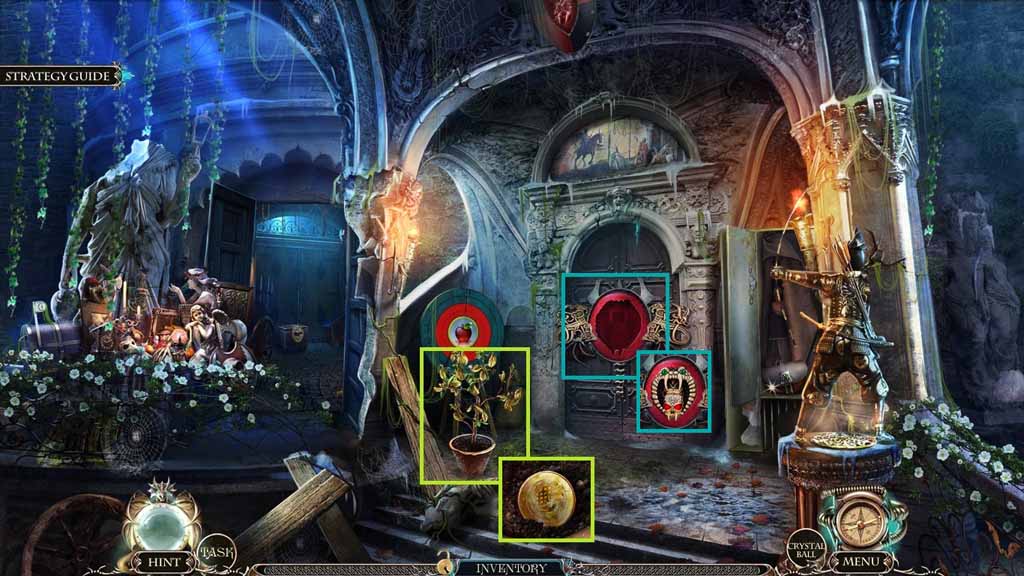
- Zoom into the potted plant.
- Place the magical eyeglass onto the symbol; collect the coin.
- Insert the 2 skulls into the slot.
- Move into the Throne Room.
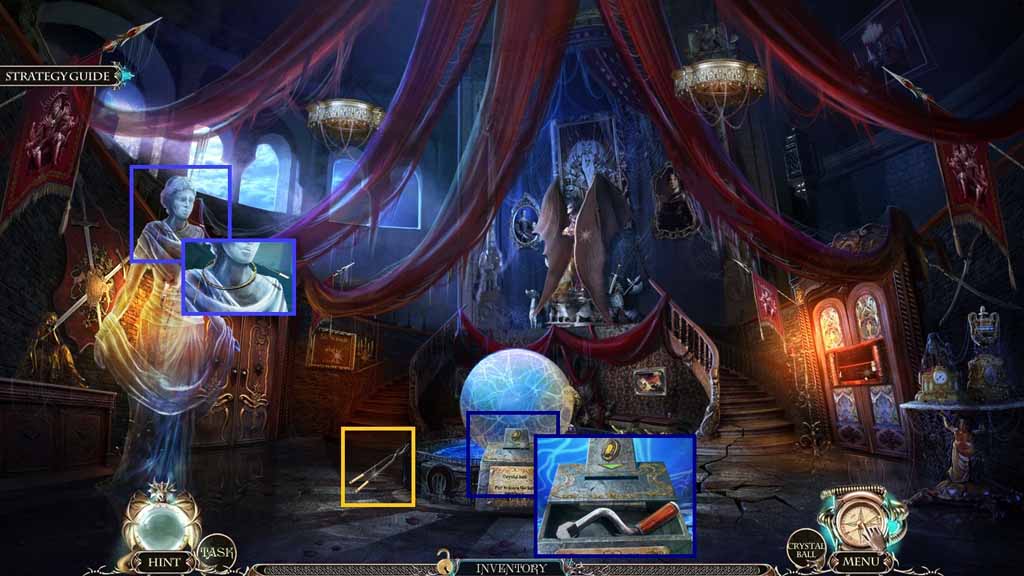
- Collect the fireplace tongs.
- Collect the 1 / 4 strings.
- Insert the coin into the slot and collect the mill handle.
- Move to the Shop of Wonders.
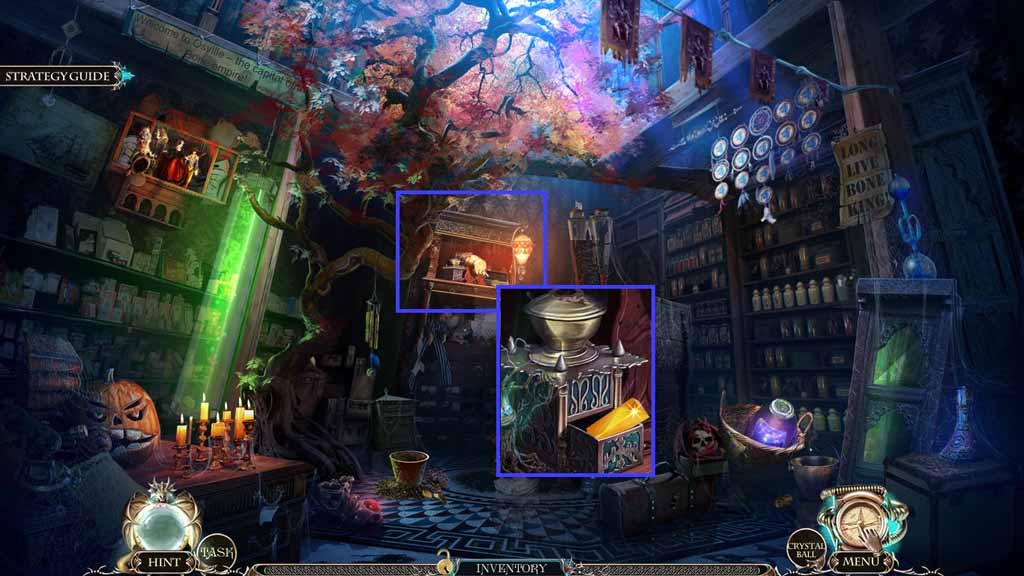
- Zoom into the mill and attach the handle.
- Collect the gold.
- Move to the Sacred Grove.
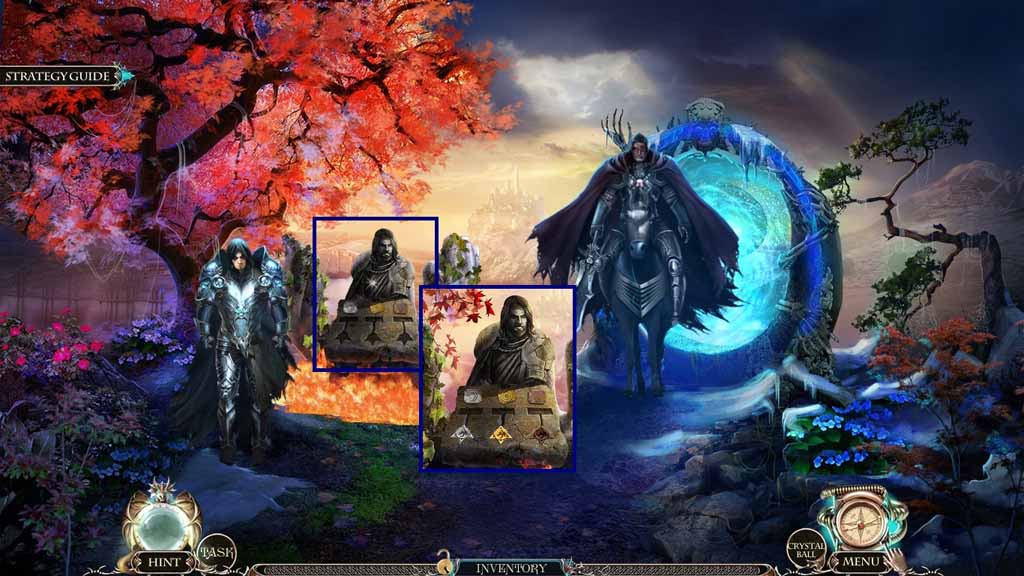
- Place the bronze, silver and gold into the niches.
- Select the fireplace tongs to collect the silver stamp, the gold stamp and the bronze stamp.
- Move to the Royal Stables.
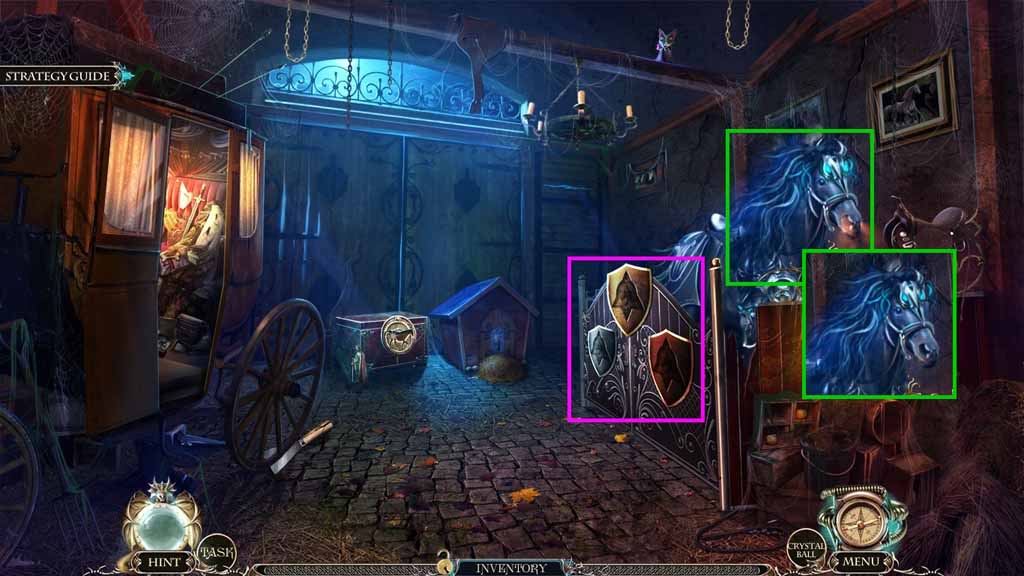
- Place the bronze, silver and gold stamps into the niches.
- Select the Book of the Dead to use on the horse.
- Collect the Horse Death.
- Move to the Sacred Grove.
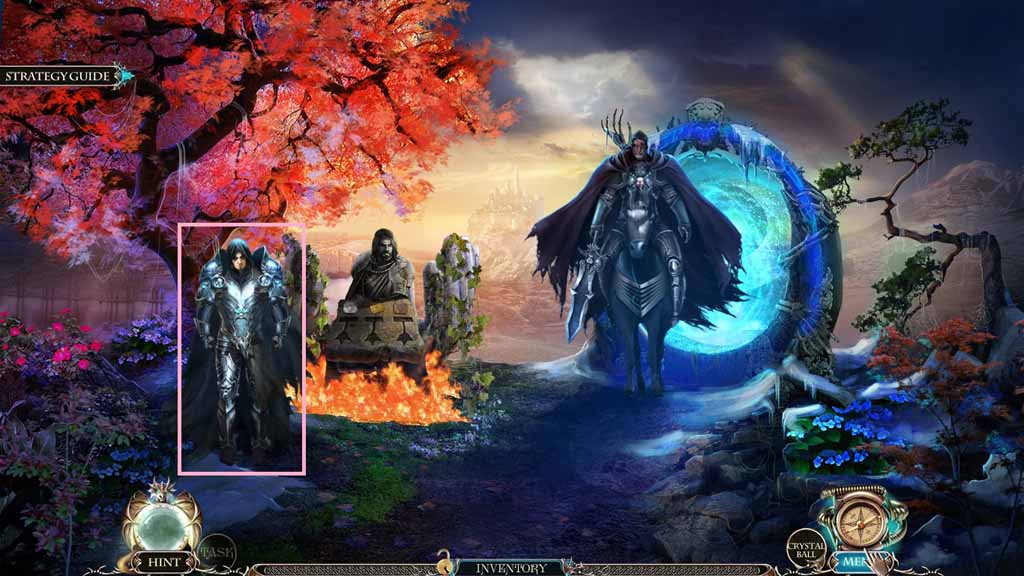
- Give Death the Horse Death.
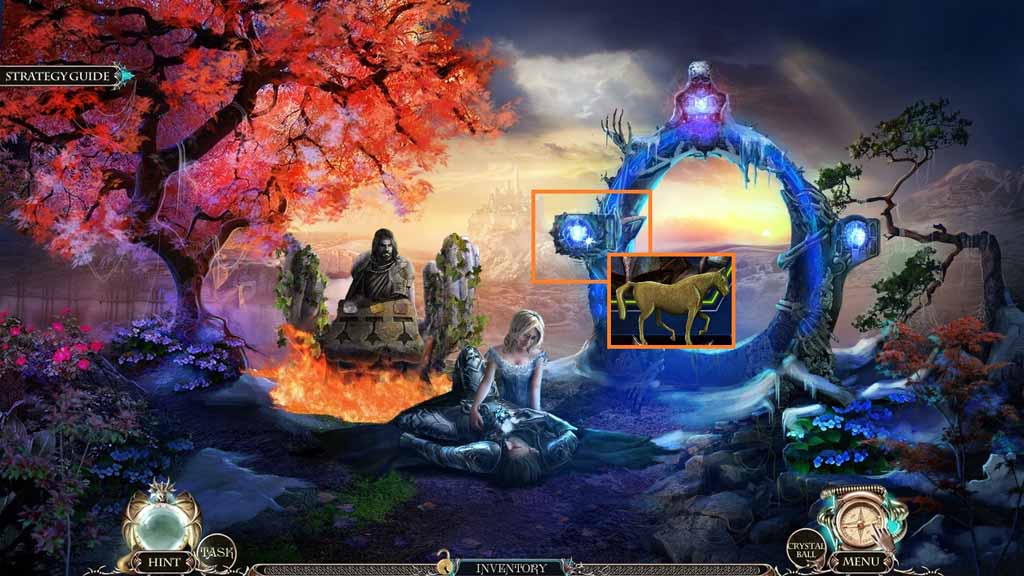
- Collect the horse button.
- Move to the Royal Stable.
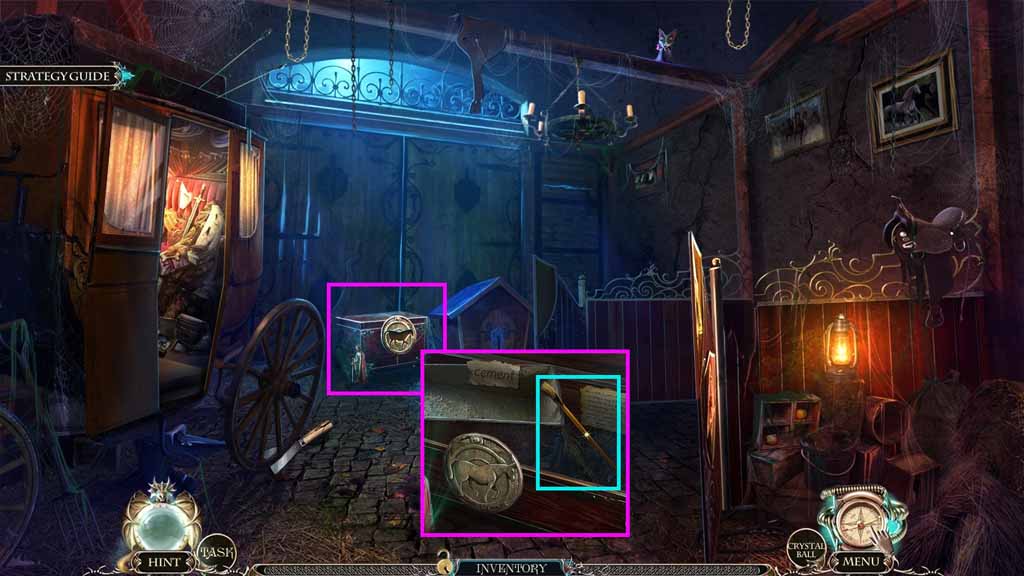
- Zoom into the niche and insert the button; collect the brush.
- Move to the Throne Room.
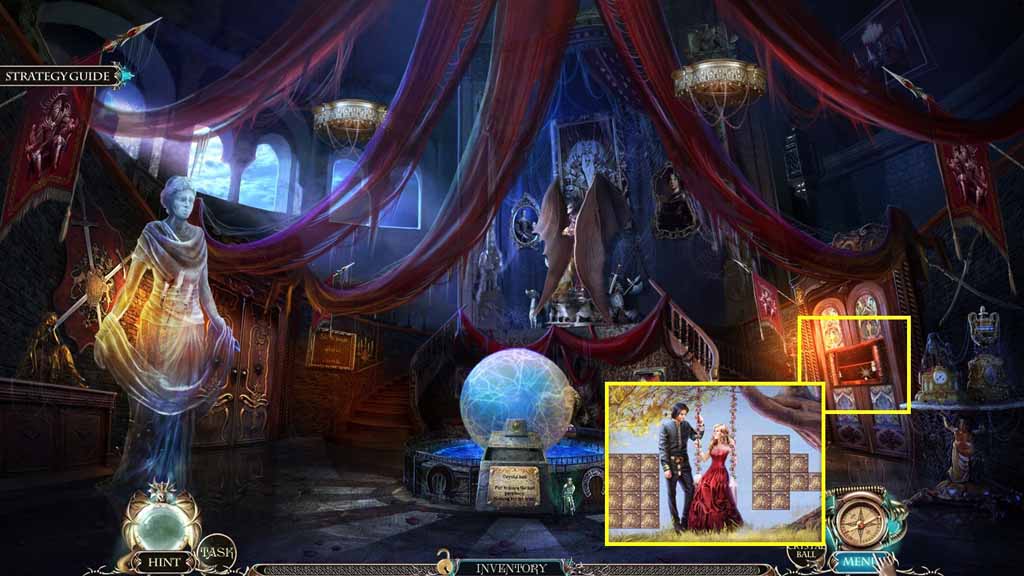
- Place the brush into the solvent to trigger a mini-game.
- Solve the puzzle by clicking the correct tiles.
- Move into Angelica’s Room.
Comments will load when you reach this part of the walkthrough.