

Chapter Two View from Above
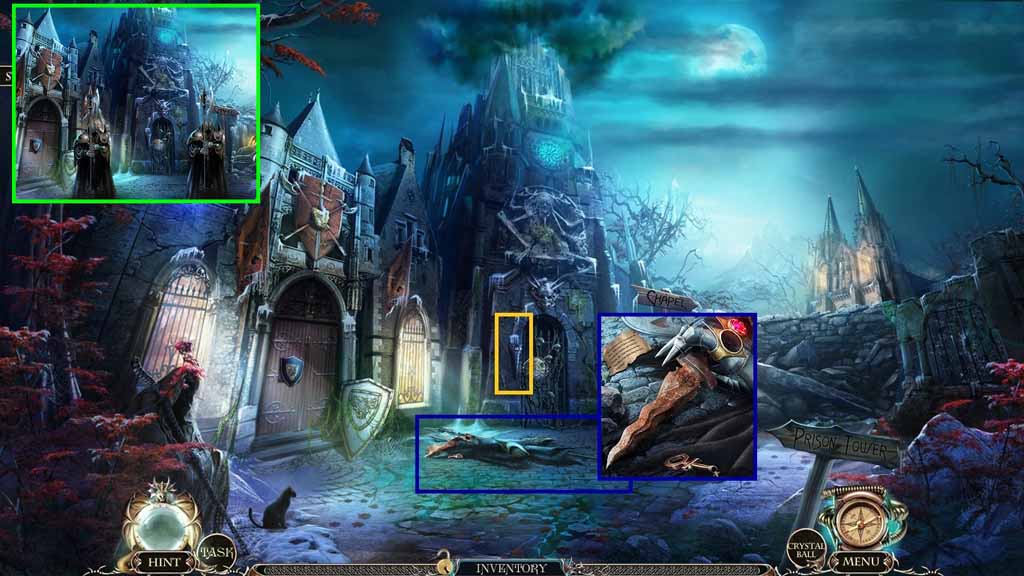
- Select the mandrake to use on the guards.
- Read the note and collect the bronze key.
- Collect the torch.
- Move to the House.
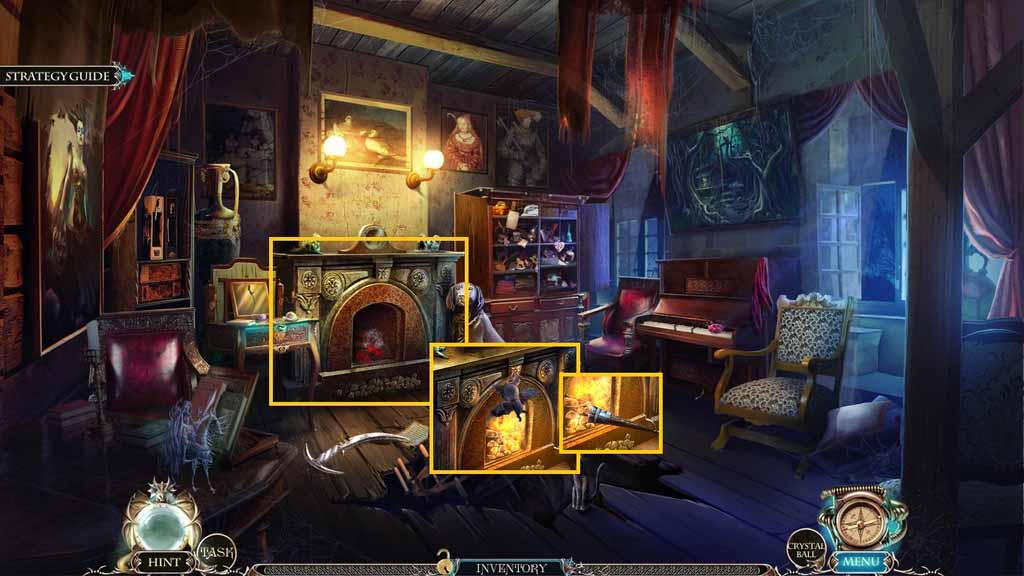
- Click the fireplace; select the flint to ignite the wood.
- Place Louis near the flames and place the torch into the flames; collect the burning torch.
- Move to the Tower.
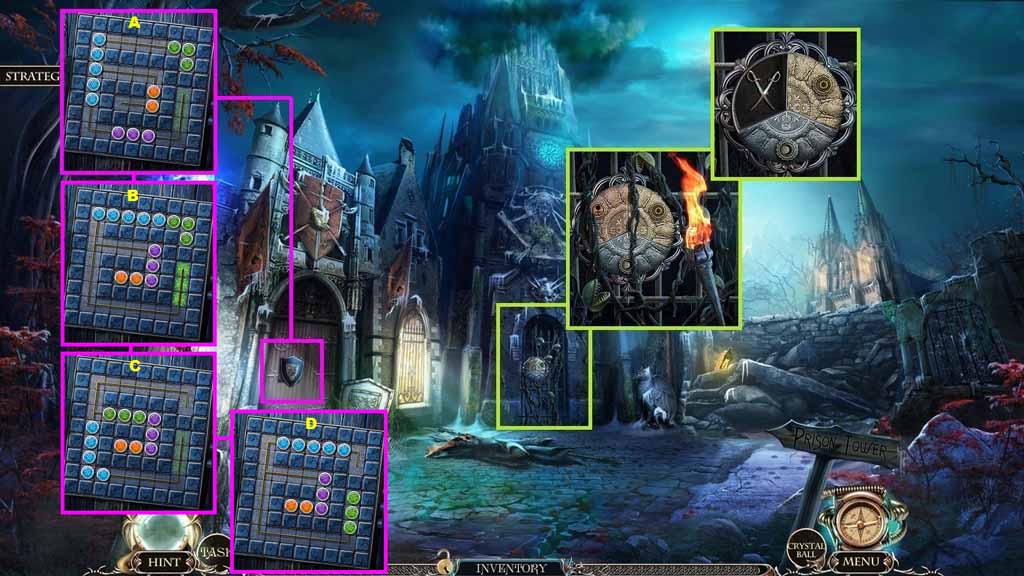
- Select the burning torch to remove the vines.
- Insert the bronze key into the lock and click the key; collect the sabers amulet.
- Zoom into the door; insert the sabers amulet into the niche to trigger a mini-game.
- Solve the game by clearing a path for the green bead to get to the glowing green area.
- Move the beads as shown to solve.
- Move into the Armory.
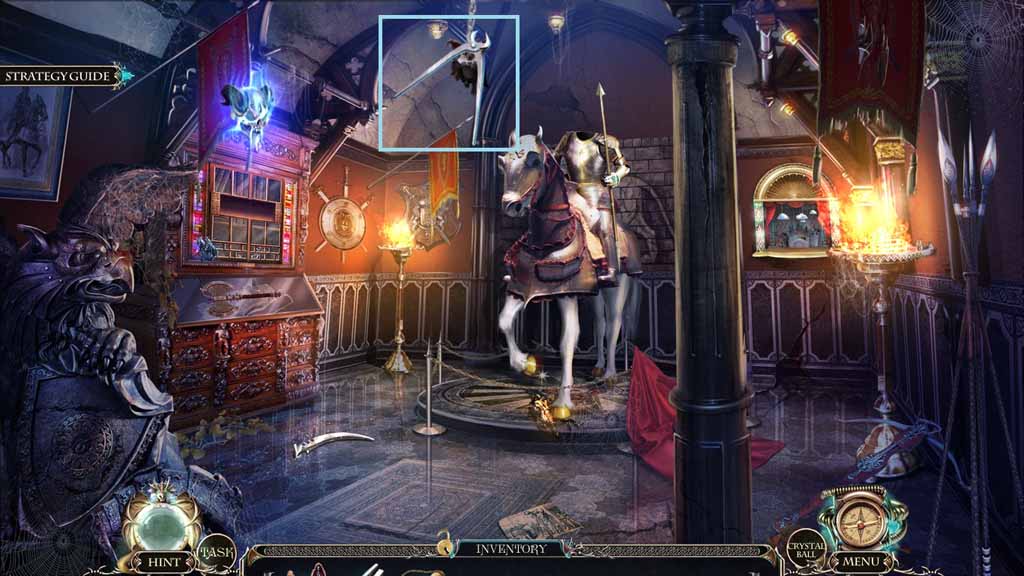
- Zoom into the chain.
- Select Louis to collect the cutting pliers.
- Move to the Archive.
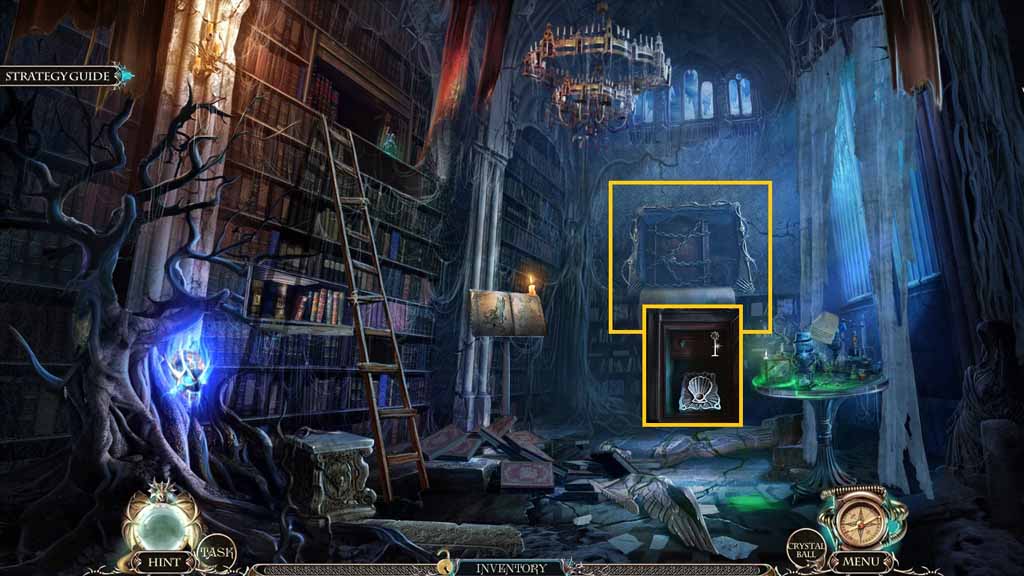
- Zoom into the chain; use the pliers to cut it.
- Collect the silver key.
- Move to the Tower.
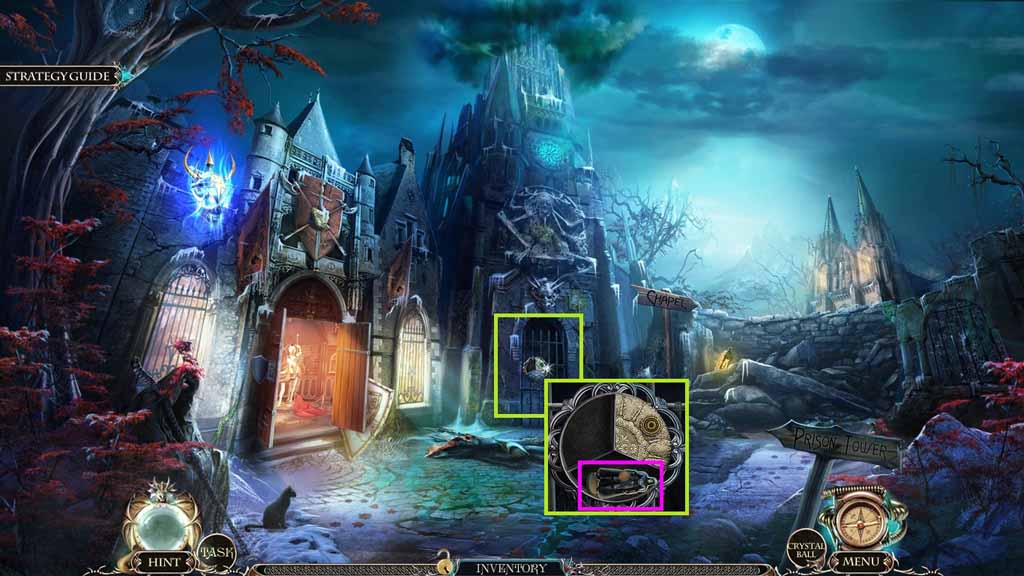
- Zoom into the lock; insert the silver key and click it once.
- Collect the 3 / 3 dolls.
- Move to the Amory.
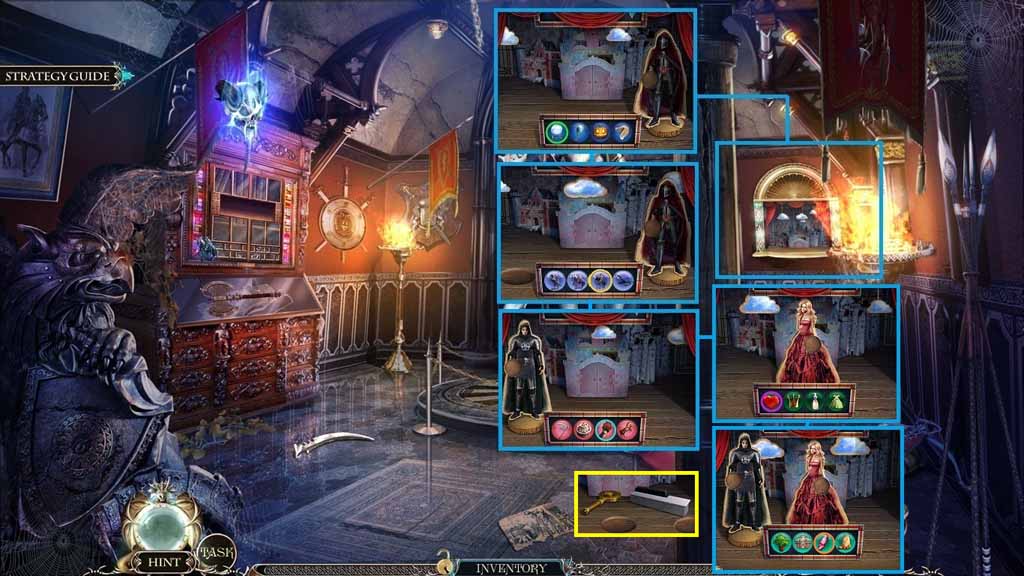
- Zoom into the stage and place the 3 dolls onto the stage to trigger a mini-game.
- Solve the game by choosing the items in the right order.
- Use the following sequence to solve: crystal ball, death, flower, heart and baby.
- Collect the golden key and the piano key.
- Move to the House.
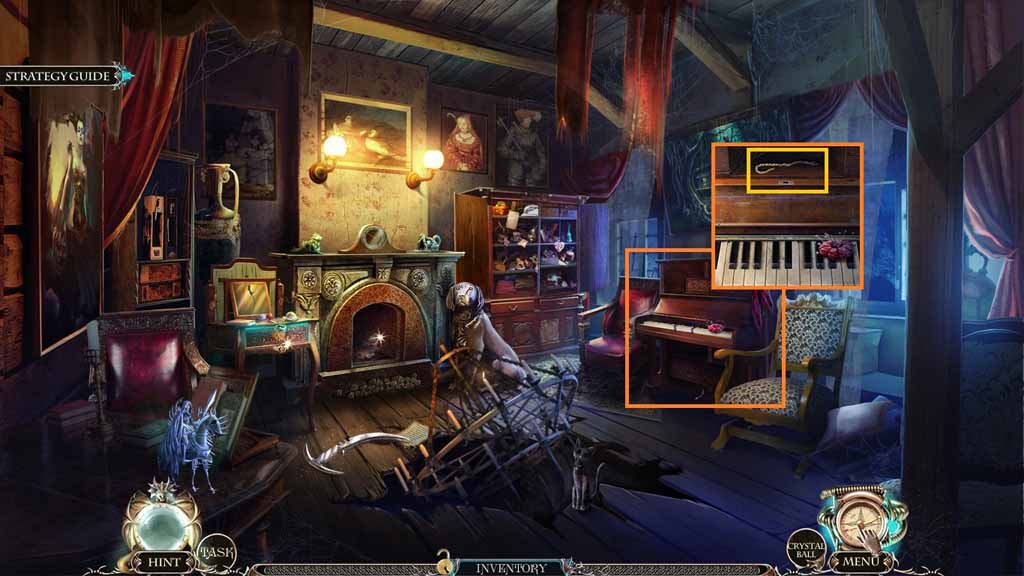
- Zoom into the piano; insert the 2 piano keys and collect the wick.
- Move to the Tower.
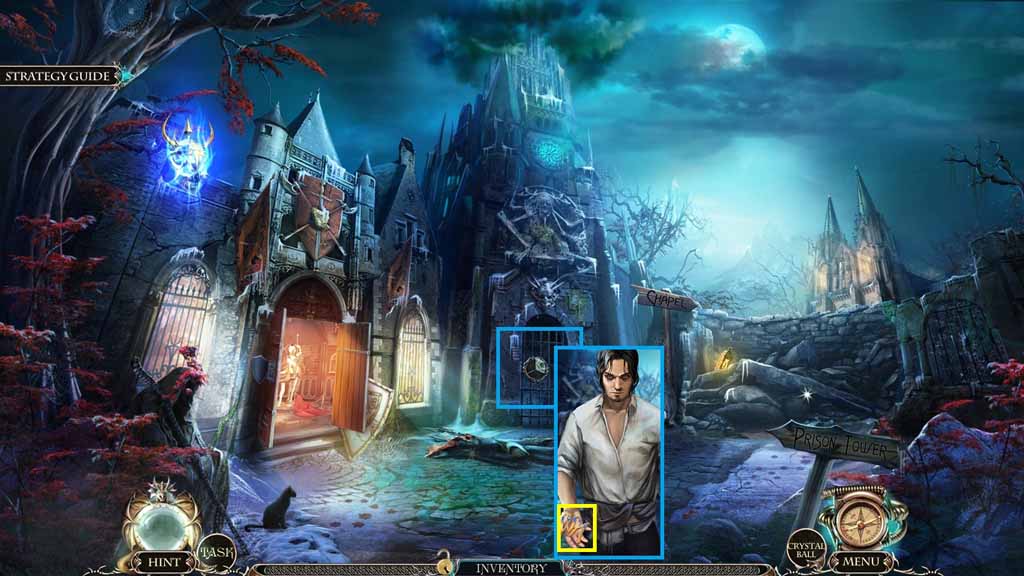
- Zoom into the lock and insert the golden key; click the key.
- Speak to Death; collect the monogram.
- Move down once.
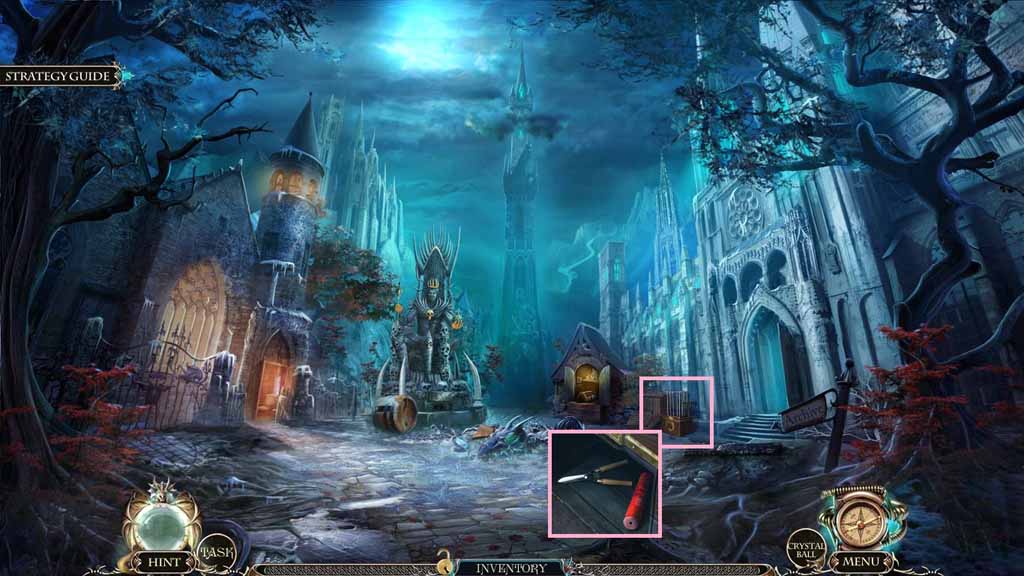
- Zoom into the cage; insert the monogram.
- Collect the pruning shears and the dynamite.
- Move to the Tower.
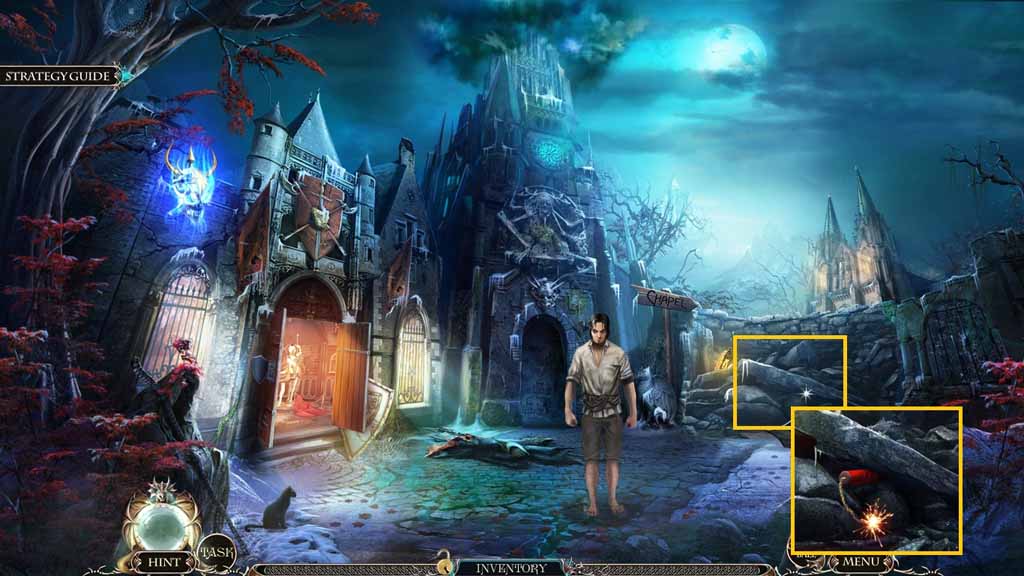
- Place the dynamite down and insert the wick; use the flint to ignite it.
- Move ahead.
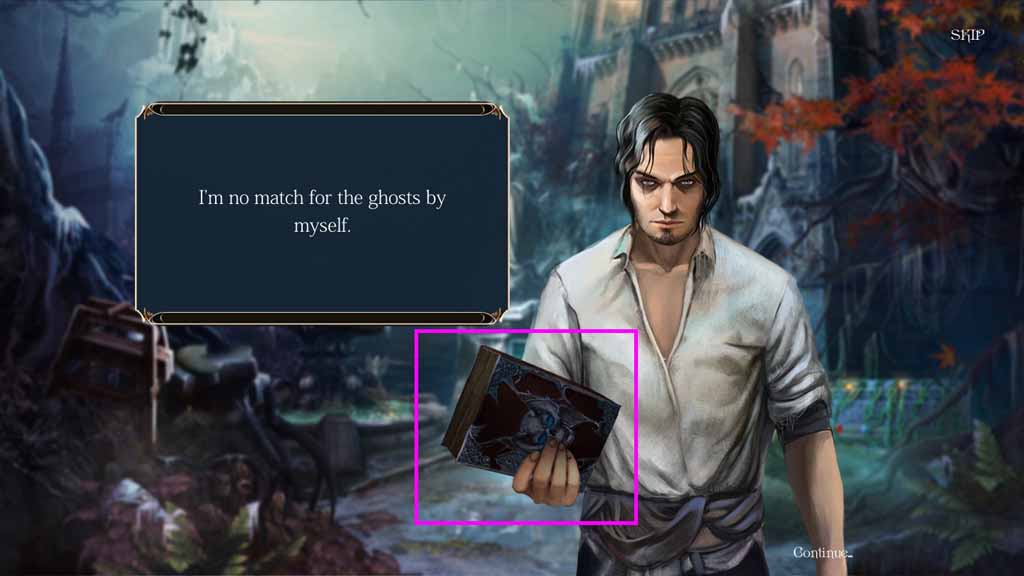
- Click anywhere; collect the book of dead.
- Move to the Archive.
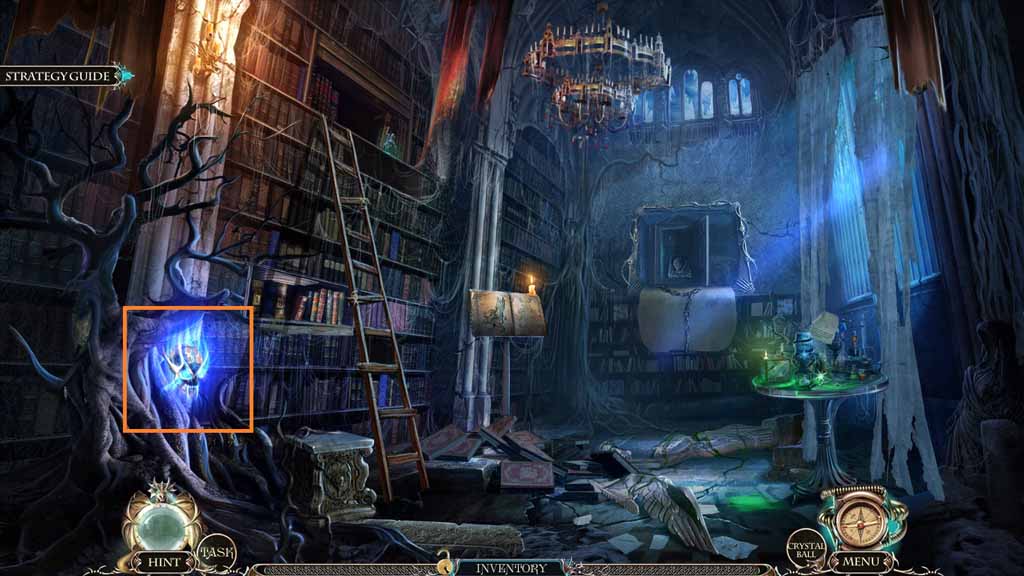
- Select the Book of Dead to collect the 1 / 4 Spirit of Vengeance.
- Move to the Bridge.
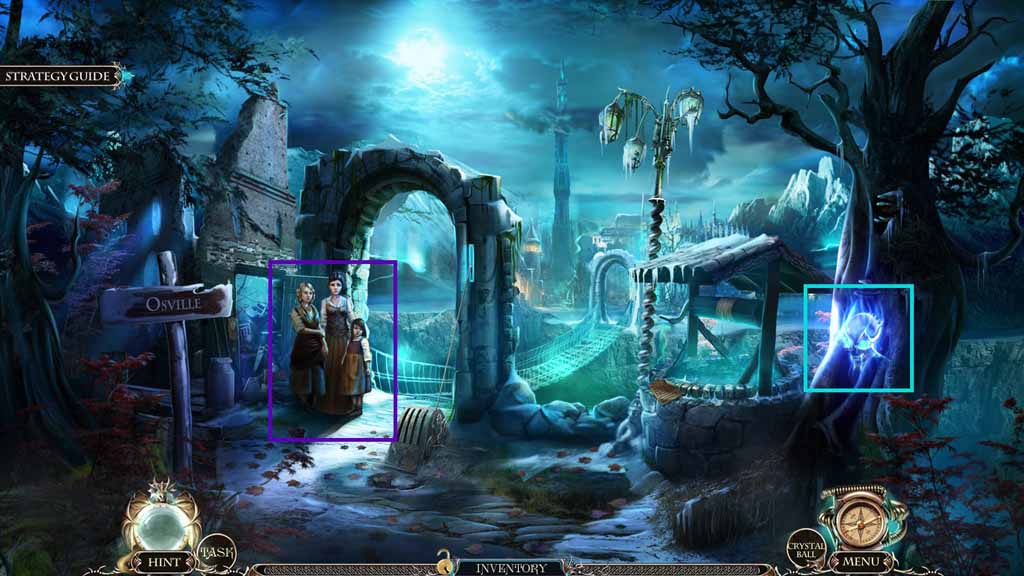
- Speak to the family.
- Select the Book of Dead to collect the 2 / 4 Spirit of Vengeance.
- Move to the Tower.
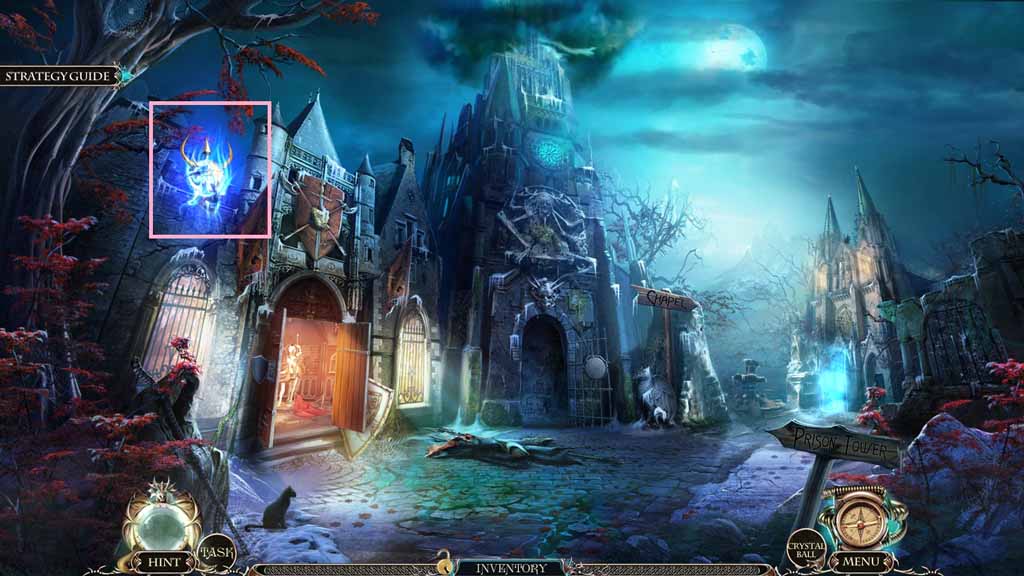
- Select the Book of Dead to collect the 3 / 4 Spirit of Vengeance.
- Move into the Armory.
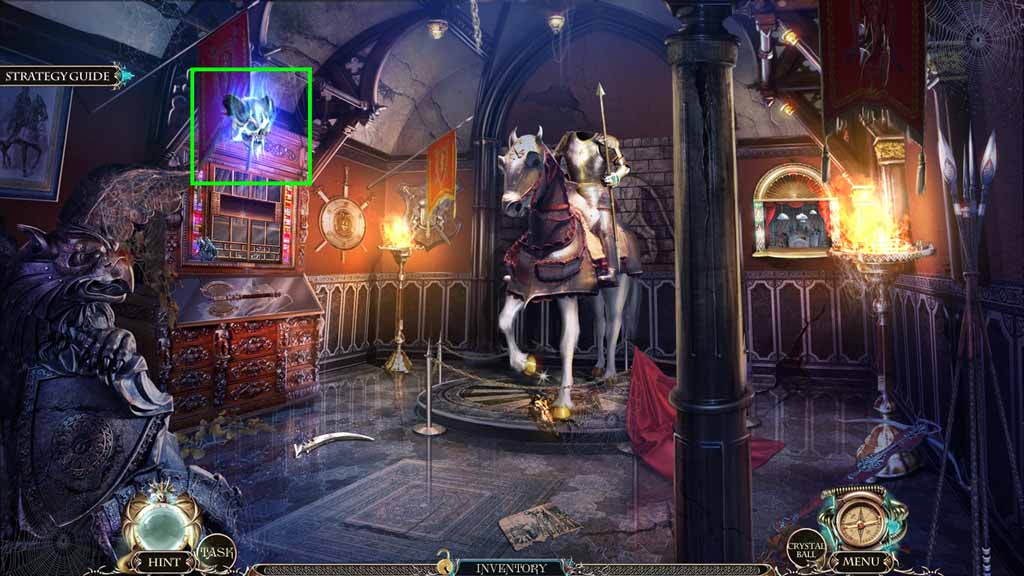
- Select the Book of Dead to collect the 4 / 4 Spirit of Vengeance.
- Move to the Outside of the Chapel.
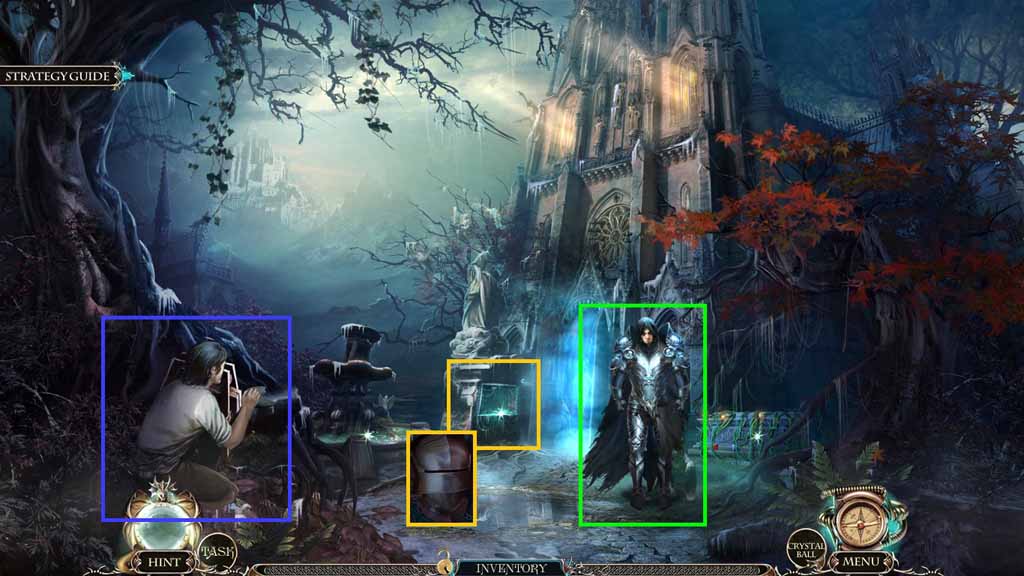
- Give Death the 4 Spirits of Vengeance.
- Speak to Death.
- Zoom into the cove; collect the helmet.
- Move to the Armory.
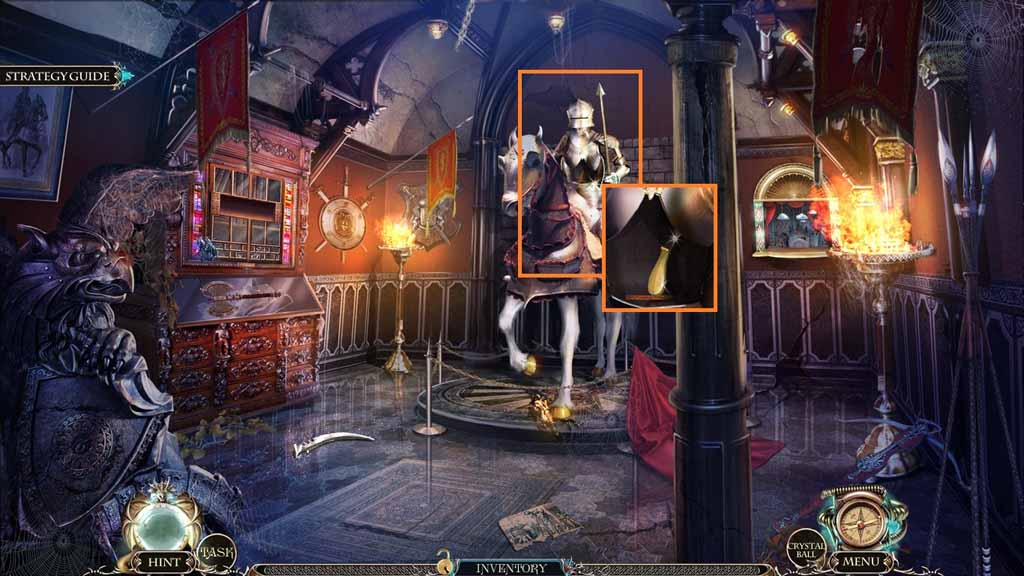
- Place the helmet onto the armor; collect the piano pedal.
- Move to the House.
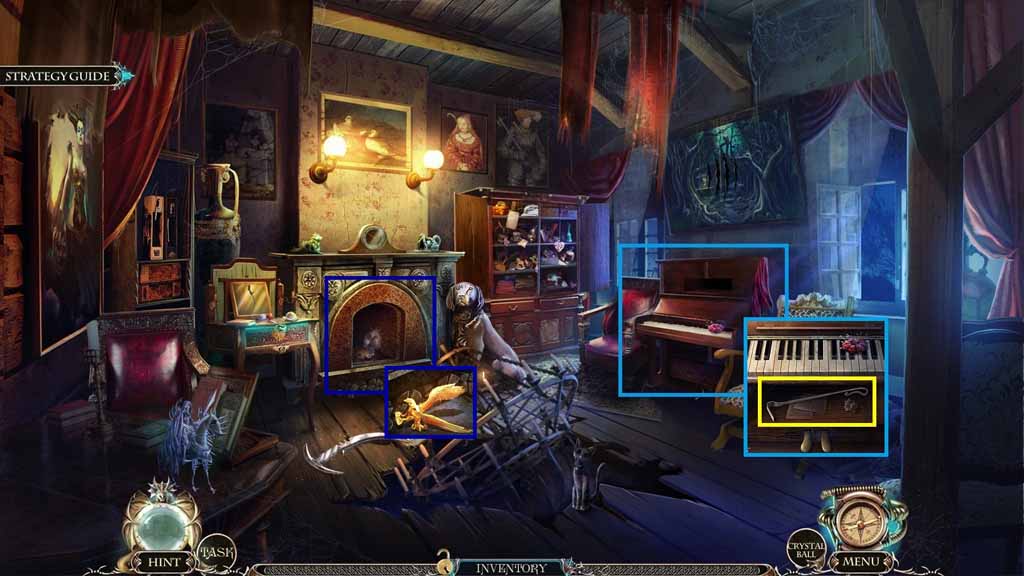
- Attach the piano pedal onto the piano; collect the poker.
- Zoom into the fireplace; select the poker to collect the Phoenix.
- Move to the Outside of the Chapel.
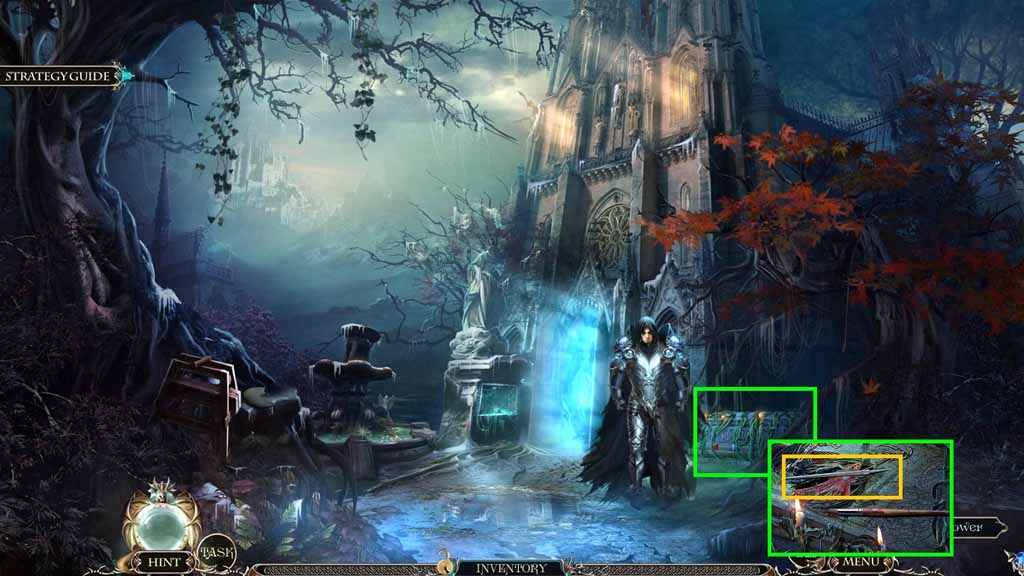
- Select the pruning shears to remove the vines; collect the file.
- Move to the House.
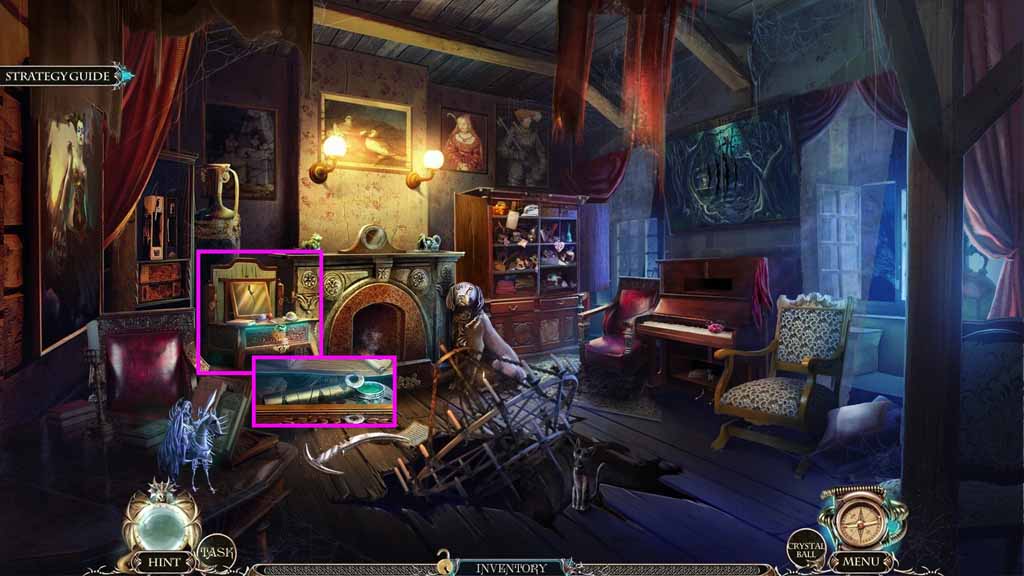
- Select the file to open the lock; collect the code reel and the paint.
- Move to the Armory.
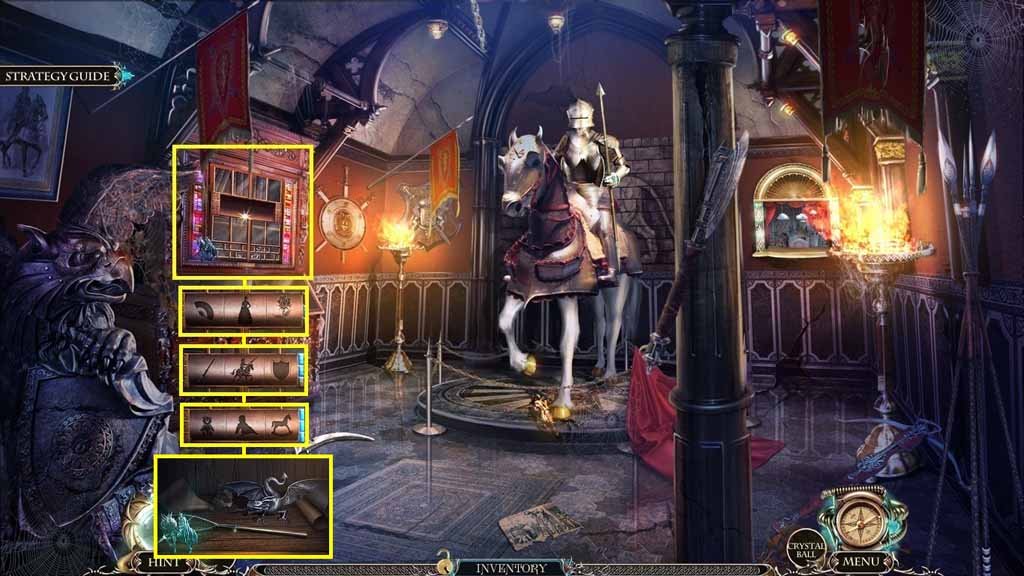
- Zoom into the niche and insert the code reel to trigger a mini-game.
- Solve the game by selecting the correct codes on the code wheels.
- Solve as shown.
- Collect the net and the dragon.
- Move to the Outside of the Chapel.
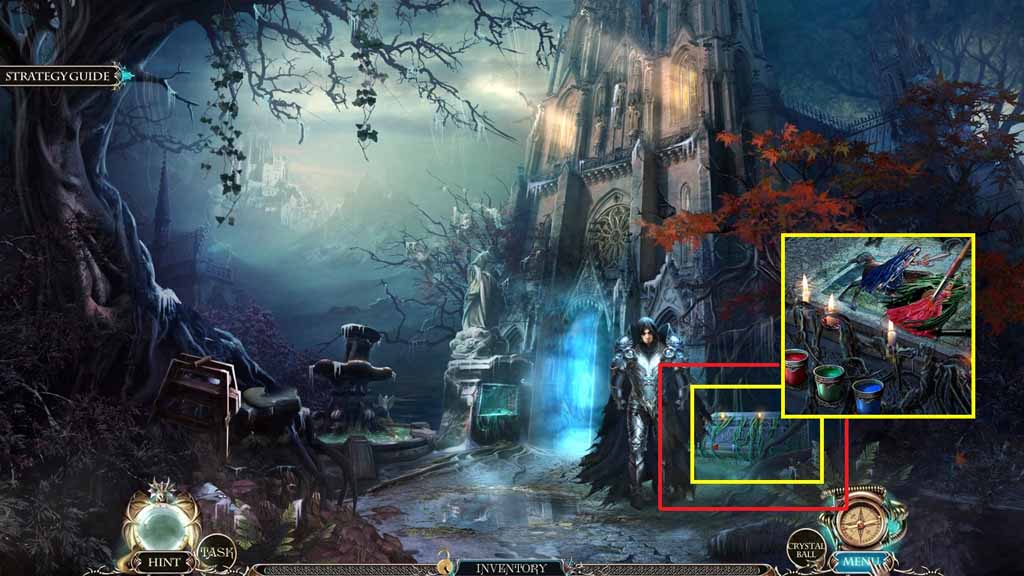
- Zoom into the tomb and place the paint down to trigger a mini-game.
- Solve the game by painting the grave correctly.
- Click the hidden objects area.
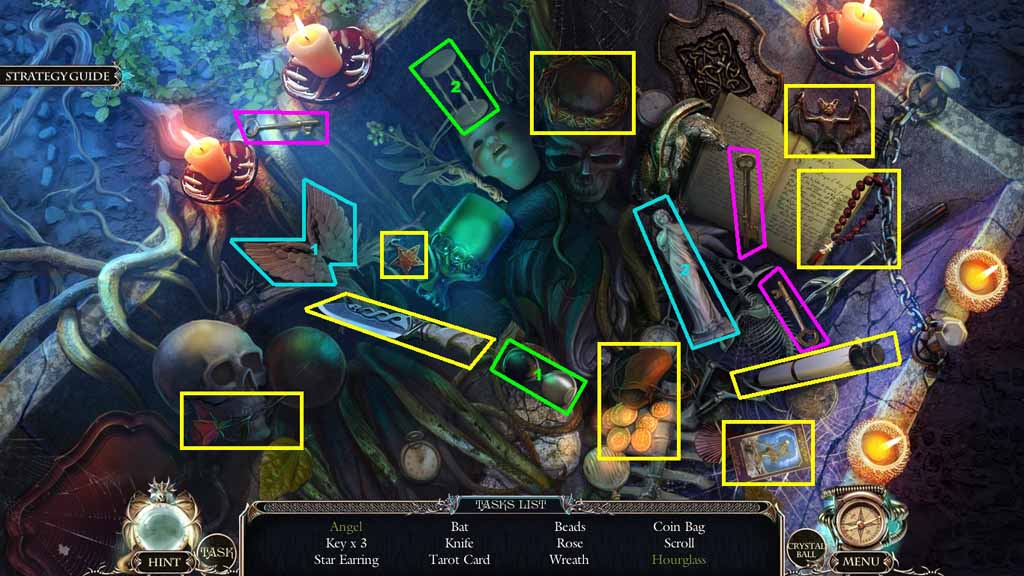
- Find the listed items.
- Select the wings and place them onto the statue; collect the angel.
- Select the glass container of sand and insert it into the wooden frame; collect the hourglass.
- Collect the angel.
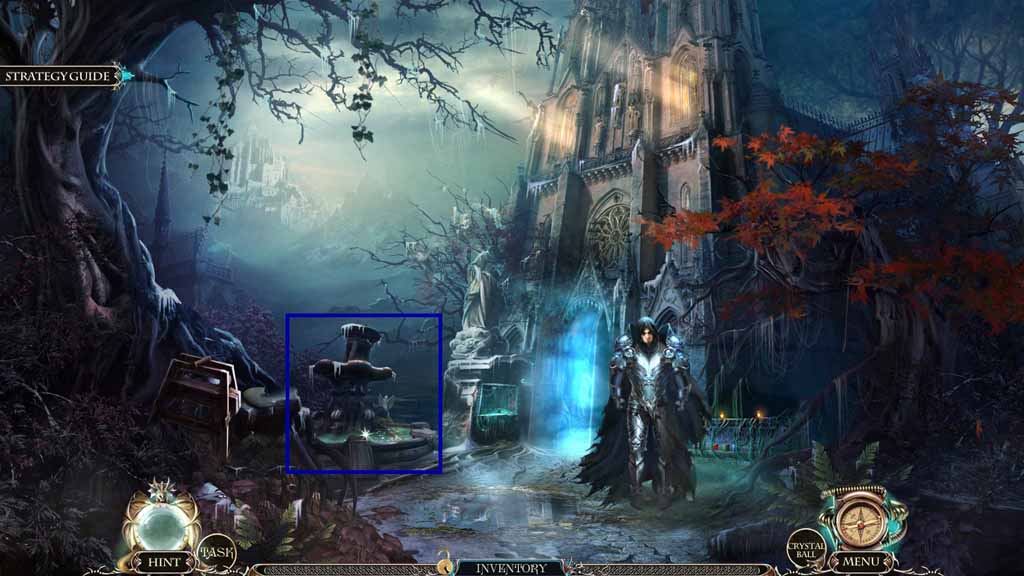
- Zoom into the fountain.
- Place the net into the water; collect the wrench and the griffin.
- Move to the Archive.
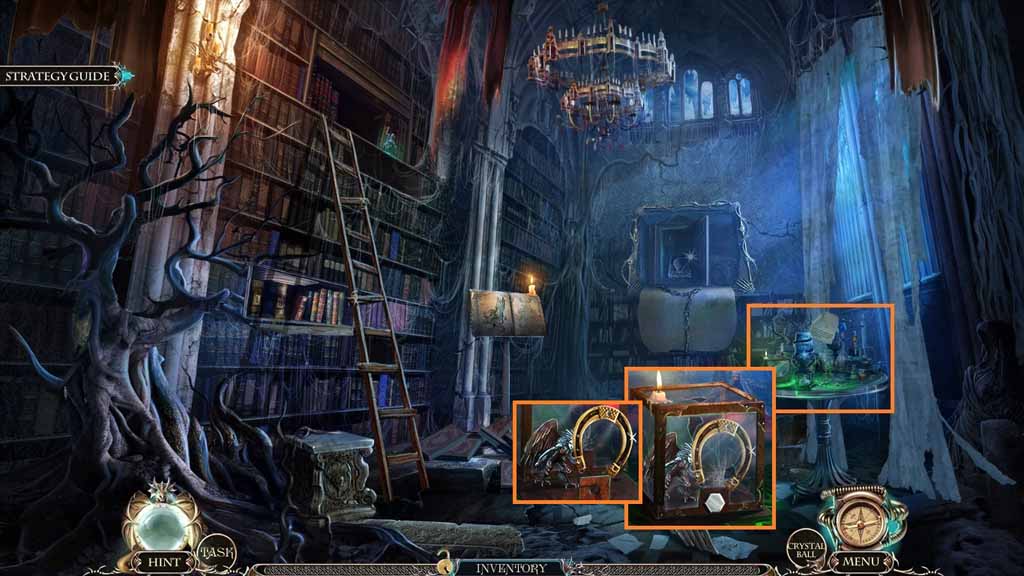
- Zoom into the table.
- Select the wrench to remove the bolt.
- Collect the horseshoe and the harpy.
- Move to the Armory.
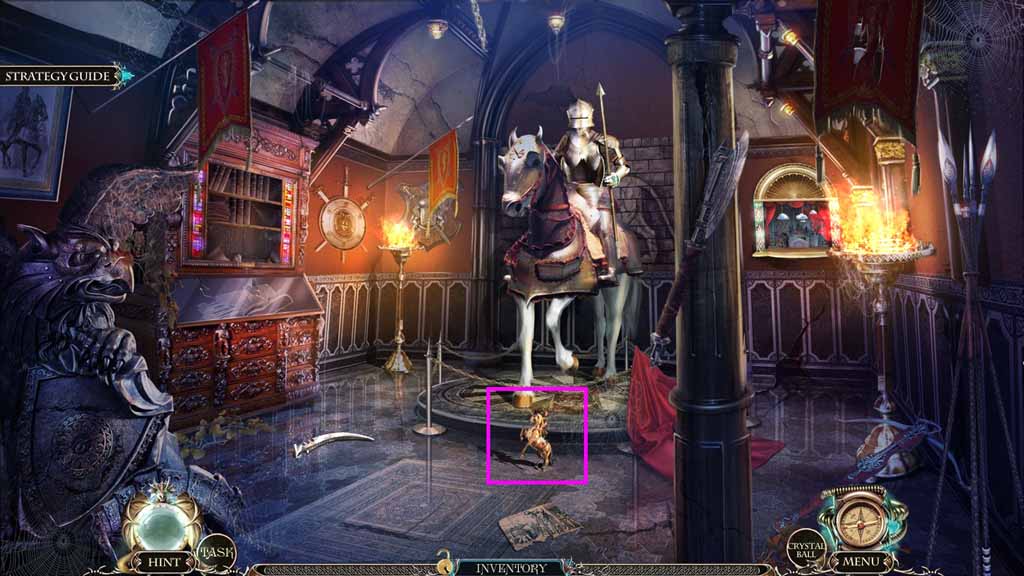
- Zoom into the horse.
- Attach the horseshoe to the hoof.
- Collect the unicorn.
- Move to the Outside of the Chapel.
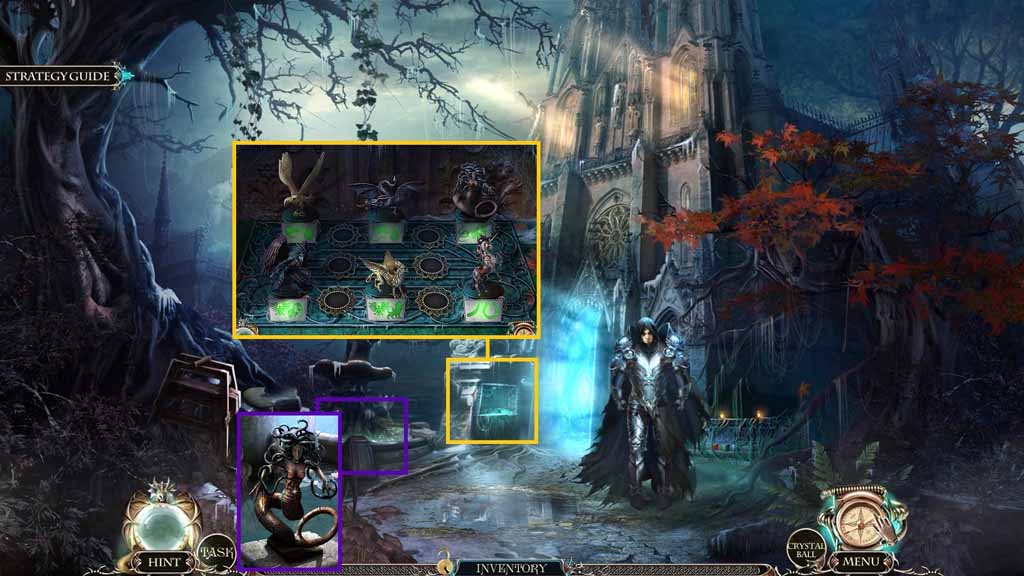
- Zoom into the fountain and insert the angel; collect the Medusa.
- Zoom into the cove and place down the Medusa, Phoenix, Dragon, Griffin, Harpy and the Unicorn to trigger a mini-game.
- Solve the game by aligning the figures correctly.
- Solve as shown.
- Move into the Chapel.
Comments will load when you reach this part of the walkthrough.