

Chapter One: Over the Bridge
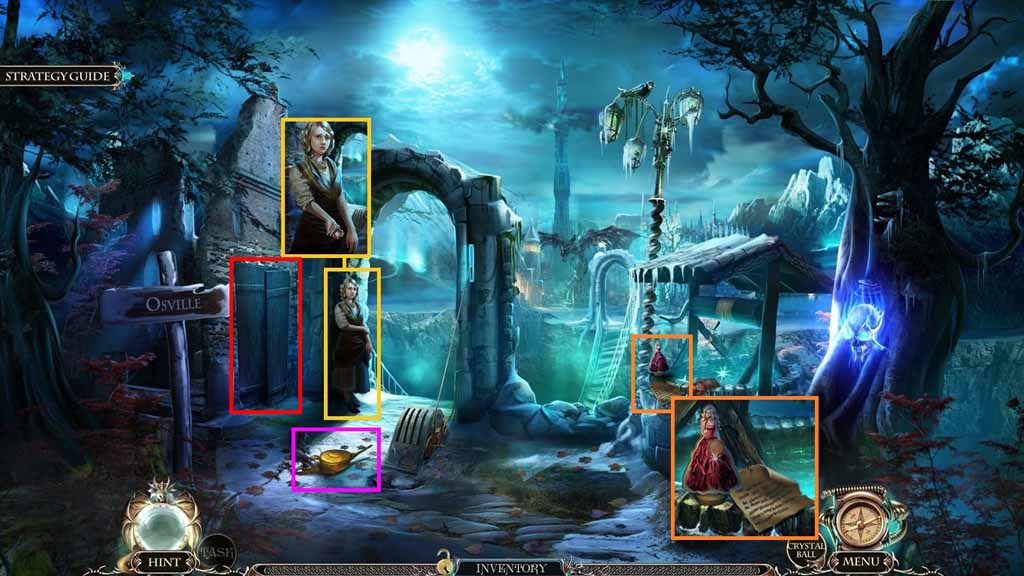
- Collect the house key.
- Collect the oil can.
- Zoom into the ledge of the well and collect the doll; read the note.
- Click the door to access a hidden objects area.
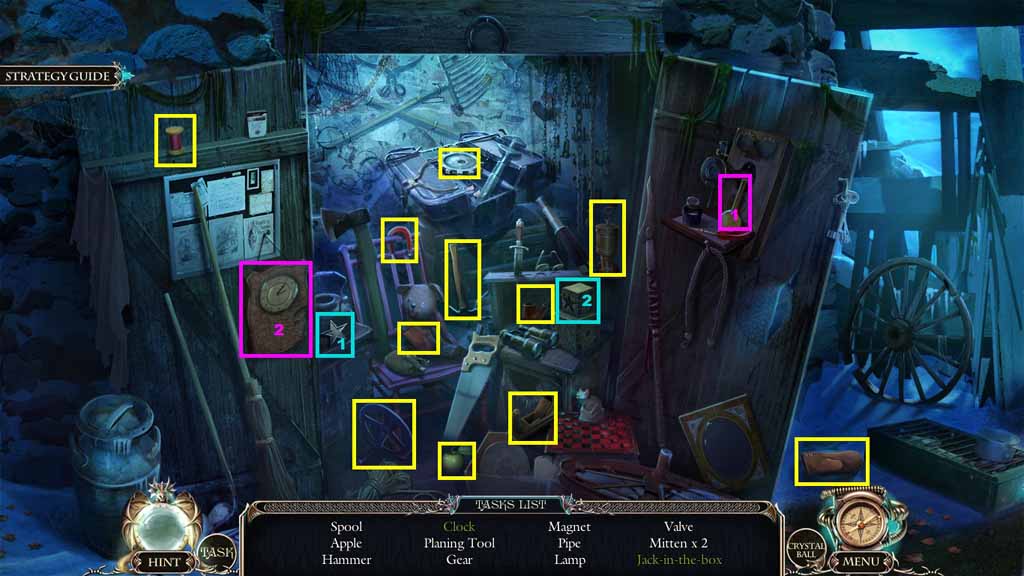
- Find the listed items.
- Select the pendulum and attach it to the clock; collect the clock.
- Select the star and insert it into the box; collect the jack-in-the-box.
- Collect the gear.
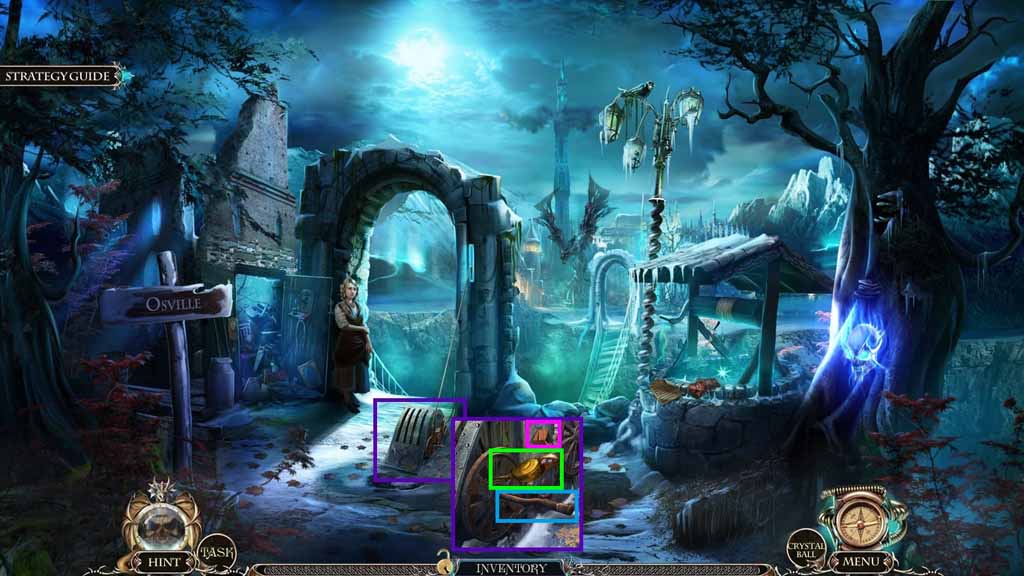
- Zoom into the mechanism; collect the wedge.
- Inset the gear into the mechanism and pour the oil can over the lever.
- Click the lever.
- Move to the City Square.
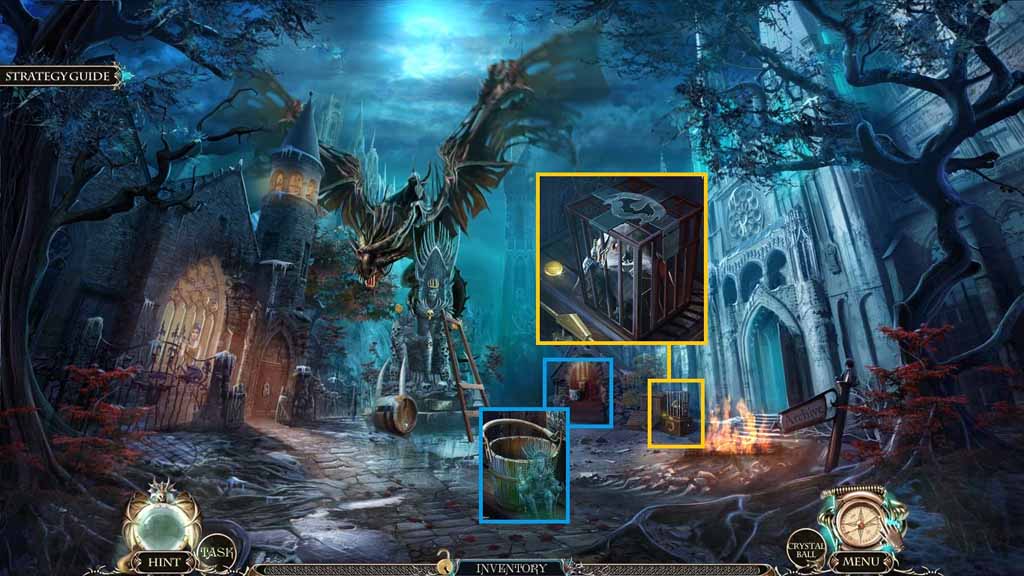
- Collect the bucket.
- Speak to the bat and collect the 1 / 3 coins.
- Collect the slingshot.
- Move down once.
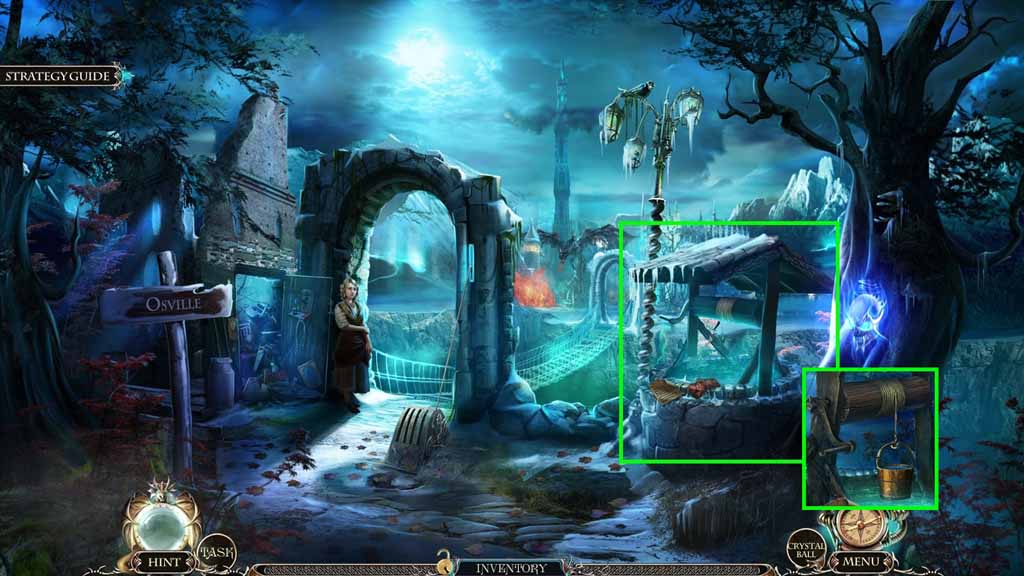
- Zoom into the well.
- Attach the bucket onto the hook and click the handle.
- Collect the bucket of water.
- Move ahead.
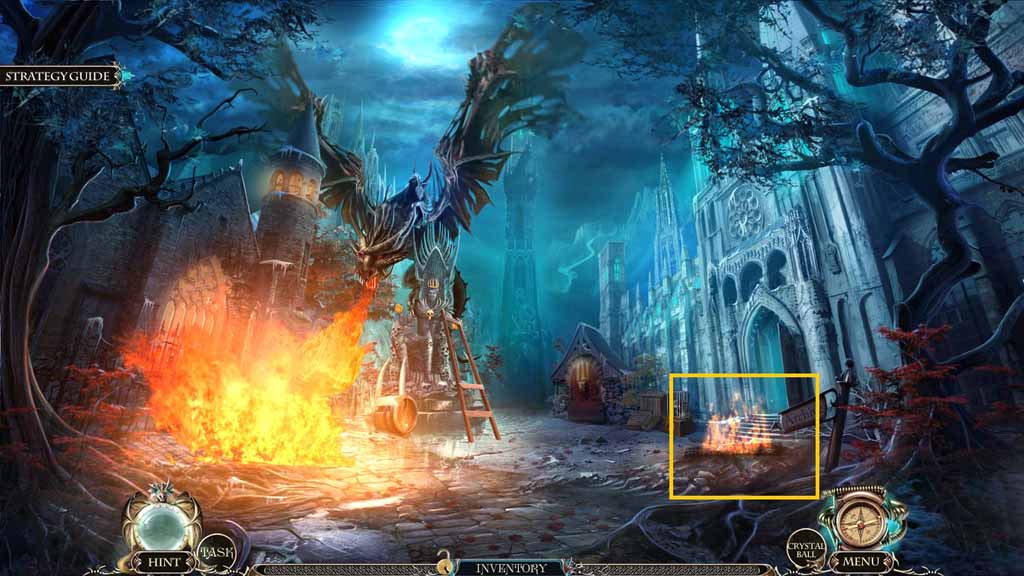
- Select the bucket of water to douse the flames.
- Move into the Archives.
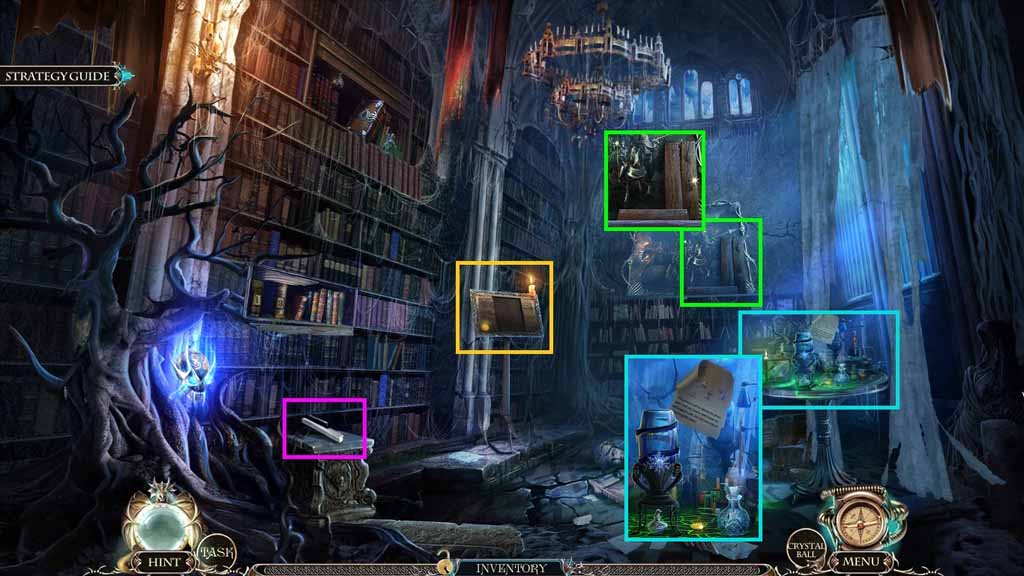
- Collect the piano key.
- Collect the 2 /2 coins.
- Zoom into the shelf; collect the rungs.
- Zoom into the table; collect the 3 / 3 coins and read the note.
- Move down once.
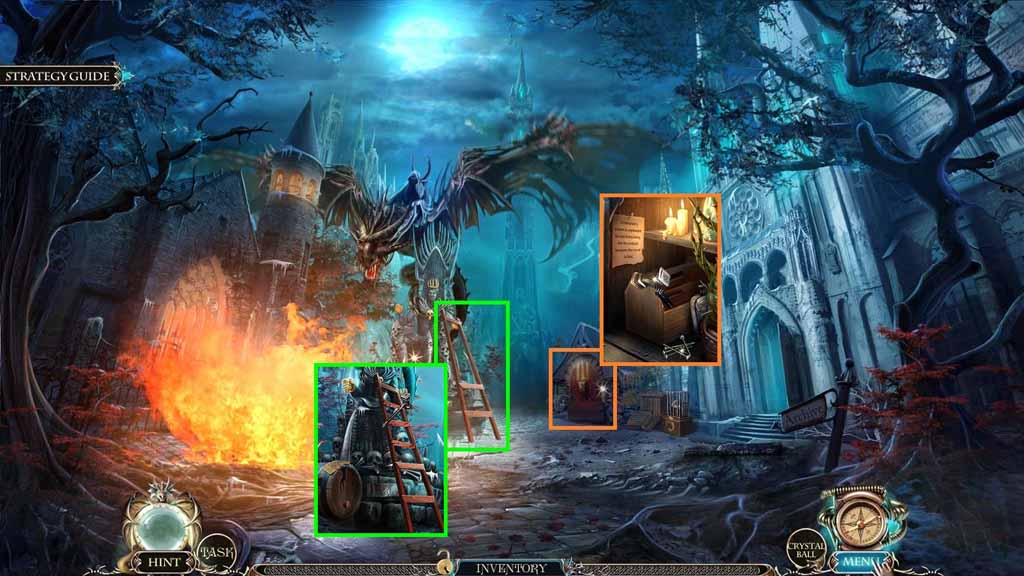
- Select the 3 coins and insert them into the slot.
- Collect the hammer and the nails; read the note.
- Read the note and attach the rungs to the ladder using the nails.
- Select the hammer to drive in the nails; collect the ladder.
- Move down once.
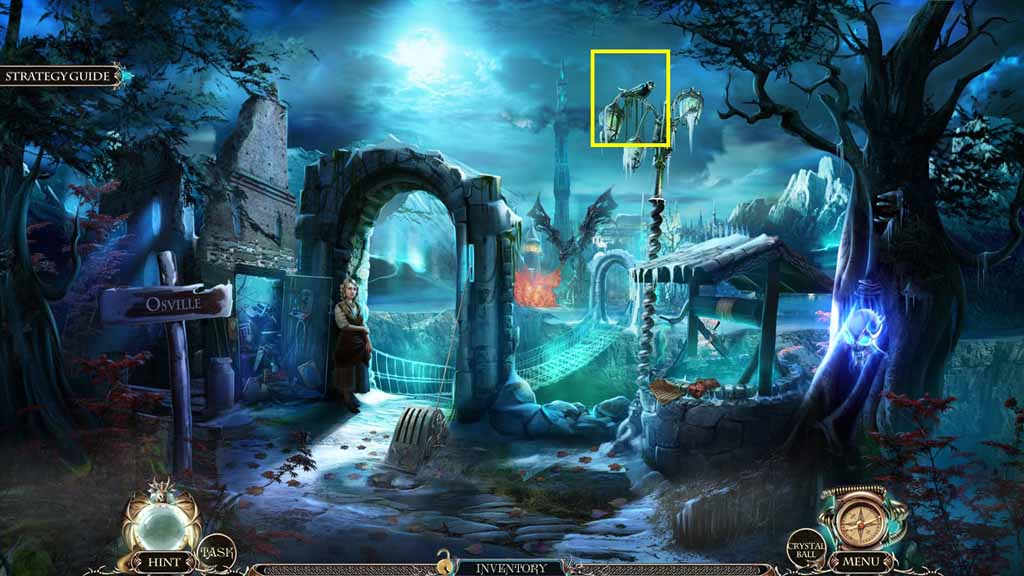
- Select the slingshot and shoot it towards the raven; collect the 1/ 2 bat amulets.
- Move to the Archive.
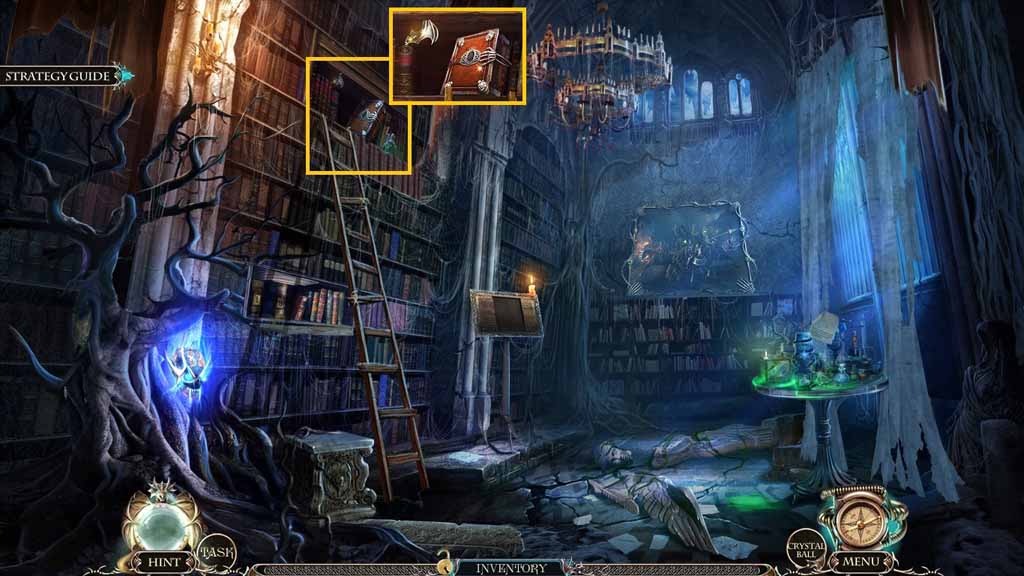
- Place the ladder down.
- Zoom into the top of the ladder; collect the 2 / 2 bat amulets and the folio.
- Move down once.
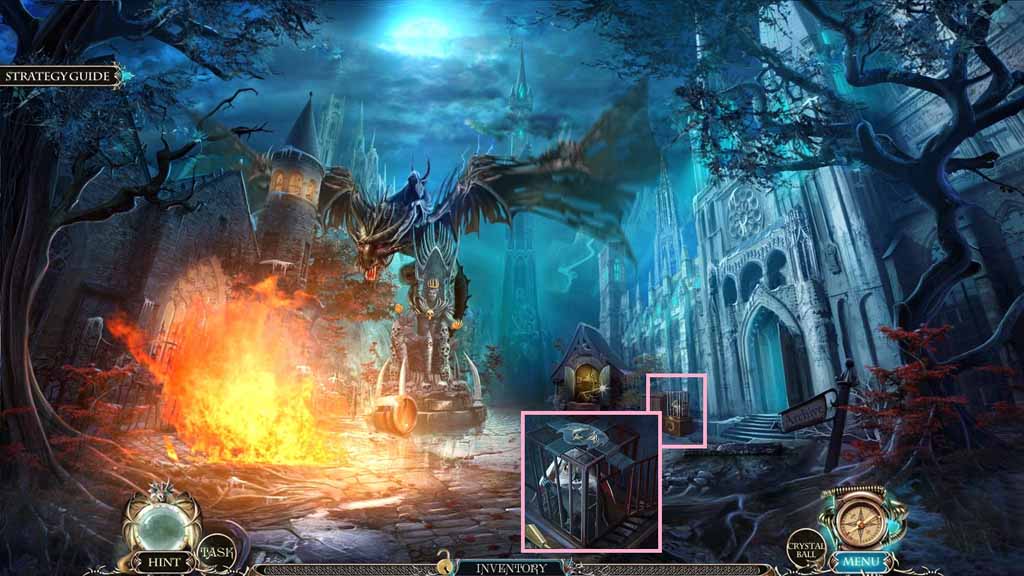
- Zoom into the cage; insert the 2 bat amulets.
- Collect Louis the bat.
- Move into the Archive.
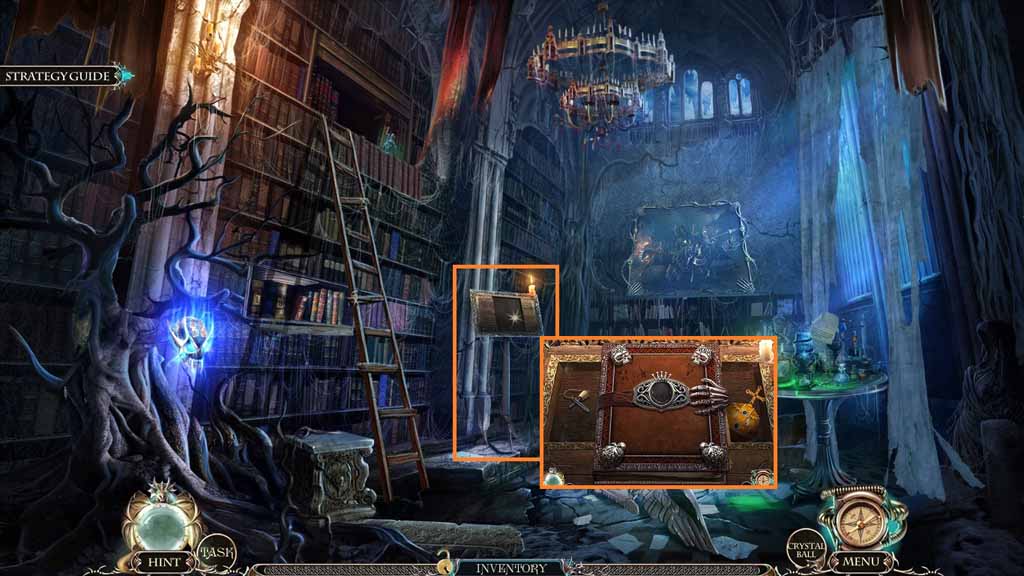
- Zoom into the bookstand and insert the folio.
- Collect the flint and the orb.
- Move down once.
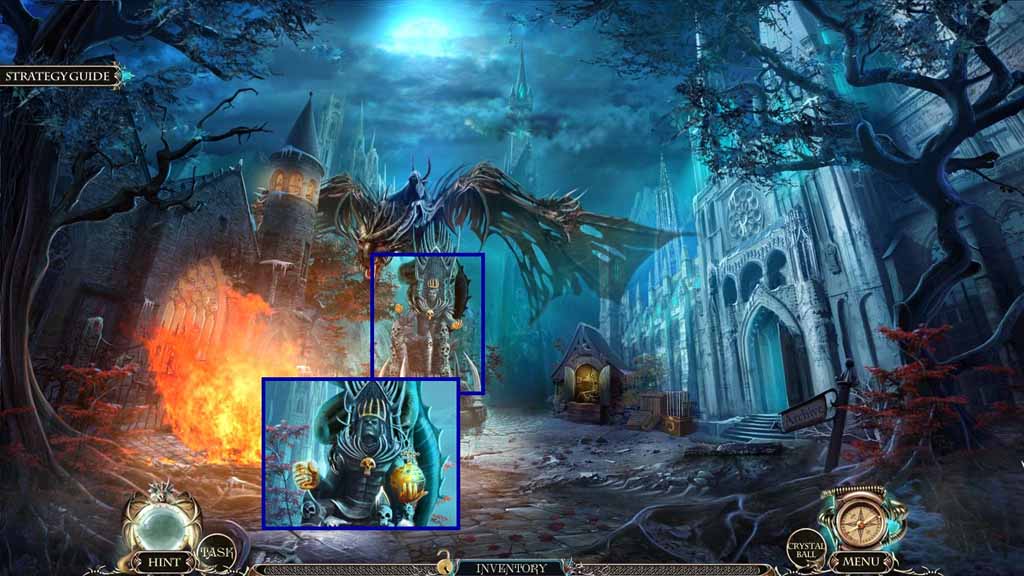
- Zoom into the statue.
- Insert the orb into the hand.
- Move to the Bridge.
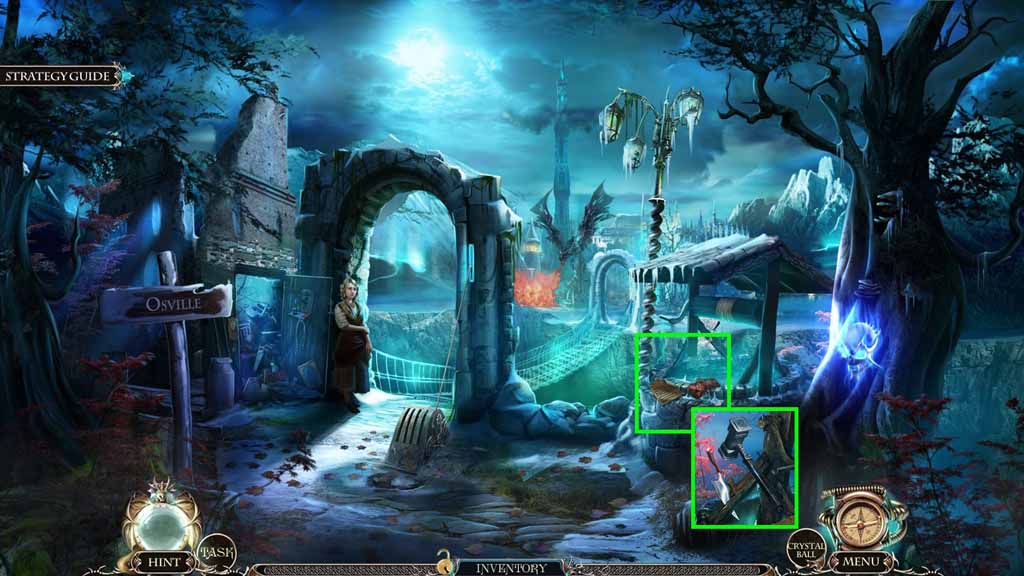
- Zoom into the well.
- Place the wedge into the crack.
- Select the hammer to hit the wedge; collect the dagger.
- Move into the Archive.
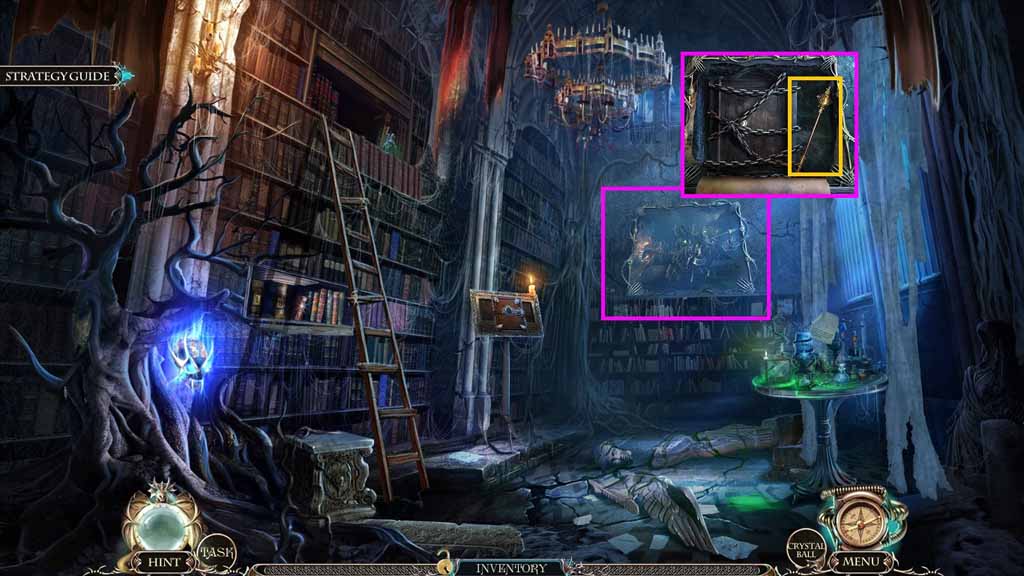
- Zoom into the painting.
- Select the dagger to slice the painting and collect the scepter.
- Move down once.
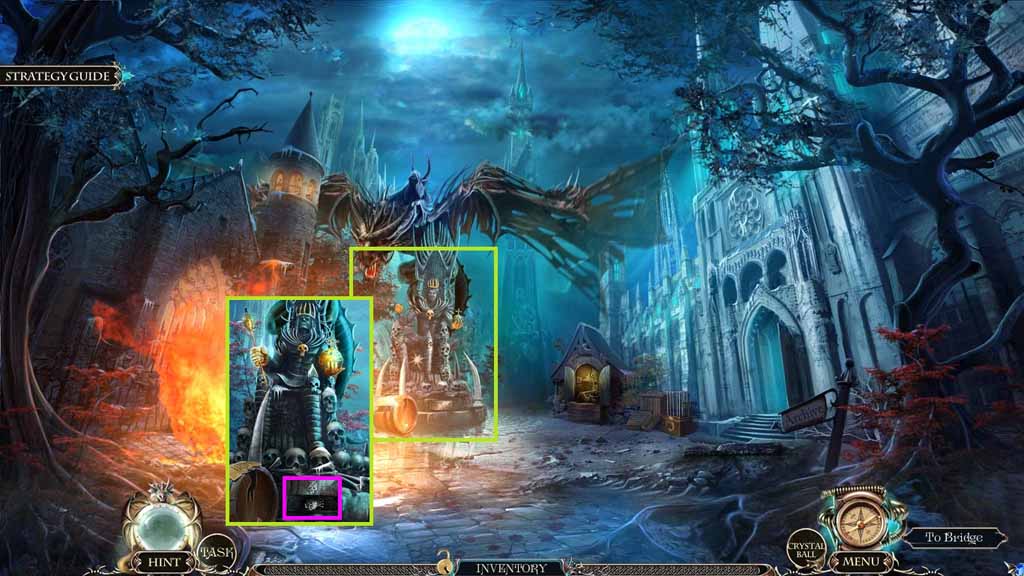
- Zoom into the statue.
- Place the scepter into the hand; collect the King’s amulet.
- Move into the Archive.
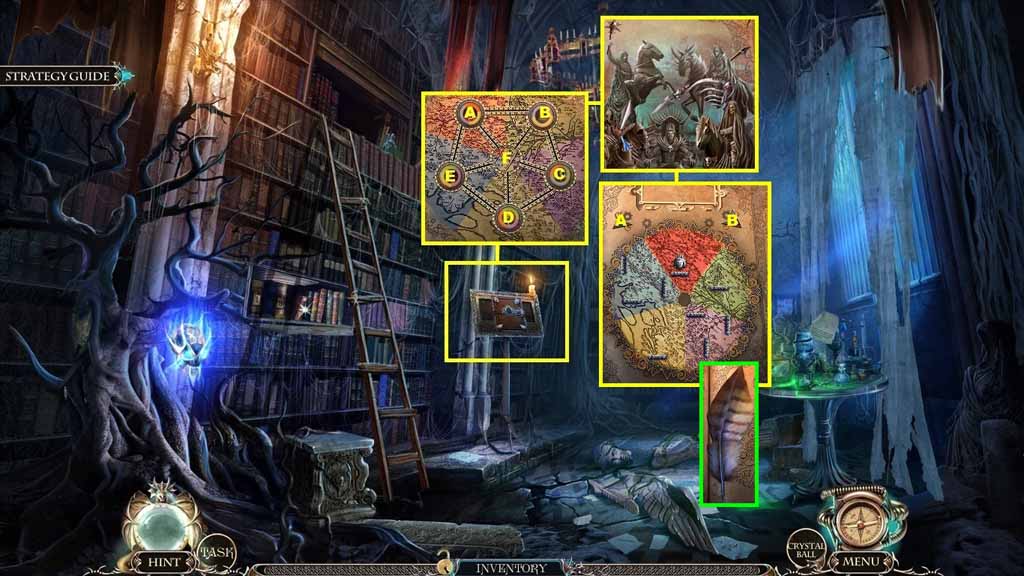
- Zoom into the bookstand.
- Insert the king’s amulet to trigger a mini-game.
- Solve the game by moving the king’s into the correct areas.
- Click the king coins in the following sequence to solve the game:
- D – C – B – A – E – F – A – B – C – F – D – E – A – B – F – A – E – D – F – E – A – B – F
- Another mini-game will trigger.
- Place the weapons in the correct areas to solve the game.
- Another mini-game will trigger.
- Solve the game by guiding the ball to the center.
- Click the arrows in the following sequence to solve the game:
- A – B – B – A – B – B – A – B - B
- Collect the griffin feather.
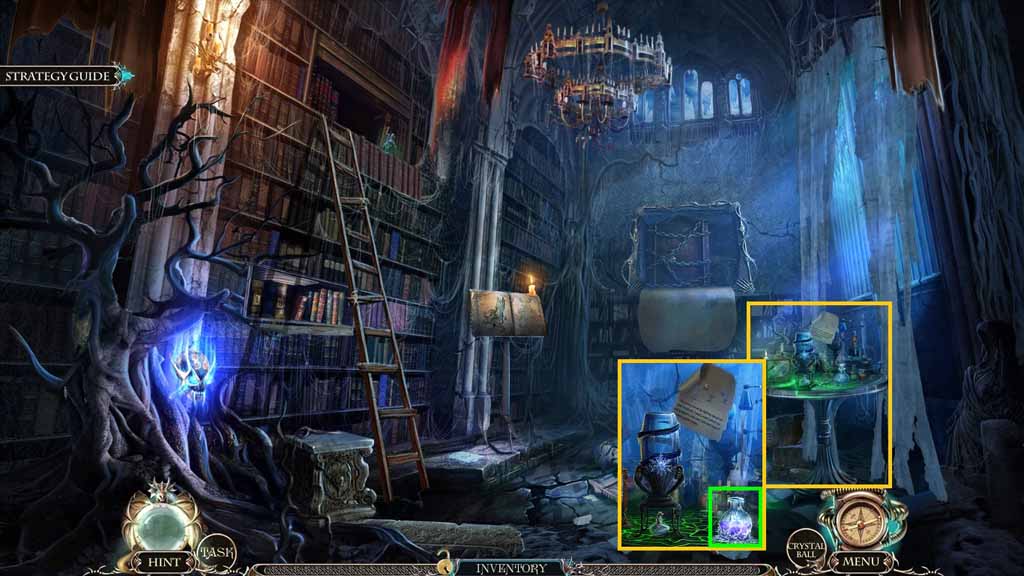
- Zoom into the table.
- Select the flint to ignite the burner.
- Place the feather into the flask.
- Place Louis next to the flask; collect the potion of cold.
- Move down once.
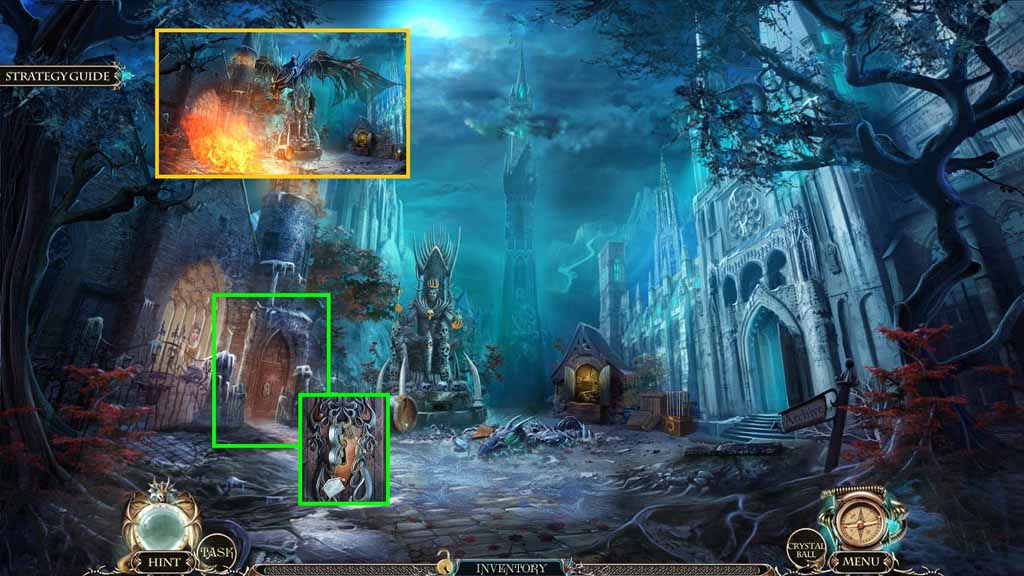
- Select the potion of cold and use it to douse the dragon.
- Zoom into the door; insert the house key and click the key.
- Move into the house.
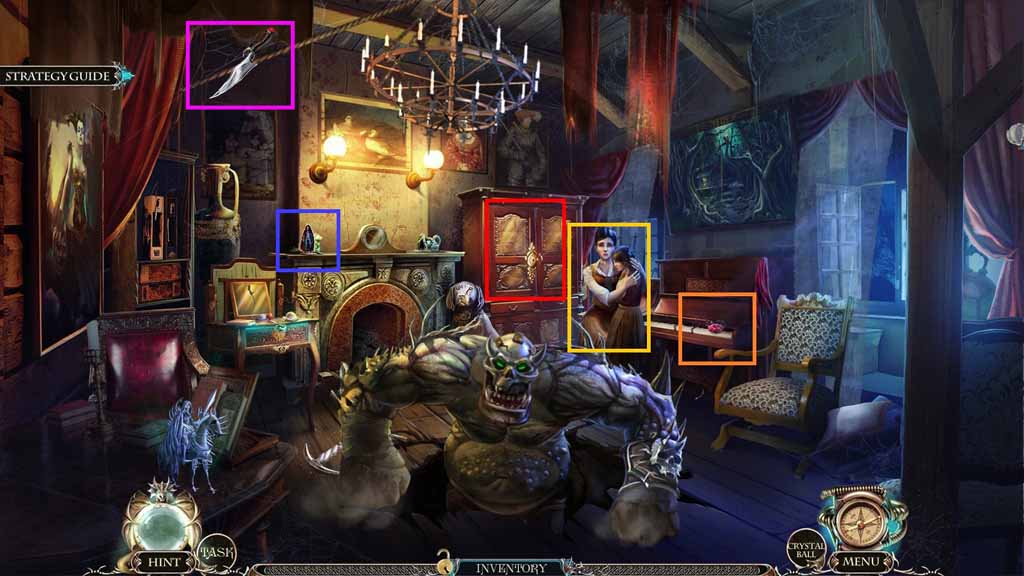
- Zoom into the family.
- Select the dagger to slice the rope.
- Speak to the woman; collect the round key.
- Collect the 2 /3 dolls.
- Collect the needle and thread.
- Zoom into the lock and insert the round key to trigger a hidden objects area.
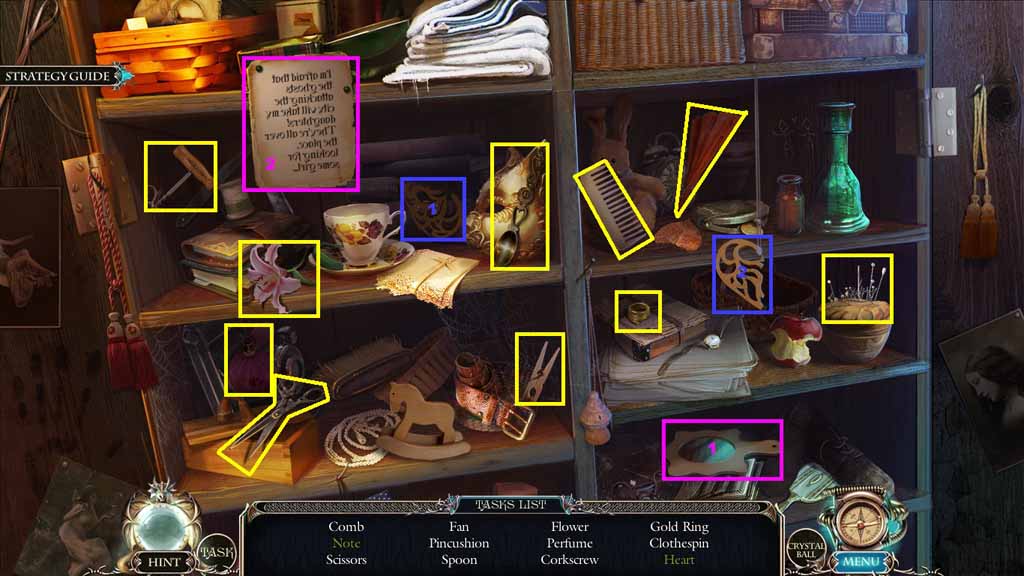
- Find the listed items.
- Select the mirror and use it to read the note; collect the note.
- Select the heart half and attach it to the other half; collect the heart.
- Collect the corkscrew.
- Move down 2 times.
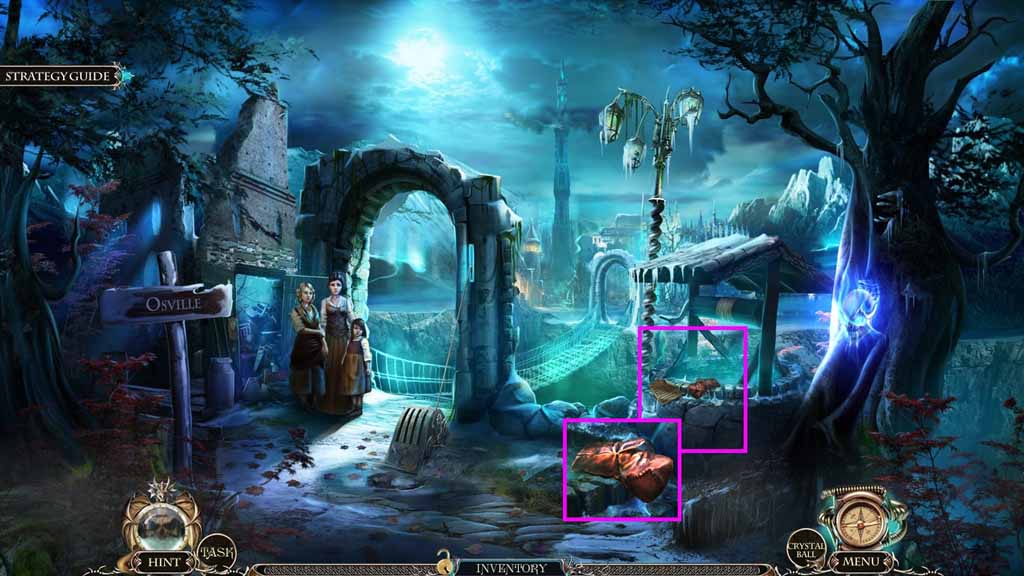
- Zoom into the well.
- Select the needle and thread to mend the mitten; collect the mitten.
- Move ahead.
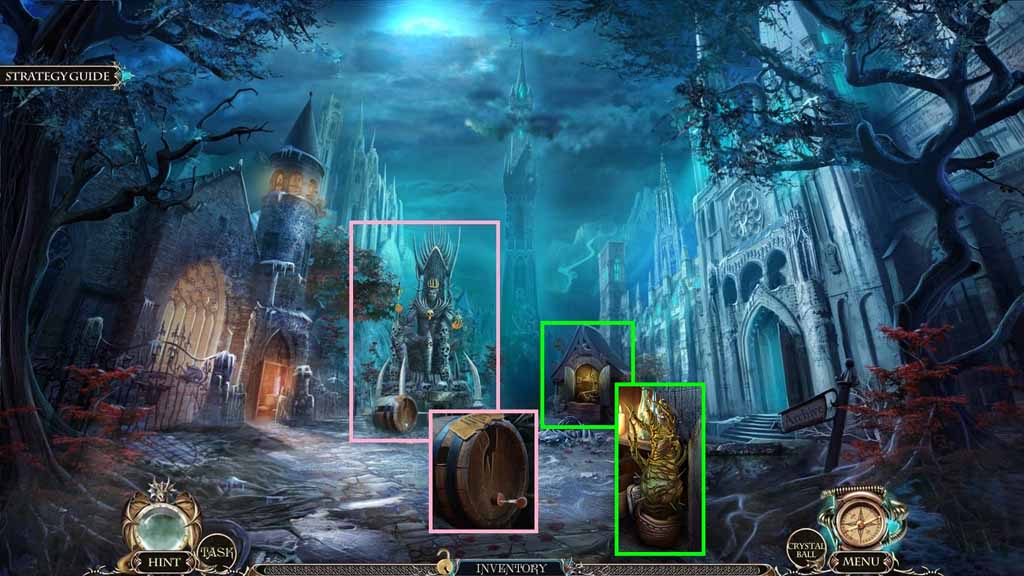
- Select the corkscrew and use it to remove the cork.
- Insert the cork into the mandrake.
- Select the mitten to collect the mandrake.
- Move to the Tower.
Comments will load when you reach this part of the walkthrough.