
Chapter Six: Prague Retake
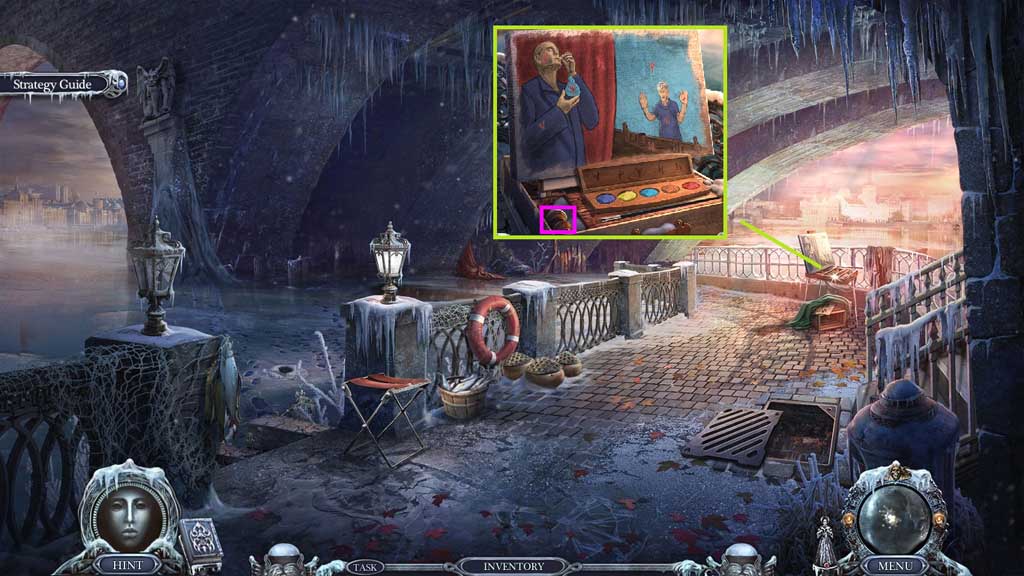
- Place the paintbrush and the paint set onto the easel to trigger a mini game.
- Solve the game by painting the picture based on the symbols.
- Collect the seal.
- Move to Alfred Kristen’s House.
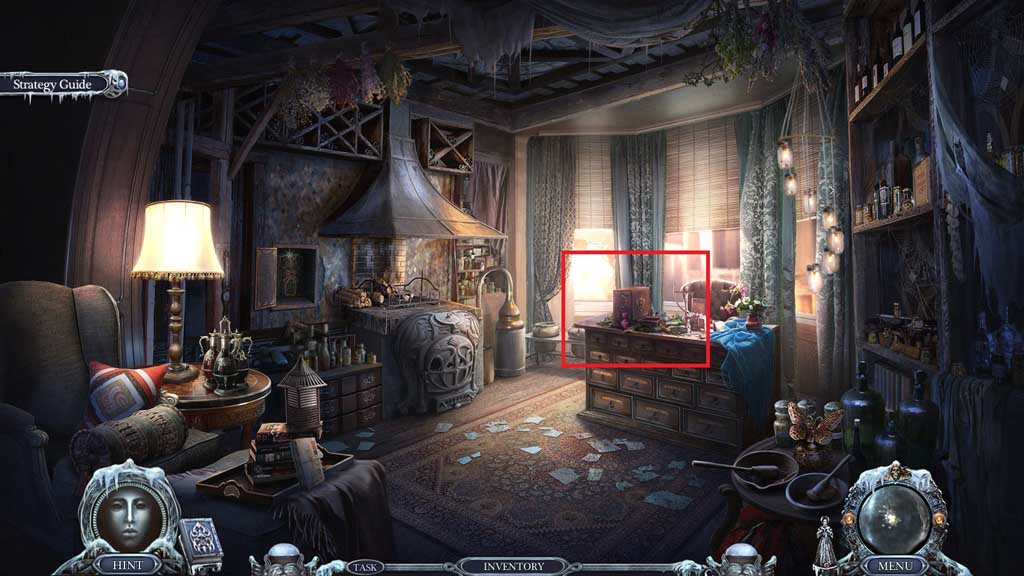
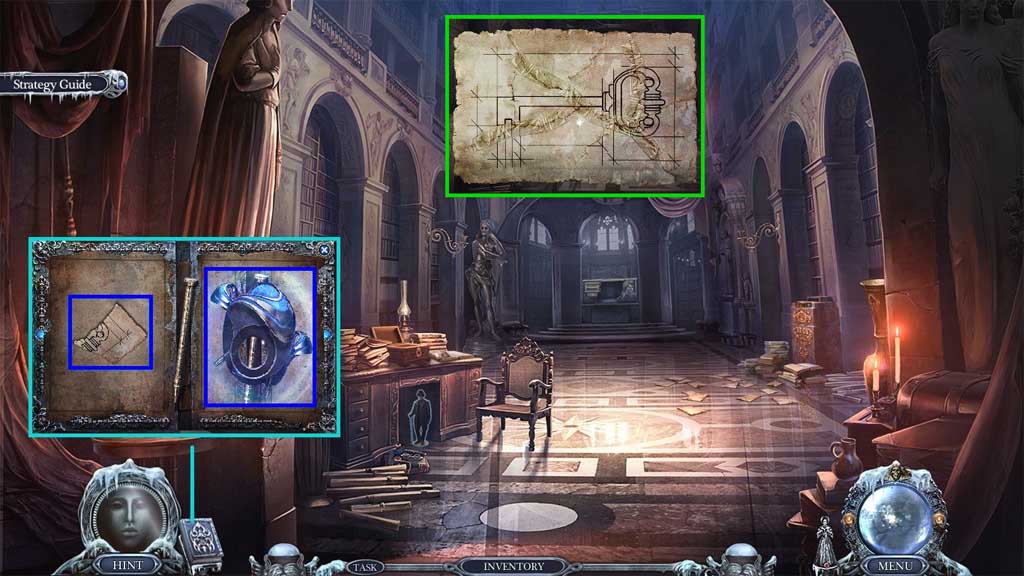
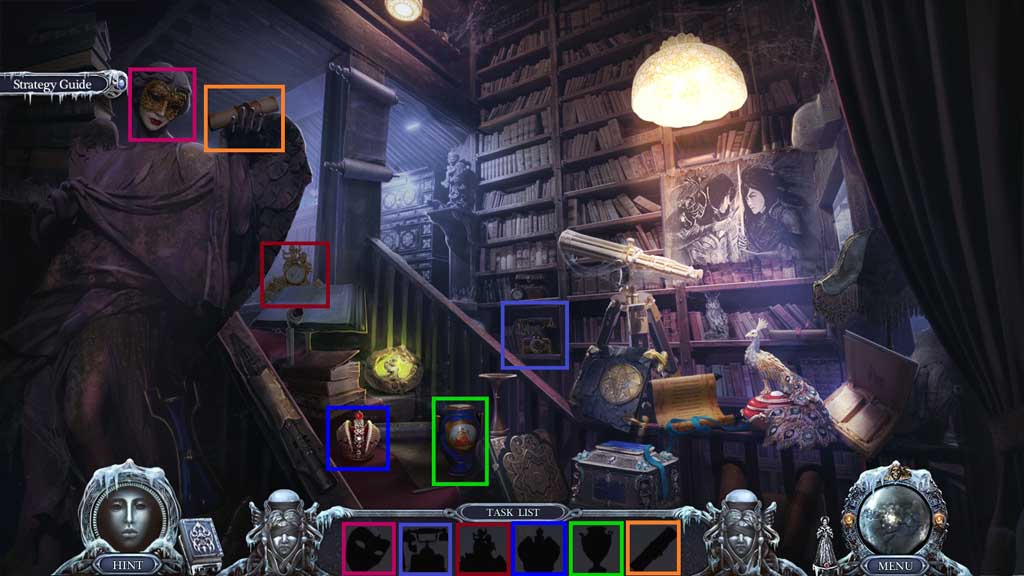
- Insert the seal to trigger a hidden objects area.
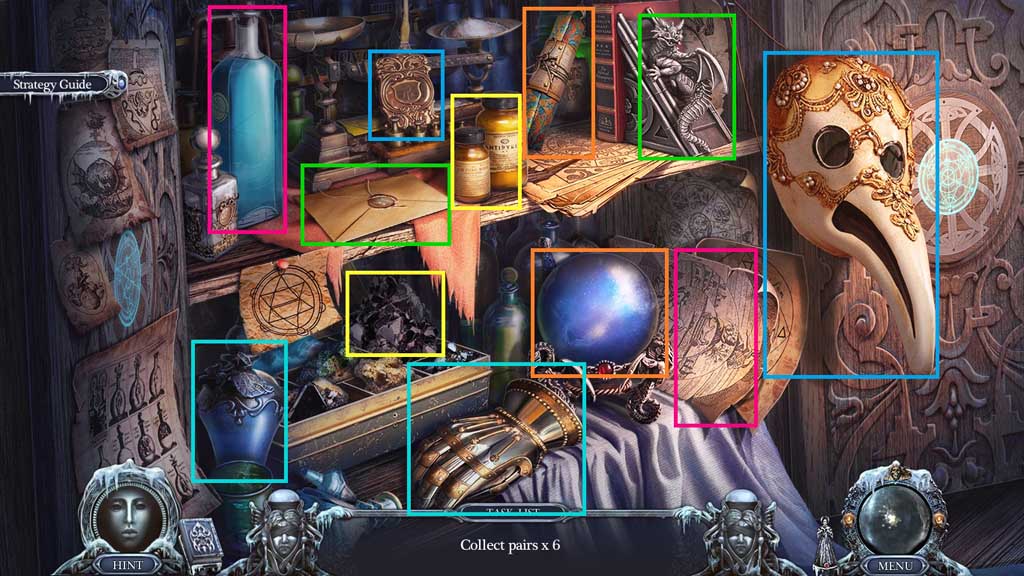
- Find the paired items.
- Collect Alfred’s lamp.
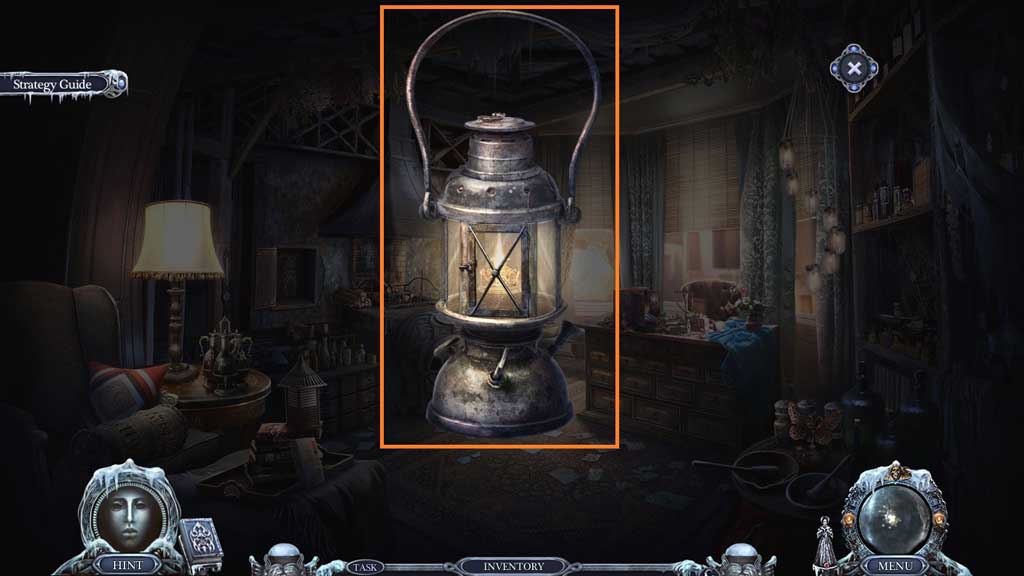
- Zoom into Alfred’s lamp.
- Click it open and use the flint to ignite it, click it closed.
- Collect the burning lamp.
- Move to the area Under the Bridge.
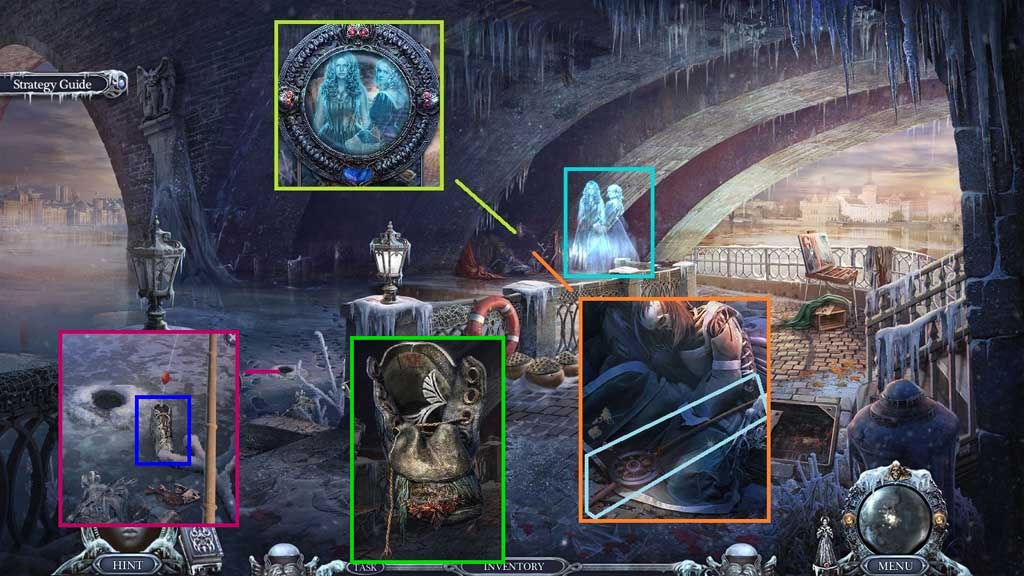
- Select the burning lamp to illuminate the dark space and use Death’s amulet on the area.
- Speak to the spirits; receive the cache part.
- Click the leaves 2x’s; collect the fishing rod and place it into the hole in the ice.
- Click the rod 2x’s ; collect the worn out boot.
- Click the worn out boot 3x’s; collect the cache part.
- Move to Alfred Kristen’s House.
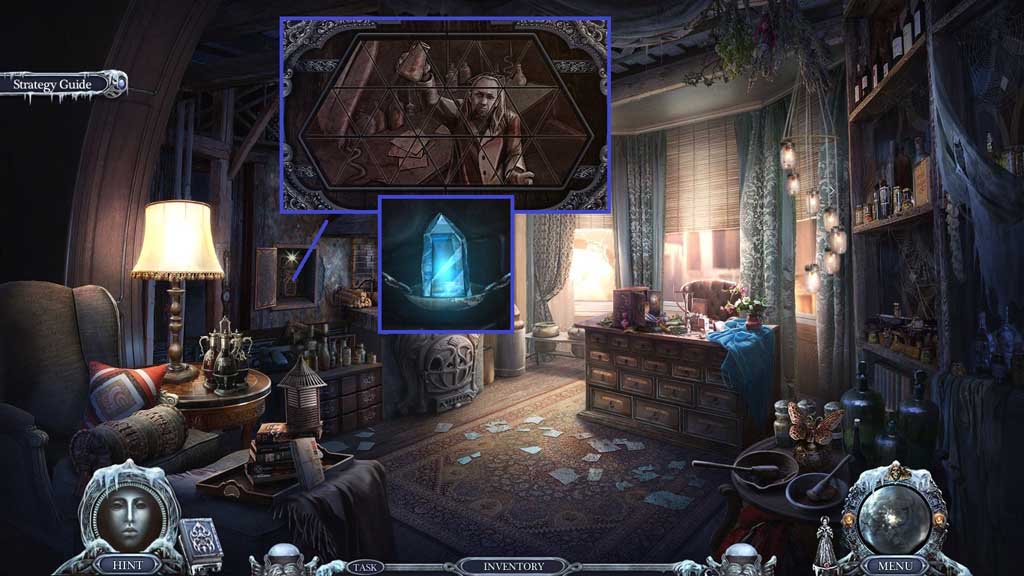
- Insert the 2 cache parts; click to trigger a mini game.
- Solve the game by adjusting the triangles to complete the image.
- Collect the philosopher’s stone.
- Move to Alfred Kristen.

- Select the philosopher’s stone to use on Alfred.
- Speak to Gerard ; receive the archivist amulet.
- Click the archivist’s amulet 2x’s; collect the archivist’s punch card.
- Insert the archivist’s punch card.
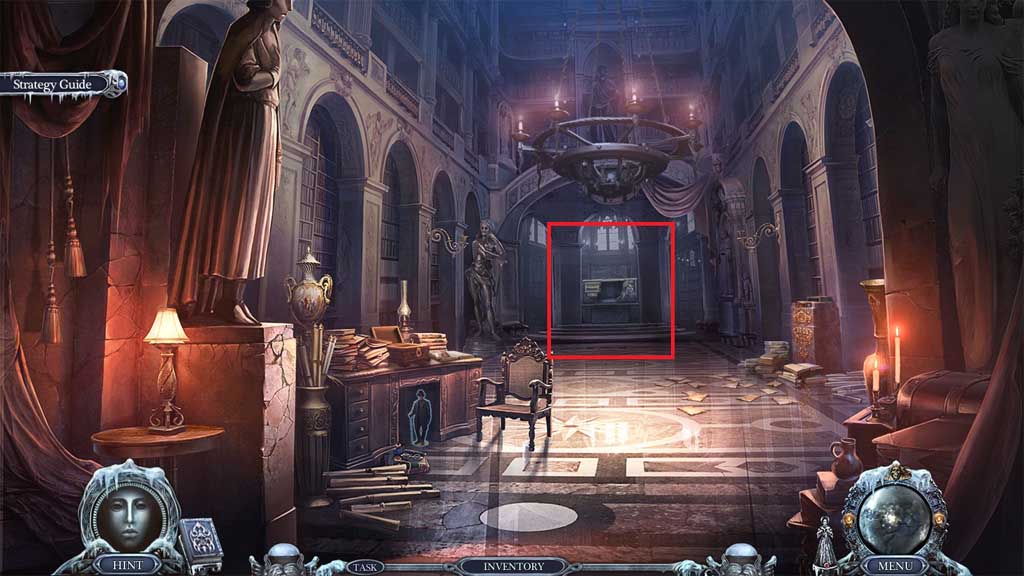
- Enter the doorway.
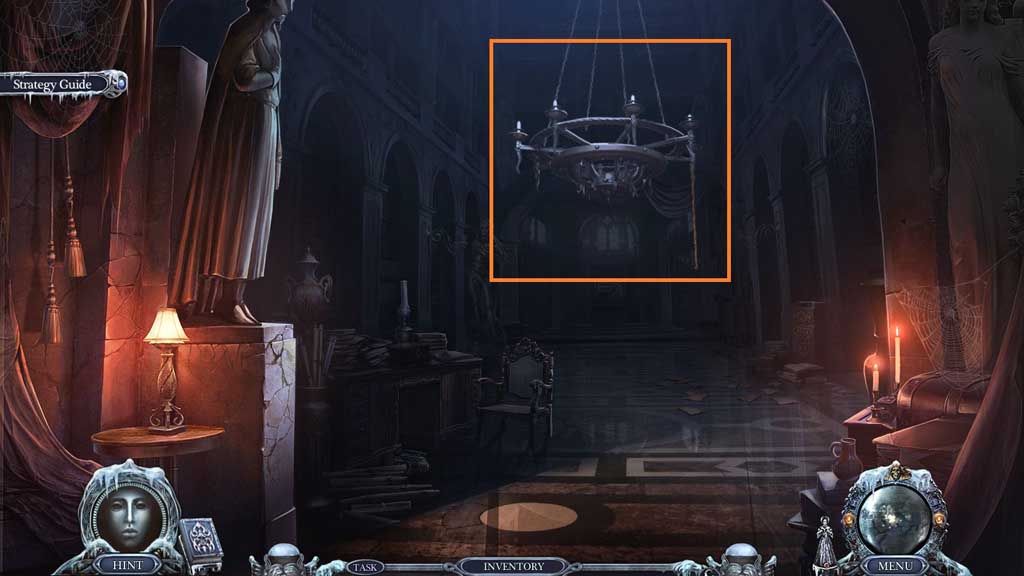
- Select the flint to ignite the chandelier and illuminate the darkness.
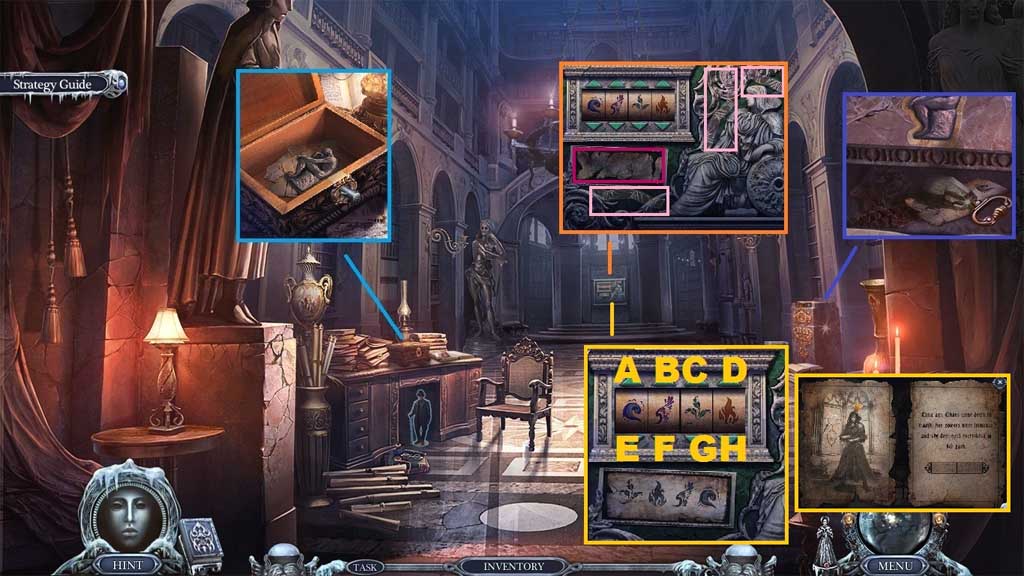
- Insert the archivist’s punch card; collect the gargoyle statuette and the torn paper.
- Insert the gargoyle statuette to; collect the dummy key and Gerard’s code.
- Collect the adhesive tape; click the faded paper; insert Gerard’s code to trigger a mini game.
- Solve the game by entering the code as shown on the clue.
- Use the following sequence to solve the game H – C – F – F – E – E
- Collect the archivist’s book.
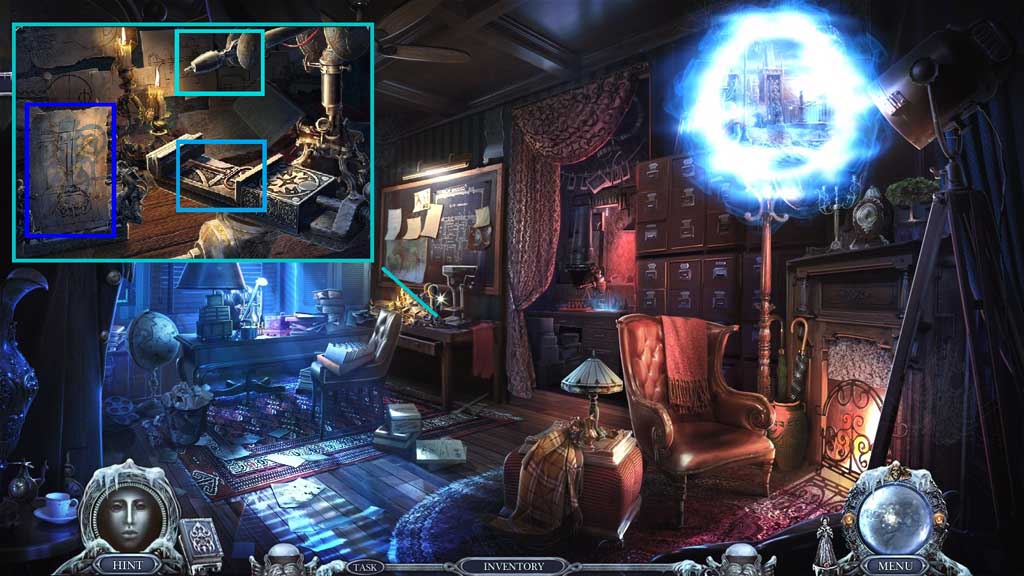
- Zoom into the archivist’s book to trigger a mini game.
- Solve the game by placing the items correctly in the scene.
- Click the diary; collect the paper piece and the transmitter part.
- Click the torn paper and place the paper piece onto it; assemble the pieces.
- Select the adhesive tape to repair it; collect the archivist’s key drawing.
- Move to your House.
- Place the archivist’s key drawing into the holder and the key dummy into the mold.
- Click the needle 2x’s; collect the archivist’s stash key.
- Move to the Prague Archive.
- Insert the archivist’s stash key to trigger a hidden objects area.
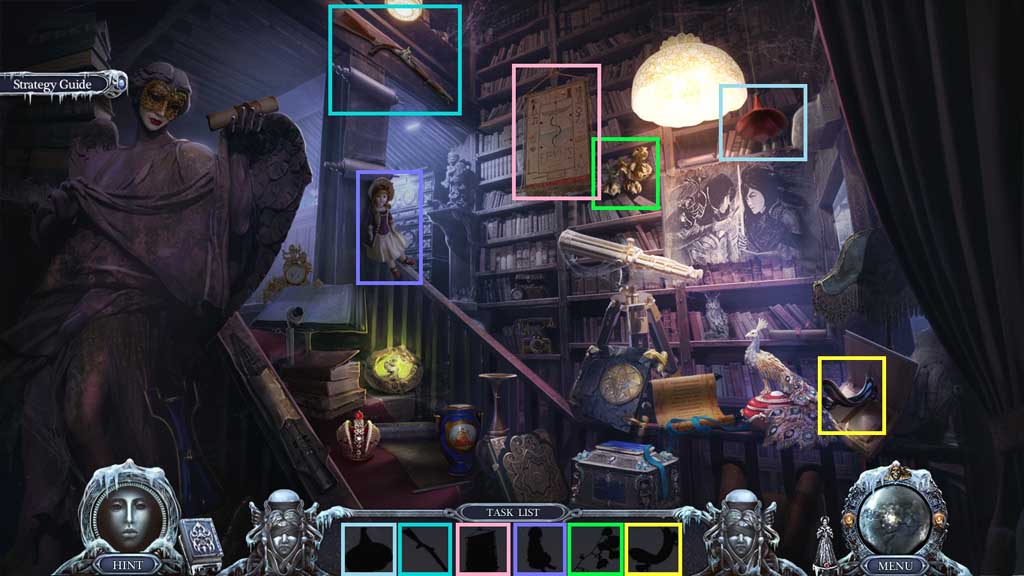
- Find the items.
- Collect the transmitter part.
- Click the transmitter part and attach Death’s amulet followed by the final transmitter part.
- Collect the isolation transmitter.
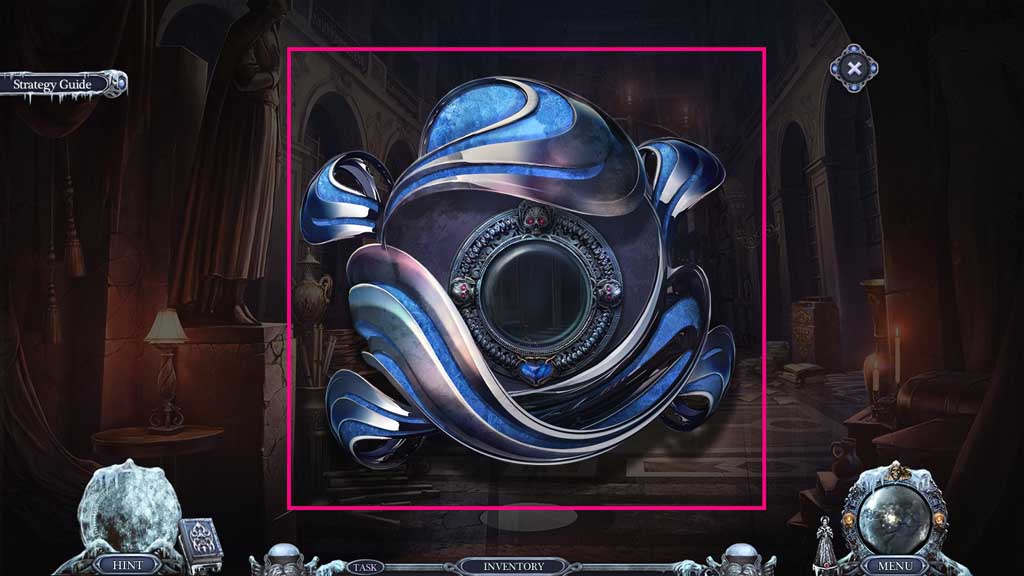
- Move to the area Outside the Cathedral.
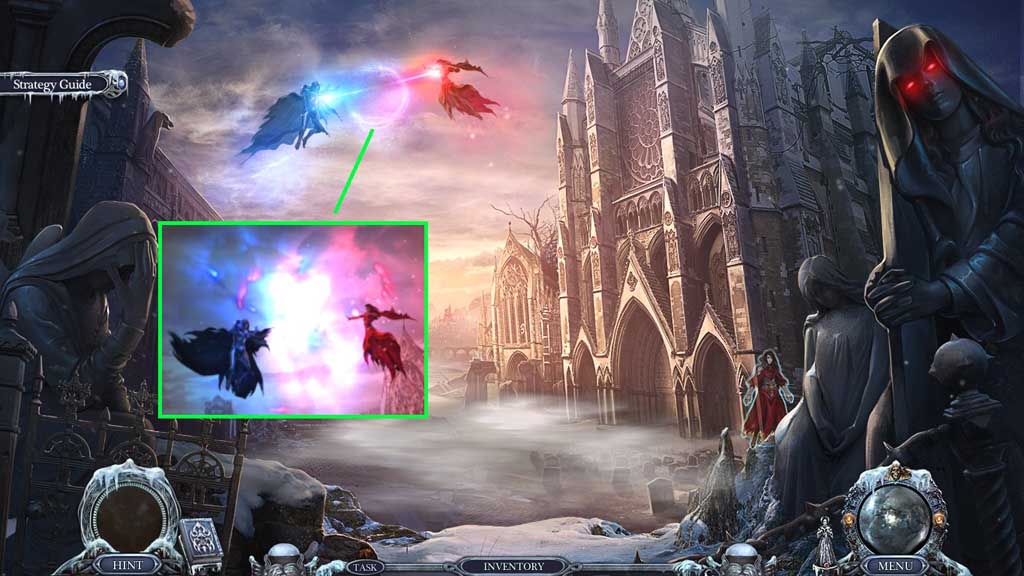
- Select the isolation transmitter to use on the scene.
-
Congratulations! You have successfully completed the main game of Riddles of Fate: Memento Mori C. E.
Comments will load when you reach this part of the walkthrough.