
Chapter One: Paris
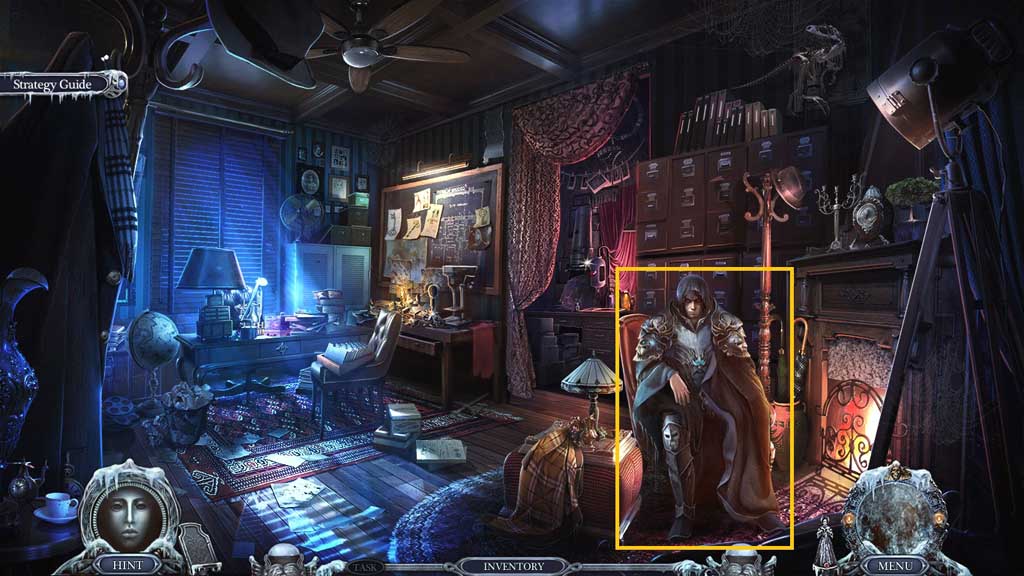
- Speak to the Death.
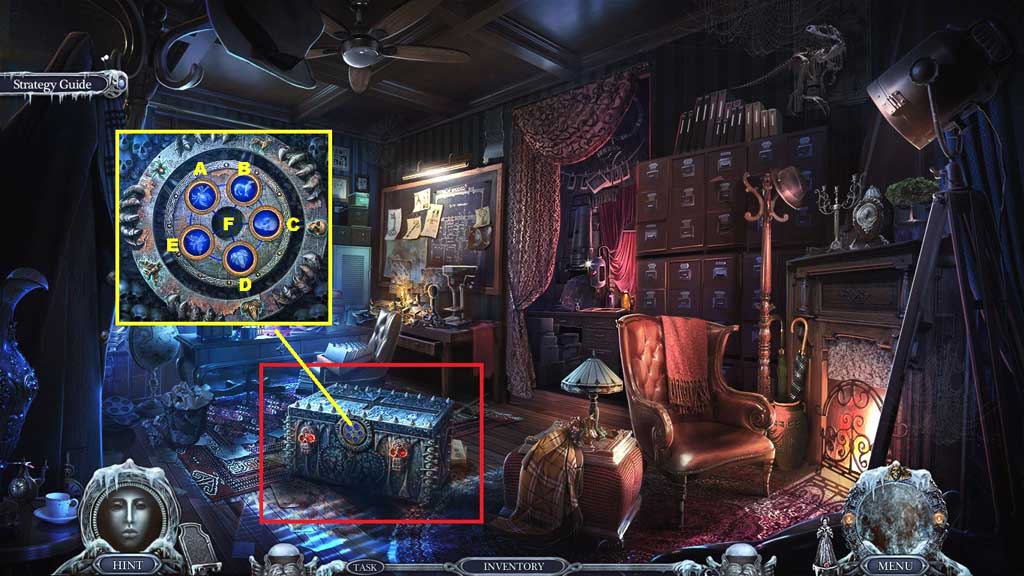
- Zoom into the chest to trigger a mini game.
- Solve the game by aligning the token symbols with the outer rim.
- Use the following solution to solve: B – A – E – E – C – B – A – E
- Click the hidden objects area.
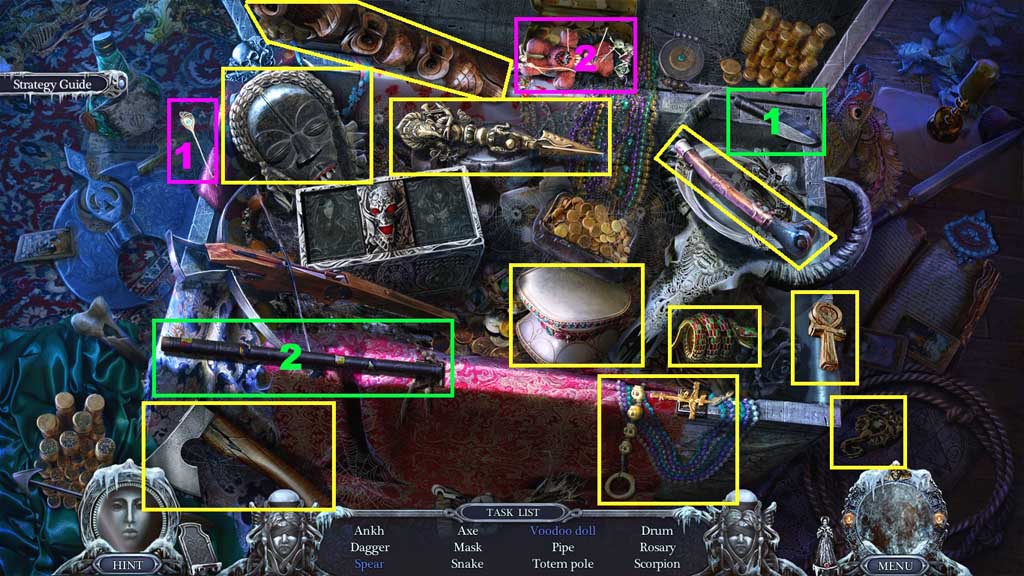
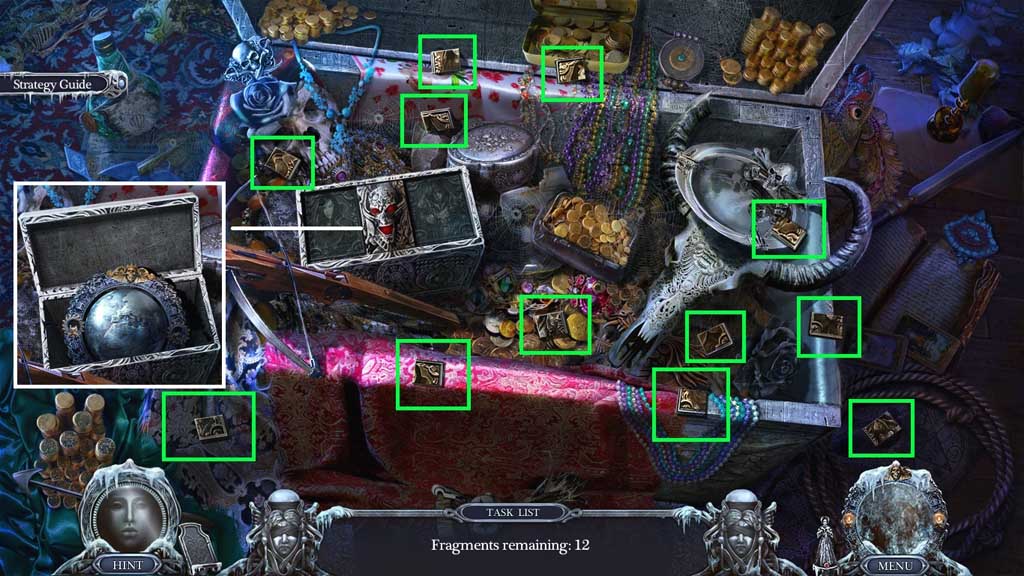
- Find the items.
- Select the spear head and attach it to the shaft; collect the spear.
- Select the pin and place it into the doll; collect the voodoo doll.
- Collect death’s sphere.
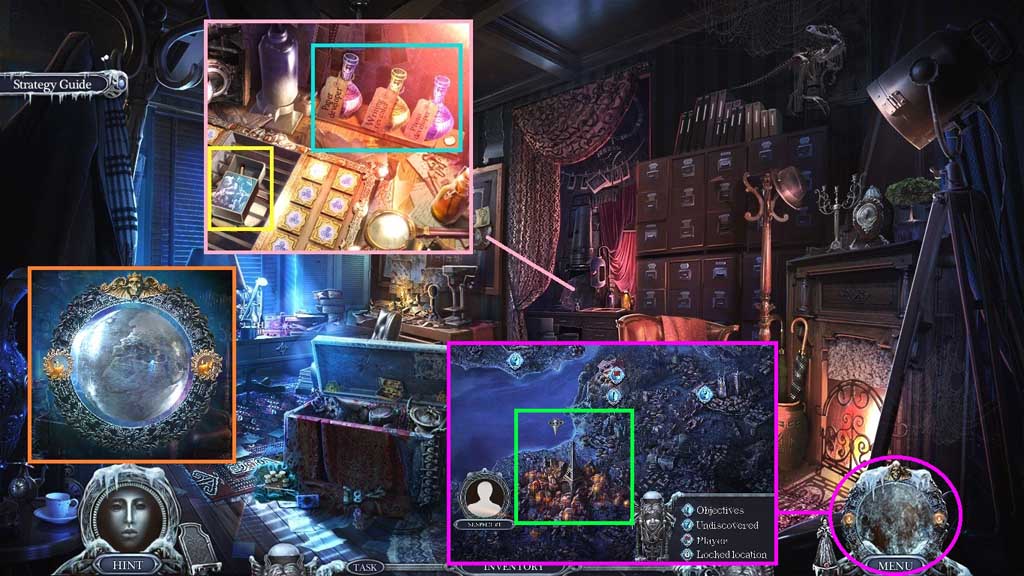
- Collect the empty bottle and the matches.
- Zoom into Death’s sphere in the inventory and use the matches to defrost it.
- Click the sphere.
- Use the map prompts to get to Main Street in Paris.
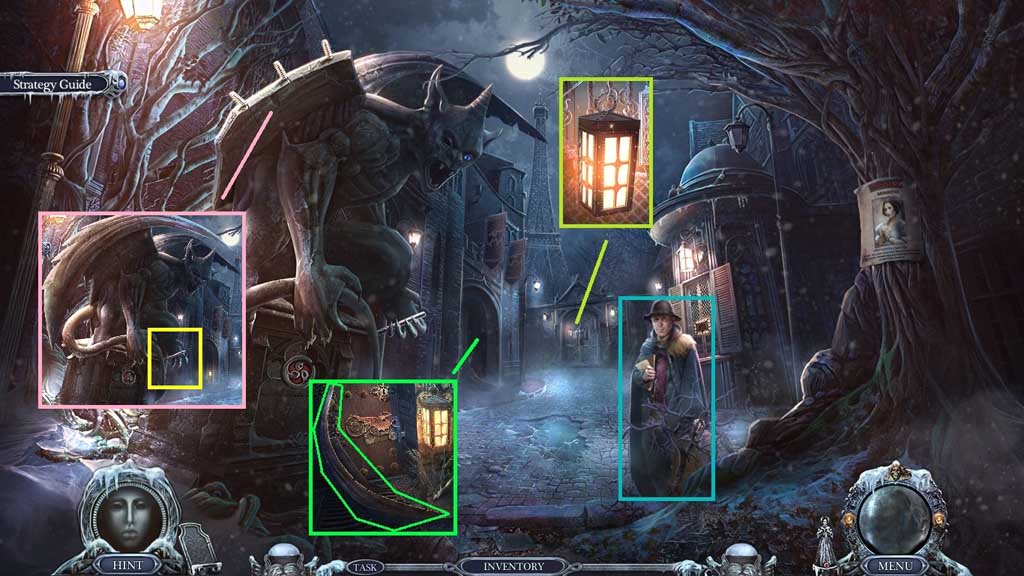
- Speak to Gerard.
- Collect the lantern and use it to illuminate the door way.
- Collect the wing tip and place it onto the statue; collect the bolt.
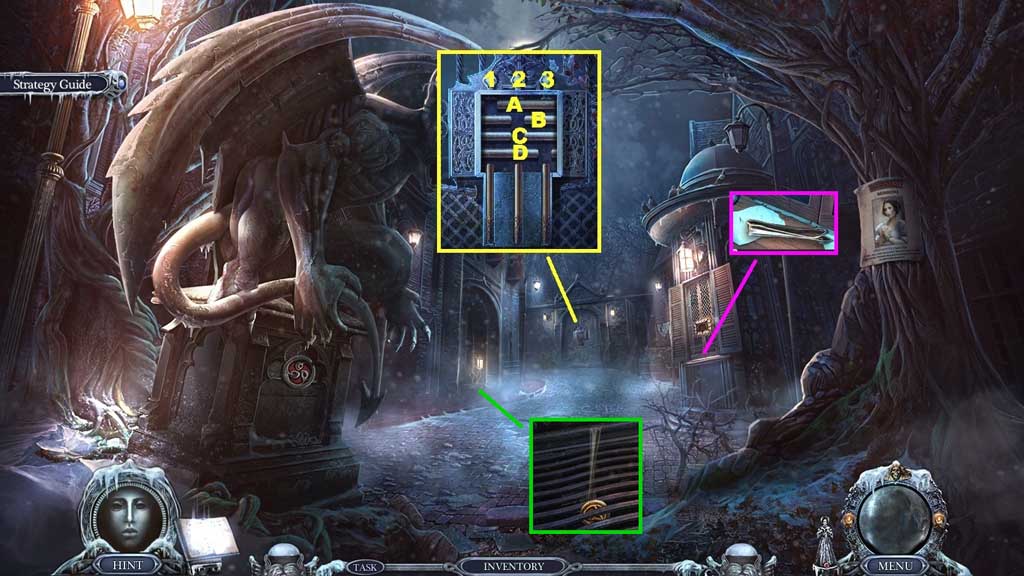
- Place the bolt into the lock to trigger a mini game.
- Solve the game by aligning the bolts so the vertical bolts can move into the slots freely.
- Use the following solution to solve: A1 – A3 – B1 – B3 – A3 – A1 – B3 – B2 – D3 – D2 – D2 – D1 – A3 – A1 – B3 – B1
- Collect the tweezers and use them to collect the coin.
- Move ahead.
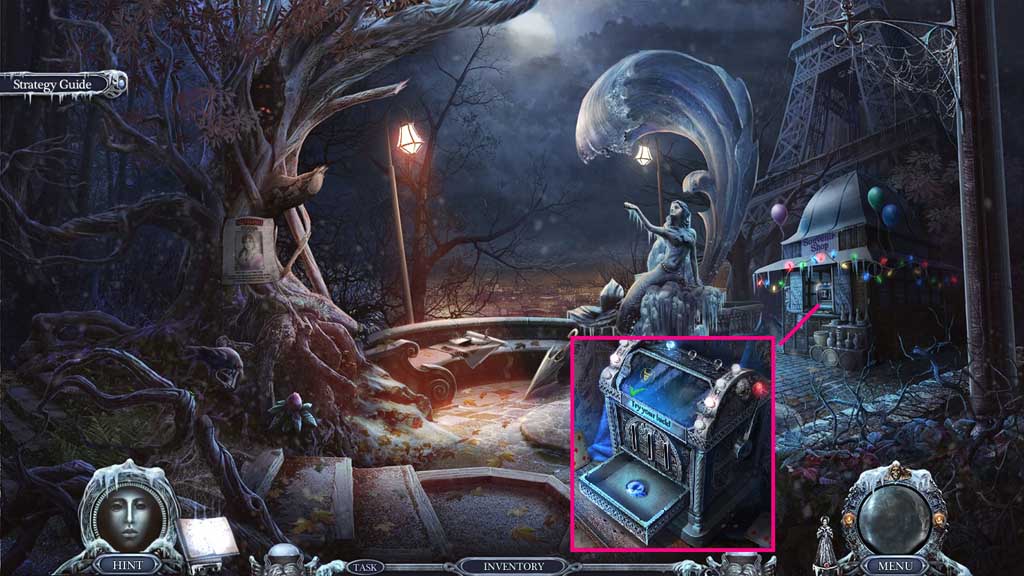
- Insert the coin and click the lever.
- Collect the blue eye.
- Move down once.
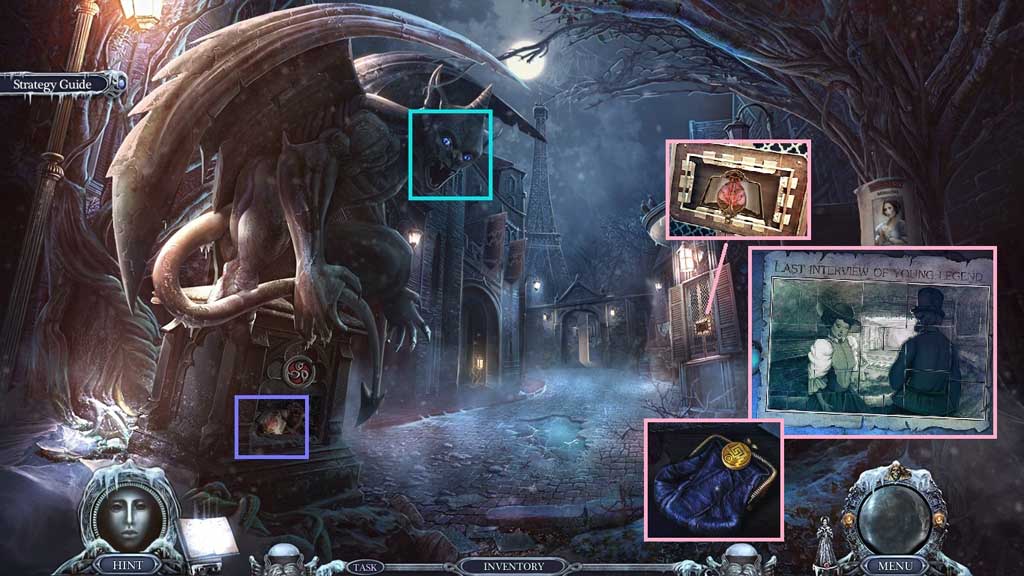
- Insert the blue eye; collect the book trinket and insert it into the groove.
- Insert the puzzle pieces to trigger a mini game.
- Solve the game by adjusting the squares and completing the image.
- Click the puzzle.
- Collect the coin and Zoe’s purse.
- Move ahead.
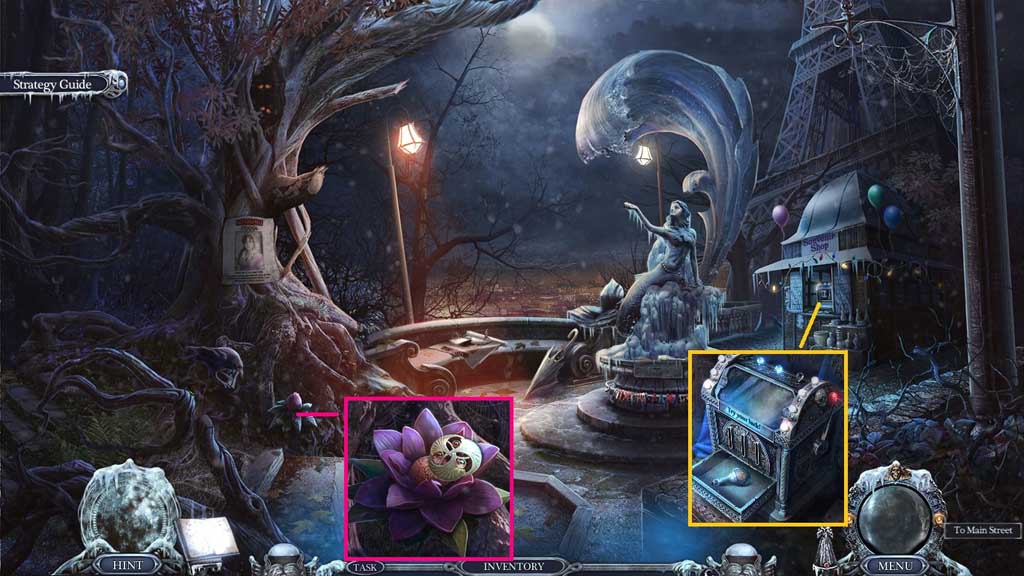
- Insert the coin and click the lever.
- Collect the fertilizer and use it on the flower.
- Collect the stone amulet.
- Move down once.
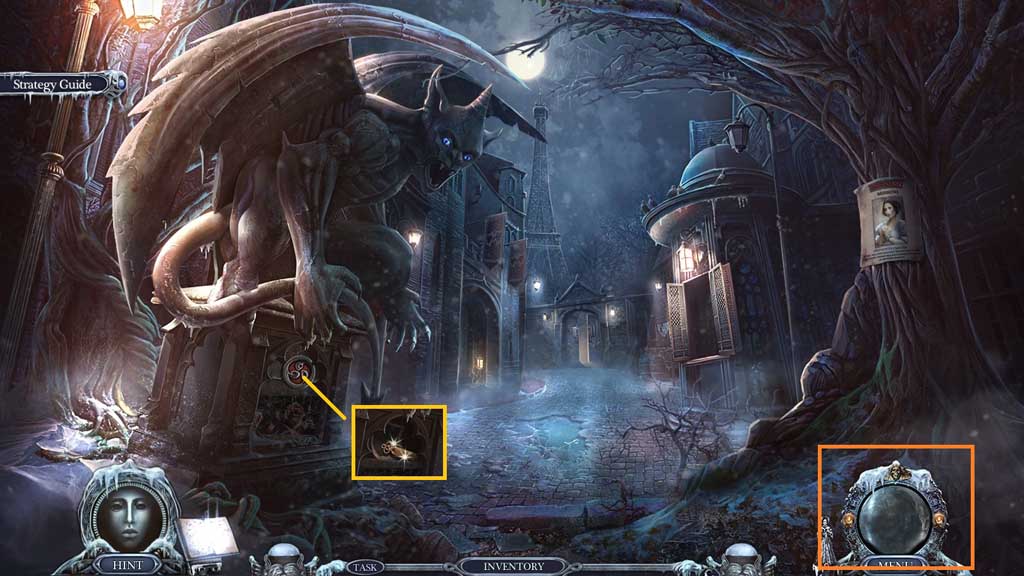
- Select the stone amulet to insert into the slot.
- Collect the dummy key and the undeveloped photo.
- Click Death’s sphere to move to your house.
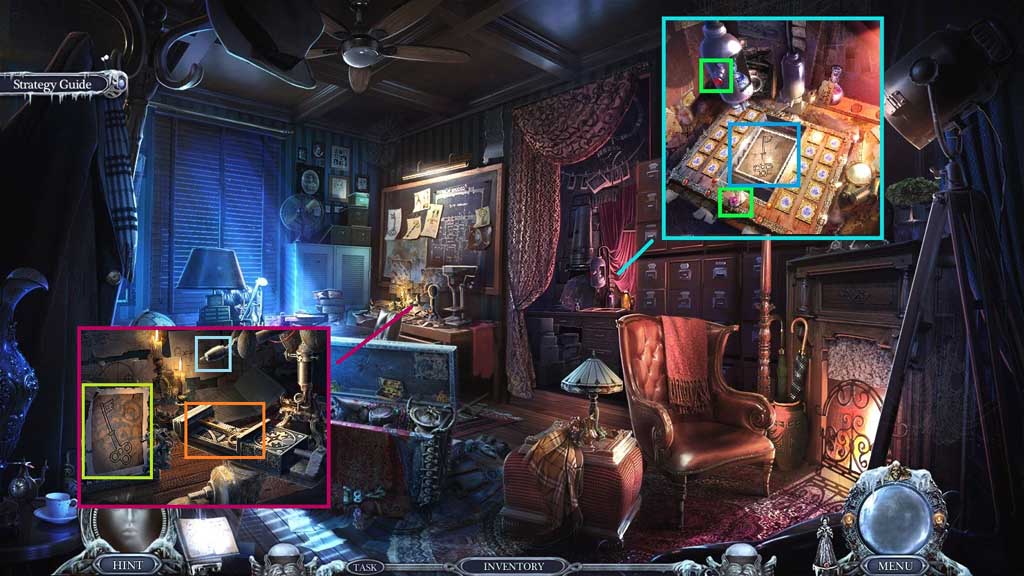
- Place the undeveloped photo onto the rack.
- Click the buttons.
- Collect the key sketch and place it into the holder and the dummy key into the mold.
- Click the needle 2x’s.
- Collect the yard key.
- Move to Main Street.
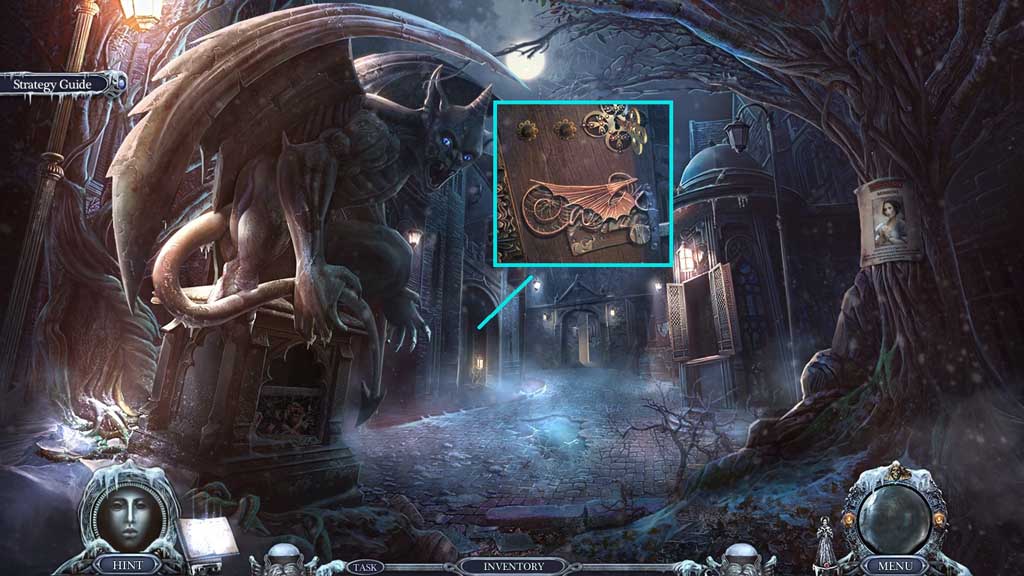
- Insert the yard key and click it once.
- Enter the doorway.
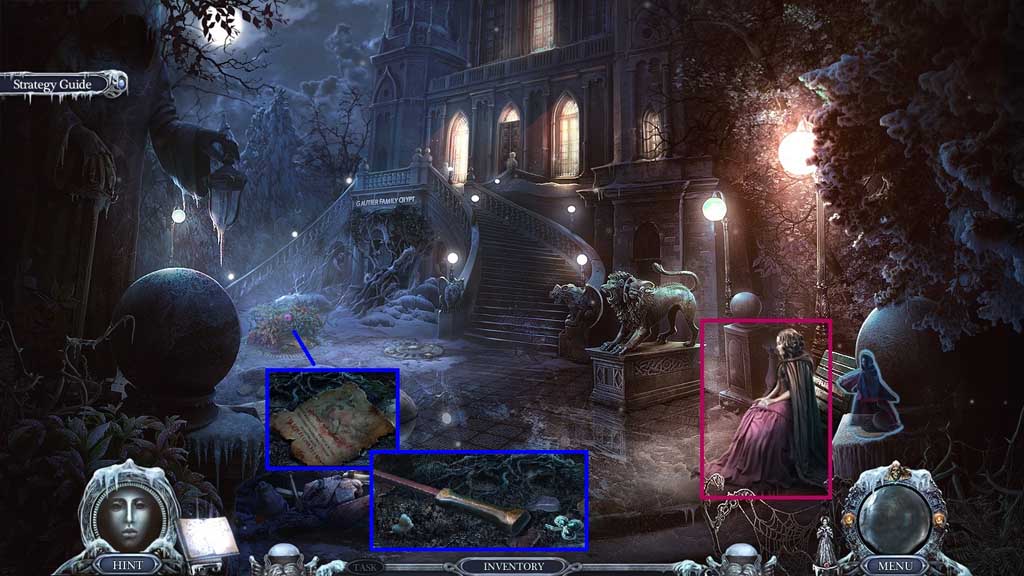
- Give Zoe her purse.
- Collect the diary page.
- Collect the net handle and the shamrock symbol.
- Move to Tower Park.
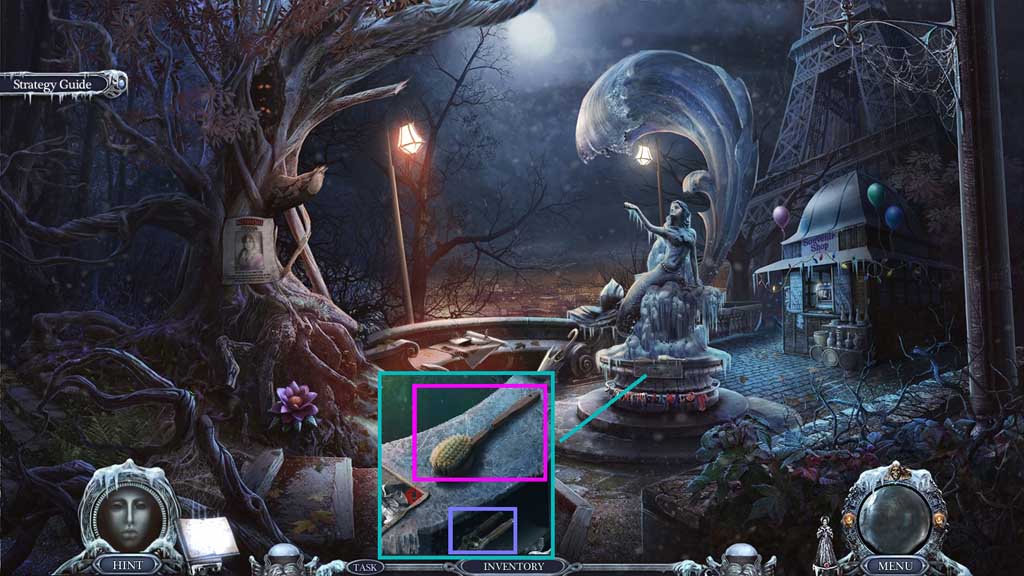
- Collect the broken brush.
- Insert the shamrock symbol; collect the pruners.
- Move to the Mansion Yard.
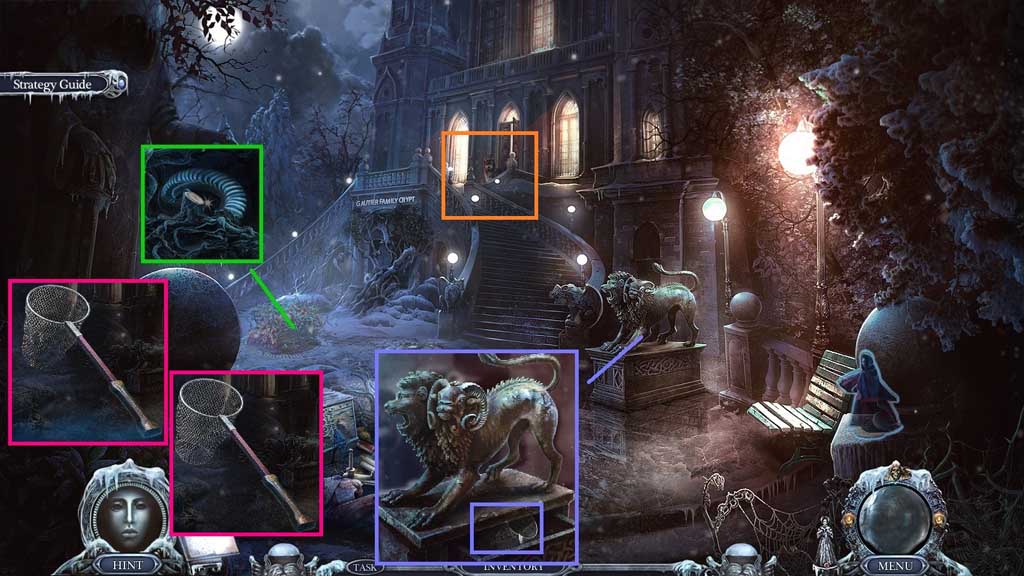
- Select the pruners to trim the vines; collect the horn and place it onto the statue.
- Collect the broken net and attach the net handle onto it.
- Click the net.
- Zoom into the wolf dog; collect the net and use on the broken net.
- Collect the net.
- Move to Tower Park.
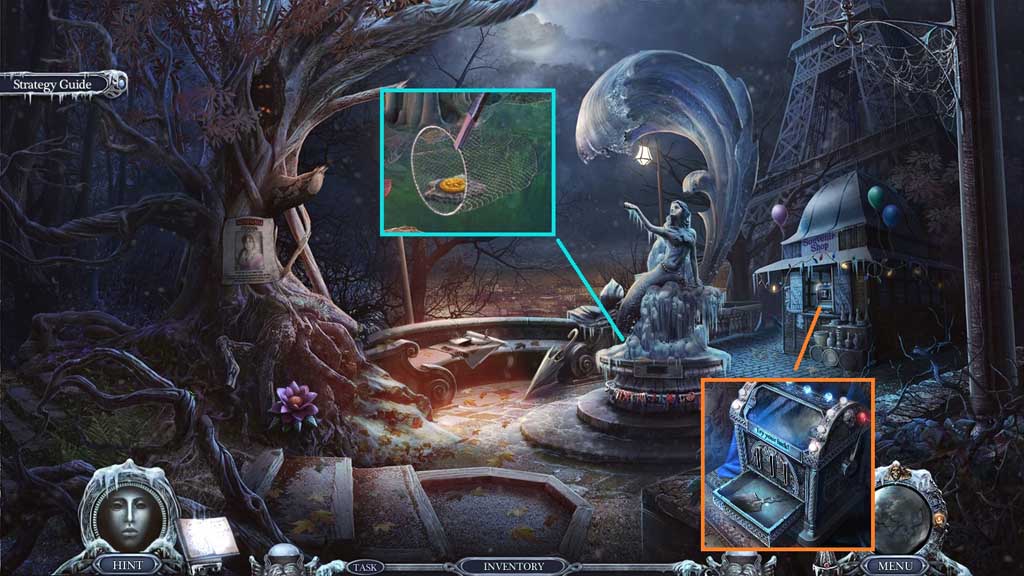
- Select the net to collect the coin.
- Insert the coin and click the lever.
- Collect the shovel.
- Move to the Mansion Yard.
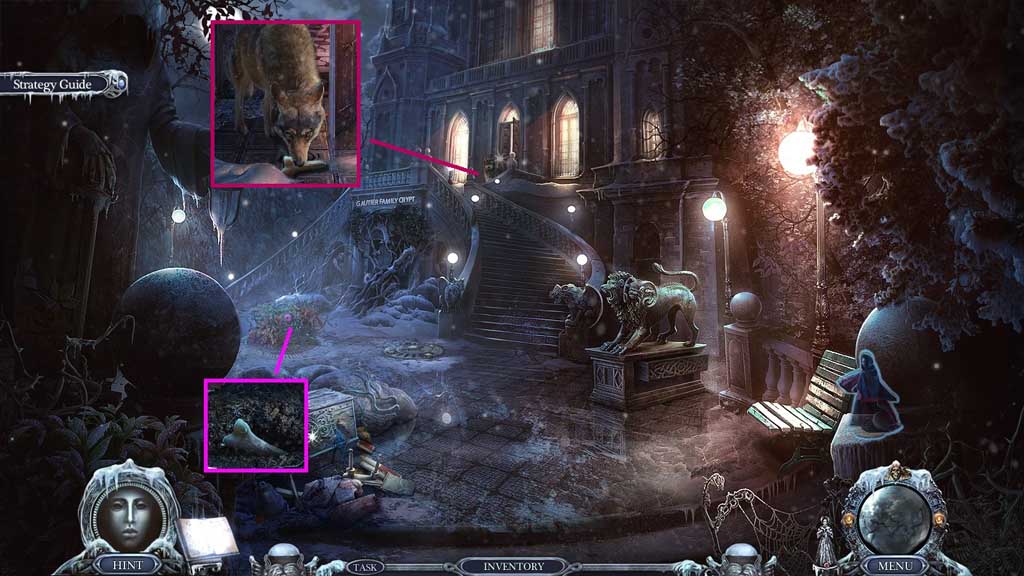
- Select the shovel to uncover and collect the bone.
- Give the wolf dog the bone.
- Enter the Front Hall.
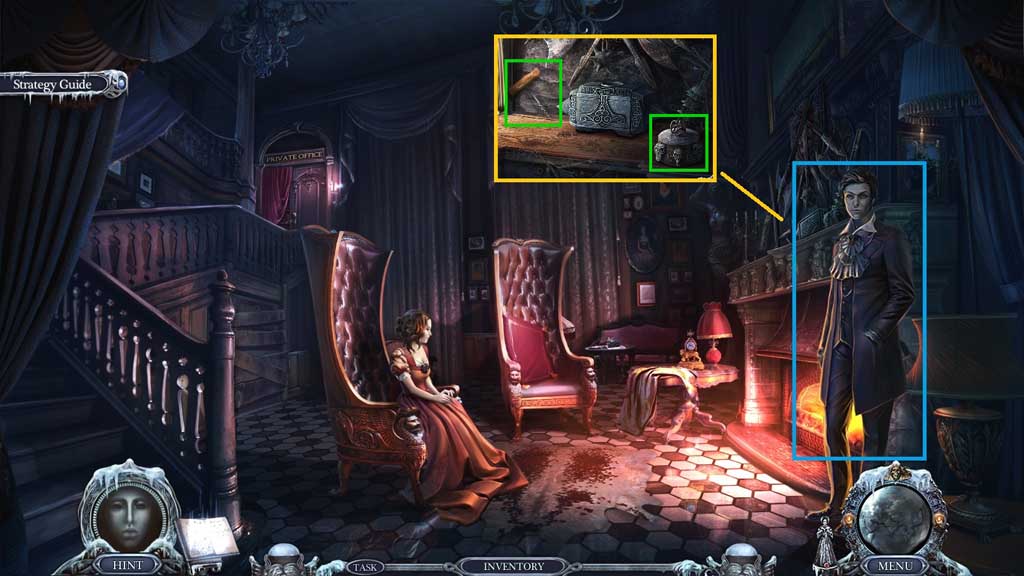
- Speak to Leonard.
- Collect the corkscrew and the skull handle.
- Move down once.
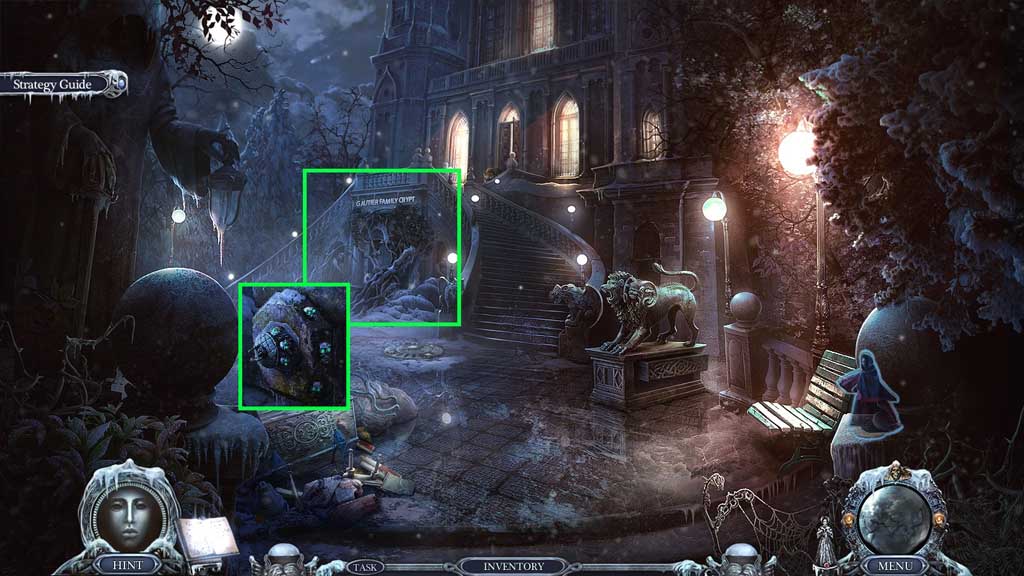
- Click the vines 2x’s.
- Attach the skull handle.
- Enter the Family Crypt.
Comments will load when you reach this part of the walkthrough.