

Chapter Four: London Redux
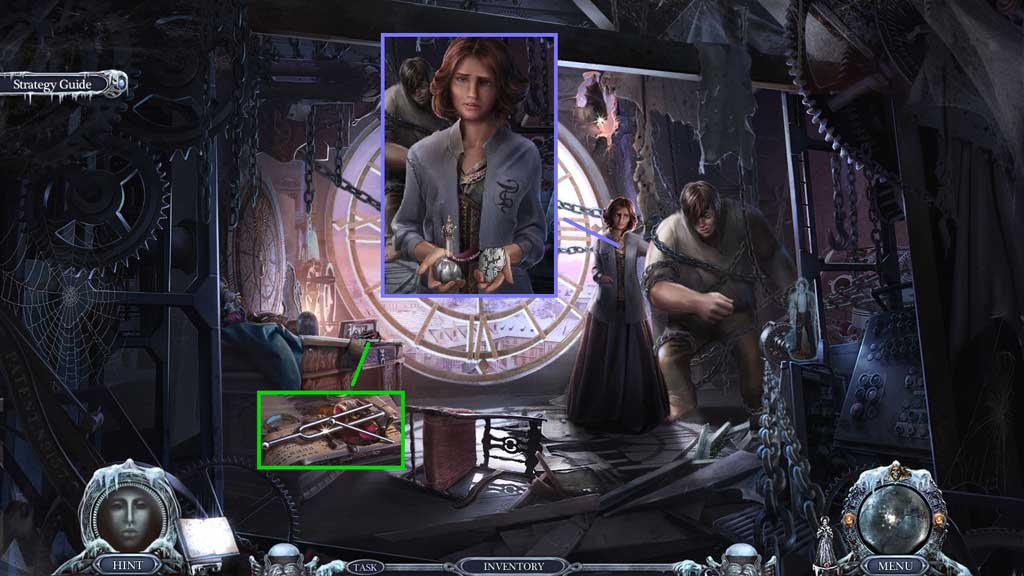
- Speak to Emily.
- Collect the inhibitor bottle and the lab code.
- Collect the tuning fork.
- Move down once.
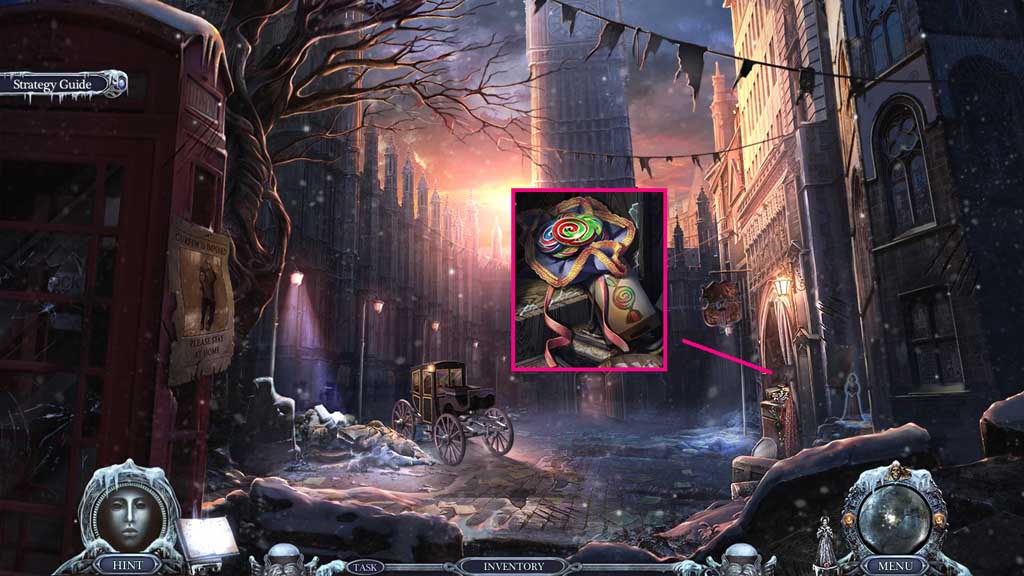
- Select the tuning fork to break the glass.
- Click the candy bag 3x’s; collect the candy.
- Move ahead.
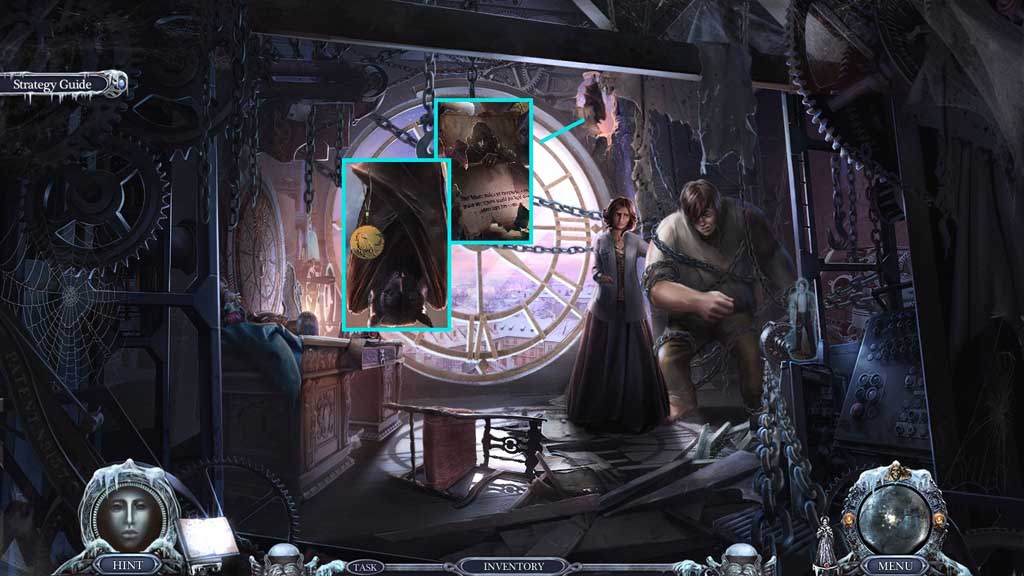
- Collect the diary page.
- Select the candy to feed the bat; collect the medal.
- Move down once.
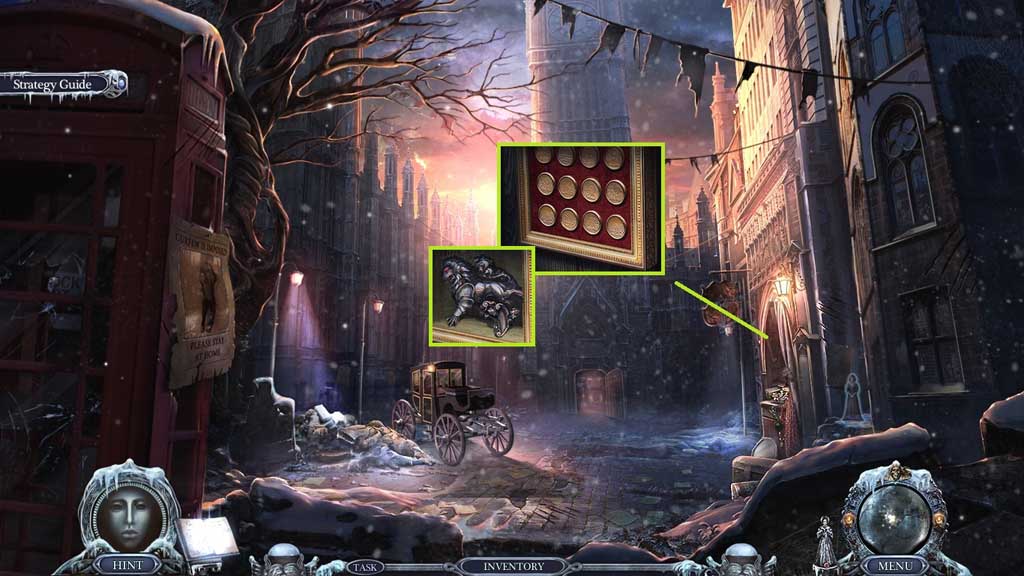
- Insert the medal; collect the lion statuette.
- Move ahead.
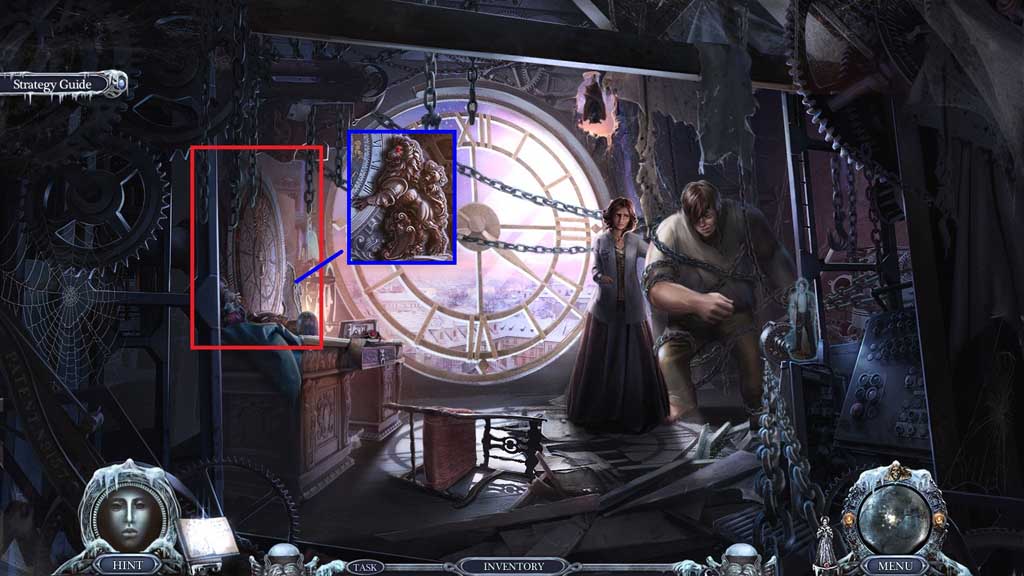
- Place the lion statuette.
- Click the sundial to trigger a hidden objects area.
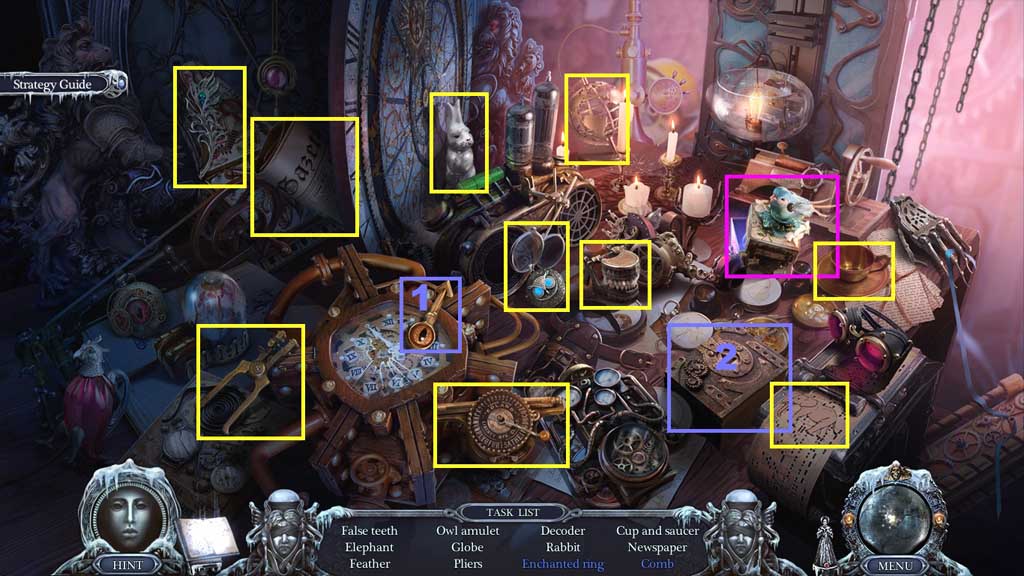
- Find the items.
- Click the bird box; collect the enchanted ring.
- Select the triangle key and insert it into the box; collect the comb.
- Collect the enchanted ring.
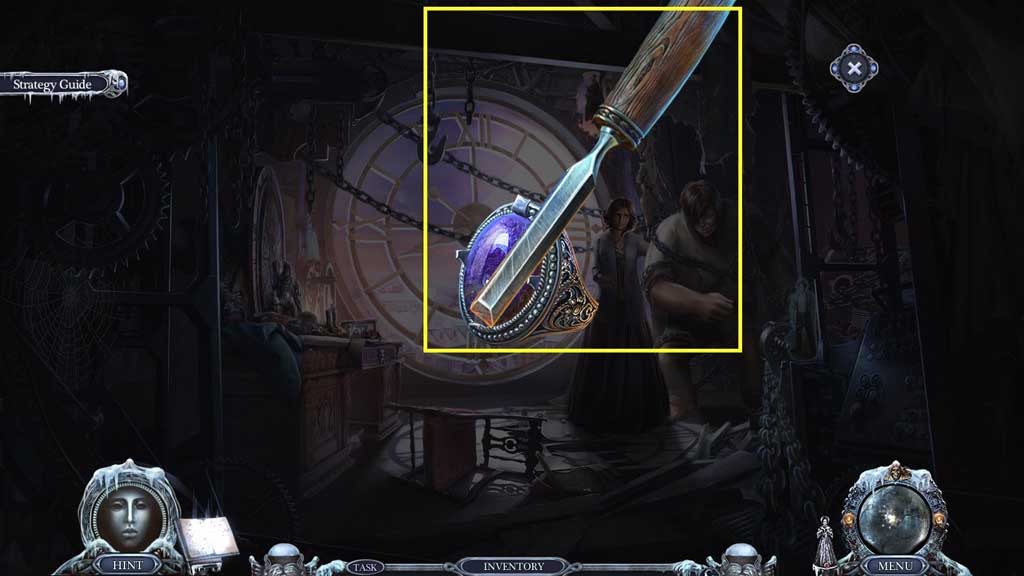
- Select the enchanted ring and use the chisel to loosen the gem stone.
- Collect the gem.
- Move to the Pharmacy.
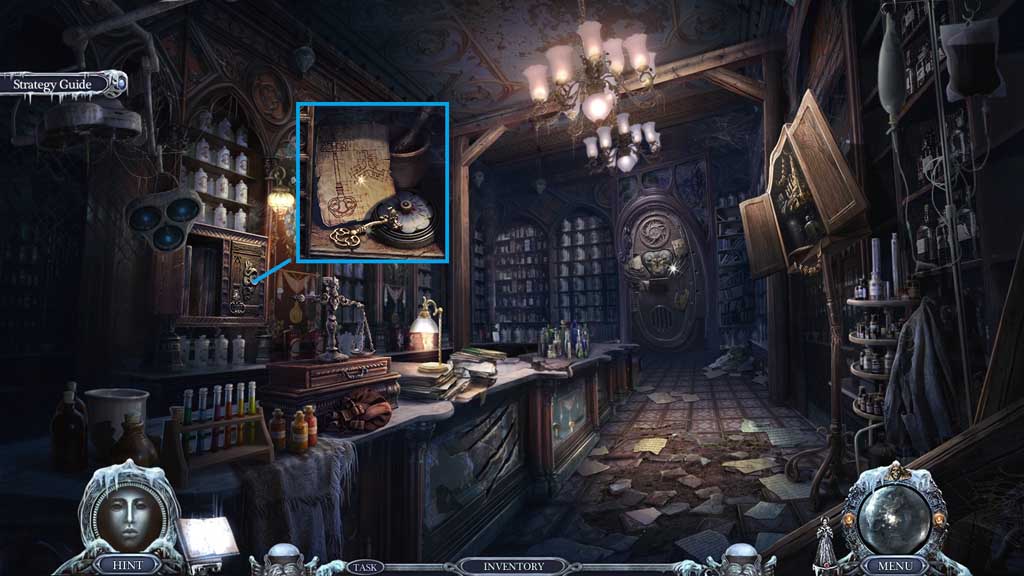
- Insert the gem.
- Click the cabinet; collect the broken lab key and the lab key sketch.
- Move to your House.
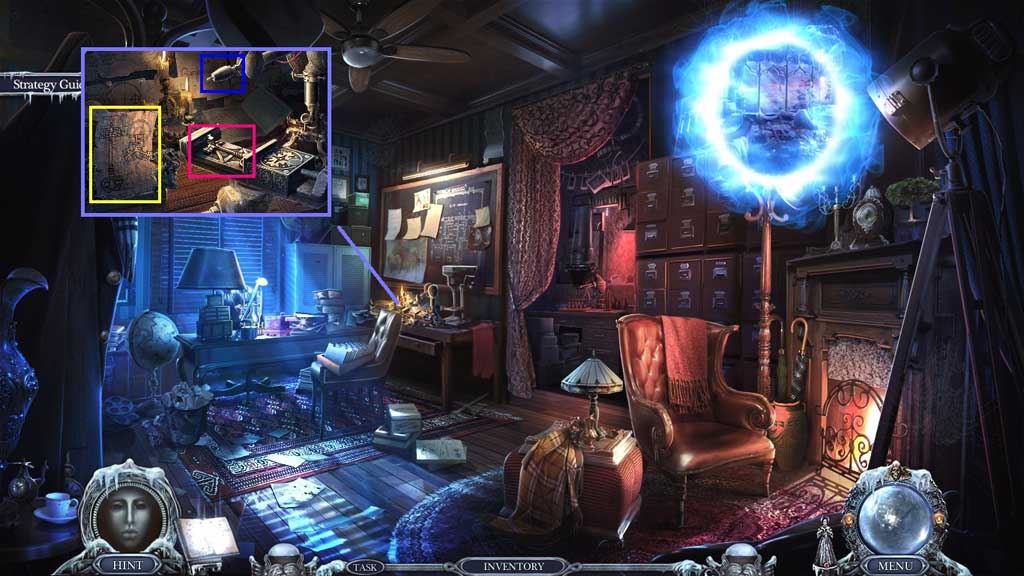
- Place the lab sketch into the holder and the broken lab key into the mold.
- Click the needle 2x’s; collect the lab key.
- Move to the Pharmacy.
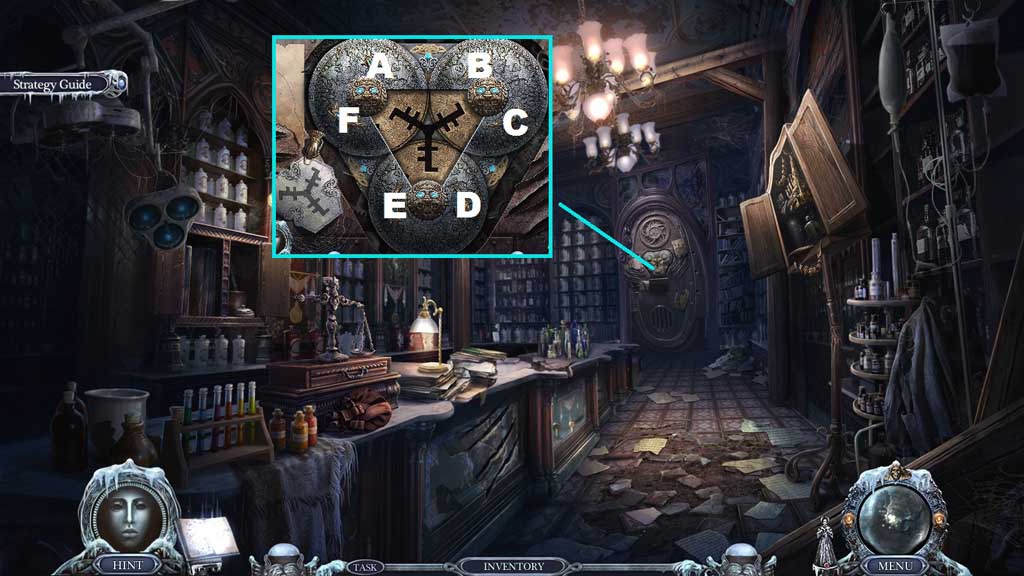
- Place the lab key and the lab code to trigger a mini game.
- Solve the game by adjusting the locks to match the diagram.
- Use the following solution to solve the game E x 4 – A x 2
- Move ahead.
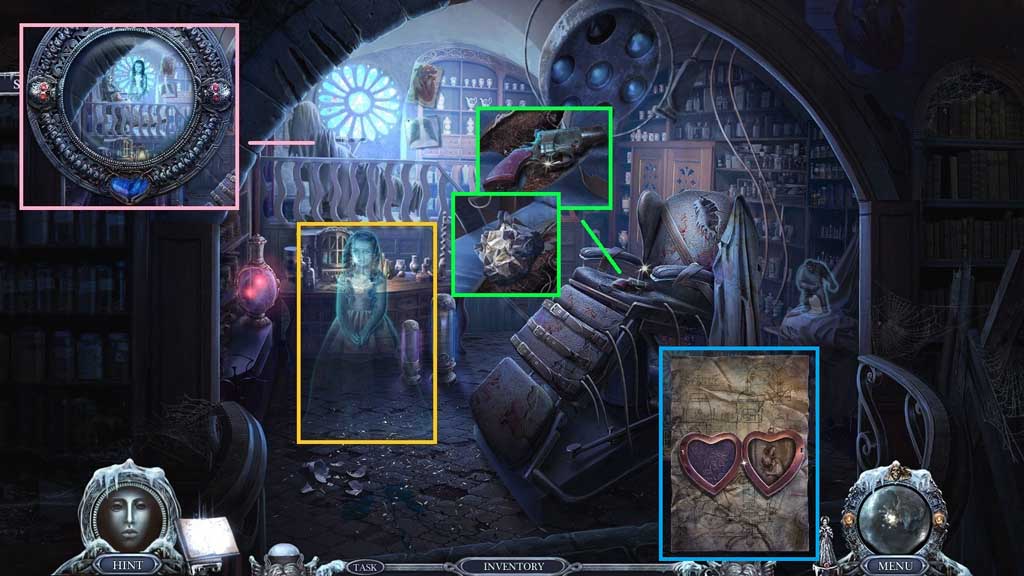
- Click the cloth and use death’s amulet on the skeleton; click it once.
- Speak to the girl; receive the belt.
- Collect the signal flare; collect Emily’s parcel.
- Click Emily’s parcel 3x’s.
- Collect Emily’s amulet.
- Collect the encoded recipe.
- Move to the Apartment.
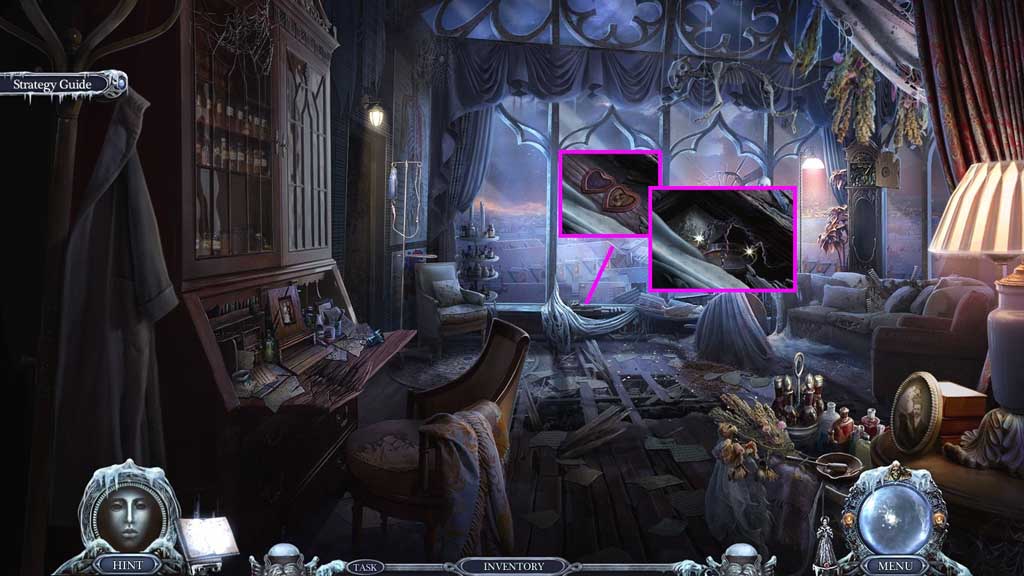
- Insert Emily’s amulet.
- Collect the ingredient and the scale.
- Move to the Pharmacy.
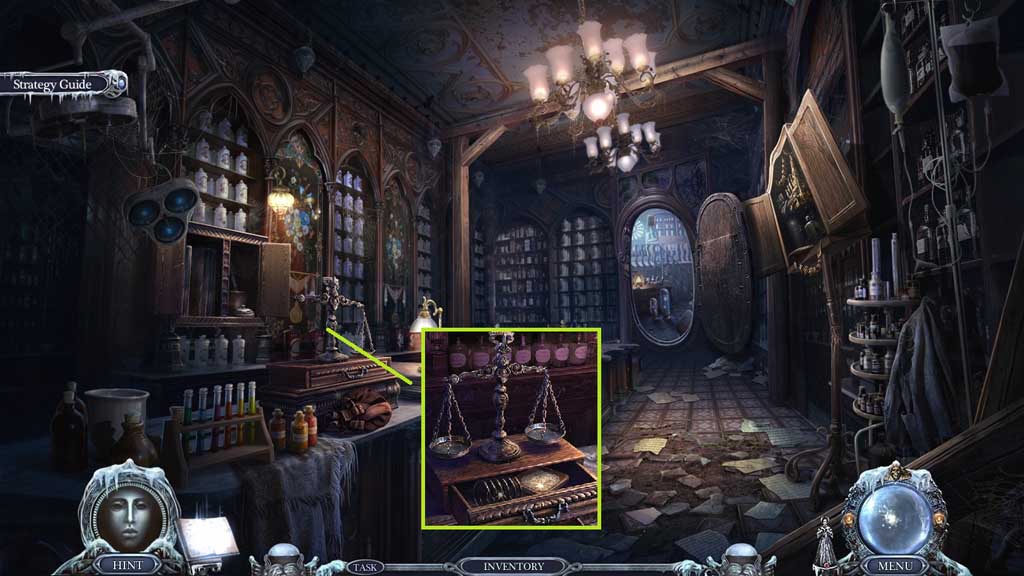
- Place the scale and collect the spring and the ingredient.
- Move ahead.
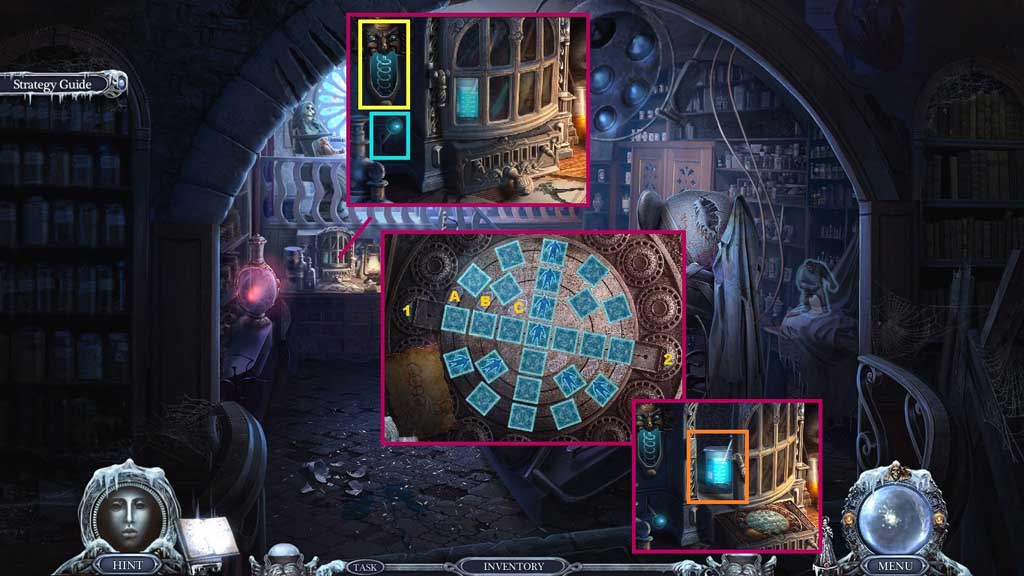
- Click the mechanism; collect and replace the spring.
- Click the lever to trigger a mini game.
- Solve the game by aligning the images as shown on the diagram.
- Use the following sequence to solve: 1 – C – 2 – C – 2 – C – 1 – 1 – B – B – A – A
- Collect the ingredient.
- Move to your House.
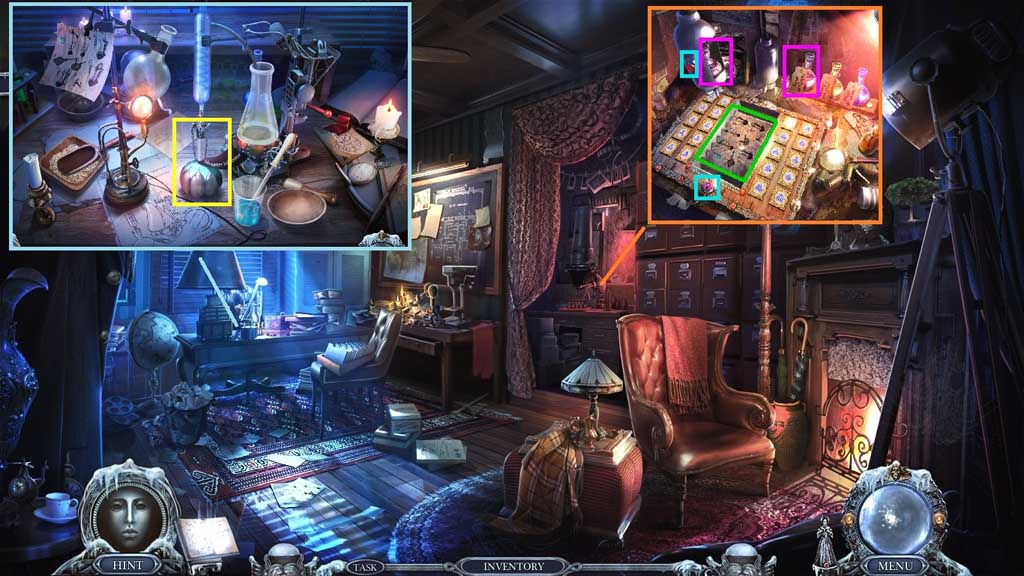
- Place the encoded recipe onto the rack.
- Select the paper developer bottle and insert it into the mechanism.
- Click the buttons.
- Collect the medicine recipe.
- Place the inhibitor bottle, the medicine recipe and the 3 ingredients onto the table to trigger a mini game.
- Solve the game by correctly following the recipe shown on the diagram.
- Collect the medicine.
- Move to the Tower Top.
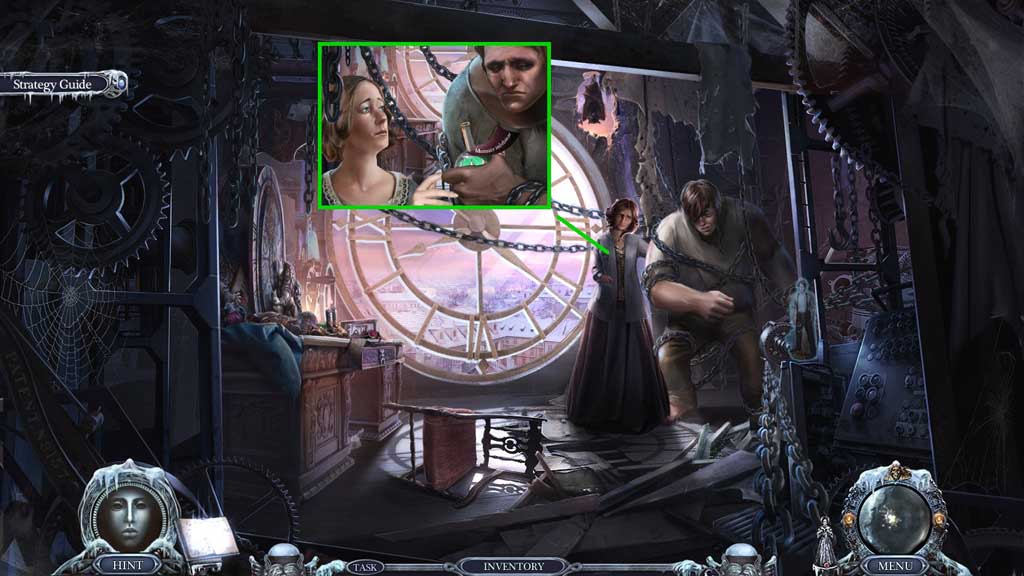
- Give Emily the medicine.
- Move to Prague and go to the Bridge.
Comments will load when you reach this part of the walkthrough.