
Chapter Two: Paris Part Deux
- Select the corkscrew to uncork the barrel; collect the diary page and the sandpaper.
- Move down once.

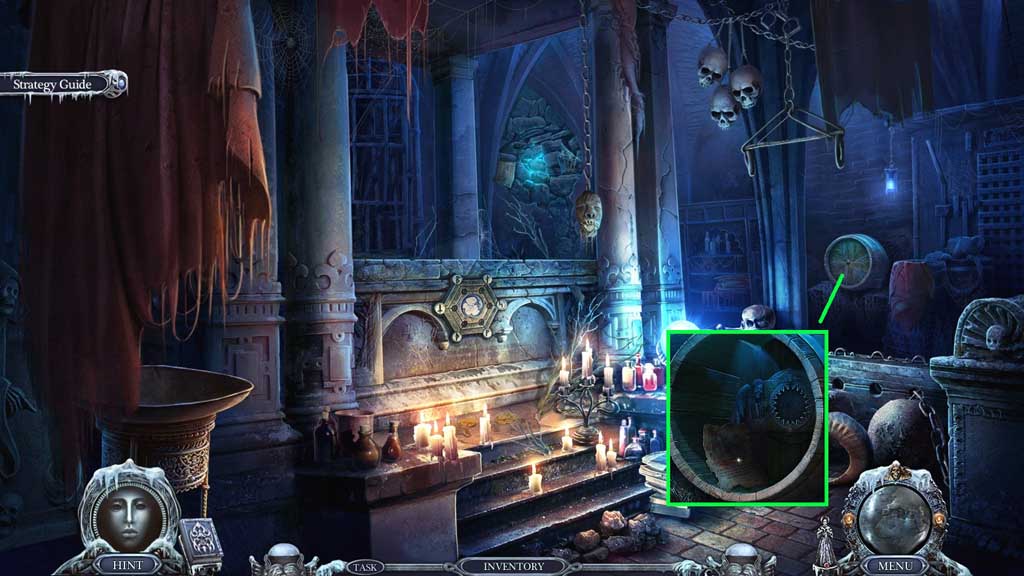
- Select the sandpaper to remove the splinters and click the chest.
- Click the hidden objects area.
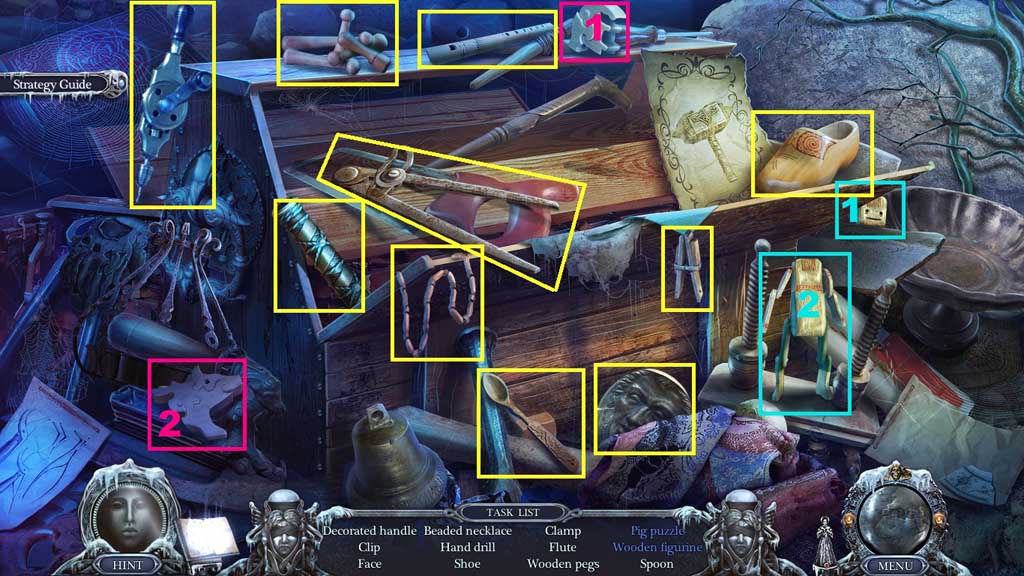
- Find the items.
- Select the puzzle half and place it along with the other half; collect the pig puzzle.
- Select the wooden head and place it onto the wooden body; collect the wooden figurine.
- Collect the decorated handle.
- Move to the Front Hall.
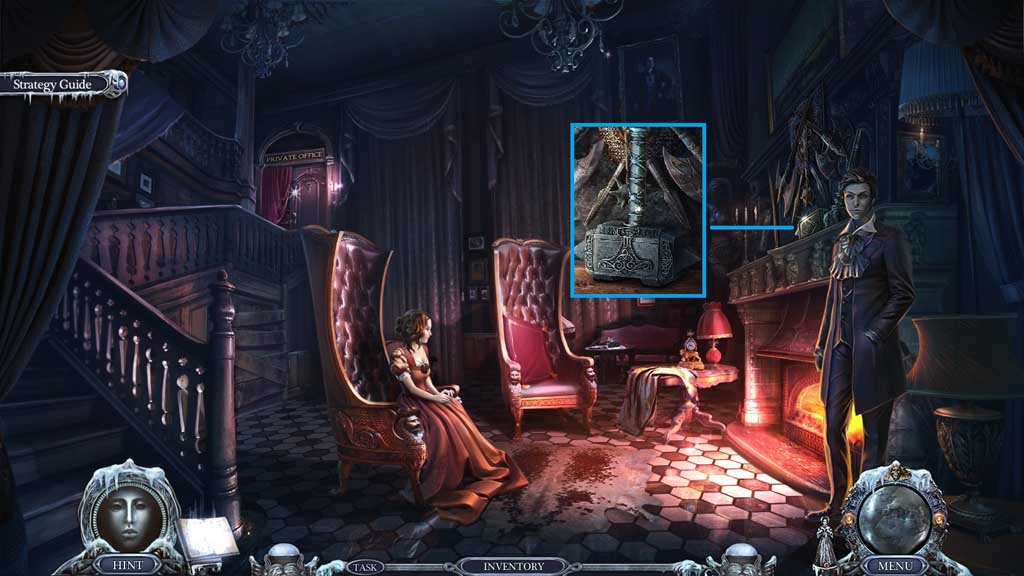
- Attach the decorated handle; collect the enchanted hammer.
- Move to the Family Crypt.
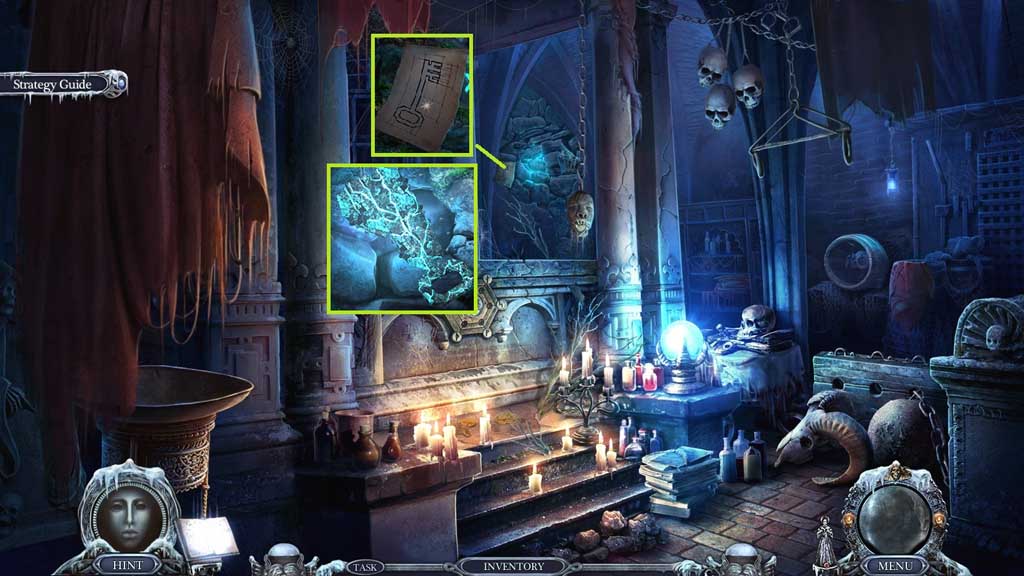
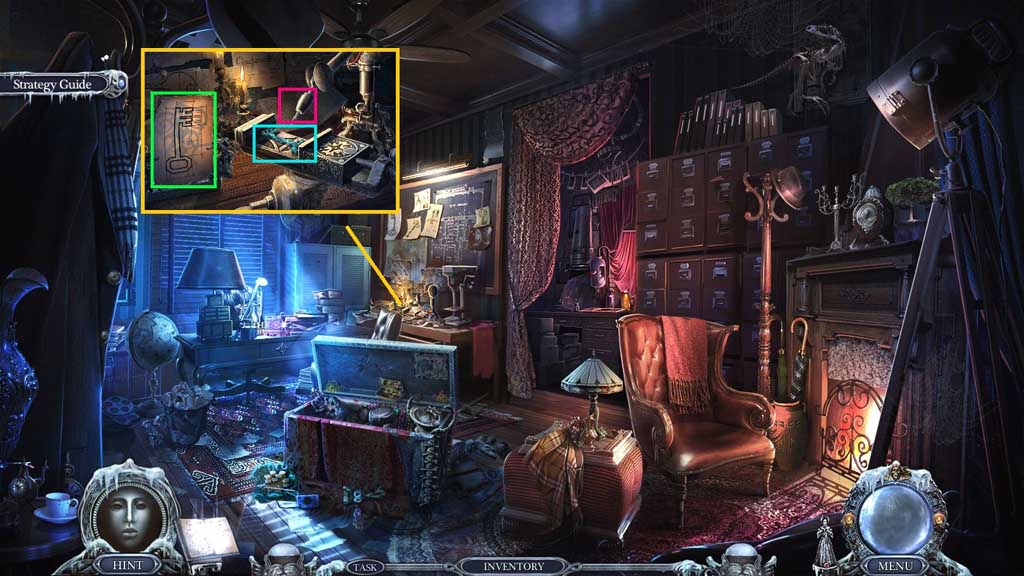
- Collect the key sketch.
- Select the hammer to smash the bricks; collect the glowing ore.
- Move to your House.
- Place the key sketch into the holder and the glowing ore into the mold.
- Click the needle 2x’s; collect the office key.
- Move to the Front Hall.
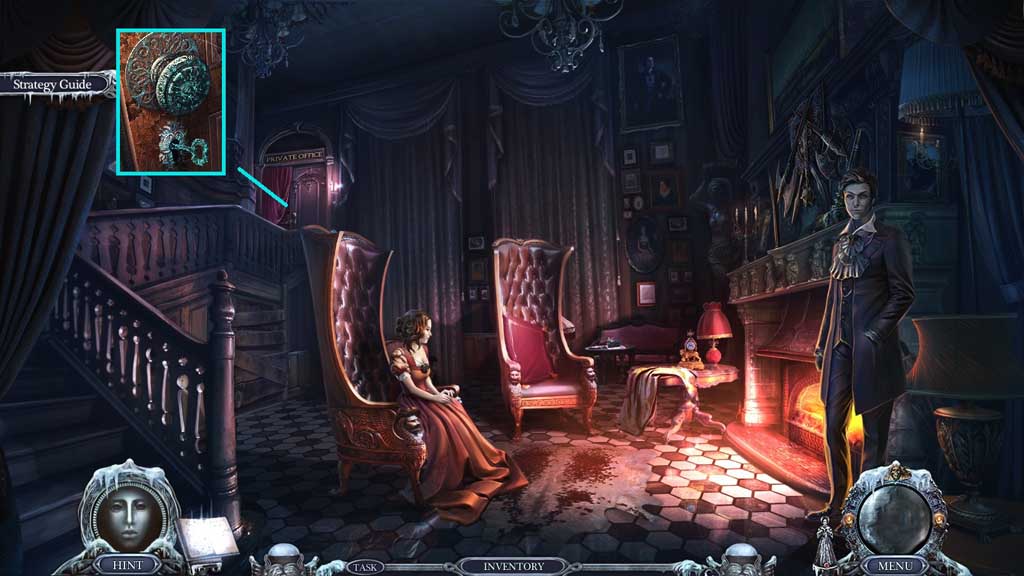
- Insert the office key and click it once.
- Enter the doorway.

- Collect the electrical tape and use it to repair the broken brush.
- Move to the Family Crypt.
- Select the brush to remove the cobwebs.
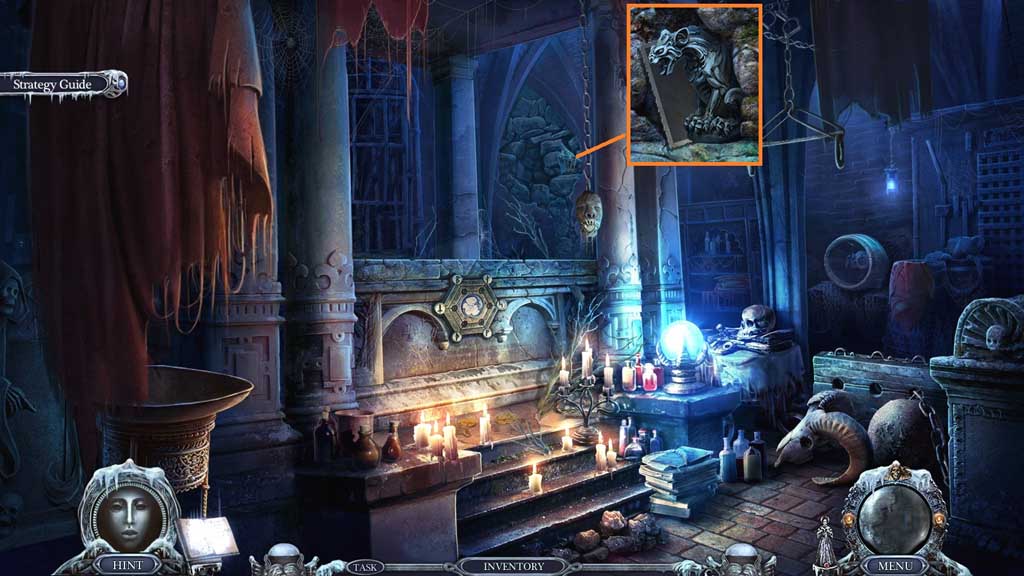
- Collect the gargoyle statuette and the undeveloped photo.
- Move to Leonard’s Office.
- Select the gargoyle statuette to insert into the box.
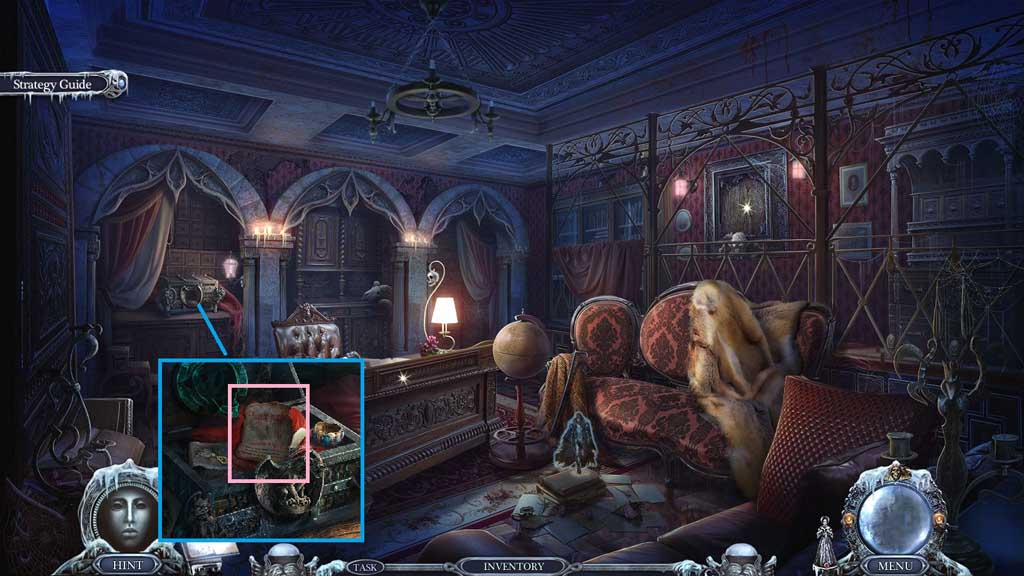
- Collect the diary page and the bat symbol parts.
- Move to the Mansion Yard.
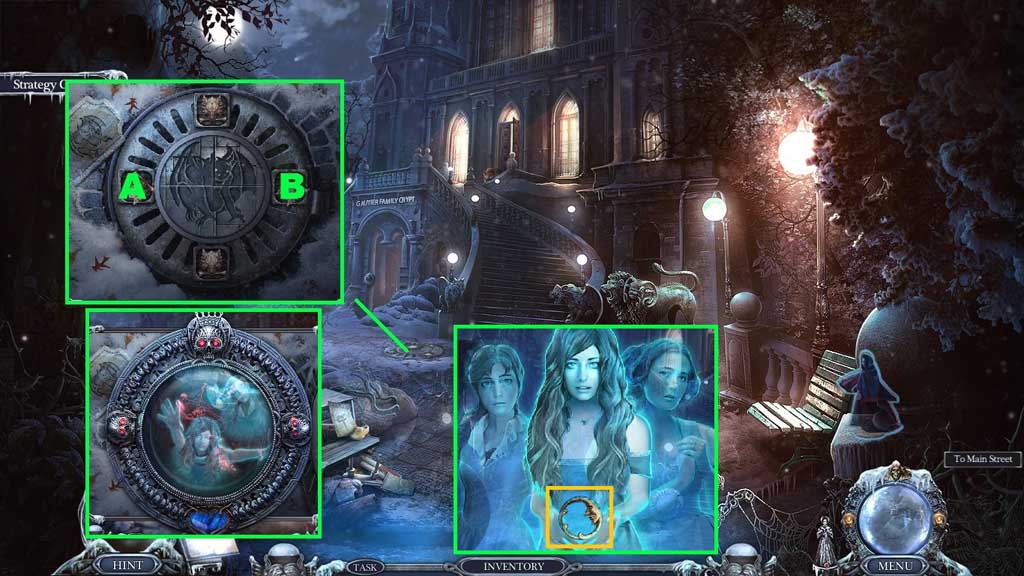
- Insert the bat symbol part to trigger a mini game.
- Solve the game by rotating the parts to match the image.
- Use the following solution to solve: A x 3 – B x 3
- Select Death’s amulet to use on the hole; click it once.
- Collect the glowing amulet.
- Move to the Family Crypt.
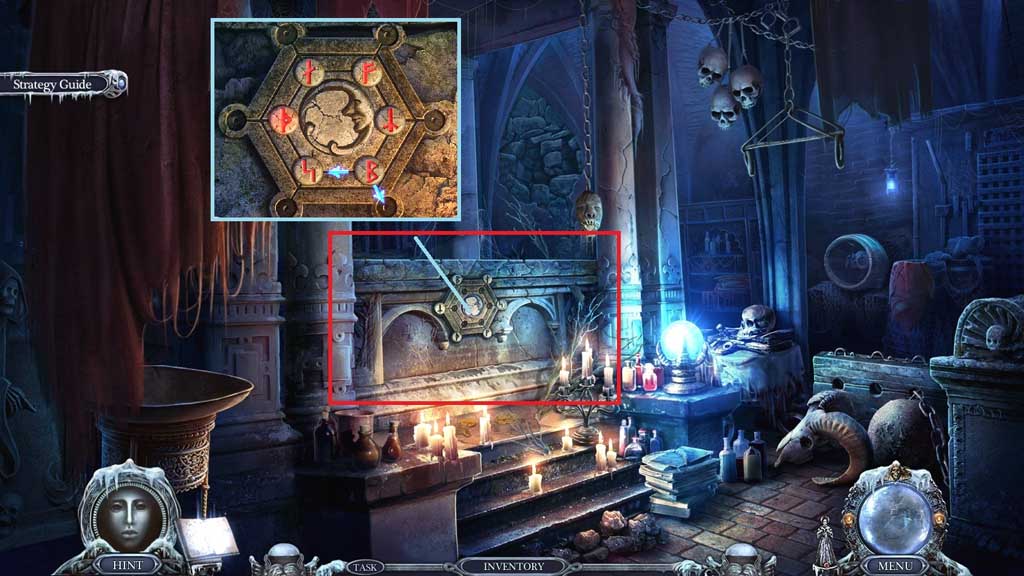
- Insert the glowing amulet to trigger a mini game.
- Solve the game by adjusting the runes correctly.
- Click the hidden objects area.
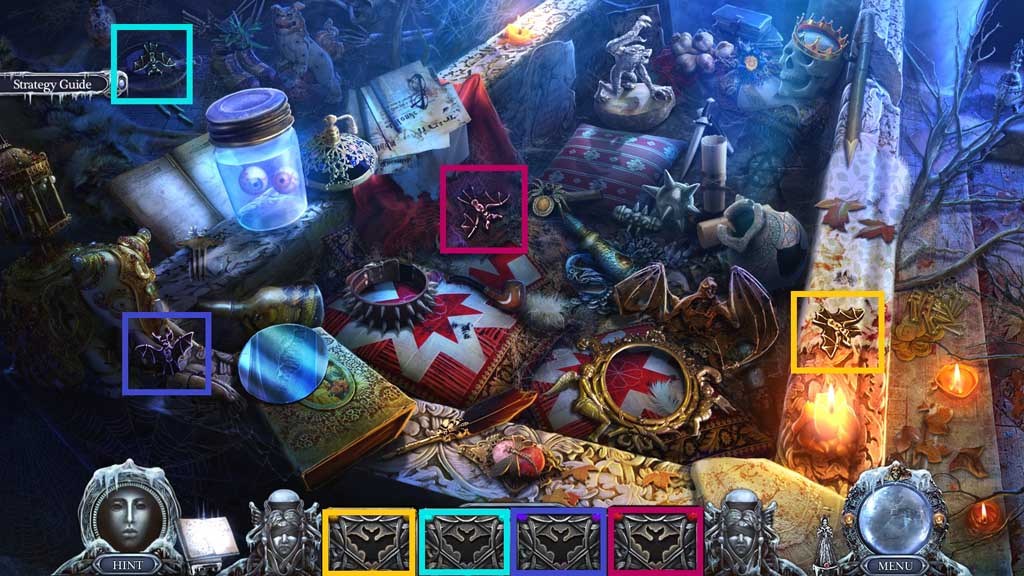
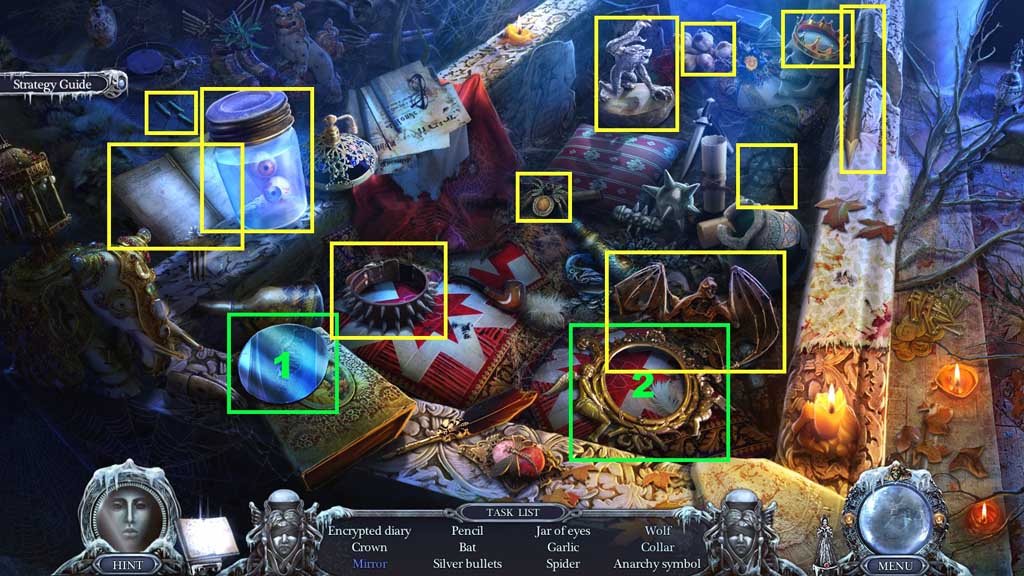
- Find the items.
- Select the mirror and place it into the frame; collect the mirror.
- Collect the encrypted diary.
- Move to your House.
- Place the undeveloped photo onto the rack and click the buttons.
- Collect Leonard’s portrait.
- Move to Leonard’s Office.
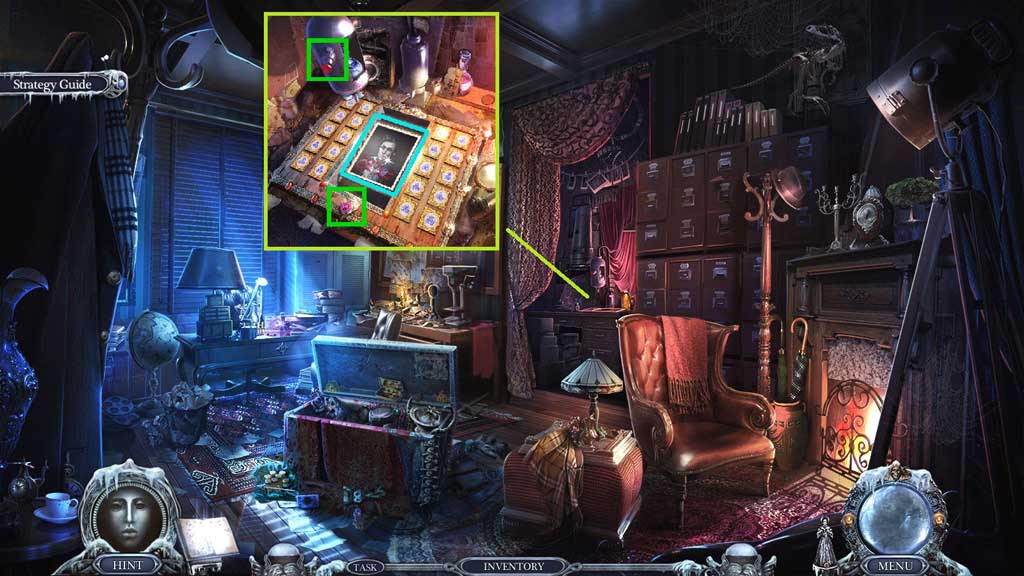
- Insert Leonard’s portrait.
- Collect the family seal.
- Move to the Family Crypt.
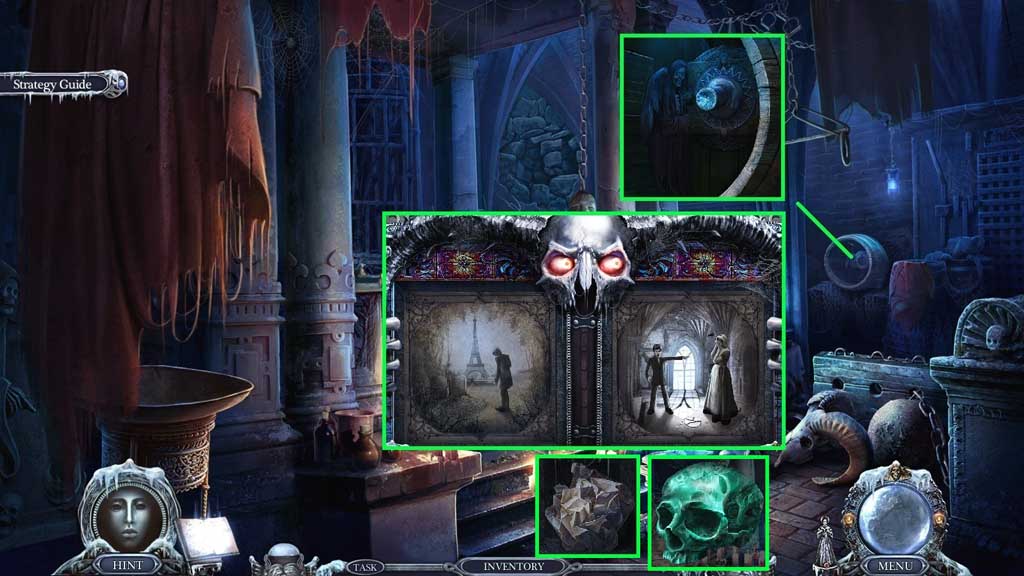
- Place the family seal to trigger a mini game.
- Solve the game by assembling the images correctly.
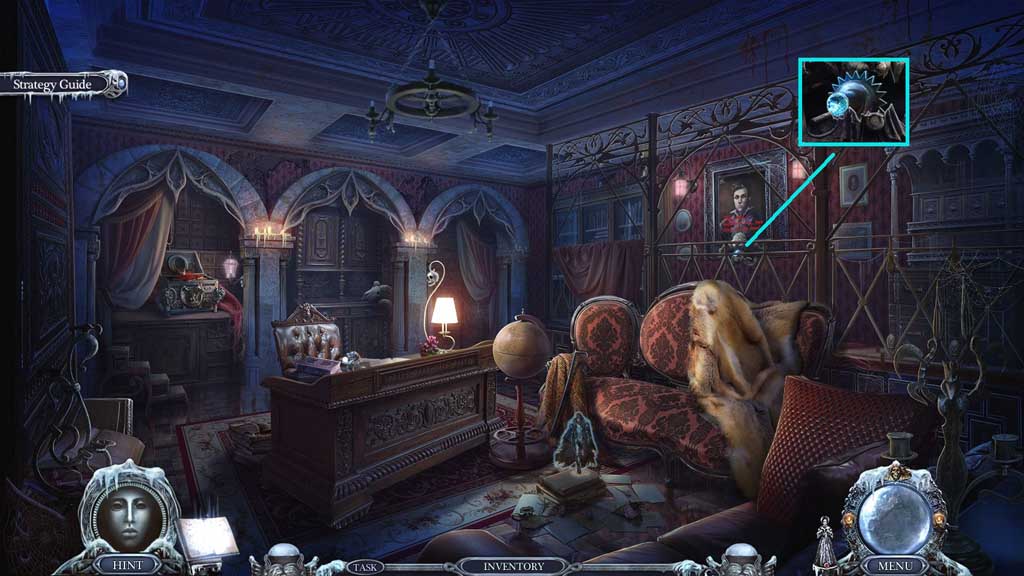
- Collect the package and click it 4x’s.
- Collect the skull.
- Move to Leonard’s Office.
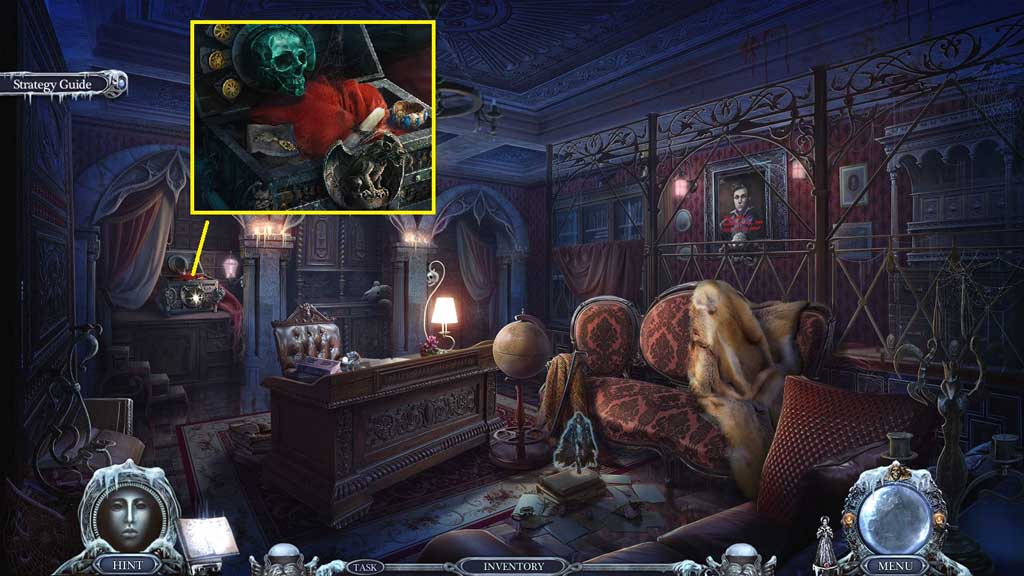
- Attach the skull.
- Collect the 3 coins.
- Move to the Tower Park.
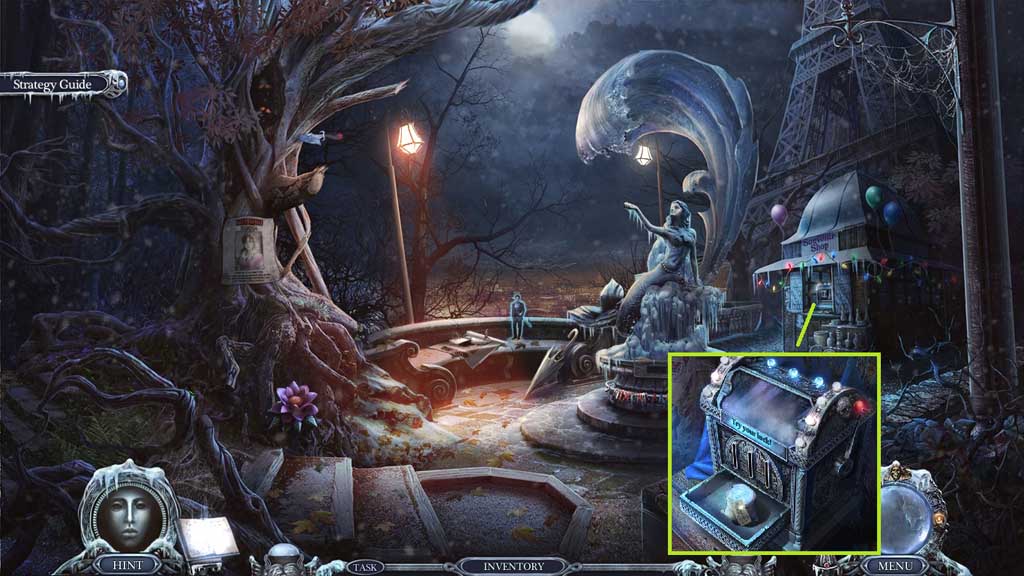
- Insert the 3 coins; click the lever.
- Collect the glowing powder.
- Move to your House.
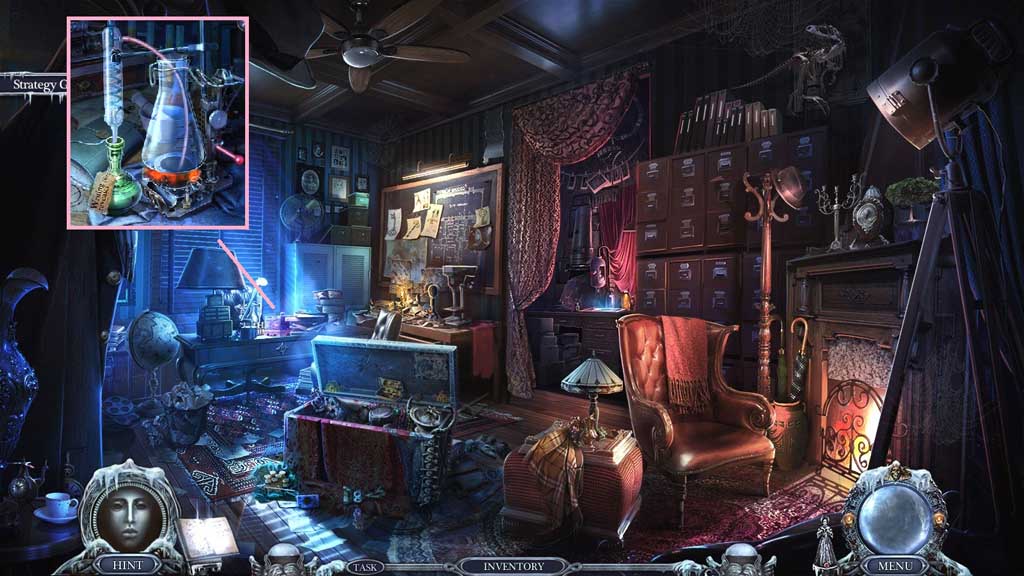
- Place the empty bottle beneath the tube and pour the glowing powder into the beaker.
- Click the lever.
- Collect the writing revealer.
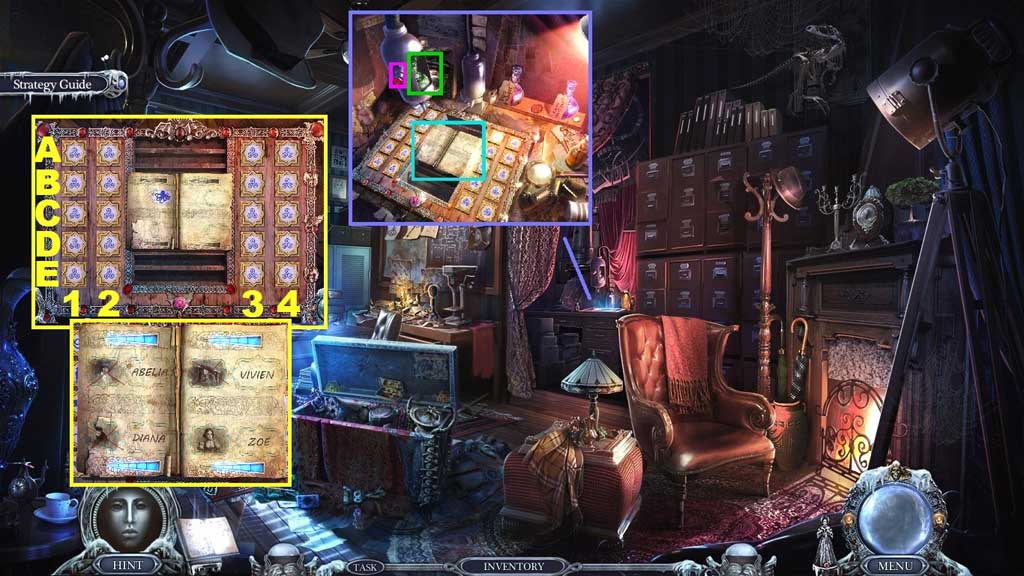
- Click the bottle from the mechanism and replace it with the writing revealer.
- Place the encrypted diary onto the rack and click the button to trigger a mini game.
- Solve the game by clicking the tiles to match what is shown in the book.
- Use the following sequence to solve:
- Part A: E2 – C2 – B1 – A2 – C1
- Part B: E1 – A3 – E3 – A1 – D2
- Part C: D1 – C4 – D4 – E4 – C3
- Part D: B4 – B3 – D3 – A4 – D2
- Collect the victim’s list.
- Move to the Front Hall.
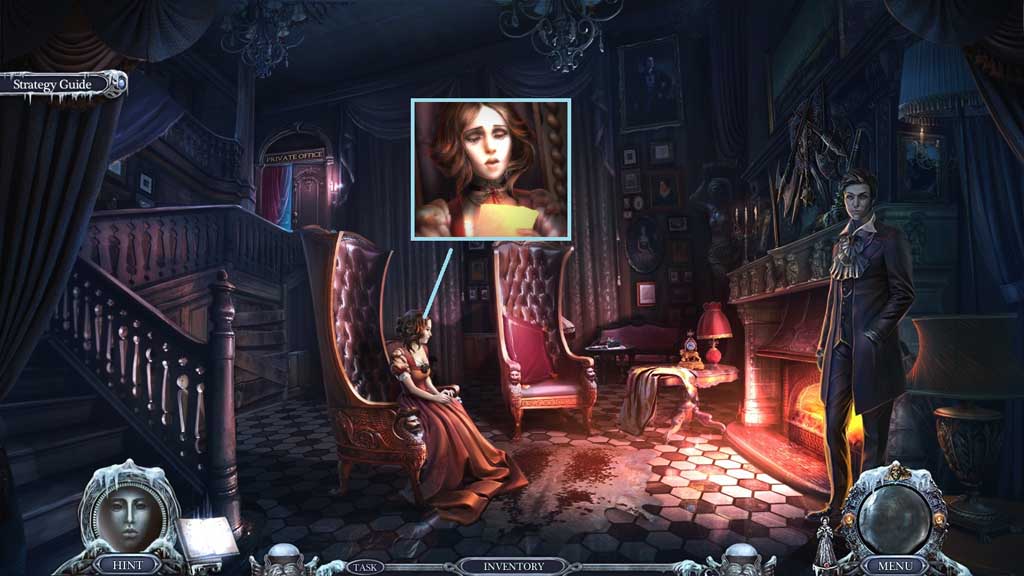
- Select the victim’s list to give to Zoe.
- Move to London and go to the Apartment.
Comments will load when you reach this part of the walkthrough.