
Chapter List and Main-Route Overview
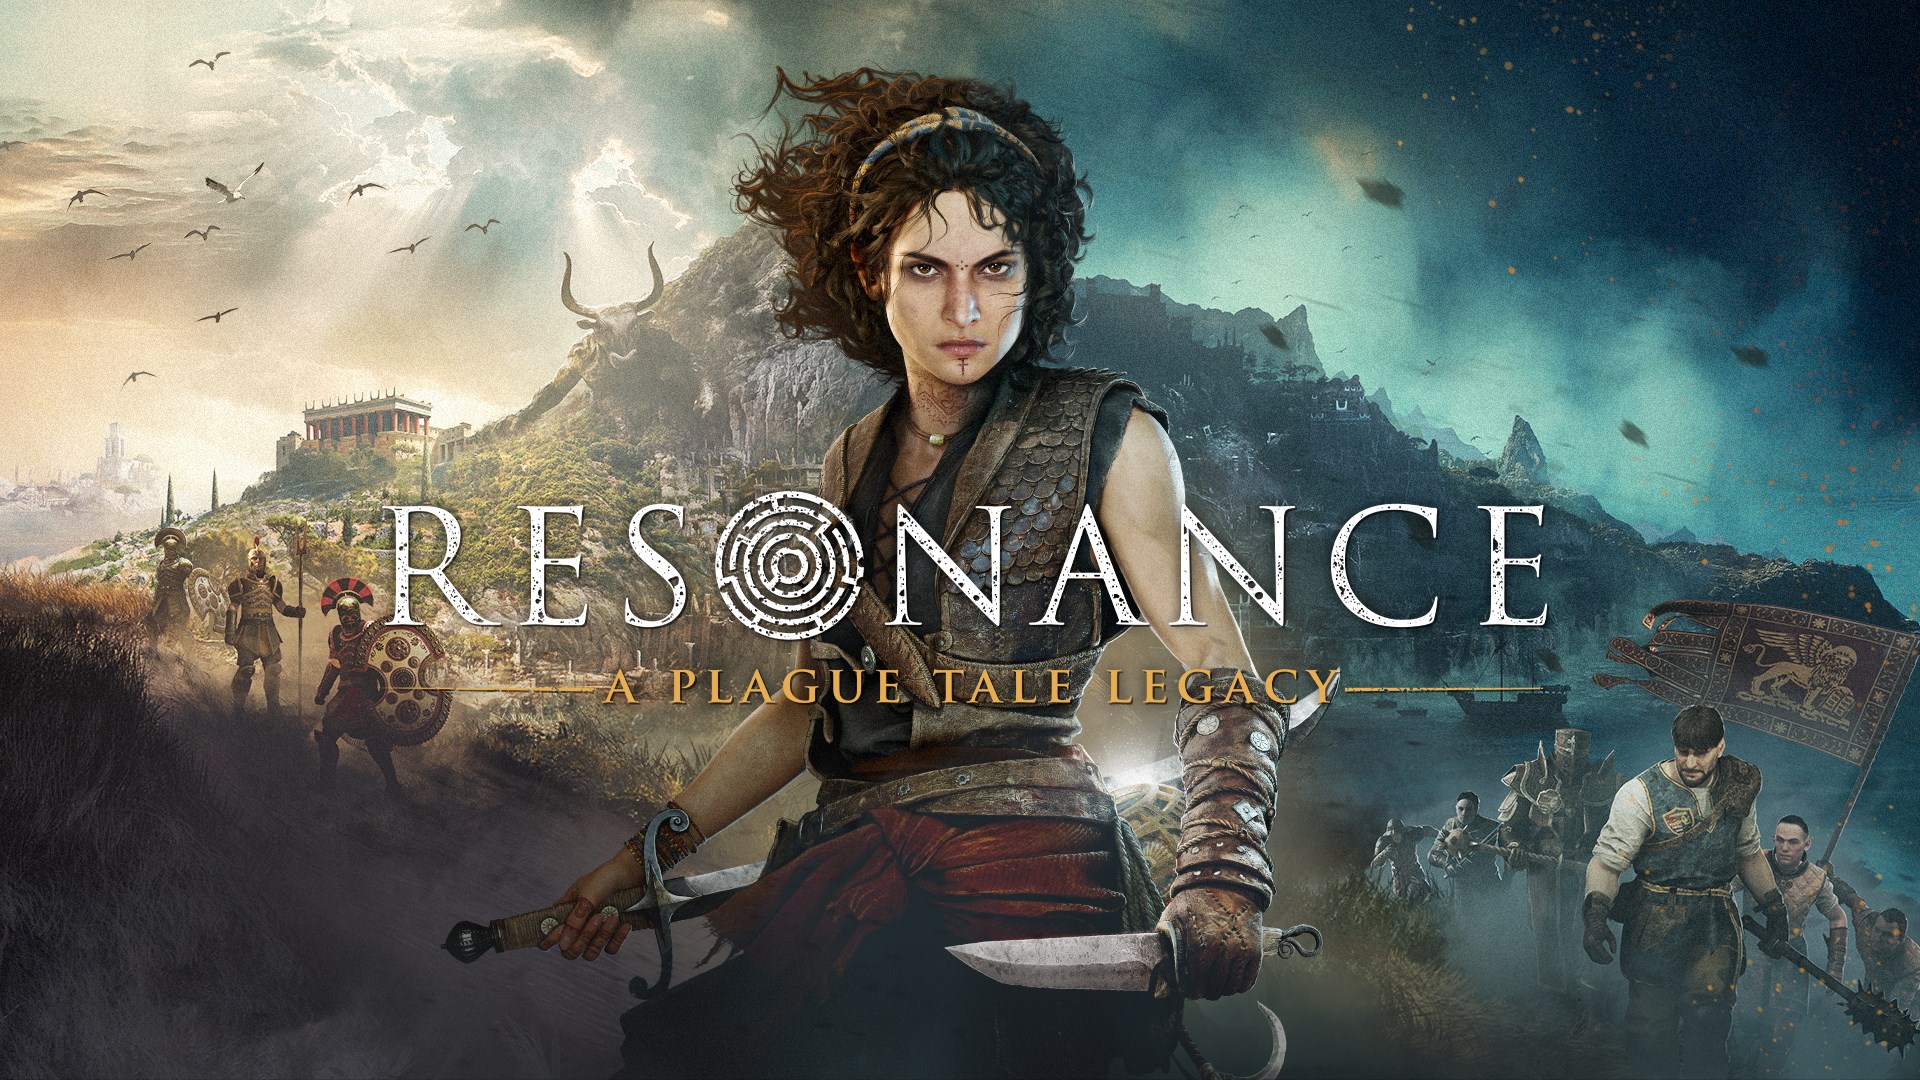
Resonance: A Plague Tale Legacy has 14 linear chapters. This overview names every Chapter Select section and marks the main fights, puzzles, and route changes. It does not promise every step or collectible detour; several rooms need closer checkpoint-by-checkpoint coverage before they can support a full exact walkthrough.
When a fight turns into six swords arguing inside one camera frame, back away and keep the group in front of Sophia. Parry yellow attacks, dodge red attacks unless you have unlocked the skill that lets Sophia parry them, and use the Grapnel—her hooked rope tool—to pull down exposed archers. The Minoan Sphere gains three key light abilities during the story: Light Reveal exposes hidden marks, Light Splitting sends colored beams to several targets, and Light Concentration burns corruption while Sophia stands in light.
Chapter Index
- Blood Ties: A New Home; Faro's Cabin; The Search for the Key; The Fighting Pit.
- Felons: Infiltration; The Carnival; Rats in a Barrel; On the Run; Inferno.
- Those Before Us: Paradise; Vestiges; The Village of Heroes; In the Pretenders' Wake; The Start of the Trials.
- From Hell It Rose: A Familiar Threat; Down the Abyss; Puzzles and Traps; At the Bottom; Theseus.
- Desolation It Wrought: Row as One; Battle Grounds; The Four Symbols; Live Up to His Name.
- What Lies Beneath: Lost; The Creature; False Hope; Minoan Machinery; The Architect.
- Death It Sowed: Back to Leni; The Whole Damn Army; A Stage of Skulls; The Arena; Its Ruins.
- Resonance: The Thread; Fathers; An Empty Palace; Her.
- Night Has Come: You Have to Live; Hell on Earth; No Respite; Hunted; Chaos; Echoes of the Past.
- Parallel Paths: The Bridge; In the Plunderers' Wake; Daedalus' Workshop; The Test Trial; A Light That Burns.
- Patera: Under the Statue; Prisoners of the Factory; Puppets; The Last Lens; In the Bowels of the Mechanism; The Mines.
- Fading Light: The Beam; The Wrecked Quarry; The Creature's Fury; A Few More Steps.
- As One: The Labyrinth; Illusions; Surviving Corruption; One Last Trial; By Your Side; The Minotaur.
- What Remains: Ashes.
Chapter 1: Blood Ties
Opening landmark: Young Sophia sees a ship reaching the dock and runs through the settlement toward it. Push through the crowd, complete Ezra's attack prompt, and run toward the Pit. At the locked door, turn right, climb through the window, cross the bridge, and use the second window. Crouch through the two low openings and enter the Pit.
After Sophia wakes in Faro's cabin, speak to Faro and return to the bed. Complete the blocking and parrying lessons. Later, loot the bodies until Yvan places the ladder, follow him to the courtyard, and try the door on the left. Defeat the bandits, complete Irene's yellow-attack and critical-strike lesson, and continue through the story scenes. Back in the Pit, defeat the mercenary, then defeat the allies who join him.
Chapter 2: Felons
Opening landmark: Sophia and Leni arrive by boat outside the city. Climb the ladder, cross the roofs, use an aerial takedown on the first guard, clear the courtyard, and operate the canal-gate mechanism inside the reinforcement room. Follow Leni through the unlocked gate and use the barrel to leave Sophia's weapons before entering the carnival.
Follow the white cloth markers through the guarded archway and over the bridge. Follow Leni around the mask inspection, squeeze through the fence, turn left at the stage outside the church, and reclaim Sophia's equipment at the boat. Grapnel onto the nearby roof and then the church. Signal both distant lights with the mirror, reverse the route, and use the hanging hook when soldiers block the street.
Cross the rooftops, pull down the archers, enter the broken-roof house, and drop through the building beside the Arsenal. Win the crew fight, then defeat the two soldiers who reveal where the chest went. Climb the ladder, ride the zipline, clear the dock, and open the chest to unlock the skill tree. Defeat the next wave and sprint past the obstacles after the Brute falls. At the burning Den, recover the book, use the trapdoor and tunnel, fight through the burning platforms, defeat Faro, and follow the wreckage to the final zipline.
Chapter 3: Those Before Us
Opening landmark: After landing on the island, walk toward the large green door and inspect Sophia's Book. Climb the cliffs on the right, cross the gap and ledge, and use the Book to identify the strange tree. Interact with it to reveal the Grapnel point. Drop through the hole near the circular stone slab, move both logs, and follow the direction shown by the matching slab in the Book.
At the ruined house, inspect the window to locate the watchtower. Grapnel up, examine the cross-in-a-circle sketch, and return to Leni at the mast so the pair can uncover the trapdoor. Follow the cliff path into the old city, pull the barrier from the doorway, and climb the left side of the giant statue. When rubble separates Sophia and Leni, vault the opening on the right and circle around. Crawl beneath the beam Leni moves, slide down, rejoin her, and clear the left doorway with the Grapnel.
Enter the High Temple and walk through the ancient memory. Cross the pond by raft and activate the first receptacle. Aim both mirrors at the door's golden receivers. In the next room, one beam can reach a receiver directly; the other must bounce through a second lens. For the last receiver, help Leni hold the broken lens and shine a beam into it. Use the center receptacle to descend and open the mountain door.
Chapter 4: From Hell It Rose
Opening landmark: Take the path on the left after the opening scene, cross the gap by the cloth marker, crouch through the wall, and shimmy along the right ledge. When the wooden ledge breaks, use the Grapnel during the slide. Defeat the soldiers, enter the Trial, and activate the receptacle to unlock Light Reveal.
Hint: The blue lines connect each dial to its answer. Reveal the murals and trace one line at a time instead of trying to read the whole room at once. In the later maze room, set the left dial to the O-like mark with four legs and the right dial to the F-like mark.
For the spike corridor, use Light Reveal from the lit plates. Follow the left wall across the first floor. On the second floor, use the two tiles along the right wall, then jump to the middle tile in the final row. At the six wall switches, use the far-left switch. In the large spike room, boost Leni to the lens and follow the illuminated floor line while she moves the light. Break the wooden beams at the far side to let her through.
Sprint beneath the falling ceiling spikes, activate the pillar receptacle, pass the Hero's Grave, and use the zipline. Pull the lever in the next spike room, survive the ambush, and wait for Leni to finish the second lever. Activate the descending platform and win Theseus' arena fight. Back as Sophia, use the lenses and Light Reveal to raise the Minotaur statue, defeat the soldiers, activate the last receptacle, and continue by boat.
Chapter 5: Desolation It Wrought
Opening landmark: Enter the second Trial and activate the receptacle to unlock Light Splitting. Match all three colored rays to the receivers on the door. After the zipline, fight through the ruins and enter the Central Temple.
The hub opens four doors, but only three present-day routes supply symbols directly; the last comes through the ancient memory. In the spike-platform trial, repeat the floor pattern dots, squid, dots, flower, squid. In the dark lens chamber, open the shutters with the left receptacle, clear corruption with the blue and green lenses, and route every color to its matching receiver on the center structure. The third route uses repeated Light Splitting locks, timed spike platforms, and lenses that burn corruption from the path.
After the third present-day route, follow the stairs into the memory. Defeat the arena groups and Cadmos, then activate the receptacle to claim the final symbol and finish the chapter.
Chapter 6: What Lies Beneath
Opening landmark: Sophia wakes in a dark cavern after the fall. Follow Olivio's blue trail to the giant statue and pass through the door he used. The Creature cannot see normally; it follows the blue trail created by fast movement and can sense Sophia while inhaling. Walk or crouch in dark areas, hide behind stone when dust streams toward its mouth, and sprint between strong lights.
Cross the broken pipes and light pockets until the scripted Grapnel failure drops Sophia near the waterwheels. Survive the chase, break the wooden box around the lens, and aim its light at the corrupted doorway. Approach the petrified architect overlooking the Labyrinth to obtain Daedalus' Key.
Use the Key on the lit door reached by the path on the right. Follow Daedalus' Shortcut through the pipe area. Stay slow while the Creature hunts, cross the broken pipes when the chase begins, and use rocks as cover. Sprint through the final crack once the exit is close.
Chapter 7: Death It Sowed
Opening landmark: Sophia returns outside with the third Trial visible ahead. Turn right, take the left cliff path above the flooded first Trial, shimmy across, and rappel into the bone chamber. Use the rear lever to send light through the first mirror, redirect it onto the plate by the door, then stand in the light and split the beam across all three door receivers.
Fight through the coastal ruins to the Black Temple. At its four-pillar entrance, activate the switches in this order while facing the door: far right, inner right, far left, inner left. Inside, defeat the soldiers around the central pit, reveal the first wall switch from the lower circular plate, follow the moved light, and reveal the second switch after the ambush. Move the central mirror beside the green target and split the light to raise the descent platforms.
Descend, pass beneath the grate, cross the broken platforms, and open the Trial door with Daedalus' Key. Win the four one-on-one gauntlet fights, evade the Creature between the three lit platforms, and defeat Cercyon by draining both health bars. Back in the present, zipline through the ruins, take the boat, and continue through the Faro and Leni scenes to the Labyrinth.
Chapter 8: Resonance
Opening landmark: Young Sophia stands in a dark room beside a glowing thread. Follow it through every memory shift. When adult Sophia wakes, follow the new thread toward the Minotaur statue, descend the stairs, and continue along the lower passage. The chapter has no combat, puzzles, or collectibles.
Chapter 9: Night Has Come
Opening landmark: The chapter drops Sophia straight into a Creature chase after Leni is petrified. Sprint, jump gaps to break the blue trail, and squeeze through the narrow opening. Climb the ladder on the left when Minos' Palace comes into view and light the brazier.
Move slowly through the hunting areas and hide during the Creature's breath. Light the unlit brazier blocking the route, defeat the soldiers after the slide, pull down the rubble, and break the hanging brazier to clear corruption. Fight through the cave, use the upper wall opening, and continue over the ruins. After the last outdoor pursuit, climb the palace stairs and enter through the thickets.
Inside the palace, follow the authored route through the throne rooms and ancient memories until the floor opening. Drop into the Petrified hall and crouch to avoid leaving a trail. When a group blocks the stairs, lure it forward, retreat, and loop around the other side. Follow the light into Faro's courtyard.
Let Faro attack first, then parry yellow strikes or dodge red ones. Drain his health twice to end the fight.
Chapter 10: Parallel Paths
Opening landmark: Follow Faro through the mountain passage, take the right path toward the broken bridge, climb the scaffold ladder, and reach the bridge. Fight forward until the escape zipline becomes available.
In the forest, follow the three painted dots to the rope, then follow the rope to the ladders and zipline. Pass beneath the waterfall, cross the abandoned camp, and use the symbols in Sophia's Book to navigate the cave. At the great door, enter the cavern behind the waterfall, light the brazier, and relay its beam across the mirrors. Reveal the marks on all six stelae, arrange the colored lenses to match the Book, split the light from the floor plate, and open the final door with Daedalus' Key.
In the ancient test, drive the Creature back with the braziers, close each pipe with light, activate the receivers, and use the last receptacle to unlock Light Concentration. After control returns to Sophia, follow Faro's light through the test chamber, clear corruption with the new beam, activate the lift, and return to the workshop. Stand in the prepared light and burn through the corrupted exit.
Chapter 11: Patera
Opening landmark: Follow the great beam from the statue, cross by the right gallery, and drop into the round mechanism room. Use the two cranks to change the beam's origin and direction until it clears the corruption, then take the platform down.
At the misaligned lens, push the rail-mounted barricade in front of the dangerous light-control crank. Use that crank to burn the corruption from the lens crank, then aim the lens downward. Petrified Soldiers must first be staggered and struck with a critical attack; once the corruption in the head is exposed, burn it with Light Concentration.
Descend toward the last lens, cross the rotating platforms, and move slowly around dormant Petrified. Use the ceiling light to clear the blocked side door, turn its crank, and then align the main lens. When the Creature returns, light the brazier, burn the corruption, Grapnel upward, use the next brazier to hold it back, and zipline to the large lever. Open the lens and follow the beam into the mines.
Drain Irene's health twice. When she disappears, turn toward the yellow warning and parry or dodge the thrown dagger. Drain the final health bar to finish the chapter.
Chapter 12: Fading Light
Opening landmark: Follow the lit path on the right and squeeze through the cave. The soldiers eventually attack, so defeat them and use the far crack. At the large cavern, light the brazier, use Light Concentration on the growth holding up the bridge, swing across, and defeat the Petrified Soldiers.
At the quarry lever, expect the floor to collapse. Use either brazier to burn or repel the Creature while the elevator descends. When it arrives, sprint aboard, pull the lever, and ride up. Follow the pipe route through the next chase, take the zipline, and squeeze through the narrow gap.
Open Daedalus' door on the left, rappel and zipline into the third Trial's arena, then follow the passage and slide toward the Labyrinth.
Dodge Minos' red attacks and punish the end of his committed swings. In phase two, avoid the burning trails left by his flaming axe. Empty the second health bar to end the chapter.
Chapter 13: As One
Opening landmark: Sophia reaches the Labyrinth entrance and finds Leni's corrupted form. Use Light Concentration on Leni, activate the receptacle, wait for the platforms to settle, and cross the left side. Follow Ariadne's glowing thread and the great beam through the Creature's hunting ground. Fight the hallucinated enemies at the first platform and activate its receptacle.
At the Petrified hall, light the raised brazier at the far end. Sweep away the enemies and corruption, aim the brazier at the center mirror, then aim the reflected beam at the medallion above the door. Crawl beneath the partly opened door, follow Ariadne's thread through the chase, defeat the warriors, and use the second receptacle.
At the third gate, light the brazier and clear the medallion. Drop into the corrupted room, stand on a pressure plate to admit light, and use Light Concentration on the blocked door. Defeat both Petrified Soldiers, pull down the boulders, and follow the thread. Sneak past the next Petrified, climb beyond the lens, clear the hallucination fight, and activate the last gate before riding the light zipline.
In the Minotaur arena, follow the thread to the cracked heart and pull it open with the Grapnel. Use the large light weapon on the heart and burn the creatures that emerge. When Ariadne tells Sophia to run, leave the weapon, take the zipline, and use both raised platforms to Grapnel the statue's mouth open. After the shifting-world sprint, climb the circular stairs and use the weapon again on the remaining wounds. When the arena clears, enter the door at the statue's base and approach Asterion.
Chapter 14: What Remains
Opening landmark: Sophia begins the final walk away from the island. There are no fights, puzzles, or collectibles. Keep following the only open route and allow the closing scenes to play.
Comments will load when you reach this part of the walkthrough.