
Chapter Four: Smithy
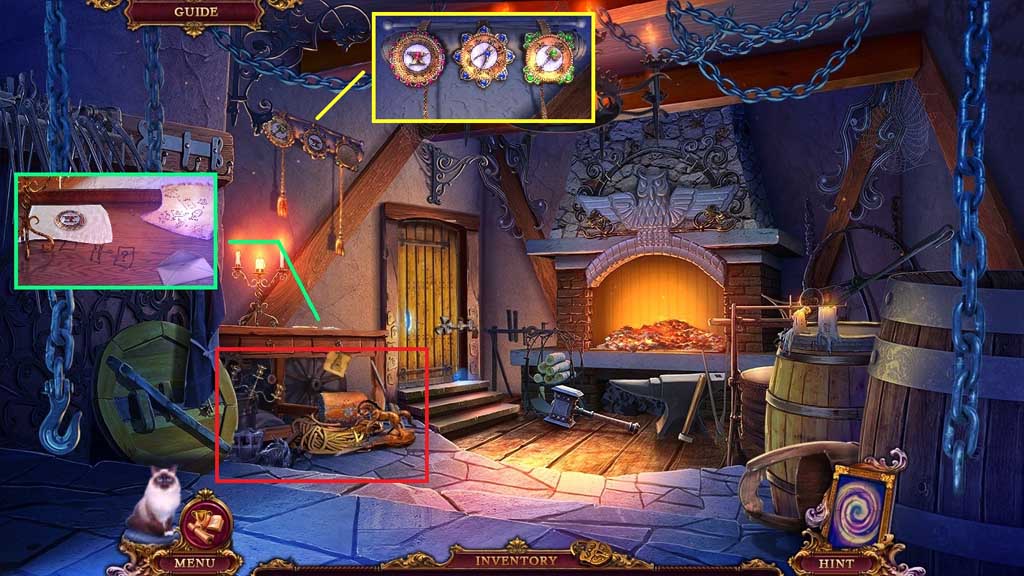
- Click the letter and the handkerchief; collect the tile.
- Insert the tile to trigger a mini game.
- Solve the game by correctly arranging the tiles.
- Click the hidden objects area.
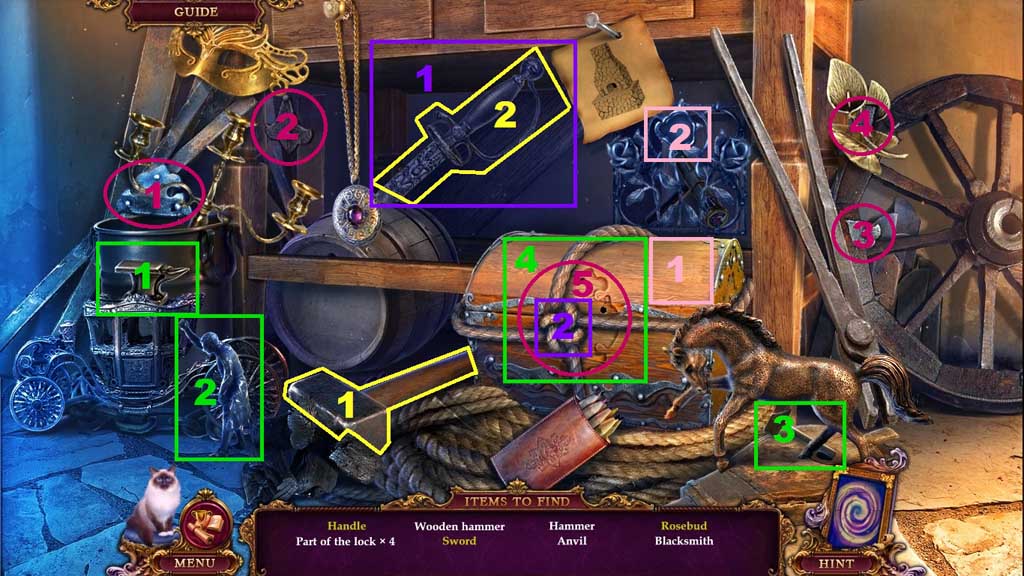
- Find the items.
- Select the hammer to straighten and collect the sword.
- Use the sword to slice the ropes.
- Select the lock parts and place them into the chest to uncover the statue.
- Select the anvil and man and the wooden hammer place it with the statue; collect the blacksmith and the rosebud.
- Select the rosebud and place it into the grate.
- Collect the handle.
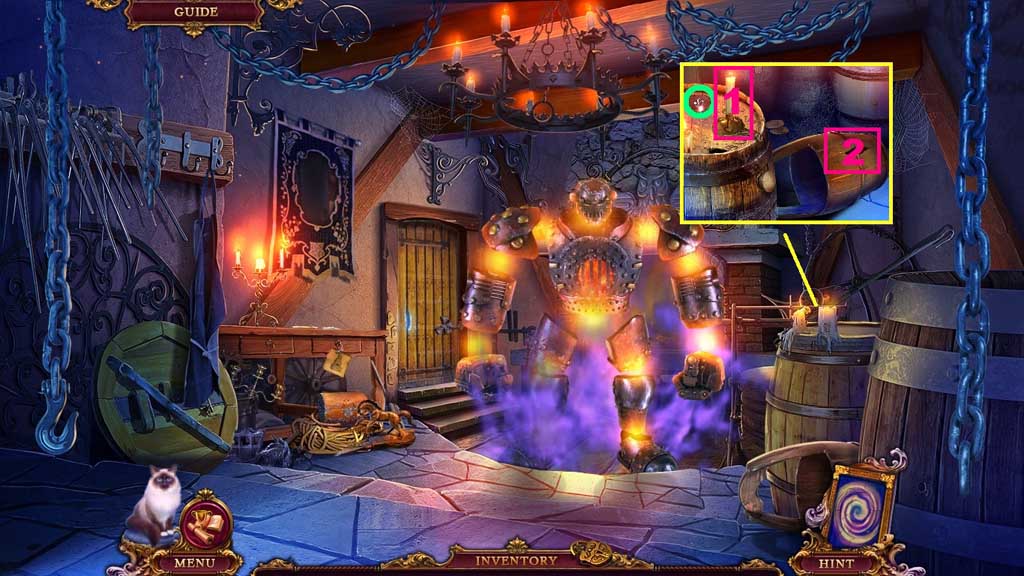
- Collect the puzzle tile.
- Select the candle to melt wax onto the bucket hole.
- Move to the Secret Laboratory.
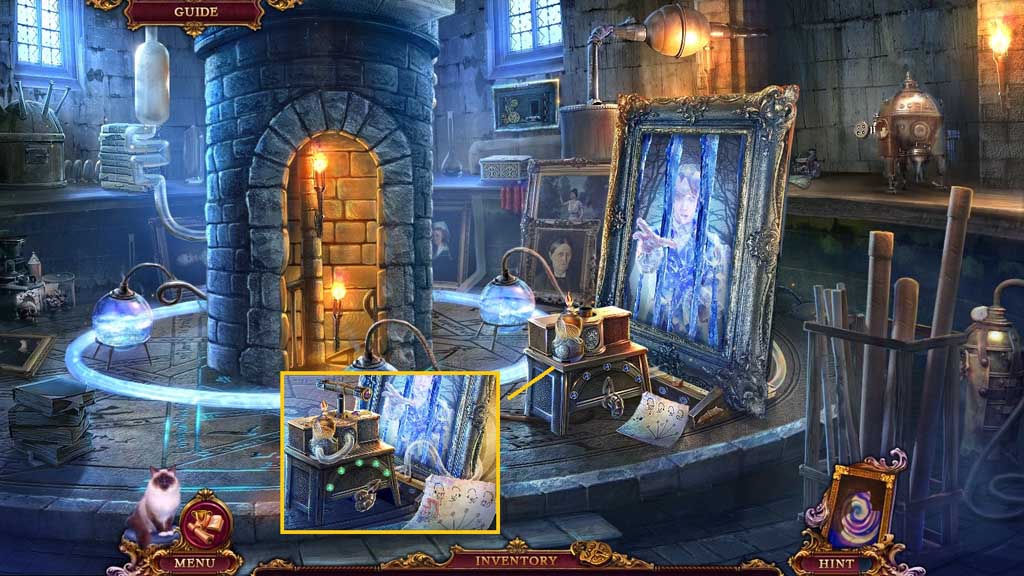
- Attach the handle.
- Click the arrow 4 times.
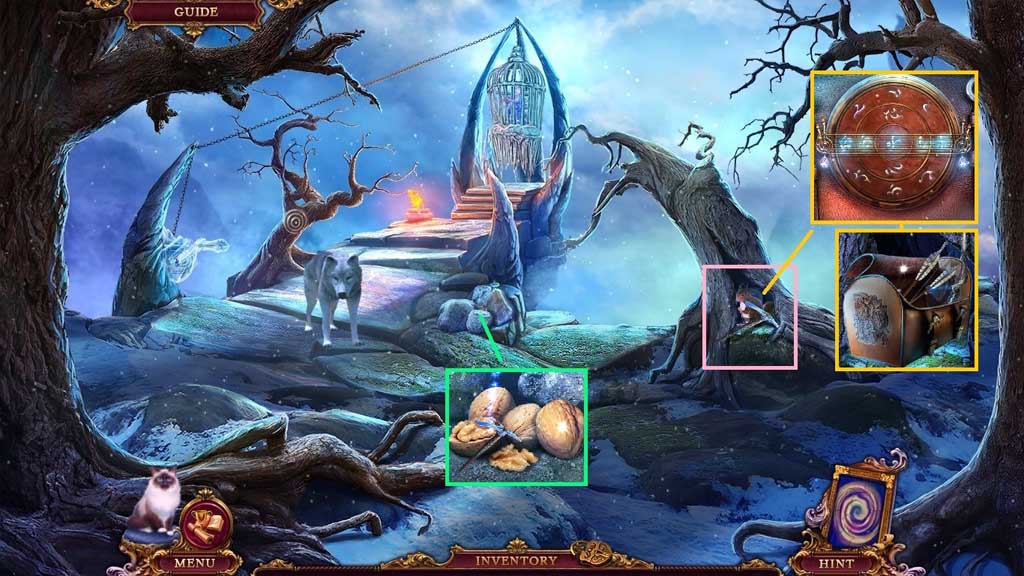
- Collect the pickaxe.
- Select the pickaxe to collect the nut.
- Select the nut to give to the squirrel; click the bag and insert the puzzle tile to trigger a mini game.
- Arrange the puzzle tiles correctly to solve the game.
- Collect the bow with arrows.
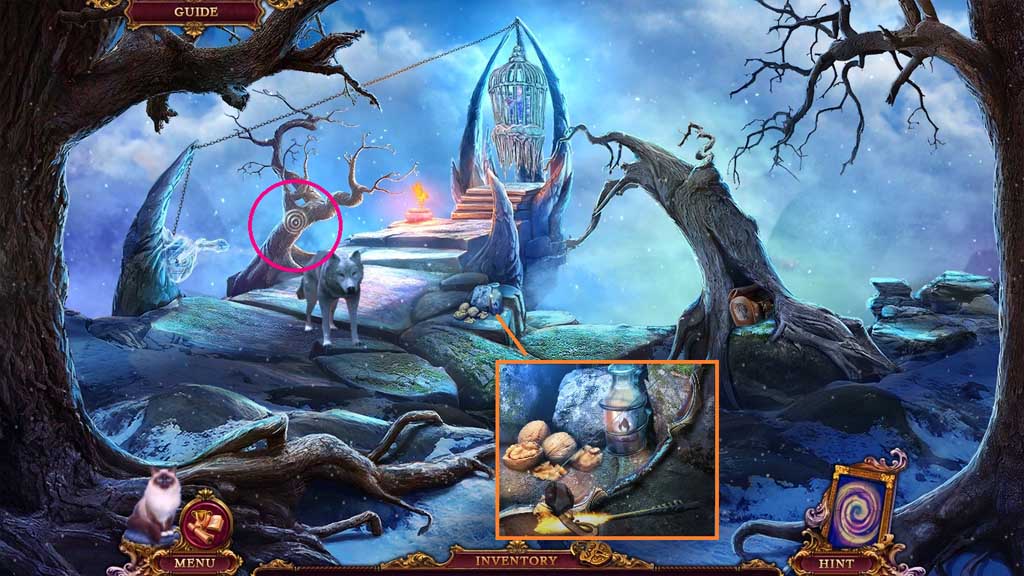
- Place down the bow and arrows.
- Dip the arrow into the oil.
- Select the flint to light the arrow; collect the bow with flaming arrows.
- Use the bow with flaming arrow to shoot toward the target.
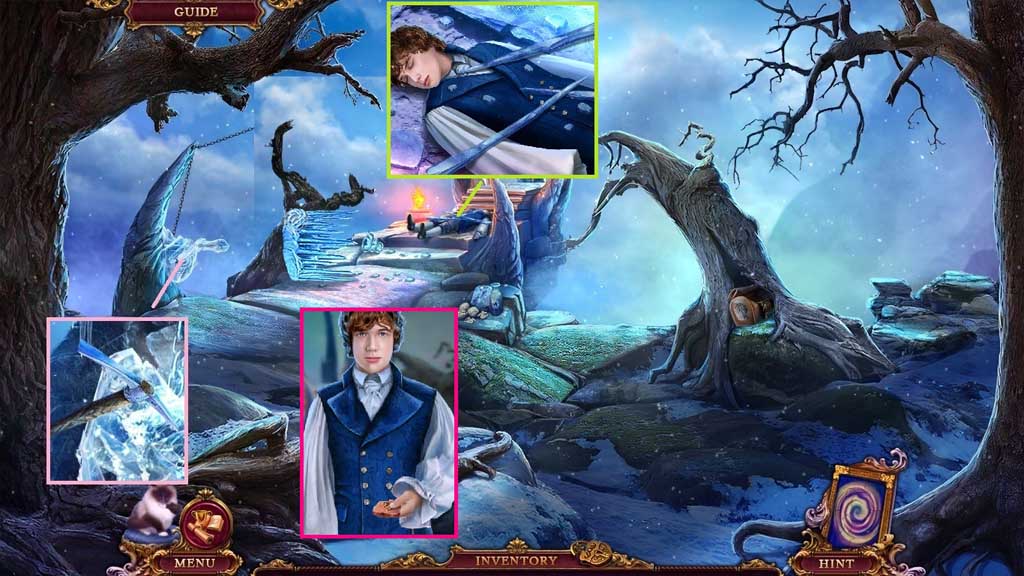
- Click the rocks.
- Use the pickaxe to chip away the ice.
- Collect the ice shards.
- Collect the button.
- Move to the Stable click the hidden objects area.
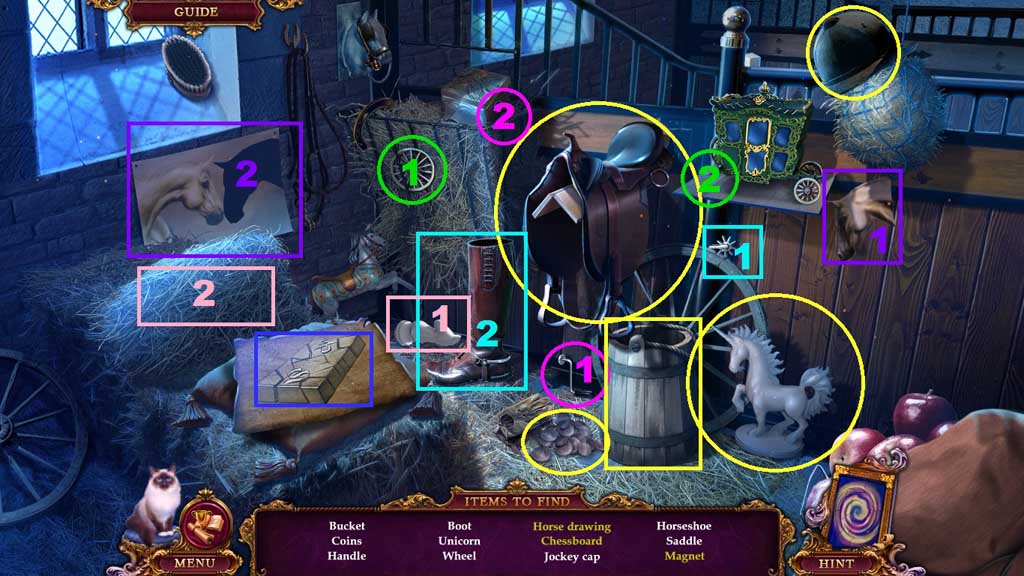
- Find the items.
- Select the handle and place it onto the box.
- Select the wheel and place it onto the carriage.
- Select the spur and place it onto the boot; collect the boot.
- Select the horse and place it into the drawing; collect the horse drawing.
- Click the hay to uncover the board; place the pawn onto the board to collect the chess board.
- Select the pieces to create and collect the magnet.
- Move ahead.
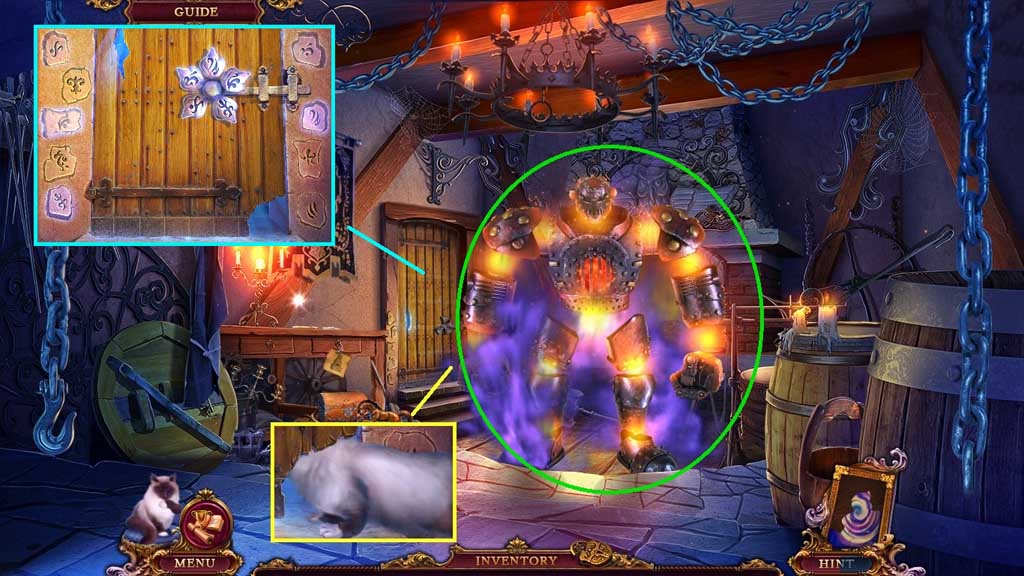
- Use the ice on the flaming figure.
- Insert the button.
- Select Mr. Jenkins to receive the petal.
- Place the petal to trigger a mini game.
- Solve the game by clicking the buttons based on the symbols on the petals.
- Move to the left.
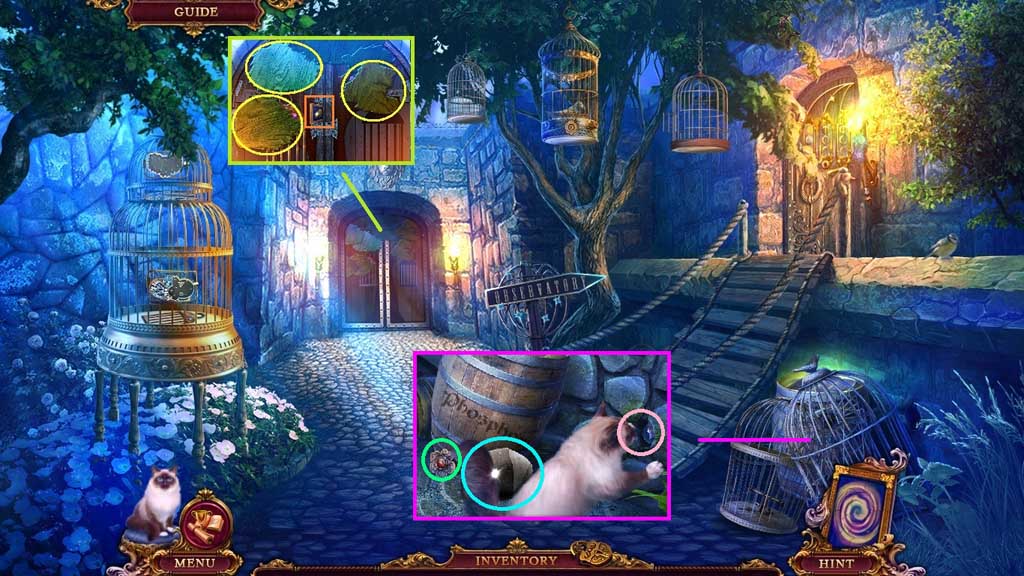
- Collect 2 /2 missing pieces; click the leaves.
- Click the 3 cages.
- Collect the stone and the metal flower.
- Select Mr. Jenkins to collect 1 /2 balls.
- Move to the Secret Laboratory.
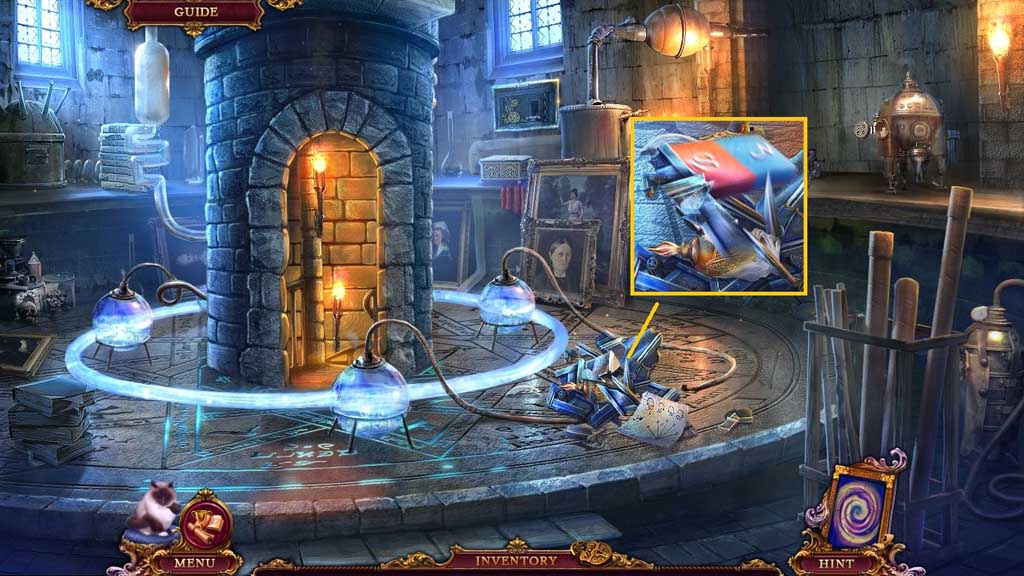
- Select the magnet to collect the fire paint.
- Move ahead and click the hidden objects area.
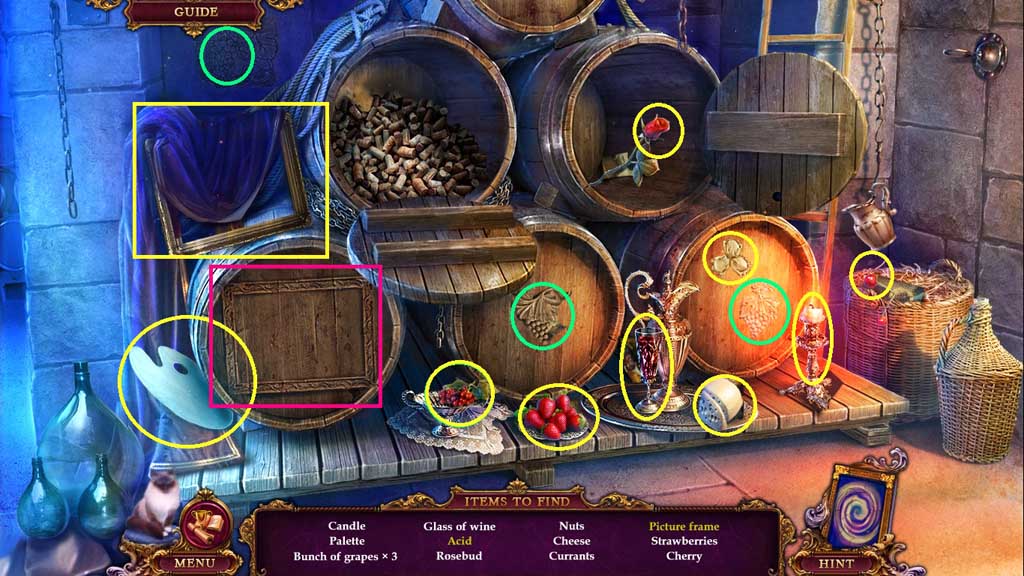
- Find the items.
- Select the picture fragments and place them into the frame.
- Collect the acid.
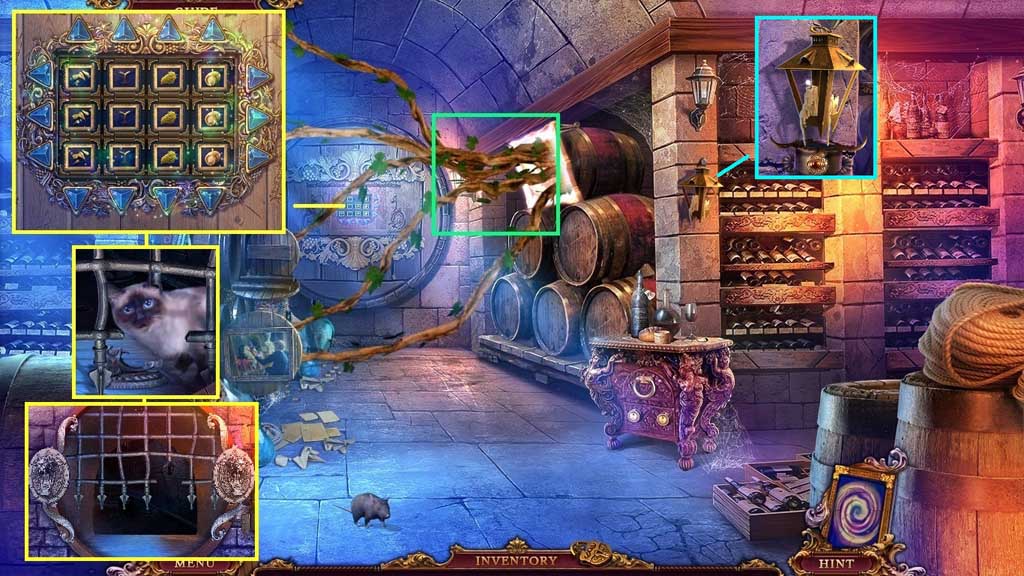
- Select the acid to remove the vines.
- Insert the 2 missing pieces to trigger a mini game.
- Solve the game by aligning the columns and rows correctly.
- Select Mr. Jenkins to collect the lion tile.
- Insert the lion tile.
- Insert the metal flower; collect the lamp.
- Move ahead.
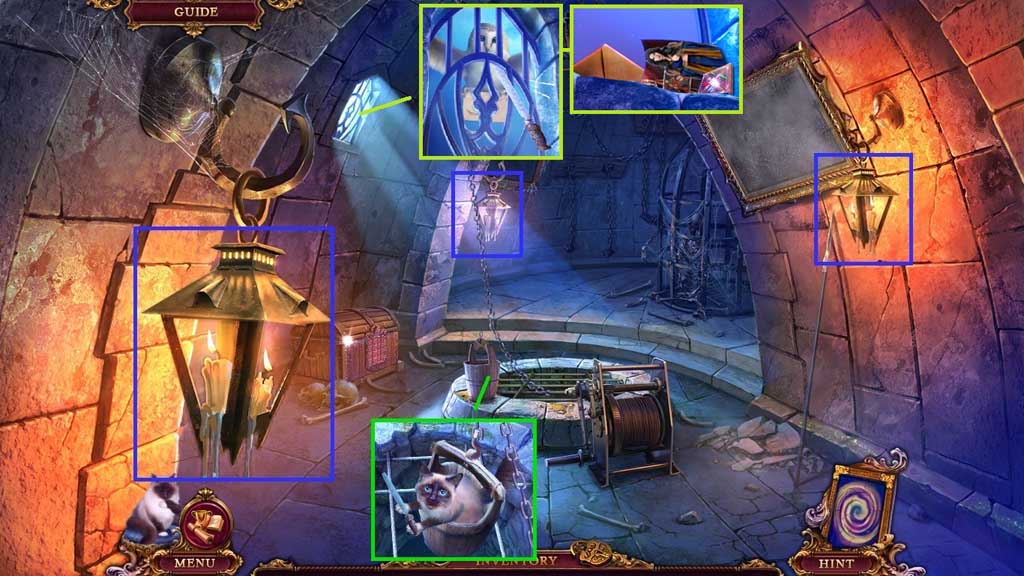
- Hang the lamp and use the flint to light it along with the other 2 lamps.
- Connect the chains; attach the bucket to the hook and place Mr. Jenkins into the bucket.
- Collect the rasp and use it to cut the bars.
- Click the letter.
- Collect the missing piece; examine the photo.
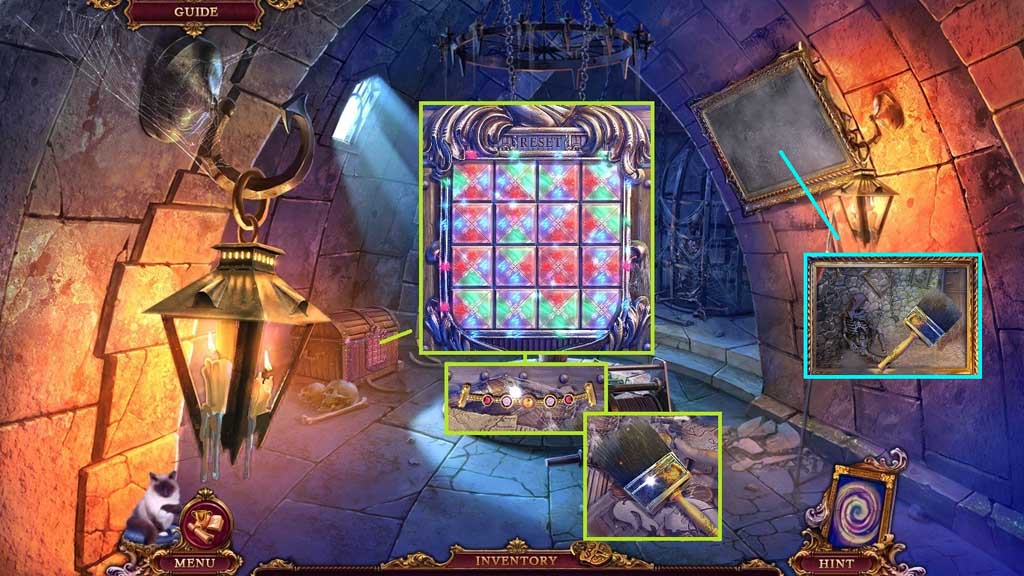
- Insert the missing piece to trigger a mini game.
- Solve the game by switching the tiles to matching symbols.
- Collect the chain handle.
- Click 3 items; collect the brush and use it to clean the painting.
- Move down once.
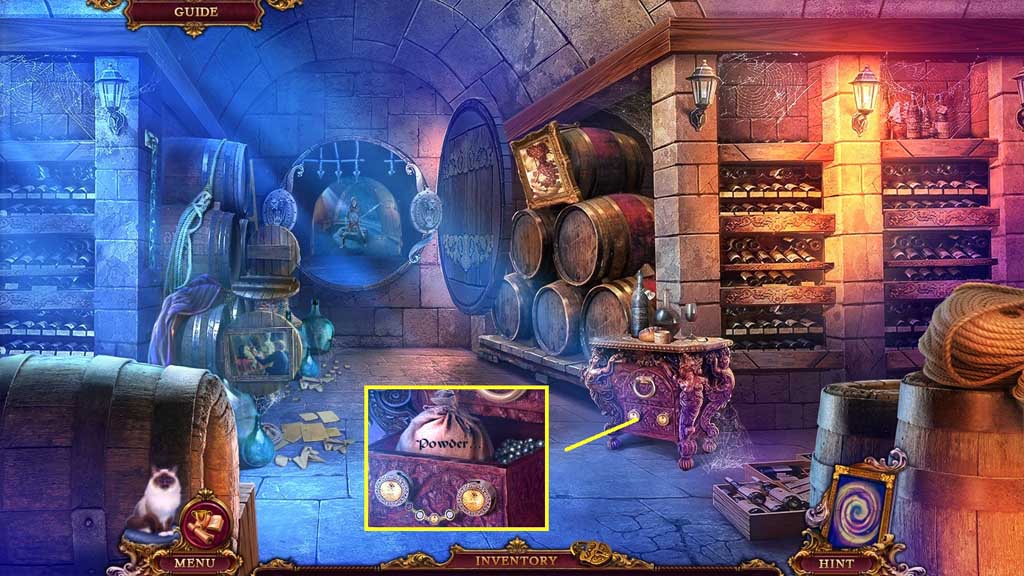
- Attach the chain handle; click the drawer.
- Collect the gunpowder and the bullets; collect the loaded gun.
- Move ahead.
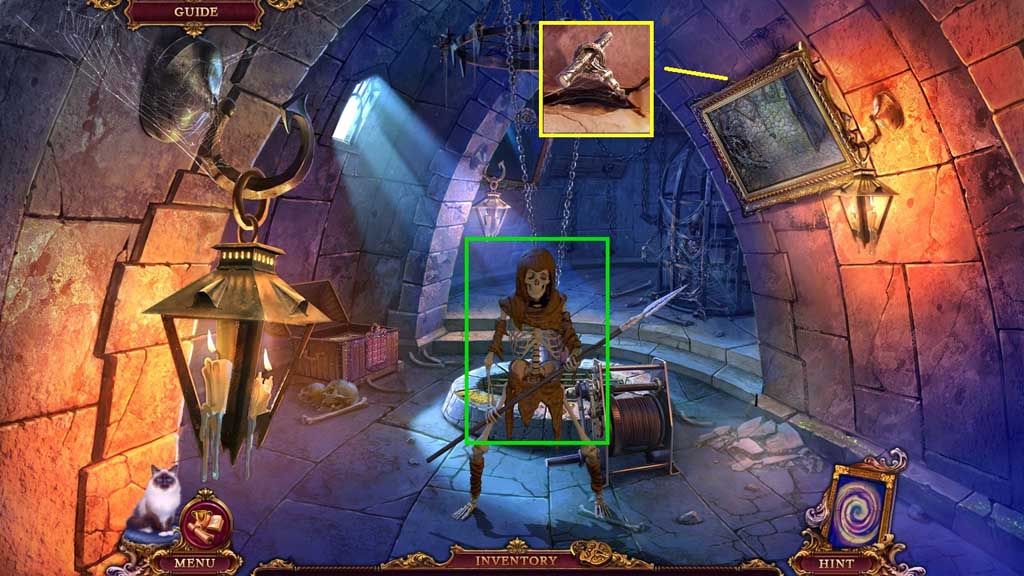
- Use the loaded gun on the skeleton.
- Collect the corkscrew.
- Move to the Stables and click the hidden objects area.
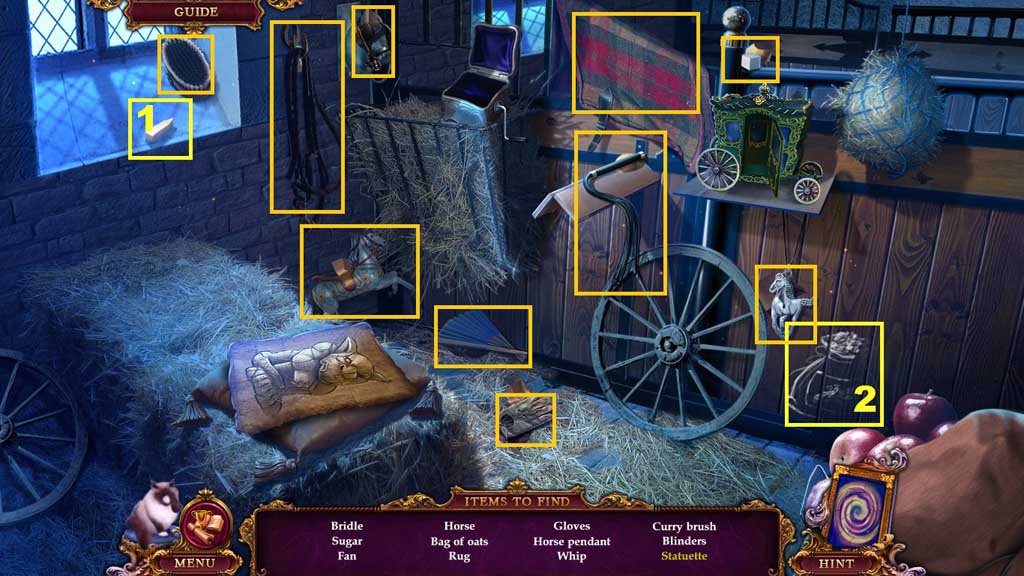
- Find the items.
- Select the chalk to complete and collect the bag of oats.
- Select the pieces to create the statue.
- Collect the metal statue.
- Move ahead.
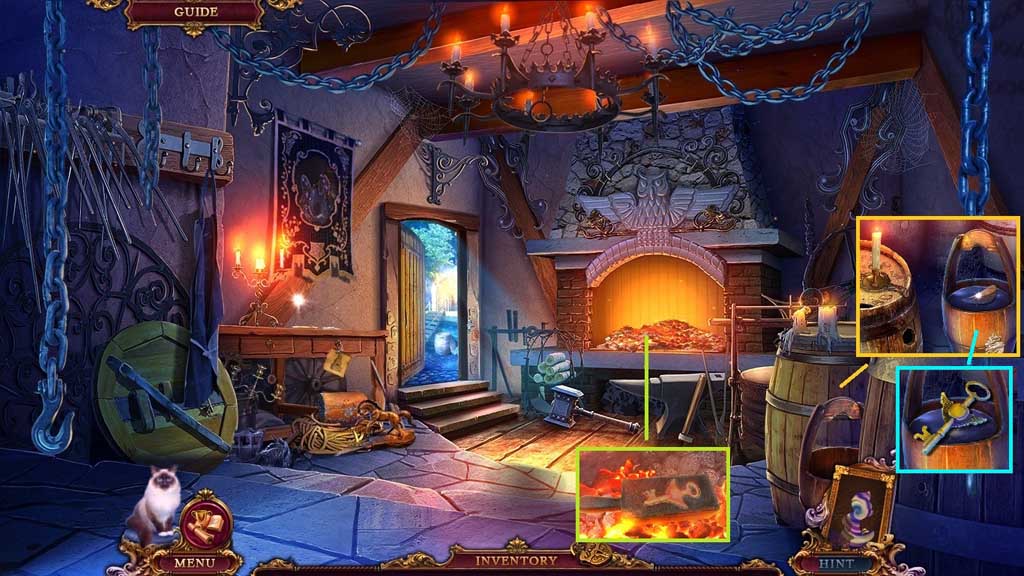
- Insert the corkscrew into the barrel cork; collect the wing.
- Place the metal statue onto the mold; collect the burning key.
- Dip the burning key into the water bucket; collect the cage key.
- Move to the left.
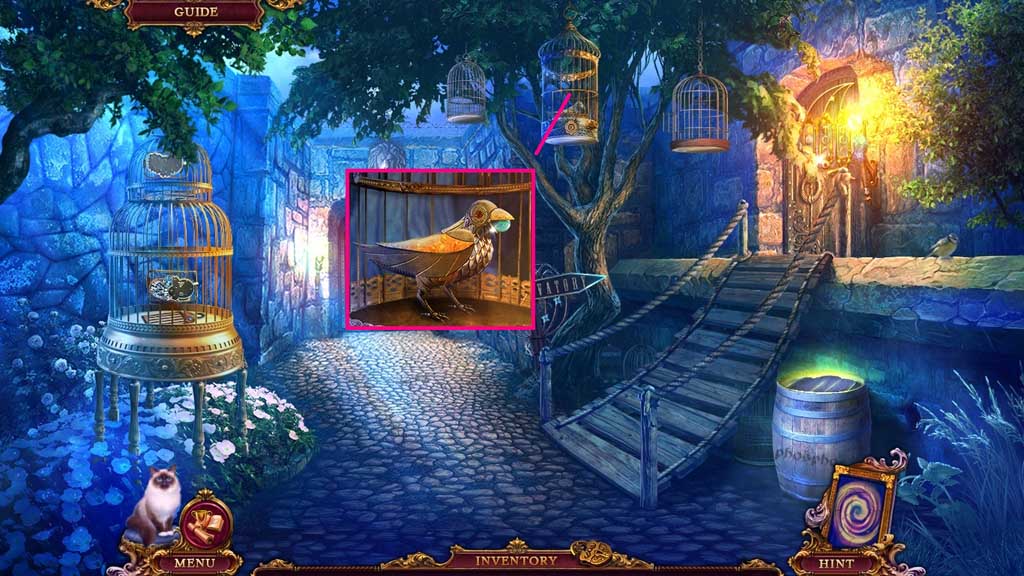
- Insert the cage key and attach the wing.
- Collect the opal.
- Move down once and click the hidden objects area.
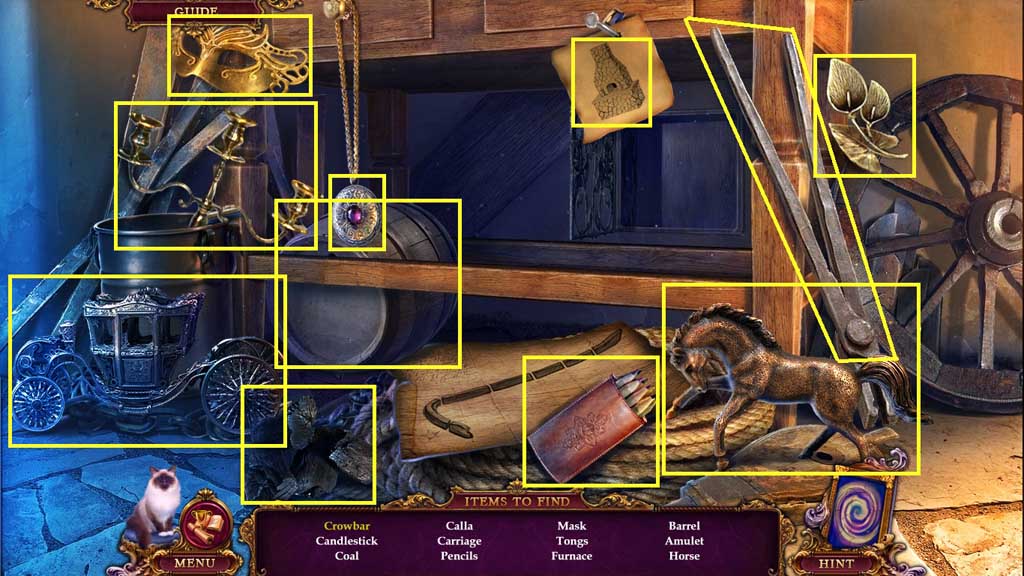
- Find the items.
- Select the pieces and place them together to create the crowbar.
- Collect the crowbar.
- Move to the left.
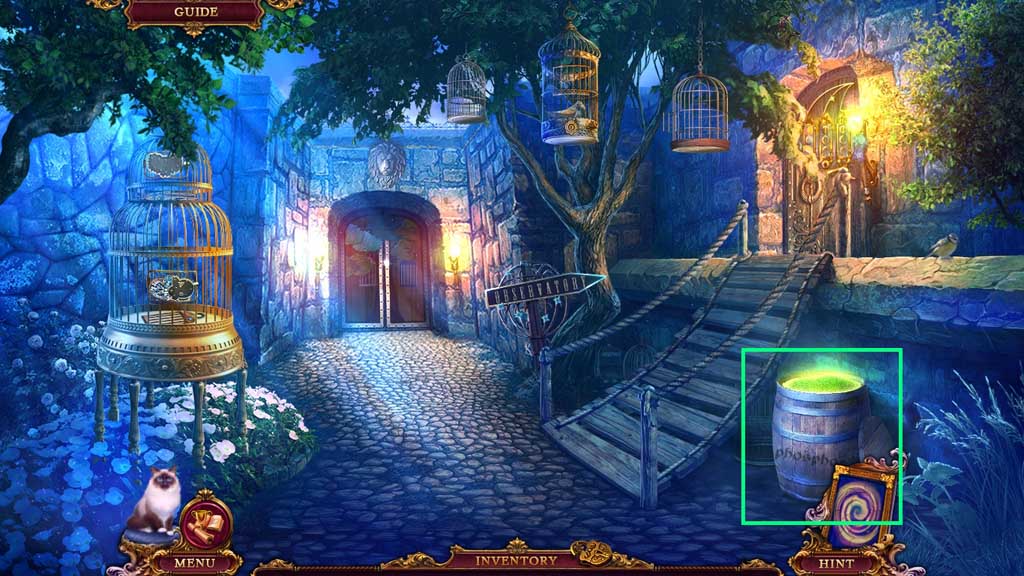
- Select the crowbar to collect the phosphor.
- Move down once.
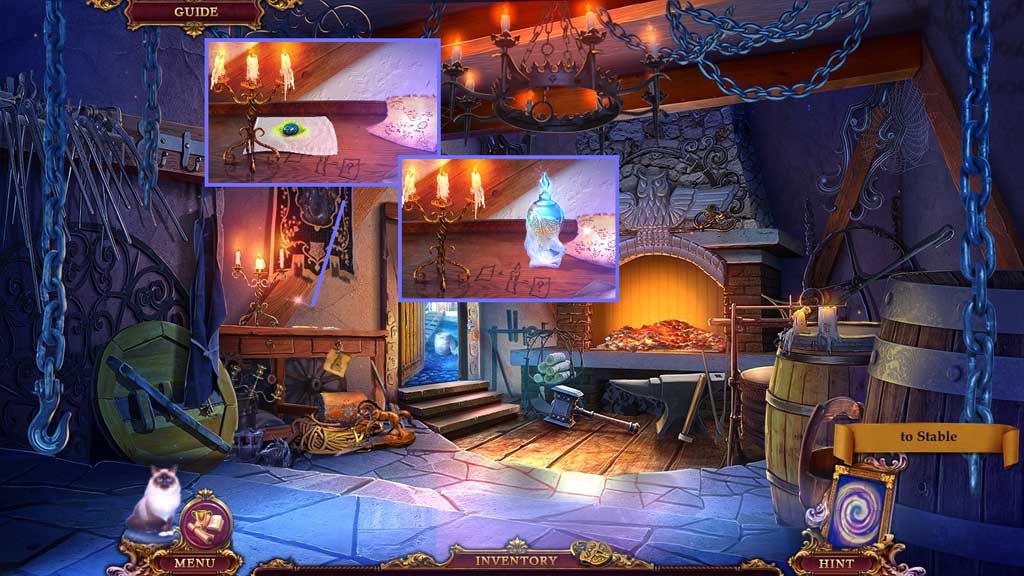
- Place the opal and the phosphor onto the table.
- Click the handkerchief.
- Use the stone to crush the ingredients in the handkerchief.
- Place the fire paint onto the table; pour the powder into the paint.
- Collect the light paint.
- Move to the Dungeon.
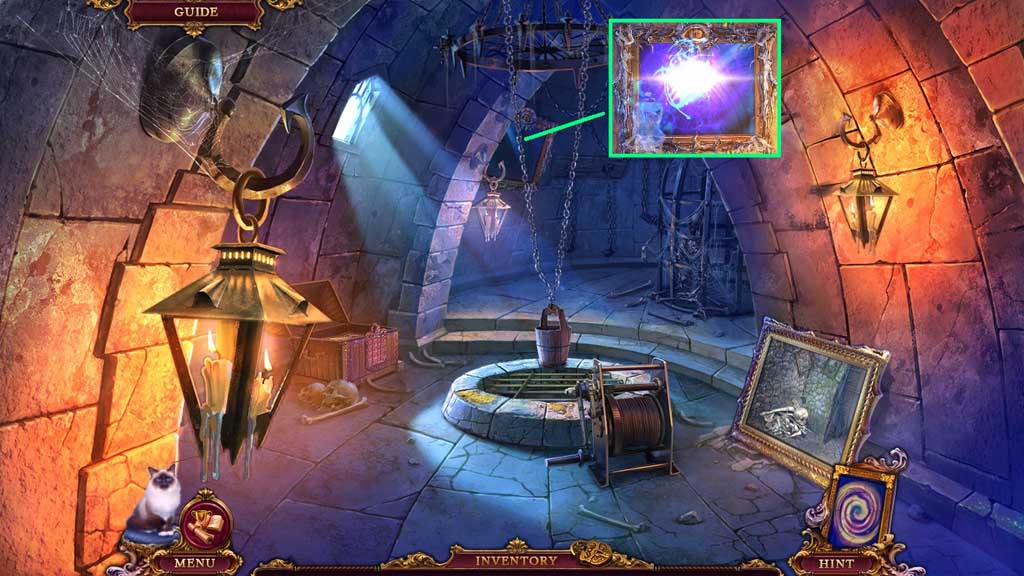
- Use the light paint on the painting.
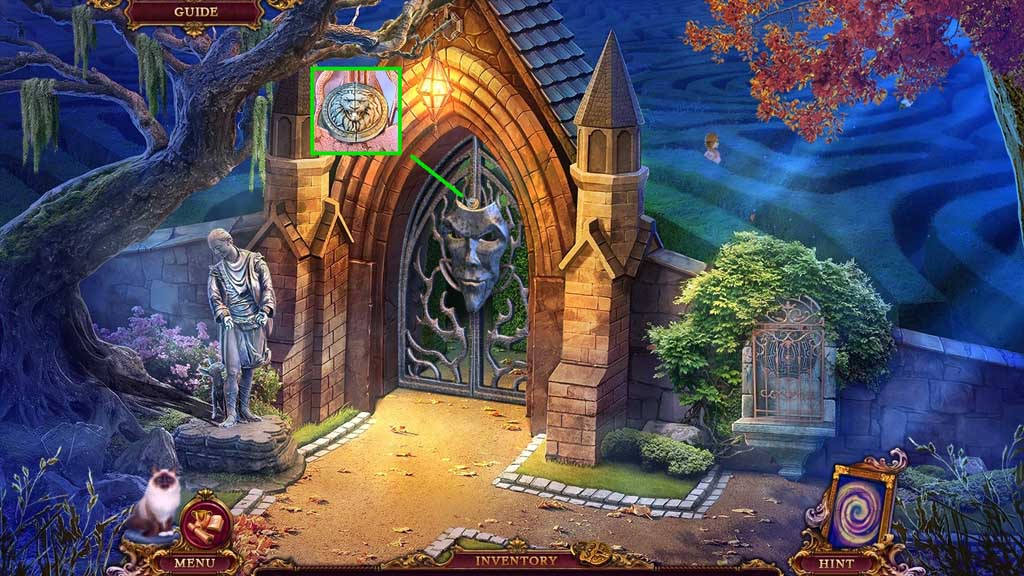
- Collect the lion tile.
- Click the correct answers to the 3 questions.
- Solution: Snow – Time - Heart
Comments will load when you reach this part of the walkthrough.