

Chapter Six: Strolling the Lakeside
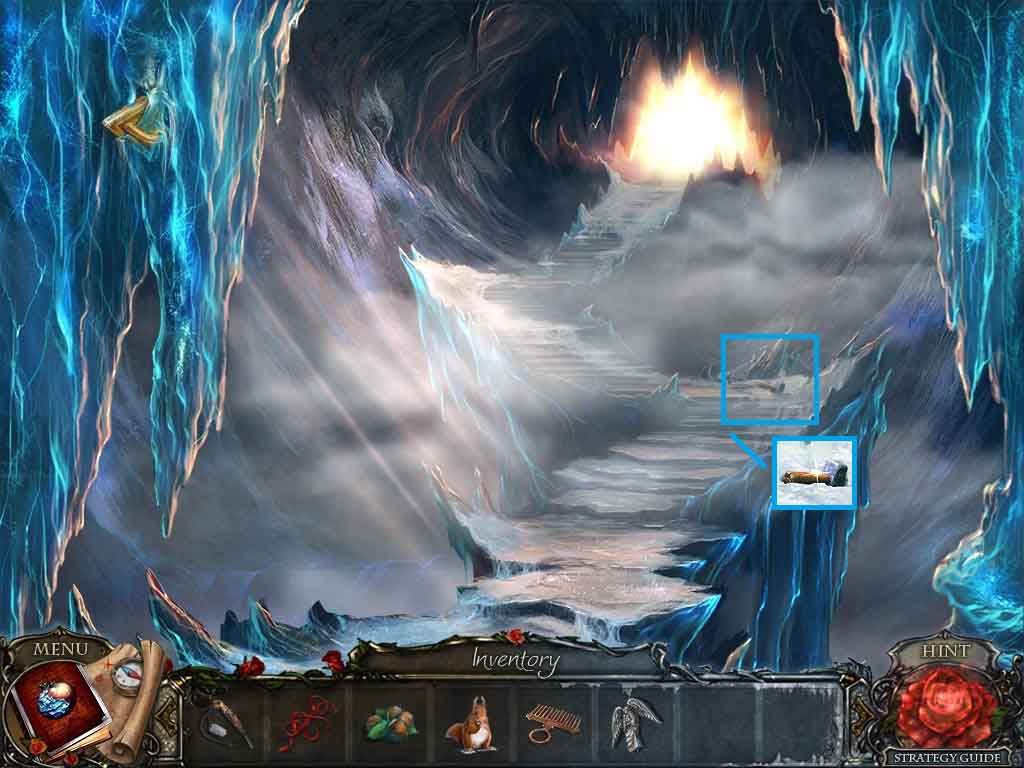
- Click the hammer; collect the hammer.
- Move ahead.
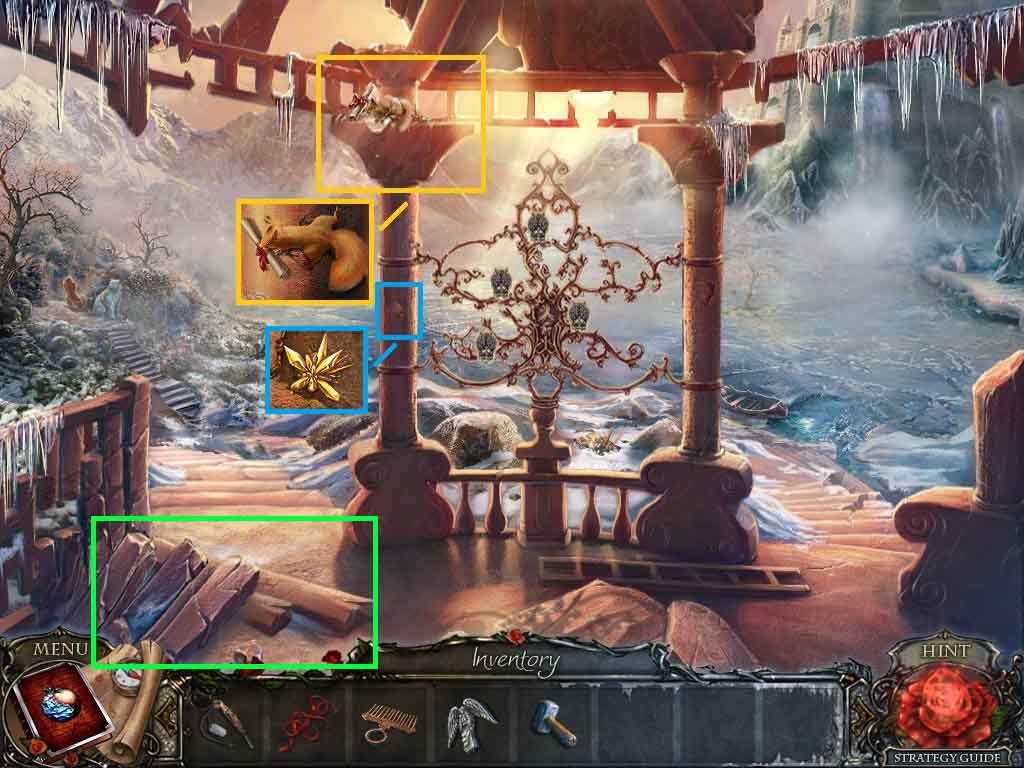
- Click the pillar and toss the nuts to the top and send the squirrel after them.
- Click the squirrel; collect the scheme and the squirrel.
- Click the flake; collect the yellow crystal.
- Click the pile of pillars 3 times; collect the swan neck.
- Move up the path on the left.
- Click the sleigh to access the hidden objects area.
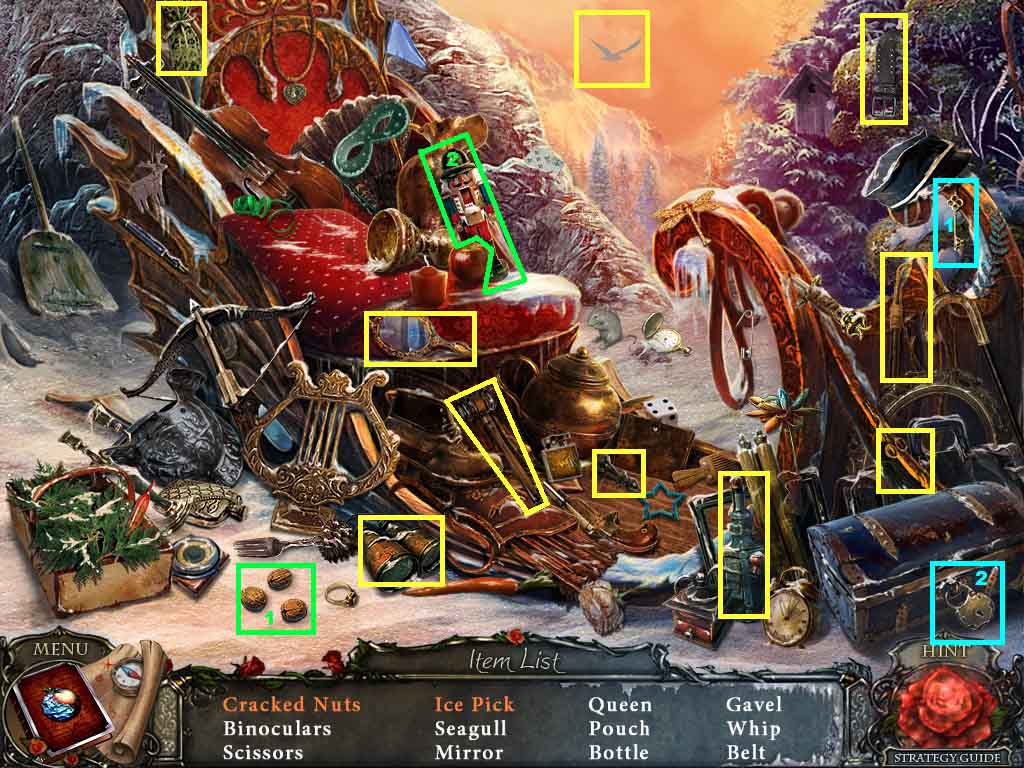
- Find the listed items.
- Insert the nuts into the cracker; collect the cracked nuts.
- Insert the key into the padlock; collect the ice pick.
- Move back once and move ahead on the right.
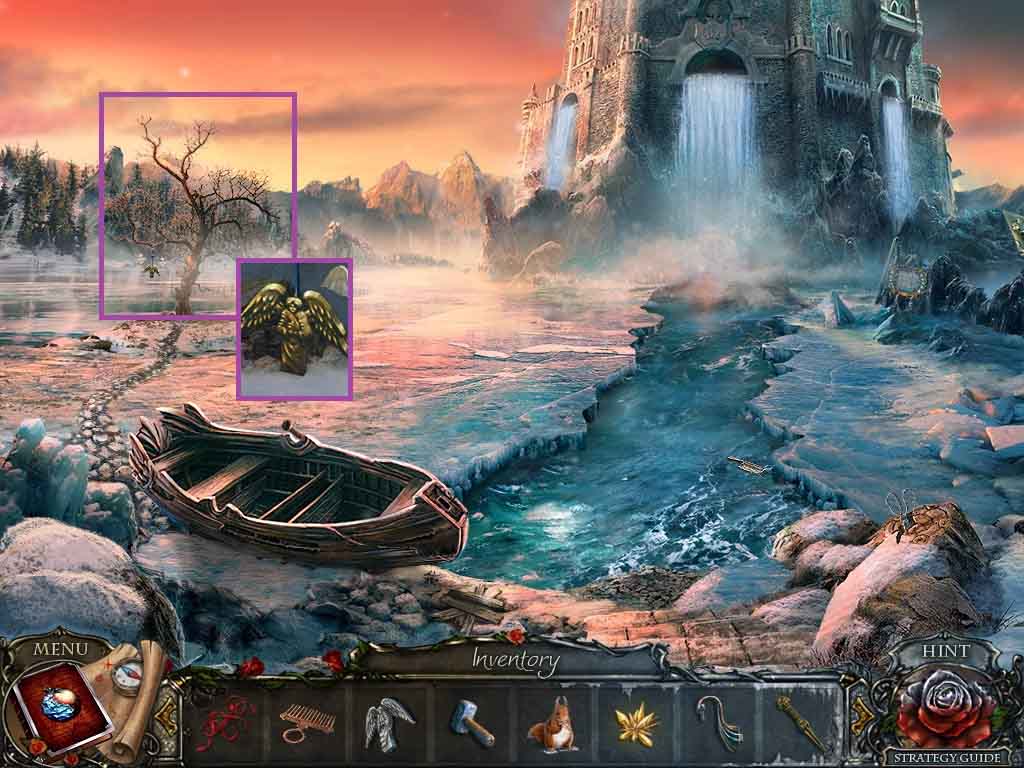
- Click the tree; collect the 2nd angel figure.
- Move back 2 times.
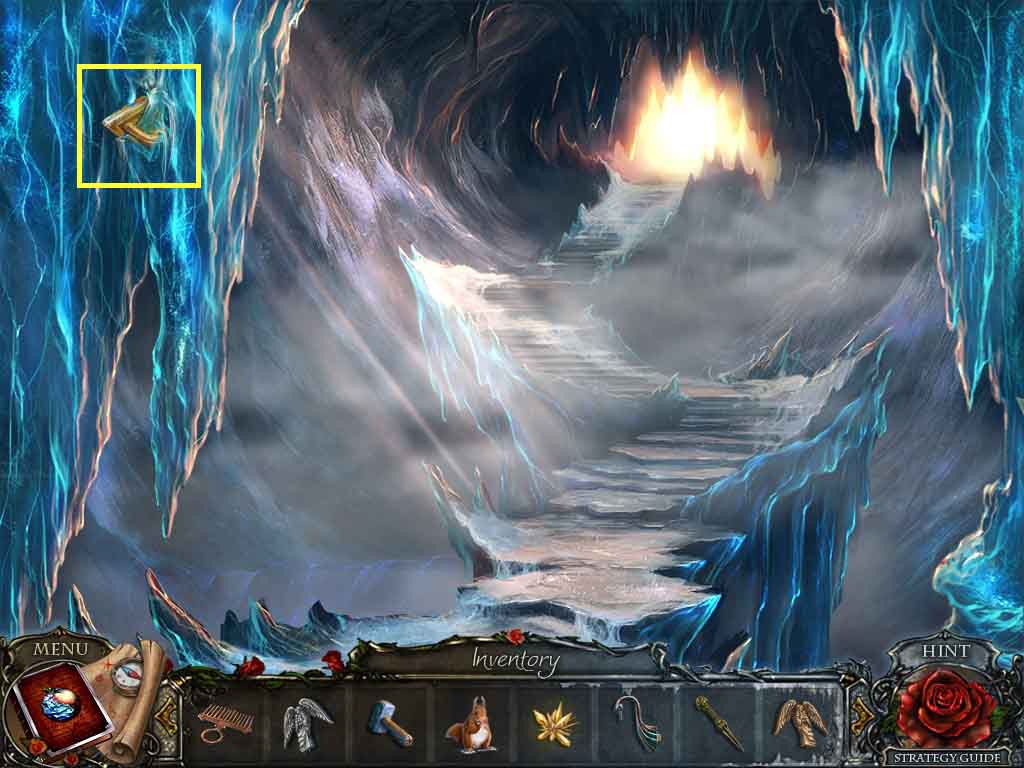
- Click the handle.
- Select the ice pick and use it to collect the triangular handle.
- Move to the Mirror Chamber.
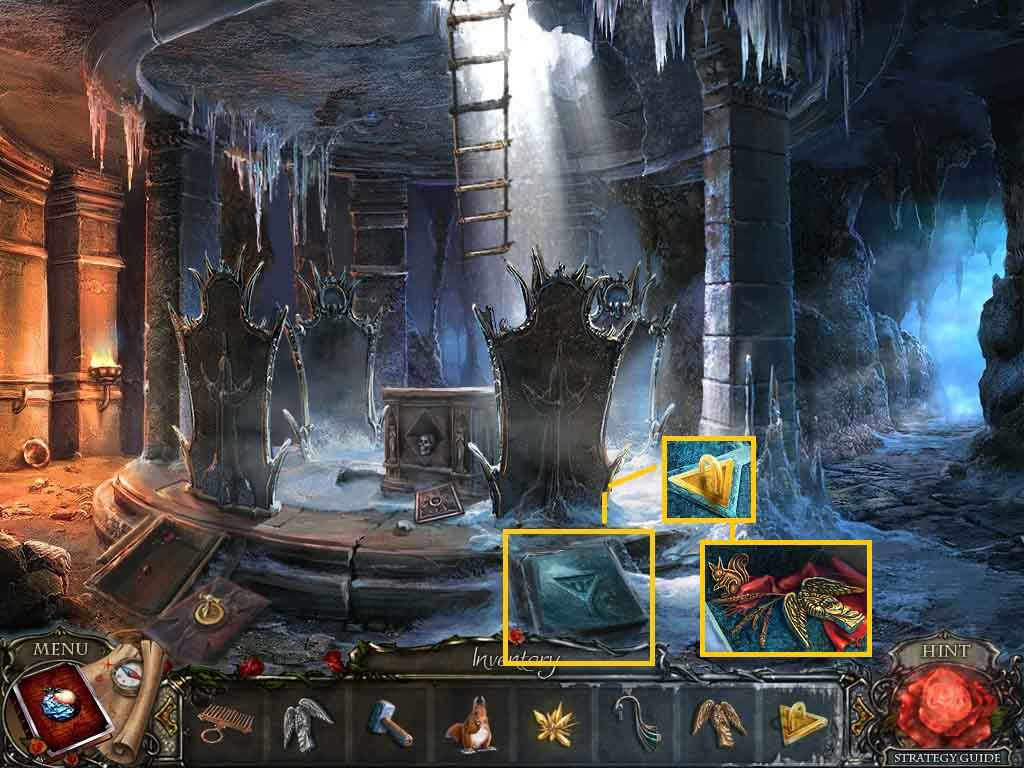
- Click the compartment on the right and insert the triangular handle and click it.
- Collect the 3rd angel figure and the squirrel emblem.
- Move to the Frozen Pyramid.
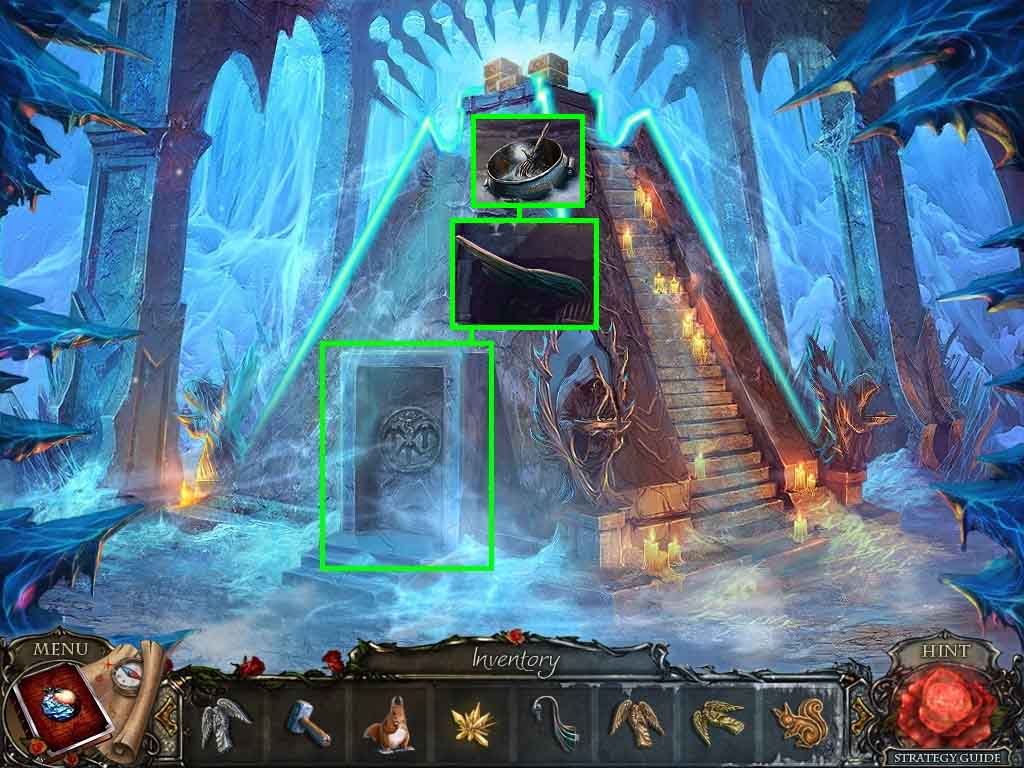
- Click the pyramid door and insert the 3 angel figures.
- Zoom into the pyramid and collect the swan wing and the vat.
- Move to the Bear Statue.
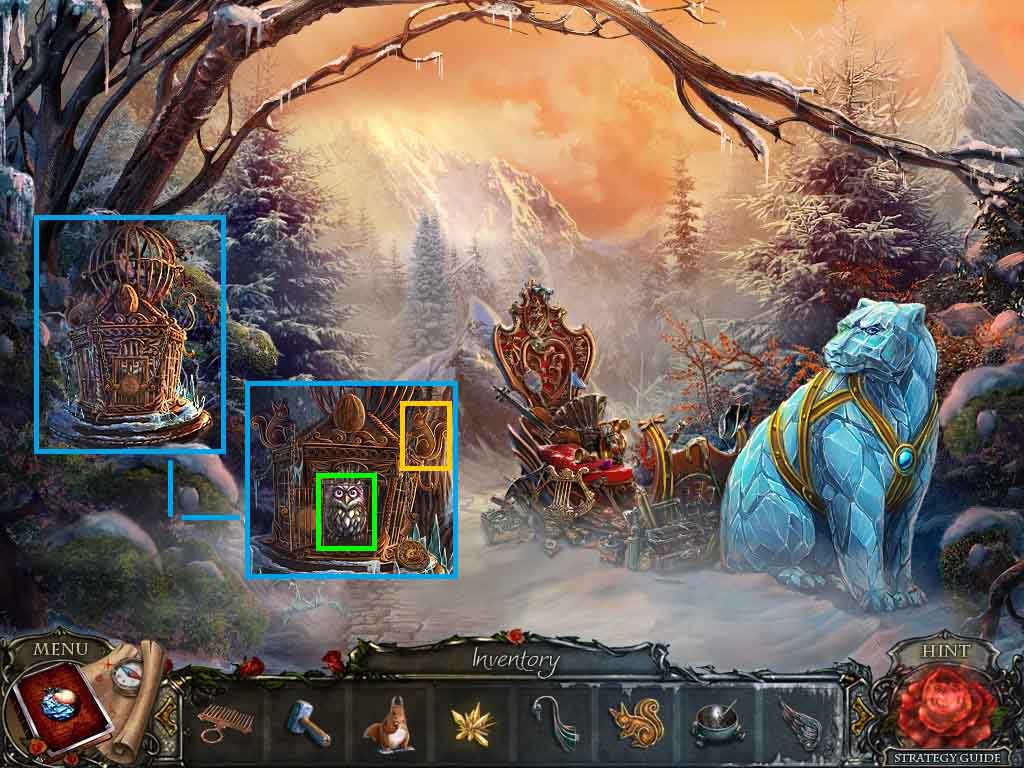
- Click the cage and insert the squirrel emblem.
- Click the cage door and collect the owl.
- Move to the Lake Shore.
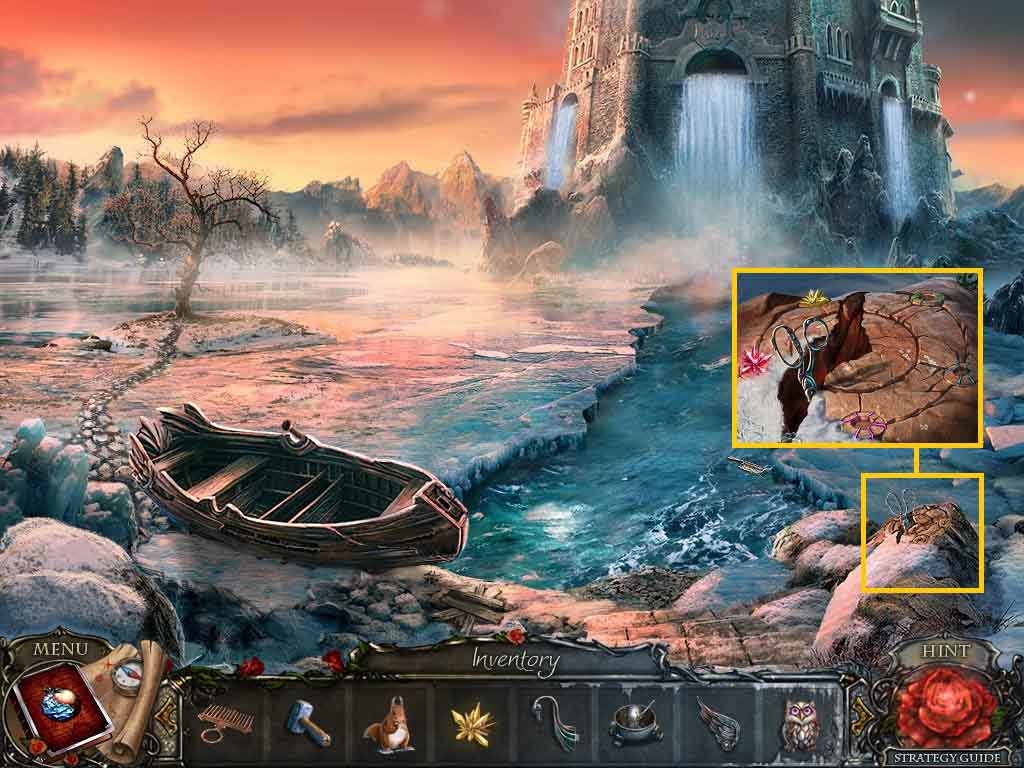
- Click the stone and insert the yellow stone; collect the scissors.
- Move to the Stone Bridge.
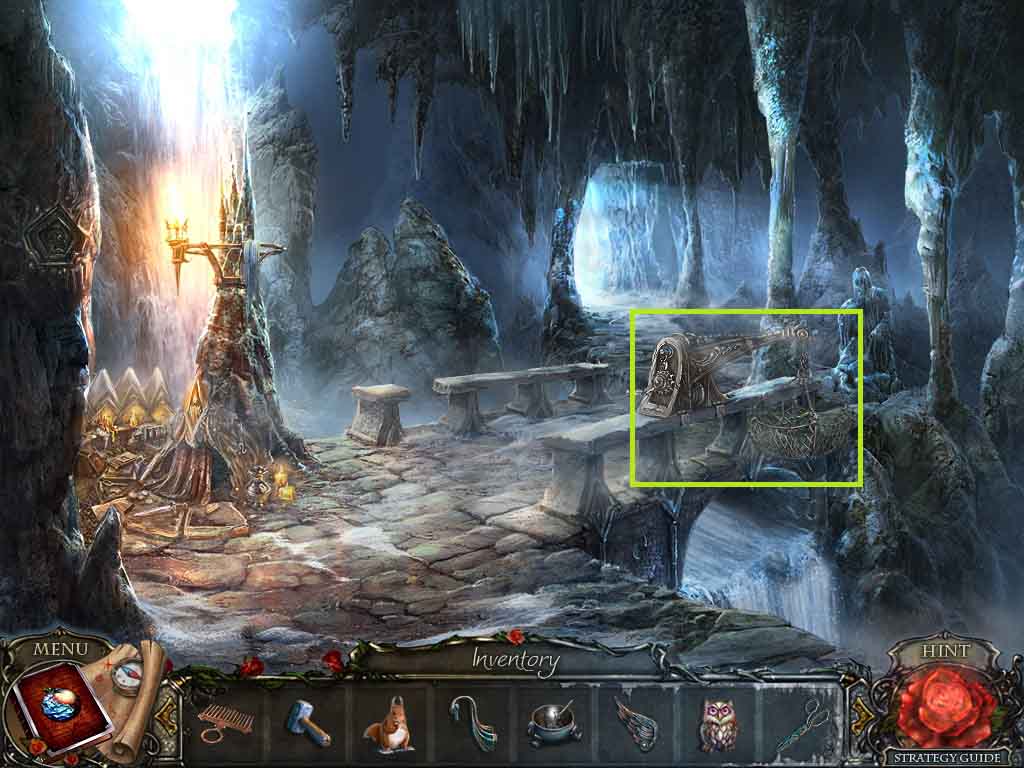
- Click the crane.
- Select the scissors to cut and collect the net.
- Move to the Cave Mouth.
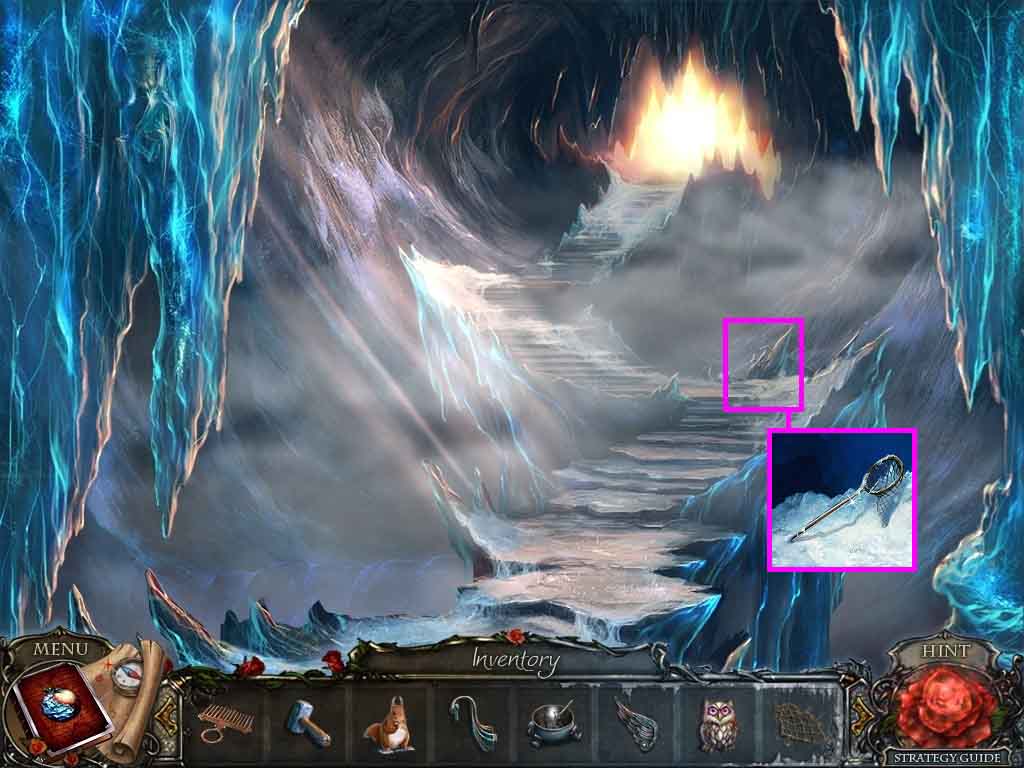
- Click the broken net and replace the net; collect the scoop net.
- Move to the Lake Shore.
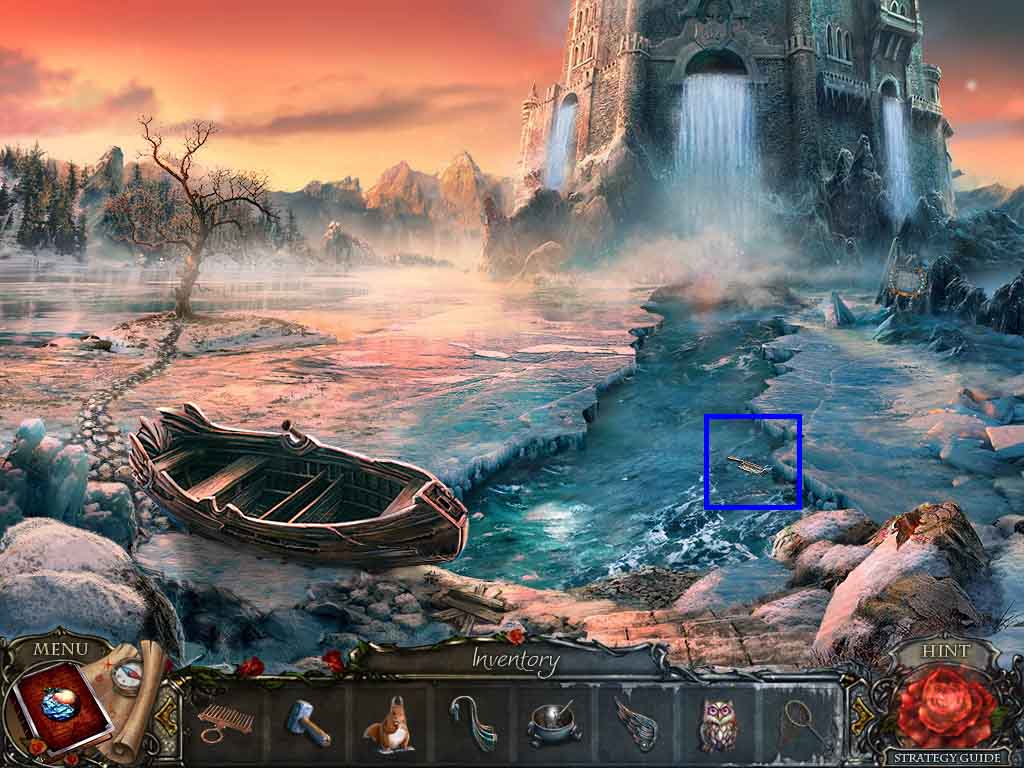
- Click the water and dip the scoop net into it; collect the brush.
- Move to the Bear Statue.
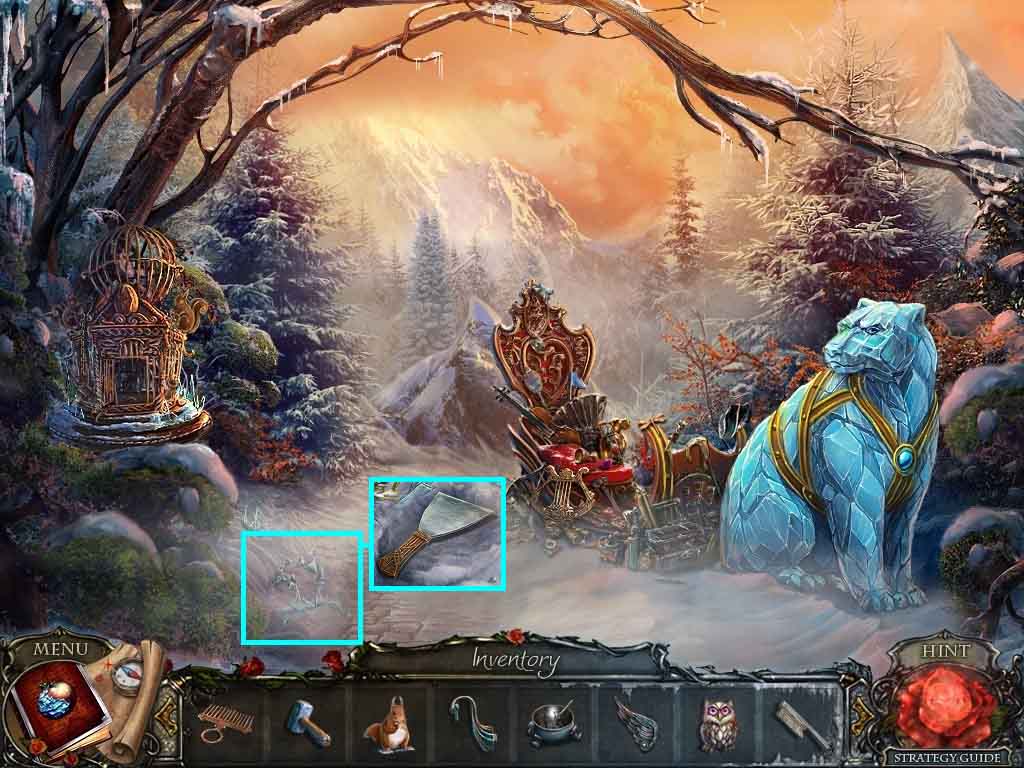
- Click the glass shards.
- Select the brush and use it on the shards 2 times; collect the scraper.
- Move to the Lake Shore.
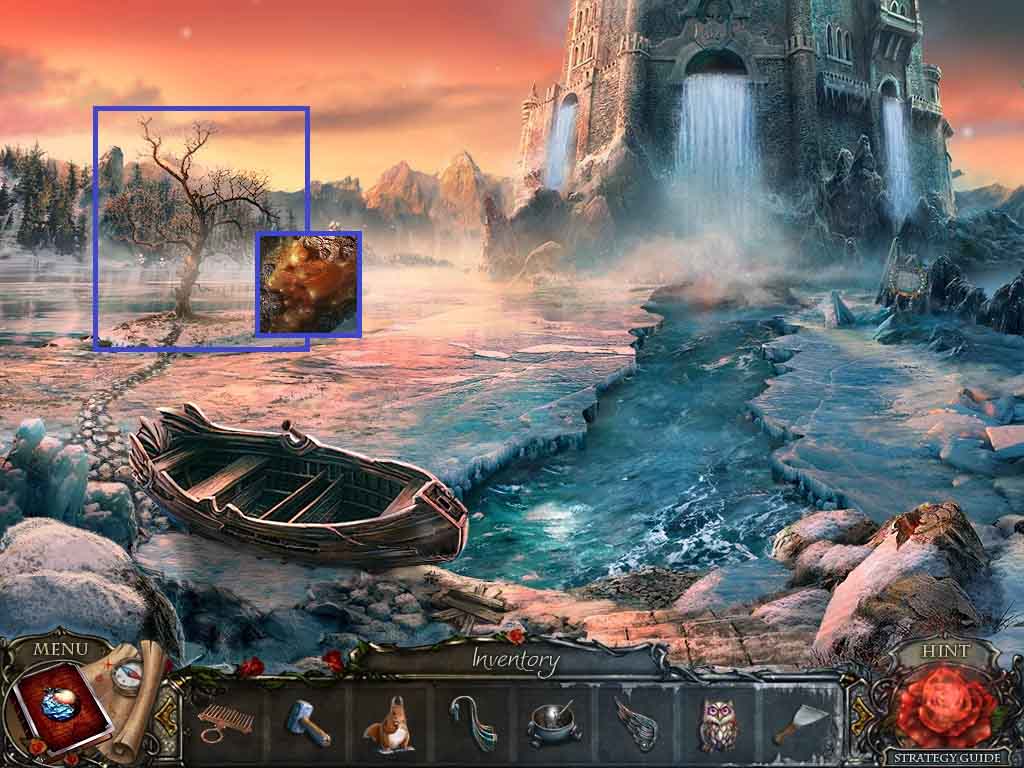
- Click the tree.
- Select the scraper to collect the resin.
- Move to the Mirror Chamber.
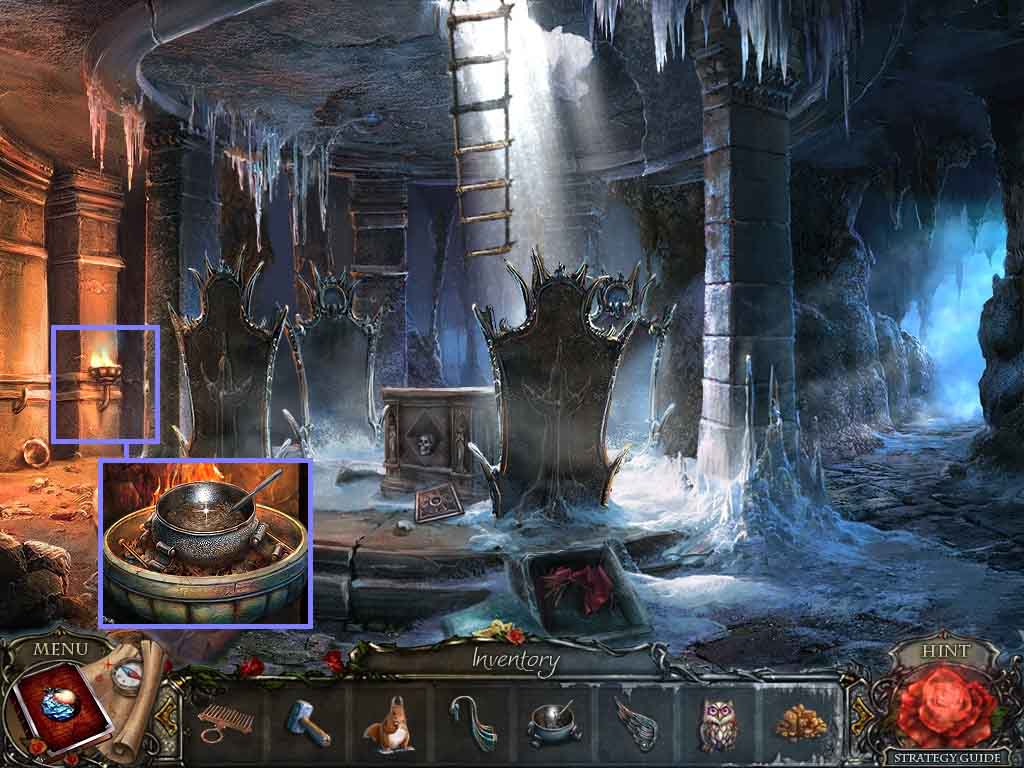
- Click the brazier and place the vat and resin onto it; collect the vat with resin.
- Move to the Lake Shore.
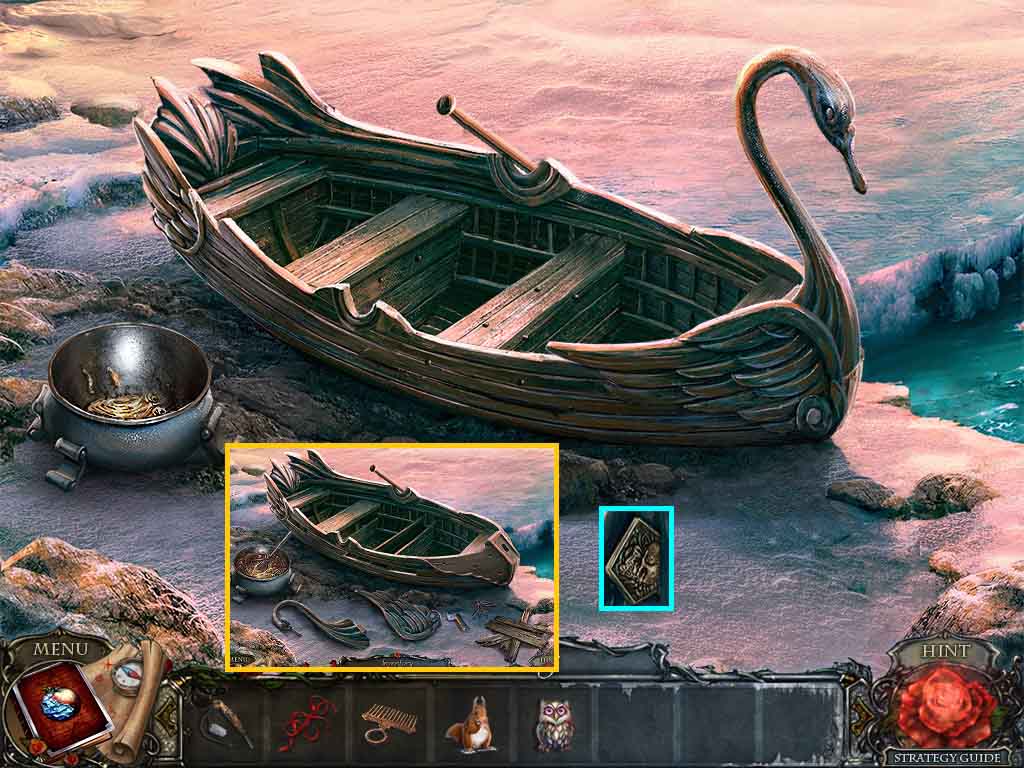
- Click the boat and place the following items down: the hammer, swan neck, swan wing, and vat with resin to trigger a puzzle.
- Select the resin to use on the bow.
- Place the items as follows onto the boat interior: boards, nails and select the hammer to secure them.
- Place the swan neck and the swan wing onto the bow.
- Click the boat and move ahead on it; collect the skull.
- Move to the Stone Bridge.
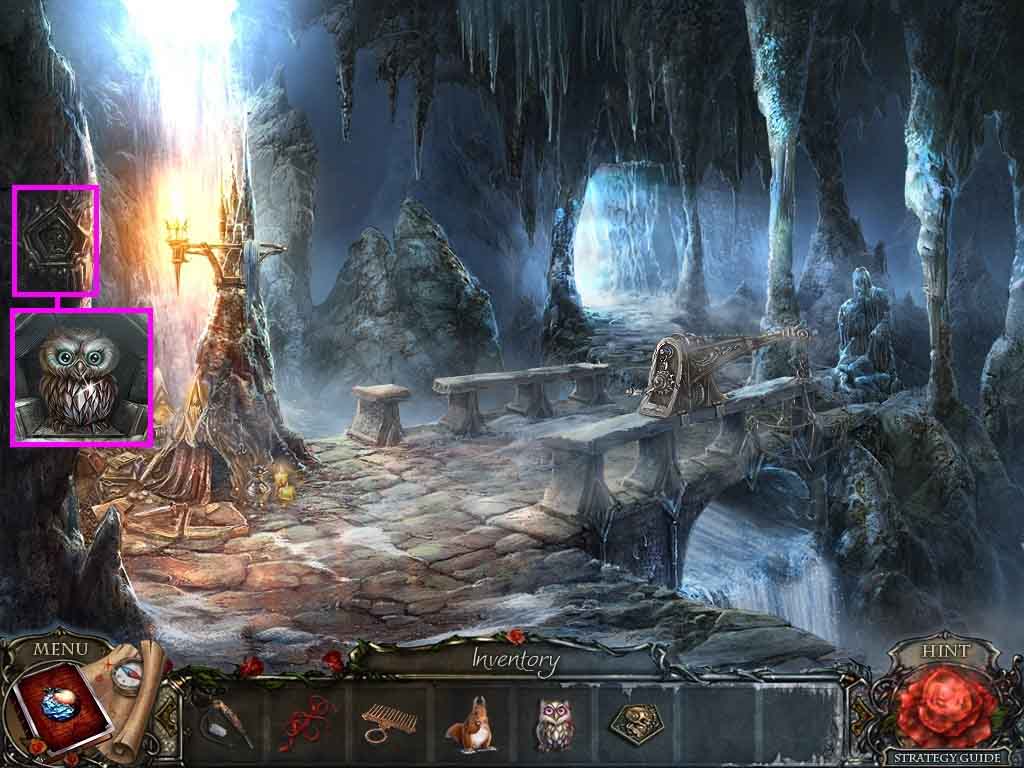
- Click the stone on the left and insert the skull; collect the 2nd owl.
- Move to the Summer Gazebo.
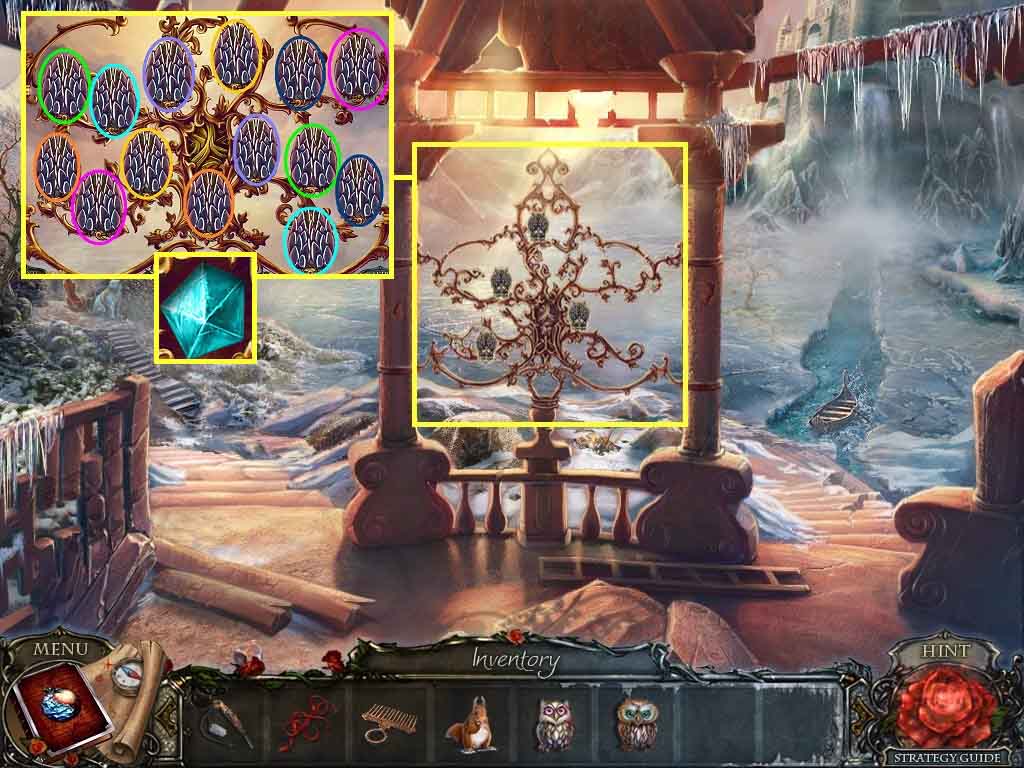
- Click the owls and insert the 2 owls to trigger a puzzle.
- Select the matching pairs.
- Collect the gem.
- Move to the Waterfall Entrance.
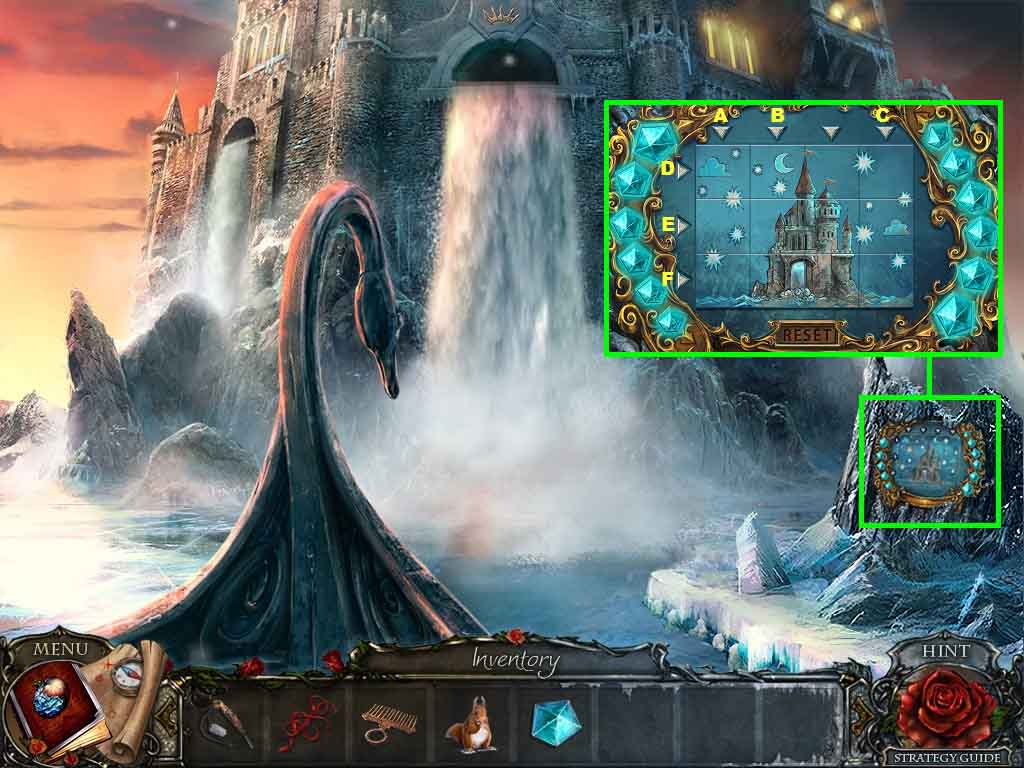
- Click the stone and insert the gem to trigger a puzzle.
- Click the tiles to collect 12 stars.
- Click the arrows in the following order to solve.
- D – B – C – E – A – F
- Move ahead.
Comments will load when you reach this part of the walkthrough.