
Chapter Two: Oh Gnome!

- Click the puzzle part and collect it.
- Move back once.
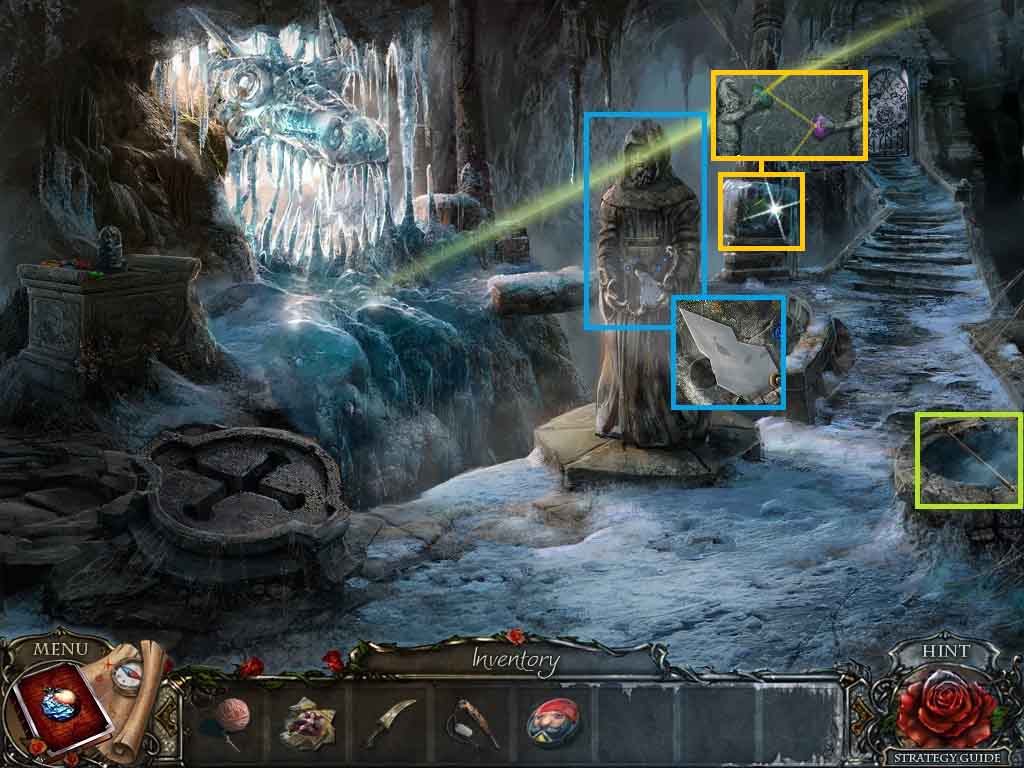
- Click the statue; collect the mirror shard.
- Click the well; collect the pick.
- Click the pillar and move the gnome’s arms to complete the beam.
- Click the green gem then the red gem once.
- Move back once.
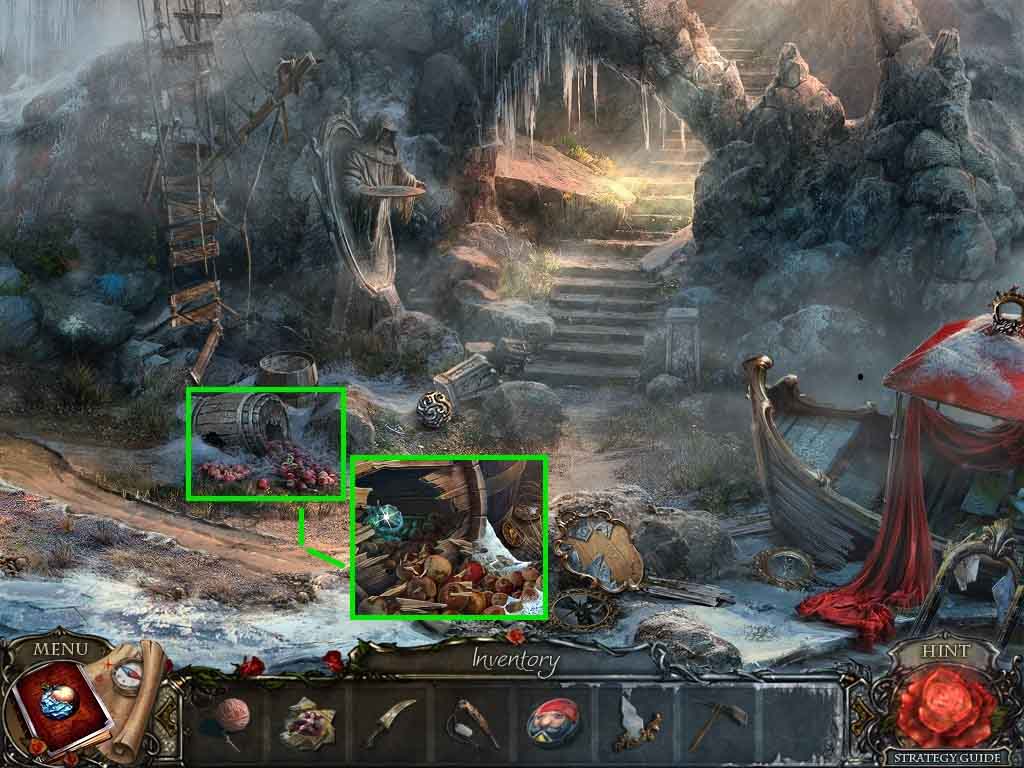
- Click the barrel.
- Select the pick and use it on the barrel twice; collect the frozen nut and wood scraps.
- Move to the left.
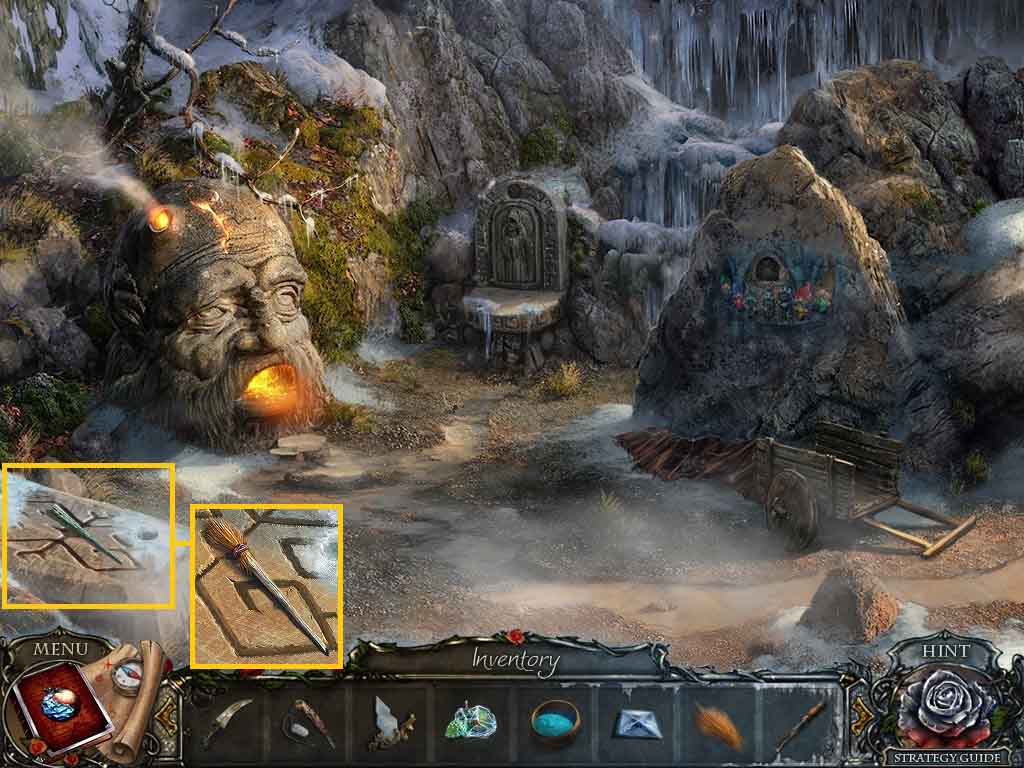
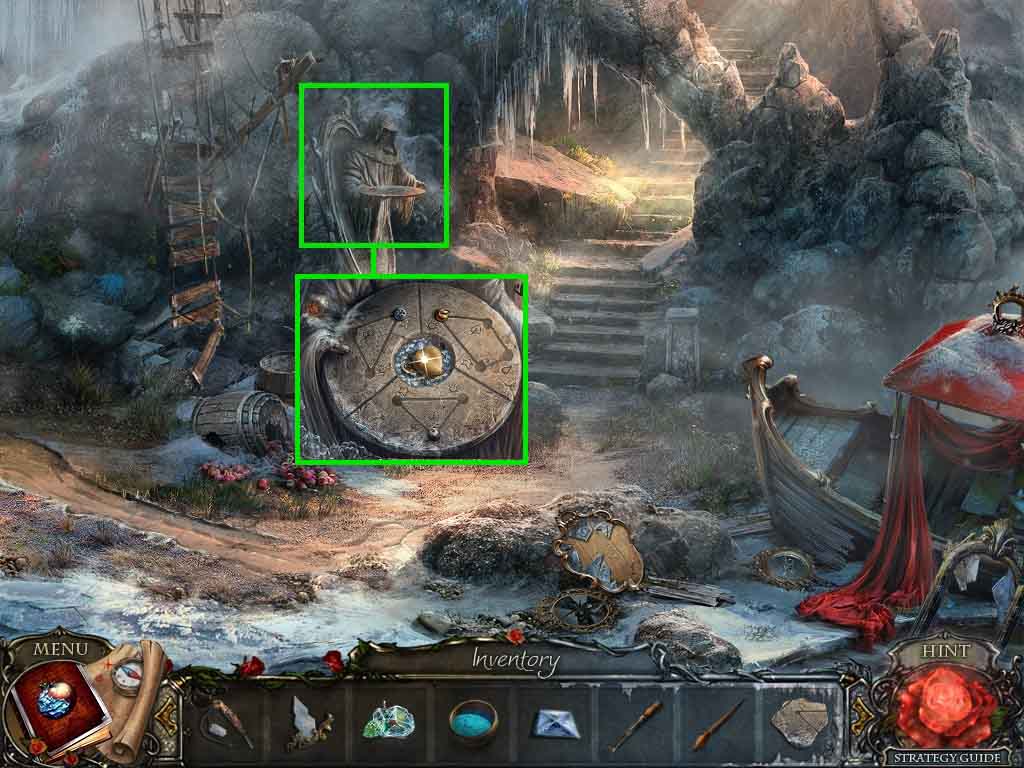
- Click the altar and collect the puzzle part.
- Click the cart then click the leaves and read the note.
- Collect the paint underneath it.
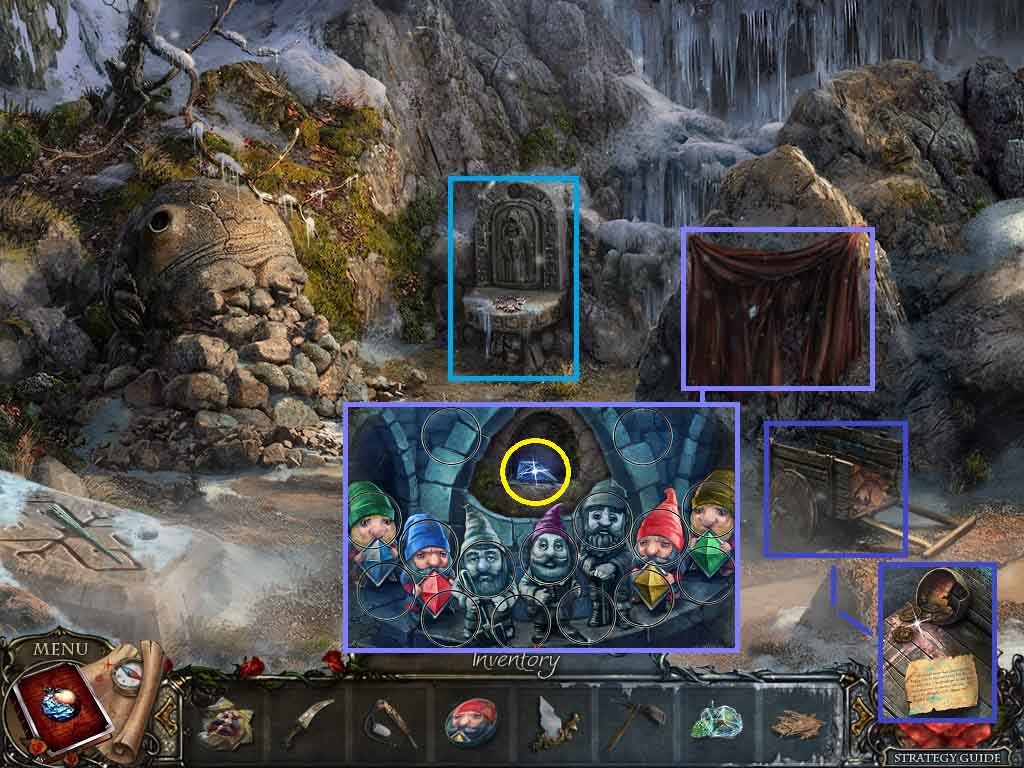
- Click the cloth and look at the mural; insert the round puzzle part to trigger a puzzle.
- Re-create the mural.
- Collect the crystal.
- Move to the right.

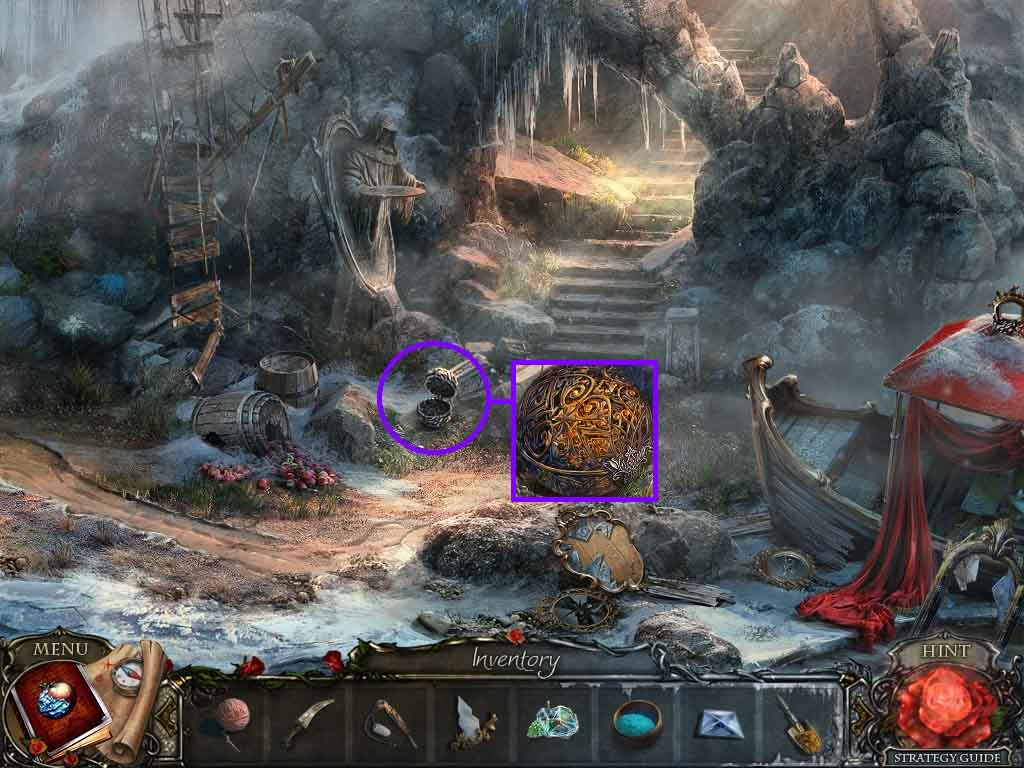
- Click the sphere 2 times; insert the puzzle part.
- Rotate the outer ring and then the middle ring.
- Collect the shovel.
- Move to the left.
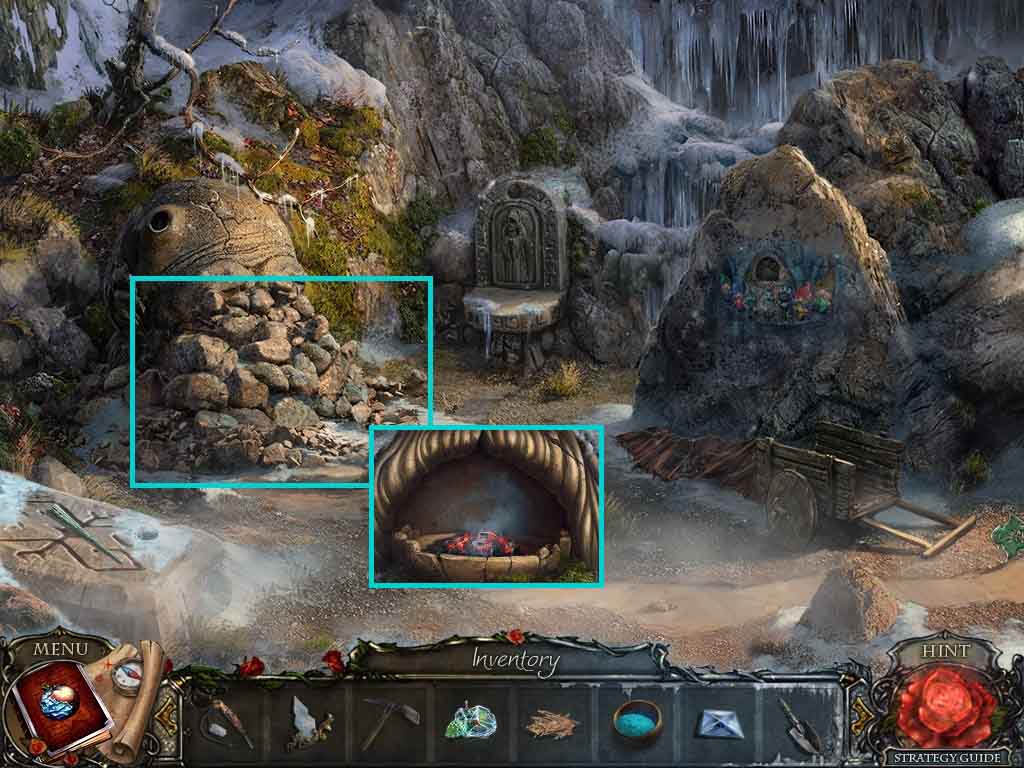
- Select the pick and use it on the rocks.
- Zoom into the mouth and use the wood scraps, paper and flint and steel on it.
- Select the shovel and use it to collect the hot coals.
- Move to the right.
- Click the sphere and place the hot coals into it.
- Click the lid and collect the hot sphere.
- Move upstairs.
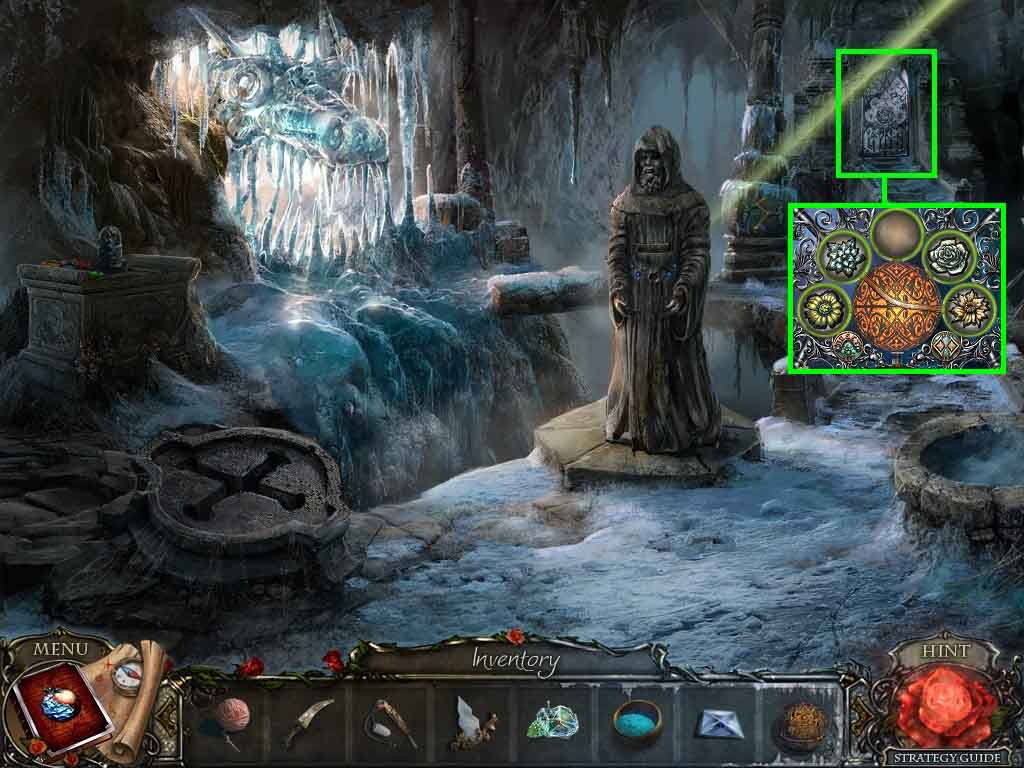
- Click the door and insert the hot sphere to trigger a puzzle.
- Move the flowers into the correct slots.
- Enter the doorway.
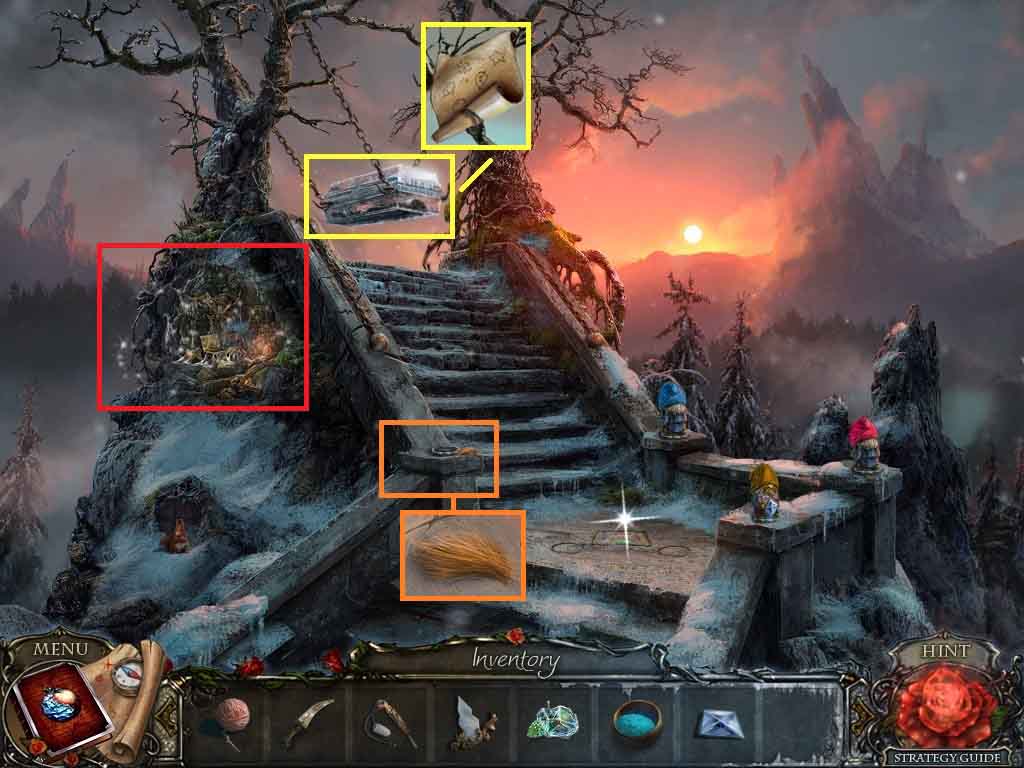
- Click the coffin and collect the clue.
- Click the empty pedestal; collect the fur.
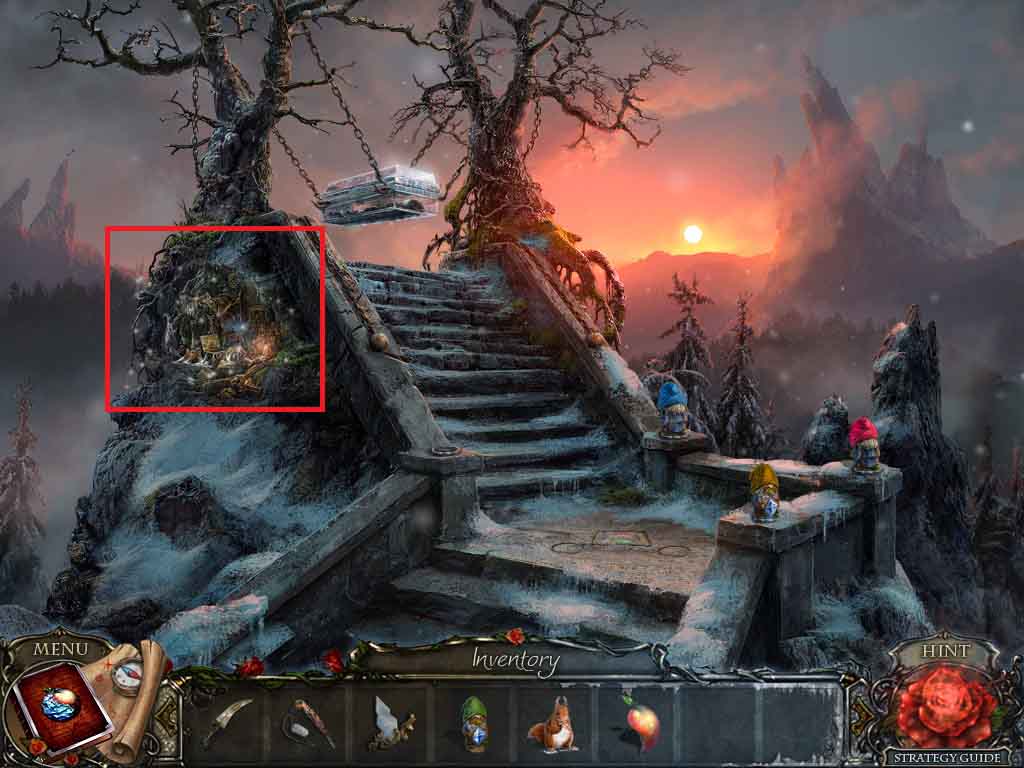
- Click the area beneath the tree to access a hidden objects area.
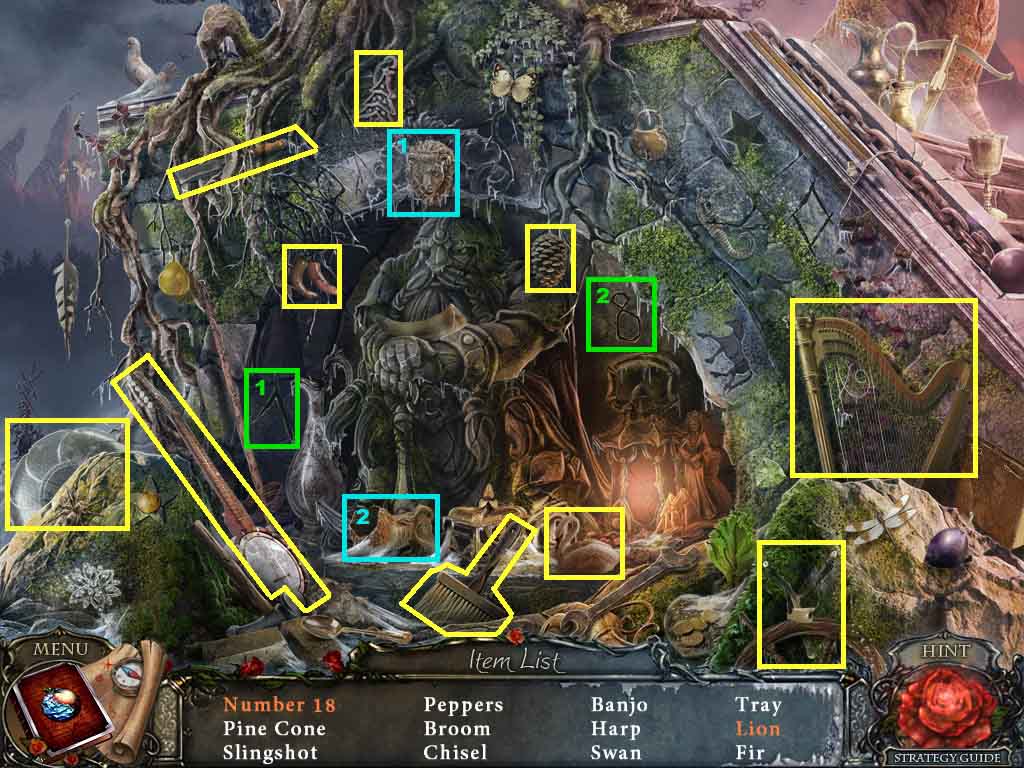
- Find the listed items.
- Place the 1 next to the 8; collect the 18.
- Attach the lion head onto the body; collect the lion.
- Collect the chisel.
- Move to the Stone Oven.
- Click the etched stone and place the yarn and fur onto it.
- Attach the fur onto the stick using the yarn; collect the brush.
- Move to the right.
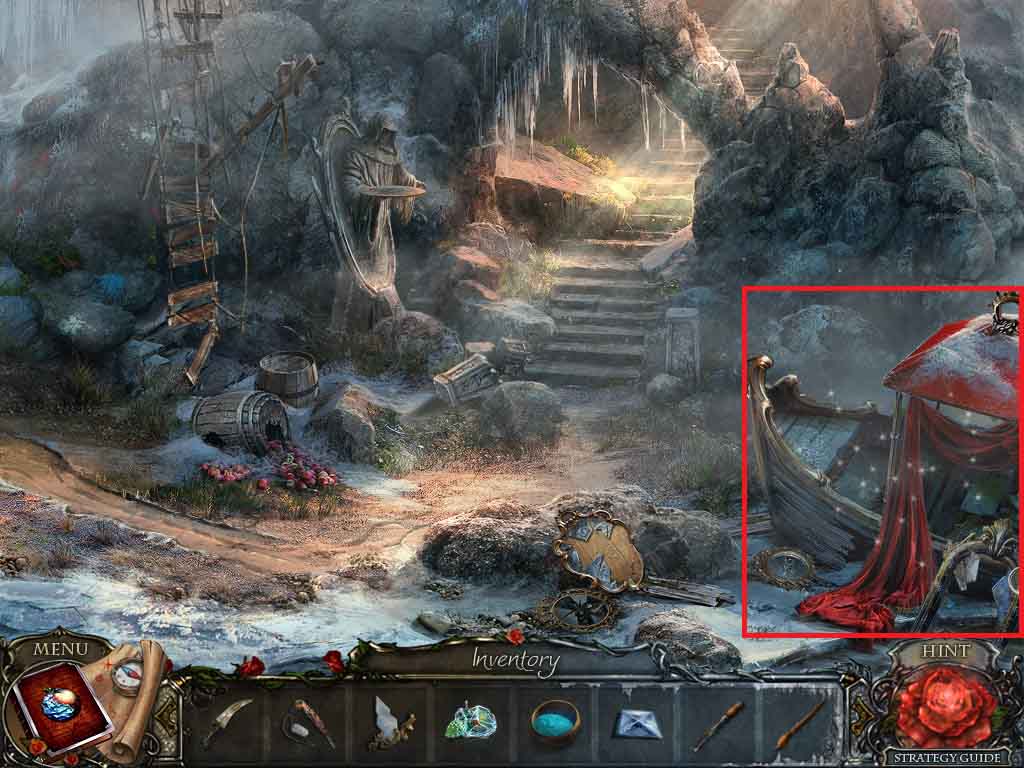
- Click the boat to access a hidden objects area.
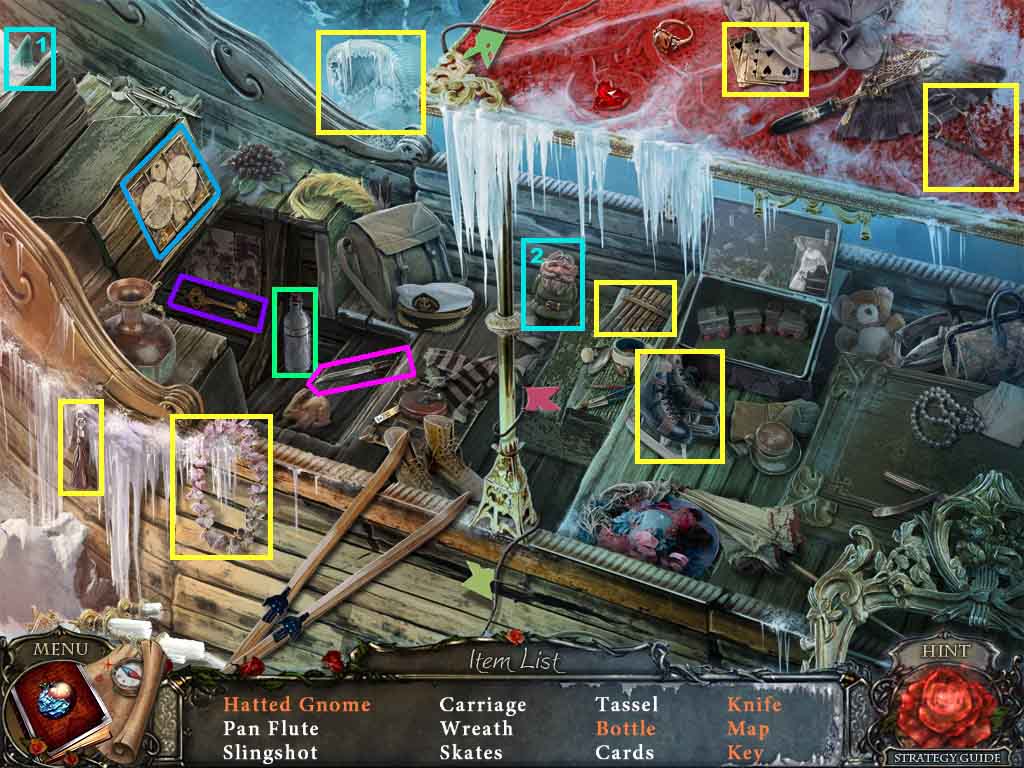
- Find the listed items.
- Place the hat onto the gnome; collect the hatted gnome.
- Click the compartment to collect certain items.
- Collect the key.
- Move to the left.
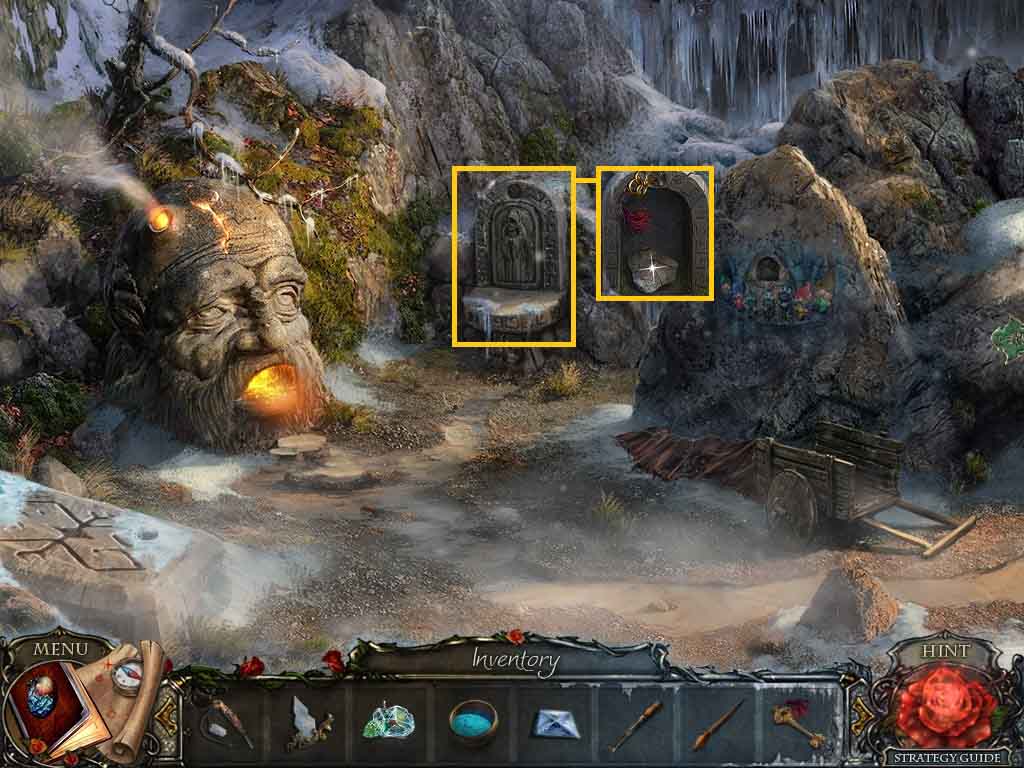
- Click the altar and insert the key; click the key and collect the stone chunk.
- Move to the right.
- Click the statue and insert the stone chunk.
- Move the button to their matching symbols.
- Insert the frozen nut; collect the tasty nut.
- Move upstairs.
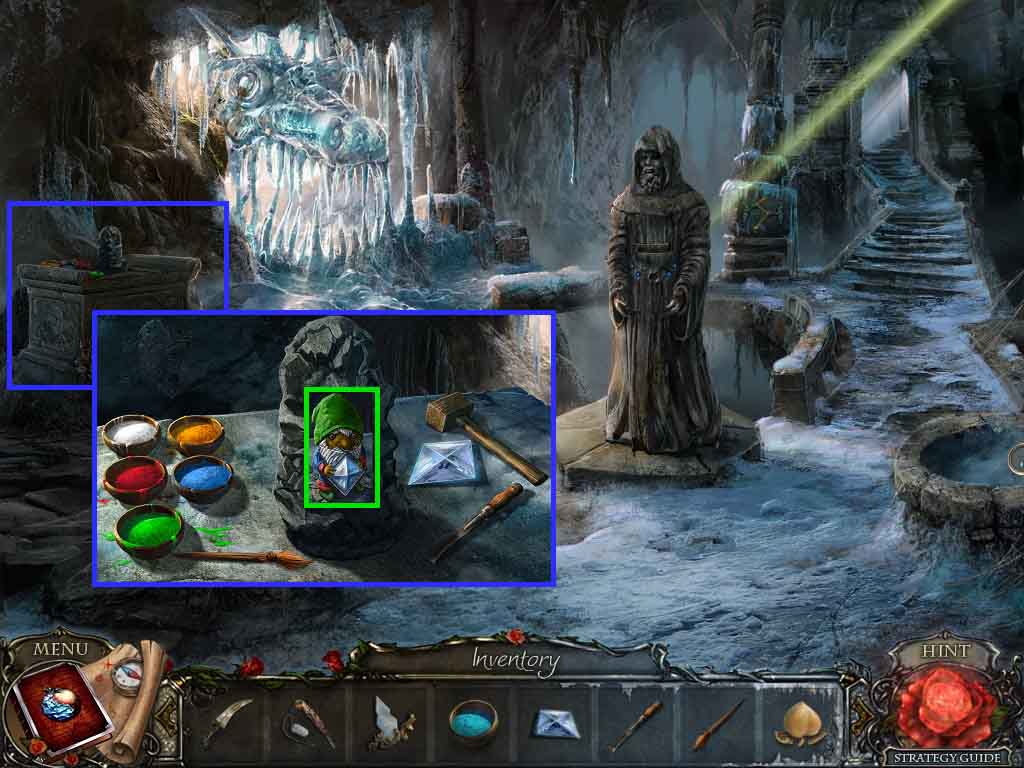
- Click the table and lay down the paint, brush, chisel and crystal to trigger a puzzle.
- Select the chisel and place it onto the stone.
- Select the hammer and click it 3 times onto the chisel.
- Dip the brush into the paints and follow the wall etching.
- Place the crystal onto the gnome; collect the gnome.
- Move upstairs.
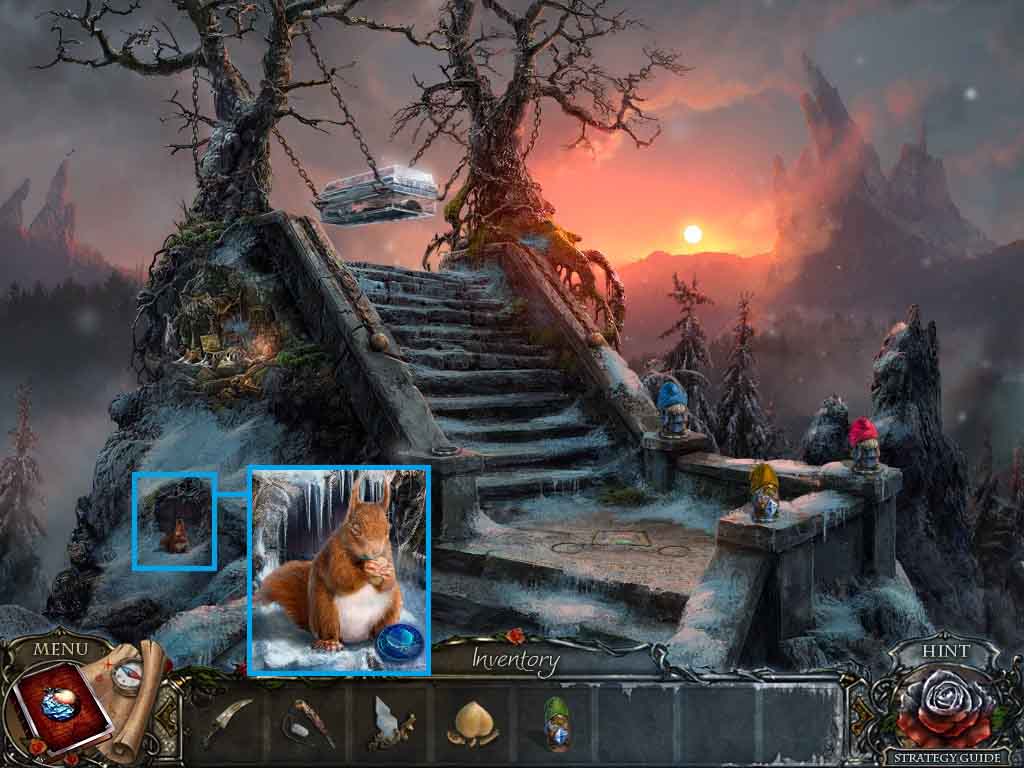
- Click the squirrel and give him the tasty nut.
- Collect the squirrel.
- Collect the blue gem.
- Move back once.
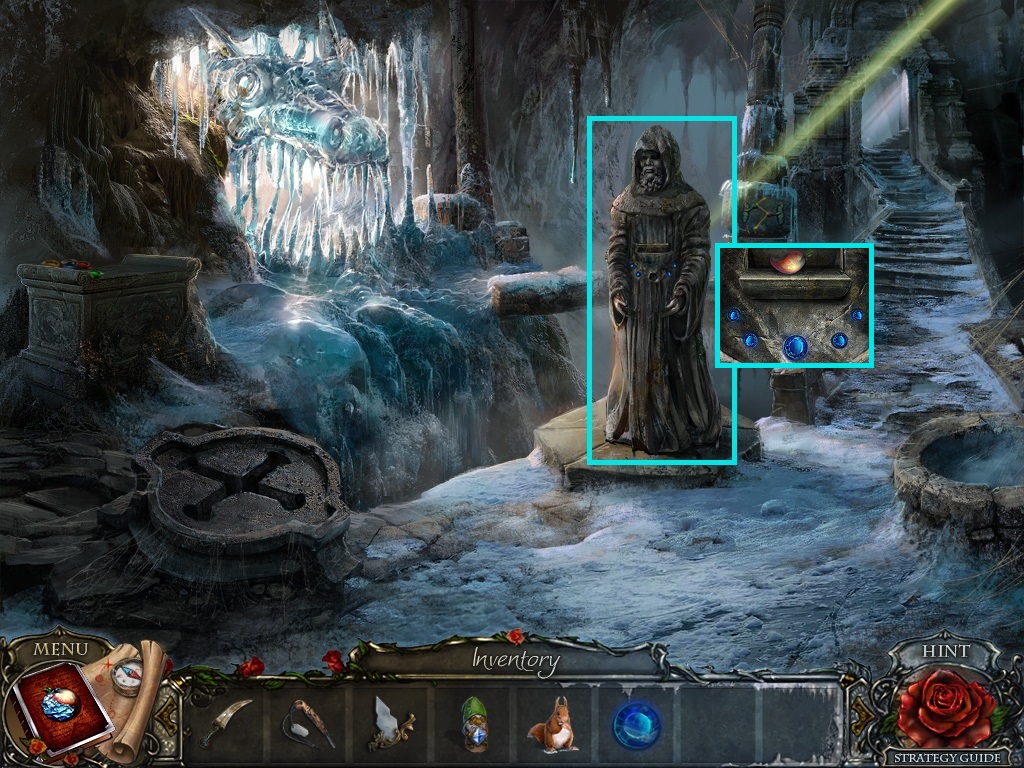
- Click the statue and insert the blue gem; collect the apple part.
- Move upstairs.
- Click the tree roots to access a hidden objects area.
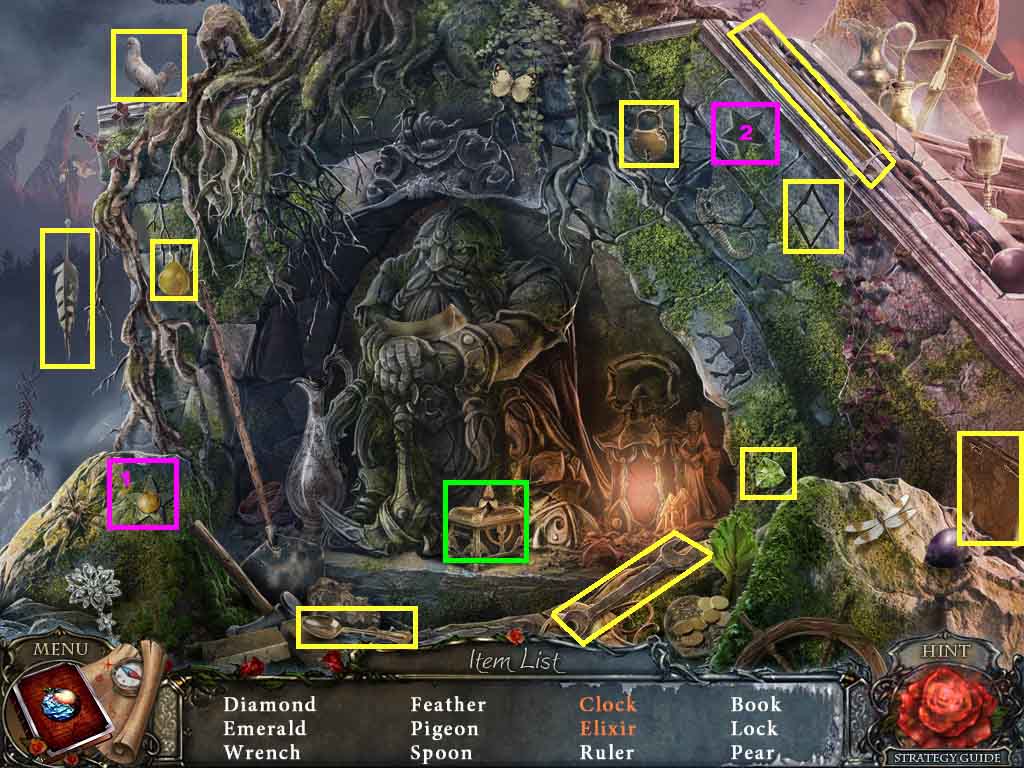
- Find the listed items.
- Click the box; collect the clock.
- Insert the star into the recess; collect the elixir.
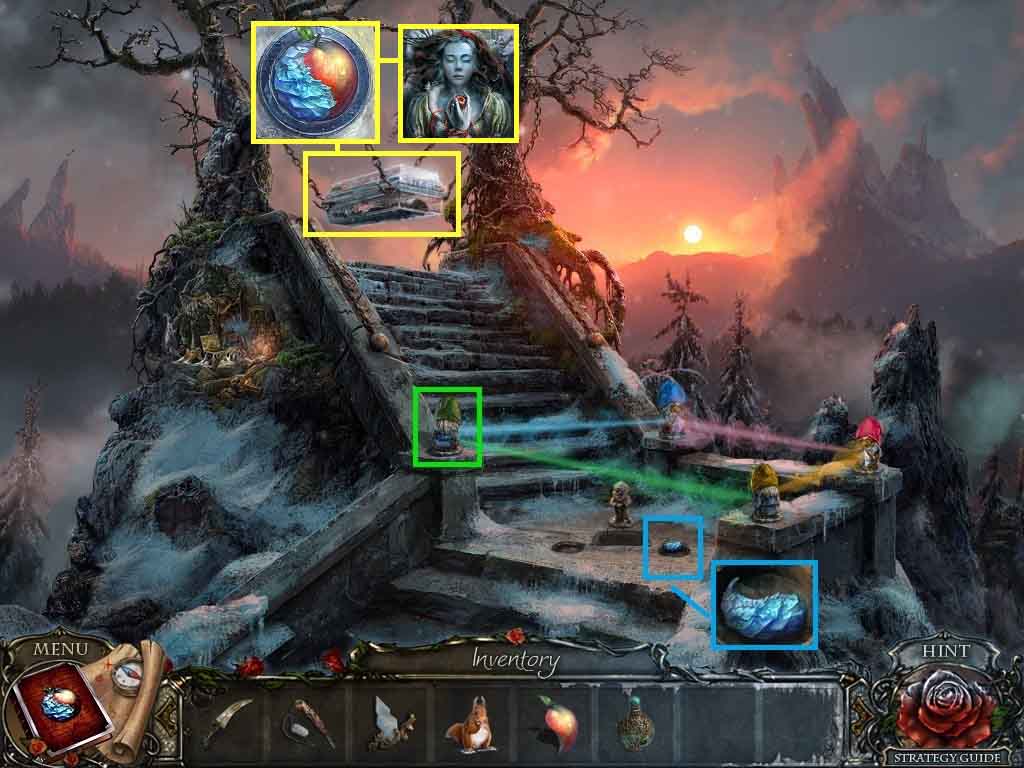
- Click the pedestal and place the gnome onto it.
- Click the gnomes to match the code on the landing.
- Click the gnomes as follows to solve the puzzle.
- Yellow hatted gnome: 2 times
- Green hatted gnome: 3 times
- Blue hatted gnome: 2 times
- Click the landing; collect the 2nd apple part.
- Click the coffin 2 times; insert the 2 apple parts.
- Click the apple; collect the corset lace.
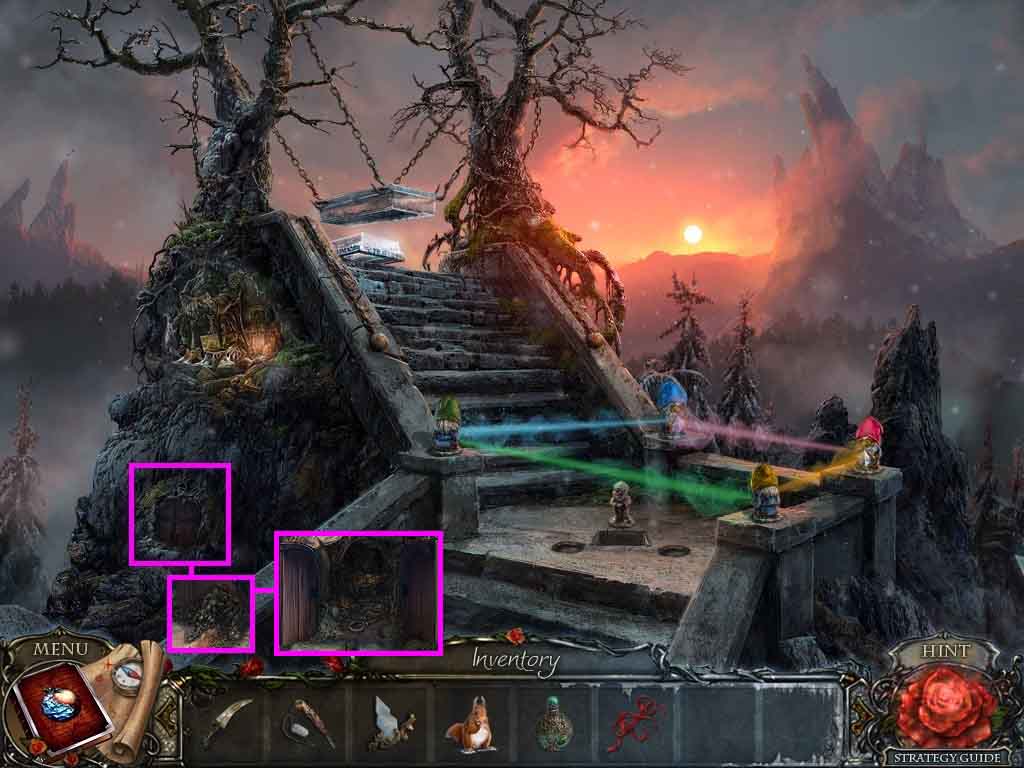
- Zoom into the doorway; collect the dirt.
- Click the doors and collect the lever.
- Move back once on go to the passage on the left to Cliffside.
Comments will load when you reach this part of the walkthrough.