

Chapter Five: Girls, Girls, Girls
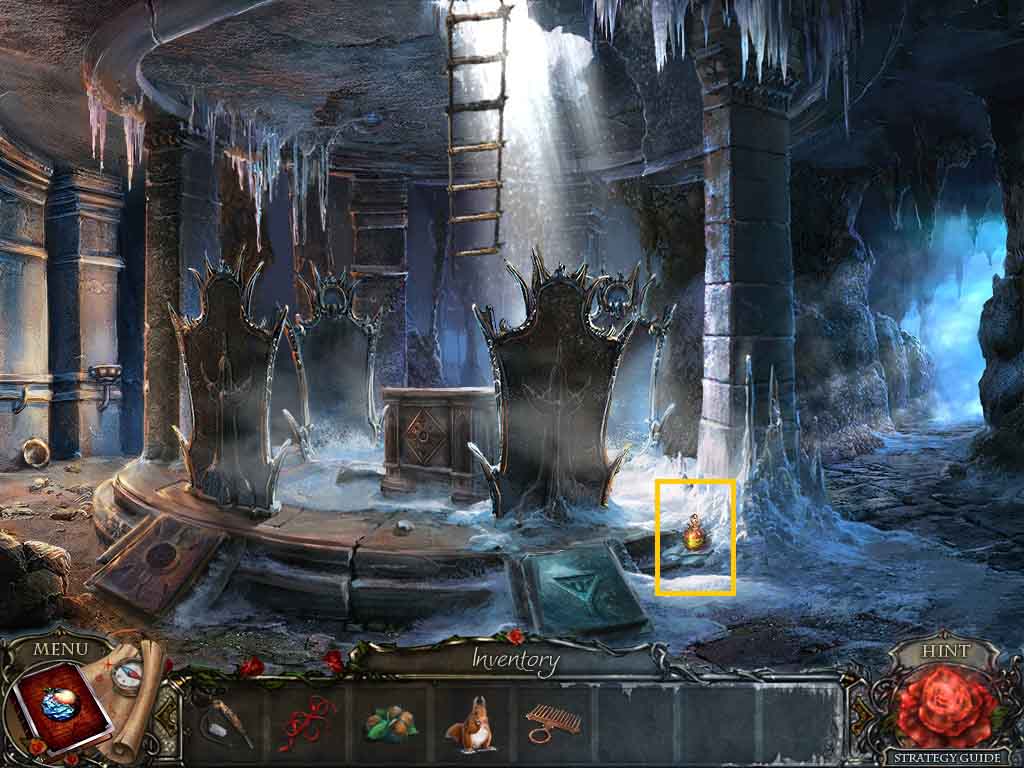
- Click the bottle; collect the powder.
- Move to the right.
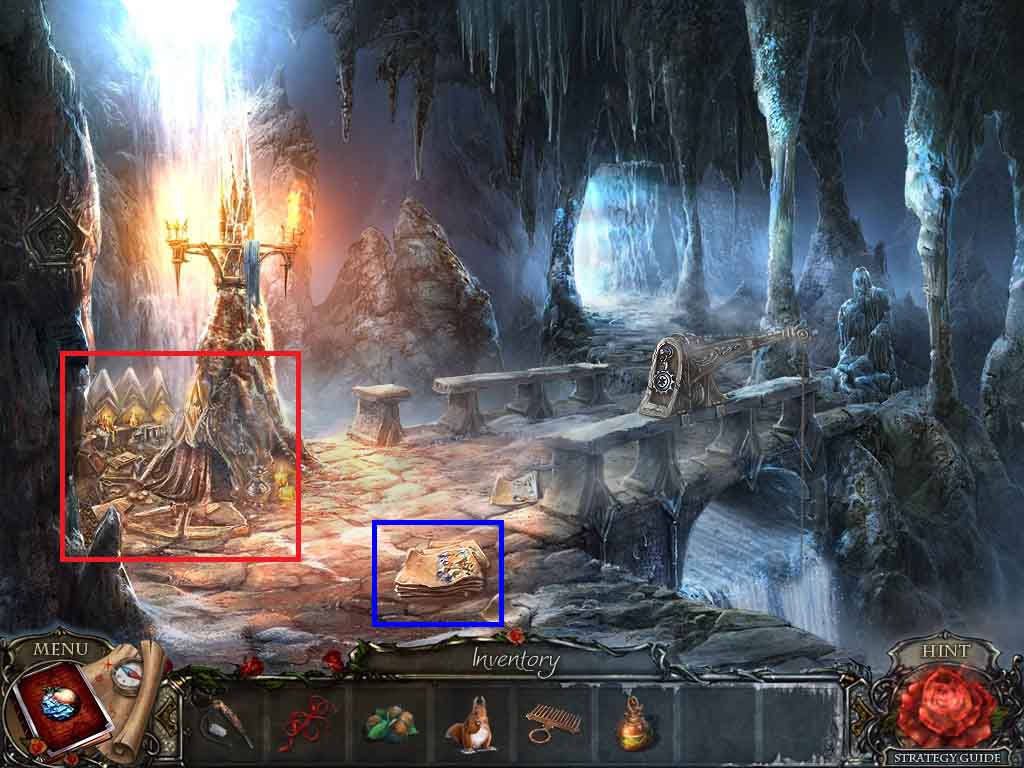
- Collect the book pages.
- Click the stalagmite base to access a hidden objects area.
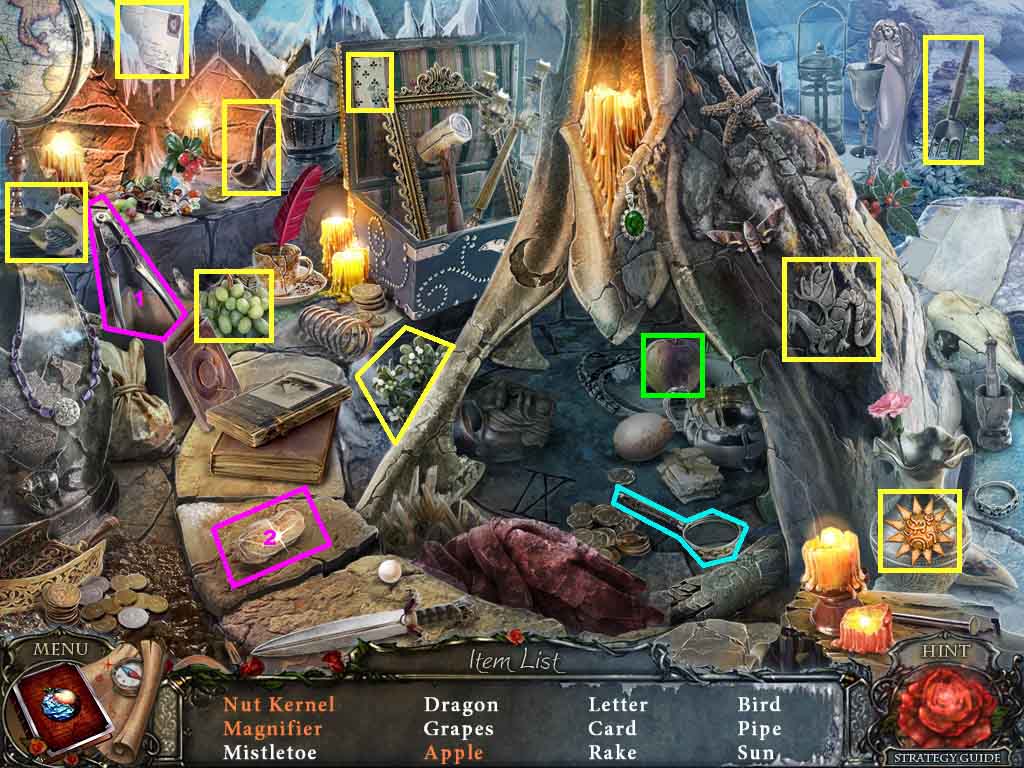
- Find the listed items.
- Click the curtain to collect certain items.
- Select the nutcracker use it to crack the nut; collect the nut kernel.
- Collect the sun.
- Move ahead through the opening.
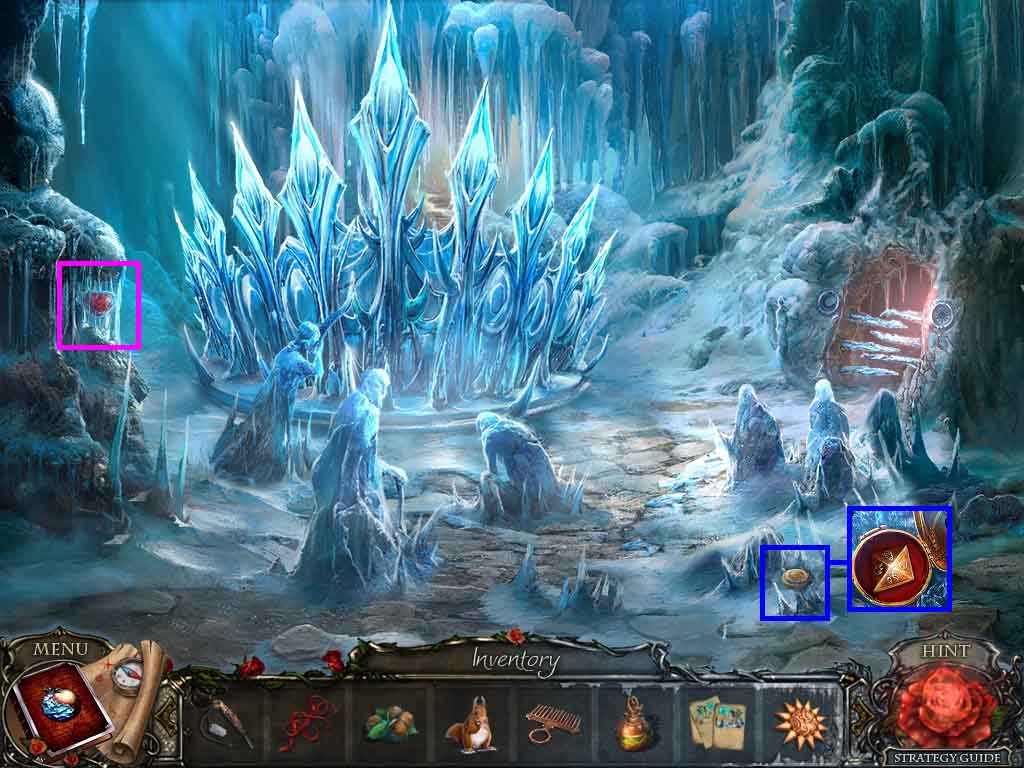
- Click the locket 2 times; collect the rune stone.
- Click the heart; collect the frozen heart.
- Move into the Inside Workshop in the Forest.
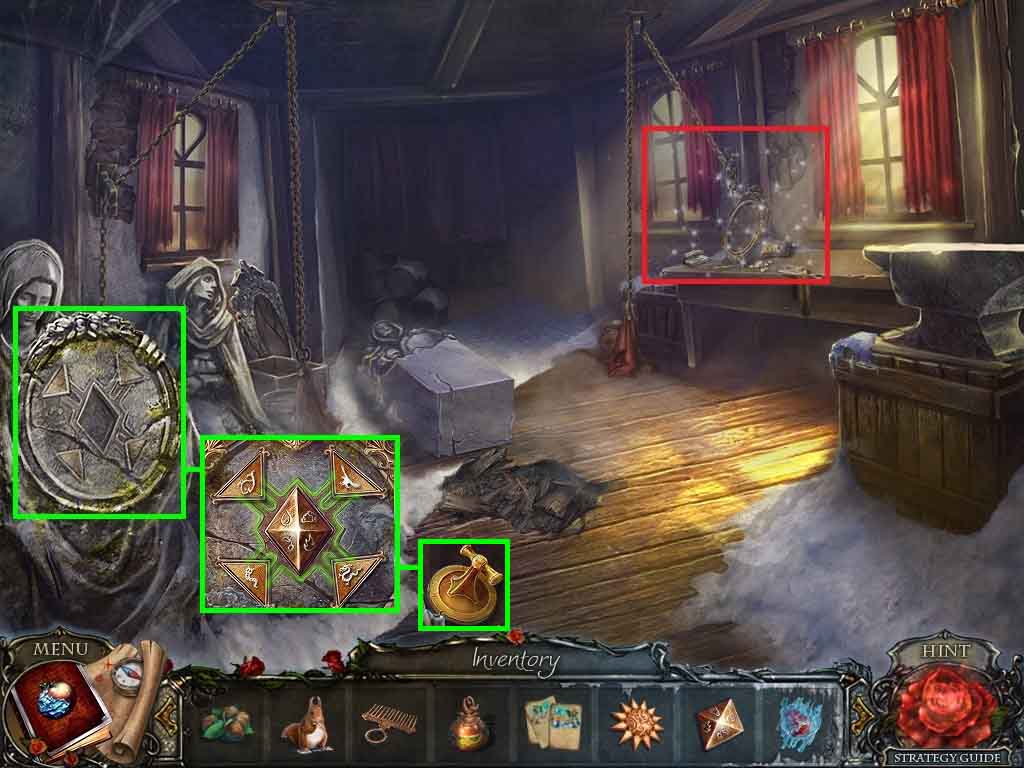
- Click the statue and insert the rune stone to trigger a puzzle.
- Click the outer icons to match the icons on the middle rune.
- Collect the round handle.
- Click the mirror to access a hidden objects area.
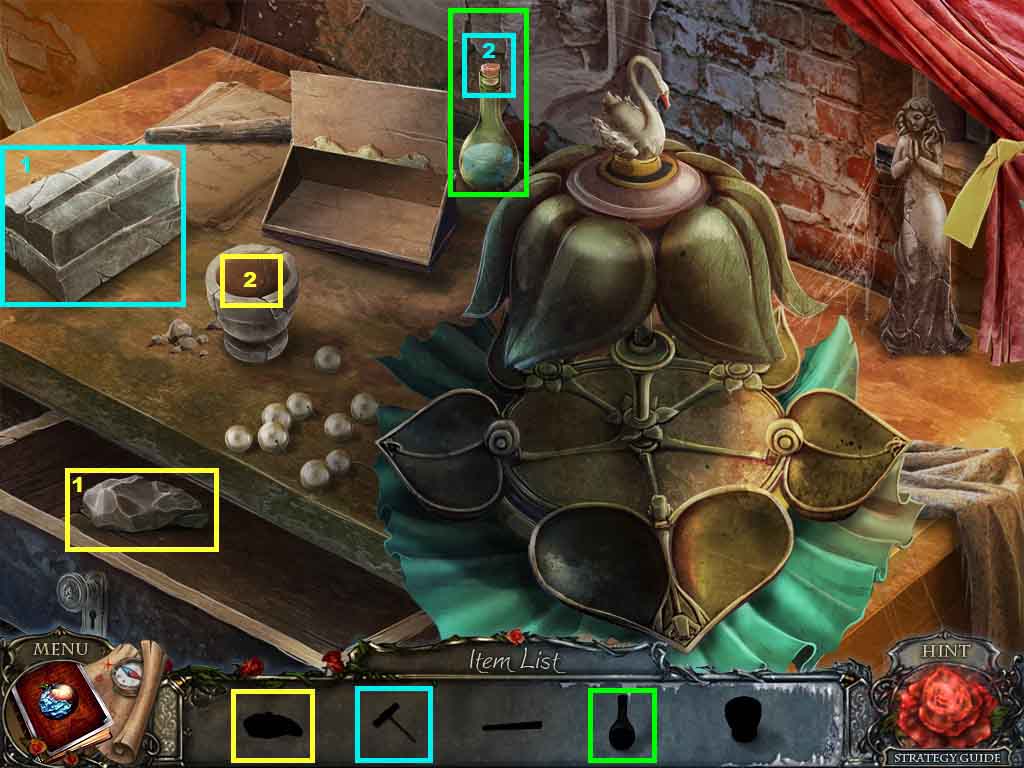
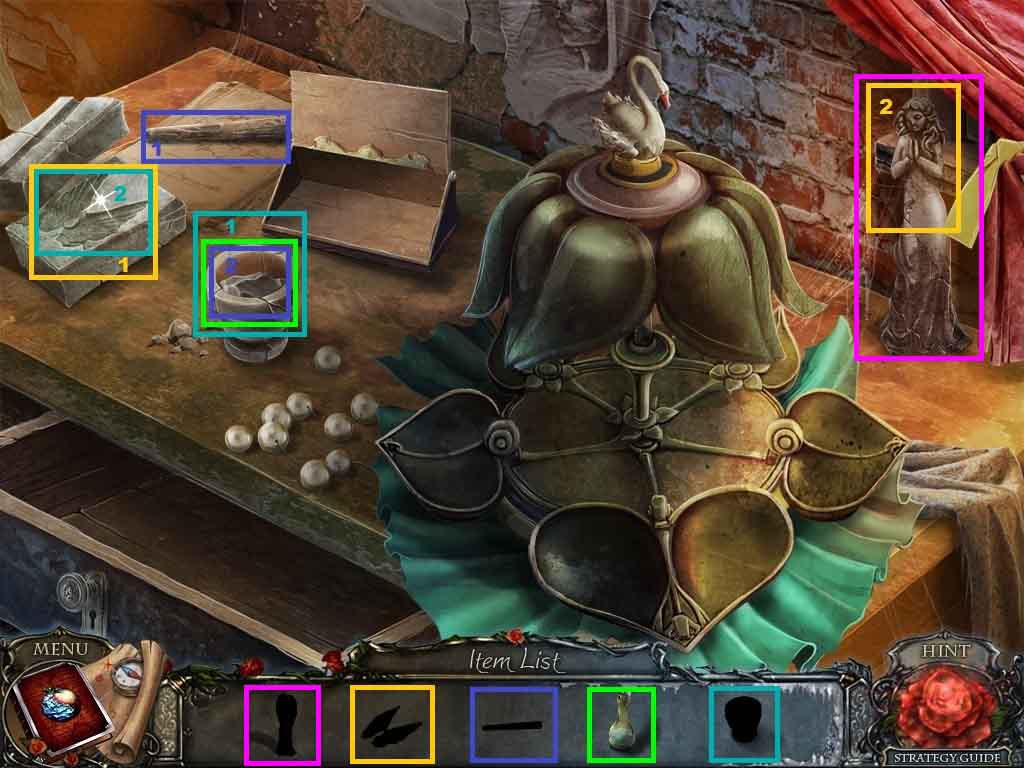
- Find the silhouetted items.
- Click the mold; collect the corkscrew.
- Select the corkscrew and insert it into the bottle cork; collect the bottle.
- Collect the gypsum and place it into the bowl.
- Select the pestle and place it into the bowl.
- Pour the bottle content into the bowl; collect the gypsum solution.
- Pour the gypsum solution onto the mold; collect the wings.
- Attach the wings onto the statue; collect the angel.
- Move to the Mirror Chamber at the Lake.
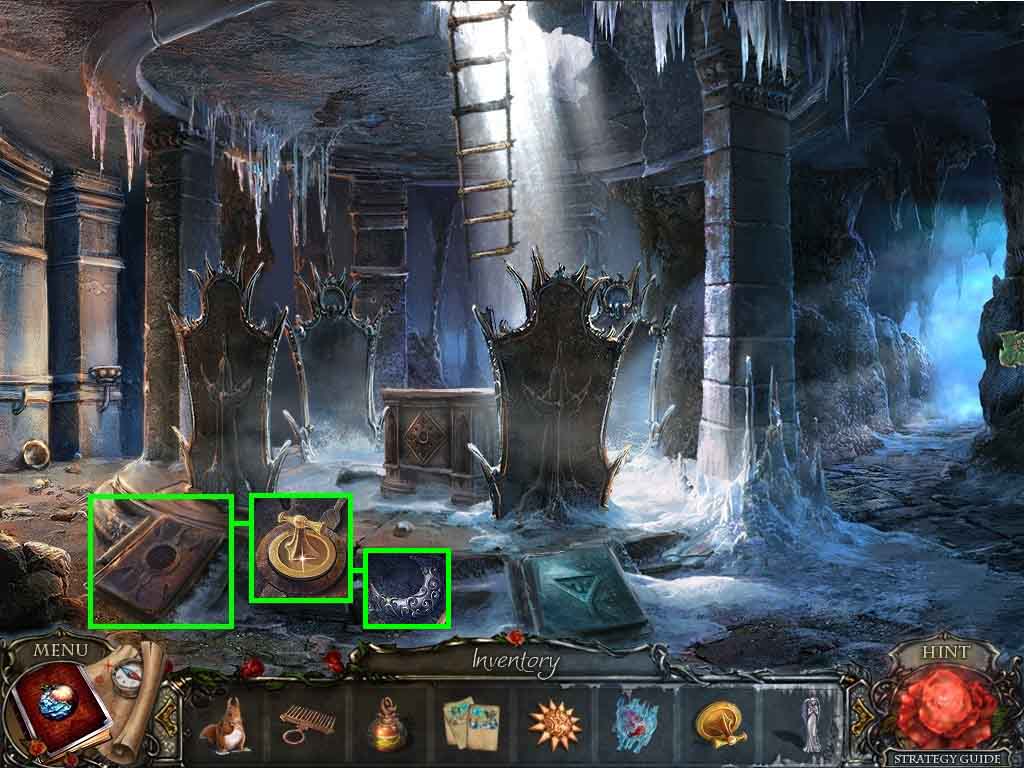
- Click the compartment and attach the round handle.
- Click the handle; collect the moon.
- Move to the Queen’s Sanctuary.
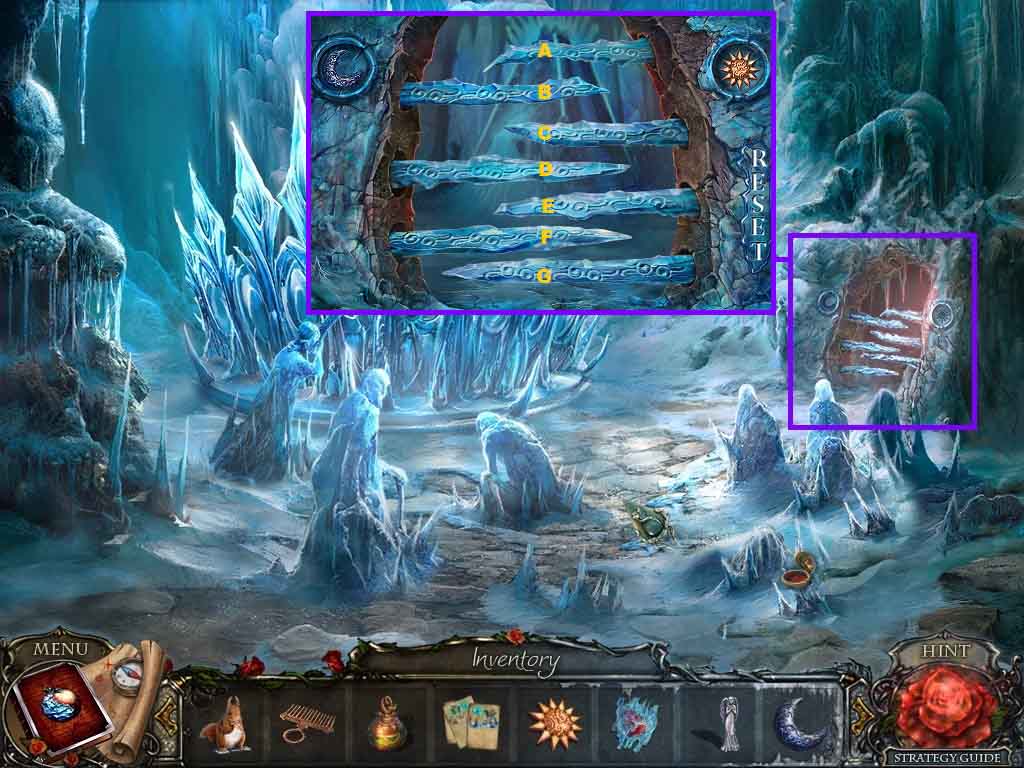
- Click the gate and insert the moon and the sun to trigger a puzzle.
- Click the spikes open using the following sequence.
- G – G – A – A – B – B – E – E – C – C – F – F
- Move through the passage.
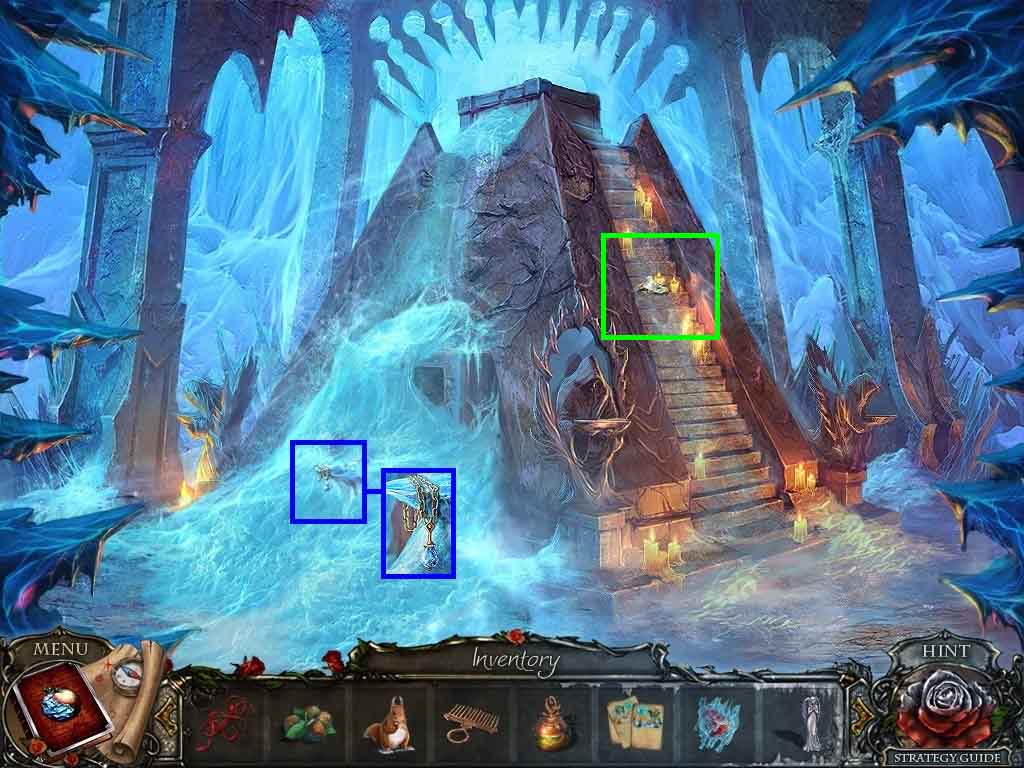
- Click the ice; collect the locket.
- Click the steps; collect the note and the crane handle.
- Move to the Forest Entrance in the Forest.
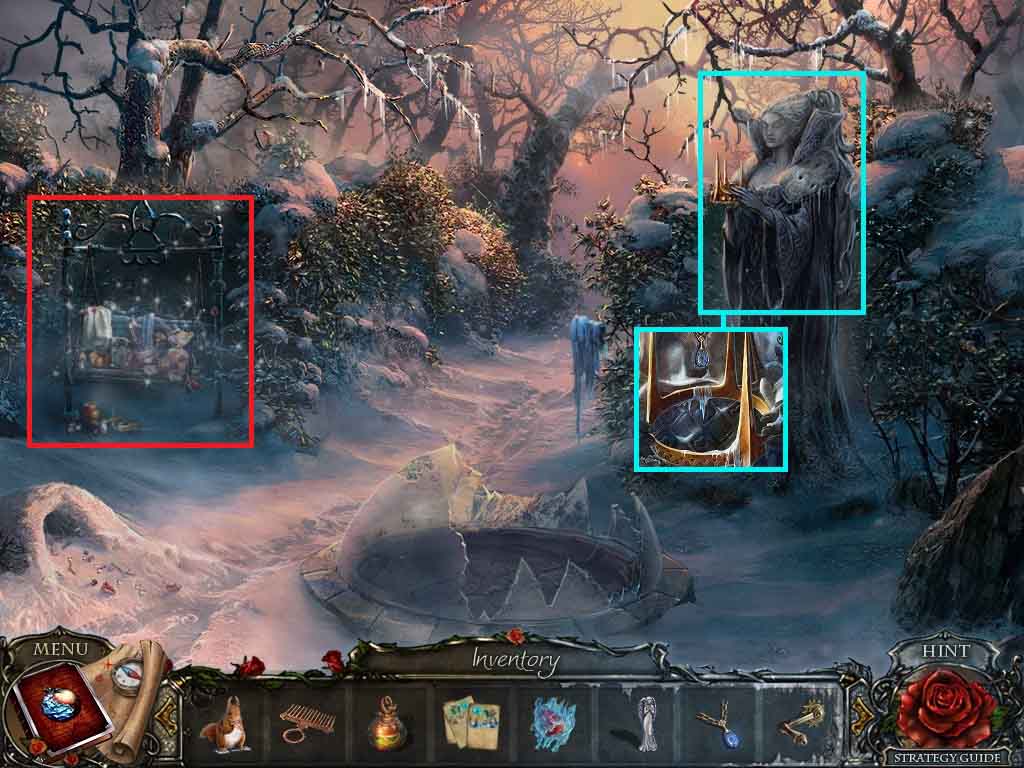
- Click the statue and place the locket onto it; collect the crown.
- Click the swing to access a hidden objects area.
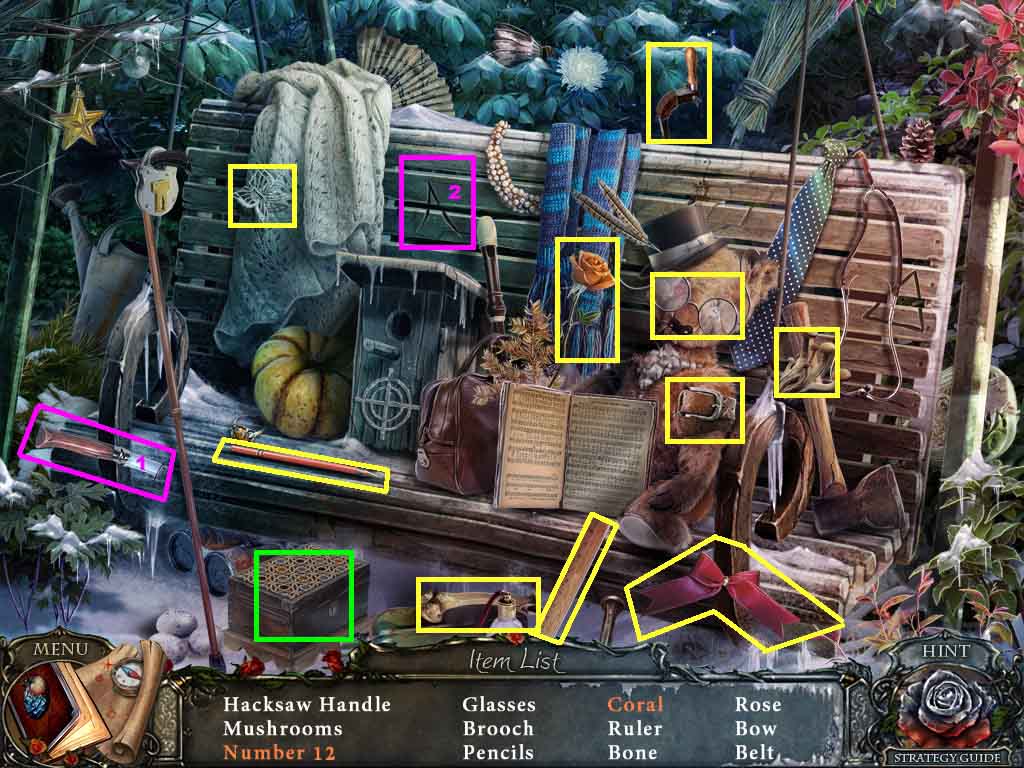
- Find the listed items.
- Select the knife and use it on the 1; collect the number 12.
- Click the box; collect the coral.
- Collect the hacksaw part.
- Move to Near Altar.
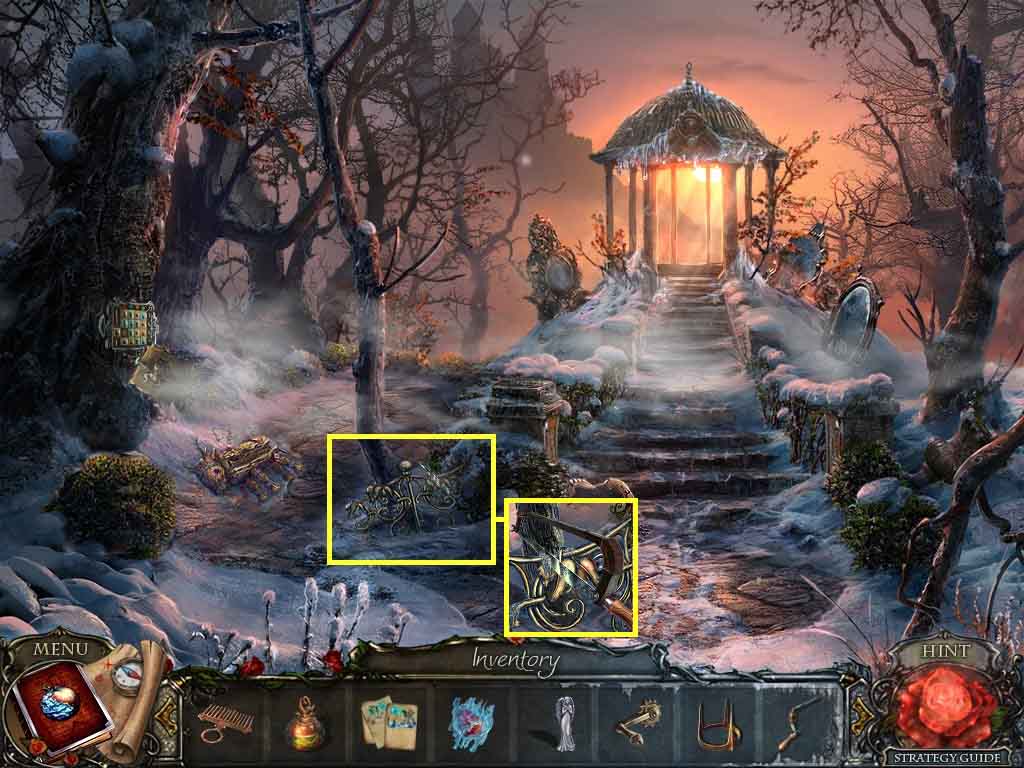
- Click the fence.
- Select the hacksaw part and attach it to the blade; collect the hacksaw.
- Move to the Stone Bridge at the Lake.
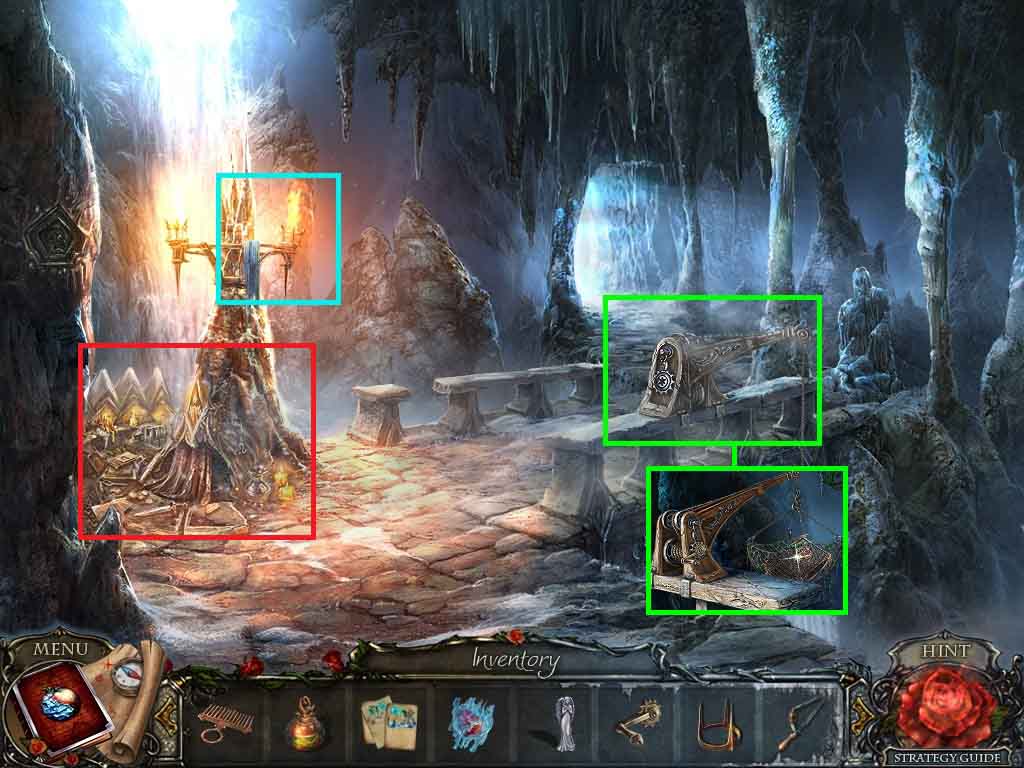
- Click the torch.
- Select the hacksaw to cut the bracket; collect the torch.
- Click the crane and attach the crane handle; click it and collect the book cover.
- Click the stalagmite base to access a hidden objects area.
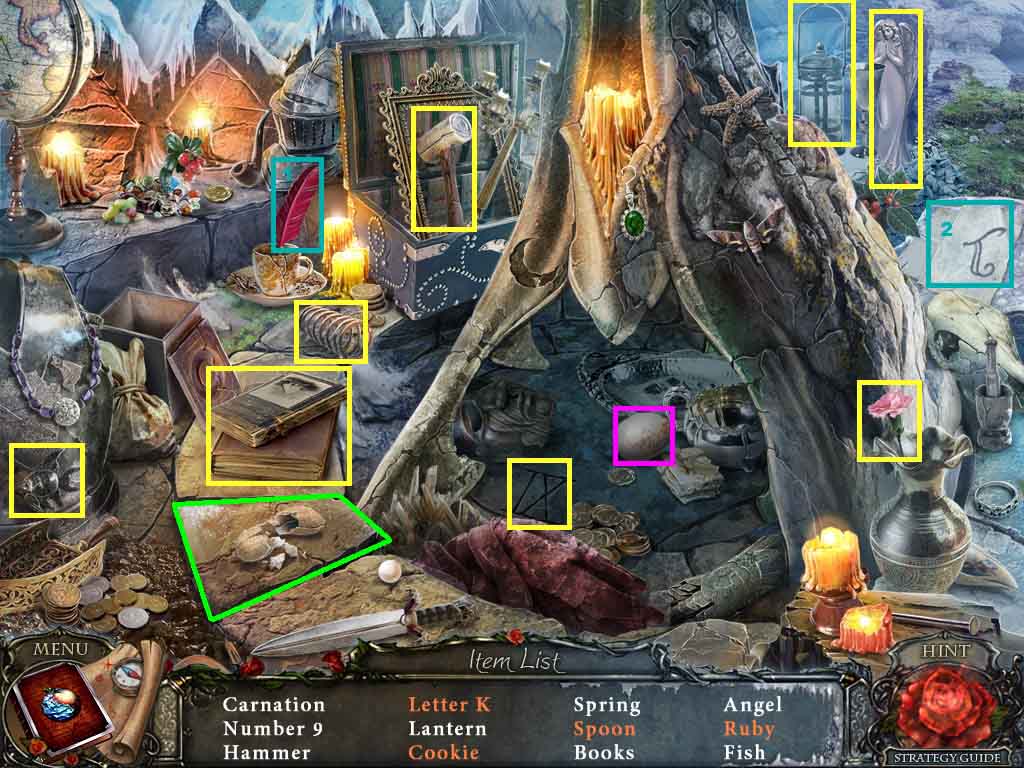
- Find the listed items.
- Click the stone slab; collect the spoon and cookie.
- Click the egg; collect the ruby.
- Select the quill and use it on the writing; collect the letter “K.”
- Collect the 2nd angel.
- Move back once.
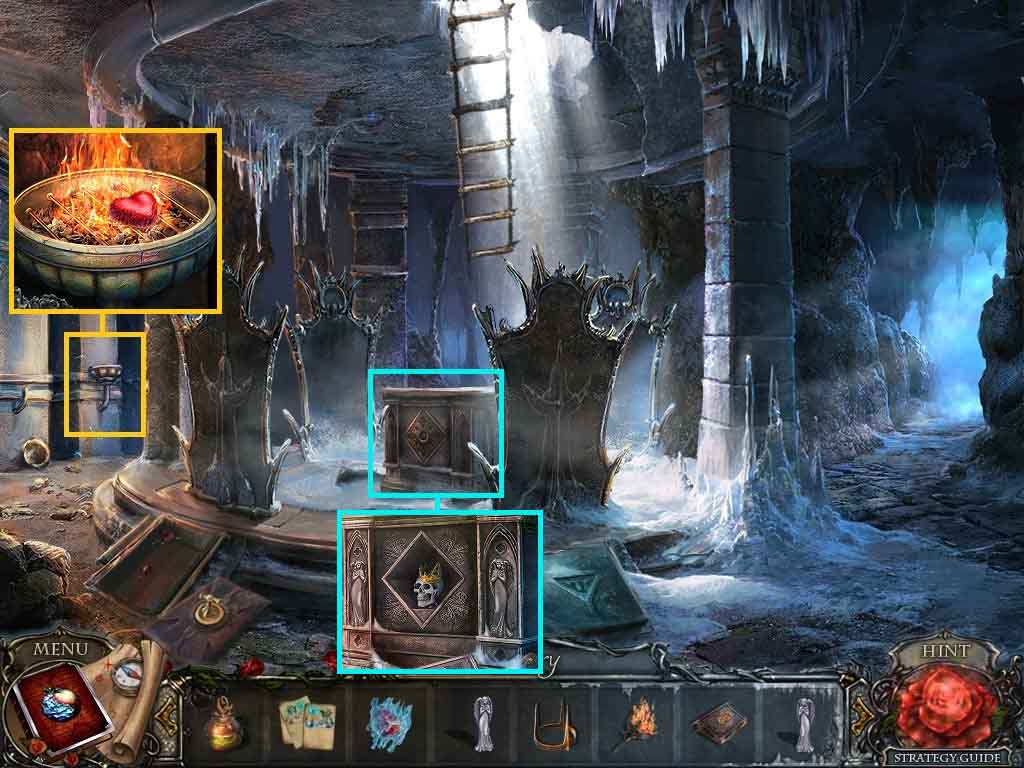
- Click the brazier and use the torch on it.
- Lay the frozen heart onto it; collect the heart.
- Click the stone cabinet and insert the 2 angels; collect the crown part.
- Move to the Frozen Pyramid.
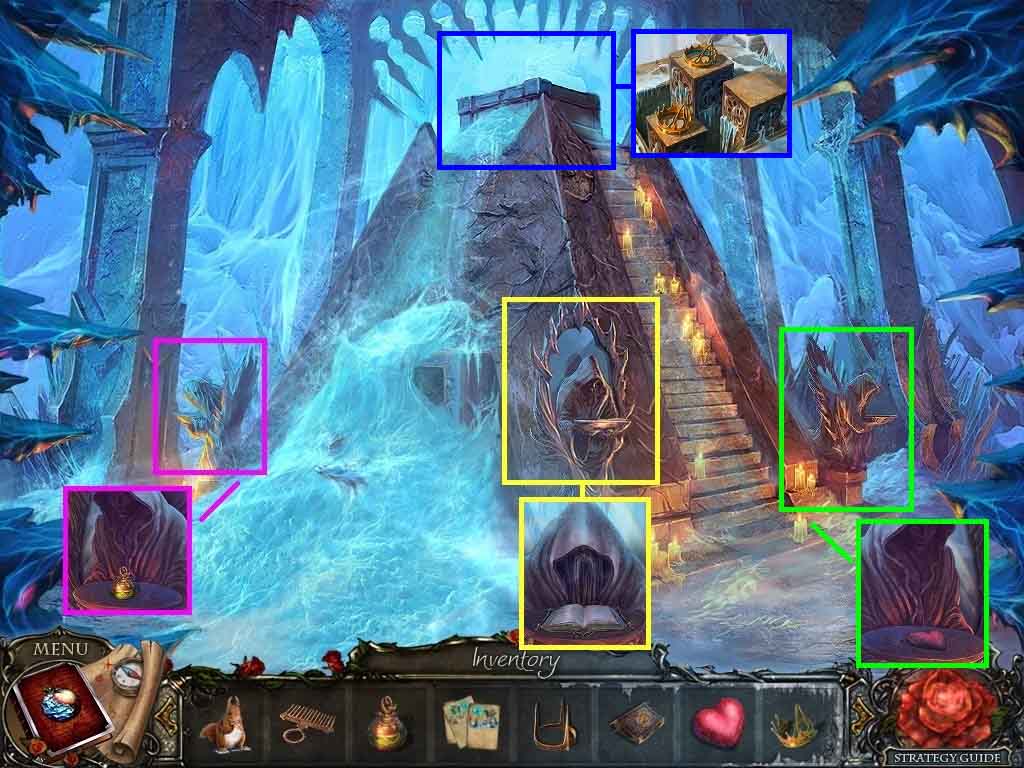
- Click the statue on the left and place the powder onto the platter.
- Click the statue in the middle and place the book cover and book pages onto the platter.
- Click the statue on the right and place the heart onto the platter.
- Click the top of the pyramid and click the 2 glass covers.
- Place the crown part onto the left pedestal.
- Collect the 2nd and 3rd crown.
- Move back one time.
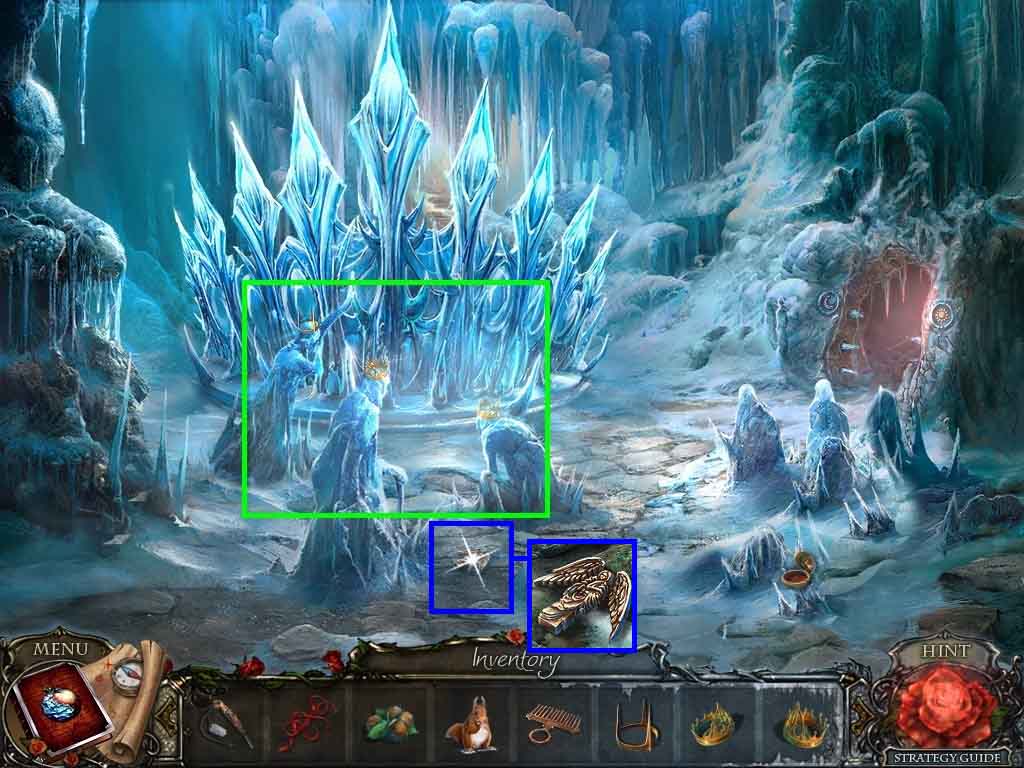
- Place the 3 crowns onto the girls.
- Click the figure; collect the angel figure.
- Move ahead.
Comments will load when you reach this part of the walkthrough.