

Chapter Seven: Touring the Temple
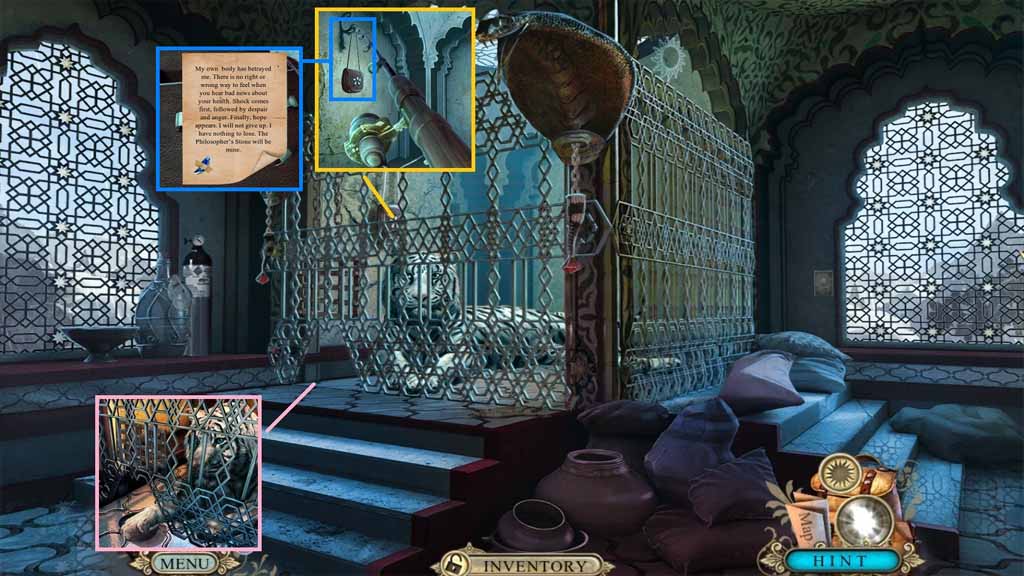
- Please the water with sleeping powder down.
- Select the fish rod to collect the satchel and click buckles 1 and 2 to open it.
- Click the note and collect the 3/3 diamond shards.
- Move to the Study.
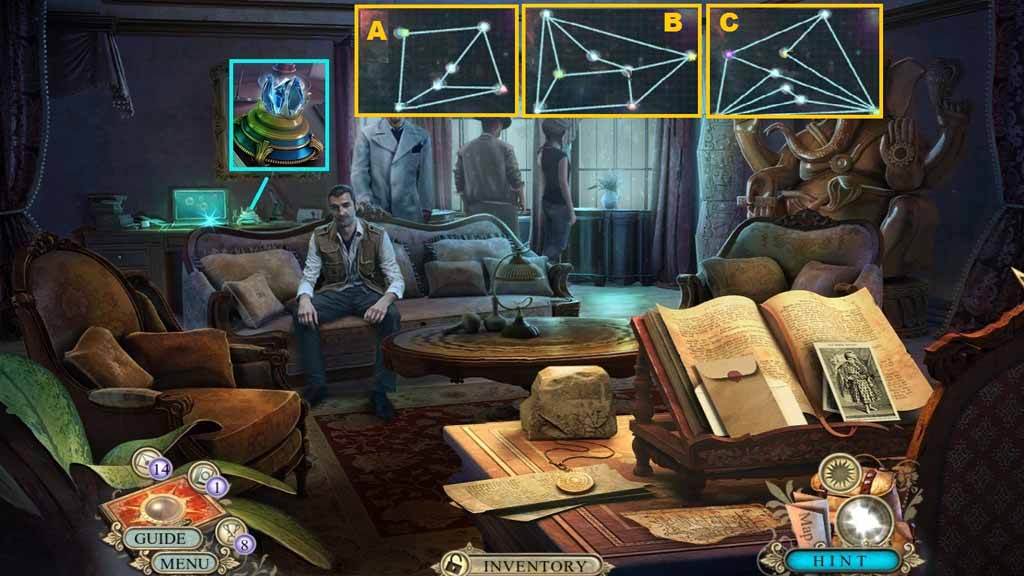
- Insert the three diamond shards into the lamp to trigger a puzzle.
- Solve the puzzle by aligning the stars correctly.
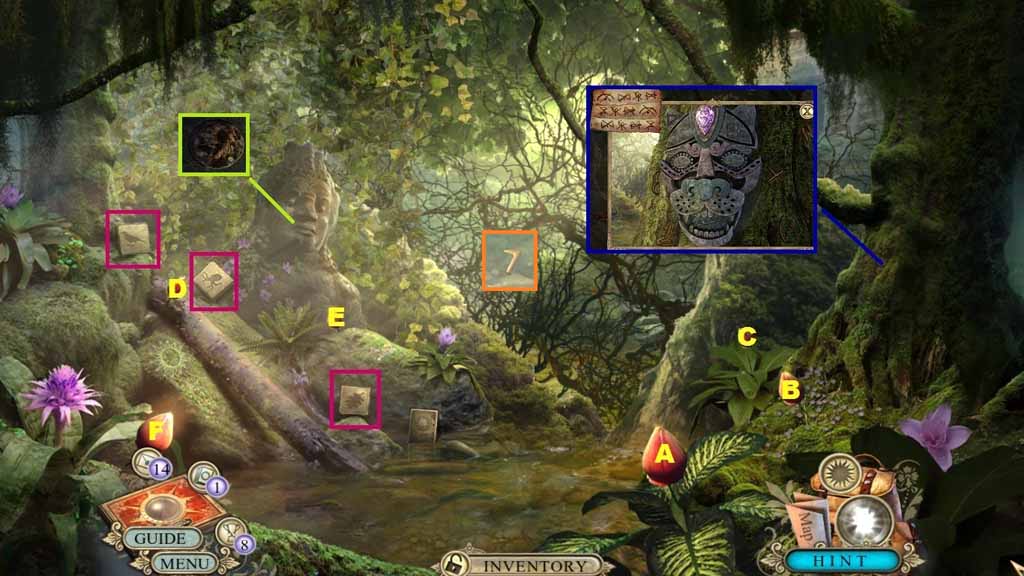
- Collect 3 of 6 stone tablets.
- Click the flowers in ABC order.
- Select the matches to clear the moss and place the 3 Temple entrance codes onto it to trigger a puzzle.
- Solve the puzzle by clicking the symbols in the correct order then finding the 8 symbols in the scene and by matching the four pairs.
- Click the button.
- Speak to the man.
- Collect the boomerang.
- Move ahead.
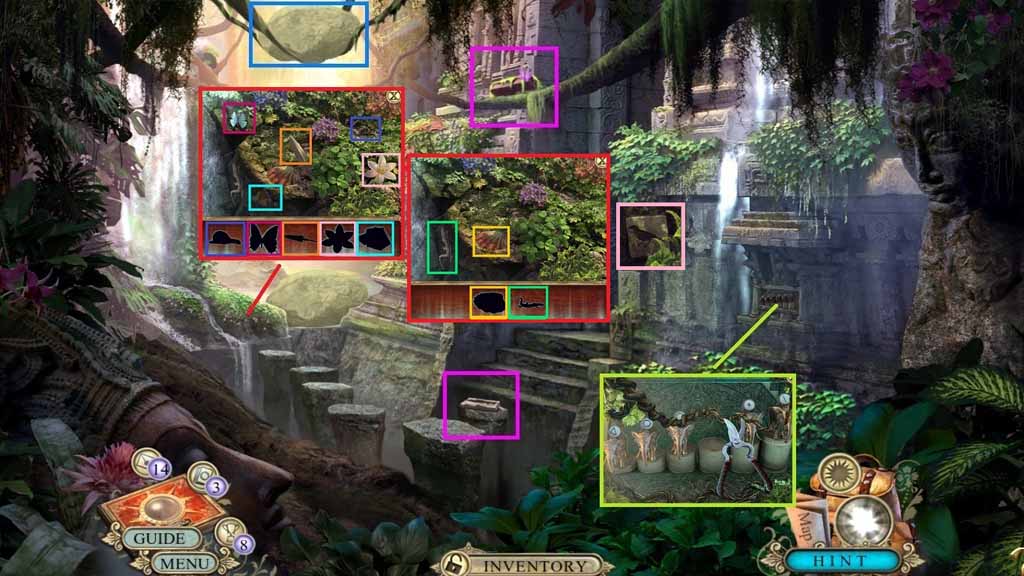
- Use the boomerang on the rock.
- Collect the fourth and fifth stone tablets.
- Use the vineyard shears to clip the vines.
- Click the hidden objects area.
- Find the items and collect the 6th stone tablet.
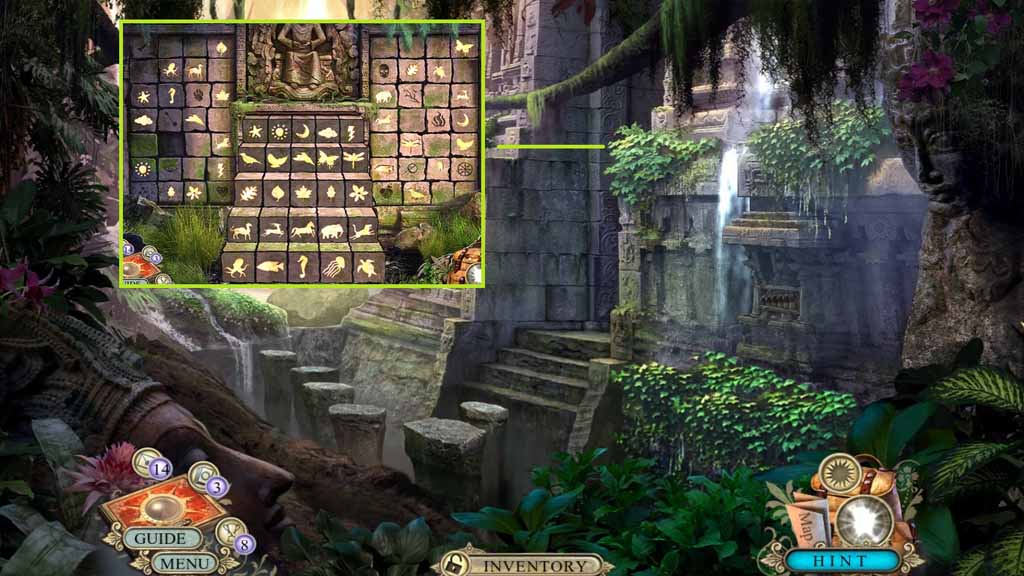
- Insert the six stone tablets into the wall to trigger a puzzle.
- Solve the puzzle by clicking the symbols in the same way they appear on the steps.
- Move ahead.
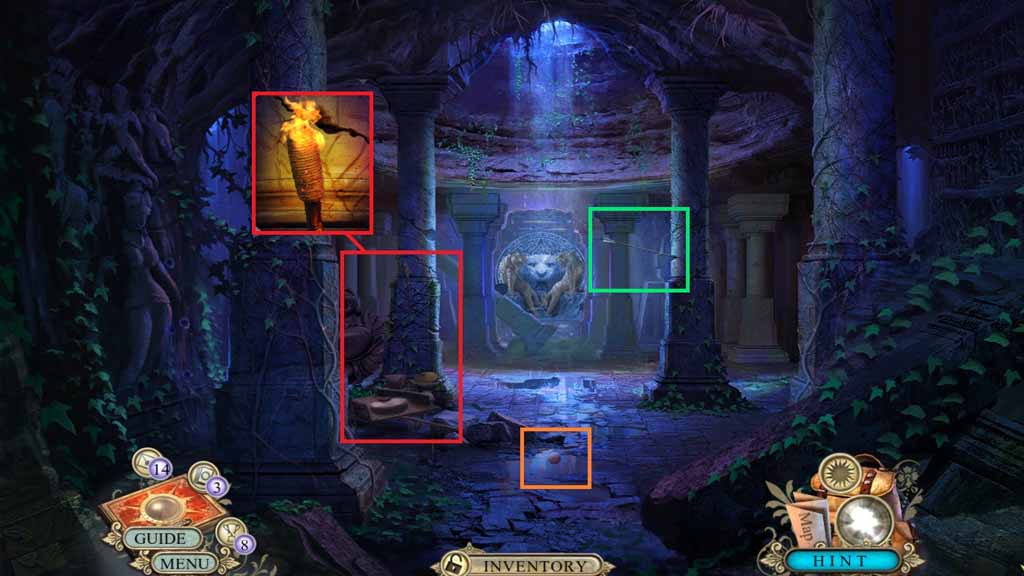
- Toss the orange.
- Collect the arrow.
- Use the matches to ignite the torch and trigger a hidden objects area.
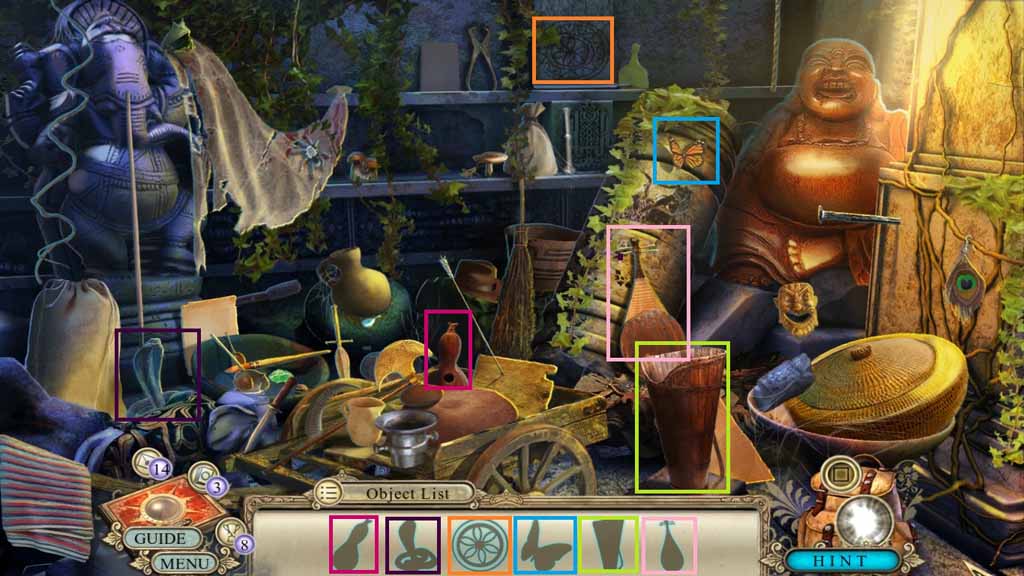
- Find the silhouetted items.
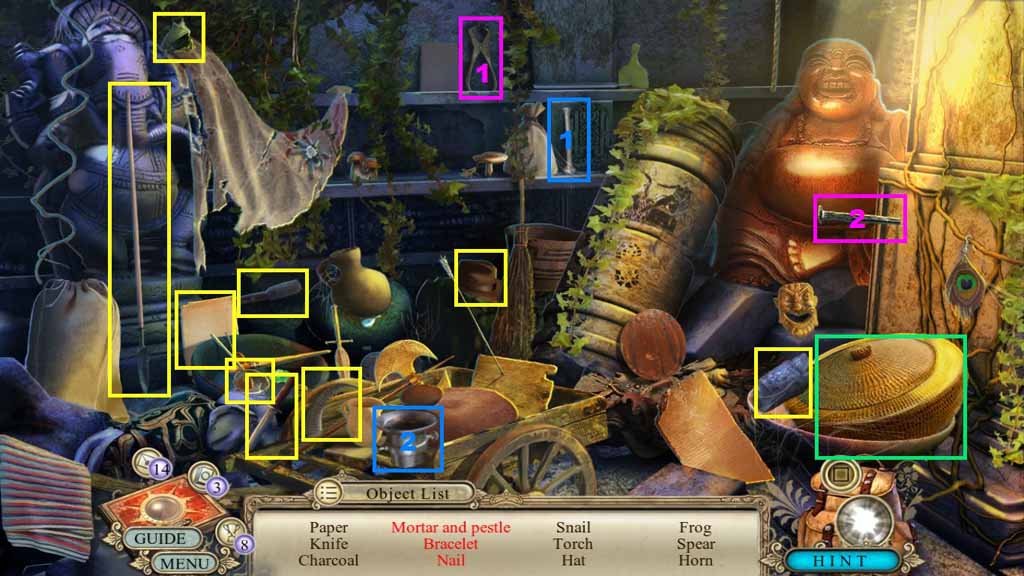
- Find the listed items.
- Select the pestle and place it into the mortar; collect the mortar and pestle.
- Click the basket; collect the bracelet.
- Select the nail puller and use it to remove and collect the nail.
- Collect the charcoal.
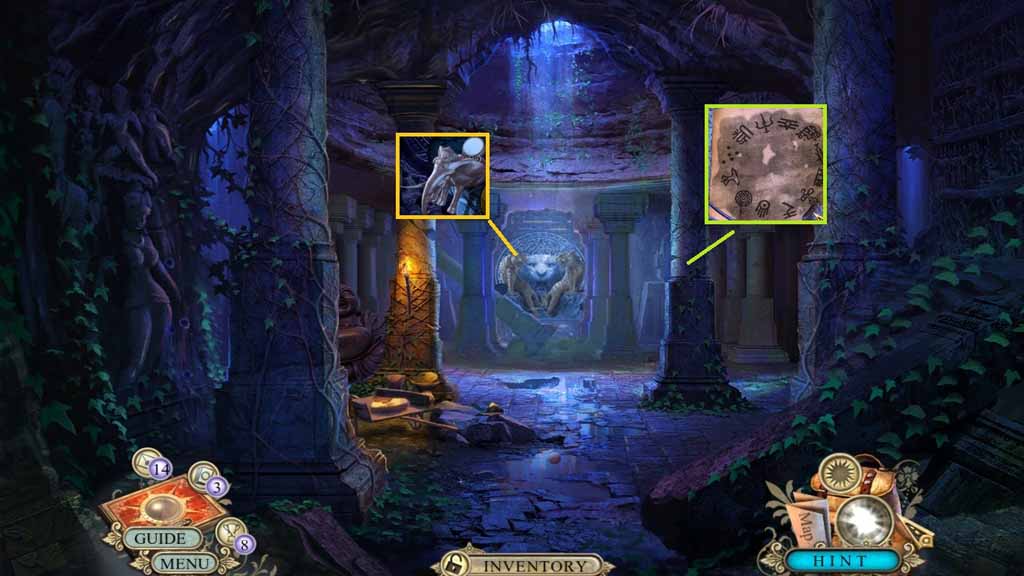
- Collect the elephant figurine.
- Place the charcoal paper onto the wall and use the charcoal to collect the paper with code.
- Move down one time.
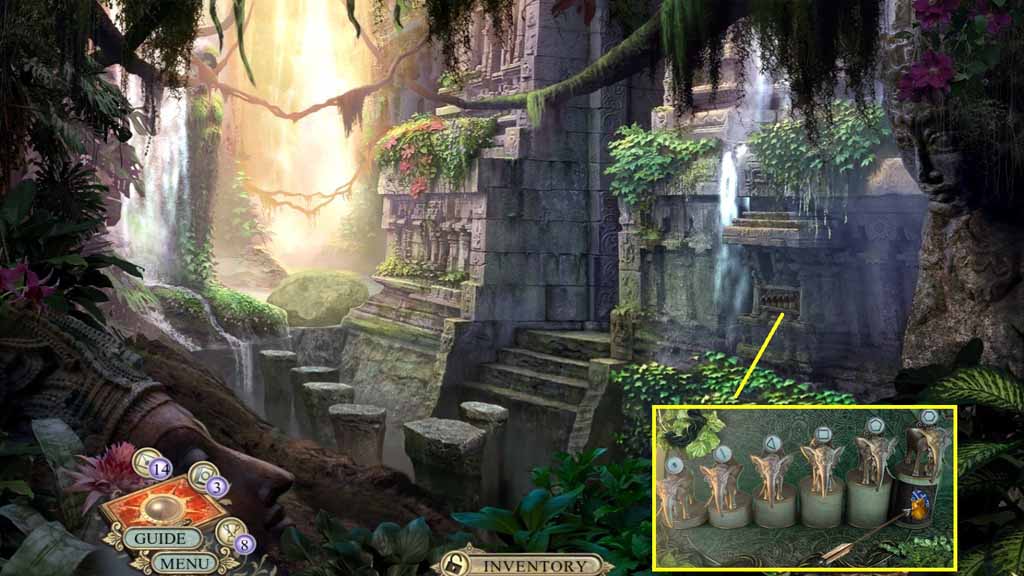
- Place the elephant figurine onto the stand to trigger a puzzle.
- Align the symbols that are shown to solve the puzzle.
- Use the arrow to remove the stone disc.
- Move to the Temple interior.
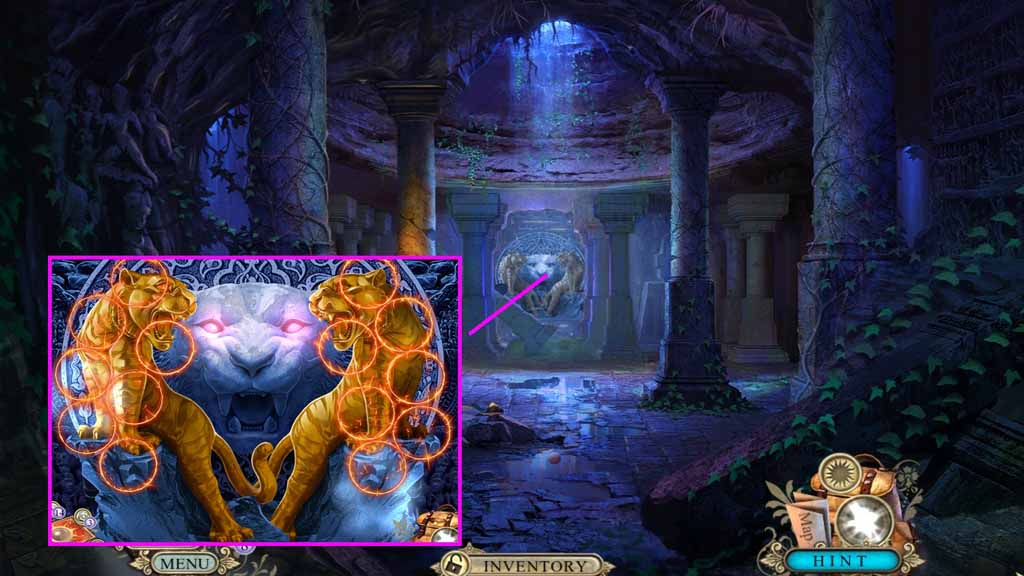
- Place the stone disc onto the statue to trigger a puzzle.
- Solve the puzzle by arranging the discs as shown.
- Move ahead.
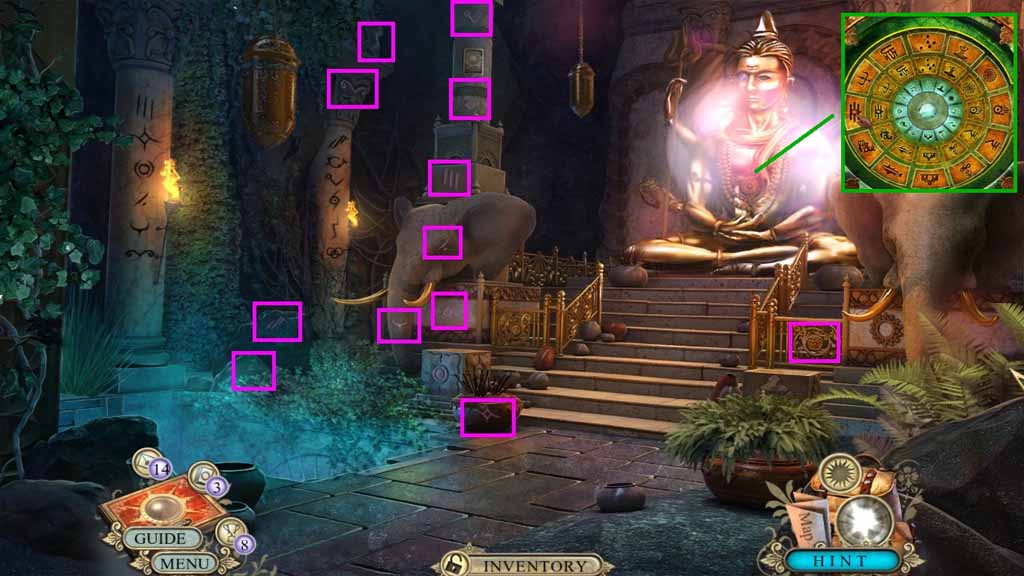
- Locate all of the symbols in the scene.
- Zoom into the statue and place the paper with the code onto it to trigger a puzzle.
- Solve the puzzle by rotating the rings so that the correct symbols are aligned.
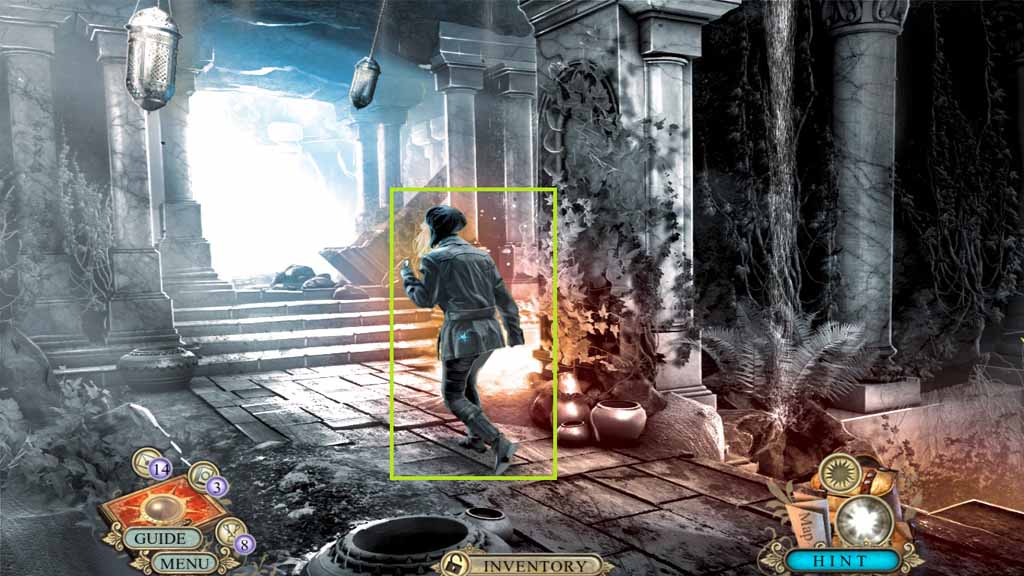
- Select the vines to capture the lady.
- Congratulations! You have completed the main game of Hidden Expedition: Smithsonian Hope Diamond
Comments will load when you reach this part of the walkthrough.